Introduction
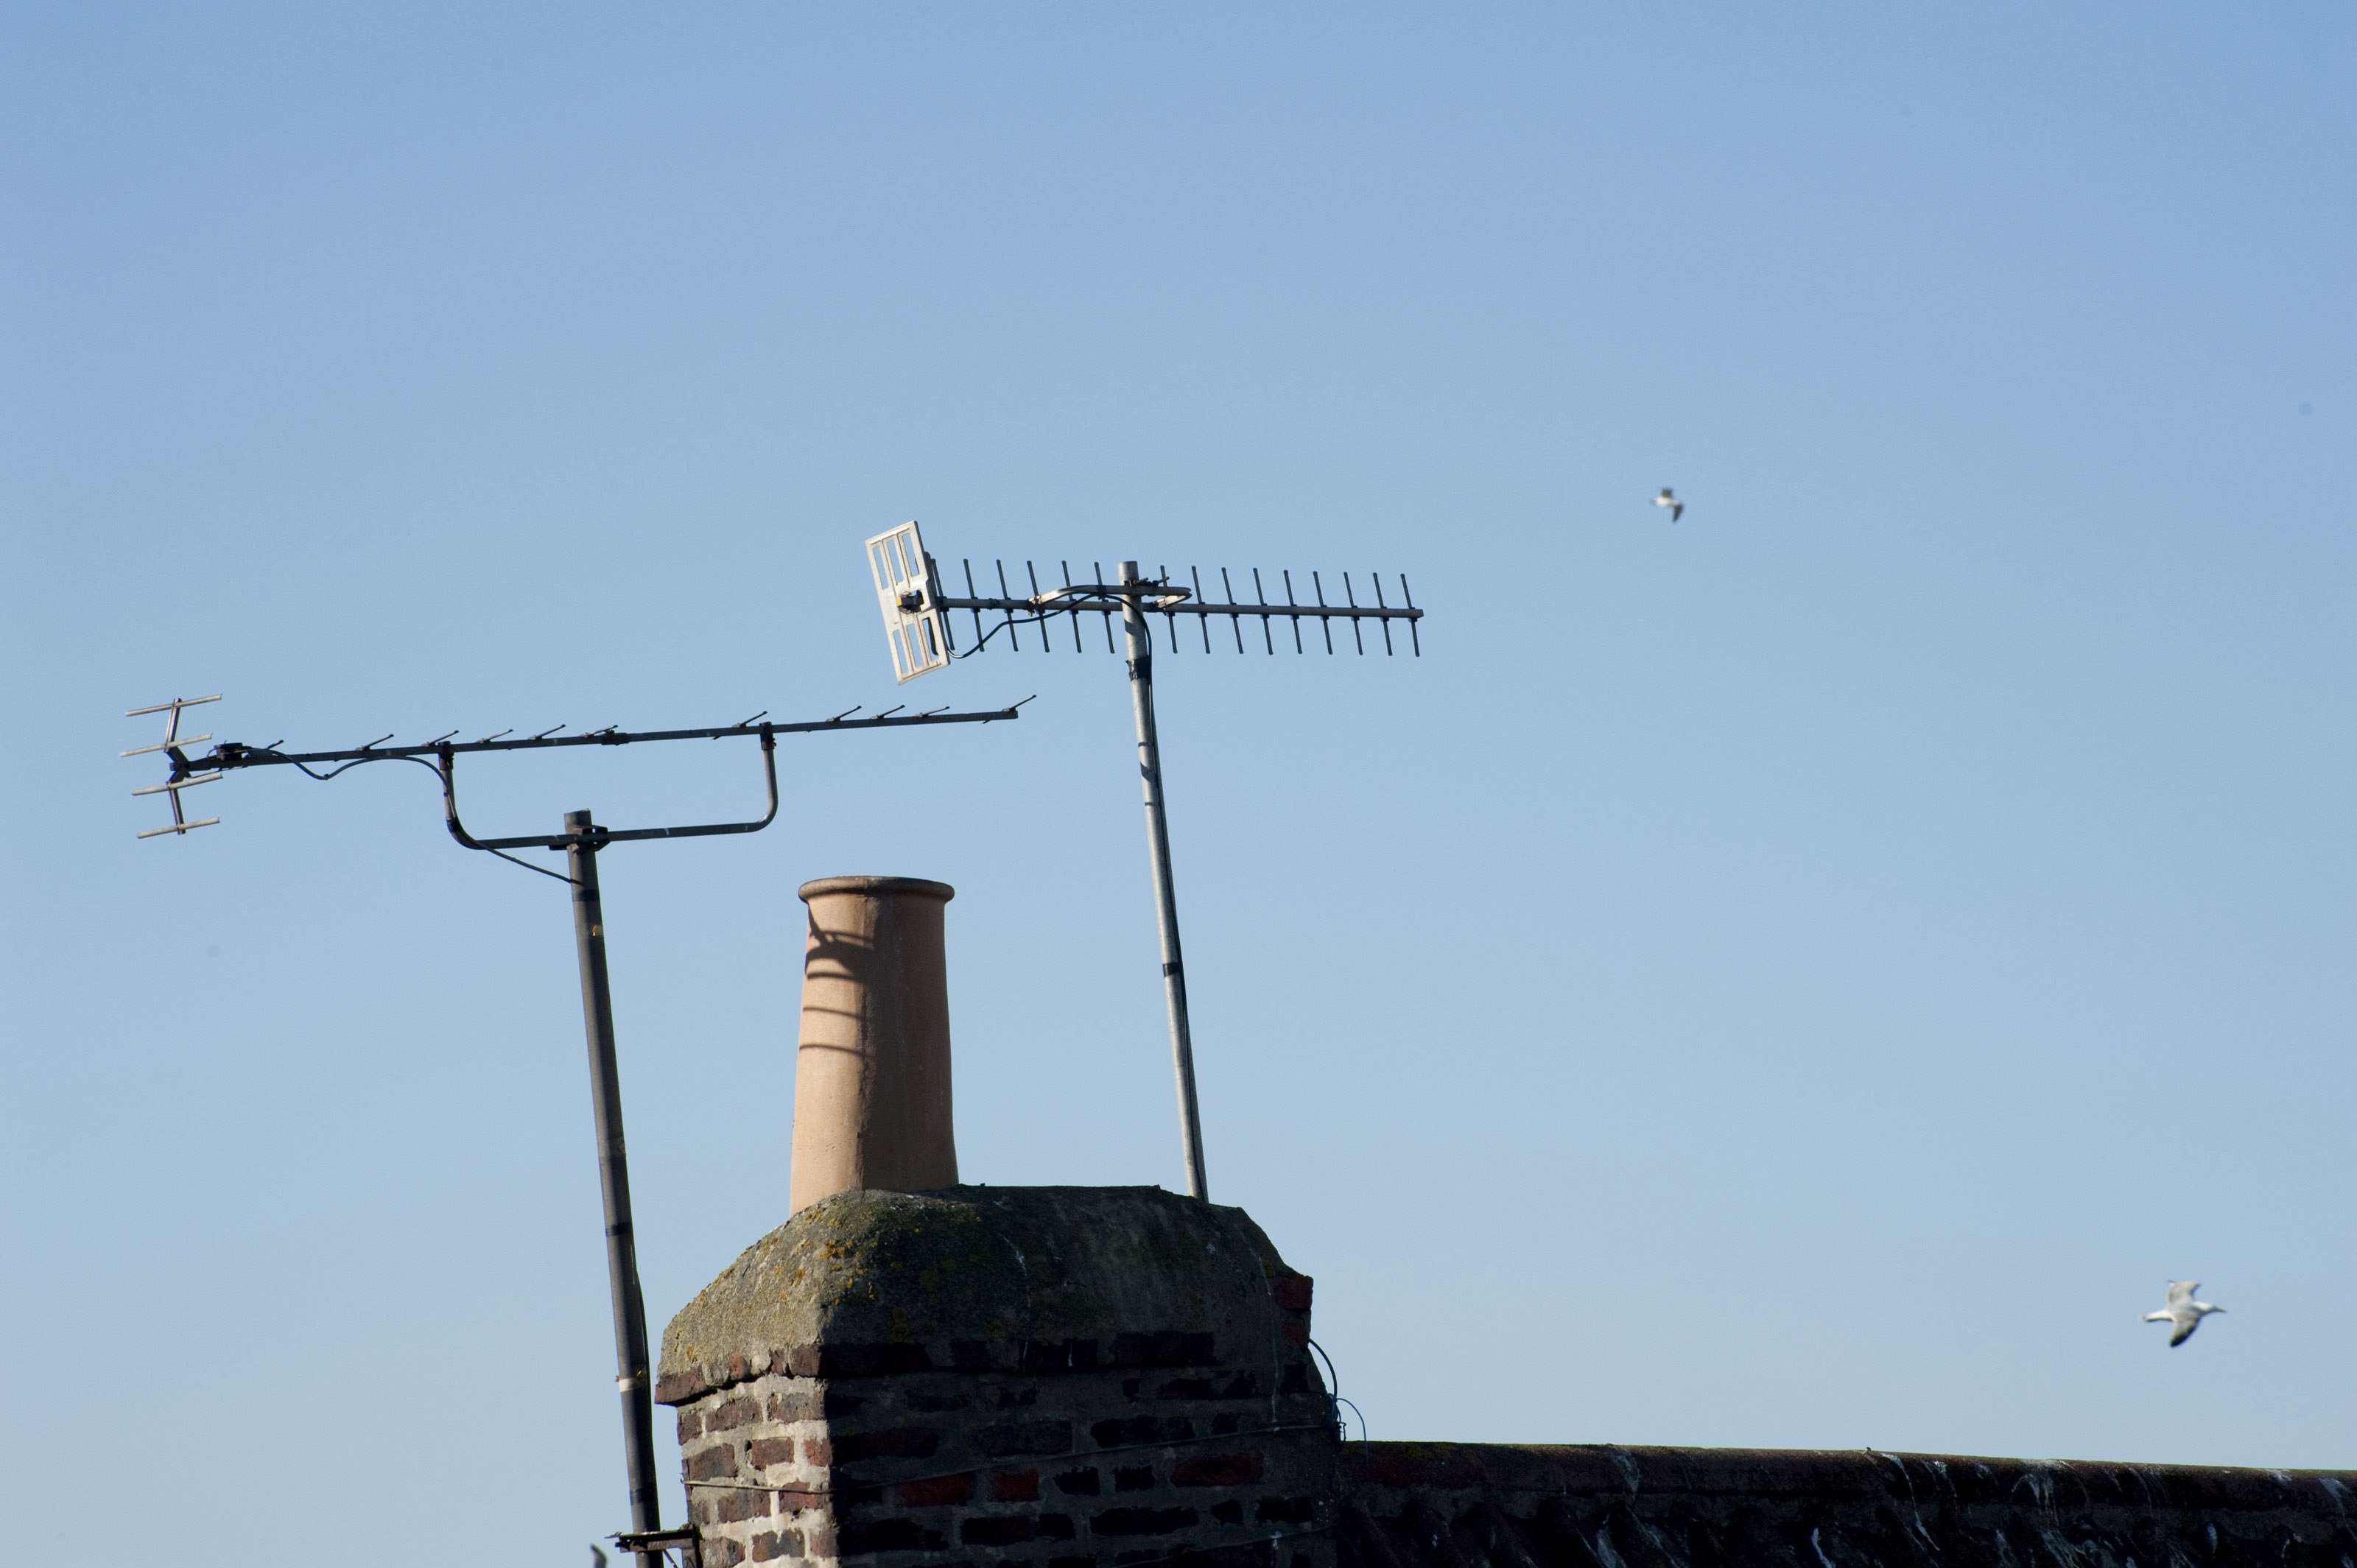
Welcome to our guide on how to mount a TV antenna to a chimney. A TV antenna is a great way to enjoy free-to-air television channels without the need for a cable or satellite subscription. Mounting the antenna to a chimney can provide an elevated position for better signal reception and optimal viewing experiences. However, it’s essential to follow the correct steps to ensure a secure and stable installation.
In this guide, we will take you through the step-by-step process of mounting a TV antenna to a chimney. We will provide you with a list of materials you’ll need, offer tips on choosing the right antenna, guide you on determining the mounting location, and walk you through the installation process. By the end of this guide, you’ll have the knowledge and confidence to successfully mount your TV antenna to a chimney and enjoy your favorite television programs.
Mounting a TV antenna to a chimney has several advantages. Firstly, the elevated position allows for better line-of-sight to broadcast towers, resulting in stronger and more reliable signal reception. Secondly, the chimney provides a sturdy and stable base for the antenna, ensuring minimal movement and interference. Lastly, mounting the antenna to a chimney is a convenient option for homeowners who want to avoid installing a separate mast or tower.
Before we dive into the installation process, let’s gather the necessary materials and tools to ensure a smooth and successful TV antenna installation.
Materials Needed
Before you begin the process of mounting a TV antenna to a chimney, it’s essential to gather all the necessary materials and tools. Here is a comprehensive list of what you’ll need:
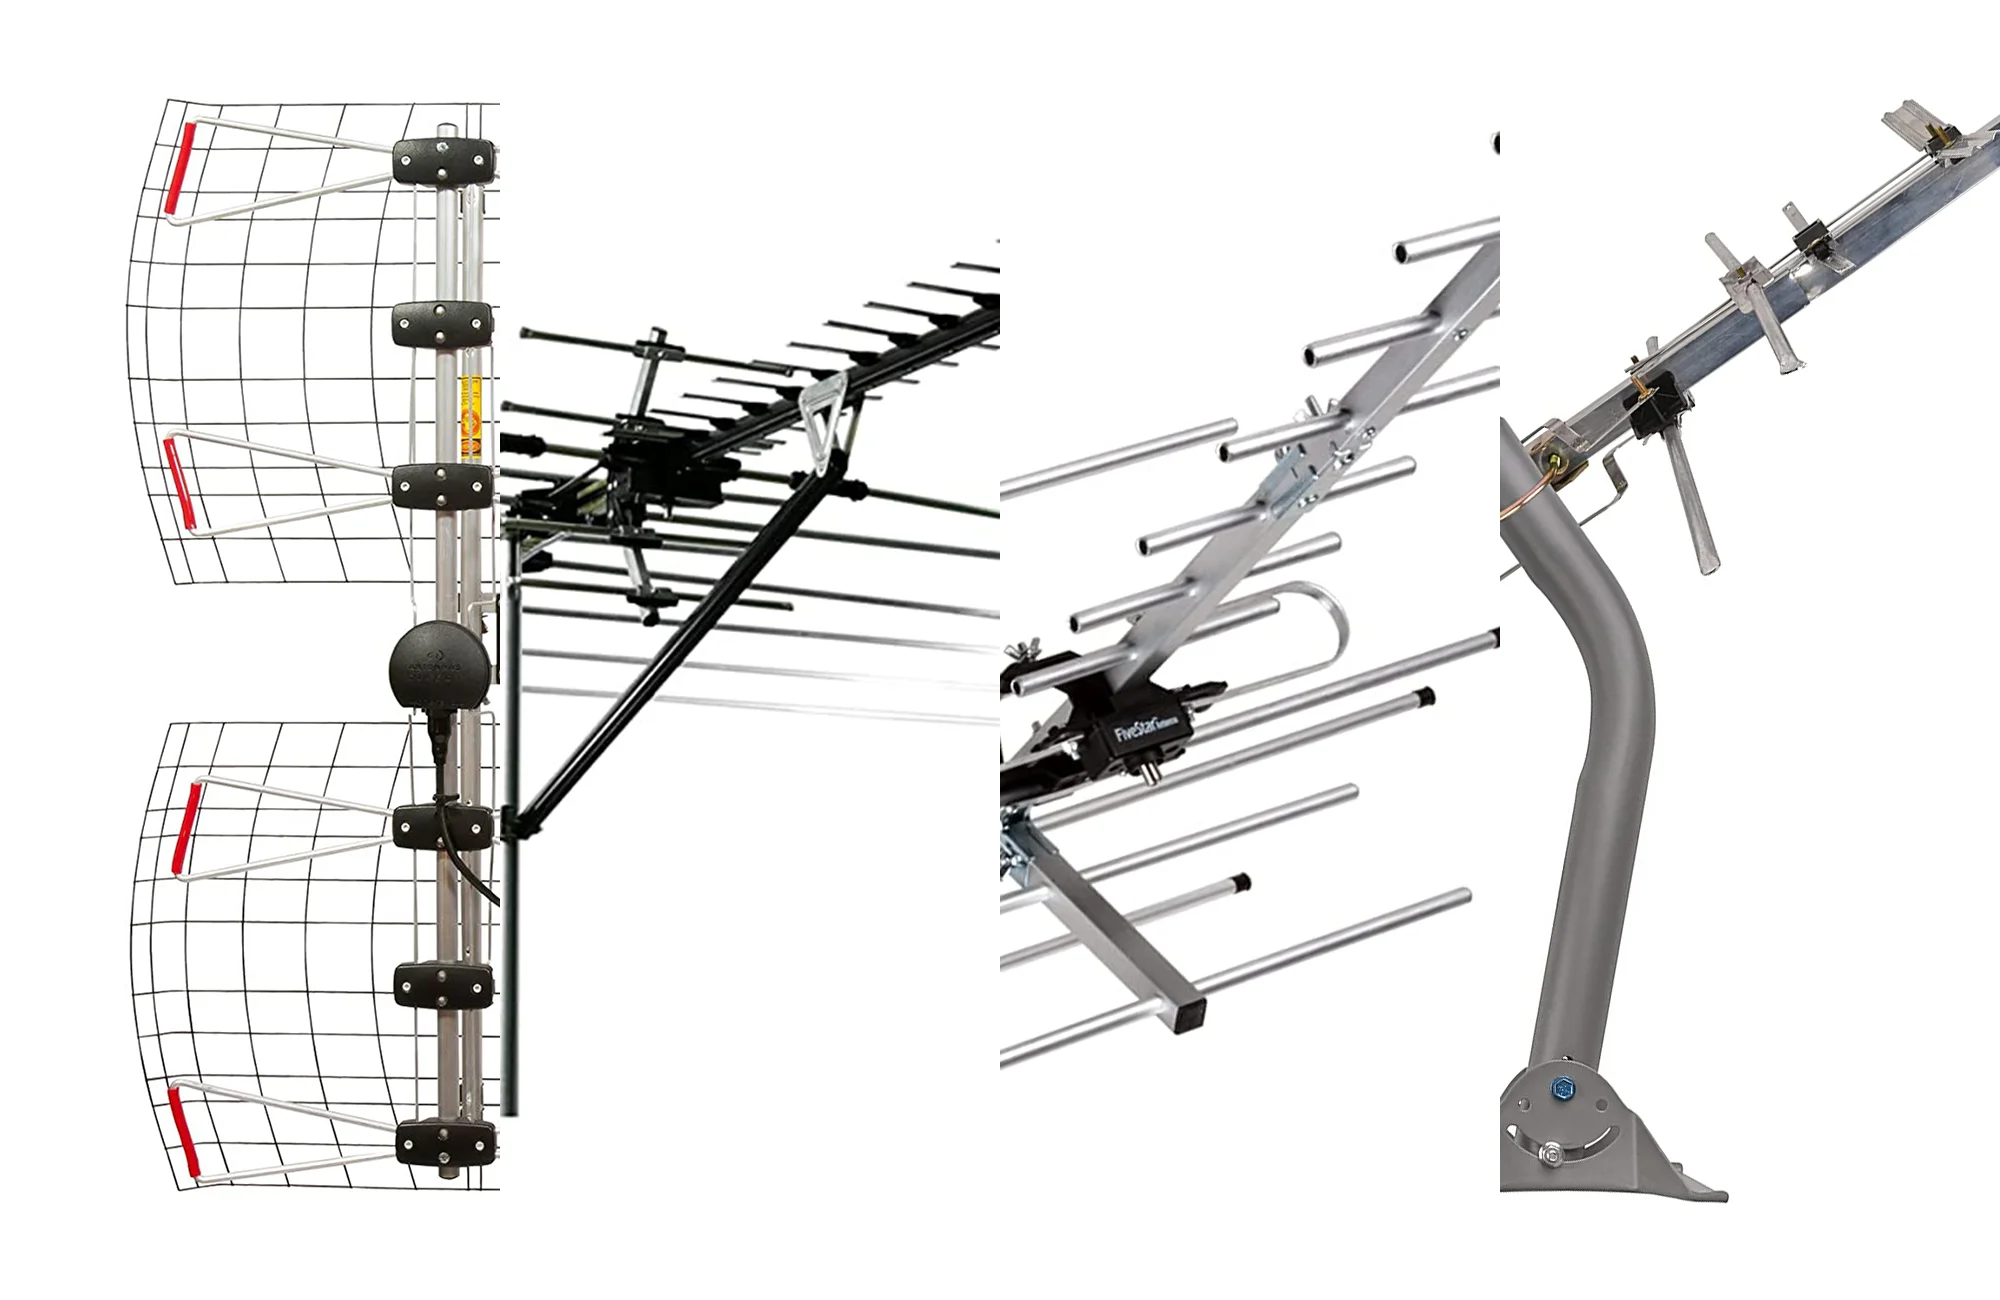
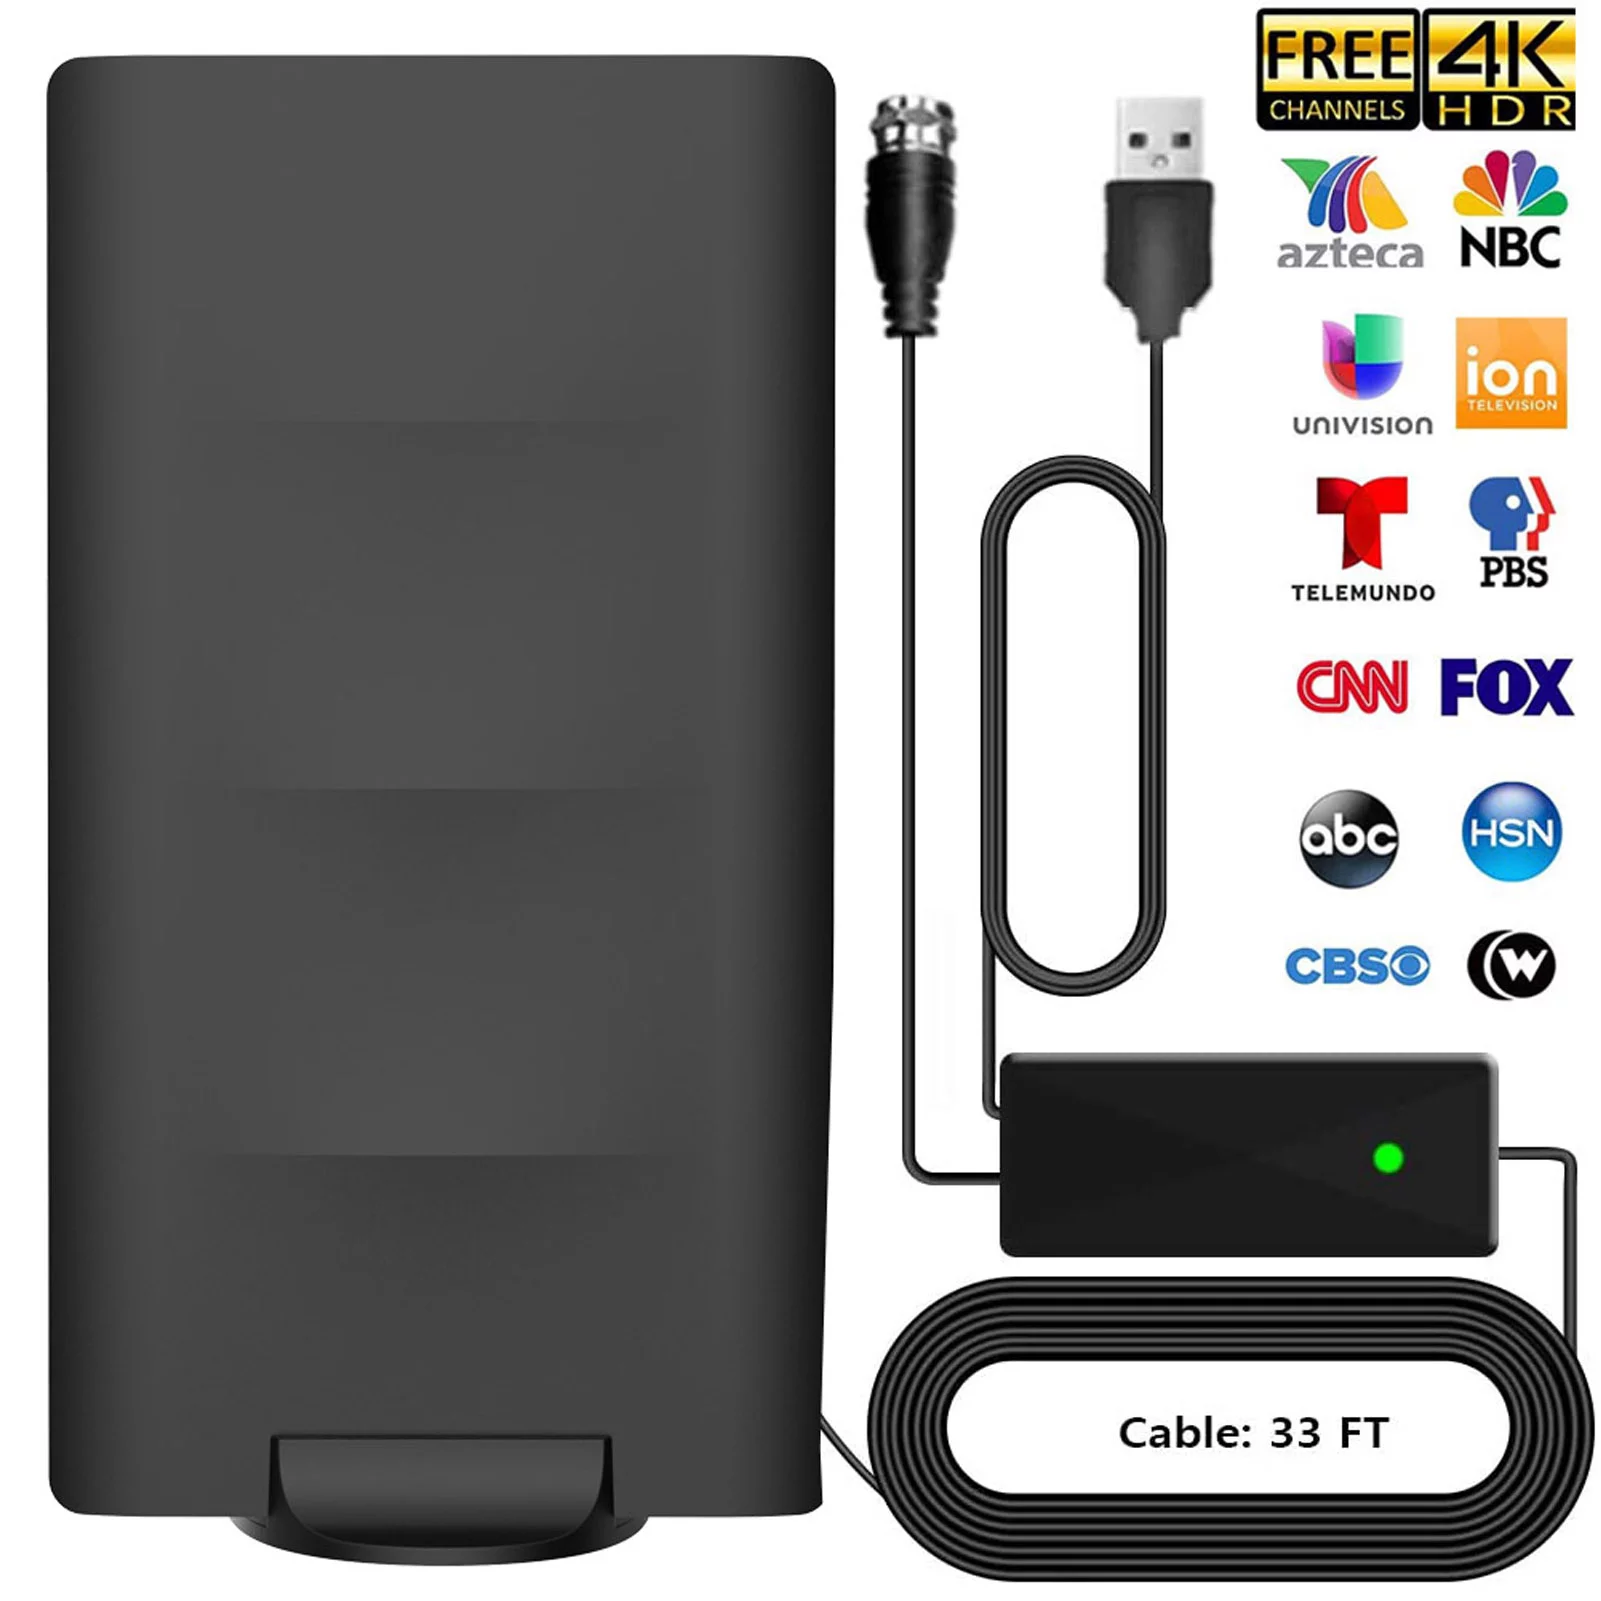
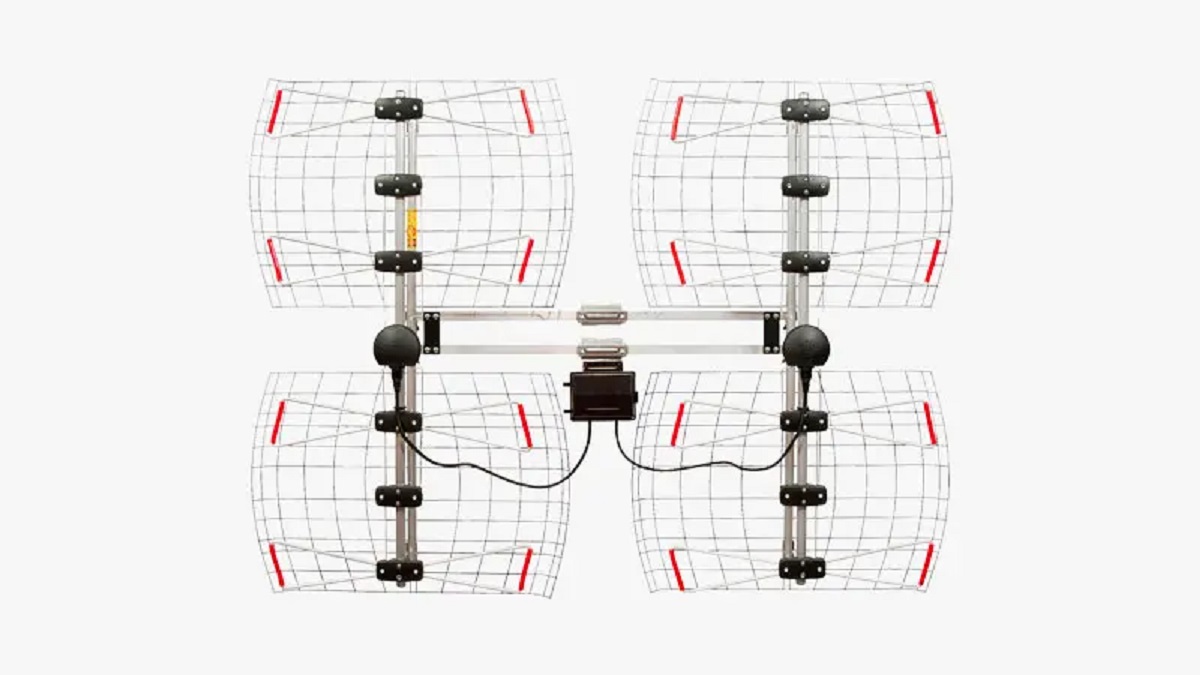
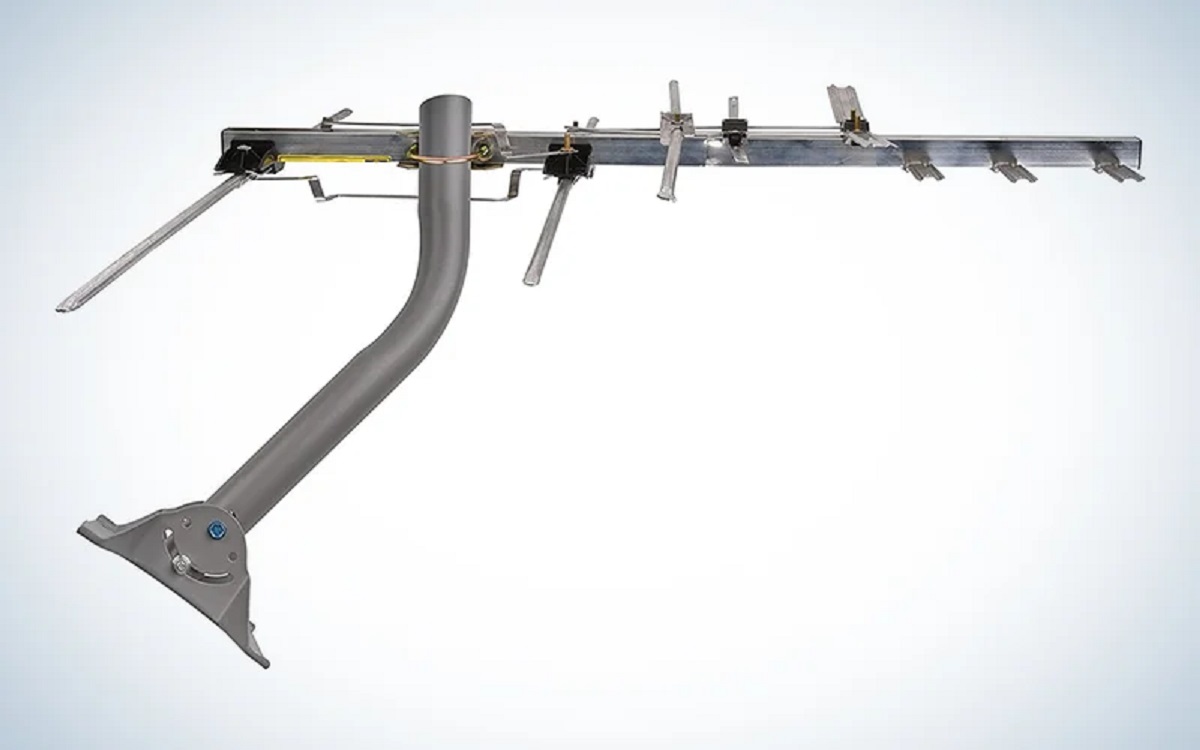
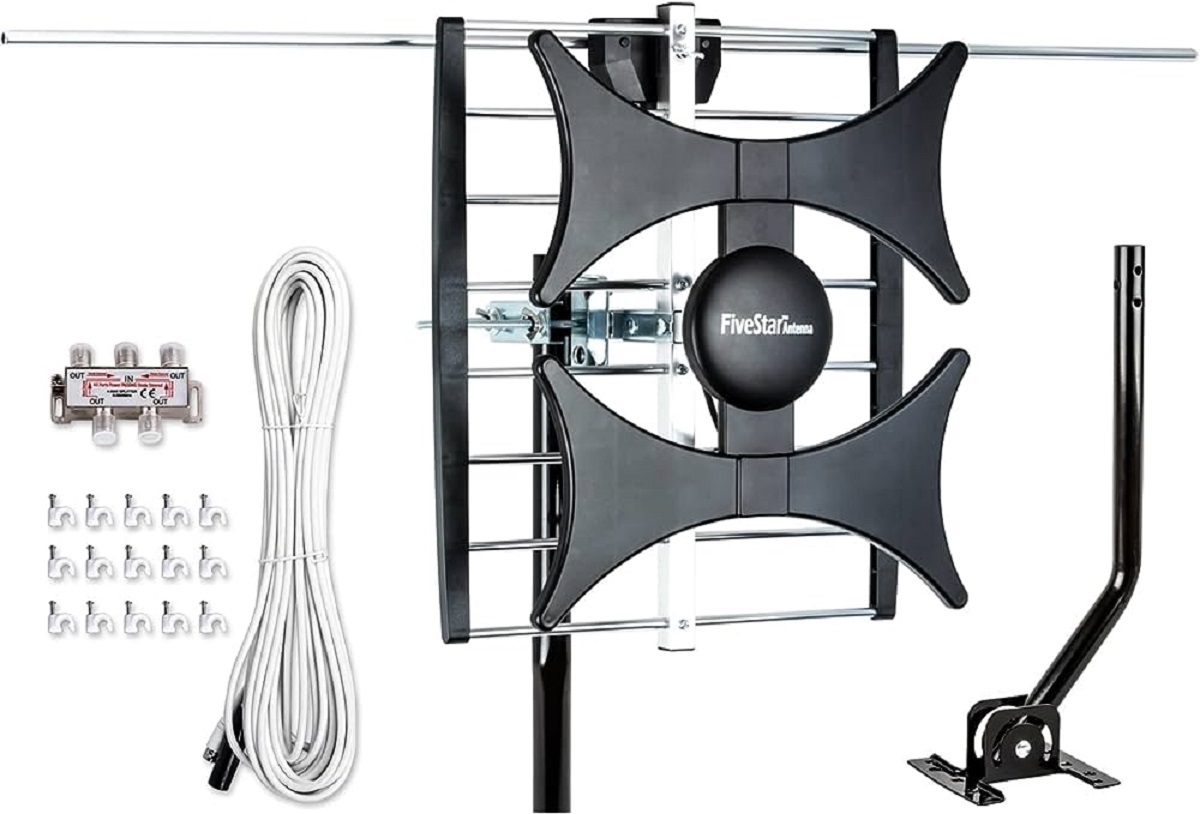
- A TV antenna: Choose a high-quality TV antenna that suits your needs and provides a strong signal reception. Consider factors like the range, directionality, and type of antenna (indoor or outdoor) depending on your location and the channels you want to receive.
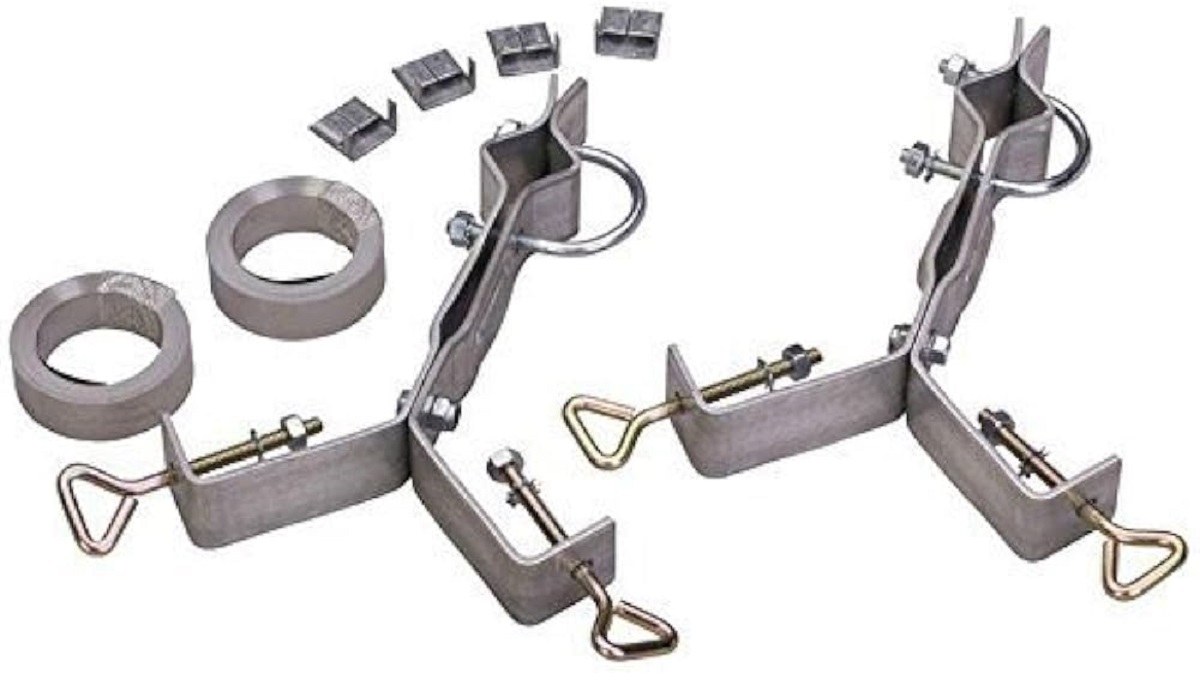
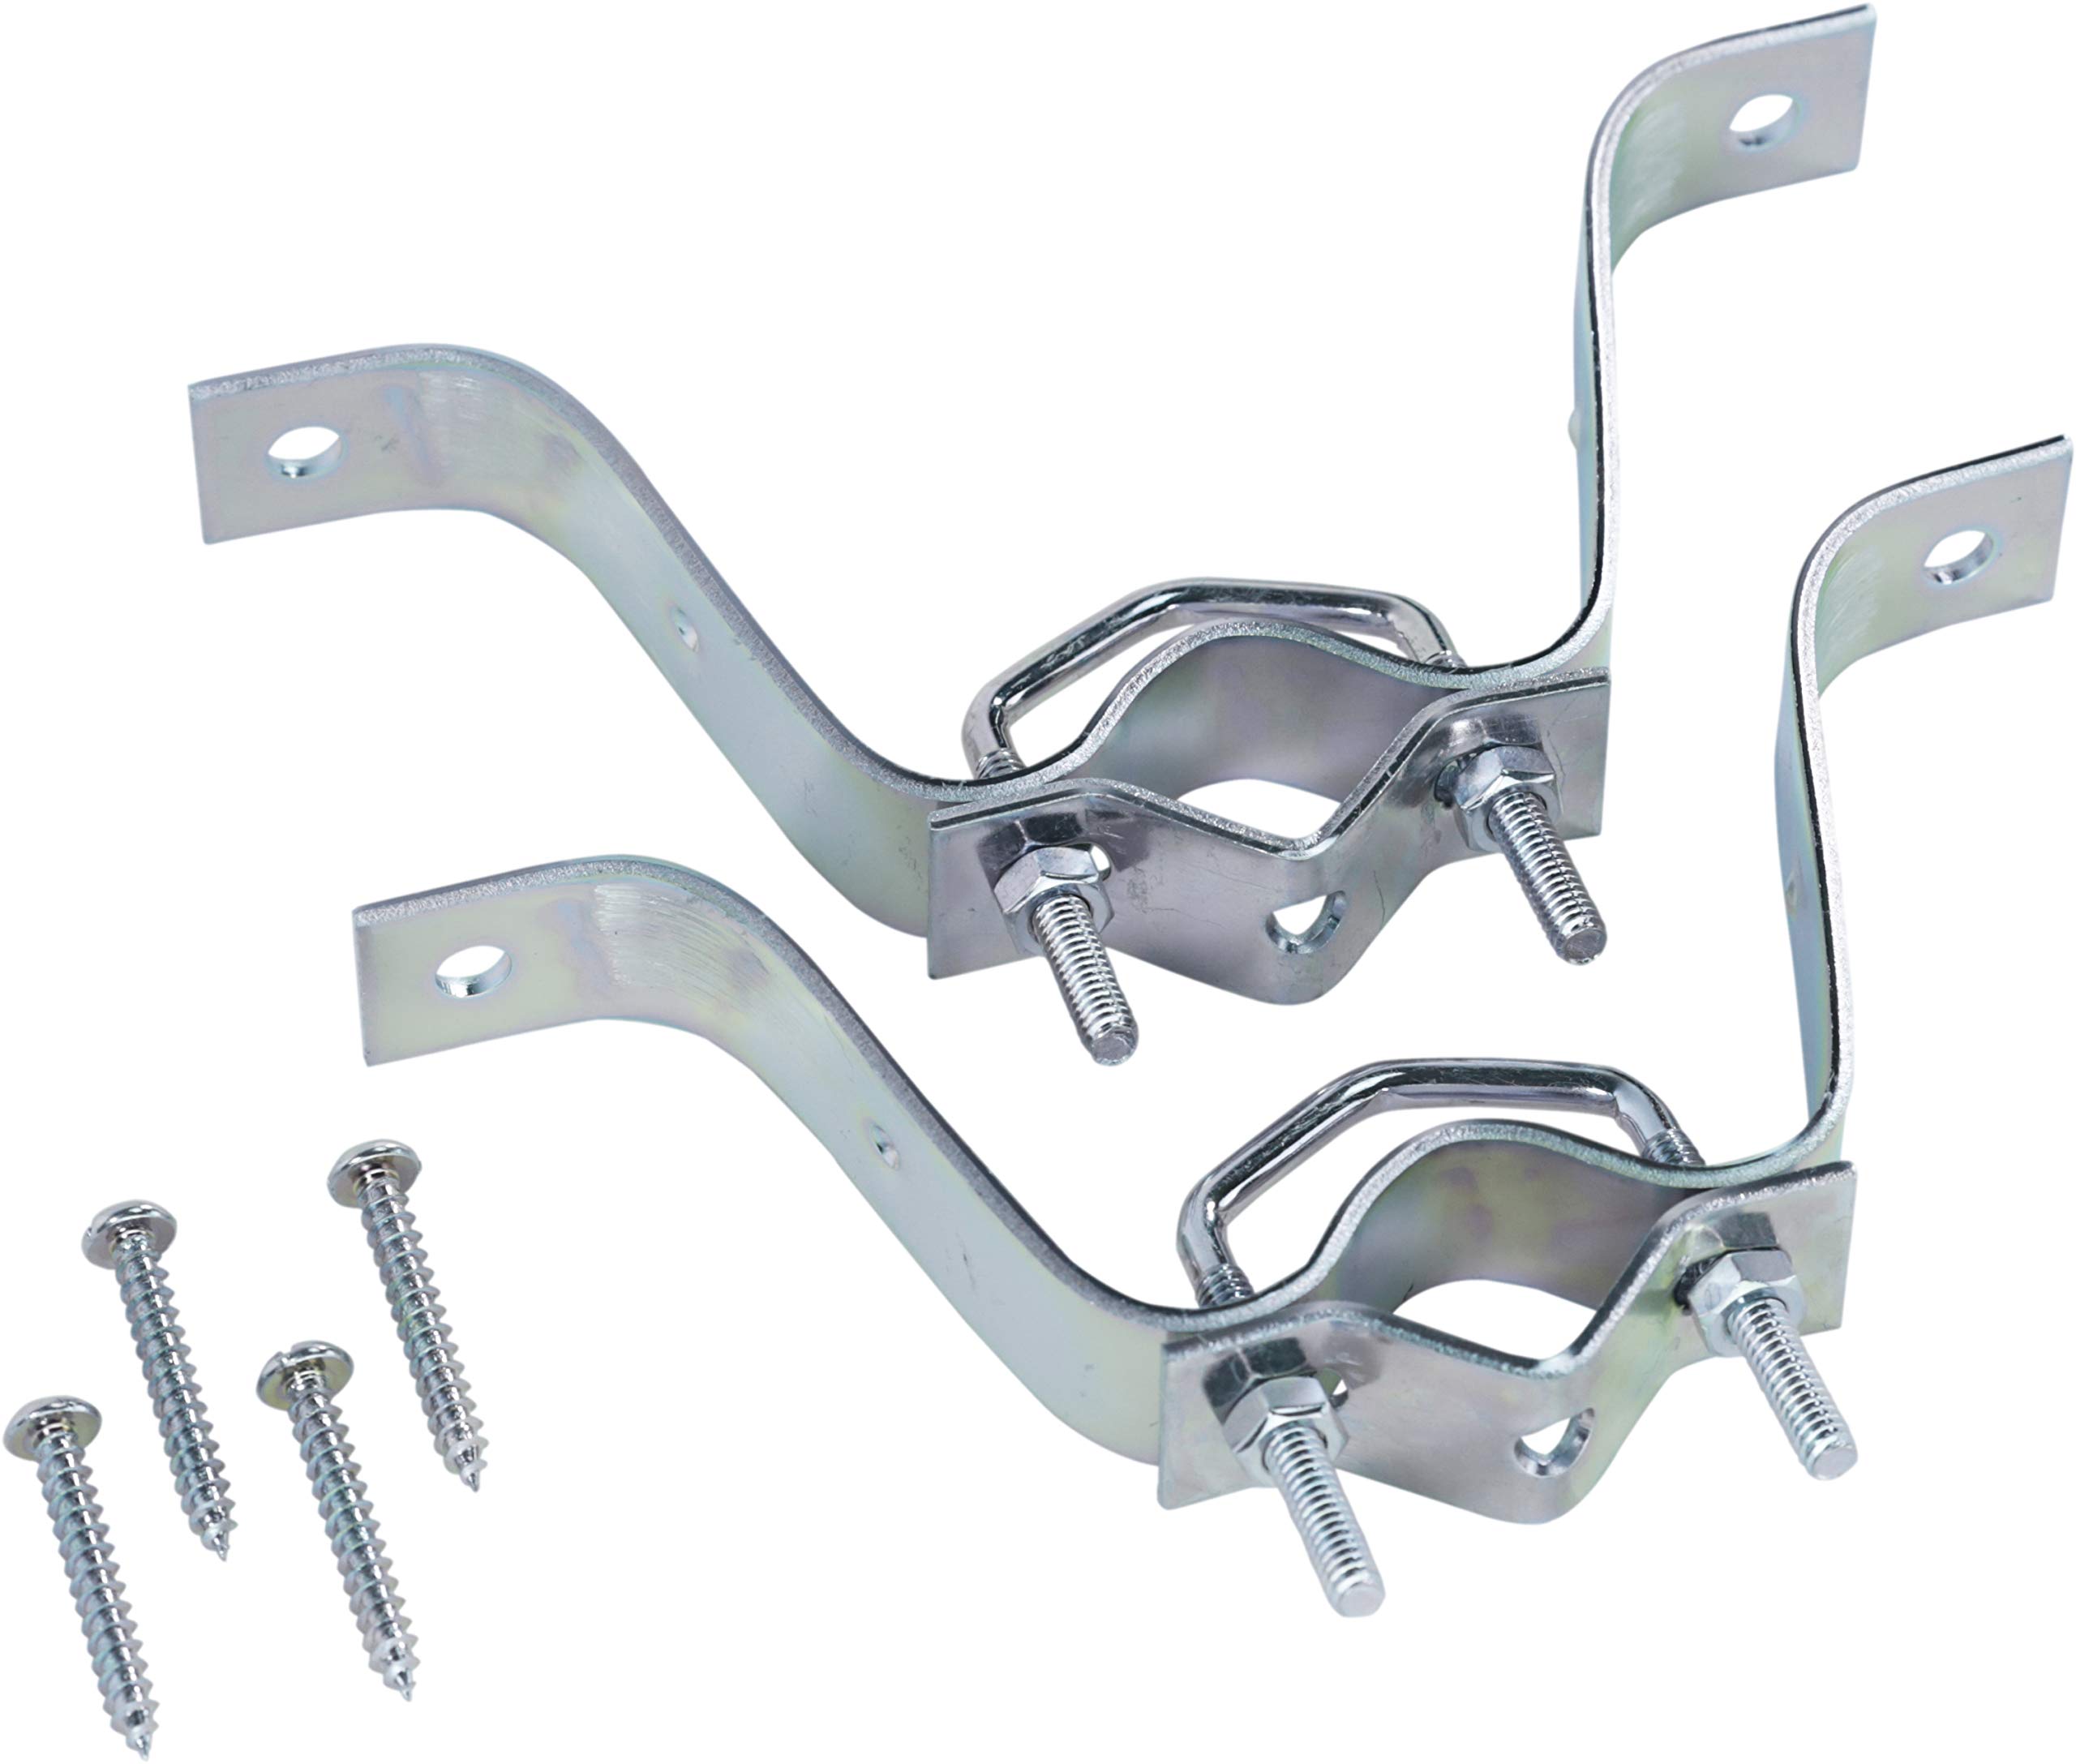
- A mounting bracket: Look for a sturdy and adjustable mounting bracket that is specifically designed for chimney installations. Ensure that it is compatible with the size of your antenna and chimney.
- Screws and anchors: You will need screws and anchors to secure the mounting bracket to the chimney. Make sure to choose appropriate ones that are suitable for outdoor use and can withstand the weight of the antenna.
- A drill: Use a drill with different-sized drill bits to create pilot holes for the screws and anchors.
- A wrench or pliers: Choose the appropriate tool to tighten the nuts and bolts of the mounting bracket securely.
- A level: Use a level to ensure that the mounting bracket is installed straight and level on the chimney.
- An antenna coaxial cable: Select a high-quality coaxial cable that connects the antenna to your TV or TV tuner. Make sure the cable is long enough to reach your desired mounting location.
Make sure to gather all these materials before starting the installation process. Having everything ready will save you time and help ensure a successful TV antenna mounting on your chimney.
Step 1: Gather the Necessary Tools
Before you embark on mounting your TV antenna to a chimney, it’s important to gather all the necessary tools. By having everything at hand, you can ensure a smooth and efficient installation process. Here are the essential tools you’ll need:
- Drill: A power drill will be essential for drilling holes in the chimney to secure the mounting bracket. Make sure to have the appropriate drill bits for the job.
- Screwdriver: Depending on the screws and anchors you’re using, you may need either a Phillips head or flathead screwdriver to attach the mounting bracket.
- Wrench or Pliers: These tools will come in handy for tightening and securing the bolts and nuts that hold the mounting bracket in place.
- Level: To ensure that the mounting bracket is perfectly straight and level during installation, you’ll need a level. This will help optimize signal reception and prevent any issues with the antenna’s angle.
- Tape Measure: Precise measurements are crucial when positioning the mounting bracket and selecting the antenna’s mounting location. A tape measure will help you accurately determine distances and ensure a proper fit.
- Pencil or Marker: Use a pencil or marker to mark the drilling points on the chimney. This will guide you when it’s time to drill the pilot holes.
- Ladder: Depending on the height of your chimney, you may need a ladder to safely reach and install the antenna. Ensure that the ladder is stable and secure before climbing it.
- Safety Gear: Don’t forget to prioritize your safety. Wear appropriate gear, such as gloves and safety glasses, to protect yourself during the installation process.
Having all these tools ready will ensure that you’re well-prepared and can proceed with the installation smoothly. Before moving on to the next step, double-check that you have all the necessary tools listed above. By doing so, you’ll be set up for success in mounting your TV antenna to the chimney.
Step 2: Choose the Right Antenna
Choosing the right TV antenna is crucial for optimal signal reception and an enjoyable viewing experience. When selecting an antenna for your chimney installation, consider the following factors:
1. Location: Start by determining your location and the distance from the broadcast towers. If you’re close to the towers, an indoor antenna might suffice. However, if you’re far away or face obstructions like tall buildings or hills, an outdoor antenna with higher range capabilities may be necessary.
2. Channels: Take note of the channels you want to receive. Check their frequencies and the direction of the broadcast towers. This information will help you choose an antenna with the appropriate frequency range and directional capabilities.
3. Type of Antenna: Decide on the type of antenna that suits your needs. There are two main types: directional and omnidirectional. Directional antennas focus their reception in a specific direction, making them ideal for areas with strong and distant signals. Omnidirectional antennas receive signals from all directions, making them suitable for areas with multiple broadcast towers.
4. Mounting Compatibility: Ensure that the selected antenna is compatible with a chimney mount. Look for antennas that come with mounting brackets or have options for separate chimney mounts. This will simplify the installation process and provide a secure attachment.
5. Signal Amplification: Consider an antenna with built-in signal amplification if you’re dealing with weak signals or long cable runs. Signal amplifiers can boost signal strength, improving overall reception quality.
6. Antenna Size: Take into account the size and weight of the antenna. Make sure the chimney and mounting bracket can support the antenna securely. Avoid oversized antennas that may cause instability or damage to the chimney structure.
7. Budget: Set a budget for your antenna purchase. A wide range of options is available, so consider the features you need and find a balance between price and performance.
Research antenna models, read user reviews, and consult experts if needed to make an informed decision. By selecting the right antenna, you’ll maximize your chances of receiving a strong and clear signal for an excellent TV viewing experience.
Step 3: Determine the Mounting Location
Determining the mounting location for your TV antenna is a crucial step in optimizing signal reception. Here are the key factors to consider when choosing the ideal mounting spot:
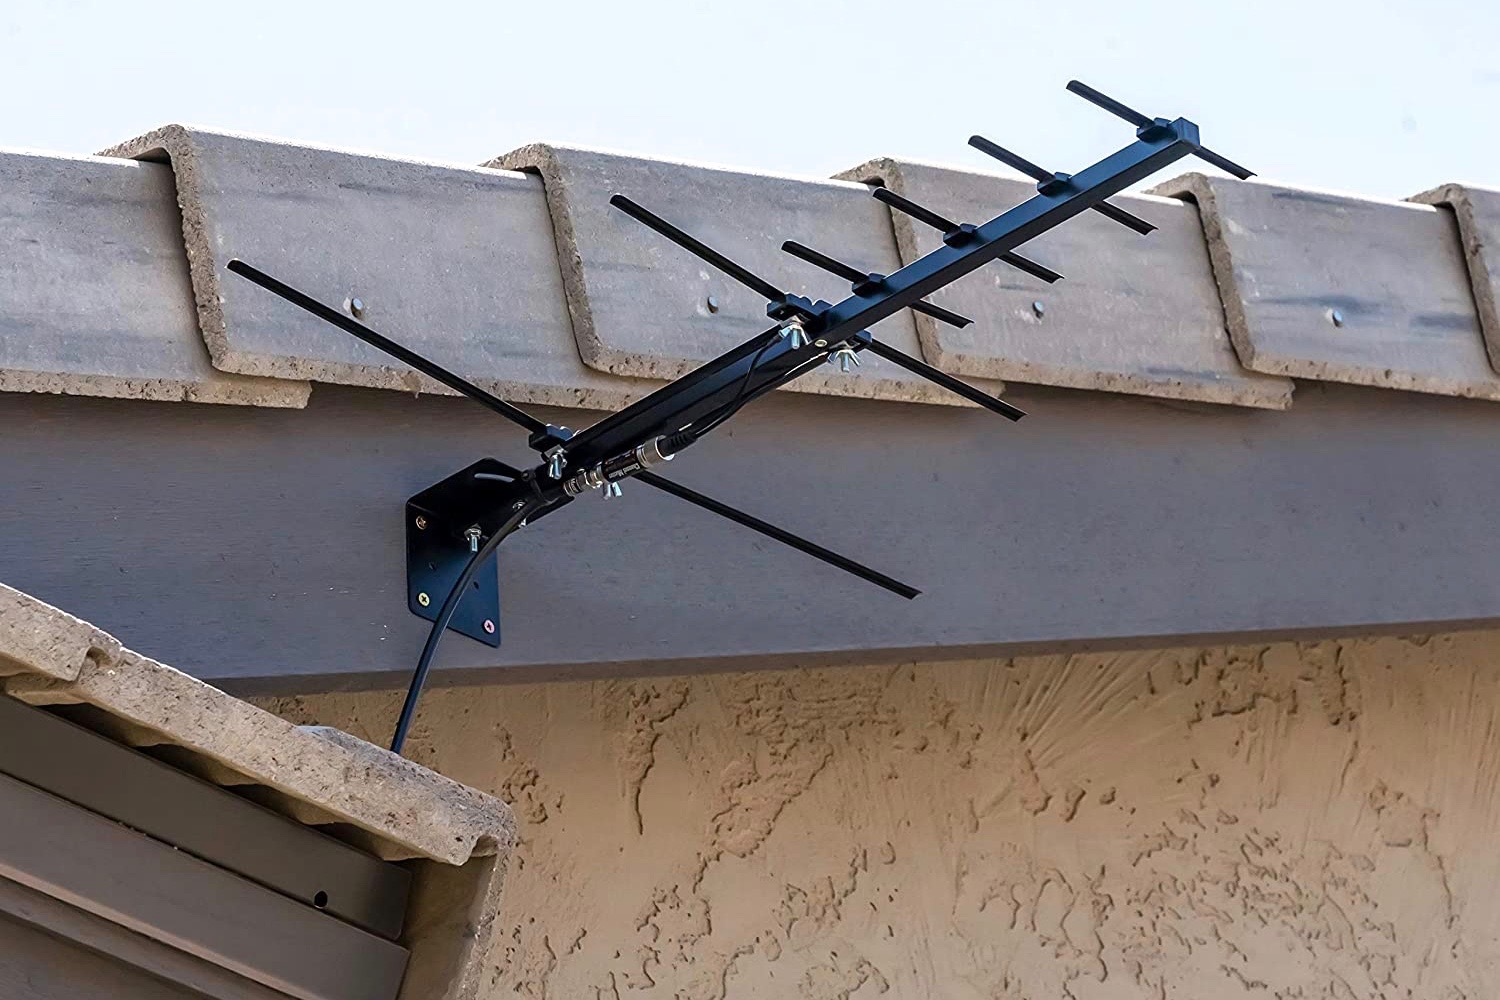
1. Line-of-Sight: Identify a location that offers a clear line-of-sight to the broadcast towers. Obstructions such as trees, buildings, or hills can weaken the signal. A higher mounting location, such as the chimney, can help overcome these obstacles and improve reception.
2. Broadcast Tower Direction: Determine the direction of the broadcast towers in your area. You can use online tools or smartphone apps that provide tower location information based on your zip code. Once you know the direction, position the antenna to face that direction for optimal performance.
3. Chimney Stability: Assess the stability and condition of your chimney. Ensure it is structurally sound and capable of supporting the weight of the antenna. Avoid mounting the antenna on a chimney that shows signs of damage or instability.
4. Cable Length: Consider the distance between the mounting location and your TV or tuner. Ensure the antenna cable is long enough to reach the desired destination without excessive tension or strain, which can degrade the signal quality.
5. Local Regulations: Familiarize yourself with any local regulations or restrictions that may impact the placement of antennas. Some homeowners’ associations or municipalities may have guidelines regarding antenna installations, especially in historic or conservation areas.
6. Weather Exposure: Take into account the exposure to weather elements. If possible, choose a mounting location that offers some protection from rain, snow, and strong winds. This will help minimize potential damage to the antenna and ensure long-lasting performance.
7. Accessibility: Consider the accessibility of the mounting location for installation, maintenance, and adjustments. Ensure that you can easily access the chimney and antenna without putting yourself at risk or causing damage to the structure.
Once you have assessed these factors, you can finalize the mounting location for your TV antenna. Mark the desired spot on the chimney for reference during the installation process. By selecting the ideal mounting location, you’ll significantly improve the chances of receiving a strong and reliable TV signal.
Step 4: Measure and Mark the Drilling Points
Before you start drilling into the chimney, it’s crucial to accurately measure and mark the drilling points for the mounting bracket. Follow these steps to ensure precise positioning:
1. Measure the Chimney: Use a tape measure to determine the width and height of the chimney. This will help you position the mounting bracket correctly and ensure a secure fit.
2. Find the Center: Locate the center of the chimney by dividing the width measurement in half. Mark this point with a pencil or marker as it will be your reference for positioning the mounting bracket.
3. Vertical Alignment: Determine the desired height for the mounting bracket on the chimney. Consider factors such as the antenna’s size and the clearance needed for optimal signal reception. Mark this height on the chimney, ensuring it is vertical and aligned with the center mark.
4. Horizontal Alignment: Determine the horizontal position of the mounting bracket on the chimney. This will depend on the desired orientation of the antenna and the direction of the broadcast towers. Use a level to ensure the horizontal alignment is accurate and mark the position accordingly.
5. Pilot Hole Placement: Measure and mark the drilling points for the pilot holes on the chimney, based on the dimensions of the mounting bracket. These marks should align with the screw holes on the mounting bracket. Ensure the pilot hole marks are clear and easy to identify.
6. Double-check Measurements: Take a final look at your measurements and marks before proceeding with drilling. Ensure they are accurate and aligned as intended.
Remember to take your time during this step to ensure precise measurements and markings. Being meticulous at this stage will help ensure a successful installation and avoid any unnecessary adjustments later on. Once you are confident in your measurements and markings, you are ready to move on to drilling the pilot holes in the next step.
Step 5: Drill Pilot Holes
Now that you have measured and marked the drilling points, it’s time to drill pilot holes in the chimney for the mounting bracket. Follow these steps to ensure a secure and stable installation:
1. Get the Right Drill Bit: Select the appropriate drill bit size based on the diameter of the screws or anchors provided with the mounting bracket. Ensure that the drill bit is slightly smaller than the size of the screws to create pilot holes that will snugly accommodate them.
2. Attach the Drill Bit: Insert the drill bit into the drill and securely tighten it. Make sure the drill is set to the correct rotation direction based on your drill’s instruction manual.
3. Prepare for Drilling: Put on safety goggles to protect your eyes from any debris. Position yourself securely on a ladder or stable surface, making sure you have a clear view of the marked pilot hole locations on the chimney.
4. Start Drilling: Place the drill bit at the first marked pilot hole location. Apply gentle pressure and start drilling with a slow and steady motion. Be careful not to exert too much pressure or force, as this can cause the drill bit to slip or damage the chimney.
5. Create Pilot Holes: Continue drilling until the drill bit penetrates the surface of the chimney, reaching the desired depth. Remove the drill bit from the hole and repeat the process for the remaining pilot hole locations.
6. Clean Debris: After drilling all the pilot holes, use a brush or compressed air to remove any debris or dust from the holes. This will ensure a clean and secure fit for the screws or anchors.
7. Verify Quality: Inspect the pilot holes to ensure they are clean and free from any obstructions. Check that the holes are uniform in depth and diameter, allowing for proper attachment of the mounting bracket.
By following these steps, you can safely and accurately create pilot holes for the mounting bracket. Remember to take your time and exercise caution during the drilling process. Once the pilot holes are ready, you’re ready to move on to the next step of mounting the bracket onto the chimney.
Step 6: Mount the Mounting Bracket
With the pilot holes drilled in the chimney, it’s time to mount the bracket securely. Follow these steps to ensure a stable and reliable attachment:
1. Position the Mounting Bracket: Align the mounting bracket with the pilot holes on the chimney. Make sure the bracket is level and centered according to the markings you made earlier.
2. Insert Screws or Anchors: Insert the screws or anchors provided with the mounting bracket through the holes in the bracket and into the pilot holes on the chimney. Use a screwdriver or a drill with an appropriate bit to turn the screws clockwise, ensuring they are securely fastened. If using anchors, follow the manufacturer’s instructions for installation.
3. Tighten the Screws: Use a wrench or pliers to tighten the nuts or bolts on the screws, ensuring a secure and firm attachment of the mounting bracket to the chimney. Be careful not to overtighten, as this can damage the bracket or the chimney.
4. Check for Stability: Test the stability of the mounting bracket by giving it a gentle shake. Ensure it feels secure and does not move or wobble. If any adjustments are needed, loosen the screws slightly, make the necessary adjustments, and then retighten.
5. Double-Check Alignment: Verify that the mounting bracket is still properly aligned and level. Use a level to ensure that it is straight both horizontally and vertically. Make any final adjustments if needed.
6. Inspect the Mounting: Take a moment to visually inspect the mounting bracket and screws. Ensure that everything looks secure and tight, with no visible signs of loose connection or instability.
By following these steps, you can mount the bracket securely onto the chimney, providing a sturdy foundation for your TV antenna. A stable mounting bracket is essential for reliable signal reception and long-term performance. Once the mounting bracket is securely in place, you are ready to proceed to the next step of attaching the antenna to the bracket.
Step 7: Attach the Antenna to the Bracket
With the mounting bracket securely in place, it’s time to attach the TV antenna to the bracket. Follow these steps to ensure a proper and secure attachment:
1. Prepare the Antenna: If your antenna comes with separate components, assemble them according to the manufacturer’s instructions. Make sure all the necessary elements are securely connected.
2. Position the Antenna: Carefully position the antenna onto the mounting bracket. Align the mounting holes or slots on the antenna with the corresponding holes on the mounting bracket. Ensure that the antenna is facing the desired direction for optimal signal reception.
3. Insert Screws or Bolts: Insert the screws or bolts through the mounting holes on the antenna and into the corresponding holes on the mounting bracket. Use a screwdriver or a wrench to tighten the screws or bolts, securing the antenna to the bracket. Ensure that the antenna is held firmly in place, with no signs of looseness or instability.
4. Tighten the Fasteners: Use a wrench or pliers to tighten the nuts or bolts on the screws, ensuring a secure and tight connection. Be careful not to overtighten, as this can damage the antenna or the mounting bracket. Double-check that the antenna is properly attached and does not move or wobble.
5. Verify Orientation: Check that the antenna is positioned at the desired orientation based on the direction of the broadcast towers. Adjust the antenna’s angle if necessary to maximize signal reception.
6. Inspect the Attachment: Take a moment to visually inspect the attachment of the antenna to the bracket. Ensure that all screws or bolts are tight and secure, and there are no visible signs of instability or loose connections.
Once the antenna is securely attached to the mounting bracket, you have completed an essential step in the TV antenna installation process. A proper attachment ensures stability and optimal performance. However, before finishing the installation, you’ll need to secure the antenna cables and perform a signal test, which we will cover in the next steps.
Step 8: Secure the Antenna Cables
After attaching the TV antenna to the bracket, the next step is to secure the antenna cables. Properly securing the cables will protect them from damage and ensure optimal signal transmission. Follow these steps to securely route and fasten the antenna cables:
1. Plan the Cable Route: Decide on the path that the antenna cables will take from the antenna down to your TV or tuner. Consider the shortest and most direct route, while avoiding any sharp bends or obstructions that could degrade the signal quality.
2. Use Cable Clips or Zip Ties: Along the chosen cable route, use cable clips or zip ties to secure the antenna cables to walls, trim, or any other suitable surface. Ensure that the clips or zip ties are not too tight, as this can pinch or damage the cables. Leave some slack to allow for adjustments if needed.
3. Avoid Interference: Keep the antenna cables at a safe distance from any sources of interference, such as electrical lines, power outlets, or other electronic devices. This will help prevent signal degradation or interference.
4. Protect Outdoor Connections: If the antenna cables are exposed to the outdoor environment, protect the cable connectors from moisture and weather elements. Apply electrical tape or use waterproof connectors to ensure a secure and reliable connection.
5. Check for Cable Damage: Inspect the antenna cables for any signs of damage, such as cuts, fraying, or loose connectors. Replace any damaged cables or connectors to maintain optimal signal transmission.
6. Organize Excess Cable: If you have excess cable length, coil it neatly and secure it with cable ties or Velcro straps. This will help prevent cable tangles and keep the installation area tidy.
7. Perform a Signal Test: Once the antenna cables are securely fastened, perform a signal test to ensure that the TV or tuner is receiving a strong and clear signal. Make any necessary adjustments to the antenna direction or cable routing to optimize the signal quality.
By properly securing the antenna cables, you not only protect them from damage but also maintain signal integrity for a better TV viewing experience. Take the time to route and fasten the cables carefully and perform a signal test to ensure optimal performance. With the cables secured, you’re one step closer to enjoying your favorite TV channels with your newly installed antenna.
Step 9: Test the Antenna Signal
After completing the installation and securing the antenna cables, the final step is to test the antenna signal to ensure optimal reception. Follow these steps to perform a signal test:
1. Connect the Antenna: Connect the antenna cable to your TV or tuner’s antenna input. Ensure a secure and proper connection.
2. Tune into Channels: Use your TV or tuner’s channel scan function to search for available channels. This process may take a few minutes as the device scans and detects channels based on the antenna’s signal reception.
3. Inspect Signal Quality: Once the scan is complete, carefully examine the signal quality and strength for each channel. Look for a high signal strength and clear picture quality. Note any channels with weak signals or poor reception.
4. Adjust the Antenna: If you encounter channels with weak signals, try adjusting the antenna’s position slightly. Rotate the antenna or change its angle to find the best signal reception. Perform another channel scan after each adjustment to assess the impact on signal strength.
5. Consider a Signal Amplifier: If you are consistently experiencing weak signals or poor reception, consider using a signal amplifier. Amplifiers can boost weak signals and improve overall reception quality. Follow the manufacturer’s instructions for installation and use.
6. Repeat the Test: After making adjustments or installing a signal amplifier, repeat the signal test to assess any improvements in signal strength and picture quality. Continue to adjust and fine-tune the antenna as needed until you achieve the best possible reception.
7. Enjoy Your Channels: Once you are satisfied with the signal strength and quality of the channels, you can now sit back, relax, and enjoy your favorite TV shows and programs.
Regularly perform signal tests, especially after severe weather or any changes in the antenna’s surroundings. This will help identify and address any potential signal issues promptly. By testing the antenna signal and making adjustments as necessary, you can ensure a reliable and enjoyable TV viewing experience with your newly installed TV antenna.
Conclusion
Congratulations! You have successfully learned how to mount a TV antenna to a chimney. By following the step-by-step guide outlined in this article, you have gained the knowledge and skills to perform a secure and reliable installation. Here’s a recap of the key steps involved:
1. Gather the necessary tools to ensure a smooth installation process.
2. Choose the right antenna based on your location, channels, and mounting compatibility.
3. Determine the ideal mounting location by considering line-of-sight, tower direction, chimney stability, and accessibility.
4. Measure and mark the drilling points on the chimney to ensure accuracy.
5. Drill pilot holes to prepare for the mounting bracket installation.
6. Securely mount the bracket to the chimney using screws or anchors.
7. Attach the TV antenna to the bracket, aligning it correctly for optimal signal reception.
8. Properly secure the antenna cables along the chosen route, protecting them from damage and interference.
9. Test the antenna signal by connecting the cables and performing a channel scan, adjusting the antenna as necessary for better reception.
With these steps completed, you can now enjoy the benefits of free-to-air television channels without the need for cable or satellite subscriptions. Remember to periodically perform signal tests and make any necessary adjustments to maintain optimal performance.
Mounting a TV antenna to a chimney not only provides an elevated position for better signal reception but also offers a convenient and stable installation option. Take the time to gather the necessary tools, choose the right antenna, and carefully follow each step to ensure a successful installation.
Now, it’s time to sit back, relax, and enjoy your favorite TV shows and programs with the improved reception provided by your newly mounted TV antenna. Happy viewing!