Introduction
Mounting an LED TV on the wall can greatly enhance your viewing experience, giving you a sleek and modern look while maximizing space in your living room or entertainment area. Not only does it provide a more immersive viewing experience, but it also helps to keep your TV safe from accidental bumps or falls. While the process may seem daunting at first, with the right tools and a little bit of know-how, you can easily mount your LED TV on the wall yourself.
In this guide, we will take you through a step-by-step process on how to mount an LED TV on the wall. We will provide you with all the necessary information and tips to ensure a successful installation. From choosing the right location and determining the mounting height, to preparing the wall and finding the studs, we will cover every aspect in detail.
Before diving into the steps, it’s important to gather the necessary tools and materials to ensure a smooth and efficient installation. Having everything prepared beforehand will save you time and prevent any unnecessary delays. So let’s get started by taking a look at the tools and materials you’ll need for this project.
Tools and Materials Needed
Before beginning the process of mounting your LED TV on the wall, it’s important to have the following tools and materials on hand:
- Screwdriver: Depending on the mount you’re using, you may need a Phillips or flathead screwdriver to secure the TV mount to the wall.
- Level: A level will help ensure that your TV is mounted straight on the wall.
- Stud Finder: This tool will help you locate the studs in the wall, which provide the necessary support for the TV mount.
- Tape Measure: You’ll need a tape measure to determine the ideal mounting height and to make sure your TV is centered on the wall.
- Pencil: Use a pencil to mark the location of the studs and the desired position for the TV mount.
- Wall Anchors: These are useful if you’re mounting the TV on a wall without studs or if the studs are not in the ideal location.
- TV Mount: Choose a TV mount that is compatible with your TV’s size and weight. Make sure to check the manufacturer’s specifications.
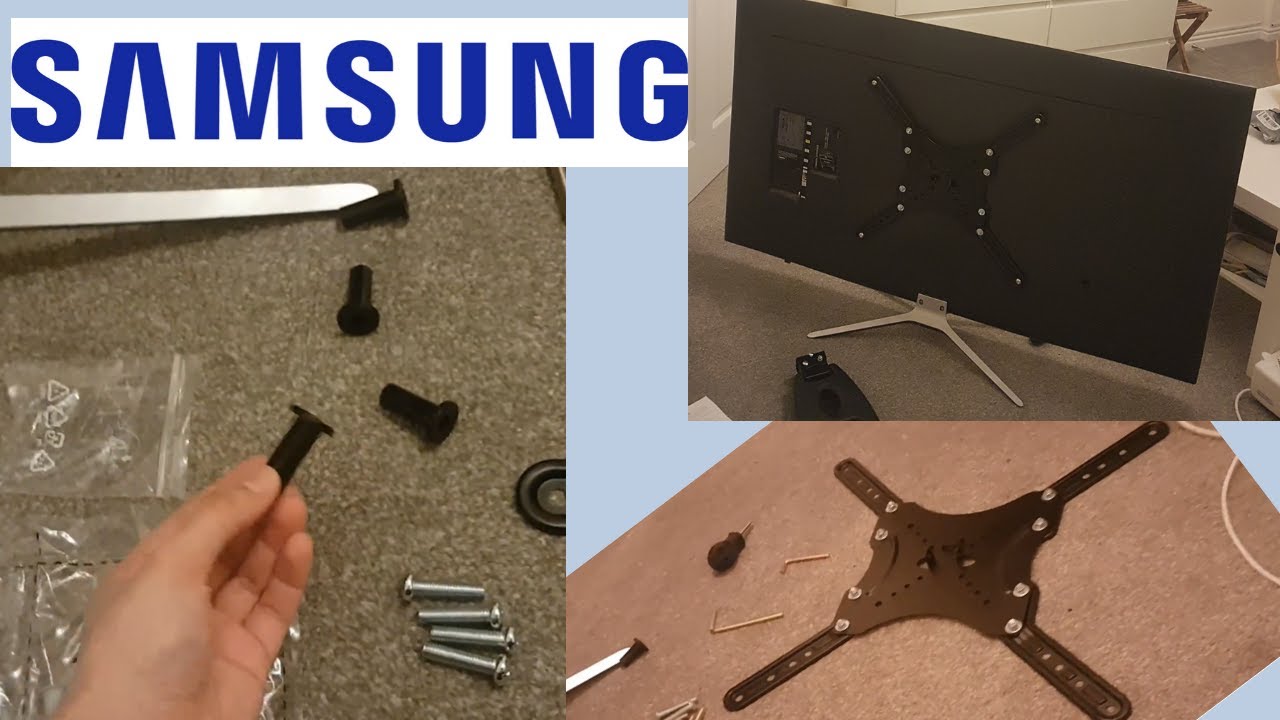
- Mounting Hardware: This typically includes screws and bolts that are used to secure the TV mount to the wall and attach the TV to the mount.
- Cable Management System: To keep your cables organized and hidden, consider using a cable management system, such as cable clips or cable raceways.
Having these tools and materials on hand will ensure that you have everything you need to complete the installation process smoothly. With the right tools, you can ensure a secure and professional-looking mount for your LED TV.
Step 1: Choosing the Right Location
The first step in mounting an LED TV on the wall is to choose the right location. Careful consideration should be given to factors such as viewing angle, natural lighting, and the availability of power outlets. Here’s how you can make the best decision for your setup:
1. Assess the viewing angle: Determine where you will be sitting when watching the TV and make sure the chosen location provides a comfortable viewing experience. Consider factors such as the distance from the TV and any obstructions that may affect visibility.
2. Consider natural lighting: Identify the sources of natural light in the room, such as windows or skylights, and how they may create glare on the TV screen. Choose a location where the TV won’t be directly in the line of harsh sunlight, as this can negatively impact the viewing experience.
3. Check for nearby power outlets: Ensure that there is a nearby power outlet to connect the TV. It’s important to avoid using extension cords or power strips, as they can create a messy and potentially unsafe setup. If necessary, hire an electrician to install a new outlet near the chosen location.
4. Consider the overall aesthetics: Think about how the TV will fit into the overall layout and design of the room. Choose a location that complements the aesthetics of the space and doesn’t detract from the room’s ambiance.
5. Take measurements: Measure the dimensions of your TV and the available wall space. This will help you determine if the chosen location can accommodate the TV and provide enough clearance for proper ventilation.
By carefully considering these factors, you can choose the optimal location for mounting your LED TV. Remember, the right location will enhance your viewing experience and seamlessly integrate the TV into your living space.
Step 2: Determine the Mounting Height
Once you have chosen the location for your LED TV, the next step is to determine the mounting height. Mounting your TV at the correct height is crucial for a comfortable and immersive viewing experience. Here’s how you can determine the optimal mounting height:
1. Eye level viewing: The general guideline for mounting a TV is to have the center of the screen at eye level when seated. Measure the height of your eye level while sitting and use that as a reference point for the placement of the TV.
2. Consider seating arrangement: Take into account the seating arrangement in the room. If you have multiple seating options, ensure that the TV is mounted at a height that provides a clear view from all seating positions.
3. Observe the natural eye level: Stand in the area where the TV will be mounted and observe your natural eye level. This will help you determine the ideal height for the TV. Keep in mind that the TV should be in a position where you don’t need to strain your neck or eyes to view the screen comfortably.
4. Consider the size of the TV: Larger TVs may require a higher mounting position to ensure that the screen is easily visible from different angles. Refer to the manufacturer’s guidelines for the recommended viewing distances and mounting heights for your specific TV model.
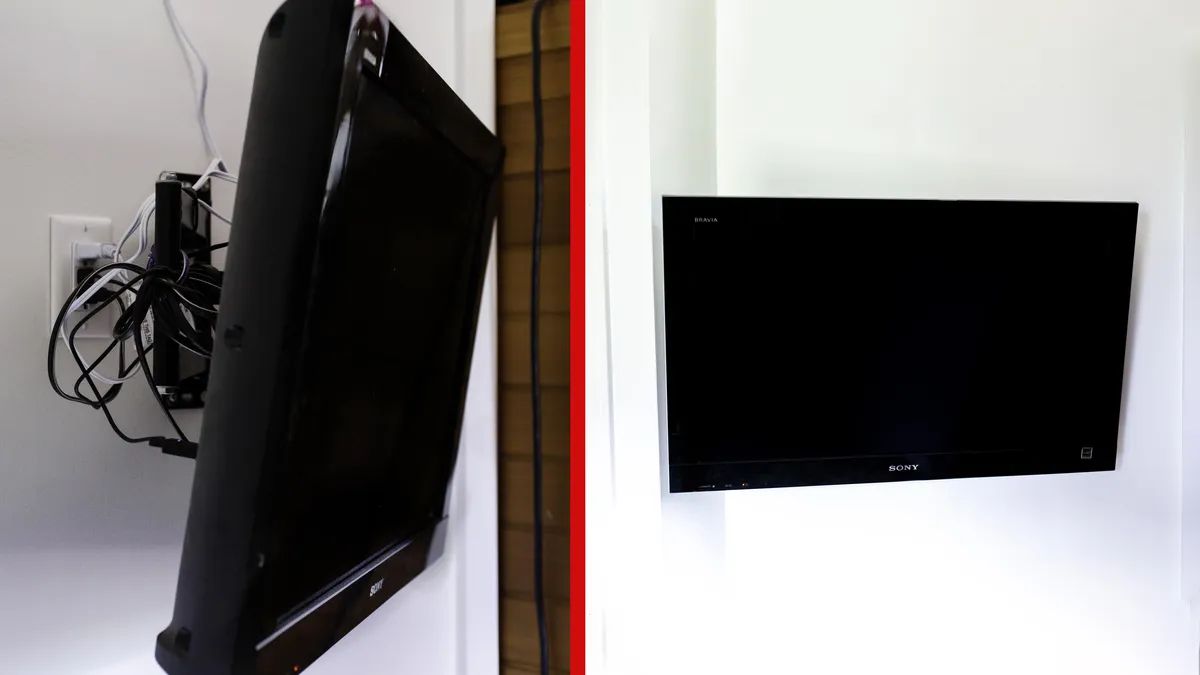
5. Allow for ventilation: Leave some space between the TV and the wall to allow for proper ventilation. This will help prevent overheating and ensure optimal performance of the TV.
By considering these factors and guidelines, you can determine the ideal mounting height for your LED TV. Mounting the TV at the correct height will provide a comfortable and immersive viewing experience for you and your guests.
Step 3: Preparing the Wall
Before you can start mounting your LED TV, it’s essential to prepare the wall to ensure a secure and stable installation. Here’s what you need to do in order to properly prepare the wall:
1. Clear the area: Remove any furniture or obstacles from the wall area where you plan to install the TV. This will give you enough space to work and make it easier to maneuver during the installation process.
2. Check the wall condition: Inspect the wall for any cracks, holes, or unevenness. If there are any significant issues, it’s recommended to repair them before proceeding with the TV installation for a smooth and level mount.
3. Plan the cable management: Decide on your preferred method for managing the cables running from the TV to other devices. You can choose to conceal the cables within the wall using a cable management system or use wire covers to keep them organized and hidden.
4. Determine if you need wall anchors: Depending on the type of wall and the weight of your TV, you may need to use wall anchors for additional support. If you’re mounting the TV on a drywall or plaster wall, using wall anchors can provide extra stability and prevent the TV from pulling away from the wall.
5. Clean the mounting area: Use a dry cloth or a mild detergent to clean the wall surface where the TV mount will be installed. This will help ensure that the mount adheres properly and securely to the wall.
By properly preparing the wall, you create a solid foundation for mounting your LED TV. Taking the time to clear the area, assess the wall condition, plan for cable management, and clean the mounting area will contribute to a successful and professional-looking installation.
Step 4: Finding the Studs
Finding the studs in the wall is crucial for securely mounting your LED TV. Studs provide the necessary support and stability to hold the TV and prevent it from falling. Here are the steps to efficiently locate the studs:
1. Use a stud finder: Invest in a reliable stud finder tool that can detect the presence of studs behind the wall. Follow the instructions provided with the stud finder to calibrate it and ensure accurate results.
2. Start from an outlet or switch: Electrical outlets and switches are usually positioned near studs. Begin by scanning the wall in close proximity to an outlet or switch since these areas are more likely to have adjacent studs.
3. Move horizontally and vertically: Slowly move the stud finder horizontally across the wall, following the manufacturer’s instructions. Once you detect a stud, mark its location. Continue scanning horizontally and vertically to locate additional studs that will provide the necessary support for the TV mount.
4. Confirm the stud position: To double-check the stud position, lightly tap on the wall with your knuckles. A solid, firm sound indicates the presence of a stud, while a hollow sound indicates an empty space between the studs.
5. Mark the stud locations: Use a pencil to mark the positions of the studs on the wall. Make sure the marks are visible and easily distinguishable.
By accurately locating the studs, you can ensure a sturdy and secure installation of your LED TV. Remember to follow the manufacturer’s guidelines on the ideal spacing between the studs for your TV mount. Taking the time to find the studs will provide peace of mind knowing that your TV will be safely mounted on a solid structure.
Step 5: Marking the Wall
After finding the studs, the next step in mounting your LED TV on the wall is to mark the exact positions where the TV mount will be installed. Properly marking the wall will ensure that the TV is mounted in the desired location with precision. Here’s how you can do it:
1. Gather the necessary tools: Get a pencil, a level, and a measuring tape. Having these tools ready will help you mark the wall accurately.
2. Measure and mark the height: Use a measuring tape to measure and determine the desired height at which you want to mount the TV. Make sure to account for any furniture or obstacles beneath the TV. Place a small mark on the wall to indicate the height.
3. Find the center: Use the measuring tape to find the center of the wall horizontally. Mark this center point on the wall with a small pencil mark. This will help ensure that your TV is mounted in the middle of the wall.
4. Use a level: Place a level horizontally or vertically on the wall, aligning it with the marks indicating the height and center points. Adjust the level until the bubble is centered to ensure that the TV mount will be straight and level.
5. Make additional marks: With the level in place, use the pencil to create additional marks on the wall to outline the specific dimensions of the TV mount. This will provide a visual guide for installing the mount accurately.
6. Double-check the marks: Step back and review the marks on the wall to confirm that they are aligned and accurately indicate the desired mounting position. Make any necessary adjustments before proceeding to the next step.
Taking the time to mark the wall properly will help ensure that your LED TV is mounted in the right position and at the desired height. Accurate markings will make the installation process smoother and result in a professional-looking mounting job.
Step 6: Installing the TV Mount
With the wall prepared and marked, it’s time to install the TV mount. The TV mount serves as the foundation for securely mounting your LED TV. Here’s a step-by-step guide on how to install the TV mount:
1. Align the mount: Place the TV mount against the wall, aligning it with the marked positions. Ensure that the mount is level and centered according to the height and center marks you made earlier.
2. Mark the mounting holes: Use a pencil to mark the locations of the mounting holes on the wall through the designated holes in the TV mount. Double-check the markings to ensure they are accurate and align with the mount.
3. Pre-drill the holes: Using an appropriate drill bit for the wall material, carefully pre-drill holes at the marked positions. Make sure to drill to the appropriate depth to accommodate the anchors or screws that will secure the mount.
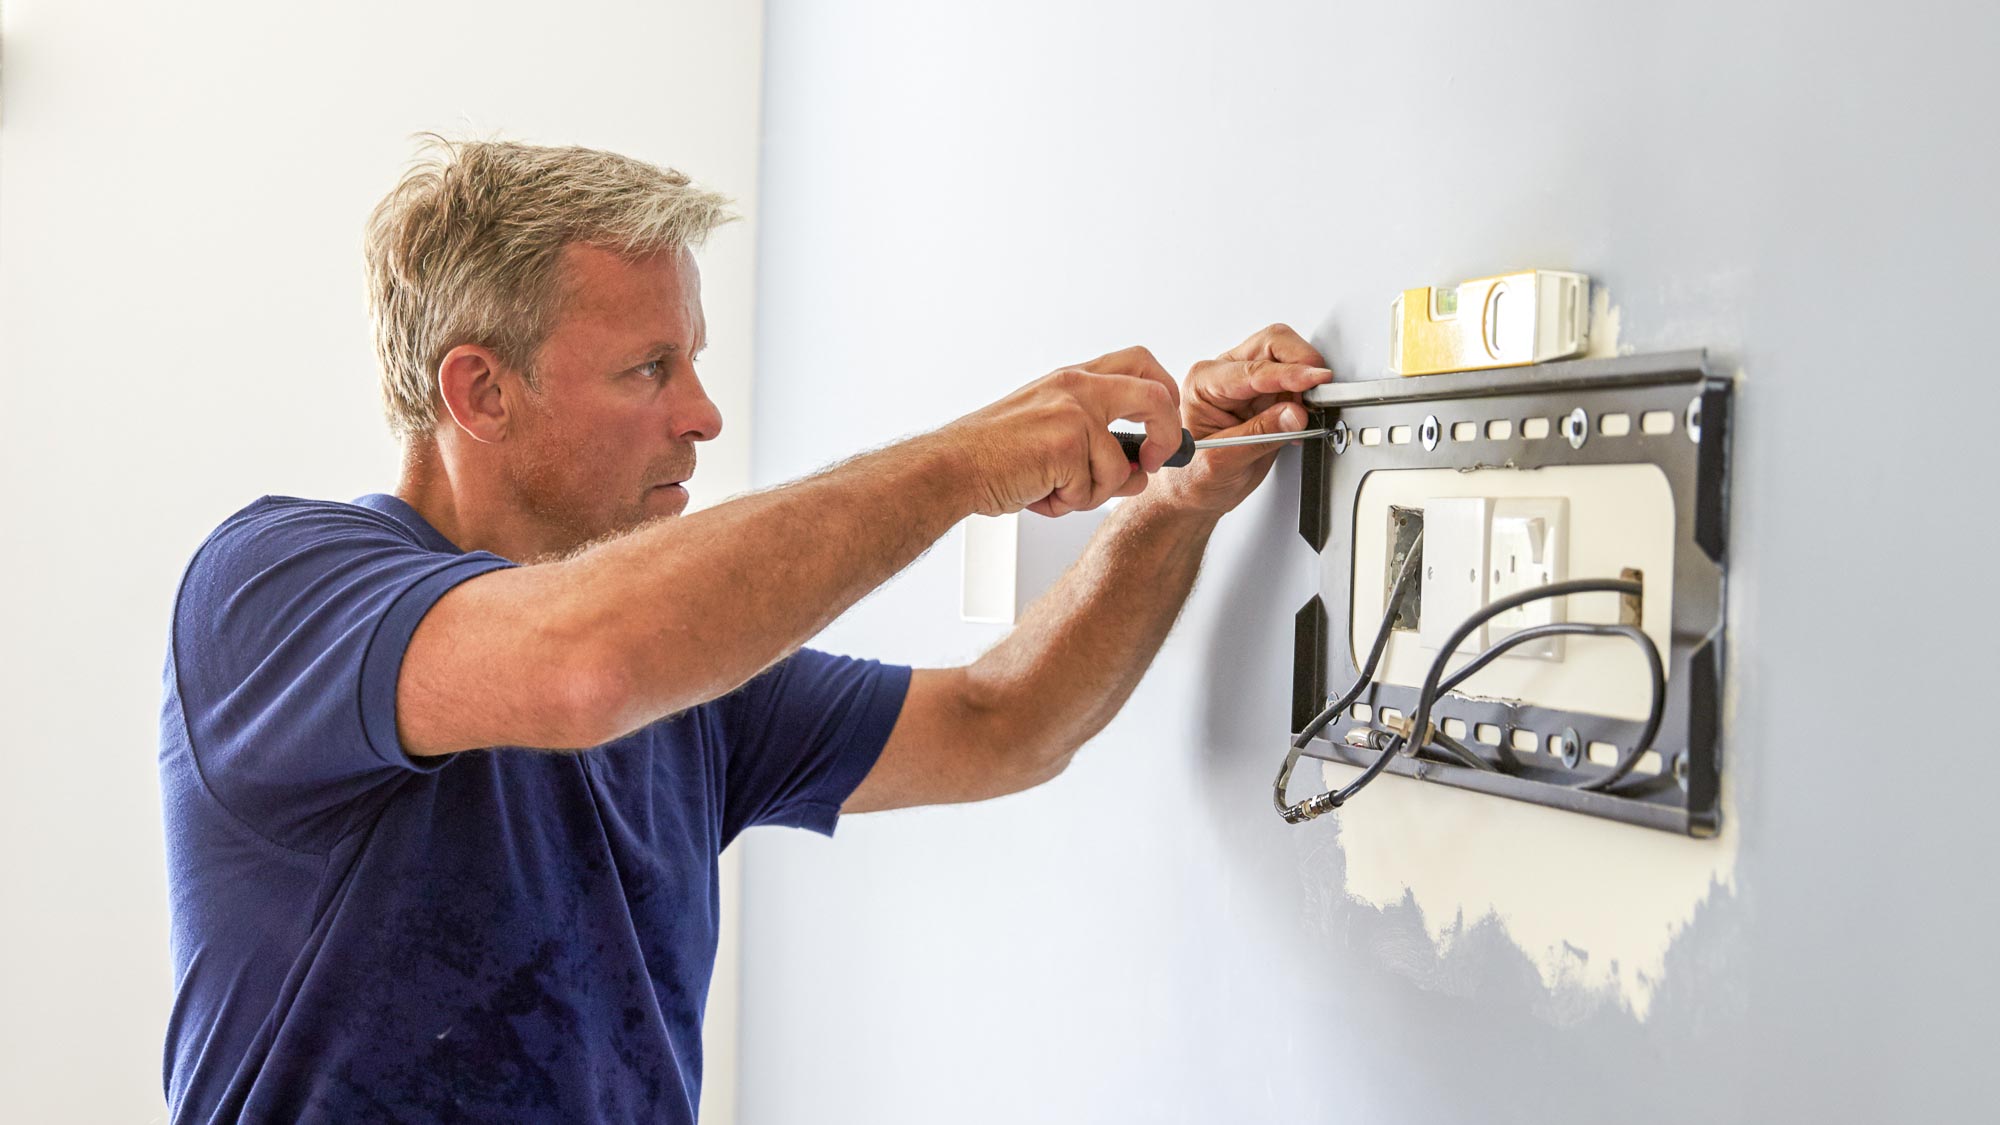
4. Attach the mount: Align the TV mount with the pre-drilled holes and insert the screws or anchors into the holes. Use a screwdriver or drill to securely fasten the mount to the wall. Make sure the mount is firmly attached and level.
5. Confirm stability: Give the TV mount a gentle shake to check for any loose or wobbly connections. If necessary, tighten the screws or anchors further to ensure the mount is stable and secure.
6. Double-check for levelness: Use a level to confirm that the TV mount is still level after installation. Make any necessary adjustments to ensure it is perfectly straight and aligned.
By following these steps, you can successfully install the TV mount on the wall. Once the mount is securely in place, you can proceed to the next step of mounting your LED TV onto the wall mount.
Step 7: Mounting the TV on the Wall
Now that the TV mount is securely installed on the wall, it’s time to mount your LED TV. Follow these steps to ensure a proper and safe installation:
1. Prepare the TV: Turn off the TV and gather any necessary cables, such as HDMI or power cords. Make sure the TV is clear of any obstacles or debris.
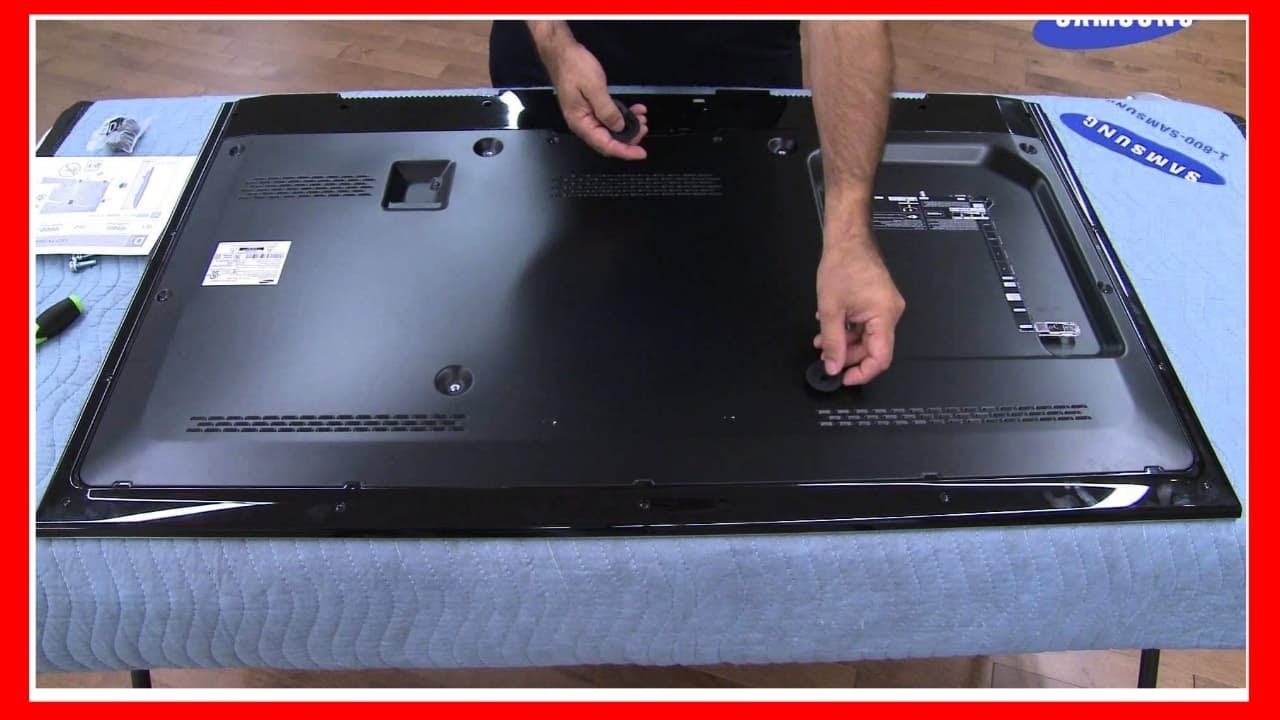
2. Locate the mounting holes: Look for the mounting holes on the back of the TV. These holes are typically located in a pattern conforming to standard VESA mounting standards. Consult the TV’s manual or the manufacturer’s website for specific instructions on how to locate these holes.
3. Attach the TV mounting bracket: Depending on the TV model, you may need to attach a compatible mounting bracket to the back of the TV. Follow the manufacturer’s instructions to securely fasten the bracket using the provided screws or bolts.
4. Connect the cables: Connect the necessary cables to the TV, such as the HDMI cable, power cord, and any other audio or video cables. Ensure that the cables are threaded through the cable management system, if applicable, to keep them organized and hidden.
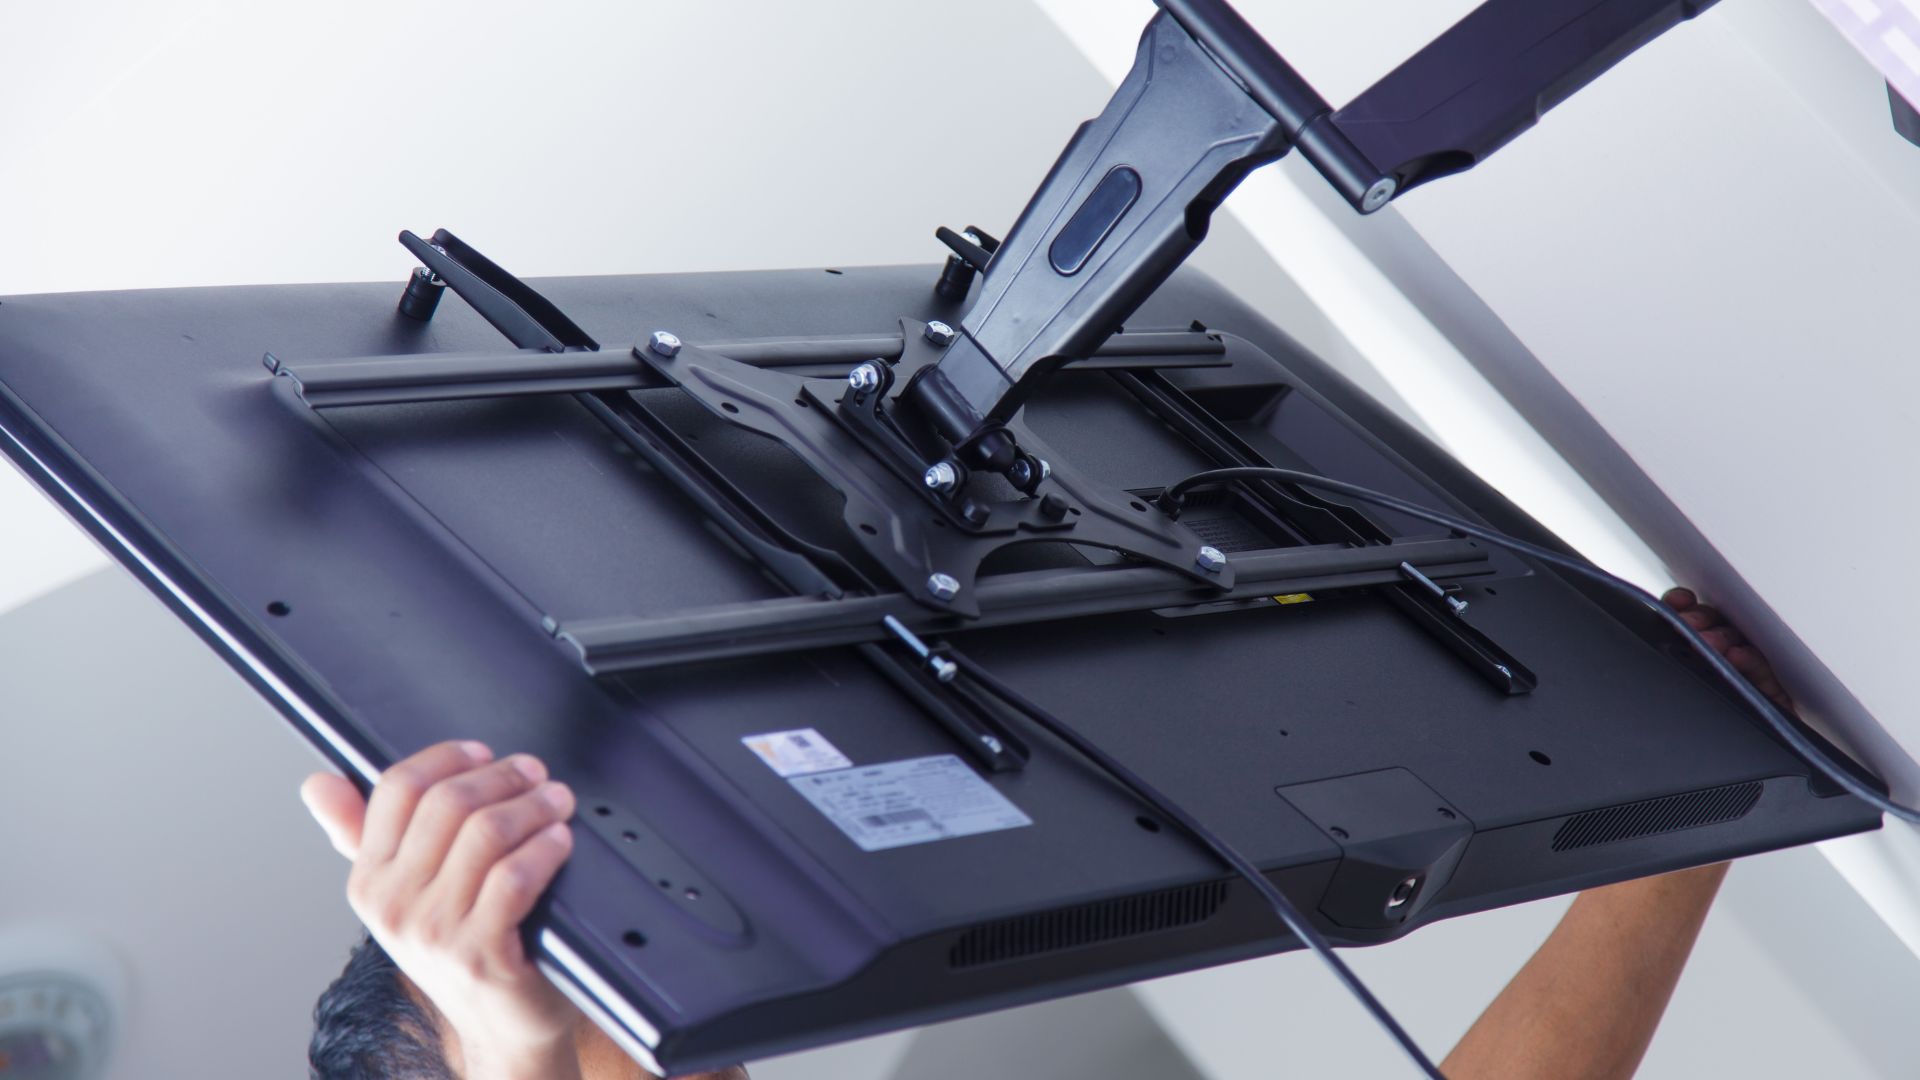
5. Lift and mount the TV: With the help of a second person, carefully lift the TV and align the mounting holes on the TV with the corresponding brackets on the wall mount. Gently slide the TV down onto the brackets until it clicks into place. Make sure the TV is securely attached to the mount.
6. Test the TV placement: Double-check that the TV is level and properly positioned according to your initial markings. Adjust if needed before proceeding.
7. Secure the TV: Depending on your TV model, there may be additional screws or locking mechanisms to secure the TV to the mount. Follow the manufacturer’s instructions to ensure the TV is safely and securely attached to the mount.
By carefully following these steps, you can successfully mount your LED TV on the wall. Always refer to the TV’s manual or the manufacturer’s instructions for any specific details and precautions regarding the mounting process for your particular TV model.
Step 8: Securing the Cables
Securing the cables is an essential step to ensure a tidy and organized look after mounting your LED TV on the wall. Proper cable management not only enhances the aesthetics of your setup but also prevents tripping hazards and potential damage to the cables. Follow these steps to securely manage and conceal the cables:
1. Gather cable management materials: Acquire cable clips, cable raceways, or any other cable management solutions that suit your needs. These tools will help you organize and secure the cables along the wall or behind furniture.
2. Plan the cable routing: Determine the best path for routing the cables from the TV to the nearby devices or power outlets. Consider hiding the cables behind furniture, using cable raceways, or making use of cable clips to neatly run the cables along the wall.
3. Organize the cables: Bundle the cables together using cable ties or Velcro straps, keeping them neat and organized. This prevents them from tangling or hanging loosely, providing a cleaner and safer setup.
4. Use cable clips or raceways: Depending on your preference, use adhesive cable clips or raceways to secure the cables along the wall or furniture. Ensure that the cables are securely held in place to avoid them becoming loose or hanging down.
5. Conceal the cables: If desired, you can further conceal the cables by using cable raceways, which are plastic channels that can be mounted on the wall to hide the cables. These raceways keep the cables out of sight and provide a professional-looking installation.
6. Test cable connectivity: Before finalizing the cable management, double-check that all cables are properly connected and functioning. Test each cable to ensure that there are no loose connections or interruptions in the signal.
By following these steps, you can effectively secure and manage the cables, ensuring a clean and organized setup after mounting your LED TV on the wall. Taking the time to tidy up the cables will enhance the overall appearance of your entertainment area and reduce the risk of accidents or damage to the cables in the future.
Step 9: Testing the Installation
After completing the installation of your LED TV on the wall, it is important to thoroughly test the setup to ensure everything is functioning properly and securely. Follow these steps to test the installation:
1. Power on the TV: Turn on the TV and verify that it powers up without any issues. Check for any unusual sounds, flickering, or glitches.
2. Check the viewing angles: Sit in different positions within the room and assess the viewing angles. Ensure that the TV provides clear visibility and optimal picture quality from various seating areas.
3. Test the swivel and tilt: If your TV mount has a swivel or tilt feature, test these adjustments to ensure they are functioning smoothly and securely. Confirm that the TV stays in position without any slippage or instability.
4. Verify cable connections: Double-check the cable connections to ensure they are secure and properly plugged in. Test the audio and video inputs to confirm that all devices are transmitting signals correctly.
5. Assess stability: Carefully examine the TV mount to ensure it is securely attached to the wall. Look for any signs of loosening or movement. Gently shake the TV to confirm that it remains stable and firmly attached to the mount.
6. Test additional features: If your TV has any additional features, such as smart capabilities or integrated apps, test them to ensure they are functioning as expected. Verify that the remote control operates the TV without any issues.
7. Playback test: Play a variety of content on your TV, such as movies, shows, or games, to evaluate the audio and video quality. Check for any distortion, lag, or other issues that may affect the overall viewing experience.
By thoroughly testing the installation, you can identify and address any potential problems or adjustments needed for your LED TV setup. This step ensures that you can fully enjoy your mounted TV with confidence, knowing that it is securely installed and functioning optimally.
Conclusion
Mounting an LED TV on the wall can elevate your entertainment experience and create a sleek and modern look in your living space. By following the step-by-step process outlined in this guide, you can successfully mount your TV on the wall with confidence and precision. From choosing the right location and determining the mounting height to preparing the wall, finding the studs, and securing the cables, each step plays a crucial role in achieving a secure and professional installation.
Properly preparing the wall, marking the locations, and installing the TV mount are essential to ensure stability and support for your TV. Securing the cables neatly and conducting thorough testing after installation ensures a clean and organized setup, along with optimal functionality.
Remember to refer to the manufacturer’s instructions and recommended guidelines for your specific TV model throughout the process. If you are unsure or uncomfortable with any step, it is always recommended to consult a professional for assistance.
By successfully mounting your LED TV on the wall, you can create a stylish and immersive entertainment area while maximizing space in your home. Sit back, relax, and enjoy your favorite movies, shows, and games on your securely mounted TV, knowing that you have accomplished a professional installation.


