Introduction
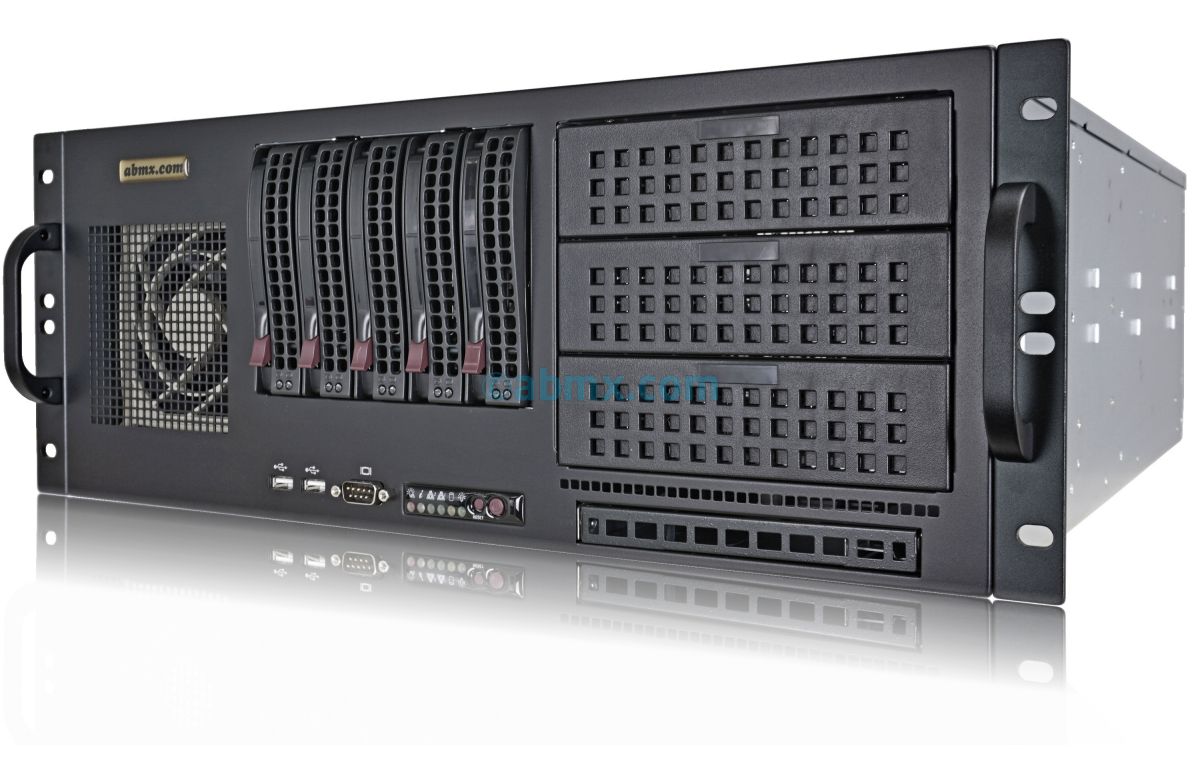
A server rack is an essential piece of equipment for businesses and organizations that need to house and protect their servers and networking equipment. It provides a secure and organized space for mounting servers, switches, routers, and other IT infrastructure components. Mounting a server rack in a proper and efficient manner is crucial to ensure the stability and reliability of the network.
In this guide, we will walk you through the steps of mounting a server rack from start to finish. We will cover everything from selecting the right location for the rack to installing equipment and organizing cables. Whether you are setting up a server room for your small business or upgrading the existing network infrastructure, this article will provide you with the knowledge and guidance you need to mount a server rack correctly.
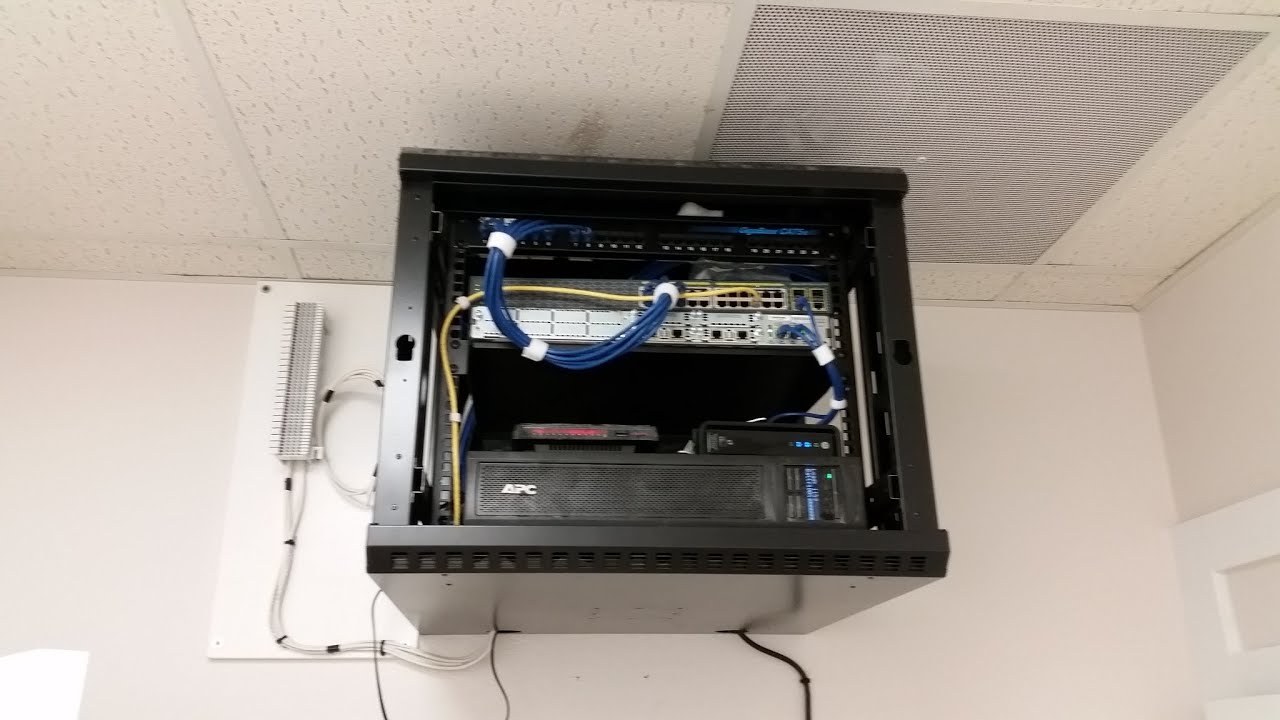
Before we dive into the technical aspects, it is important to note that safety should always be a top priority when working with server racks and networking equipment. Make sure to follow all safety precautions, wear appropriate protective gear, and consult with a professional if needed. Now, let’s get started with the step-by-step process of mounting a server rack.
Safety Precautions
When working with server racks and networking equipment, it is essential to prioritize safety to prevent accidents and avoid damage to the equipment. Here are some important safety precautions to keep in mind:
- Ensure that the area where you will be working is well-lit and free from any obstructions or hazards.
- Before starting any work, make sure to switch off and unplug all equipment to avoid electrical shocks.
- Wear appropriate personal protective equipment (PPE), such as gloves and safety glasses, to protect yourself from any potential injuries.
- If you are mounting the server rack on a wall, ensure that the wall is strong and stable enough to support the weight of the rack and the equipment it will hold.
- Use the correct tools and equipment for the job. Ensure that all tools are in good condition and properly insulated.
- If you are unsure about any step of the process, consult with an expert or professional who can provide guidance and assistance.
- Be cautious when handling heavy equipment and avoid overloading the server rack beyond its weight capacity.
- Keep all cables and wires organized and secure to prevent tripping hazards or accidental disconnection.
- If you are working with power supply connections, make sure to follow proper electrical safety procedures, such as turning off the power source and using insulated tools.
- Regularly inspect the server rack and equipment for any signs of damage or wear. Replace any faulty or damaged components promptly.
By following these safety precautions, you can ensure a safe working environment and minimize the risk of accidents or damage to the server rack and equipment. Remember, safety should always be a priority when working with any type of technology and infrastructure.
Tools and Materials Required
Before you begin the process of mounting a server rack, make sure you have the necessary tools and materials to complete the task. Here is a list of the commonly required items:
- Server Rack: Choose a server rack that suits your specific needs regarding size, capacity, and features.
- Screws and Cage Nuts: These are used to secure the equipment in the rack. Ensure that you have the right size and quantity for your server rack.
- Mounting Brackets: If you are mounting the server rack on a wall, you will need appropriate mounting brackets for secure installation.
- Level: Use a level to ensure that the server rack is straight and properly aligned during installation.
- Power Drill and Bits: A power drill is useful for making holes in the wall or floor for mounting brackets and securing the server rack.
- Screwdriver: Have a screwdriver with multiple bit options for tightening screws and cage nuts.
- Cable Management Accessories: This includes cable ties, cable management panels, and cable management hooks to keep the cables organized and tidy.
- Rack Mount Shelves: If you have equipment that cannot be directly mounted in the rack, you may need rack mount shelves to provide additional support and space.
- Labeling and Documentation: Prepare labels and documentation to identify the equipment and connections within the server rack for future reference.
- Safety Gear: Wear safety glasses and gloves to protect yourself during the installation process.
- Measuring Tape: Use a measuring tape to ensure accurate placement and alignment of the server rack.
By having these tools and materials ready before you start, you can ensure a smooth and efficient installation process. It is always better to be prepared and have everything you need within reach to avoid any delays or interruptions during the mounting process.
Step 1: Choosing the Right Location
Choosing the right location for your server rack is crucial for optimal performance and accessibility. Consider the following factors when selecting the ideal spot:
1. Accessibility: Ensure that the location allows easy access to the server rack for installation, maintenance, and troubleshooting. It should have sufficient space around it for maneuverability.
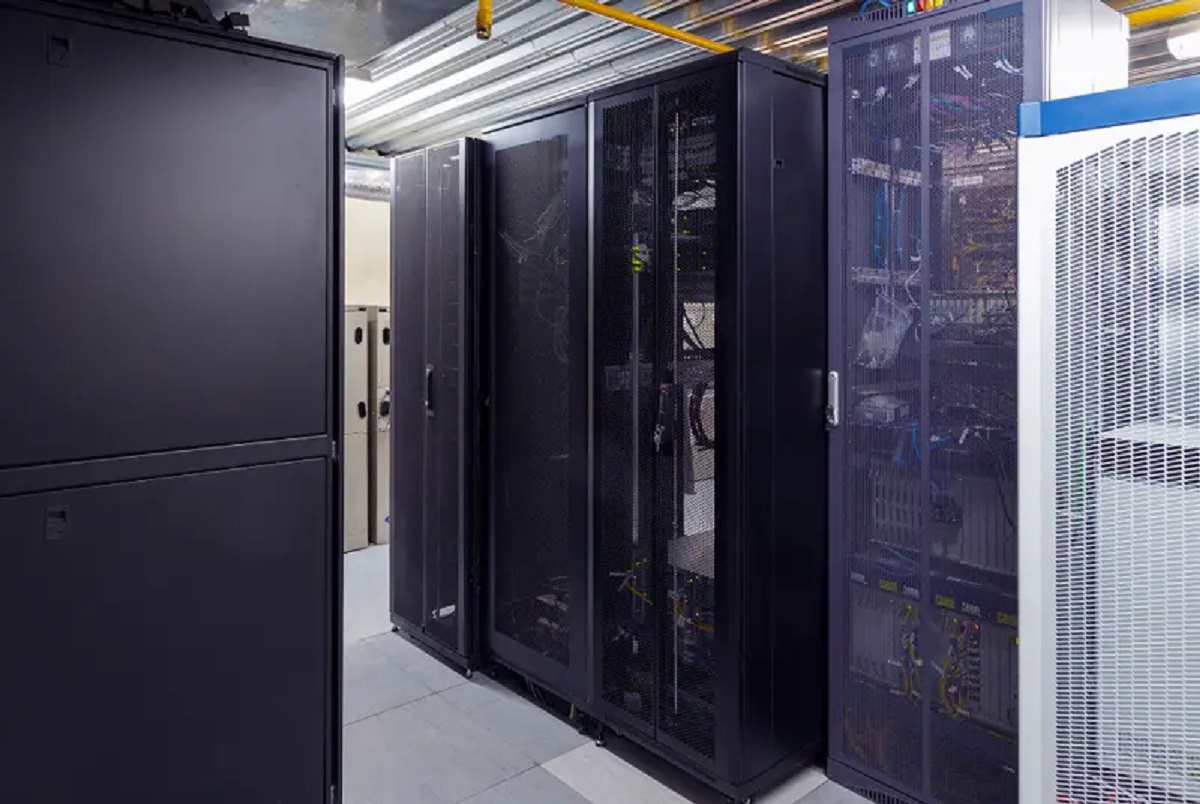
2. Temperature and Ventilation: The chosen location should have adequate airflow to keep the equipment cool. Avoid areas with excessive heat or lack of ventilation, as this can lead to overheating and potential damage to the components.
3. Power Availability: Make sure there are nearby power outlets to connect the equipment and that the electrical capacity can support the power requirements of the server rack and its contents.
4. Weight Capacity: Consider the load-bearing capacity of the floor or wall where you plan to install the server rack. Ensure it can support the weight of the rack, equipment, and any additional accessories.
5. Security: Choose a location that provides adequate security to protect the server rack and its contents. It should be in a locked room or area to prevent unauthorized access.
6. Environmental Factors: Avoid areas prone to excessive moisture, dust, or electromagnetic interference. These factors can negatively impact the performance and reliability of the equipment.
7. Future Expandability: Take into account the future growth of your network infrastructure. Select a location that allows for easy expansion and installation of additional server racks if required.
Once you have considered these factors, visually inspect and measure the area to ensure it meets the necessary requirements. Use a level to check for any sloping or uneven surfaces that may affect the stability of the server rack.
Choosing the right location for your server rack is the first step towards a successfully mounted and functional setup. Take your time to evaluate the available options and select a spot that balances convenience, accessibility, and optimal conditions for your network equipment.
Step 2: Assembling the Server Rack
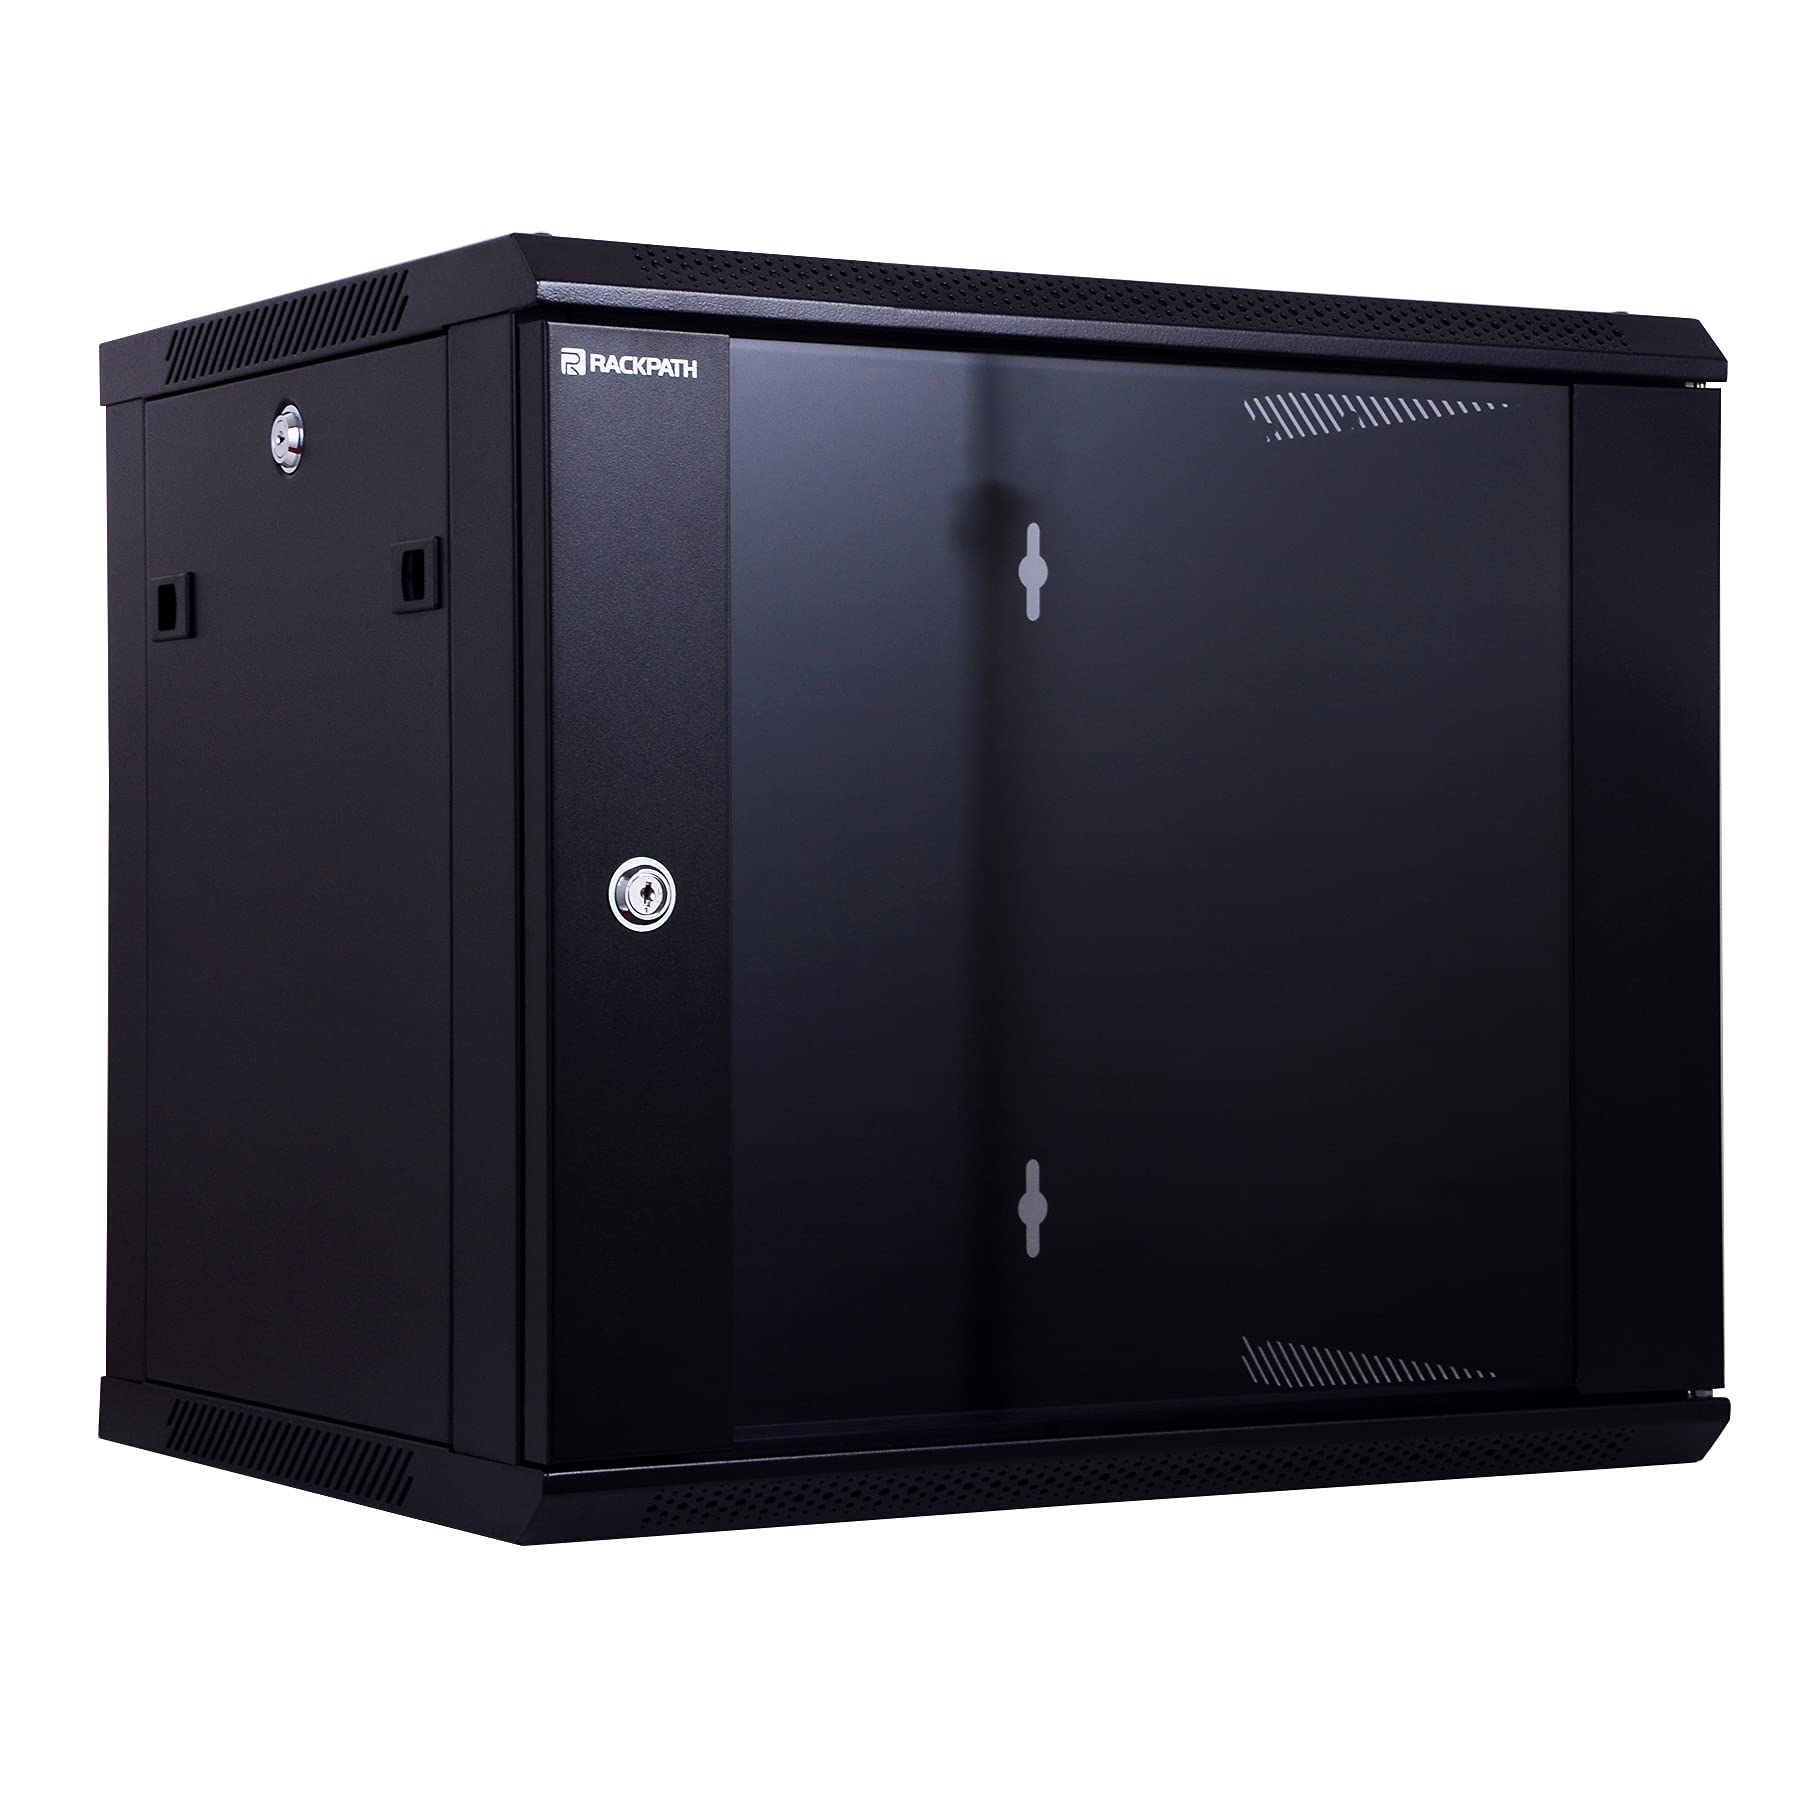
Now that you have chosen the right location for your server rack, it’s time to assemble the rack itself. Follow these steps to ensure a proper assembly:
1. Unpack the Server Rack: Carefully unpack the server rack and take out all the components. Verify that you have received all the necessary parts and that they are in good condition.
2. Read the Instructions: Review the manufacturer’s instructions and guidelines for assembling the server rack. Familiarize yourself with the various components and their functions.
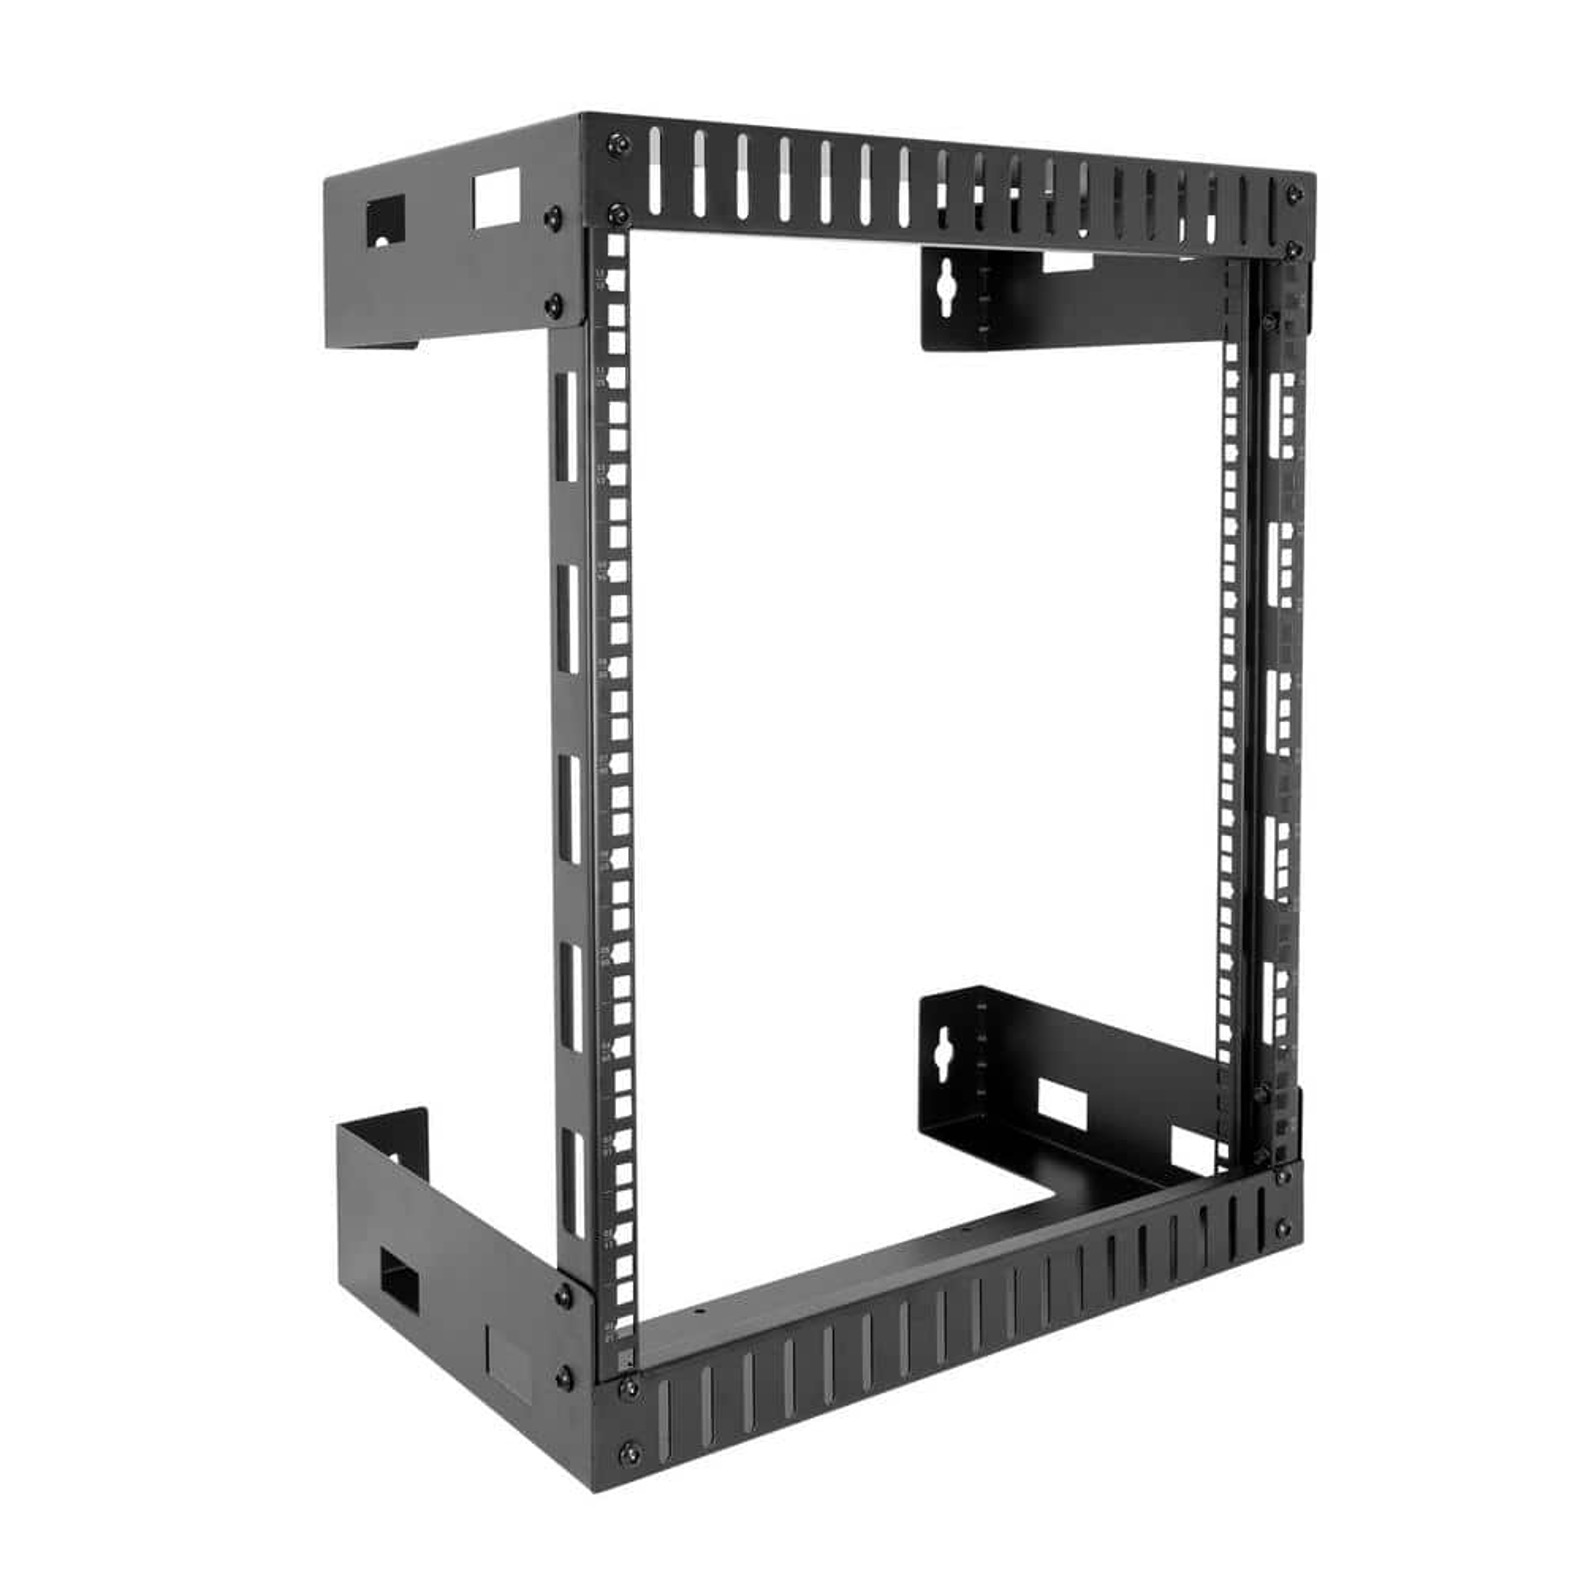
3. Attach the Vertical Rails: Install the vertical rails on both sides of the server rack. These rails will be used to mount the equipment. Ensure that they are properly aligned and securely attached to the rack.
4. Install the Mounting Brackets or Rails: If your equipment uses mounting brackets or rails, attach them to the corresponding locations on the server rack. Follow the manufacturer’s instructions for the proper installation.
5. Secure the Rails or Brackets: Once the brackets or rails are installed, double-check their stability and make any necessary adjustments. They should be firmly secured and able to support the weight of the equipment.
6. Install Cable Management Accessories: Attach cable management panels and hooks to the server rack to organize and manage the cables effectively. This will help in maintaining a neat and clutter-free setup.
7. Verify the Levelness: Use a level to ensure that the server rack is straight and level. This will ensure that the equipment inside the rack is securely mounted and avoids any potential stability issues.
8. Double-check the Assembly: Before proceeding to the next step, carefully inspect the server rack assembly to ensure everything is properly assembled and tightened. Confirm that all the necessary components are securely attached.
By following these steps, you can ensure that your server rack is properly assembled and ready for mounting the equipment. Take your time during this step to ensure accuracy and completeness of the assembly process.
Step 3: Mounting the Server Rack
After assembling the server rack, it’s time to mount it in the chosen location. Follow these steps for a successful mounting:
1. Position the Rack: Carefully position the server rack in the desired location. Make sure it is aligned properly and allows easy access to the front and rear of the rack.
2. Mark the Mounting Points: Use a pencil or marker to mark the locations where the mounting brackets or rails will be secured. Ensure that the markings are level and aligned with the rack.
3. Pre-drill Holes (for Wall Mount): If you are mounting the server rack on a wall, use a power drill and appropriate drill bit to pre-drill holes at the marked points. This will make the installation process smoother.
4. Secure Mounting Brackets (for Wall Mount): If your server rack requires mounting brackets, securely attach them to the wall using screws and a screwdriver. Ensure that they are level and aligned with the marked points.
5. Attach the Rack to the Mounting Brackets: Carefully lift the server rack and align the holes on the rack with the mounting brackets. Use the appropriate screws to secure the rack to the brackets. Tighten them securely, but be cautious not to over-tighten.
6. Verify the Stability: After securing the server rack, gently try to move it to check for any instability or wobbling. If needed, make adjustments to ensure the rack is sturdily installed.
7. Floor mounting: If you are mounting the rack on the floor, use anchor bolts or other appropriate methods to secure the rack to the floor. Ensure that the rack is level, stable, and securely attached.
8. Double-check the Mounting: Take a final look at the mounted server rack to ensure it is securely attached to the wall or floor. Confirm that all screws and brackets are properly tightened.
By following these steps, you can ensure that your server rack is securely mounted in the desired location. A properly mounted rack provides stability and ensures the safety of both the rack and the equipment it holds.
Step 4: Securing the Rack to the Wall or Floor
Once the server rack is mounted, it is important to secure it to the wall or floor to ensure stability and safety. Follow these steps to properly secure the rack:
1. Identify the Mounting Points: Determine the appropriate mounting points on the rack where it needs to be secured to the wall or floor. These locations should align with the structural support or anchor points.
2. Prepare the Mounting Hardware: Depending on the type of installation (wall or floor), gather the necessary mounting hardware. This may include anchor bolts, screws, washers, and relevant tools such as a drill, screwdriver, or wrench.
3. Mark the Drill Points: If wall mounting, use a pencil or marker to mark the locations on the wall where the rack will be secured. Ensure that the markings align with the mounting points on the rack.
4. Drill the Holes: Use a power drill and the appropriate drill bit to create holes at the marked points on the wall or floor. Make sure to select a drill bit size that matches the type of anchor or fastener you will be using.
5. Insert Anchors or Fasteners: If using anchor bolts, insert them into the drilled holes in the wall or floor. Tap them gently with a hammer to ensure they are fully seated. If using other types of fasteners, follow the manufacturer’s instructions for proper installation.
6. Align the Rack: Carefully align the mounting points on the rack with the inserted anchors or fasteners. Make sure the rack is level and in the desired position.
7. Secure the Rack: Using the appropriate screws, tighten the rack to the anchors or fasteners. Start with lightly tightening the screws and then gradually increase the tightening force. Ensure that the rack is firmly secured and does not wobble or shift.
8. Double-check the Securing: Once the rack is attached, gently push or pull on the rack to confirm that it is securely fastened. Verify that all screws and fasteners are properly tightened and that the rack is stable.
By following these steps, you can securely fasten your server rack to the wall or floor, providing stability and preventing any potential hazards. Properly securing the rack ensures that it can withstand the weight and movement of the equipment housed within it, ensuring a safe and reliable setup.
Step 5: Installing Equipment into the Rack
After successfully mounting the server rack, it’s time to install the equipment into the rack. Follow these steps to ensure a proper installation:
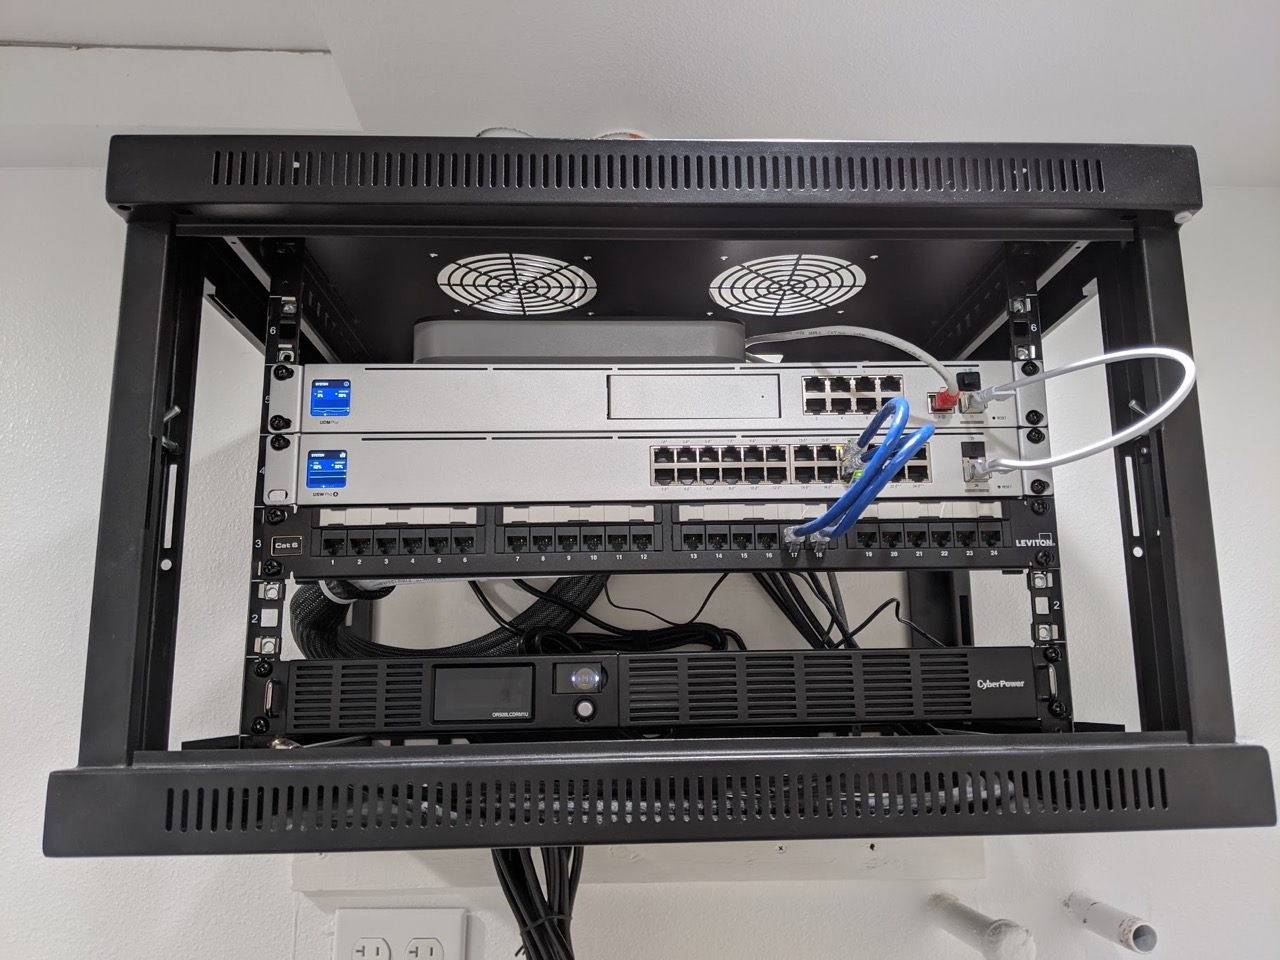
1. Organize Equipment Placement: Plan the placement of your equipment before installation. Consider factors such as airflow, accessibility, and cable management. Place heavier equipment at the bottom of the rack to maintain stability.
2. Remove Equipment Covers: If your equipment has removable covers or panels, remove them before installation. This will allow for easier access to the necessary connections and mounting points.
3. Align Equipment with Mounting Rails: Align the mounting holes on the equipment with the corresponding holes on the server rack’s mounting rails. Make sure the equipment is level and securely positioned.
4. Insert Screws or Cage Nuts: Depending on the type of equipment and server rack, insert screws or cage nuts into the mounting holes. These will hold the equipment in place.
5. Securely Mount the Equipment: Carefully lower the equipment into position, aligning the mounting holes with the screws or cage nuts. Use the appropriate tool, such as a screwdriver or nut driver, to tighten the screws or cage nuts, holding the equipment securely in place.
6. Repeat for Additional Equipment: If you have multiple pieces of equipment to install, repeat the process for each one, ensuring proper alignment and secure fastening.
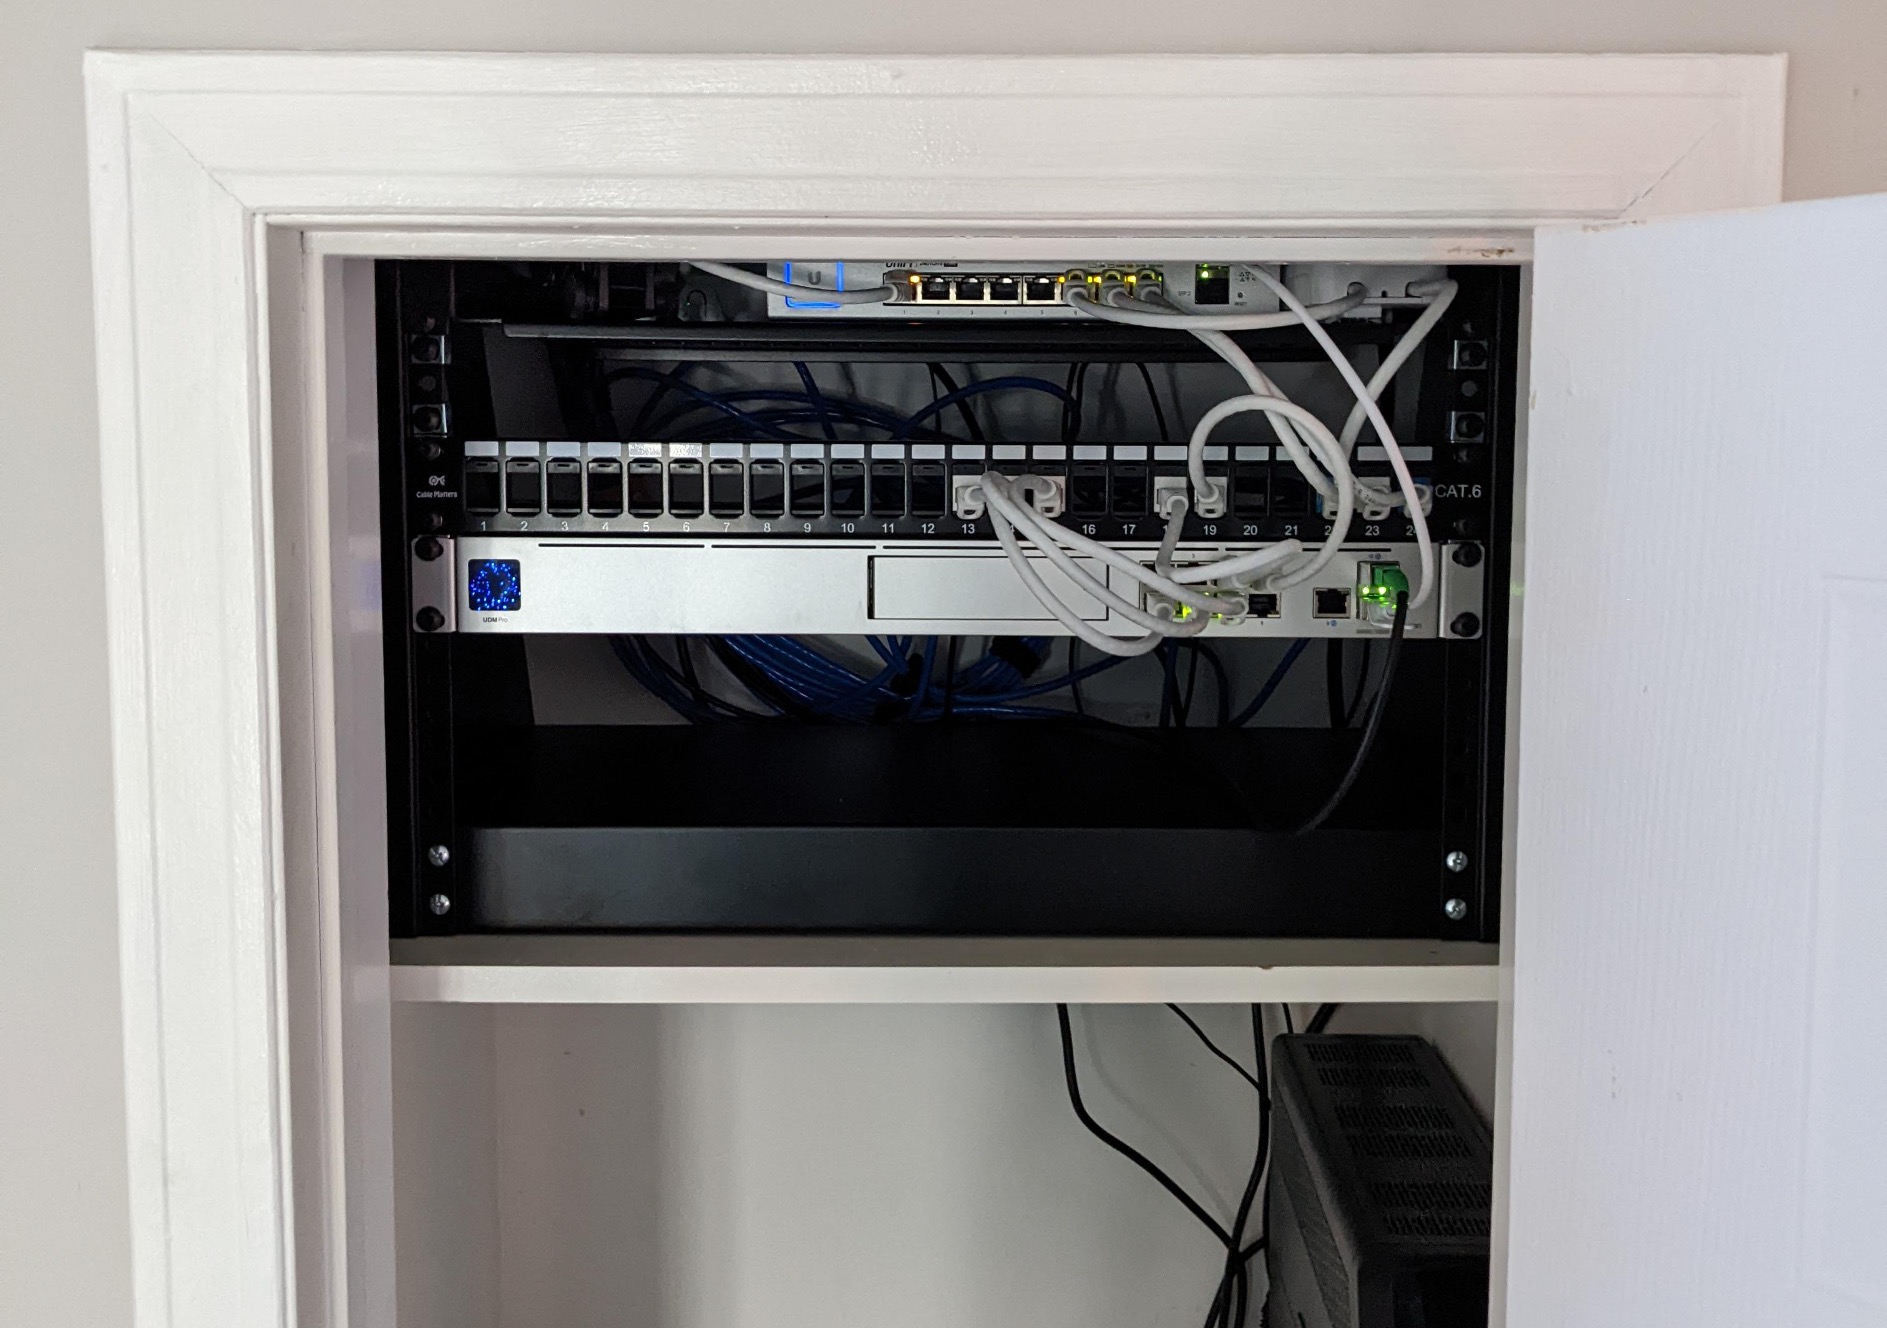
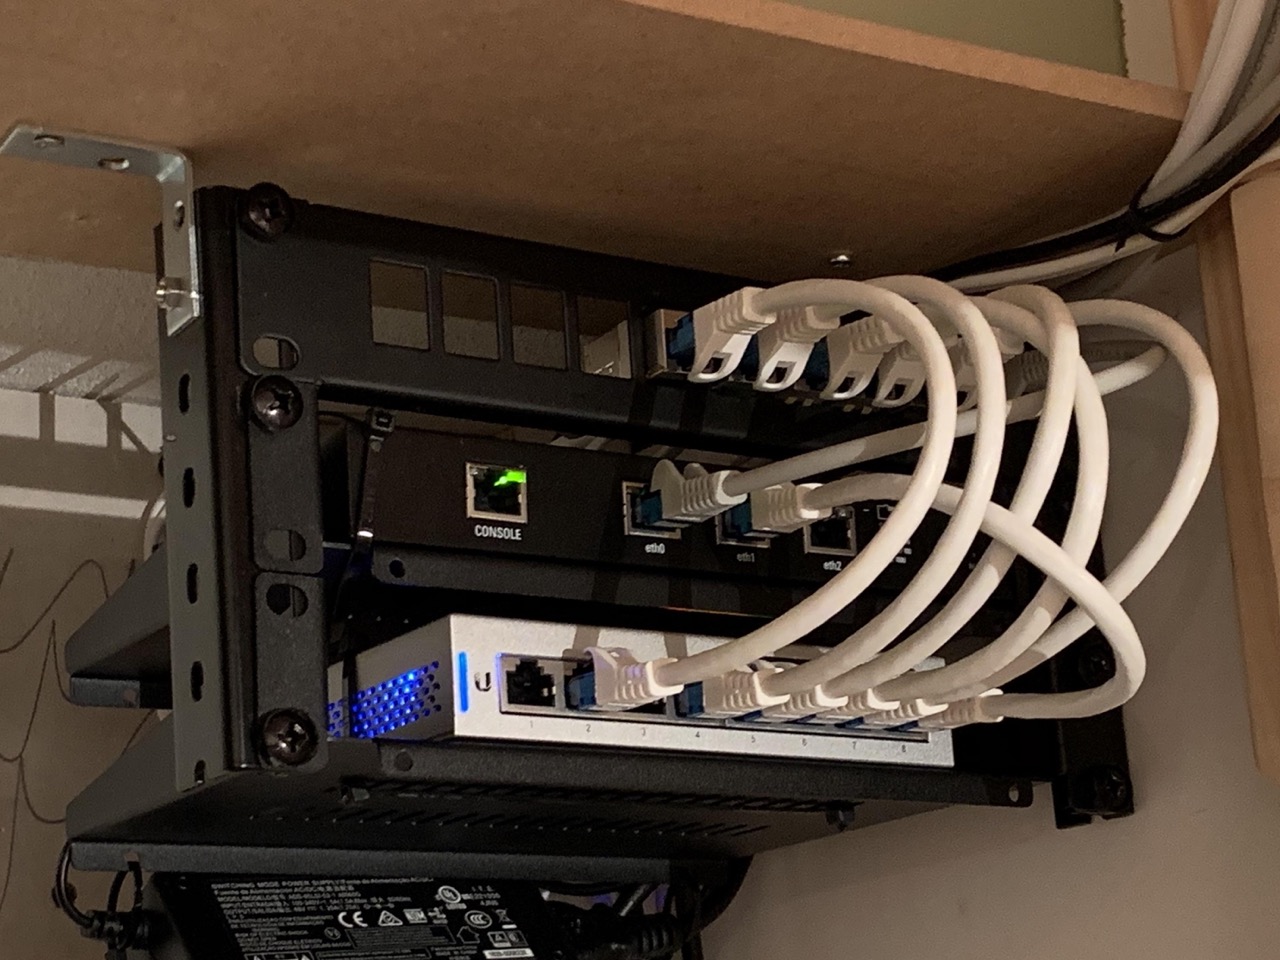
7. Route Cables: As you install each piece of equipment, route and connect the necessary cables. Keep cables organized and secured using cable management accessories, such as cable ties or management panels. This helps improve airflow and simplifies future maintenance.
8. Double-check Installations: After all equipment is installed and cables are connected, double-check the stability and alignment of each piece. Carefully inspect the installation, ensuring that all equipment is securely mounted and that no cables are strained or obstructed.
By following these steps, you can ensure that your equipment is properly installed in the server rack. Proper equipment installation is essential for functionality, accessibility, and effective management of your network infrastructure.
Step 6: Organizing Cables and Power Supply
Proper cable and power supply organization is essential for maintaining a clean and efficient server rack setup. Follow these steps to efficiently organize cables and power supply:
1. Group and Label Cables: Start by grouping similar cables together, such as Ethernet, power, and data cables. Use cable ties, Velcro straps, or cable management panels to secure the cables and prevent tangling. Label the cables for easy identification and troubleshooting in the future.
2. Route Cables Neatly: Route the cables along the sides or rear of the server rack, keeping them away from heat sources and ensuring they don’t obstruct any ventilation or cooling mechanisms. Use cable management hooks or brackets to guide and secure the cables along the rack’s designated channels.
3. Power Supply Management: Arrange the power cords neatly, avoiding excessive tangles and strain on the plugs or outlets. Use zip ties or cable clips to keep the power cords organized and prevent them from accidentally being unplugged.
4. Separate Power and Data Cables: To minimize interference, separate power cables from data and network cables. This helps to maintain signal integrity and prevent electromagnetic interference that can degrade network performance.
5. Utilize Cable Management Accessories: Install cable management panels, cable trays, and horizontal or vertical cable managers to keep the cables organized and properly routed. These accessories help to avoid cable clusters and make it easier to trace and manage the cables when needed.
6. Utilize Cable Labels and Documentations: Use labels or cable wraps to identify both ends of the cables and document the connections. This aids in troubleshooting, maintenance, and future upgrades or changes to the server rack and network setup.
7. Regular Maintenance: Perform regular maintenance to inspect and reorganize cables as needed. Over time, cables might become loose or tangled, so it is important to periodically check and adjust cable organization to maintain an efficient and organized server rack.
By following these steps, you can ensure that your server rack is organized and maintained properly. Proper cable and power supply organization not only enhances the appearance of the setup but also improves airflow, accessibility, and reduces the risk of cable-related issues and downtime.
Step 7: Testing and Troubleshooting the Rack
After completing the installation and organization of your server rack, it is important to conduct thorough testing and troubleshooting to ensure its proper functionality and address any potential issues. Follow these steps to test and troubleshoot your server rack:
1. Power-On Test: Connect the power supply to the server rack and turn on the equipment. Verify that all devices power up correctly and that the lights or indicators indicate normal operation.
2. Network Connectivity Test: Check the network connectivity by connecting a device to the network ports of the server rack equipment. Test data transmission and ensure that connections are stable and reliable.
3. Equipment Functionality Test: Test each piece of equipment individually to ensure proper functionality. Verify that servers, switches, routers, and other devices are performing their designated tasks without any errors or abnormalities.
4. Temperature Test: Monitor the temperature within the server rack to ensure it remains within acceptable limits. Check the server rack’s built-in cooling mechanisms, such as fans or vents, and ensure they are functioning properly.
5. Cable and Connectivity Check: Inspect all cables and connections, ensuring they are securely plugged in and properly seated. Verify that there are no loose cables or damaged connectors that could impact performance.
6. Noise and Vibration Check: Listen for any unusual noises or excessive vibrations coming from the server rack. Unusual sounds or vibrations could indicate loose components or potential equipment failure.
7. Troubleshoot Issues: If you encounter any issues during the testing process, carefully diagnose the problem and troubleshoot accordingly. Check for error messages, consult manufacturer documentation, and seek support for any complicated issues.
8. Regular Maintenance and Monitoring: Set up a regular maintenance schedule to monitor the server rack’s performance. Check for signs of wear, replace any faulty components, and keep the rack clean and dust-free to ensure optimal functionality.
By following these steps, you can ensure that your server rack is thoroughly tested, properly functioning, and ready to support your network infrastructure. Testing and troubleshooting help identify any potential issues or concerns, allowing you to address them promptly and maintain a reliable and efficient server rack setup.
Conclusion
Mounting a server rack is a crucial step in establishing a secure and organized environment for your network equipment. By following the steps outlined in this guide, you can successfully mount a server rack and ensure its proper functionality. From choosing the right location to securing the rack, installing equipment, organizing cables, and testing for optimal performance, each step plays a significant role in creating an efficient network infrastructure.
Remember to prioritize safety precautions throughout the process and consult with professionals when needed. Investing time and effort into properly mounting a server rack can greatly enhance the stability, accessibility, and longevity of your network setup.
Regular maintenance and monitoring of the server rack are crucial to ensure continued performance and address any issues that may arise. By keeping cables organized, power supply managed, and conducting routine testing and troubleshooting, you can maintain an efficient and reliable server rack setup.
Whether you are setting up a small business network or upgrading an existing infrastructure, the proper mounting of a server rack is an essential part of the process. By following the guidelines provided, you can ensure a successful installation and create a solid foundation for your network equipment.
Take the time to carefully plan, assemble, and install your server rack, considering factors such as location, stability, and cable organization. By doing so, you can create a professional and efficient network setup that meets your business needs and supports the growth of your organization.


