Introduction
Shipping a server rack can be a complicated and delicate process. Whether you are moving your server rack to a new location or sending it to a client, proper shipping is crucial to ensure the safety of your equipment. Without the appropriate precautions, you risk damage to your server rack and the valuable data it holds. In this guide, we will walk you through the step-by-step process of shipping a server rack, from preparation to reassembly.
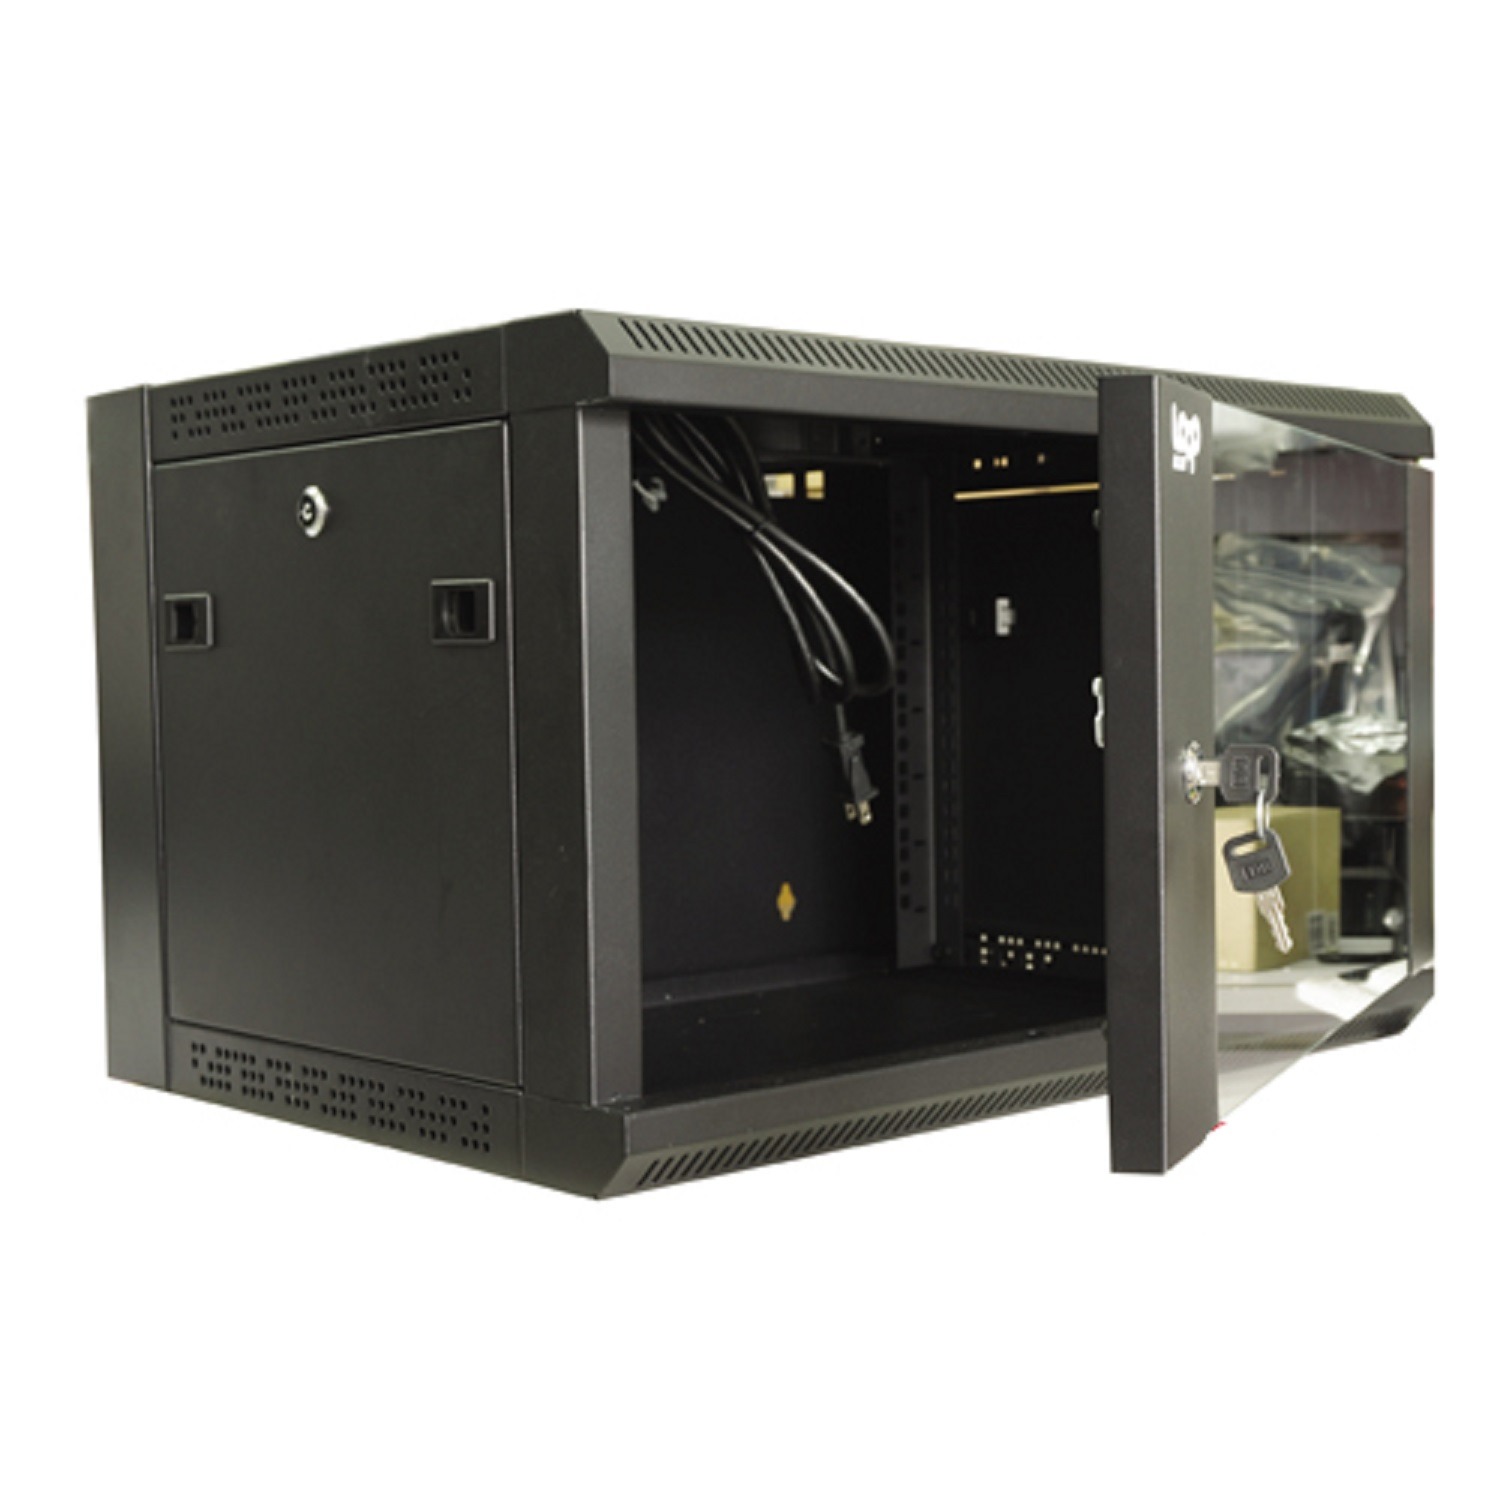
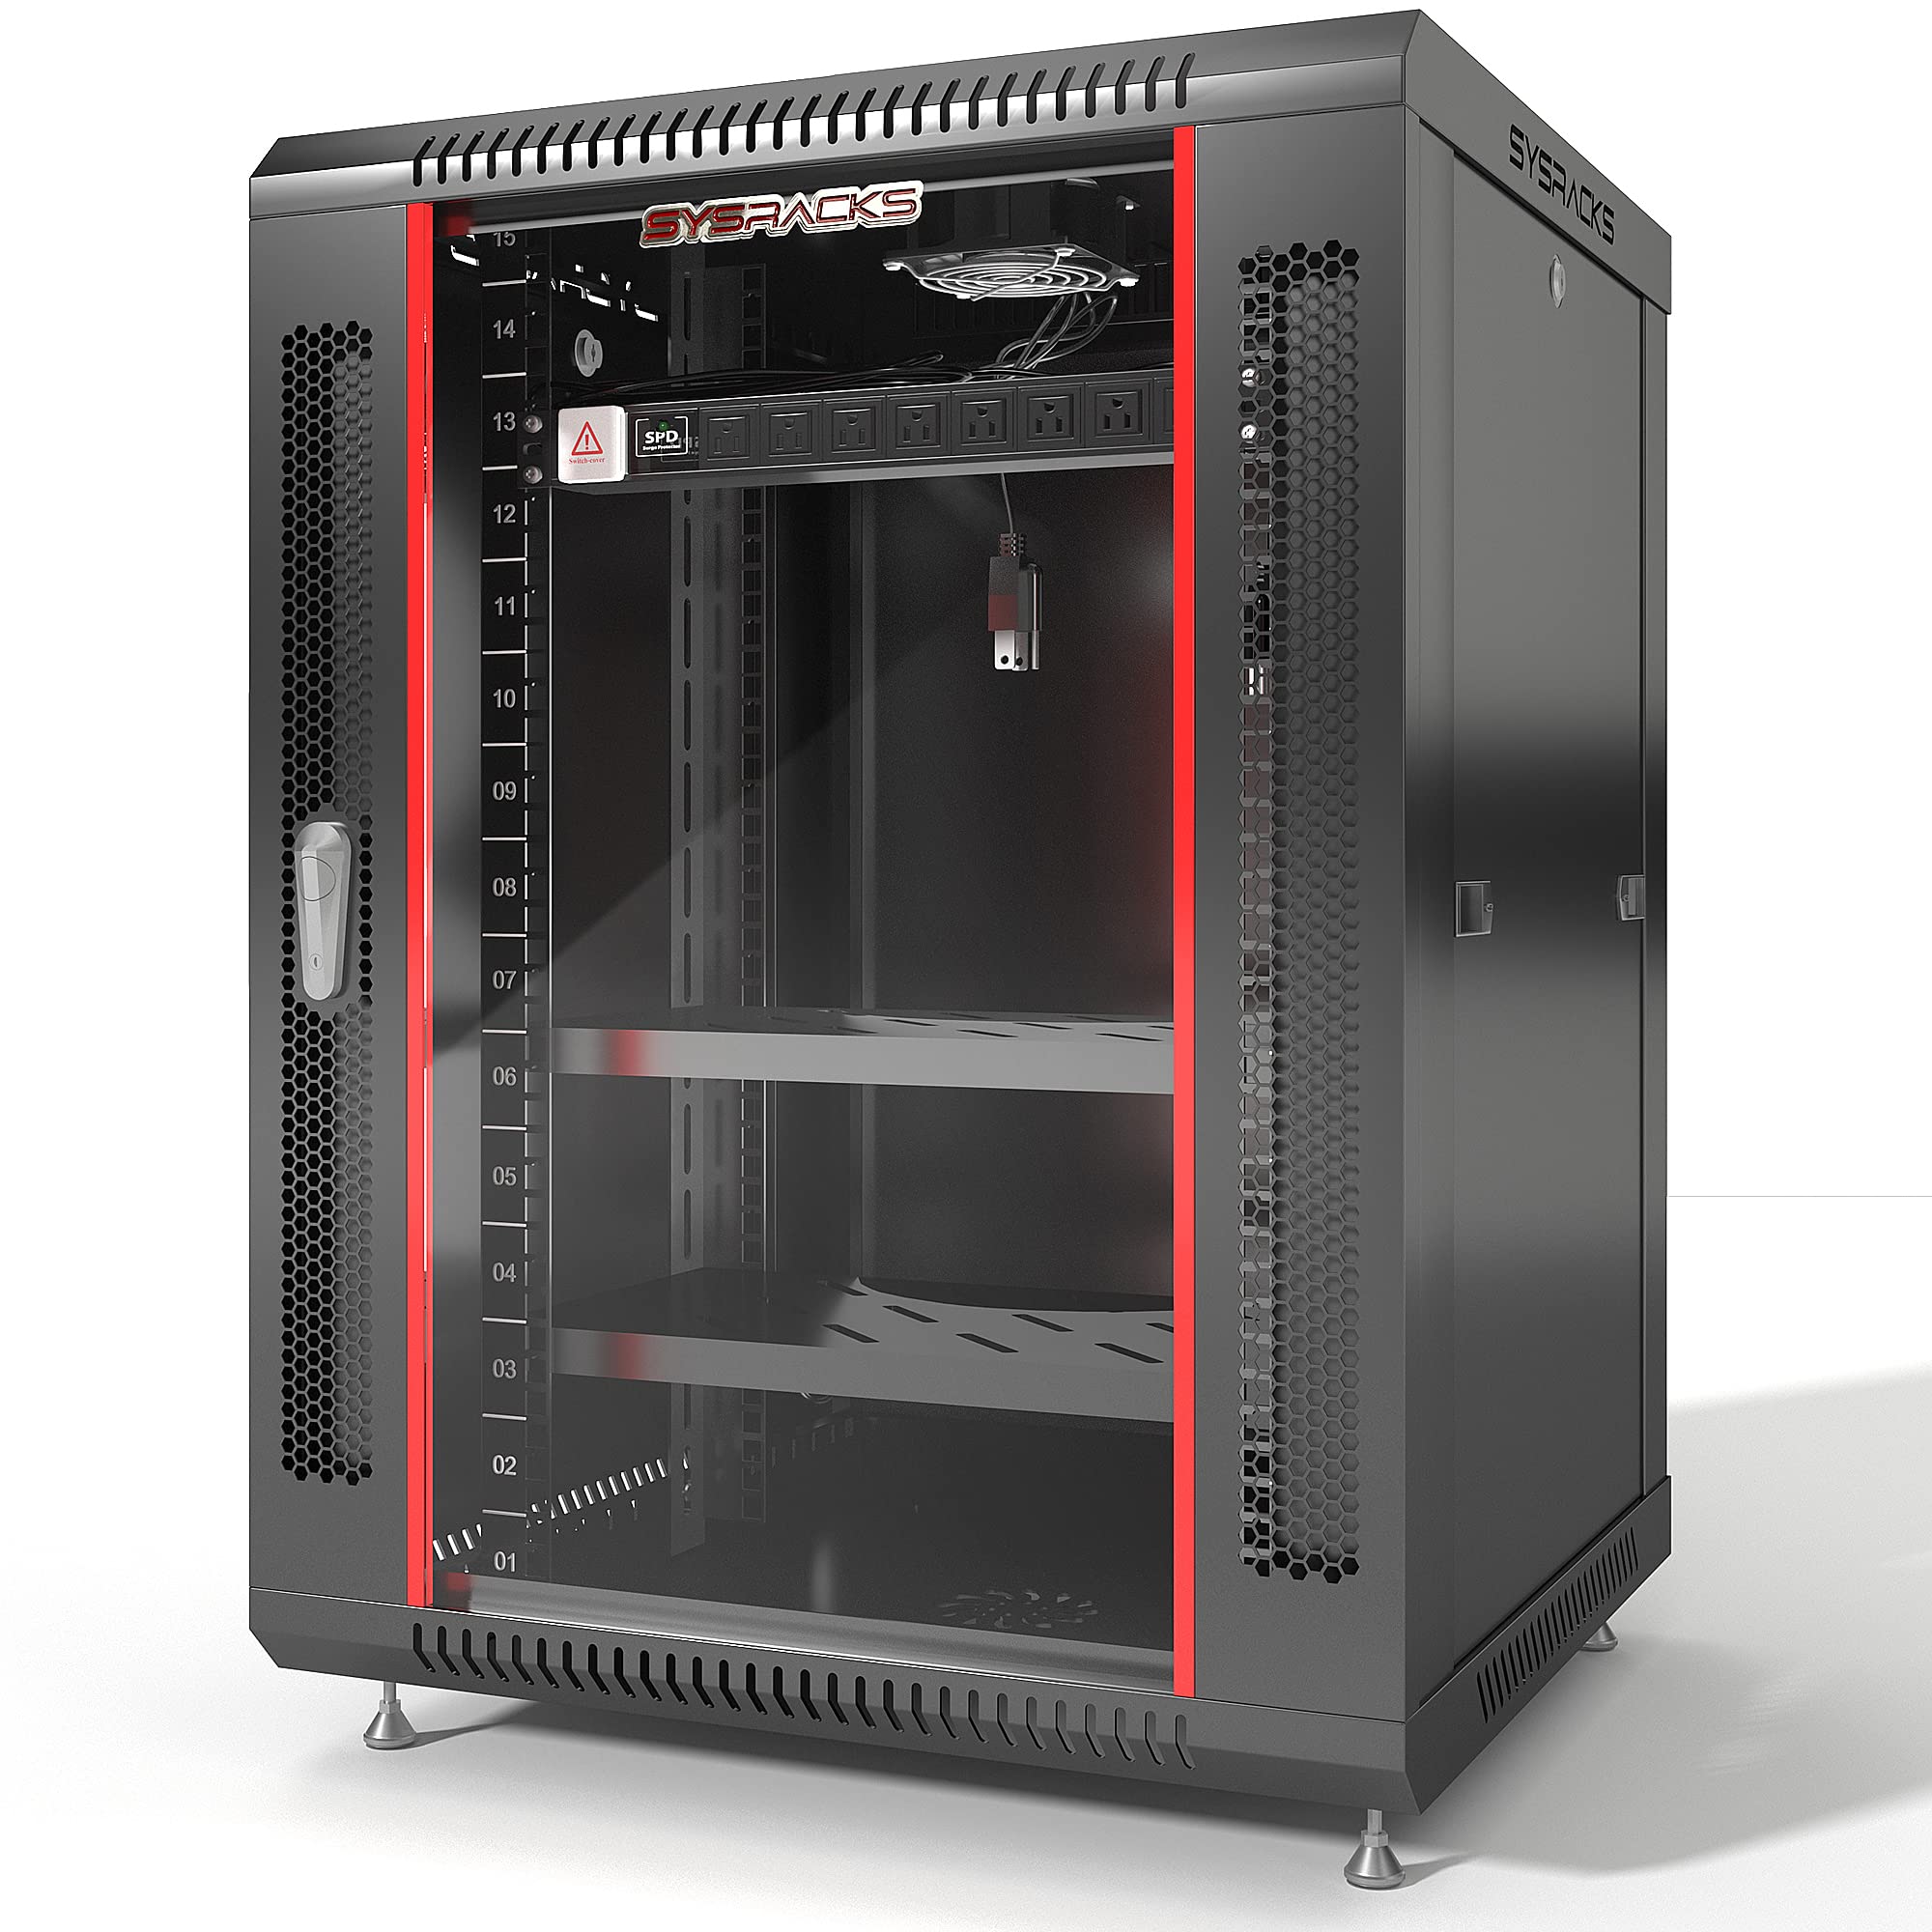
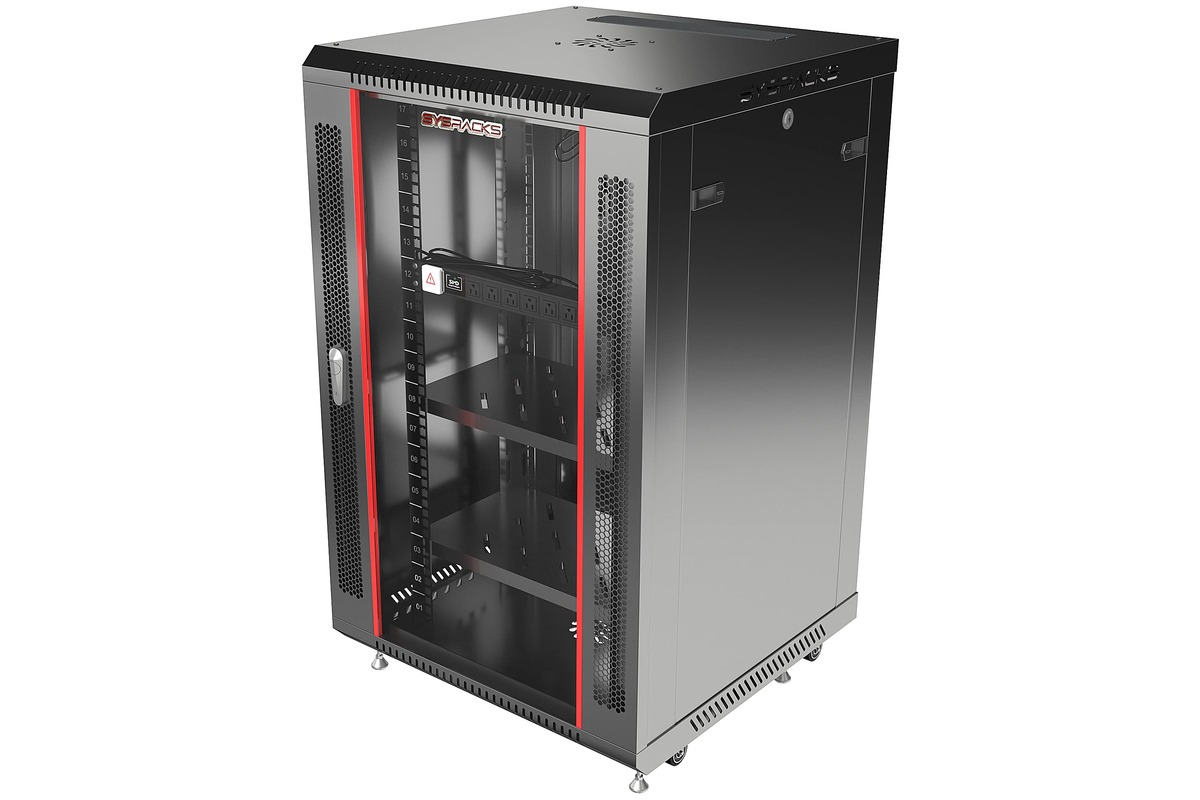
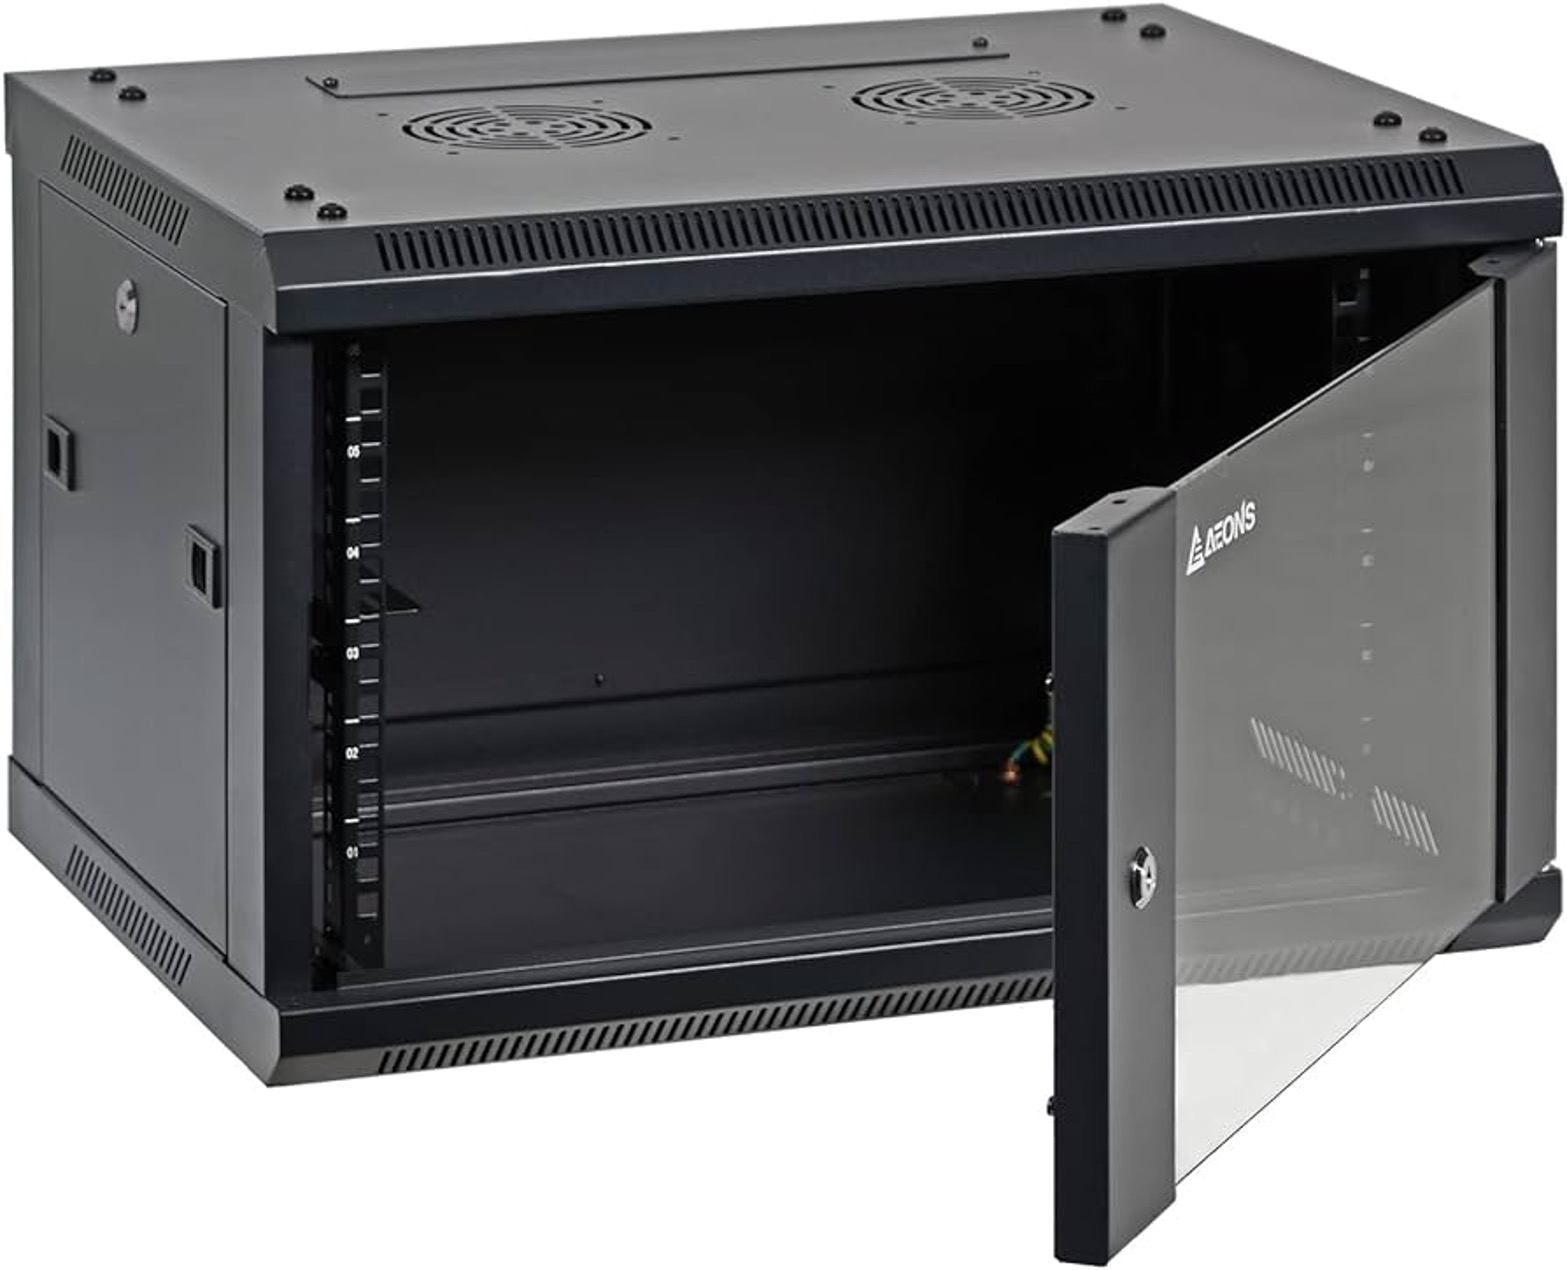
A server rack is a highly specialized piece of equipment used to house and organize servers, switches, and other networking devices. It provides a centralized location for managing and maintaining these devices, making it an essential component of any IT infrastructure. Due to their size and weight, server racks require special handling and packaging to prevent damage during transit.
Proper shipping of a server rack involves several important steps that need to be followed precisely. This guide will provide you with the knowledge and insights necessary to ensure your server rack reaches its destination intact and ready for use.
By following the best practices outlined in this guide, you will not only protect your investment but also avoid potential downtime and data loss that can result from mishandling during shipping. So, let’s dive in and learn how to properly ship a server rack to ensure a smooth and successful relocation or delivery.
Benefits of Proper Shipping
Proper shipping of a server rack offers numerous benefits, ensuring the safe and efficient transportation of your valuable equipment. Let’s explore some of the key advantages:
- Protection against damage: By following the correct shipping procedures, you can safeguard your server rack from potential damage during transit. This includes protecting delicate components, such as servers and switches, from vibrations, impacts, and excessive handling.
- Preservation of data integrity: When a server rack is properly shipped, the risk of data loss or corruption is significantly reduced. By avoiding physical damage to the equipment, you can maintain the integrity of the stored data, ensuring seamless operations upon arrival at the destination.
- Maximized lifespan of equipment: Shipping a server rack without taking proper precautions can lead to premature wear and tear. On the other hand, with careful packaging and handling, you can extend the lifespan of your server rack, avoiding unnecessary repairs or replacements.
- Reduced downtime: Inefficient or improper shipping practices may result in extended downtime when setting up the server rack at its destination. By ensuring the safe and timely delivery of your equipment, you minimize the time taken to get your infrastructure up and running again.
- Enhanced reputation: Properly shipping your server rack showcases professionalism and dedication to your clients or stakeholders. It demonstrates that you value your equipment and are committed to delivering the best possible service.
- Cost savings: Investing in proper shipping methods and materials may seem like an additional expense, but it can save you money in the long run. By avoiding potential damage and the need for repairs, you can lower maintenance and replacement costs.
By recognizing the benefits of proper shipping for your server rack, you can prioritize the safety and protection of your equipment. This not only ensures the smooth functioning of your IT infrastructure but also gives you peace of mind knowing that your valuable data is secure during transit.
Step 1: Preparing the Server Rack
Before you can start shipping your server rack, it’s crucial to properly prepare it for transit. This step lays the foundation for a safe and successful shipping process. Here are the key actions you need to take:
1. Disconnect and power down: Begin by disconnecting all cables and power sources from your server rack. Shut down all servers and networking devices to prevent any data loss or damage during transit. Make sure to follow proper shutdown procedures for each device.
2. Take inventory: Create a detailed inventory of all the components in your server rack. This inventory will help you ensure that everything arrives safely at the destination and can help identify any missing or damaged items.
3. Backup data: Before shipping your server rack, it’s best practice to make a backup of all your data. This extra precaution can safeguard against any potential data loss or corruption during transit.
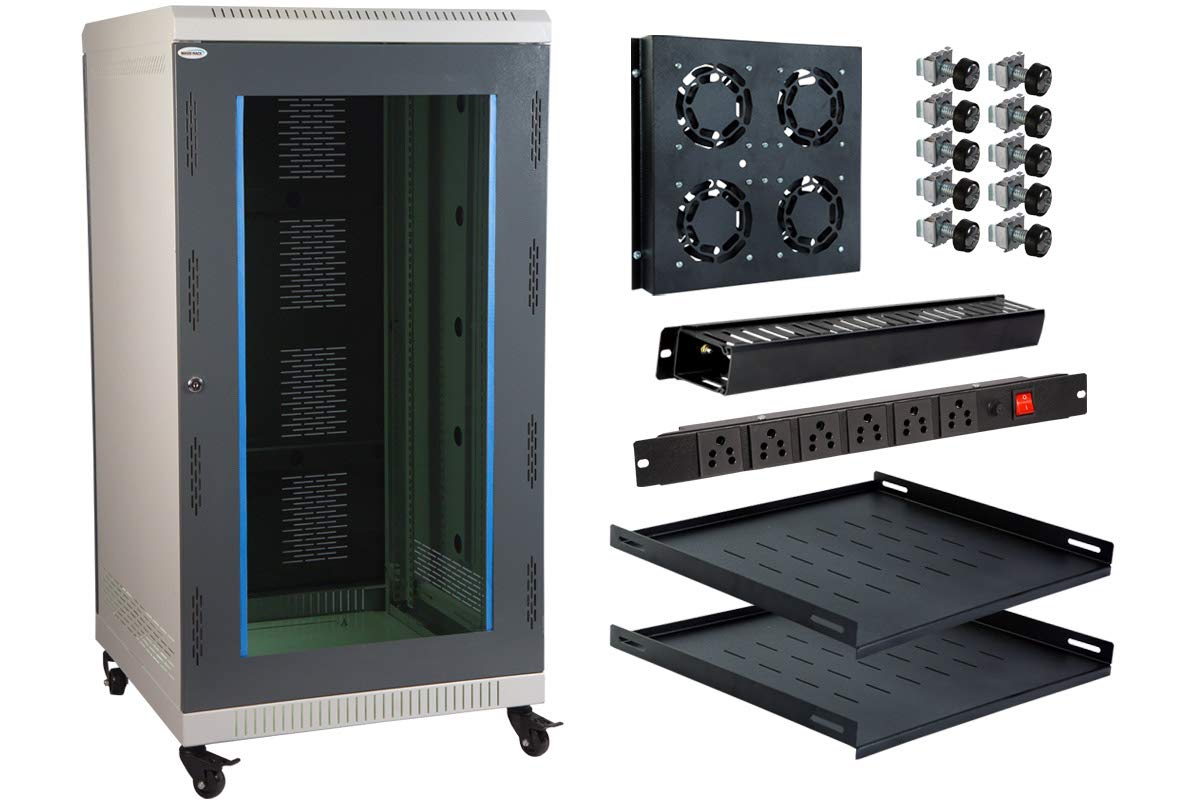
4. Secure loose components: Check your server rack for any loose components, such as removable panels or cards. Secure them properly to prevent damage during transit. Additionally, consider removing any non-essential components that may be prone to damage, such as optical drives or expansion cards.
5. Document cable connections: Take clear and detailed photographs of the cable connections in your server rack. This documentation will be invaluable when reassembling the rack at the destination. It will ensure that all cables are properly reconnected, preventing any connectivity issues.
6. Take measurements: Carefully measure the dimensions of your server rack, including height, width, and depth. This information will be crucial when choosing the appropriate packaging and shipping method.
7. Clean and dust: Thoroughly clean your server rack, removing any dust or debris. This step helps protect your equipment and ensures that it arrives at the destination in a clean and presentable condition.
8. Secure any removable parts: If your server rack has any removable parts, such as sliding rails or shelves, secure them in place or remove them entirely. This prevents them from getting damaged or causing damage to other components during transit.
By carefully following these preparation steps, you set the foundation for a smooth shipping process. Properly preparing your server rack reduces the risk of damage and ensures that it arrives at the destination ready for reassembly and use.
Step 2: Disassembling the Server Rack
Once you have prepared your server rack for shipping, the next step is to disassemble it. This involves carefully taking apart the rack and its components to ensure safe and compact packaging. Here’s how you can accomplish this:
1. Remove the servers: Begin by removing all servers from the rack. Carefully disconnect the power and network cables, labeling them if necessary for easier reconnection later. Take note of the server’s position in the rack to ensure proper reinstallation.
2. Remove cable management: If your server rack has cable management features such as panels or trays, remove them. These accessories can be packed separately or securely attached to the rack if they are not easily removable.
3. Dismantle mounting hardware: Depending on the design of your server rack, you may need to disassemble the mounting hardware. This typically involves removing screws or bolts that hold the rack components together. Use the appropriate tools and follow manufacturer guidelines to ensure a safe disassembly process.
4. Detach removable panels and accessories: Any removable panels or accessories, such as side panels or cooling fans, should be carefully detached. Wrap and pack them separately, ensuring they are adequately protected during transit.
5. Secure loose cables: Cables that are not permanently attached to the rack or servers should be carefully secured. Use cable ties or Velcro straps to organize and bundle them together. This prevents tangled cables during transportation.
6. Label components: As you disassemble the server rack, label each component and its corresponding location in the rack. This will simplify the reassembly process and ensure that all components are properly placed in their respective slots.
7. Keep hardware together: Place screws, bolts, and other small hardware into labeled bags or containers. Store these containers in a secure location to avoid losing any vital pieces during transit.
8. Pack the components: Once all components of the server rack are disassembled, carefully pack them in appropriate packaging materials. Use foam padding, bubble wrap, or antistatic bags to protect fragile components and prevent them from shifting during transportation.
Disassembling the server rack is a critical step in preparing it for shipping. By following these guidelines, you can ensure that each component is properly protected and ready for safe transit to its destination.
Step 3: Packaging the Server Rack Components
After disassembling the server rack, the next step is to carefully package all the components to ensure their safety during transit. Proper packaging is crucial to prevent damage to delicate equipment and minimize the risk of any mishaps. Here’s how you can effectively package your server rack components:
1. Choose suitable packaging materials: Opt for sturdy and secure packaging materials that can withstand the rigors of transportation. This may include heavy-duty cardboard boxes, foam padding, bubble wrap, and packing peanuts. Consider using antistatic bags for sensitive electronic components.
2. Wrap individual components: Individually wrap each server, switch, or other component with bubble wrap or foam padding. This provides an extra layer of protection against impacts and vibrations during transit. Make sure to cover all corners and edges of each component to safeguard against potential damage.
3. Securely box the components: Place the wrapped components in appropriately sized boxes, making sure there is enough room for additional padding material. Fill any empty spaces with packing peanuts or crumpled paper to prevent shifting during transportation.
4. Label each box: Clearly label each box with the name of the component it contains. Include necessary handling instructions, such as “Fragile” or “This Side Up,” to ensure proper care during transit.
5. Protect mounting hardware: Place screws, bolts, and other small hardware in labeled bags or containers, and securely attach them to the corresponding components. This prevents loss or confusion when it comes time for reassembly.
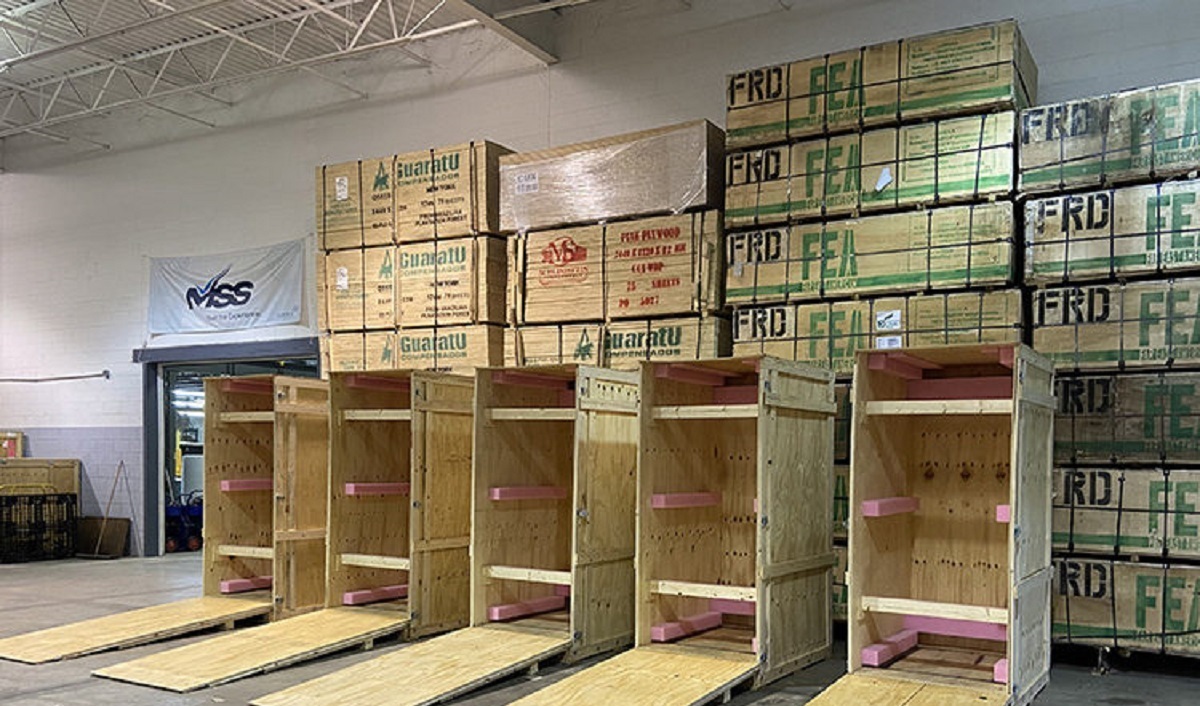
6. Consider custom-built crates: If your server rack is particularly large or fragile, consider using custom-built wooden or foam crates for added protection. These crates provide an extra layer of security and can be tailored to fit your specific rack dimensions.
7. Reinforce the packaging: Once all components are securely packed, seal the boxes with durable packing tape. Double-check that all seams are properly sealed to prevent accidental openings during transit.
When packaging your server rack components, it’s essential to prioritize their safety and ensure they arrive at the destination without any damage. By following these packaging guidelines, you can protect your equipment and minimize the risk of any mishaps during shipping.
Step 4: Securing the Server Rack Components
Securing the server rack components is a crucial step to prevent any movement or damage during transit. Properly securing the components ensures that they remain in place and arrive at the destination intact. Follow these guidelines to effectively secure your server rack components:
1. Ensure component fit: When placing the packed components back into the server rack, make sure they fit snugly. This helps prevent any shifting or movement during transportation. Double-check that all components are aligned correctly and properly seated in their designated slots.
2. Secure server rack doors: If your server rack has doors, lock them securely to prevent any accidental openings during transit. This adds an extra layer of protection and prevents damage caused by potential impacts or bumps along the way.
3. Use shock-absorbing materials: Consider using shock-absorbing materials, such as foam padding or anti-vibration mounts, to further protect your server rack components from potential impacts and vibrations during transportation. These materials help absorb shocks and reduce the risk of damage.
4. Avoid overpacking: While it’s important to secure the components in the server rack, be cautious not to overpack them. Overpacking can exert unnecessary pressure on delicate equipment and increase the risk of damage during transit. Ensure there is enough space for proper airflow and minimize any unnecessary strain on the components.
5. Use quality locking mechanisms: If your server rack features a locking mechanism, ensure it is functional and properly locked to prevent any accidental openings. This adds an extra layer of security and keeps your components in place.
6. Secure cables: After placing the components in the server rack, secure and organize the cables to prevent them from tangling or getting damaged. Use cable ties or Velcro straps to keep the cables neatly bundled together and away from any moving parts.
7. Perform a stability check: Before moving or shipping the server rack, perform a stability check to ensure it is properly secured. Give the rack a gentle shake to see if any components or doors appear loose. If any issues are identified, secure them before proceeding with transportation.
8. Communicate handling instructions: Clearly communicate any handling instructions to the shipping company or personnel involved. Provide explicit details, such as “fragile equipment” or “handle with care.” This ensures that the server rack is treated appropriately during loading, unloading, and transportation.
By taking the time to properly secure the server rack components, you can minimize the risk of damage or movement during transit. Implementing these measures adds an extra layer of protection and ensures that your equipment arrives at the destination safely and intact.
Step 5: Choosing the Right Shipping Method
Choosing the right shipping method for your server rack is crucial to ensure its safe and timely delivery. The shipping method you select should consider factors such as the size and weight of the rack, the distance to the destination, and any specific requirements you may have. Here are some considerations to help you make the right choice:
1. Freight shipping: For larger server racks, freight shipping is often the most suitable option. Freight carriers have the equipment and expertise to handle heavy and bulky items. They offer different options, such as LTL (Less Than Truckload) or FTL (Full Truckload) shipping, depending on the size and weight of your server rack.
2. Air freight: If you need your server rack to reach its destination quickly, air freight can be a viable option. It offers expedited delivery and is ideal for long-distance shipping. However, keep in mind that air freight can be more expensive than other methods.
3. Ground shipping: Ground shipping is a commonly used method for server rack transportation. It is cost-effective and suitable for shorter distances. When choosing a ground shipping provider, ensure they have experience in handling delicate and heavy equipment.
4. White glove delivery: If your server rack requires extra care and attention during delivery, consider opting for white glove delivery. This service typically involves professional movers who handle the entire shipping process, including pickup, packaging, transportation, and even reassembly at the destination.
5. Insurance and tracking: Regardless of the shipping method, it is essential to inquire about insurance coverage and tracking options. Insuring your server rack provides financial protection in case of any damage or loss during transit. Tracking allows you to monitor the progress of your shipment and ensures you stay informed about its whereabouts.
6. International shipping: If you need to ship your server rack internationally, research the specific requirements and regulations of the destination country. Consider customs clearance, import/export duties, and any necessary documentation needed for smooth transit.
7. Consider the timeline: Evaluate the urgency of your shipment. If you have a strict deadline, choose a shipping method that offers guaranteed delivery or expedited services to ensure your server rack arrives on time.
Each shipping method has its own advantages and considerations. Evaluate your specific needs and requirements to choose the shipping method that best suits your server rack transportation needs. By making an informed decision, you can ensure a seamless and secure delivery of your server rack to its destination.
Step 6: Labeling and Documenting the Shipment
Labeling and documenting your server rack shipment is essential for both the smooth transportation process and easy identification of the contents. Properly labeling and documenting the shipment enables efficient handling and reduces the risk of confusion or mishandling. Follow these guidelines to ensure accurate labeling and documentation:
1. External labels: Attach clearly visible labels on the exterior of each package or container. Include information such as the recipient’s name, address, and contact details. Additionally, label boxes as “Fragile” or “Handle with Care” if necessary to ensure the appropriate handling of your server rack components.
2. Internal labels: Place labels inside the boxes or containers as well. Include detailed information about the contents and indicate where each component belongs in the server rack. This makes it easier for the recipient to identify and correctly position the components during reassembly.
3. Inventory list: Create an itemized inventory list of all the server rack components and include it in the shipment documentation. This provides an overview of the contents and serves as a reference when checking for any missing or damaged items upon arrival.
4. Include handling instructions: Clearly state any specific handling instructions on the packaging and documentation. This may include instructions for lifting, orientation, or any other precautions that need to be taken during transportation.
5. Document the packing process: Keep a record of the packing process, including photographs or videos of the packed server rack components. This documentation can serve as evidence in case of any disputes or as a reference when reassembling the server rack at the destination.
6. Bill of Lading: Ensure that the shipping company provides a detailed Bill of Lading. This document serves as a contract between you and the carrier, outlining the terms and conditions of the shipment. It includes important information such as the pickup and delivery locations, shipping date, description of the goods, and liability coverage.
7. Tracking information: Obtain tracking information from the shipping company, including the tracking number and any online tools available for monitoring the shipment’s progress. This allows you to stay updated and informed about the whereabouts of your server rack during transit.
8. Retain copies: Keep copies of all the shipping documentation, including labels, inventory lists, packing records, and the Bill of Lading. These documents can be valuable references in case of any inquiries or claims regarding the shipment.
By properly labeling and documenting your server rack shipment, you facilitate a smoother transport process and ensure the accurate handling and tracking of your valuable equipment. Following these practices helps reduce the risk of errors or mishaps and allows for a seamless reassembly process upon arrival.
Step 7: Tracking the Shipment
Tracking your server rack shipment is crucial to stay informed about its progress and ensure its safe and timely arrival at the destination. By actively tracking the shipment, you can proactively address any issues or delays that may arise. Here’s how you can effectively track your server rack shipment:
1. Obtain tracking information: When arranging the shipment, ensure that you receive the tracking number or reference from the shipping company. This serves as a unique identifier for your shipment and allows you to track its progress.
2. Use online tracking tools: Many shipping companies provide online tracking tools on their websites. Utilize these tools by entering your tracking number to get real-time updates on the location and status of your server rack shipment. Take note of any estimated delivery dates provided.
3. Sign up for notifications: If available, sign up for email or SMS notifications provided by the shipping company. This allows you to receive updates on the progress of your shipment, including delivery updates and any potential delays or issues.
4. Monitor transit milestones: Pay attention to the transit milestones provided by the tracking tool. These milestones may include pickup, departure, arrival, and delivery notifications. Monitoring these milestones helps you stay informed about the progress of your server rack shipment.
5. Contact the shipping company if necessary: If you notice any irregularities or have concerns about the progress of your shipment, don’t hesitate to contact the shipping company. They can provide additional information or assistance to address any issues that may arise.
6. Coordinate with the recipient: If the server rack shipment is being delivered to a specific location, coordinate with the recipient to ensure someone is available to receive the delivery. Inform them about the estimated arrival time, tracking details, and any specific instructions given by the shipping company.
7. Document any delays or damages: In case of any unforeseen delays or damages to your server rack during transit, document the issues with photographs or written descriptions. This documentation may be necessary if you need to file a claim with the shipping company for any damages or losses incurred.
8. Confirm delivery and condition: Once the server rack shipment arrives at the destination, confirm the delivery with the recipient. Conduct a thorough inspection of the shipment to ensure that all components are present and in the expected condition. If any issues are identified, note them down and notify the shipping company promptly.
By actively tracking your server rack shipment, you stay informed and can take necessary actions to ensure a smooth and successful delivery. Monitoring the progress of the shipment provides peace of mind and allows you to address any issues in a timely manner.
Step 8: Reassembling the Server Rack upon Arrival
After your server rack shipment has safely arrived at its destination, the final step is to reassemble the components and restore your IT infrastructure. Properly reassembling the server rack is crucial to ensure its functionality and prevent any connectivity issues. Follow these steps to effectively reassemble the server rack:
1. Unpack the components: Carefully unpack the server rack components, taking note of any labels or internal documentation that indicates the location of each component.
2. Organize the components: Arrange the components in a logical and orderly manner. Refer to the inventory list and any photographs or videos taken during the packing process to ensure that each component is correctly positioned in the rack.
3. Reconnect cables: Using the documentation or photographs taken before disassembling the server rack, reconnect the cables to their respective devices. Follow proper cable management practices to ensure a tidy and organized setup.
4. Secure components: Once the cables are connected, secure any removable components, such as panels, shelves, or rails, back into their designated position. Ensure that they are properly aligned and tight to prevent any movement or instability.
5. Power on and test: Power on the server rack and test each component to ensure proper functionality. Verify that all devices are operational, connectivity is established, and data is accessible.
6. Conduct post-assembly checks: Perform a thorough inspection of the reassembled server rack. Check for any loose screws or bolts, verify that doors are securely closed, and ensure that airflow is not blocked.
7. Update inventory: Update the inventory list to reflect the reassembled components in the server rack. This ensures accurate documentation and serves as a reference in case of future maintenance or upgrades.
8. Train personnel: If necessary, provide training to personnel who will be interacting with the server rack. Ensure they understand the proper operating procedures, safety protocols, and any specific considerations unique to your server rack setup.
By carefully reassembling the server rack components upon arrival, you can restore your IT infrastructure efficiently and minimize any downtime. Following these steps ensures that your server rack is properly configured and ready to support your business operations seamlessly.
Conclusion
Properly shipping a server rack is essential to protect your valuable equipment and ensure its safe transportation to a new location or client. By following the step-by-step process outlined in this guide, you can ensure a smooth and successful shipping experience.
Whether you are moving your server rack or sending it to a client, the preparation, disassembly, packaging, securing, choosing the right shipping method, labeling and documenting the shipment, tracking the progress, and reassembling the components are all crucial steps to consider. By carefully following these steps, you can minimize the risk of damage, data loss, and delays during transit.
Remember to properly disconnect and prepare the server rack, disassemble the components, package them securely, and choose the appropriate shipping method based on your needs. Clear labeling, detailed documentation, and accurate tracking help you stay informed about the progress of your shipment and assist in the smooth reassembly process at the destination.
Properly shipping a server rack not only protects your investment and reduces the risk of data loss but also helps maintain the reputation of your business. By delivering your server rack in optimal condition and ensuring its seamless functionality upon arrival, you demonstrate professionalism and commitment to your clients or stakeholders.
Keep in mind that every server rack is unique, and it’s crucial to consider specific requirements and guidelines from the manufacturer or IT team. Adapting the shipping process to fit your specific circumstances can enhance the overall success of the operation.
By following the best practices outlined in this guide, you can navigate the complexities of shipping a server rack with confidence. Protect your equipment and ensure a smooth and efficient transition during shipping, giving you peace of mind and allowing you to focus on other important aspects of your business operations.