Introduction
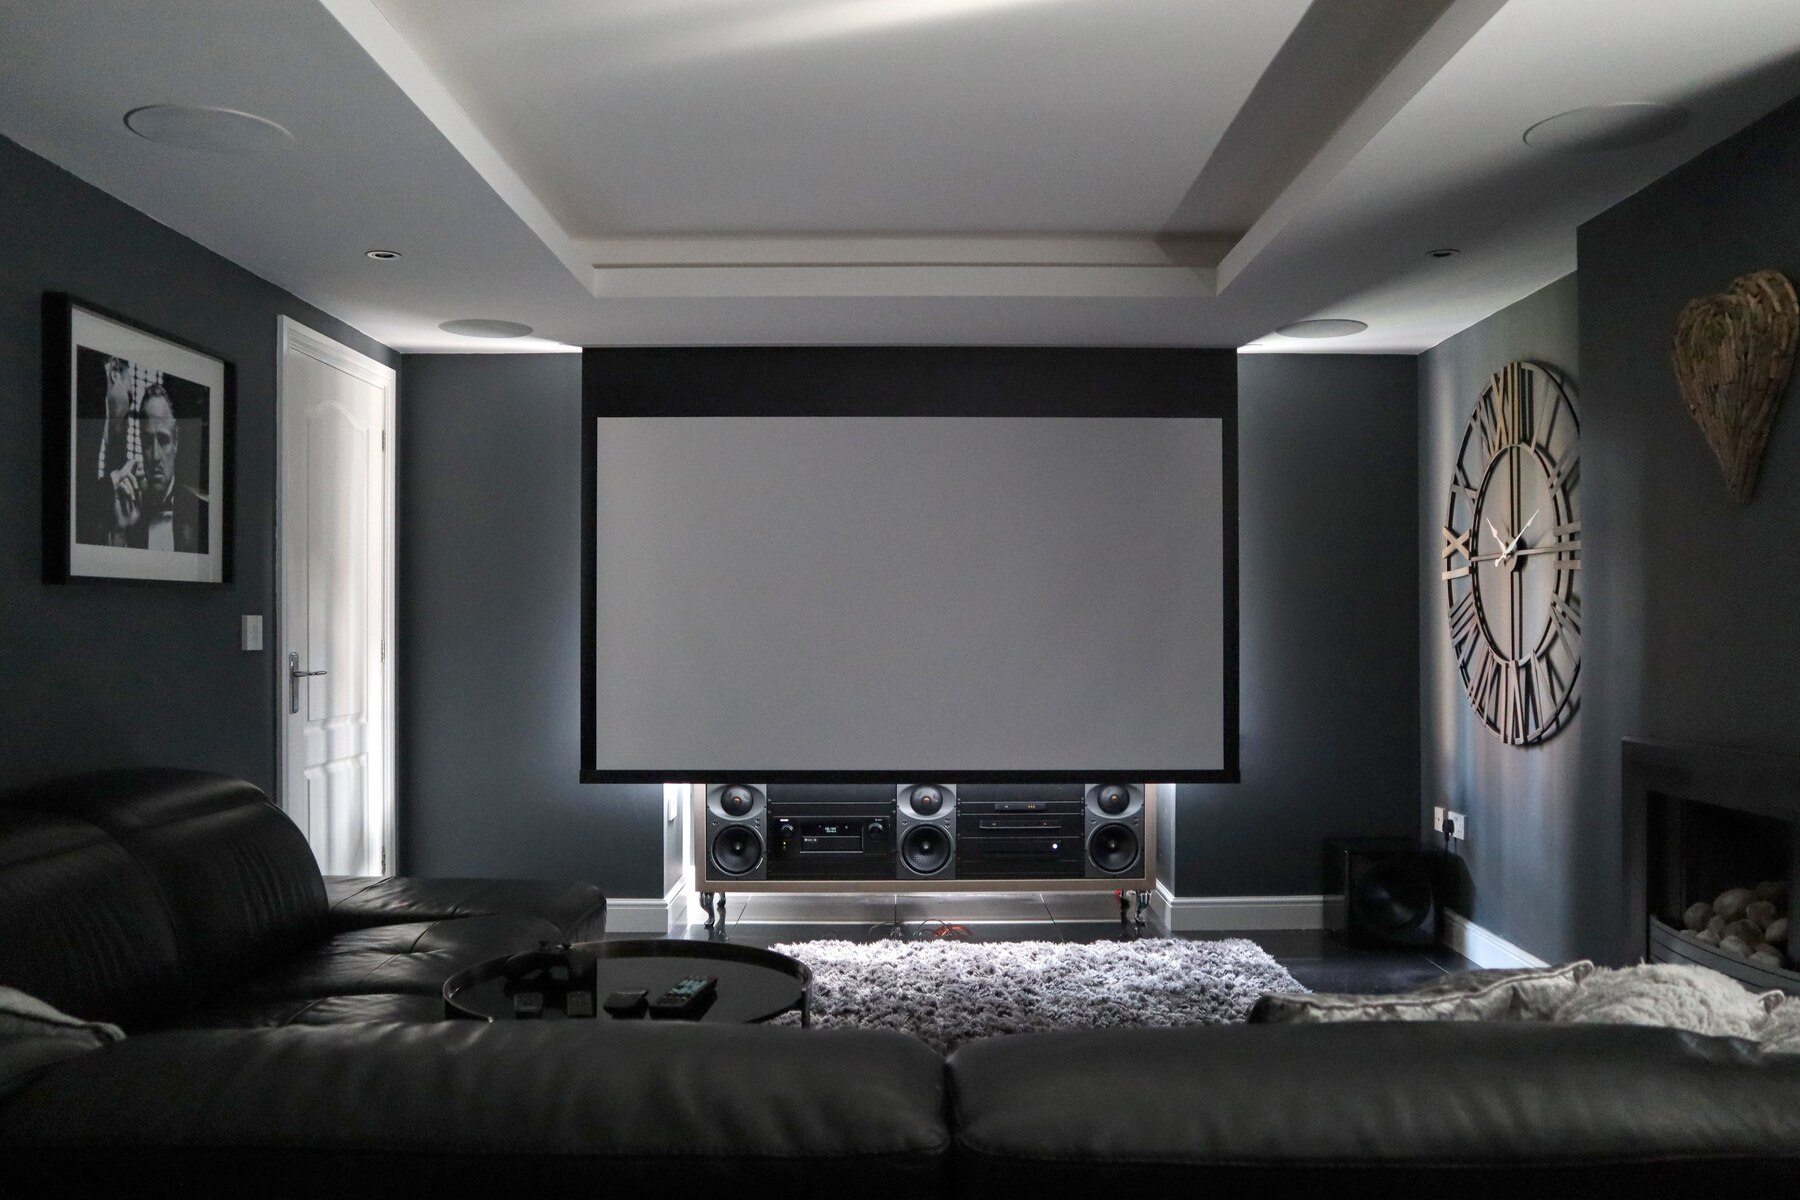
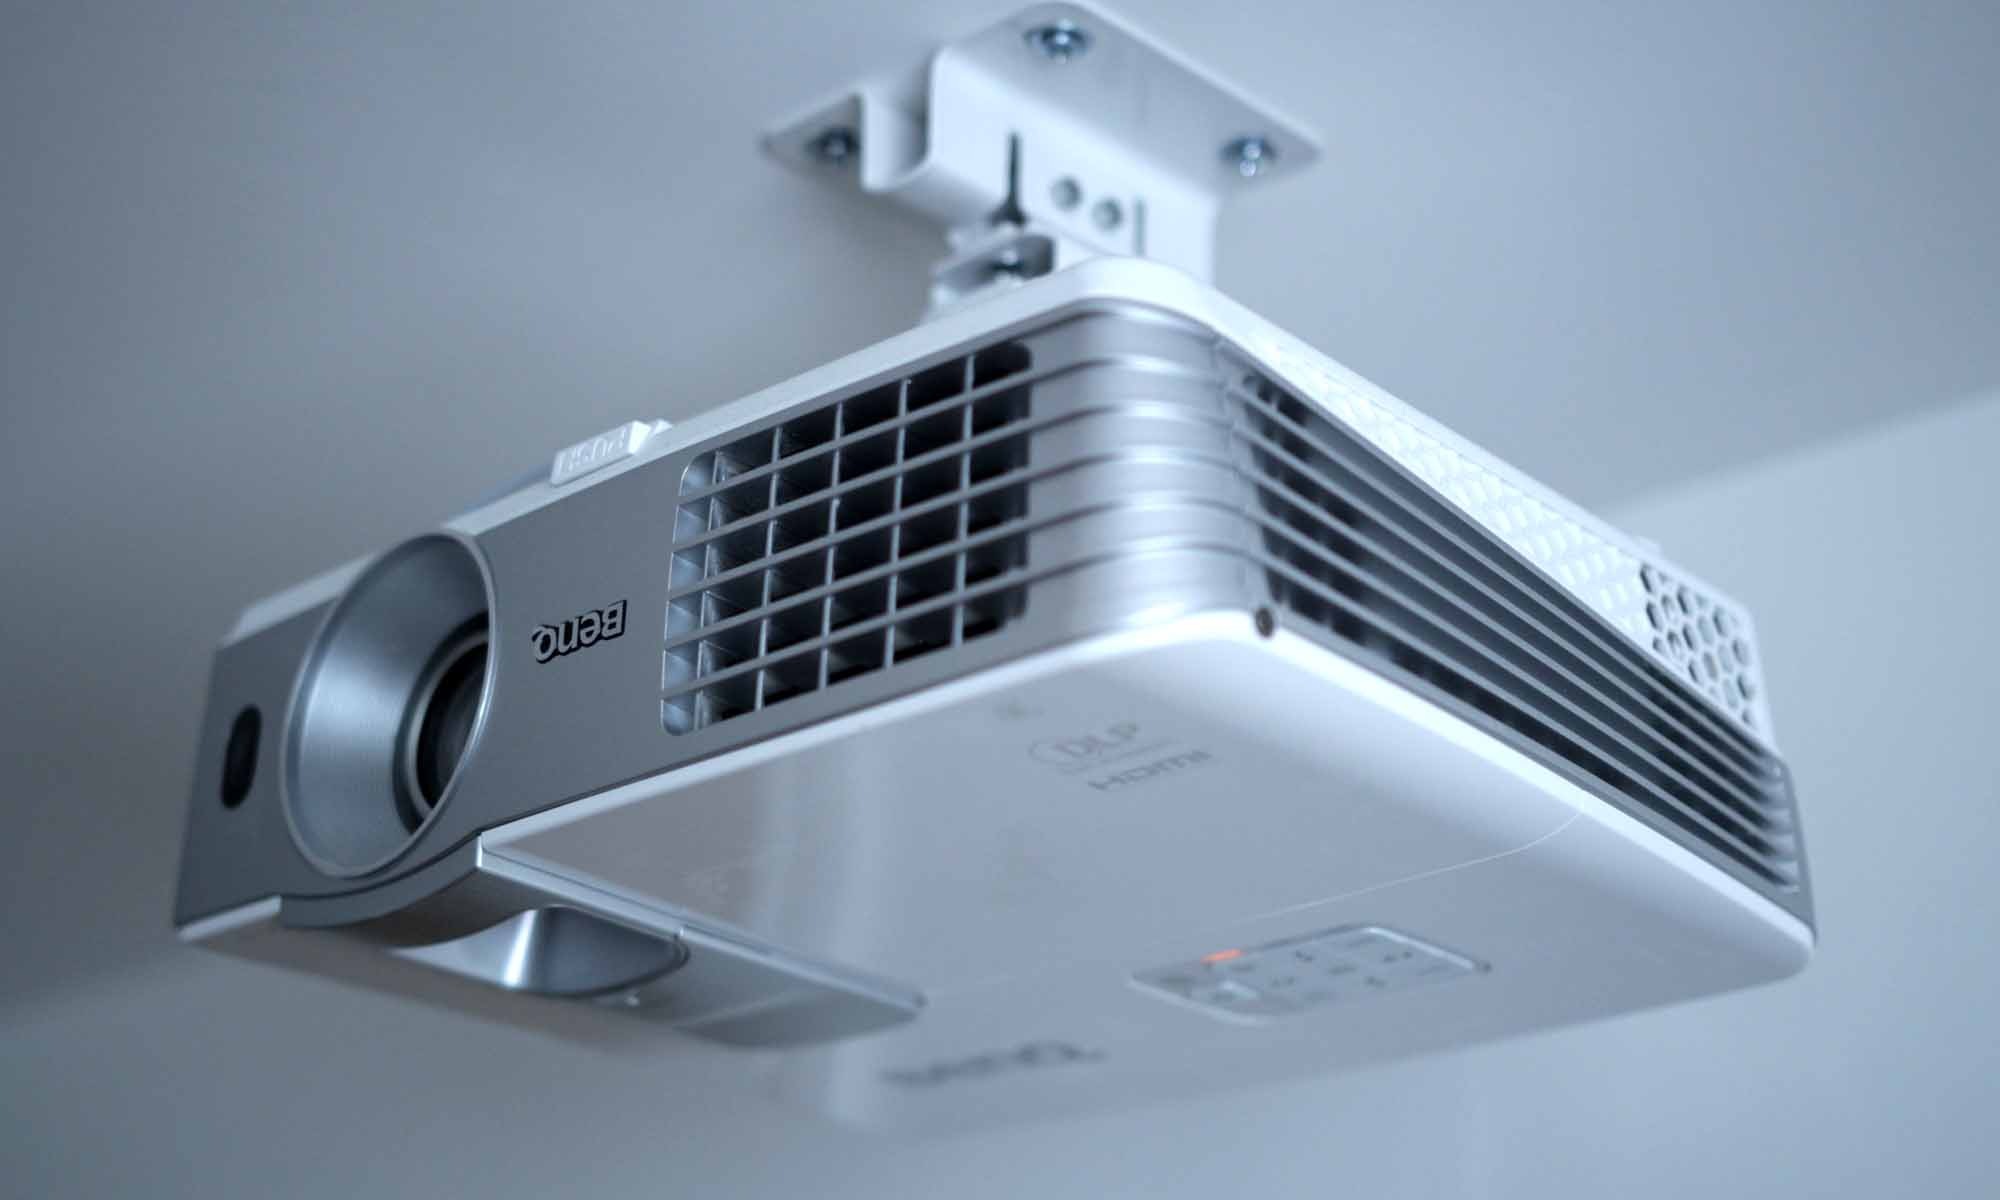
Welcome to our guide on how to mount a projector to the ceiling! Projectors have become a popular choice for home theaters, classrooms, and conference rooms, providing a larger screen experience and enhanced visuals. Mounting a projector to the ceiling not only saves space but also ensures optimal positioning and eliminates the need for a bulky stand.
While the idea of mounting a projector might seem intimidating, fear not! In this step-by-step guide, we will walk you through the process from start to finish, making it easy for you to enjoy your favorite movies, presentations, or games on the big screen.
Before we get started, there are a few things you should know. This guide assumes that you already have a projector and a suitable mounting kit. It’s important to choose a mounting kit that is compatible with your projector model and offers a sturdy and secure installation. Additionally, be sure to check the weight capacity and ceiling material compatibility of the kit before purchasing.
Now, let’s dive in and get your projector mounted to the ceiling!
Step 1: Gather the necessary tools and materials
Before you begin the projector mounting process, it’s essential to gather all the necessary tools and materials. Having everything at hand will streamline the installation and prevent interruptions. Here’s what you’ll need:
- Projector mounting kit: Make sure you have a mounting kit specifically designed for your projector model. It typically includes a ceiling mount, mounting brackets, screws, and other mounting hardware.
- Tape measure: Accurate measurements are crucial to ensure the projector is perfectly aligned and positioned on the ceiling. A tape measure will help you determine the appropriate distance from the screen or wall.
- Stud finder: To securely anchor the projector mount to the ceiling, you’ll need to locate the ceiling studs. A stud finder will help you identify the exact position of the studs and avoid mounting in weaker areas.
- Drill and drill bits: You’ll need a power drill to create holes in the ceiling for the mounting hardware. Different drill bits may be required depending on the type of ceiling material.
- Pencil or marker: Use a pencil or marker to mark the positions for the holes and brackets on the ceiling.
- Ladder or step stool: Since you’ll be working at a height, a ladder or step stool is necessary to safely access the ceiling. Make sure it is sturdy and secure before climbing.
- Screwdriver or wrench: Depending on the mounting kit, you may need a screwdriver or wrench to tighten the mounting hardware securely.
- Cable management solutions: To keep the cables neat and organized, consider investing in cable management solutions such as cable clips, ties, or conduits.
- Level: A level ensures that the projector mount is perfectly horizontal on the ceiling, preventing any image distortion or misalignment.
Once you have gathered all these tools and materials, you’re ready to proceed to the next step: choosing the right location for your projector.
Step 2: Choose the right location for the projector
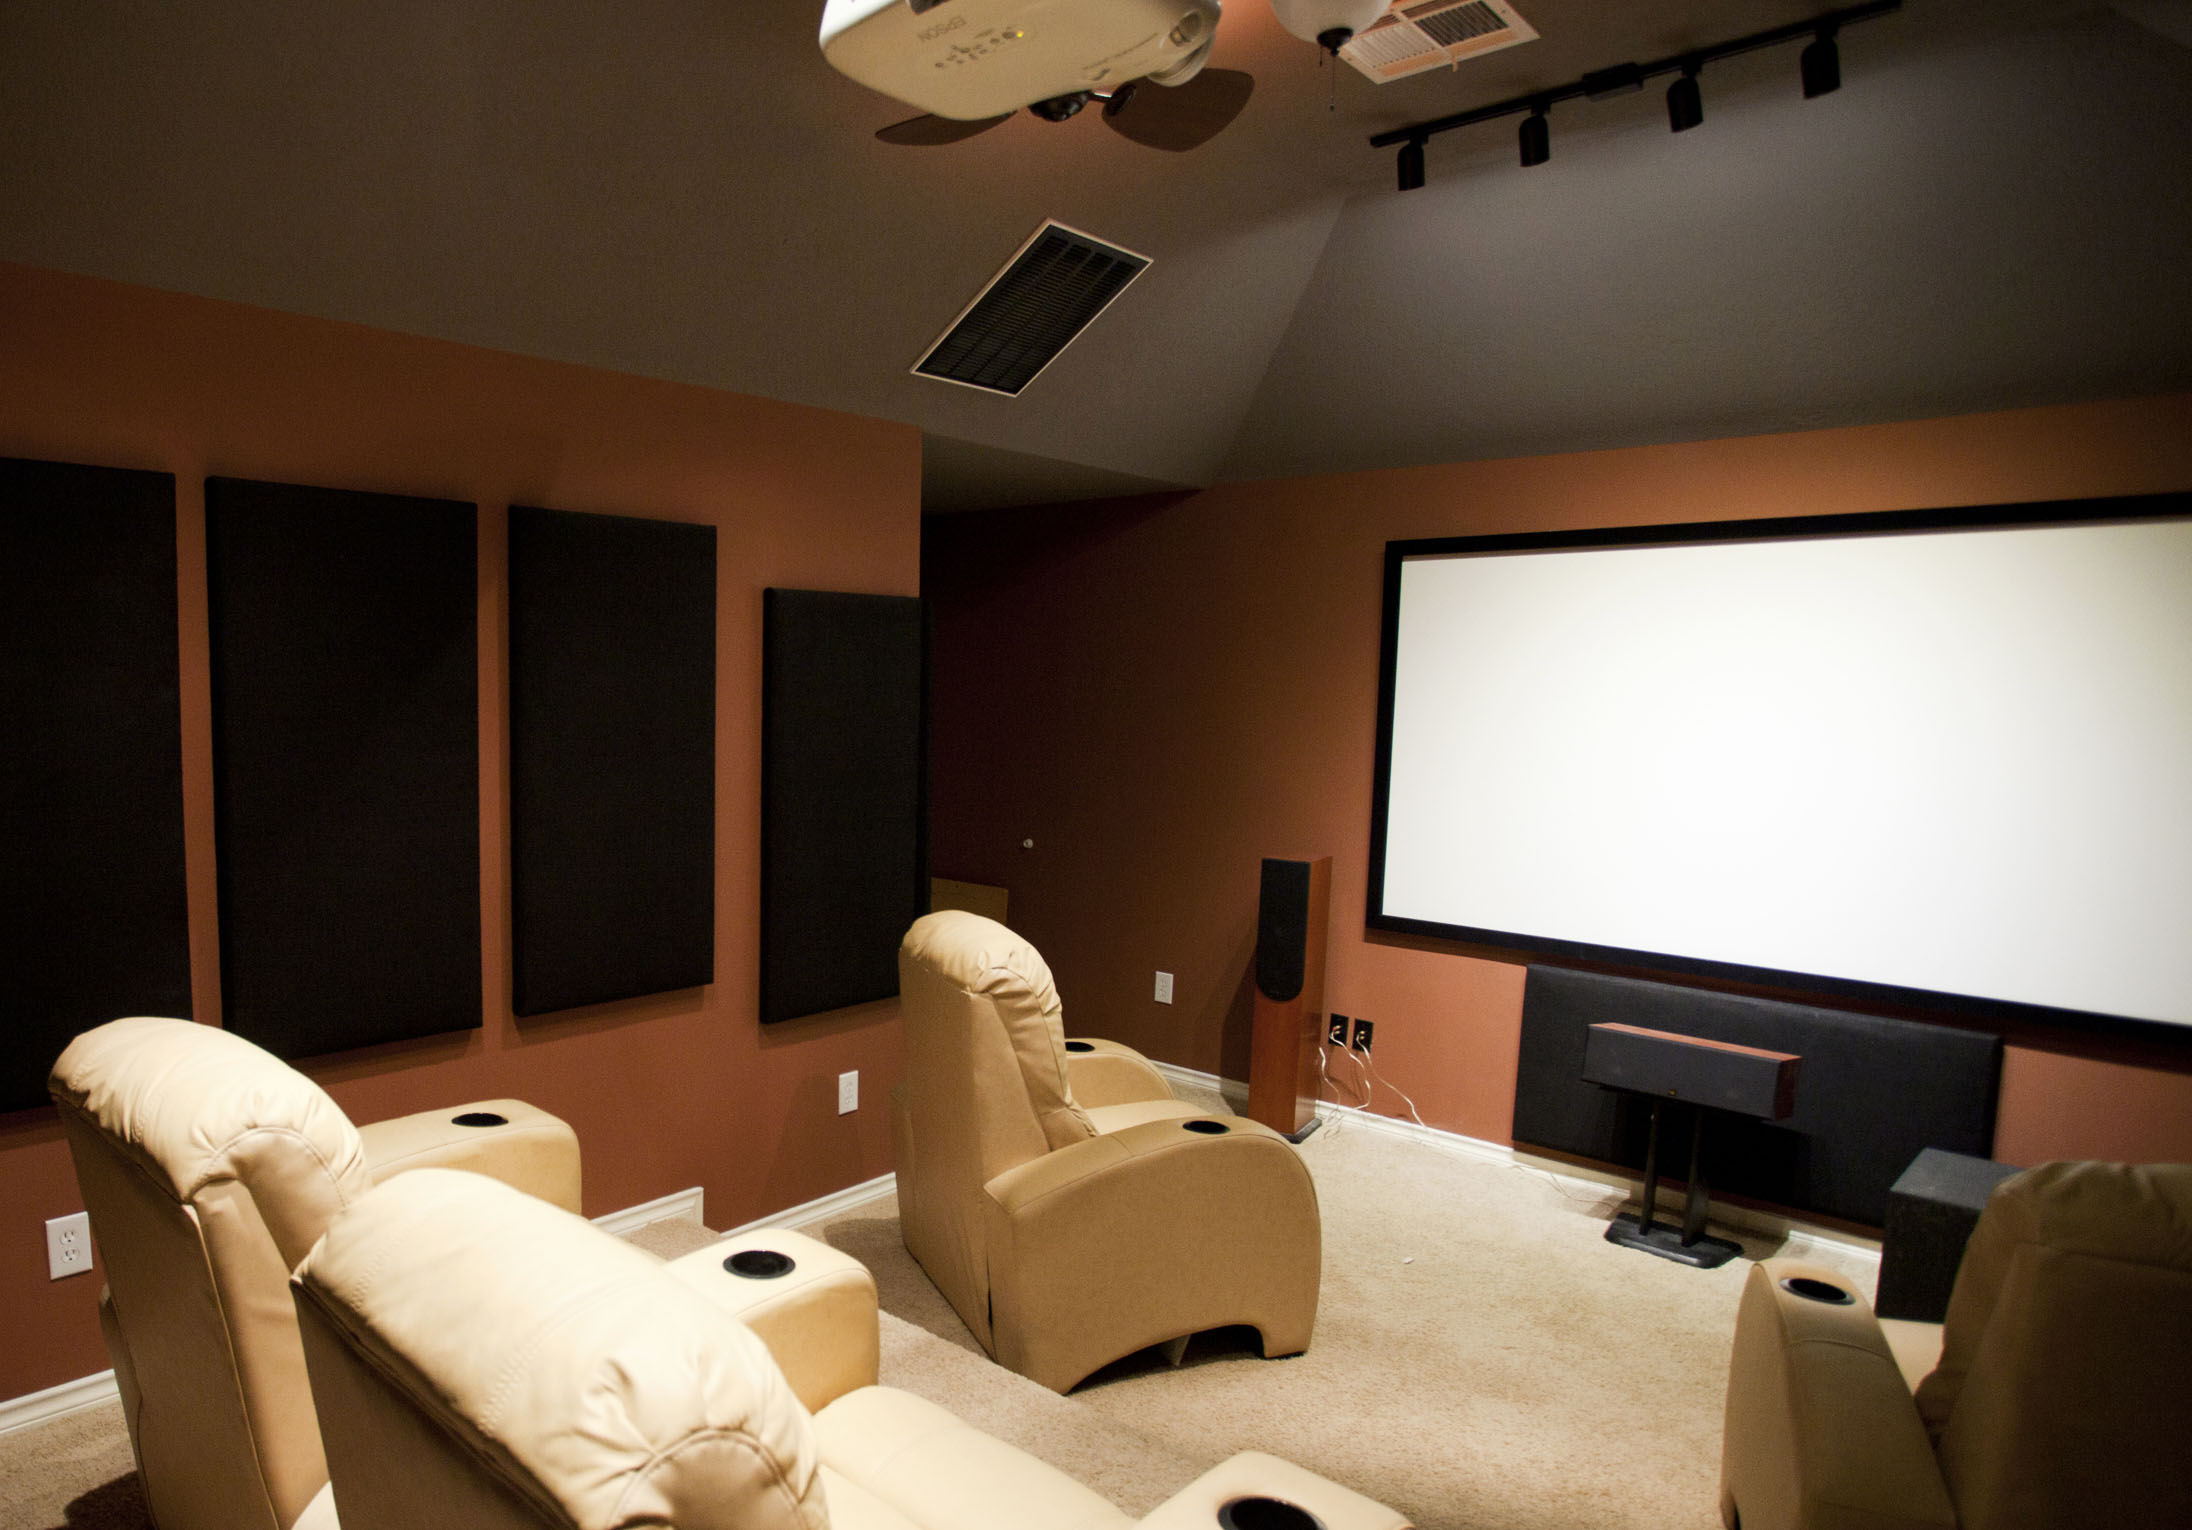
Choosing the right location for your projector is crucial to ensure optimal viewing and a comfortable experience. Here are a few factors to consider when selecting the placement:
- Distance from the screen: Determine the desired screen size and throw distance. Measure the distance between the projector and the screen to ensure it falls within the recommended range for your projector model. This information can usually be found in the projector’s user manual or specifications.
- Ceiling height: Take into account the height of the ceiling and the size of the projector mount when selecting the location. Ensure there is enough clearance between the projector and the ceiling to allow for ventilation and easy maintenance.
- Avoiding obstructions: Look for a location that is free from obstructions such as light fixtures, air vents, ceiling fans, or hanging decor. These can interfere with the projection or restrict the viewing angle.
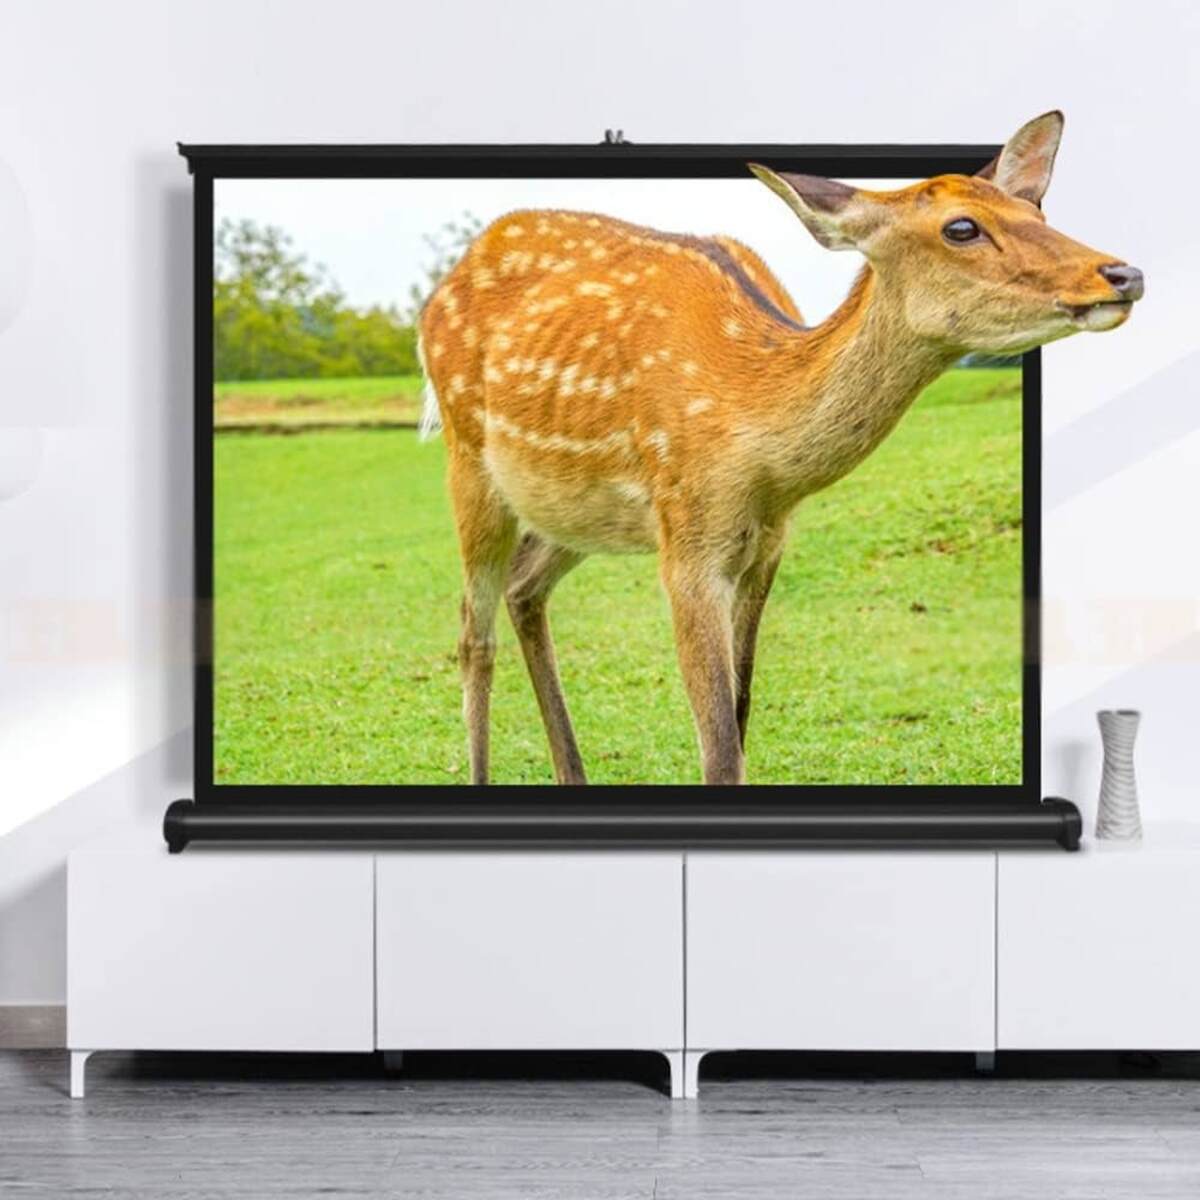
- Screen orientation: Decide whether you want a ceiling-mounted projector that projects the image onto a wall or a retractable projection screen. Consider the available wall space and the desired screen position.
- Wireless connectivity: If your projector supports wireless connectivity, ensure that the location you choose is within range of your Wi-Fi network for seamless streaming.
Once you have considered these factors, mark the selected location on the ceiling using a pencil or marker. This will serve as a reference point for the installation process.
Remember, the goal is to find a location that provides an unobstructed view, optimal image size, and comfortable viewing angles for everyone in the room. Taking the time to choose the right location will greatly enhance your projector experience.
Now that you have chosen the location, it’s time to prepare the ceiling for mounting. Let’s move on to the next step!
Step 3: Prepare the ceiling for mounting
Before you can secure the projector mount to the ceiling, it is essential to prepare the ceiling surface. This ensures a stable and secure installation. Follow these steps to prepare the ceiling:
- Locate ceiling studs: Use a stud finder to locate the ceiling studs in the chosen mounting location. Ceiling studs offer the necessary support and strength for securely anchoring the mount. Mark the location of the studs using a pencil or marker.
- Clear the area: Remove any furniture or objects that may obstruct your access to the ceiling. Prepare a clean and clutter-free workspace to facilitate the installation process.
- Cover and protect: Place a drop cloth or plastic sheet on the floor or furniture below the installation area. This will protect them from any dust or debris that may fall during the installation process.
- Inspect the ceiling: Carefully examine the ceiling surface for any signs of damage or cracks. If there are any structural concerns, it is advisable to consult a professional before proceeding with the installation.
Once you have completed these steps, you are ready to move on to the next stage: installing the projector mount. Properly preparing the ceiling ensures a secure and stable foundation for your projector, giving you peace of mind and long-lasting performance.
Now that you have prepared the ceiling, it’s time to proceed with the installation of the projector mount. Let’s move on to the next step!
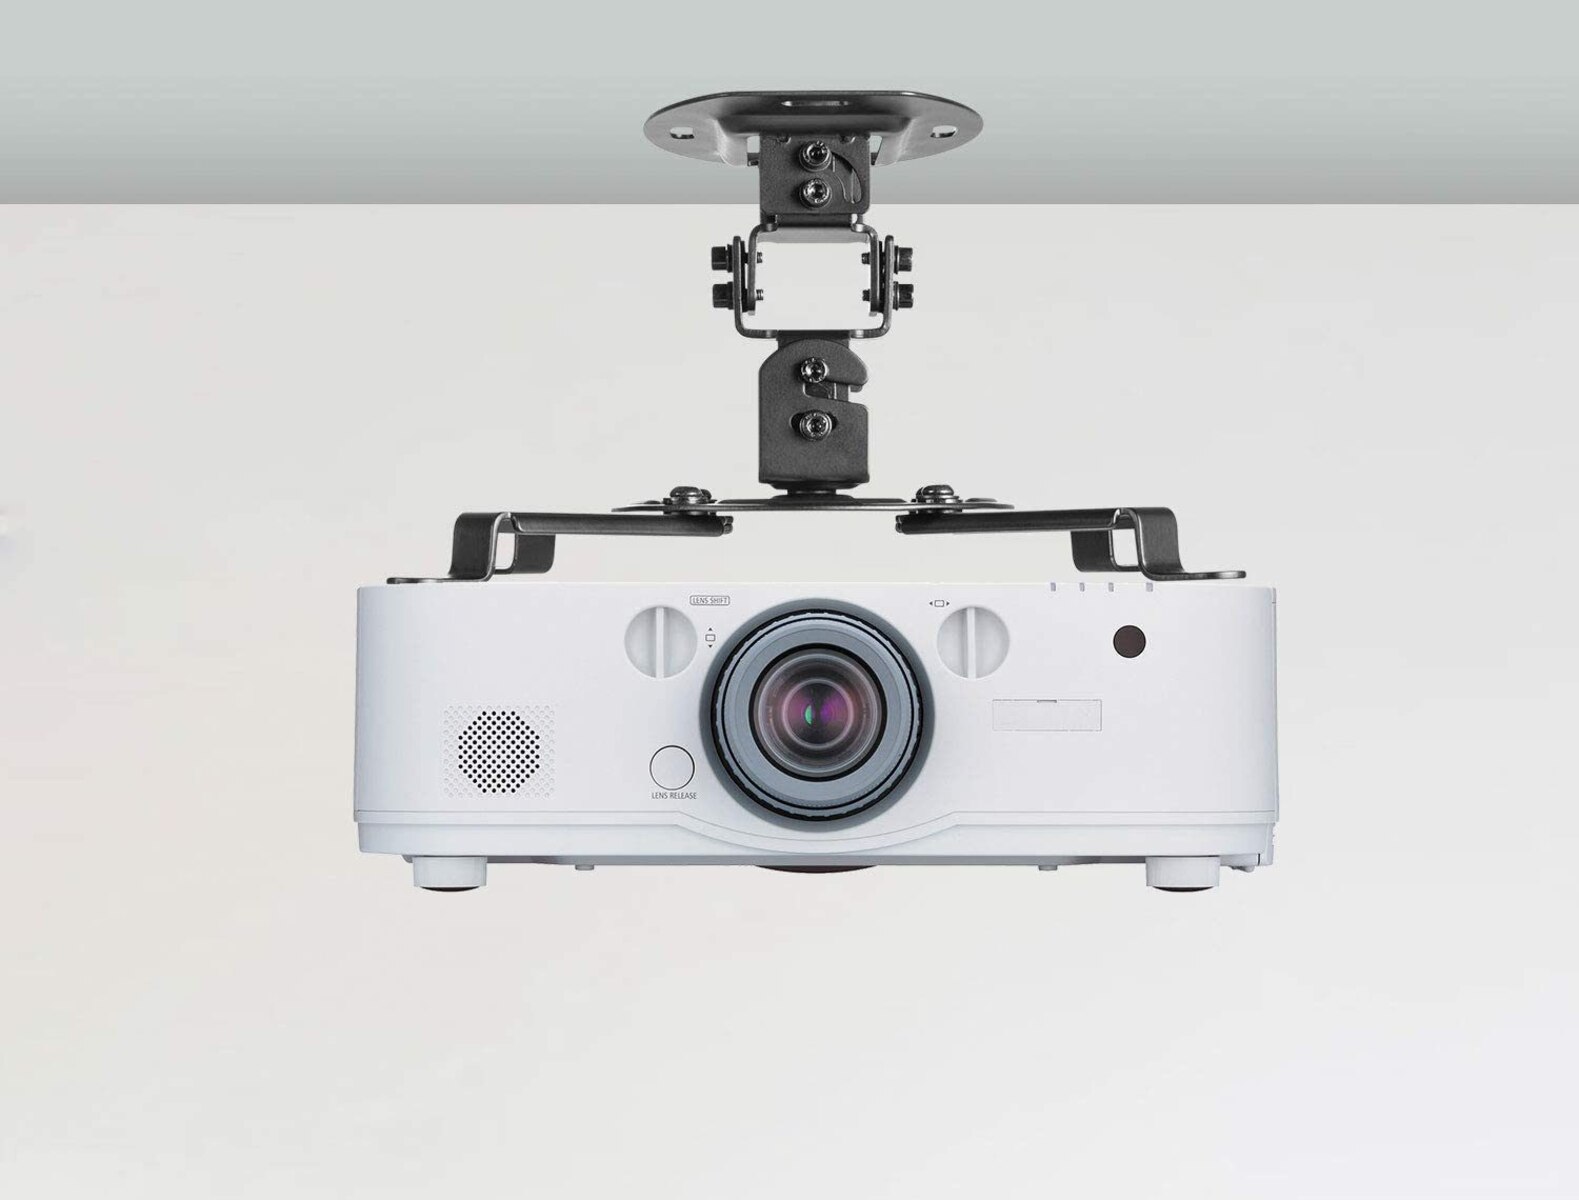
Step 4: Install the projector mount
Now that you have prepared the ceiling, it’s time to install the projector mount. Follow these steps carefully to ensure a secure and stable installation:
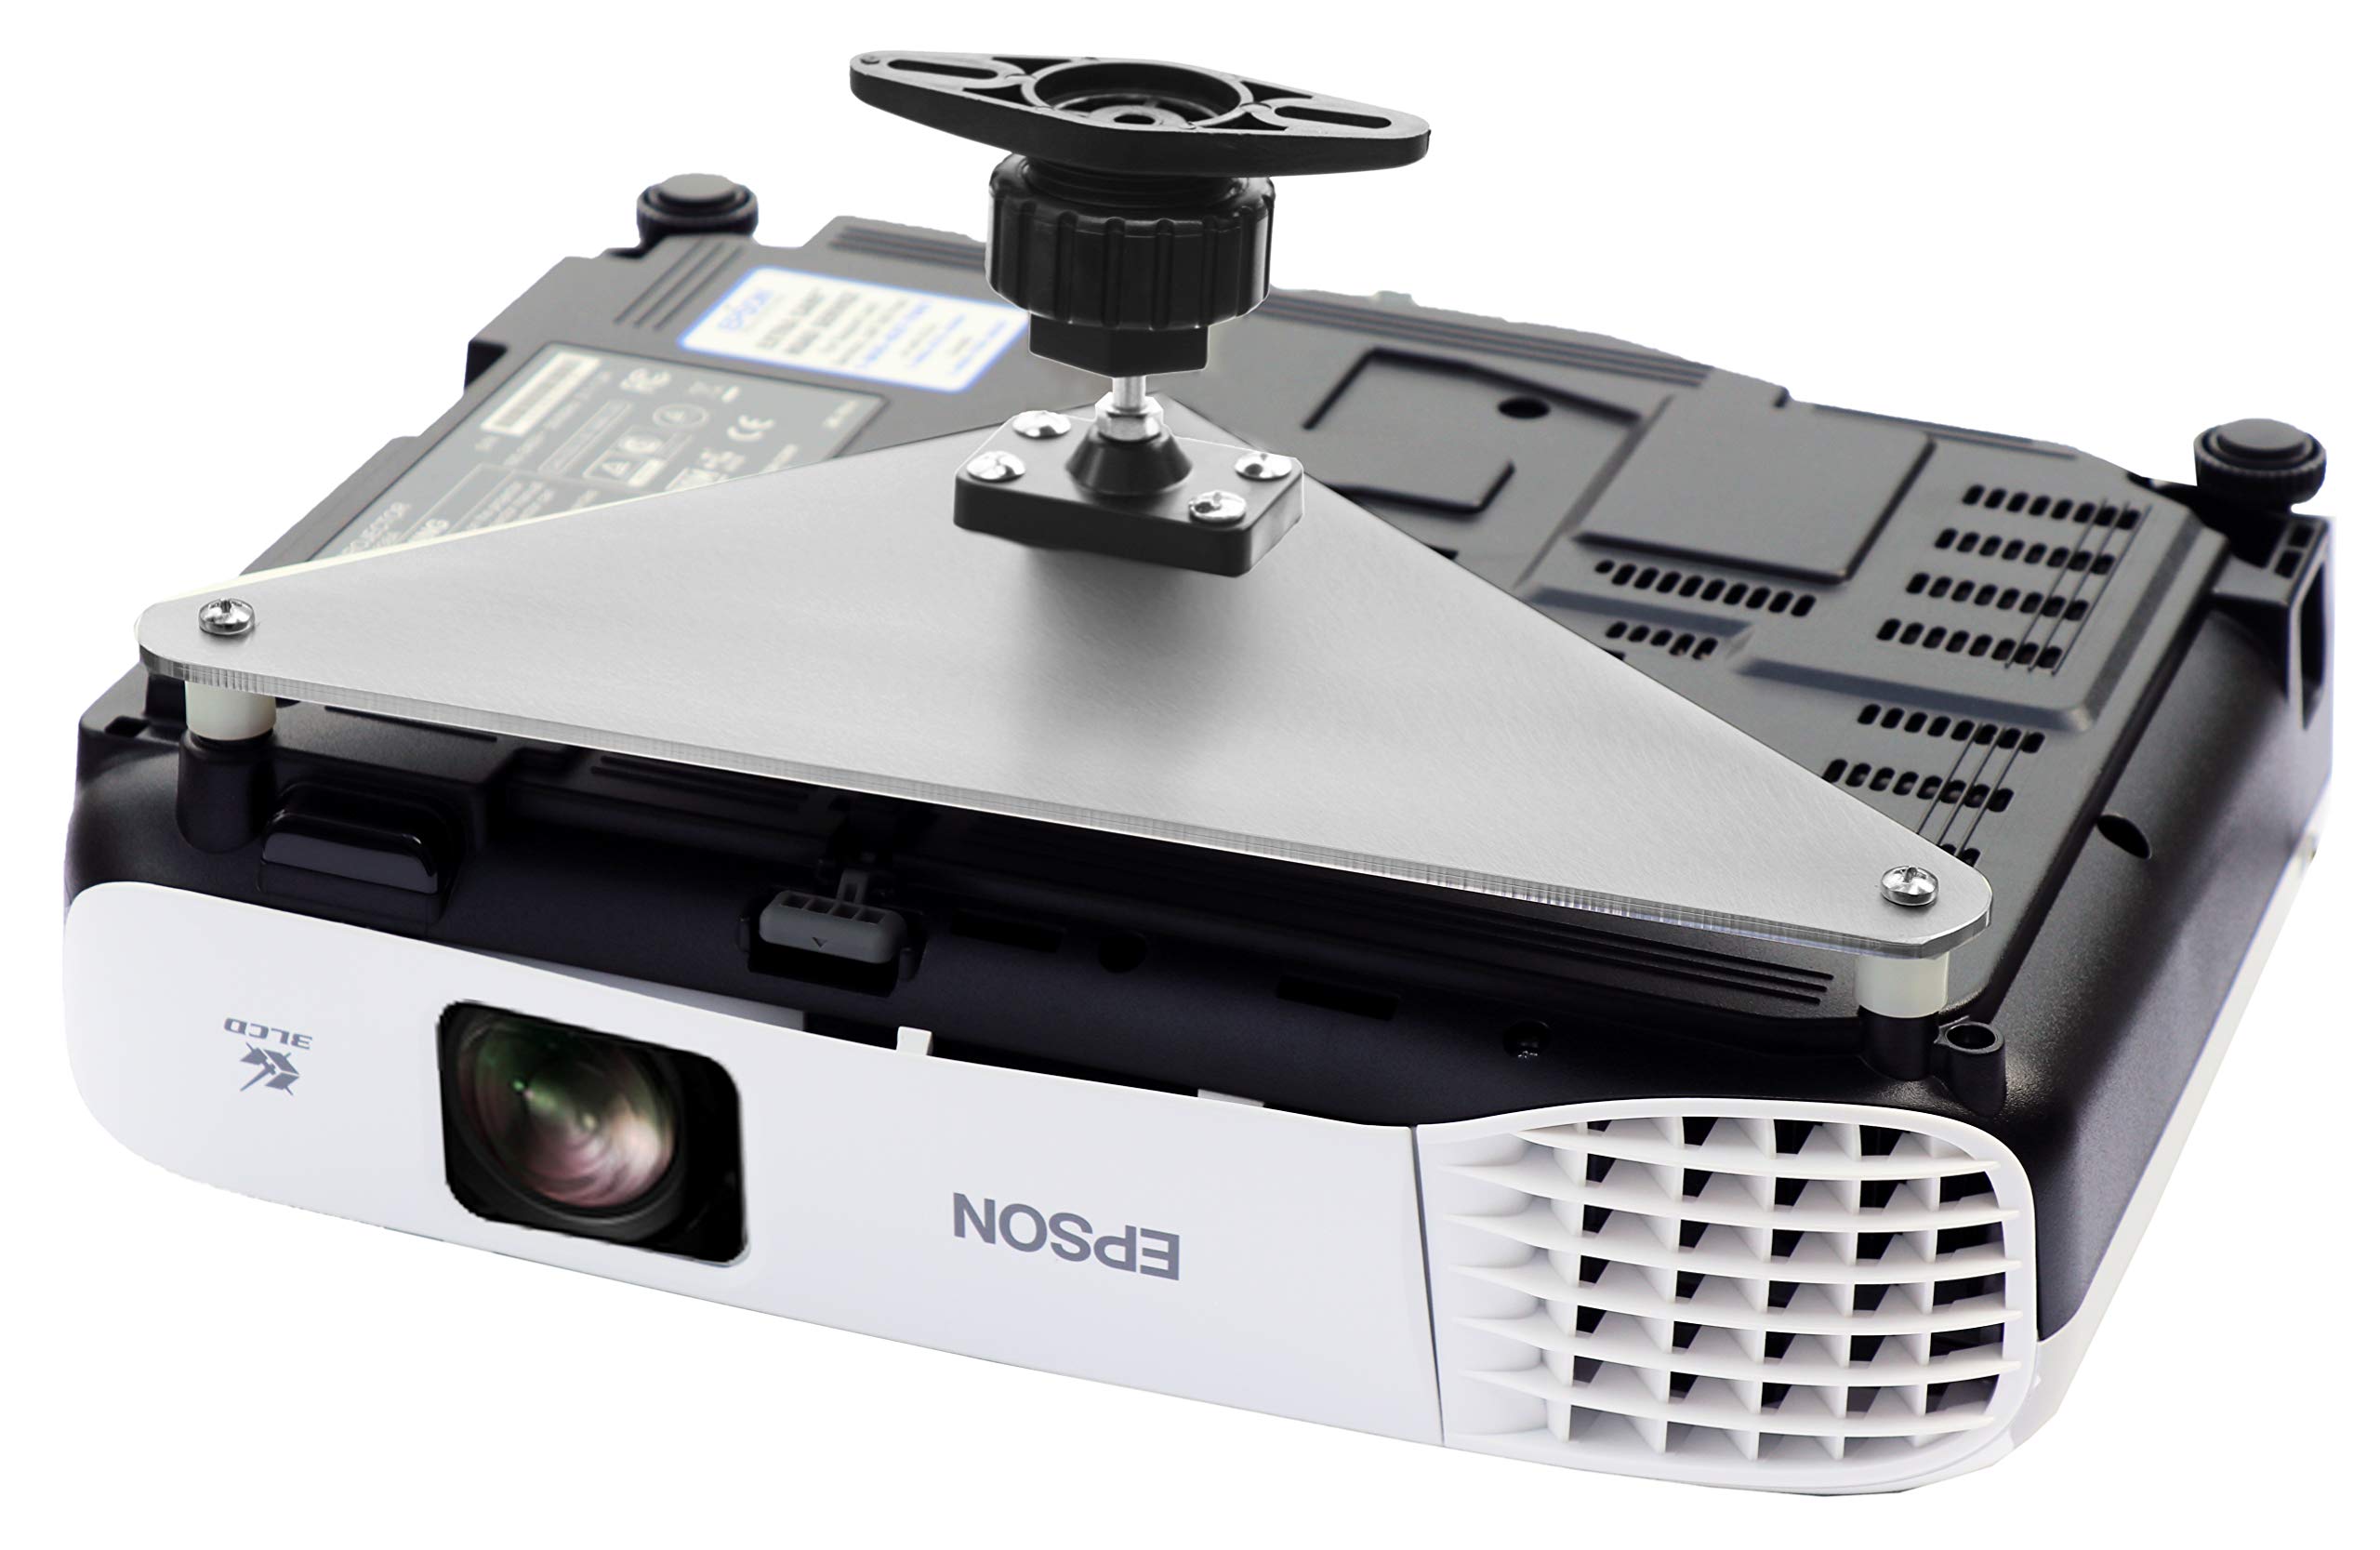
- Attach the mounting plate: Start by attaching the mounting plate to the bottom of the projector. Most projector mounts come with universal mounting plates that can be adjusted to fit different projector models. Use the appropriate screws or brackets provided in the mounting kit and securely fasten them to the projector.
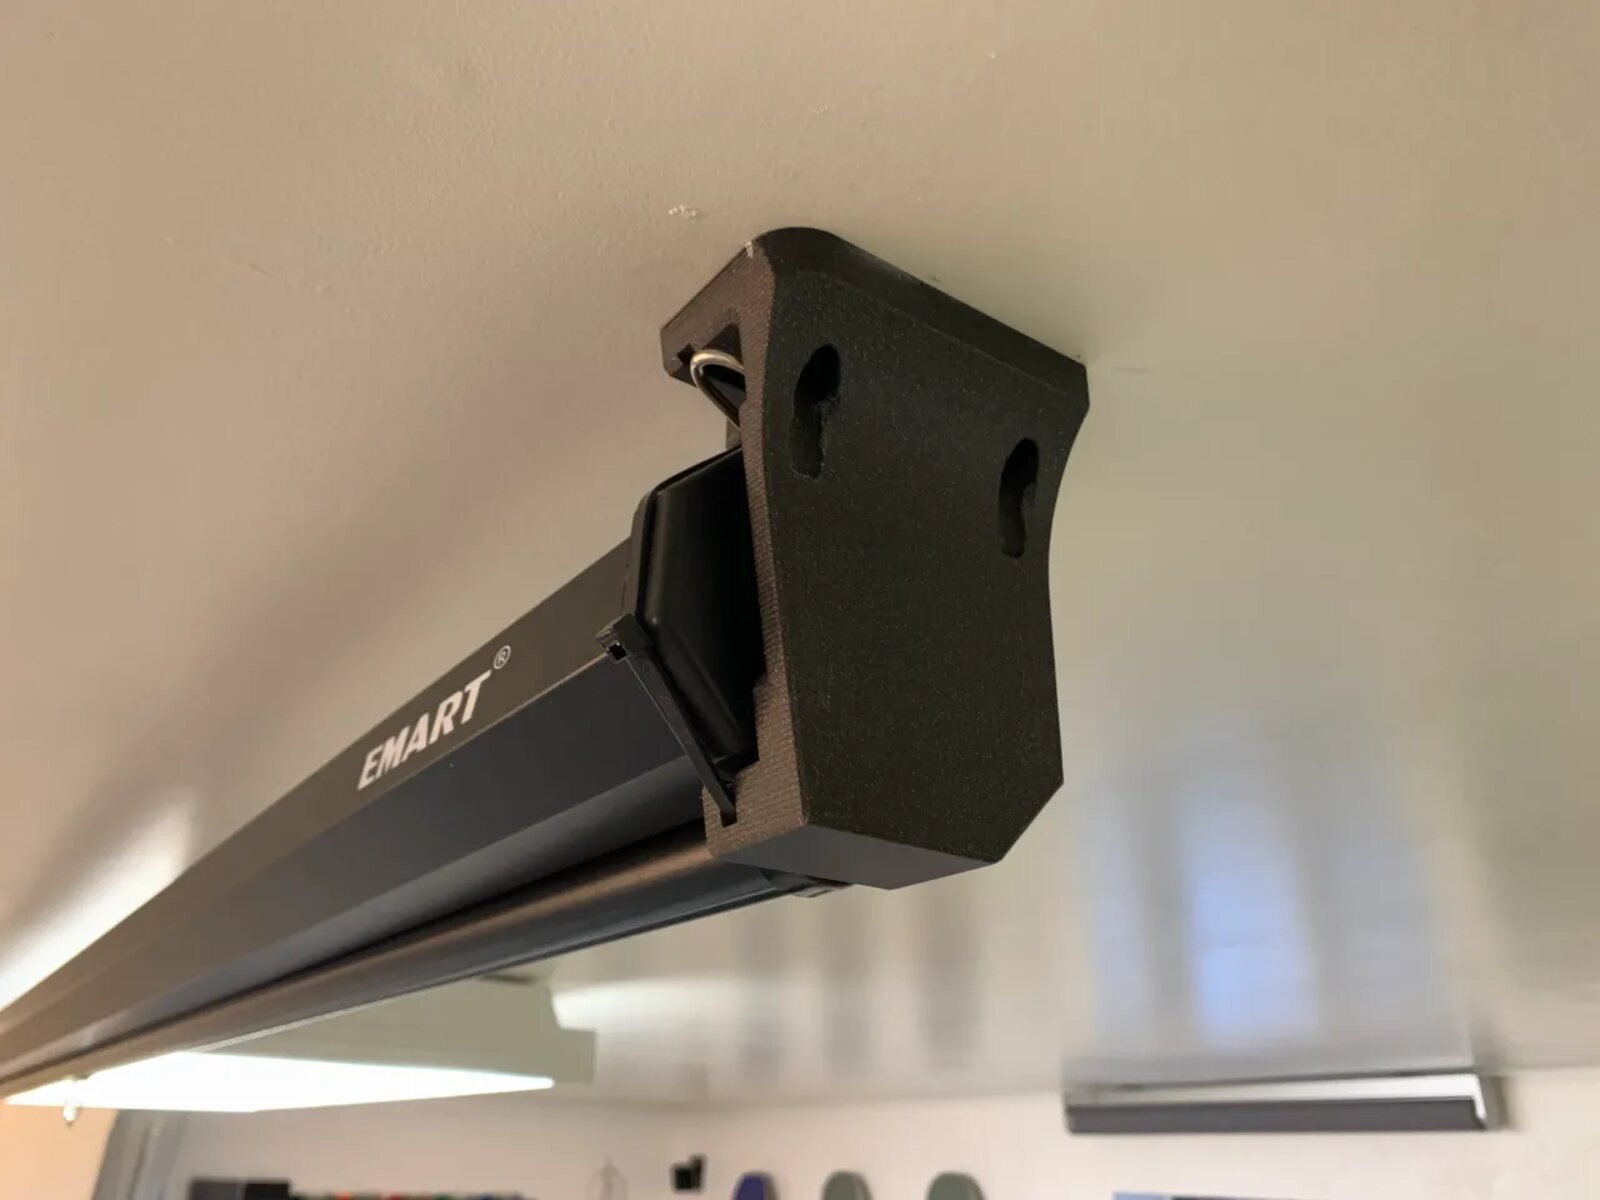
- Align the mount: Hold the mount against the ceiling in the chosen location. Align the mounting holes on the mount with the marks you made earlier for the ceiling studs. Use a level to ensure that the mount is perfectly horizontal.
- Secure the mount: Once the mount is aligned, use a drill and the appropriate drill bit to create pilot holes in the ceiling at the marked locations. Make sure the pilot holes are slightly smaller in diameter than the screws provided in the mounting kit. Then, attach the mount to the ceiling by driving screws through the mounting holes and into the ceiling studs. Tighten the screws firmly, but be careful not to overtighten and strip the screws or damage the ceiling.
- Double-check stability: After securing the mount, give it a gentle shake or tug to ensure that it is stable and securely attached to the ceiling. If there is any indication of movement or instability, carefully inspect the mounting hardware and make any necessary adjustments.
Remember, the stability of the mount is crucial for the projector’s performance and safety. Take your time during this step, and double-check that the mount is securely fastened before proceeding.
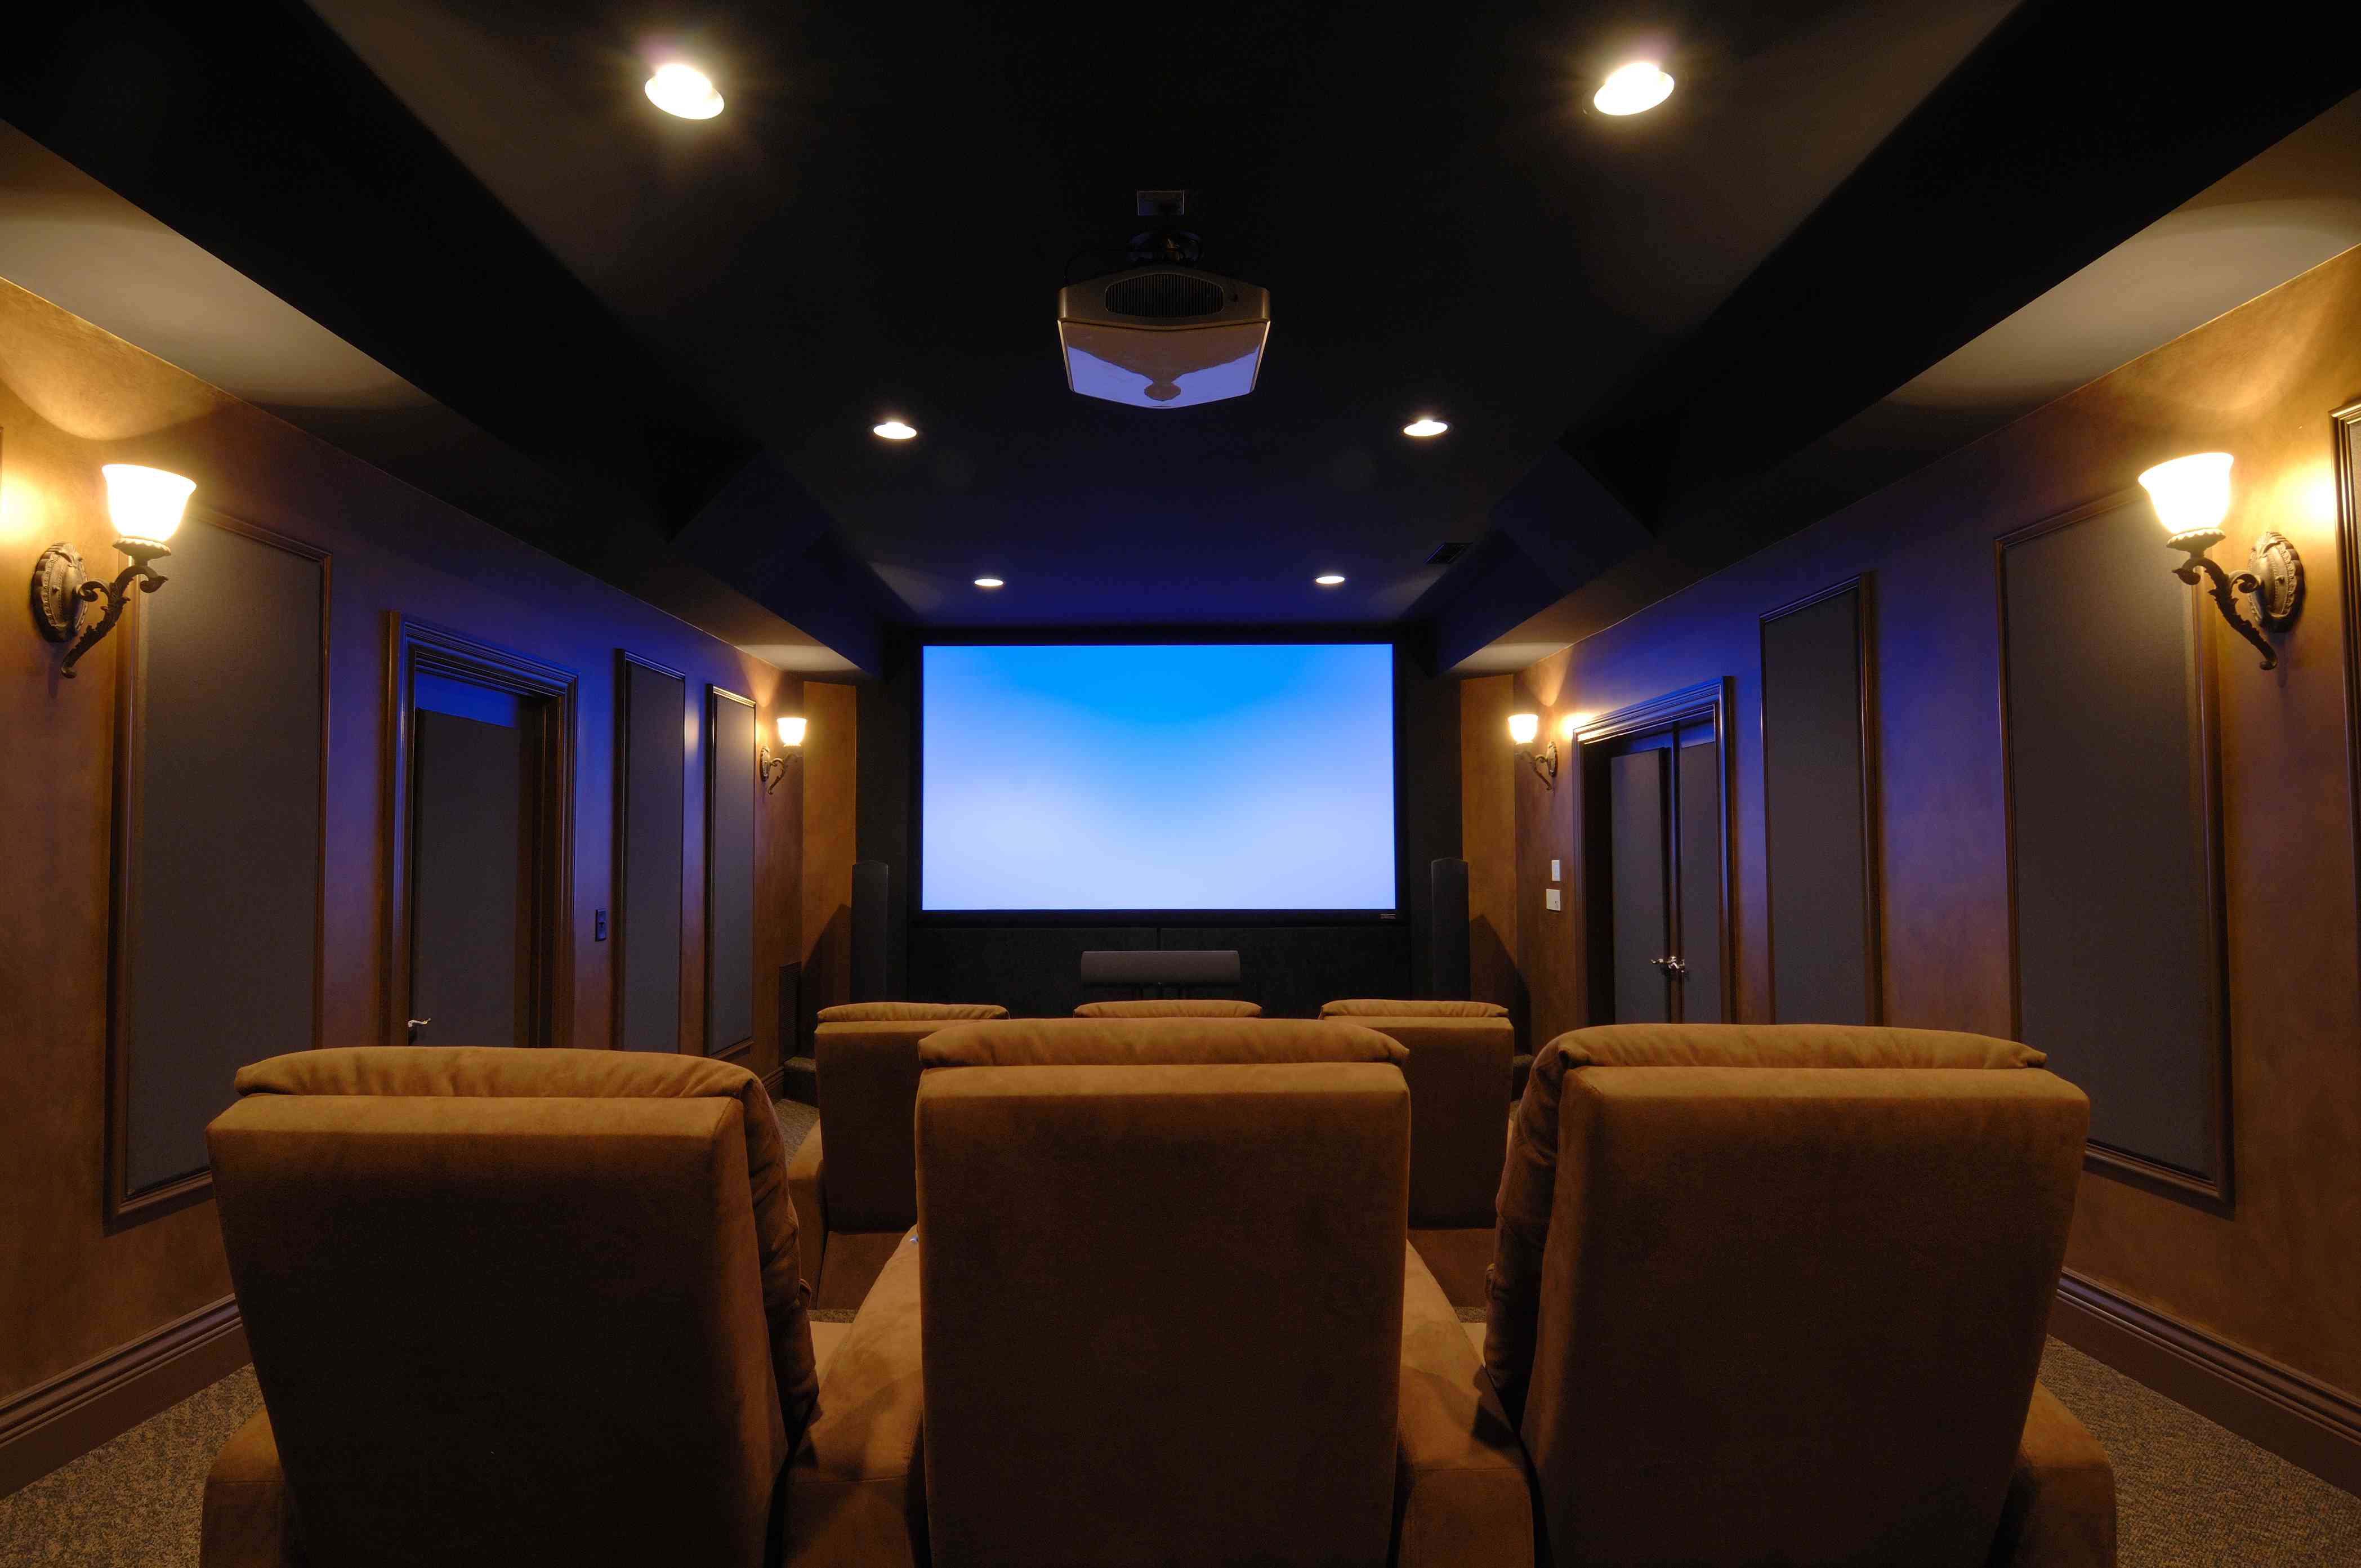
Congratulations! You have successfully installed the projector mount. Now, it’s time to move on to the next step: adjusting the projector’s position.
Step 5: Adjust the projector position
With the projector mount securely installed, it’s time to adjust the position of the projector to ensure optimal image quality and alignment. Follow these steps to adjust the projector’s position:
- Loosen the projector mount: Depending on the mounting kit, there may be knobs or screws that allow you to adjust the tilt, yaw, and roll of the projector mount. Loosen these adjustments to allow for easy repositioning of the projector.
- Align the image: Turn on the projector and display an image or test pattern onto the screen or wall. Stand directly in front of the screen and adjust the projector’s position and angle until the image is centered and aligned.
- Use keystone correction: Many projectors offer keystone correction features to correct image distortion caused by the angle of projection. If needed, access the projector’s menu and adjust the keystone correction settings until the image appears rectangular and distortion-free.
- Use lens shift: Some projectors have lens shift capabilities, allowing you to adjust the vertical and horizontal position of the projected image without physically moving the projector. Use this feature, if available, to fine-tune the image position.
- Secure the adjustments: Once you have achieved the desired image alignment, tighten the adjustment knobs or screws on the projector mount. Be careful not to overtighten, as this can cause damage to the mount or projector.
Take your time during this step, as getting the projector’s position just right ensures a optimal viewing experience. Aligning the image and making any necessary adjustments will result in a clear, crisp, and properly aligned projection.
Now that you have adjusted the projector’s position, it’s time to move on to the next step: connecting and securing the cables.
Step 6: Connect and secure the cables
Now that the projector is in its desired position, it’s time to connect and secure the necessary cables. Follow these steps to ensure a clean and organized cable setup:
- Locate the input ports: Examine the back of the projector to identify the input ports. These may include HDMI, VGA, audio, and power ports. Take note of the available ports and their corresponding cable connections.
- Measure and prepare the cables: Measure the length needed for each cable to reach its corresponding port without excess slack. Use cable ties, clips, or conduits to organize and secure the cables, keeping them neat and out of sight. If possible, run the cables along the ceiling or walls for a cleaner appearance.
- Connect the cables: Begin by connecting the power cable to the projector and plugging it into a nearby power outlet. Then, connect the video and audio cables based on your desired setup. Ensure each cable is securely inserted into its respective port.
- Hide the cables: Use cable management solutions to hide and secure the cables along the ceiling or wall, if necessary. This will not only enhance the aesthetics of the installation but also help prevent tripping hazards and protect the cables from damage.
- Test the connections: Before finalizing the cable setup, turn on the projector and a connected audio/video source. Verify that the image is displayed properly and the audio is working correctly. Make any adjustments if needed.
By properly connecting and securing the cables, you can avoid cable clutter and ensure a tidy and professional-looking projector installation. Having organized cables also makes future maintenance and troubleshooting easier.
Now that the cables are connected and secured, it’s time to move on to the final step: testing the projector.
Step 7: Test the projector
With everything set up and connected, it’s time to test the projector and ensure that it’s functioning properly. Follow these steps to perform a successful test:
- Power on the projector: Turn on the projector using the power button or remote control. Allow the projector to warm up and reach its optimal operating temperature.
- Check the image: Verify that the projected image is clear, sharp, and properly aligned on the screen or wall. Make any necessary adjustments to the focus, zoom, or positioning until you are satisfied with the image quality.
- Test video sources: Connect different video sources, such as a DVD player, game console, or laptop, to the projector. Switch between the sources and ensure that the projector can receive and display the content without any issues.
- Test audio playback: If your projector has built-in speakers or you have connected external speakers, play some audio content and ensure that the sound is clear and audible. Adjust the volume levels accordingly.
- Test remote control functionality: If you have a projector remote control, test its functionality by navigating the projector’s menu, adjusting settings, and controlling the playback of video and audio sources.
Performing these tests allows you to verify that the projector is working correctly and meets your desired performance expectations. If you encounter any issues during the testing phase, consult the projector’s user manual or contact the manufacturer for troubleshooting guidance.
Once you are satisfied with the test results and everything is functioning as expected, congratulations! You have successfully mounted and tested your projector.
Now you can sit back, relax, and enjoy your favorite movies, presentations, or games on the big screen in the comfort of your own space.
Conclusion
Congratulations on successfully mounting your projector to the ceiling! By following the steps outlined in this guide, you have created an immersive viewing experience that maximizes screen real estate and enhances image quality.
Throughout this process, you learned how to gather the necessary tools and materials, choose the right location for the projector, prepare the ceiling for mounting, install the projector mount, adjust the projector’s position, connect and secure the cables, and finally, test the projector to ensure optimal performance.
Remember, taking the time to properly install and set up your projector ensures a stable and secure mounting, aligns the image for optimal viewing, and guarantees a clutter-free cable setup. Pay attention to detail and make any necessary adjustments until you achieve the perfect setup.
Now that your projector is ready for action, you can enjoy incredible movie nights, immersive gaming sessions, or deliver impactful presentations. Invite friends and family over to experience the magic of a big-screen projection that rivals the cinema.
If you ever need to make changes to the projector setup or encounter any issues, refer back to this guide or consult the projector’s user manual for further guidance. With your newfound knowledge and skills, you can confidently tackle any projector-related tasks and create a captivating viewing environment.
Thank you for using our guide, and we wish you many enjoyable and memorable moments with your newly mounted projector!