Introduction
Welcome to this guide on how to manually run the Clear Panel Noise feature on LG OLED TVs. If you own an LG OLED TV, you may have noticed occasional visual imperfections, such as pixelated or blurry areas on the screen. These imperfections are often caused by static images or prolonged use of certain features, and can be corrected using the Clear Panel Noise feature.
LG OLED TVs are renowned for their stunning picture quality and vibrant colors. However, over time, the organic compounds used in the OLED display can be subject to wear and tear, resulting in minor visual artifacts. Clear Panel Noise is a built-in feature that helps to recalibrate the pixels, reducing the occurrence of these imperfections and restoring the optimal visual performance of your TV.
While LG OLED TVs automatically run the Clear Panel Noise feature during standby mode to maintain picture quality, there may be instances where you want to manually initiate the process. This is especially useful if you frequently use your TV for gaming or watch content with static images, as it helps to prevent long-term retention or image persistence on the screen.
In this guide, we will walk you through the step-by-step process of manually running the Clear Panel Noise feature on your LG OLED TV. Whether you are a tech-savvy individual or someone who is new to the world of TV settings, this guide will provide you with the knowledge and confidence to optimize your TV’s performance and enhance your viewing experience.
What is Clear Panel Noise?
Clear Panel Noise is a feature found in LG OLED TVs that aims to eliminate visual imperfections known as “noise” in the display. OLED stands for Organic Light-Emitting Diode, and these TVs use a unique technology where each pixel emits its own light. While this technology provides exceptional picture quality, it also makes OLED displays susceptible to certain issues, such as pixel degradation or image retention.
Noise refers to any unwanted artifacts that may appear on the screen, such as visible pixel structures, faint lines, or slight discoloration. These imperfections can be caused by various factors, including prolonged use of static images, high brightness levels, or even external factors like temperature changes.
The Clear Panel Noise feature acts as a solution to address these issues. It works by analyzing the pixel status on the screen and applying a calibration process to correct any irregularities. Essentially, it helps to clean up the noise and restore the optimal clarity and uniformity of the display.
It is important to note that Clear Panel Noise is not the same as screen uniformity issues. Screen uniformity refers to visible variations in brightness or color across different areas of the display, which are more inherent to the panel itself rather than temporary artifacts. Clear Panel Noise is specifically designed to handle temporary noise issues and should not be confused with more persistent screen uniformity problems.
LG OLED TVs automatically run the Clear Panel Noise feature during standby mode at regular intervals to ensure optimal picture quality. However, if you notice any visible noise artifacts on the screen, manually running the Clear Panel Noise feature can help address these issues more proactively.
Why should you manually run Clear Panel Noise?
While LG OLED TVs automatically run the Clear Panel Noise feature during standby mode, there are situations where manually running this feature can be beneficial. Here are a few reasons why you should consider manually running Clear Panel Noise on your LG OLED TV.
Preventing Image Persistence: OLED displays are susceptible to image retention or burn-in, especially when displaying static images for extended periods. This is particularly relevant for gamers who have static HUD elements or individuals who watch news channels with static logos. By running Clear Panel Noise manually, you can refresh the pixels and prevent long-term image retention.
Minimizing Temporary Visual Artifacts: Even with regular automatic Clear Panel Noise maintenance, occasional visual artifacts or temporary noise may still appear on the screen. Manually running Clear Panel Noise can help minimize these imperfections, resulting in a cleaner and more uniform display.
Optimizing Picture Quality: Over time, OLED panels can experience subtle changes in performance due to environmental factors or aging. Manually running Clear Panel Noise can recalibrate the pixels and maintain optimal performance, ensuring that you continue to enjoy the best picture quality possible from your LG OLED TV.
Enhancing Gaming Experience: Gamers often spend long hours playing with static elements displayed on the screen, such as health bars or ammo counters. Manually running Clear Panel Noise can help reduce the risk of image retention and preserve the integrity of your OLED display, contributing to a better gaming experience overall.
Addressing Persistent Noise Artifacts: In some cases, automatic Clear Panel Noise may not completely eliminate certain noise artifacts. Manually running the feature allows for more targeted calibration, ensuring that persistent noise issues are addressed effectively.
By manually running Clear Panel Noise on your LG OLED TV, you can take proactive measures to maintain the exceptional picture quality and prevent potential image retention issues. It is a simple and effective way to optimize your viewing experience and extend the lifespan of your TV’s display.
How to manually run Clear Panel Noise on LG OLED TV
Manually running Clear Panel Noise on your LG OLED TV is a straightforward process. Follow these step-by-step instructions to optimize your TV’s performance and reduce visual imperfections.
- Step 1: Access the Settings Menu
- Step 2: Select the Picture Settings
- Step 3: Locate the OLED Panel Settings
- Step 4: Run the Clear Panel Noise Feature
- Step 5: Wait for the Process to Complete
- Step 6: Verify if the Clear Panel Noise was Successful
Using your TV remote, press the “Settings” button to access the TV’s settings menu. This button is usually represented by a gear or wrench icon.
Navigate through the settings menu using the directional buttons on your remote until you find the “Picture” settings. Press the OK or Enter button to enter the Picture settings.
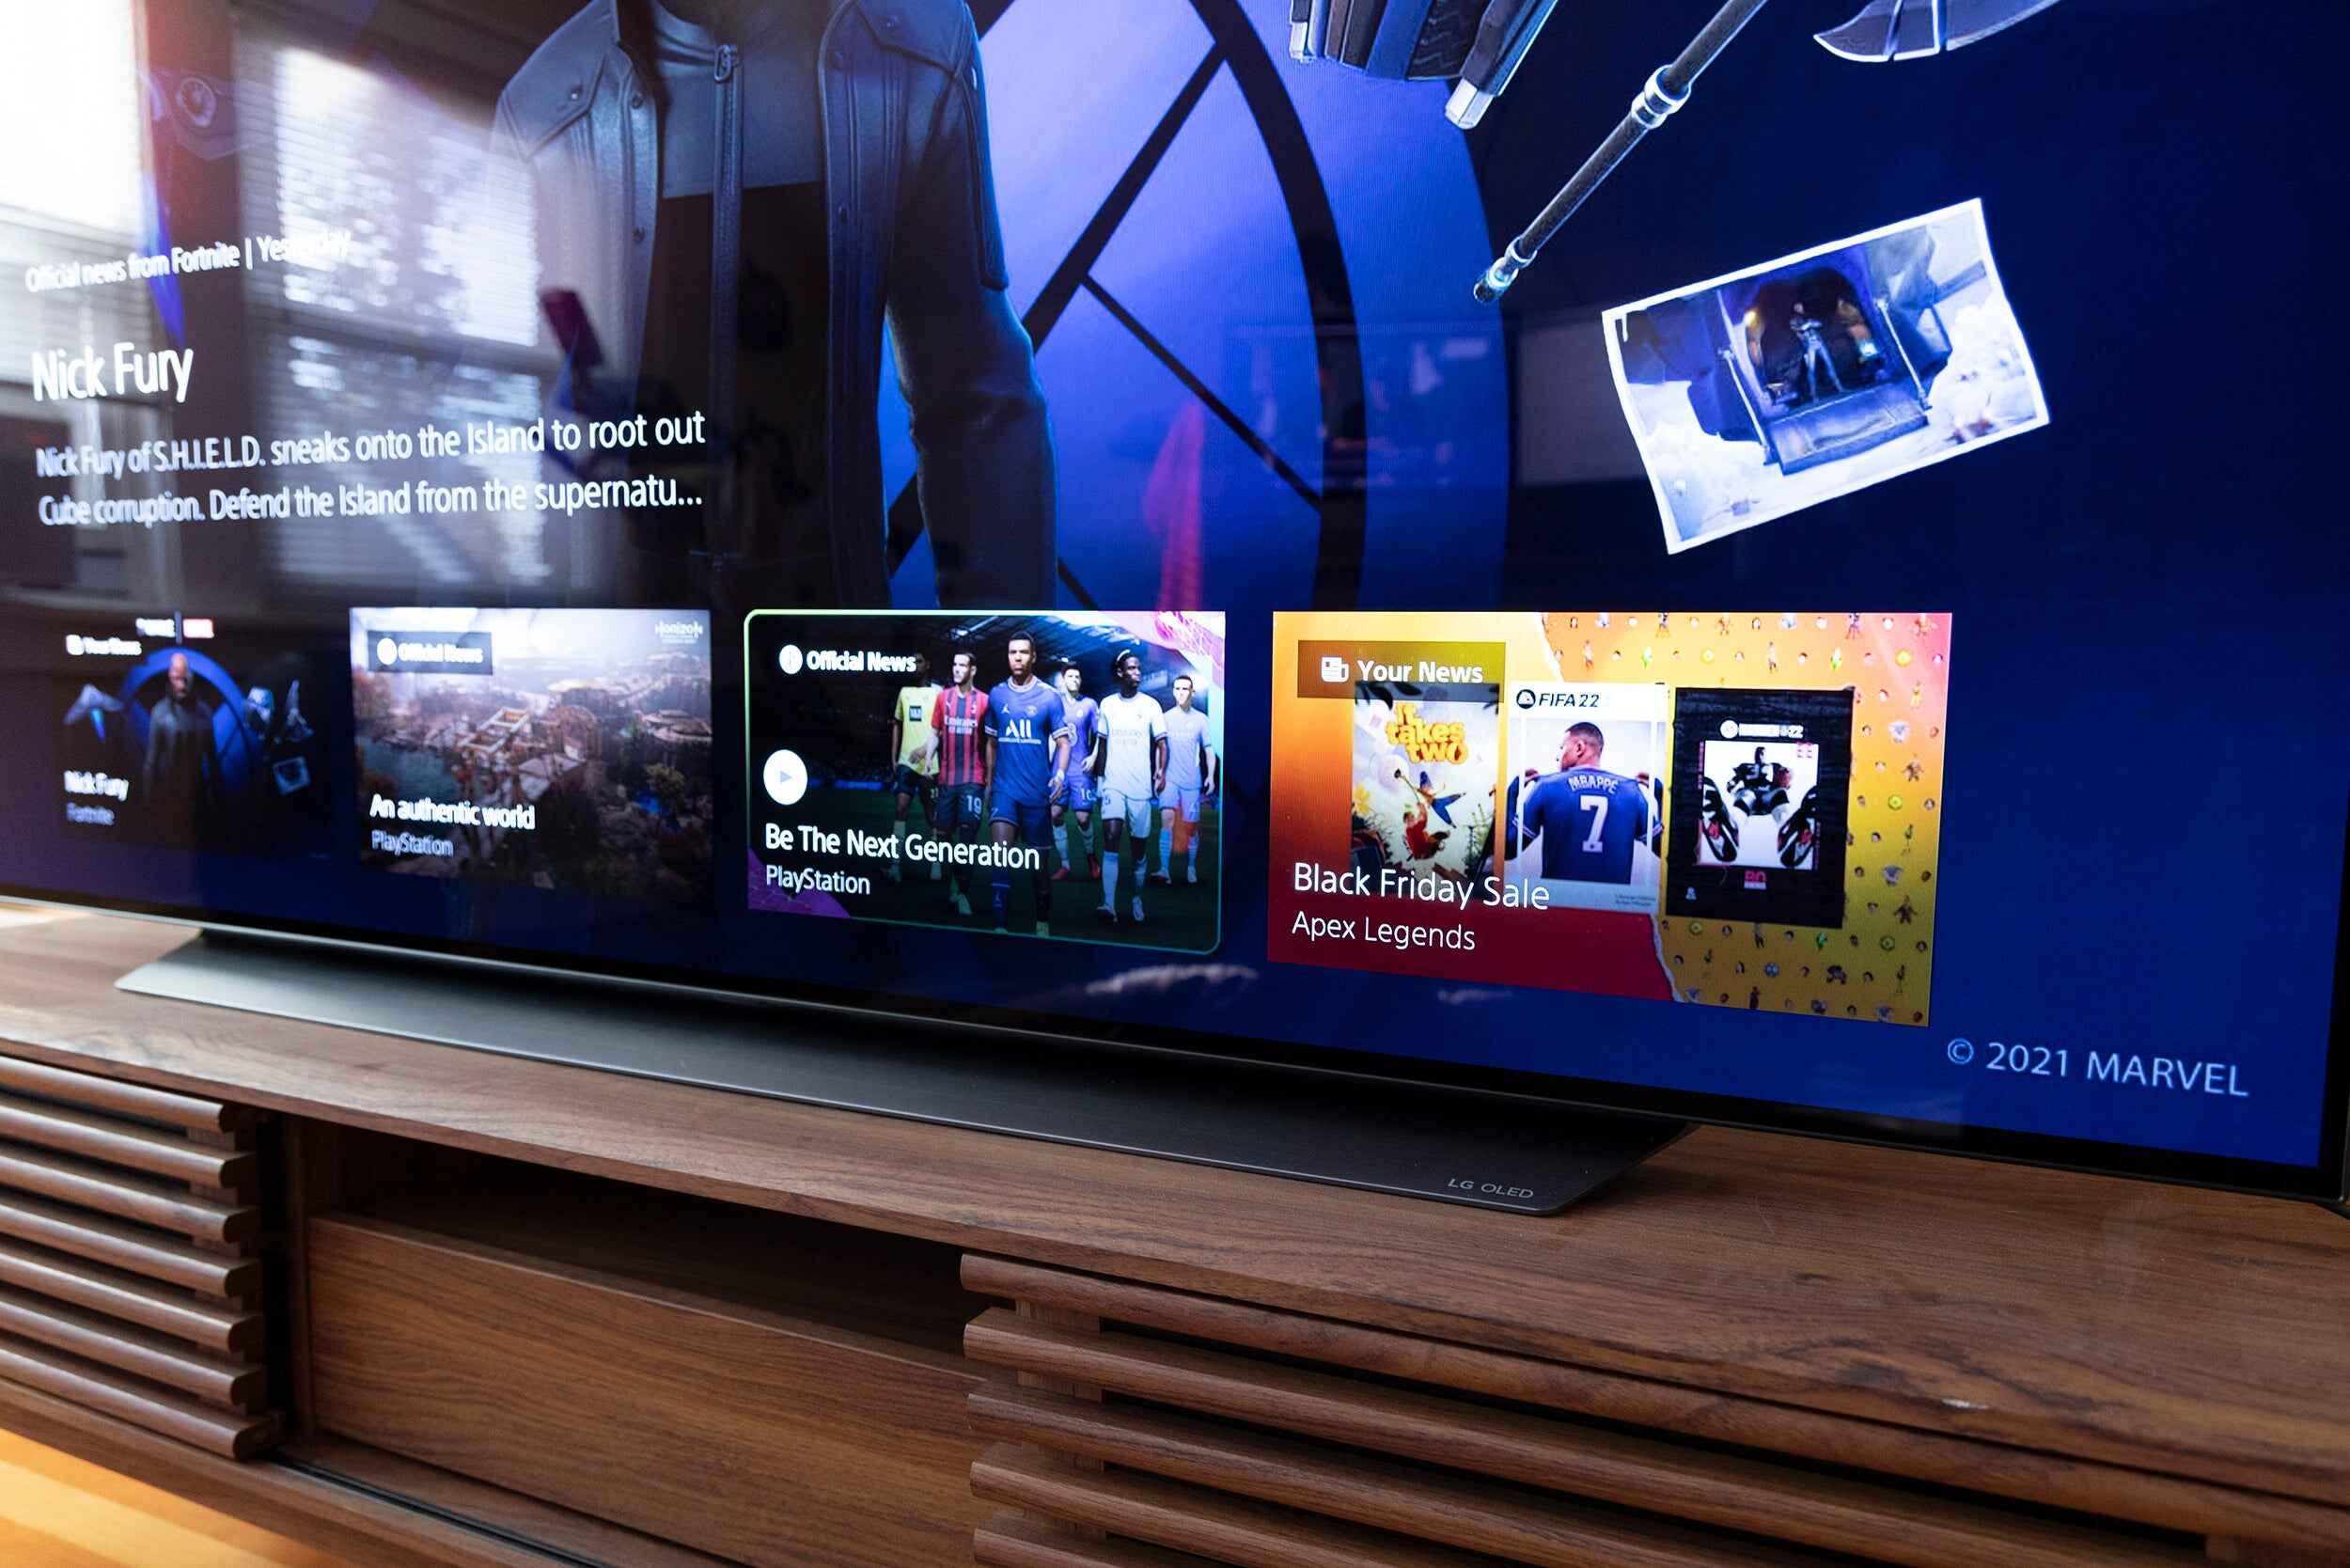
Within the Picture settings, scroll down or navigate right until you find the “OLED Panel Settings” option. This section contains various settings related to the OLED panel.
Select the “Clear Panel Noise” option within the OLED Panel Settings. Press the OK or Enter button to initiate the Clear Panel Noise process. You may be prompted to confirm your selection.
Once you have started the Clear Panel Noise process, a progress bar or notification may appear on the screen. Allow the TV to complete the calibration process. The duration may vary depending on the TV model and the amount of noise to be cleared.
After the process is complete, you can check the screen for any visible improvements. Look for any pixelation, lines, or discoloration that may have been present before running Clear Panel Noise. If the calibration was successful, these imperfections should be significantly reduced or eliminated.
It is recommended to run the Clear Panel Noise feature periodically or whenever you notice visible noise or artifacts on your OLED display. By performing this manual calibration, you can ensure that your LG OLED TV continues to deliver exceptional picture quality and an immersive viewing experience.
Step 1: Access the Settings Menu
The first step in manually running the Clear Panel Noise feature on your LG OLED TV is to access the Settings menu. By accessing the settings menu, you will be able to navigate to the specific option for running Clear Panel Noise.
Here’s how you can access the Settings menu on your LG OLED TV:
- Locate your TV remote control. The remote typically has a button resembling a gear or wrench icon, which represents the Settings menu. The button may be labeled as “Settings”, “Menu”, or have a similar name.
- Press the Settings button on your remote control. This should open up the Settings menu on your TV screen. If the button doesn’t immediately open the menu, try pressing the Home or Menu button first, and then navigate to the Settings option.
- Use the directional buttons on the remote control to navigate through the menu options. The directional buttons are usually arrow buttons located in the center of the remote. Depending on your remote, they may be labeled with arrows or have icons indicating their directional functions.
- Move the selection cursor to highlight the Settings option in the menu. Press the OK or Enter button on your remote to confirm your selection and enter the Settings menu.
Once you have successfully accessed the Settings menu, you are ready to proceed to the next step of manually running the Clear Panel Noise feature on your LG OLED TV.
Remember, the exact method of accessing the Settings menu may vary slightly depending on your LG TV model and remote control. If the above steps don’t match your TV’s interface, refer to the user manual or consult the manufacturer’s website for specific instructions.
Step 2: Select the Picture settings
Now that you have accessed the Settings menu on your LG OLED TV, the next step is to navigate to the Picture settings. This is where you will find the option to run the Clear Panel Noise feature.
Follow these steps to select the Picture settings on your LG OLED TV:
- Using the directional buttons on your TV remote, navigate through the Settings menu. Move the selection cursor to find the option labeled “Picture” or “Picture Settings”. Press the OK or Enter button on your remote to enter the Picture settings.
- Once you have entered the Picture settings, you will see a range of options related to adjusting and enhancing the TV’s display quality. These options may include brightness, contrast, color settings, and more.
- Scroll down or navigate to the right using the directional buttons on the remote until you find the “OLED Panel Settings” option. On some LG OLED TV models, this option may be labeled as “OLED Panel Control” or a similar name.
- Highlight the “OLED Panel Settings” option and press the OK or Enter button to access the specific settings for the OLED panel of your TV.
By selecting the Picture settings and navigating to the OLED Panel Settings option, you are one step closer to running the Clear Panel Noise feature and optimizing the performance of your LG OLED TV.
Please note that the exact location of the Picture settings menu may vary depending on your LG TV model and its user interface. If you have trouble locating the Picture settings or OLED Panel Settings, refer to the user manual or consult the manufacturer’s website for specific instructions related to your TV model.
Step 3: Locate the OLED Panel Settings
After accessing the Picture settings menu on your LG OLED TV, the next step is to locate the specific option for OLED Panel Settings. This is where you will find the setting to run the Clear Panel Noise feature and optimize your TV’s display.
Follow these steps to locate the OLED Panel Settings option:
- Within the Picture settings menu, use the directional buttons on your TV remote to scroll down or navigate to the right. Keep an eye out for options related to the OLED panel controls, such as “OLED Panel Settings” or a similar name.
- Depending on your LG OLED TV model, the OLED Panel Settings option may be located towards the bottom or in a separate submenu within the Picture settings. Take your time to thoroughly navigate through the options and menus until you find the OLED Panel Settings.
- Once you have located the OLED Panel Settings option, highlight it using the directional buttons on the remote control. Press the OK or Enter button on your remote to enter the OLED Panel Settings.
- Upon entering the OLED Panel Settings, you will find a range of specific settings related to the OLED panel of your LG TV. These settings allow you to fine-tune the performance and calibration of the panel to enhance your viewing experience.
Locating the OLED Panel Settings is a crucial step in running the Clear Panel Noise feature. These settings provide the necessary controls and options to optimize your TV’s performance and address any visual noise or artifacts on the screen.
Remember, the exact location and naming of the OLED Panel Settings may differ slightly depending on your LG OLED TV model. If you encounter any difficulty finding the OLED Panel Settings, refer to the user manual or visit the manufacturer’s website for model-specific instructions.
Step 4: Run the Clear Panel Noise feature
With the OLED Panel Settings menu open on your LG OLED TV, you are now ready to run the Clear Panel Noise feature. This feature will help eliminate visual imperfections and optimize the performance of your TV’s display. Follow the steps below to run the Clear Panel Noise:
- Within the OLED Panel Settings menu, look for the option specifically labeled as “Clear Panel Noise”. This option might also be referred to as “Pixel Refresher” or something similar, depending on your LG TV model.
- Highlight the “Clear Panel Noise” option using the directional buttons on your remote control.
- Press the OK or Enter button on your remote control to initiate the Clear Panel Noise process. You may be prompted with a confirmation message asking if you want to run the Clear Panel Noise.
- Confirm your selection to start the Clear Panel Noise process.
Once you have started the Clear Panel Noise process, your LG OLED TV will begin analyzing and recalibrating the pixels on the screen. This calibration process helps to remove any visual artifacts or noise, resulting in a cleaner and more uniform display.
It’s important to note that the duration of the Clear Panel Noise process may vary depending on your TV model and the amount of noise to be cleared. Your TV may display a progress bar or a notification indicating that the process is running.
During this process, it’s recommended to avoid turning off or interrupting the power supply to your TV. Allowing the Clear Panel Noise process to complete undisturbed will help ensure optimal results.
Once the Clear Panel Noise process is complete, you’re ready to verify the effectiveness of the calibration and enjoy an enhanced viewing experience on your LG OLED TV.
Step 5: Wait for the process to complete
After initiating the Clear Panel Noise feature on your LG OLED TV, it is important to patiently wait for the process to complete. The duration of the process may vary depending on your TV model and the level of calibration required. During this time, it is crucial to avoid interrupting or interfering with the TV’s operation to ensure optimal results.
Here’s what you need to do while waiting for the Clear Panel Noise process to complete:
- Once you have started the Clear Panel Noise feature, your TV may display a progress bar or a notification indicating that the process is running. This provides an estimate of the time remaining.
- Avoid turning off or interrupting the power supply to your TV. It is vital to allow the TV to complete the Clear Panel Noise process undisturbed for optimal calibration.
- Depending on your LG OLED TV model and the amount of noise that needs to be cleared, the process can take anywhere from a few minutes to several hours. It is important to be patient and let the TV fully complete the calibration.
During this waiting period, you can engage in other activities or watch something else on a different device. Avoid adjusting or making changes to the TV’s settings, as this may interfere with the ongoing calibration process.
Once the Clear Panel Noise process is complete, your LG OLED TV will provide a notification or indicate that the calibration has finished. At this point, you can move on to the next step to verify if the Clear Panel Noise has been successful and enjoy an enhanced viewing experience.
Remember, waiting for the Clear Panel Noise process to complete is essential to allow your LG OLED TV to perform a thorough calibration and optimize the display quality.
Step 6: Verify if the Clear Panel Noise was successful
After the Clear Panel Noise process has completed on your LG OLED TV, it’s important to verify if the calibration was successful and if any visible improvements have been made to the display. This step allows you to ensure that the Clear Panel Noise feature has effectively addressed any visual artifacts or noise on the screen. Here’s how to verify the success of the Clear Panel Noise:
- Take a close look at the screen of your LG OLED TV to check for any noticeable improvements. Look for any previously visible noise artifacts such as pixelation, lines, or discoloration.
- Observe the overall visual quality and uniformity of the display. Pay attention to areas where you may have previously experienced visual imperfections.
- If the Clear Panel Noise feature was successful, you should notice a significant reduction or outright elimination of the noise artifacts. The screen should appear clearer, with improved uniformity and fewer visual distractions.
- If you don’t observe any noticeable improvements or if the noise artifacts persist, you may consider rerunning the Clear Panel Noise process. Repeat the steps outlined in this guide to initiate the calibration again.
Keep in mind that in some cases, very subtle visual artifacts may still exist after running the Clear Panel Noise. However, these artifacts should be considerably less noticeable than before the calibration process.
If you have concerns or questions about the results of the Clear Panel Noise feature, refer to your TV’s user manual or contact LG customer support for further assistance.
By verifying the success of the Clear Panel Noise, you can ensure that the feature has effectively improved the display quality of your LG OLED TV, providing you with an enhanced and enjoyable viewing experience.
Conclusion
Manually running the Clear Panel Noise feature on your LG OLED TV is a simple yet effective way to optimize the display performance and address visual imperfections. By following the step-by-step instructions outlined in this guide, you can ensure that your TV’s display remains vibrant, clear, and free from noise artifacts.
The Clear Panel Noise feature helps recalibrate the pixels on your OLED TV, reducing the occurrence of visual imperfections such as pixelation, lines, or discoloration. By running this feature manually, you can proactively prevent image retention and enhance your overall viewing experience.
Remember to access the Settings menu and navigate to the Picture settings, then locate the OLED Panel Settings option. Initiate the Clear Panel Noise process and wait for it to complete. Once finished, verify if the calibration was successful by examining the screen for visible improvements.
Should you encounter persistent issues or have questions about running the Clear Panel Noise feature, always refer to the user manual provided with your LG OLED TV or reach out to LG customer support for further assistance.
By taking the time to manually run Clear Panel Noise on your LG OLED TV, you can ensure that you continue to enjoy the exceptional picture quality, vibrant colors, and immersive viewing experience that these TVs are known for.