Introduction
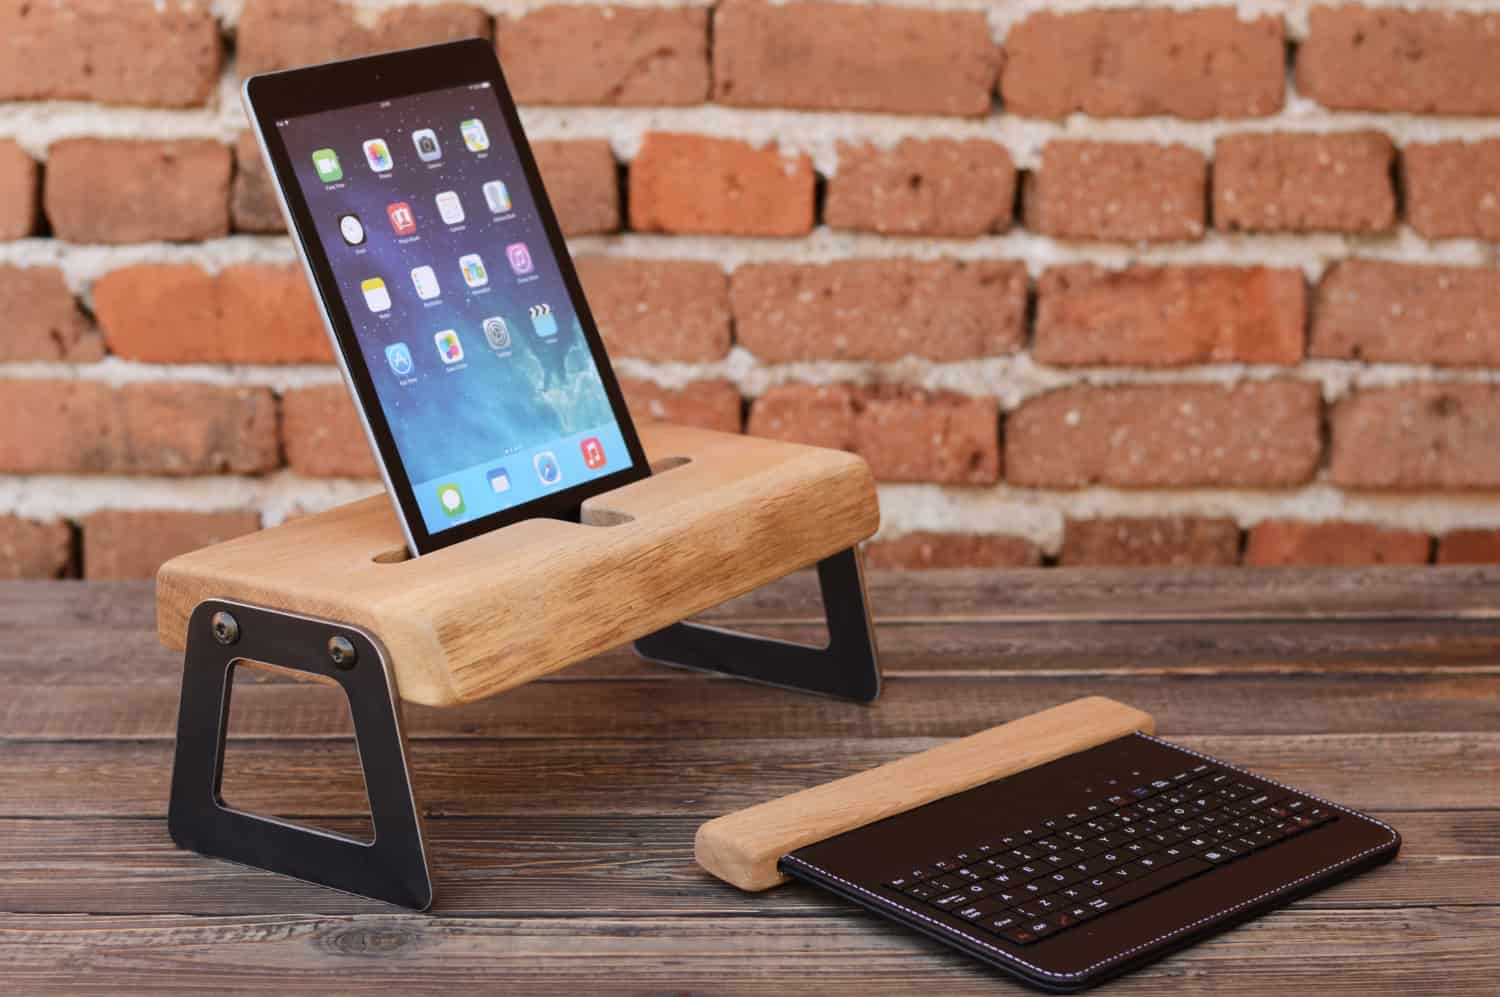
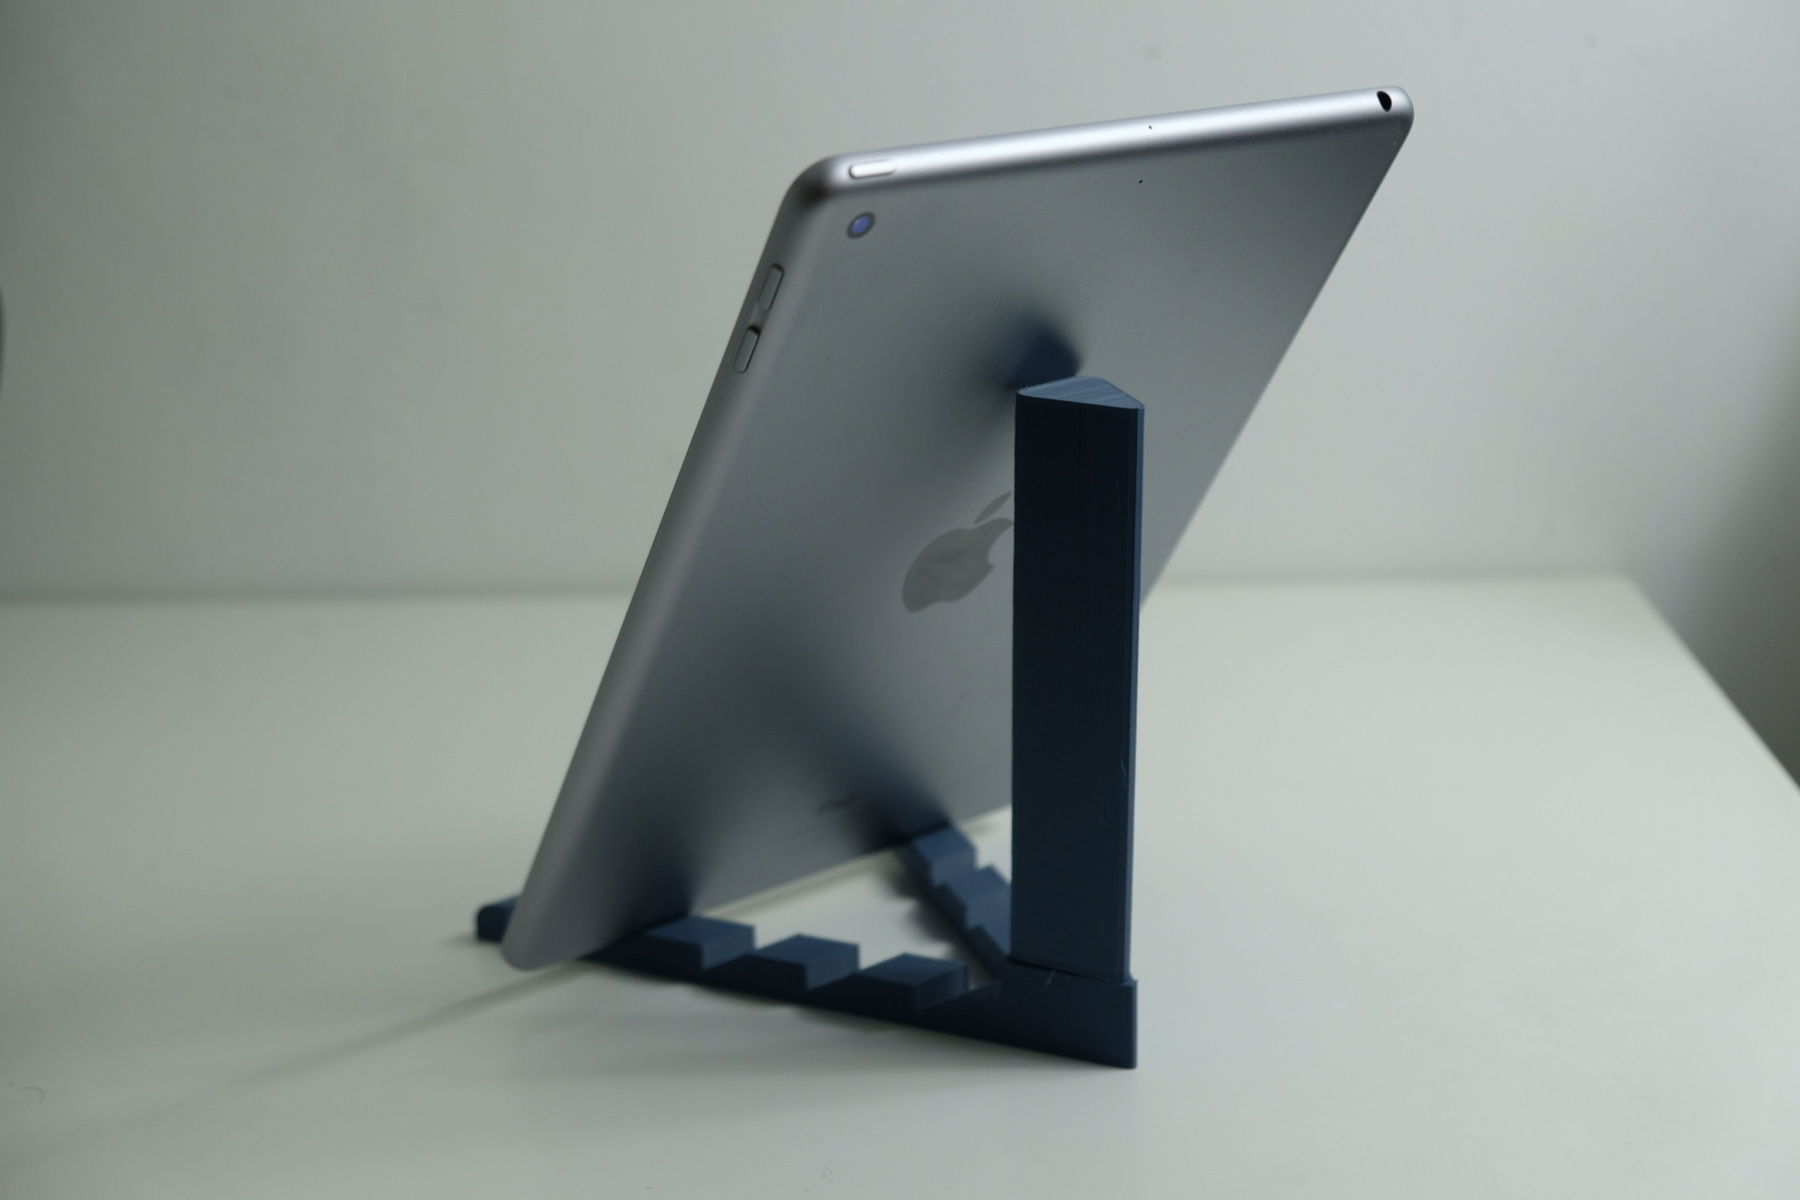
Welcome to our tutorial on how to make your own tablet stand! Whether you use your tablet for work, entertainment, or both, having a stand can greatly enhance your experience. With a stand, you can easily adjust the viewing angle, freeing up your hands and providing you with a more comfortable and ergonomic setup. Plus, it adds a touch of style and personalization to your tablet setup.
In this tutorial, we will guide you through the step-by-step process of creating your own tablet stand. This DIY project is perfect for those who enjoy hands-on crafts and want to customize their tablet stand to their liking. Best of all, you don’t need any advanced woodworking skills or expensive tools to complete this project.
In the following sections, we will walk you through the materials and tools you’ll need, provide detailed instructions on how to plan and design your stand, and guide you through each step of the construction process. By the end of this tutorial, you’ll have a sturdy and stylish tablet stand that you can proudly display on your desk or countertop.
So, whether you want to watch movies, hold video conferences, follow recipes in the kitchen, or simply keep your tablet propped up while you work, this DIY tablet stand will be the perfect solution. Let’s get started on creating your own custom tablet stand!
Materials and Tools Needed
Before we begin, let’s gather the materials and tools you’ll need to create your own tablet stand. The great thing about this DIY project is that the materials are easily accessible and the tools required are relatively common. Here’s what you’ll need:
Materials:
- Wooden board or plank (preferably hardwood) – approximately 12 inches long and 6 inches wide
- Sandpaper (medium and fine grit)
- Wood glue
- Wood stain or paint (optional)
- Clear coat sealer (optional)
Tools:
- Measuring tape
- Pencil
- Ruler
- Saw (hand saw or circular saw)
- Sanding block or electric sander
- Clamps
- Paintbrush or sponge brush
- Disposable gloves
These materials and tools can be easily found at your local hardware store or online. Feel free to choose the type of wood that suits your preferences and budget. Hardwood, such as oak or walnut, is recommended for durability and aesthetics, but you can also use plywood or other types of wood if that’s what you have available.
Additionally, while not necessary, you may choose to personalize your tablet stand by adding embellishments such as decorative trim, wood stains in different colors, or even customized engravings. Get creative and make it truly your own!
Once you have gathered all the necessary materials and tools, we can move on to the next step: planning and designing your tablet stand.
Step 1: Planning and Designing the Tablet Stand
Before diving into the construction process, it’s essential to spend some time planning and designing your tablet stand. This step will help you envision the final product, determine the dimensions, and ensure that it meets your specific needs and preferences.
Begin by considering the size and weight of your tablet. This will help you determine the appropriate dimensions for the stand. Measure your tablet’s width and height to ensure a snug fit and stability. Additionally, think about the viewing angle you prefer and the orientation you’ll mostly use (landscape or portrait).
Next, sketch a rough design of your tablet stand on a piece of paper. Consider the overall shape, angles, and any additional features you may want to incorporate, such as a slot for charging cables or a slot to hold a stylus. Keep in mind that simplicity is key, especially if this is your first DIY woodworking project.
Once you have a basic design in mind, create a more detailed blueprint. Use a ruler or measuring tape to draw accurate measurements and dimensions. This will serve as your guide throughout the construction process.
Take this opportunity to also think about the finish you’d like for your tablet stand. Will you stain it to showcase the natural wood grain, or will you paint it to match your personal style? Consider using an eco-friendly varnish or clear coat sealer to protect the wood and give it a polished, professional look.
Remember to take your time with the planning and designing stage. The more thought and consideration you put into this step, the better prepared and more satisfied you’ll be with the final product.
With the planning and design complete, it’s time to move on to the next step: gathering the materials needed for the project.
Step 2: Gathering the Materials
Now that you have your tablet stand design finalized, it’s time to gather all the materials you’ll need to bring your creation to life. By ensuring you have everything on hand before you start, you can work smoothly and efficiently without any interruptions.
Refer to the materials list provided earlier in this tutorial and check off each item as you gather them. Start with the wooden board or plank, making sure it’s of the appropriate size and type for your project. If you prefer a specific wood stain or paint color, now is the time to get that as well.
Before moving forward, it’s essential to ensure the quality of your materials. Inspect the wooden board for any defects such as knots, cracks, or warping. This will ensure that your tablet stand is built to last.
Next, gather the necessary tools. Double-check that you have a measuring tape, pencil, ruler, saw, sandpaper, wood glue, clamps, paintbrush or sponge brush, and disposable gloves. If any of these items are missing from your toolbox, be sure to purchase or borrow them before proceeding.
If you plan to add any decorative elements or customized engraving to your tablet stand, gather those materials as well. This may include trim, wood stains, paint colors, stencils, or a woodburning tool. Personalizing your tablet stand is a great way to make it unique and reflect your individual style.
After gathering all the materials and tools, set them up in a clean, well-lit workspace. Having a designated area for your project will help you stay organized and minimize the chances of misplacing or damaging any items.
Now that you’re well-equipped with the necessary materials, it’s time to move on to the construction phase. In the next step, we’ll guide you through cutting the wood pieces to the proper dimensions.
Step 3: Cutting the Wood Pieces
With your materials ready, it’s time to start cutting the wood pieces for your tablet stand. This step is crucial as it determines the overall structure and stability of your stand.
Begin by measuring and marking the dimensions outlined in your design blueprint onto the wooden board. Use a measuring tape, ruler, and pencil to ensure accuracy in your measurements. Double-check your markings before proceeding to avoid any mistakes.
Next, secure the wooden board firmly in place, either clamping it to a workbench or using a non-slip surface. Ensure that your cutting area is clear of any obstructions or potential hazards to ensure your safety.
If you have a circular saw, carefully follow your marked lines to cut the wood pieces to the desired dimensions. Make slow and steady cuts, using proper safety precautions such as wearing protective goggles and gloves. If you don’t have access to a circular saw, a hand saw can also get the job done—just remember to take your time and maintain precision.
When cutting the wood, it’s important to ensure clean and straight edges. If you notice any rough edges or imperfections, use sandpaper to smooth them out. Sanding will not only improve the appearance but also prevent any accidental splintering or scratches when handling the stand.
Repeat the cutting and sanding process for each wood piece required for your tablet stand. Take your time to ensure each piece is cut accurately and all edges are smooth and even. This attention to detail will result in a more professional-looking finished product.
Once all the wood pieces are cut and sanded to your satisfaction, inspect them for any imperfections or discrepancies. If needed, make any necessary adjustments or recuts to ensure a precise fit and structural integrity.
Now that the wood pieces are cut and prepared, it’s time for the next step: sanding and preparing the wood surfaces for assembly.
Step 4: Sanding the Wood
Sanding the wood is an essential step in the construction of your tablet stand. It not only improves the overall appearance of the stand but also ensures a smooth and comfortable surface for handling.
Start by using medium-grit sandpaper to sand the wood pieces. This will help remove any rough spots, splinters, or imperfections that may have been left from the cutting process. Sand in the direction of the wood grain to achieve the best results.
As you sand, be sure to pay extra attention to the edges and corners of the wood pieces. These areas tend to be the most susceptible to roughness and sharpness. Sand them down gently to create a soft and rounded edge, making the stand more comfortable to handle.
After you have completed sanding with the medium-grit sandpaper, switch to a finer grit sandpaper, such as a 220-grit or higher. This finer sandpaper will help smooth out the wood surfaces even further, leaving them silky to the touch.
As you sand, periodically run your hands over the wood to check for any remaining roughness. If you come across any areas that still feel rough, focus on those spots and continue sanding until you achieve a consistently smooth surface.
Take your time during this step to ensure that all wood pieces are sanded thoroughly. You may want to use a sanding block or an electric sander to make the process more efficient, especially if you have a large number of wood pieces to sand.
Once you are satisfied with the smoothness and finish of the wood, use a clean cloth or brush to remove any sanding dust. Thoroughly clean the surfaces, paying attention to any crevices or corners where dust may accumulate.
Sanding not only prepares the wood for the next steps in the construction process but also allows for a better application of any wood stain or paint that you may choose to use later. It provides a clean and receptive surface for the finishing touches, enhancing the aesthetics of your tablet stand.
With the wood pieces sanded and prepped, it’s time to move on to the next step: assembling the tablet stand.
Step 5: Assembling the Tablet Stand
Now that you have prepared the wood pieces for your tablet stand, it’s time to put them together and assemble the stand. This step will bring your project to life and result in a functional and sturdy tablet stand.
Begin by laying out the wood pieces in the intended order, following your design blueprint. This will help you visualize the construction process and ensure that each piece fits together as planned.
Apply a small amount of wood glue to the joining edges of the wood pieces. Use a brush or your finger to evenly spread the glue, ensuring proper adhesion. Be careful not to apply too much glue, as excess glue can make it challenging to create clean joints and may cause the wood to warp or swell.
Fit the wood pieces together, aligning them according to your design. Apply gentle pressure to ensure a tight bond between the pieces. You may use clamps to hold everything in place while the glue dries. If using clamps, ensure they are not too tight to avoid damaging the wood.
Allow the wood glue to dry completely according to the manufacturer’s instructions. This usually takes a few hours or overnight. Avoid moving or disturbing the stand during this time to ensure a strong and secure joint.
Once the wood glue is dry, remove any excess glue using a damp cloth or scraper. It’s important to remove any visible glue residue, as it can interfere with the final finish of your tablet stand.
Now is the perfect time to inspect the assembled stand for any irregularities or imperfections. If you notice any gaps or unevenness, use sandpaper to smooth out the edges and achieve a seamless look.
If desired, you can apply a wood finish to enhance the appearance and durability of your tablet stand. This can be a clear coat sealer to protect the wood or a wood stain or paint to add color and personality. Follow the manufacturer’s instructions for applying and drying times.
With the wood glue dried and any finish applied, your tablet stand is now fully assembled and ready for use. Place your tablet on the stand and adjust it to your preferred viewing angle. Take a moment to appreciate your craftsmanship and enjoy using your homemade tablet stand!
In the next step, we’ll add the finishing touches to complete the tablet stand.
Step 6: Finishing Touches
Now that your tablet stand is assembled, it’s time to add those final finishing touches. This step will help elevate the aesthetics of your stand and make it truly unique to your personal style.
If you chose to apply a wood stain or paint to your tablet stand, ensure that it has fully dried before moving forward. This will prevent any smudging or unwanted marks during the finishing touches process.
Consider adding any decorative elements or embellishments you desire. This could be decorative trim, engraved designs, or even a custom logo or pattern. These personal touches will give your tablet stand a distinctive look and showcase your creativity.
If you decide to add decorative elements, measure and mark the desired placement on your tablet stand. Carefully attach or adhere the trim or other decorative pieces according to your design. Ensure a secure bond, using wood glue or appropriate adhesive for the chosen materials.
Once the decorative elements are in place, go over the entire tablet stand and inspect for any rough edges or imperfections. Gently sand any areas that may need additional smoothing or touch-ups to ensure a polished and professional look.
If you applied a wood stain or paint, consider applying a clear coat sealer. This will provide an extra layer of protection to the wood surface and help preserve the beauty of your tablet stand. Follow the instructions provided with the sealer for proper application and drying times.
With the finishing touches complete, take a moment to clean the tablet stand, removing any dust or debris that may have accumulated during the construction process. A soft cloth or brush can be used to wipe down the surfaces and ensure a flawless finish.
Now step back and admire your work. Your personalized and beautifully finished tablet stand is ready to hold your tablet in style and provide you with a more comfortable viewing experience. Whether it’s for work, entertainment, or both, your tablet stand is sure to enhance your daily activities.
In the final step, we’ll test the functionality of the tablet stand to ensure it meets your expectations.
Step 7: Testing the Tablet Stand
Congratulations on reaching the final step of creating your own tablet stand! Now it’s time to put it to the test and ensure that it meets your expectations in terms of functionality and stability.
Place your tablet onto the stand, adjusting the viewing angle to your preference. Test the stability of the stand by tapping on the tablet and gently adjusting its position. The stand should securely hold the tablet without wobbling or tipping over.
Try using your tablet in different orientations, such as landscape and portrait, to see how well the stand adjusts to accommodate different viewing angles. It’s important that the stand provides flexibility and ensures a comfortable viewing experience in any position.
Pay attention to how easily you can access the tablet’s buttons, ports, and charging cable while it is on the stand. The design should allow for convenient access without any restrictions or interference.
Additionally, test the weight-bearing capacity of the stand by placing heavier objects or books on it, simulating the weight of your tablet. Ensure that the stand remains stable and doesn’t bow or bend under the weight.
If you are satisfied with the functionality and stability of the tablet stand, congratulations! You have successfully created a useful and personalized stand for your tablet. Enjoy using it for various activities such as watching movies, video conferences, browsing recipes, or simply as a convenient place to hold your tablet.
If you encounter any issues or find areas for improvement, take note of them. This will allow you to make any necessary adjustments or modifications to enhance the performance of your tablet stand.
Remember that with DIY projects, there’s always room for experimentation and customization. Feel free to revisit any steps if you want to make changes or add additional features to your tablet stand. Let your creativity shine and make it truly your own.
Thank you for following along with this tutorial on how to make your own tablet stand. We hope you found it informative and enjoyed the process of creating your very own customized stand! Now, go ahead and showcase your handmade tablet stand with pride!
Conclusion
Congratulations on successfully creating your own tablet stand! Through careful planning, cutting, sanding, assembling, and adding finishing touches, you have crafted a functional and personalized stand for your tablet. This DIY project not only enhances the aesthetics of your tablet setup but also provides you with a comfortable and ergonomic viewing experience.
By following the step-by-step instructions outlined in this tutorial, you have learned the fundamentals of woodworking and the importance of attention to detail. You have gathered the necessary materials and tools, designed and cut the wood pieces to the proper dimensions, sanded them to a smooth finish, and assembled them into a sturdy tablet stand.
Through personalization options like adding decorative elements or applying wood stain or paint, you have made your tablet stand unique to your style and preferences. The finishing touches have elevated the appearance and provided extra protection to the wood surface.
Remember, this tablet stand is not only practical but also a reflection of your craftsmanship and creativity. It is a testament to your ability to transform raw materials into a functional and aesthetically pleasing object.
Feel proud of your accomplishment and enjoy using your tablet stand for various activities such as watching videos, participating in video conferences, browsing recipes, or simply keeping your tablet propped up while you work.
Should you encounter any issues or areas for improvement, don’t hesitate to revisit the steps and make adjustments as needed. DIY projects are a continuous learning process, and there is always room for experimentation and refinement.
Thank you for joining us on this DIY journey to create a tablet stand. We hope you found this tutorial insightful and enjoyed the experience of crafting your very own stand. Now, sit back, relax, and delight in the convenience and style of your homemade tablet stand!


