Introduction
Welcome to the exciting world of making stickers for Discord! Stickers are a fun and creative way to express yourself in chat messages and spice up your online conversations. Whether you want to create stickers for your personal use or for sharing them with your friends and communities, this guide will walk you through the step-by-step process to make stickers on Discord.
Discord, a popular communication platform for gamers, introduced stickers as a new feature to add more flair and personality to chats. With a diverse range of sticker options, you can choose from various designs, characters, and themes to customize your stickers to suit your style or match the interests of your communities.
In this guide, we will delve into the process of creating stickers on Discord and share tips to make your stickers stand out. From choosing the right design to sharing the final product, you will discover everything you need to know to become a master sticker creator.
So, if you’re ready to unleash your creativity and bring your ideas to life in the form of stickers, let’s dive into the steps to make stickers on Discord!
Step 1: Choose the Design
The first step in making stickers on Discord is to choose the design that you want to turn into a sticker. The design can be a custom image, a piece of artwork, or even a photo that you want to use as a sticker.
When selecting a design, it’s important to consider the size and visibility of the sticker. Discord stickers have a maximum dimension of 320×320 pixels, so it’s best to choose a design that will be easily recognizable and readable at that size. Simple and bold designs tend to work well as stickers, as they are more likely to stand out and be easily understood.
If you’re not the artistic type, don’t worry! Discord provides a wide range of pre-made sticker packs that you can choose from. These packs offer a variety of designs, characters, and themes, allowing you to find stickers that align with your interests or the interests of your community.
Alternatively, you can also consider commissioning an artist to create a custom design for you. Many artists are available for hire on platforms like Fiverr or DeviantArt, and they can bring your ideas to life in a unique and personalized sticker design.
Remember, the design you choose will reflect your personality or the nature of your community, so take the time to explore different options and find the perfect design that resonates with you or your audience. Once you have selected your design, you are ready to move on to the next step: preparing the image for sticker creation.
Step 2: Prepare the Image
After choosing the design for your sticker, the next step is to prepare the image before turning it into a sticker on Discord. This process involves ensuring that the image meets the required specifications and making any necessary adjustments for optimal sticker quality.
Firstly, you’ll need to check if your image meets the sticker dimensions of 320×320 pixels. If it doesn’t, you’ll need to resize the image using image-editing software such as Adobe Photoshop or free online tools like Pixlr or Canva. Be careful not to stretch or distort the image while resizing; maintaining the original aspect ratio is crucial for preserving the integrity of the design.
Additionally, it’s important to consider the file format of the image. Discord supports common image formats such as JPEG, PNG, and GIF for stickers. Depending on the complexity and colors of your design, you may want to choose the file format that best preserves the image quality. PNG is typically recommended for designs with transparency or sharp edges, while JPEG is suitable for images with smooth gradients.
Next, you might want to edit or enhance the image to optimize its appearance as a sticker. This step is optional but can significantly impact the final result. You can adjust the brightness, contrast, saturation, or apply filters to make the design more vibrant and eye-catching. Additionally, consider removing any unnecessary background or fine-tuning details to ensure that the main subject of the image stands out.
Lastly, it’s crucial to keep the file size of the image within Discord’s limitations. Stickers on Discord should be under 500KB in size. If your image exceeds this limit, you may need to compress or reduce the image quality to meet the requirements. However, be cautious not to compromise the overall image quality too much during this process.
Once you have prepared the image to meet the necessary specifications, you are now ready to proceed to the next step: using a sticker bot to create your sticker on Discord.
Step 3: Use a Sticker Bot
Now that you have your design prepared, it’s time to use a sticker bot to bring your sticker to life on Discord. A sticker bot is a Discord bot specifically designed to assist in the creation and management of stickers.
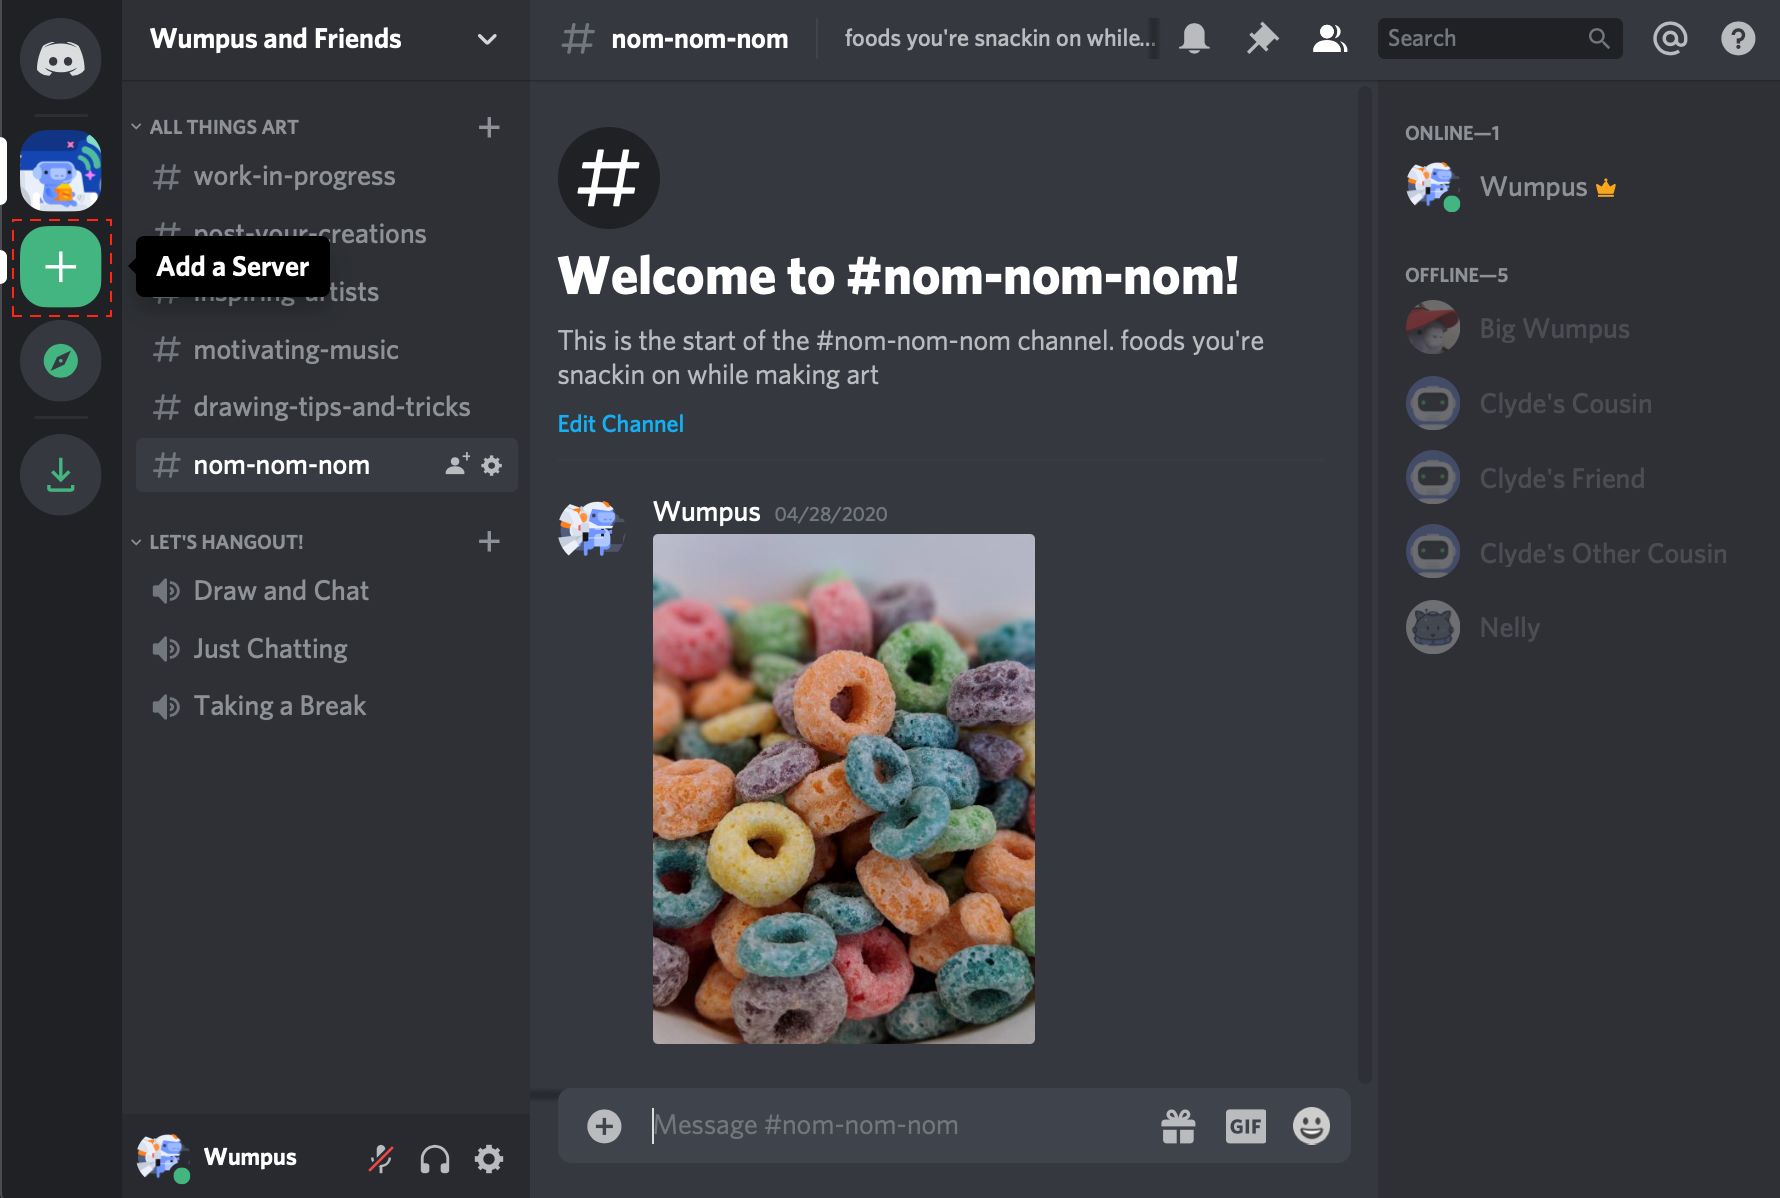
To get started, you’ll need to invite a sticker bot to your Discord server. There are several sticker bots available, such as “Sticker Man” or “Sticky Bot,” that you can find on bot listing websites like top.gg or discord.bots.gg. Once you have chosen a bot, follow the instructions provided by the bot developer to add it to your server.
After the sticker bot is successfully added, you can begin the process of creating your sticker. Start by using the designated command for the bot to initiate the sticker creation process. Typically, the command will be something like “!create” or “!sticker create.”
The bot will prompt you to provide the image file of your design for the sticker. Upload the prepared image file and let the bot process it. The bot will convert the image into a sticker format, optimize it for compatibility with Discord, and assign it a unique identifier.
Once the conversion is complete, the bot will generate a preview of the sticker. Take a moment to review the preview and make sure everything looks as intended. If you are satisfied with the result, proceed to the next step. If not, you can go back and repeat the process using a different image or adjust any settings offered by the bot.
It’s important to note that sticker bots may have additional features and settings available. These can include options for resizing, cropping, or adding animated effects to your stickers. Be sure to explore the bot’s commands and documentation to make the most of its capabilities and customize your sticker to your liking.
Once you are happy with the sticker preview, the bot will provide you with the final version of your sticker, complete with its unique identifier. Congratulations! You have successfully created your sticker on Discord.
Step 4: Upload the Sticker
With your sticker created and ready to go, the next step is to upload it to Discord. Uploading the sticker will make it available for you and other members of your server to use in conversations.
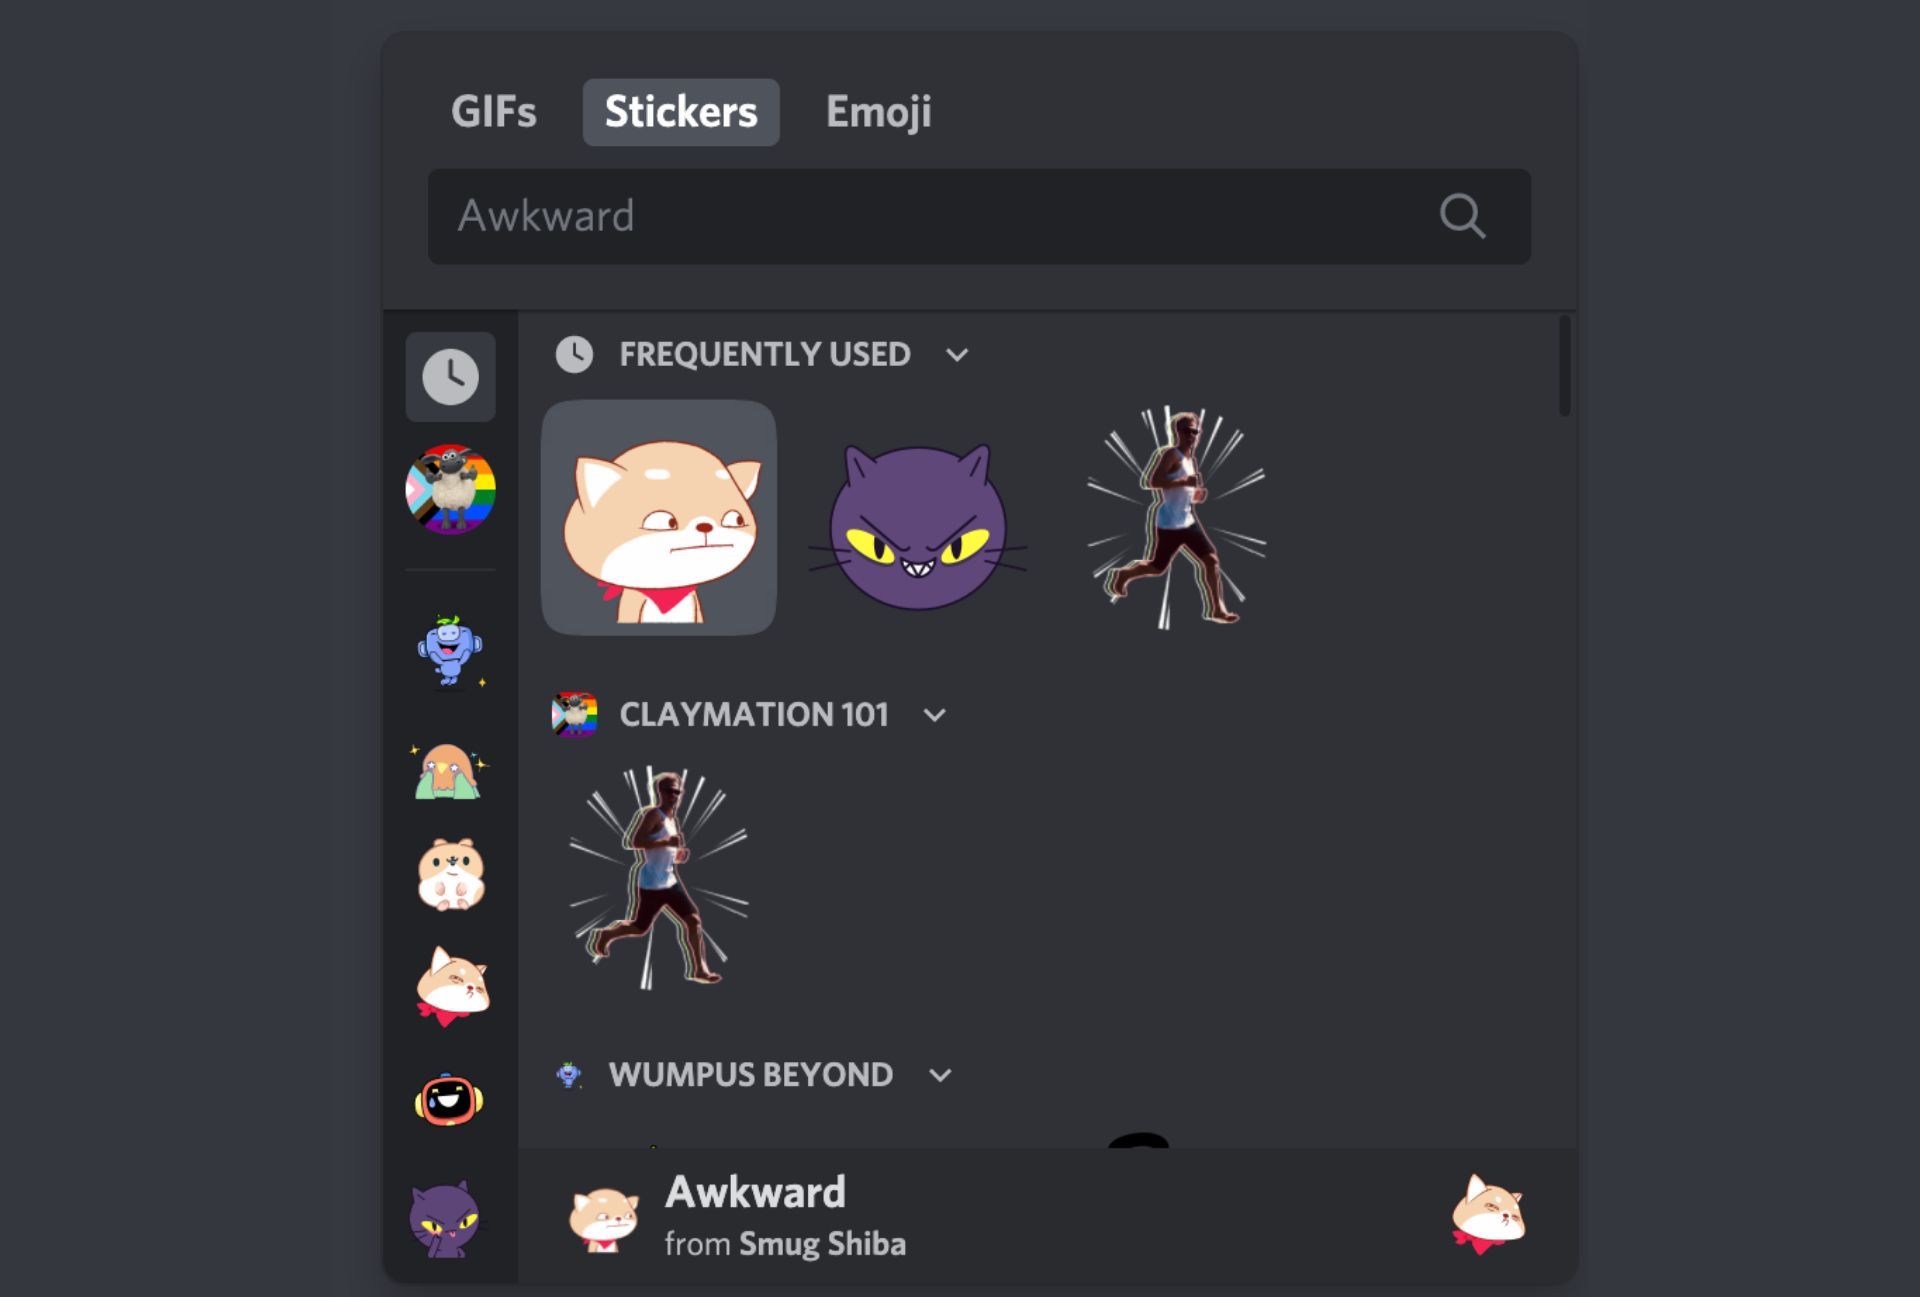
To upload the sticker, navigate to the chat window where you want to use it. This can be a server or a direct message chat. Look for the sticker icon, usually represented by a smiley face or sticker symbol, in the chat input area. Click on the sticker icon to open the sticker window.
Once the sticker window is open, you will find a variety of sticker options available. Look for the “Upload” or “My Stickers” section, which should provide you with the option to upload your own custom stickers.
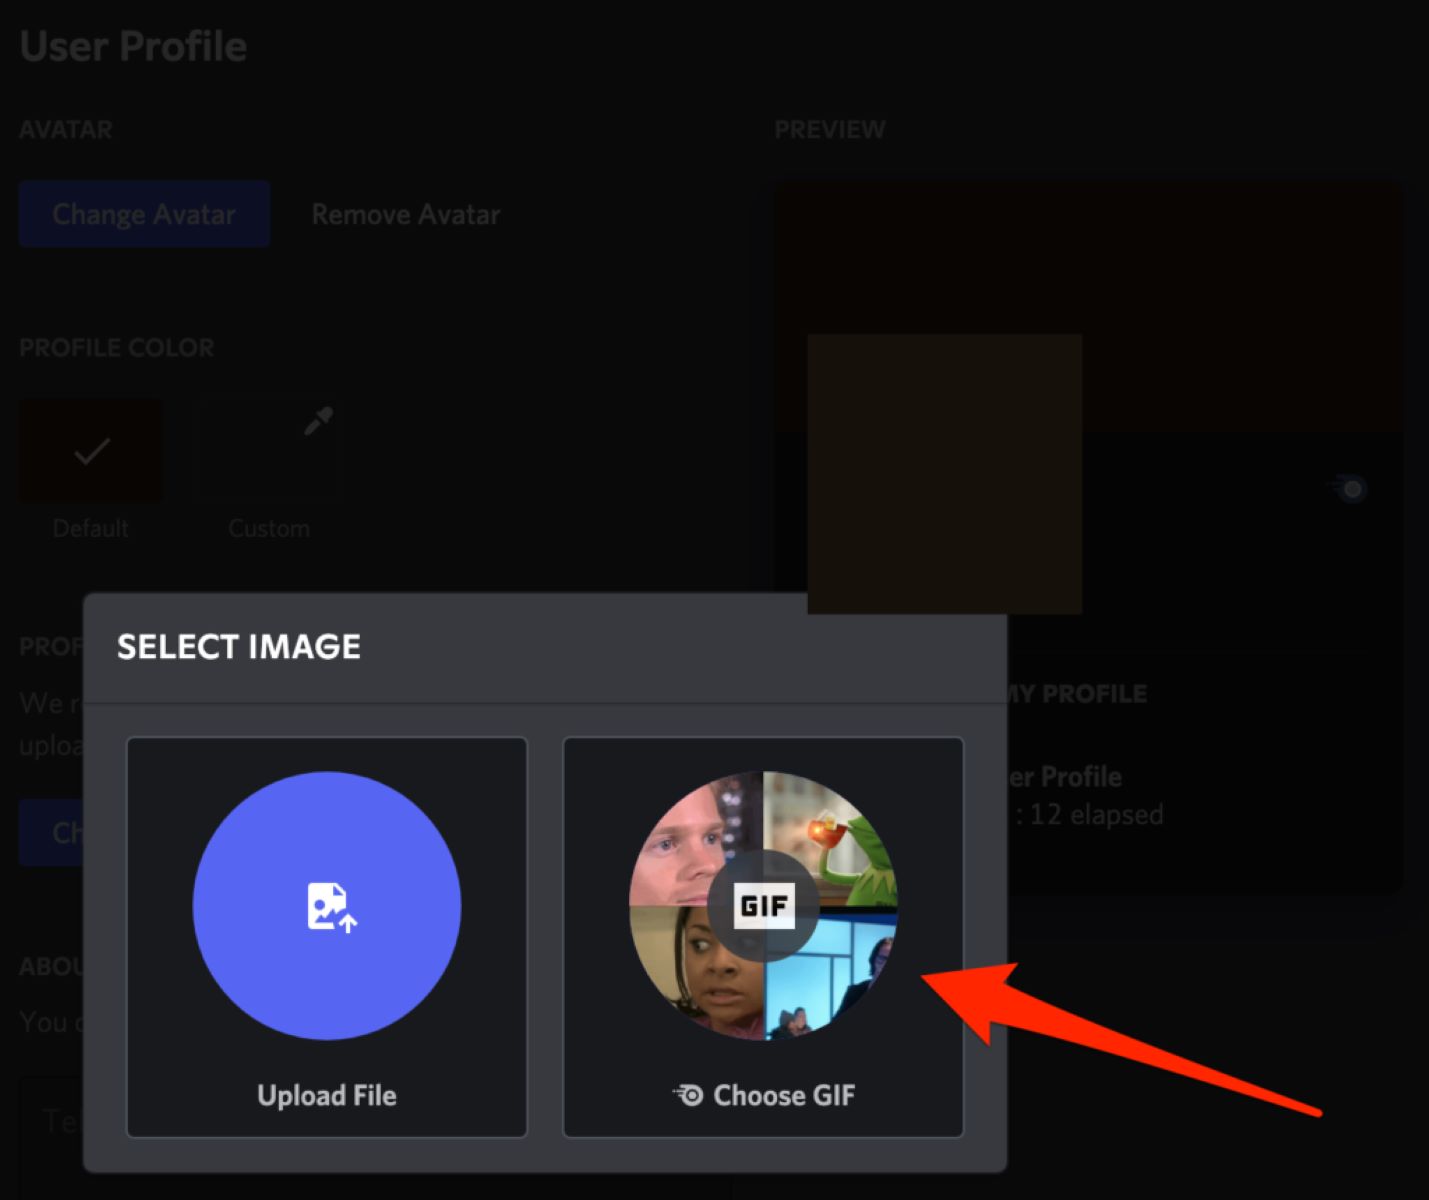
Click on the “Upload” or “Add Sticker” button, depending on the Discord interface you are using. This will open a file explorer window where you can locate and select the sticker file you created in the previous step.
After selecting the sticker file, Discord will process the upload and make your sticker available for use. You will then see your sticker displayed in the sticker window, ready for you to click on it and send it in chat messages.
It’s worth noting that there may be limitations on the number of stickers you can upload, depending on your Discord server settings. Some servers may have specific roles or permissions that grant users the ability to upload stickers. Be sure to check the server guidelines or consult with the server administrators if you encounter any issues with uploading stickers.
Congratulations! You have successfully uploaded your sticker to Discord. Now, it’s time to put it to the test in the next step.
Step 5: Test the Sticker
Now that you have uploaded your sticker on Discord, it’s important to test it out to ensure everything is working as intended. Testing the sticker will allow you to see how it appears in chat messages and how others interact with it.
To test your sticker, open a chat window or join a conversation where you want to use the sticker. Look for the sticker icon in the chat input area, usually represented by a smiley face or sticker symbol. Click on the sticker icon to open the sticker window.
Once the sticker window is open, locate your uploaded sticker within the sticker options. Click on your sticker to select it, and then click on the send or enter button to send the sticker in the chat message.
The sticker will now appear in the chat message for you and others to see. Take a moment to see how it looks, ensure it displays correctly, and assess its impact in the context of the conversation. Consider how the sticker enhances the chat experience and adds personality or emotion to the message.
Additionally, observe how others in the chat react to the sticker. Pay attention to their responses, whether they express enjoyment, appreciation, or any other form of engagement. This feedback will give you an idea of how well-received your sticker is and whether it effectively communicates the desired message or emotion.
If you encounter any issues or inconsistencies with the sticker, such as poor image quality, incorrect sizing, or difficulty in recognizing the design, you may need to revisit the previous steps and make necessary adjustments. Keep iterating and refining your sticker until you are satisfied with the final result.
Remember, testing and refining your sticker is a crucial step in the creative process. It allows you to ensure your sticker is visually appealing, well-received, and delivers the desired impact in conversations. By evaluating and improving your sticker based on user feedback and personal preferences, you can create an engaging and enjoyable sticker experience for yourself and others on Discord.
Step 6: Share the Sticker
Once you are satisfied with your sticker and have tested it successfully, it’s time to share it with others on Discord. Sharing your sticker allows more people to discover and use it in their conversations, spreading your creativity and personal touch across the platform.
There are several ways to share your sticker with others. Here are a few options:
- Share within your server: If you created the sticker for a specific Discord server or community, you can share it directly within that server. Open the chat window of the server and use the sticker as you normally would. Other members of the server will be able to see and use the sticker in their own messages.
- Share in other servers: If the sticker has broader appeal or if you want to showcase your creativity to a wider audience, you can share the sticker in other Discord servers. Note that some servers may have restrictions on sticker usage, so be sure to respect the rules of each server before sharing.
- Share with friends: If you have a close group of friends on Discord or if you want to share the sticker with specific individuals, you can send the sticker directly to them in a private conversation. Simply open a direct message chat with the person or group of people you want to share the sticker with and use the sticker from the sticker window.
- Share on social media: If you want to reach an even wider audience and showcase your sticker to the world, consider sharing it on social media platforms. Take a screenshot of the sticker in action or create a visual representation of it and share it on platforms like Twitter, Instagram, or Reddit. This can help generate interest and engagement from the larger Discord community.
Remember to provide proper credit or attribution if necessary, especially if you used someone else’s artwork or commissioned an artist to create a custom design for you. Respect the rights of others and acknowledge their contributions to your sticker creation process.
Sharing your sticker allows you to connect with others, spark conversations, and contribute to the vibrant and creative community on Discord. Embrace the opportunity to share your ideas, express yourself, and make a lasting impact on the conversations happening across the platform.
Conclusion
Congratulations on successfully creating and sharing your own stickers on Discord! By following the steps outlined in this guide, you have learned how to choose a design, prepare the image, use a sticker bot, upload the sticker, test it, and share it with others. Now, you can express yourself and add a touch of personalization to your Discord conversations.
Stickers provide a fun and creative way to enhance your communication on Discord. Whether you choose to use pre-made stickers or create your own custom designs, stickers allow you to express your emotions, showcase your interests, and engage with others in a more visually appealing manner.
Remember to explore different designs, experiment with different styles, and listen to feedback from others. Continuously refining and improving your stickers will help you create more impactful and enjoyable experiences for yourself and the community.
So go ahead, let your creativity soar, and have fun making stickers on Discord! Share your unique creations with others, spark conversations, and contribute to the vibrant atmosphere of the Discord community. Whether you’re a gamer, an artist, or simply someone looking to add a bit of flair to your chats, stickers are a fantastic way to express yourself and make your presence on Discord truly stand out.
Now, it’s time to jump in, get creative, and start making those amazing stickers. Enjoy the process, engage with others, and let your stickers become a memorable part of your Discord experience!