Introduction
Who doesn’t love indulging in a creamy and delicious ice cream treat? While store-bought ice cream is readily available, there’s something satisfying about making it from scratch at home. And the best part? You don’t even need an ice cream maker to create your own batch of frozen perfection.
In this article, we will guide you through the step-by-step process of making ice cream from scratch without the need for any specialized equipment. With a few simple ingredients and a little bit of patience, you can whip up a homemade ice cream that rivals any fancy store-bought variety.
Whether you’re a seasoned chef or a novice in the kitchen, making your own ice cream is a fun and rewarding activity. Not only do you have the freedom to customize your flavors and mix-ins, but the process itself is a delightful journey that engages all your senses.
So, put on your apron and get ready to embark on an ice cream-making adventure. Get ready to delight your taste buds with the smooth and creamy goodness of homemade ice cream. It’s time to dive into the world of frozen desserts!
Ingredients
Before you dive into making homemade ice cream, let’s gather the essential ingredients you’ll need. The great thing is that most of these ingredients are probably already in your kitchen. Here’s what you’ll need:
- 2 cups of heavy cream: This rich and creamy ingredient forms the base of your ice cream.
- 1 cup of whole milk: The milk adds a lighter texture to the ice cream while still providing the necessary creaminess.
- 3/4 cup of granulated sugar: Sweetens the ice cream and adds a pleasant taste.
- 1 tablespoon of pure vanilla extract: Gives a classic and aromatic vanilla flavor to your ice cream.
- A pinch of salt: Enhances the flavors and balances the sweetness.
- Ice: Necessary for creating the freezing environment for your ice cream.
- Rock salt: Helps to lower the freezing temperature, ensuring the ice cream freezes properly.
Now that you have a list of the ingredients, make sure you have them all available before you begin the ice cream making process. Once you’ve gathered everything, you’re ready to move on to the next step.
Equipment
To make homemade ice cream without an ice cream maker, you’ll need a few basic kitchen tools. Don’t worry; you won’t need any fancy or expensive equipment. Here’s what you’ll need:
- A large mixing bowl: This will be used to combine and mix the ingredients for the ice cream base.
- A whisk or electric mixer: You can use either of these tools to blend the ingredients together until smooth and well-incorporated.
- A sturdy, lidded container: This will be used to freeze and store the ice cream. A metal or plastic container with a tight-fitting lid works best.
- A freezer: Of course, you’ll need a freezer to create the freezing environment for your ice cream to set.
- A spatula or spoon: To scrape down the sides of the container and mix in any additional flavors or mix-ins.
That’s it! With these basic kitchen tools, you have everything you need to make homemade ice cream without an ice cream maker. You don’t need to invest in any specialized equipment to achieve a delicious batch of creamy ice cream right at home.
Now that you have your ingredients and equipment ready, it’s time to move on to the step-by-step process of creating the ice cream base and freezing it to perfection.
Step 1: Creating the Base
The first step in making homemade ice cream without an ice cream maker is to create the creamy base. This base will serve as the foundation for your ice cream, providing a smooth and luscious texture. Here’s how to do it:
- In a large mixing bowl, combine the heavy cream, whole milk, granulated sugar, pure vanilla extract, and a pinch of salt.
- Using a whisk or electric mixer, beat the mixture until the sugar has dissolved completely and the liquid becomes smooth and creamy.
- Continue to whisk or mix for a few more minutes to ensure all the ingredients are well combined.
You should now have a delicious and creamy ice cream base. The sugar helps to sweeten the mixture, while the vanilla extract adds a delightful aroma and flavor. The pinch of salt helps to enhance the flavors and balance the sweetness.
Once you have created your ice cream base, it’s time to move on to the next step: chilling the base to prepare it for freezing.
Step 2: Chilling the Base
After creating the ice cream base, it’s important to chill it thoroughly before moving on to the freezing process. Chilling the base helps to ensure a smoother and creamier texture in your final ice cream. Follow these steps to chill the base:
- Cover the mixing bowl containing the ice cream base with plastic wrap or a lid.
- Place the bowl in the refrigerator and allow the mixture to chill for at least 4 hours or preferably overnight.
- During this chilling time, the flavors will meld together, and the mixture will become slightly thicker.
Chilling the base not only helps to improve the taste and consistency but also makes the freezing process more efficient. So be patient and let the base rest in the refrigerator for the recommended time.
Once the base is thoroughly chilled, it’s time to move on to the most exciting step: freezing the ice cream!
Step 3: Freezing the Ice Cream
Now that the ice cream base is properly chilled, it’s time to freeze it and transform it into a delightful frozen treat. Follow these steps to freeze the ice cream:
- Take the chilled ice cream base out of the refrigerator and give it a thorough stir to ensure it is well mixed.
- Pour the base into a lidded container, leaving some space at the top for expansion as the ice cream freezes.
- Secure the lid tightly to prevent any air from getting in.
- Place the container in the freezer and let it freeze for about 2-3 hours, or until it starts to solidify around the edges.
- During the freezing process, it’s important to check the ice cream every 30 minutes and give it a good stir. This helps prevent large ice crystals from forming and ensures a smoother texture.
As you stir the ice cream, you’ll notice that it gradually thickens and becomes more solid. This is a good sign that the freezing process is well underway.
Remember to be patient during this stage as the freezing time may vary depending on your freezer’s temperature and the quantity of ice cream. The result will be a creamy and velvety texture that is worth the wait.
Once the ice cream has reached the desired consistency, it’s time to move on to the next step: mixing and breaking up any ice crystals that may have formed.
Step 4: Mixing and Breaking Up Ice Crystals
As your ice cream freezes, it’s natural for ice crystals to form, which can result in a gritty texture. To ensure a smooth and creamy consistency, you need to periodically mix and break up these ice crystals. Follow these steps to achieve optimal texture:
- Remove the container of partially frozen ice cream from the freezer.
- Using a spoon or spatula, vigorously stir the ice cream, breaking up any ice crystals that have formed.
- This step helps to distribute the freezing and thawing process evenly, preventing the formation of large ice crystals and maintaining a smooth texture.
- Continue to stir the ice cream every 30-60 minutes for the next 2-3 hours, or until the ice cream reaches your desired consistency.
Remember to work quickly during each stirring session to minimize melting and maintain the freezing process. The more you break up the ice crystals, the creamier your ice cream will be.
It’s important to note that the frequency and duration of mixing may vary depending on your freezer’s temperature and the initial consistency of the ice cream base. Adjust as needed to achieve the best results.
Once you’re satisfied with the texture and there are no visible ice crystals, it’s time to move on to the fun part: adding flavors and mix-ins!
Step 5: Adding Flavors and Mix-ins
Now that your ice cream base has been frozen to perfection, it’s time to elevate the flavor profile by adding your favorite flavors and mix-ins. This step allows you to get creative and customize your ice cream according to your preferences. Follow these steps to add flavors and mix-ins:
- Remove the container of frozen ice cream from the freezer.
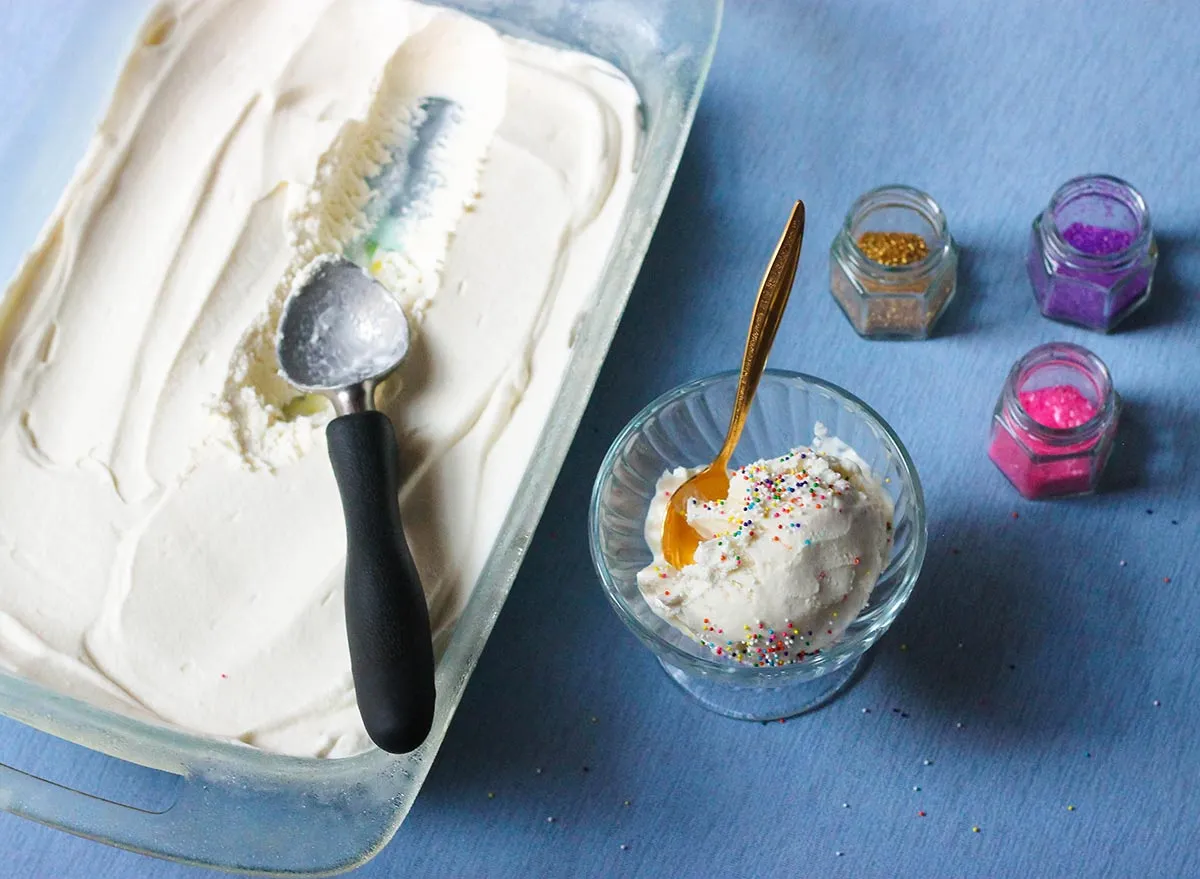
- Add your desired flavorings such as chocolate chips, crushed cookies, fruit purees, or extracts.
- If you’re using solid mix-ins like chocolate chunks or nuts, make sure they’re chopped into small pieces for even distribution.
- Use a spoon or spatula to mix the flavors and mix-ins into the ice cream base thoroughly.
Make sure to blend the ingredients well but be gentle to avoid over-mixing, as this can lead to a loss of air and a denser texture.
Remember, the possibilities for flavors and mix-ins are endless, so feel free to unleash your creativity and experiment with different combinations. Whether you’re a fan of classic vanilla, indulgent chocolate, or funky flavors like lavender or matcha, this is your chance to put your personal touch on your homemade ice cream masterpiece.
Once you’ve incorporated the flavors and mix-ins, it’s time to move on to the final step: getting the ice cream ready for its ultimate freeze.
Step 6: Final Freeze
After adding the flavors and mix-ins to your ice cream, it’s time for the final freeze. This step ensures that all the flavors and ingredients are thoroughly blended, and your ice cream reaches its desired firmness. Follow these steps to complete the freezing process:
- Place the container back into the freezer, making sure it is securely sealed.
- Allow the ice cream to freeze for at least 4-6 hours, or overnight if possible.
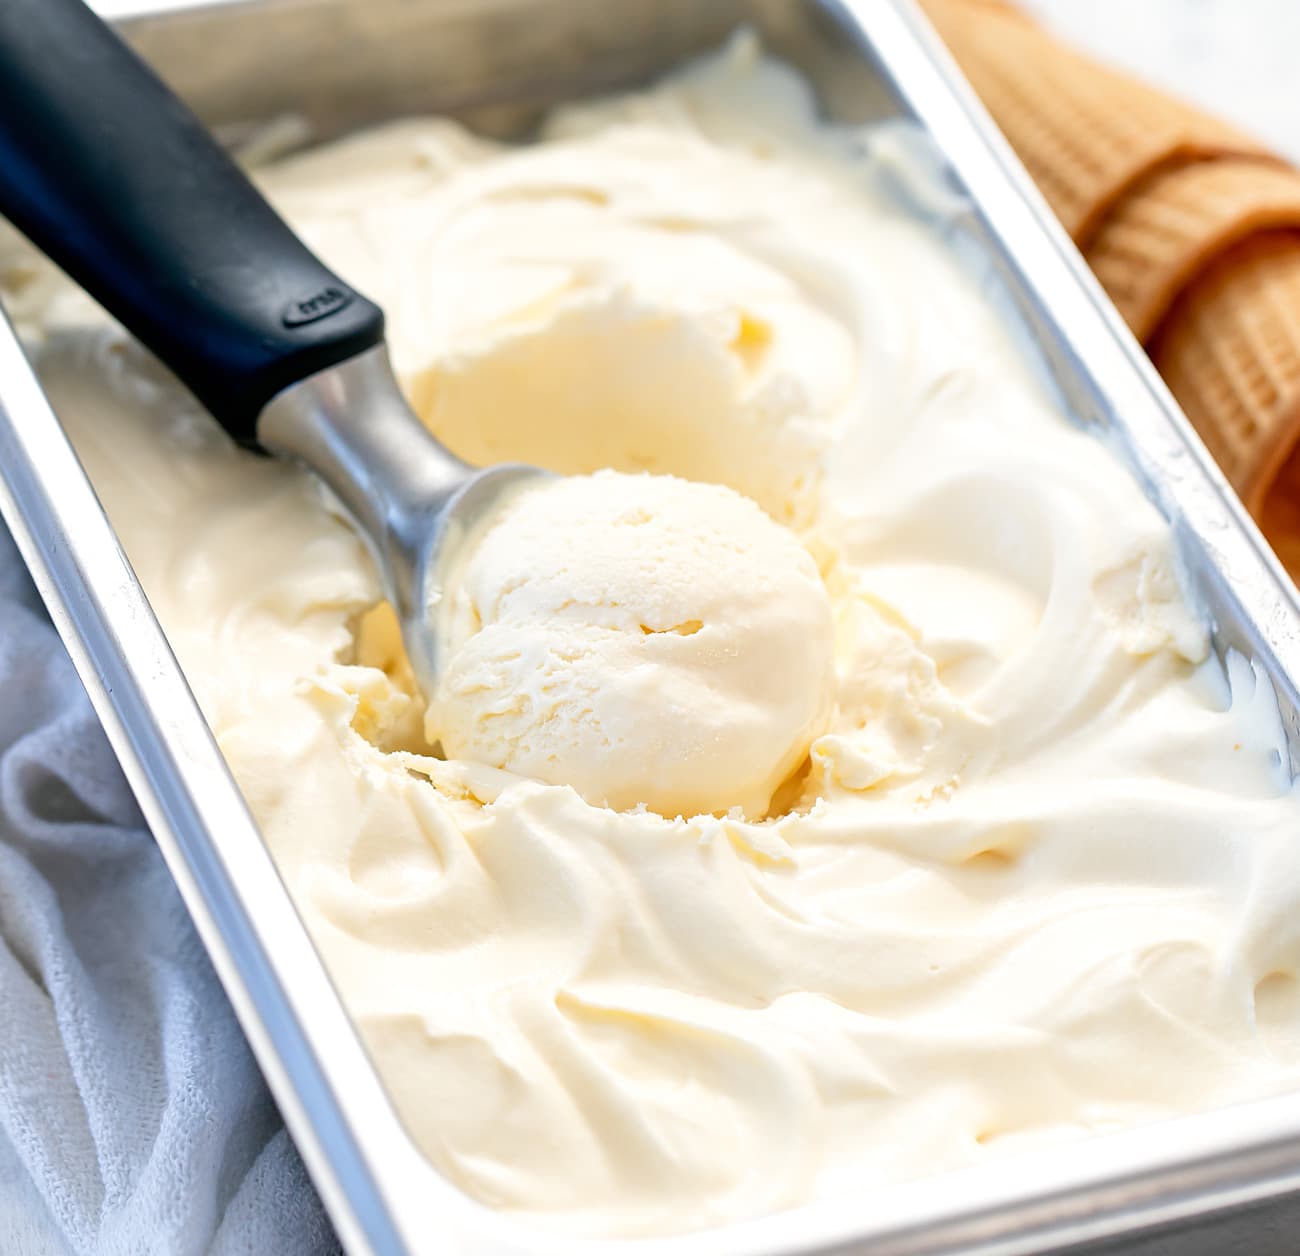
- This final freeze will solidify the ice cream, giving it a perfect, scoopable consistency.
- If you prefer your ice cream to be firmer, you can leave it in the freezer for a longer duration.
It’s essential to keep the ice cream container away from other strong-smelling foods in the freezer to protect its flavor.
Now, all that’s left to do is savor the anticipation as your homemade ice cream achieves its final frozen state. Once it’s fully frozen, you can enjoy a scoop or two (or more!) of your delicious creation.
Remember to store any leftover ice cream in a lidded container in the freezer to keep it fresh and preserve its texture.
Congratulations! You’ve successfully made homemade ice cream without an ice cream maker. It’s time to indulge in the fruit of your labor and enjoy every delightful bite.
So gather your family and friends, grab some cones or bowls, and indulge in the sweet satisfaction of homemade ice cream that’s bursting with flavor.
Now go ahead and treat yourself to a scoop of creamy bliss!
Conclusion
Creating homemade ice cream without an ice cream maker is a rewarding and delicious experience. With just a few simple ingredients and basic kitchen tools, you can enjoy the satisfaction of making your own creamy frozen treat from scratch.
We started by gathering the necessary ingredients, such as heavy cream, whole milk, sugar, vanilla extract, and salt. These ingredients form the base of your ice cream and can be customized with different flavors and mix-ins.
Next, we discussed the equipment needed, which are likely already present in your kitchen. A large mixing bowl, whisk or electric mixer, lidded container, freezer, and spatula or spoon are all you need to create your homemade ice cream.
Following the step-by-step process, we learned how to create the ice cream base, chill it, freeze it, and periodically mix and break up any ice crystals that may have formed. Adding flavors and mix-ins allowed us to personalize our creations and unleash our creativity.
Finally, after the final freeze, we can indulge in the delightful result of our efforts. Creamy, flavorful, and perfectly scoopable homemade ice cream is ready to be enjoyed with family and friends.
By making ice cream at home, we can experiment with various flavors, control the quality of ingredients, and cherish the joy of creating something delicious from scratch. The possibilities are endless, limited only by our imagination.
So why rely on store-bought ice cream when you can create your own masterpieces without the need for an ice cream maker? Grab your ingredients, follow the steps, and embrace the art and science of making homemade ice cream.
Start your ice cream-making adventure today, and be prepared to impress with every creamy, flavorful scoop you serve. Enjoy the satisfaction and delight of indulging in your very own homemade frozen treat!