Introduction
Are you a Chromebook user looking to unleash your creativity and make stunning videos? Well, you’re in luck! Despite the popular notion that Chromebooks are only suited for web browsing and basic tasks, these versatile devices have come a long way in terms of video creation capabilities. Whether you’re a vlogger, educator, small business owner, or simply a video enthusiast, you can now easily make professional-quality videos right from your beloved Chromebook.
In this article, we’ll walk you through the steps on how to make a video on your Chromebook. We’ll cover everything from choosing the right video creation app to editing, adding effects, adjusting audio settings, and ultimately sharing your masterpiece with the world. So, grab your Chromebook and let’s dive in!
With the increasing popularity of online video content, creating videos has become more accessible and essential for many. Whether you want to create tutorial videos, product demos, or simply share your experiences, having the ability to make videos on your Chromebook is a game-changer. The best part is, you don’t need to spend a fortune on expensive video production equipment or software.
Another advantage of using your Chromebook for video creation is the seamless integration with Google’s suite of productivity tools. You can easily collaborate with others using Google Drive, access your videos from anywhere with Google Photos, and utilize the powerful editing capabilities of Google’s video creation apps.
So, if you’re ready to unleash your creativity and start making videos on your Chromebook, let’s get started! In the next sections, we’ll guide you through the entire process, from recording to editing and sharing. By the end of this article, you’ll have all the tools and knowledge you need to create impressive videos that will captivate your audience.
Choose the Right Video Creation App
When it comes to making videos on your Chromebook, the first step is to choose the right video creation app. Fortunately, there are several options available that cater to different levels of expertise and specific needs. Here are a few popular choices:
WeVideo: WeVideo is a powerful and user-friendly video editing app that offers a wide range of features. With WeVideo, you can edit videos, add effects, transitions, and text, and even collaborate with others in real-time. It also provides access to a vast library of stock media, allowing you to enhance your videos with professional-quality assets.
KineMaster: KineMaster is another popular video editing app that offers a range of features for creating high-quality videos. With its easy-to-use interface and multi-track timeline, you can add multiple layers of video, audio, and effects to create stunning visuals. KineMaster also provides precise editing controls and advanced features like chroma key (green screen) and audio ducking.
Adobe Spark Video: If you’re looking for a simpler and more streamlined video creation experience, Adobe Spark Video is an excellent choice. With this app, you can easily create compelling videos using pre-designed templates, a variety of built-in themes, and a friendly interface that allows for quick editing and customization. Adobe Spark Video is perfect for creating engaging videos for presentations, social media, or educational purposes.
These are just a few examples of the many video creation apps available for Chromebooks. It’s essential to consider your specific needs, level of expertise, and desired features when choosing the right app for you. Take some time to explore the different options and read reviews to ensure that the app you choose aligns with your creative goals.
Once you’ve selected the video creation app that suits you best, you’ll be ready to embark on your video-making journey. In the next section, we’ll guide you through the process of setting up your Chromebook for video recording. Get ready to bring your ideas to life!
Set Up Your Chromebook for Video Recording
Before you start recording your video on your Chromebook, it’s essential to ensure that your device is set up correctly for the best recording experience. Here are a few steps to follow:
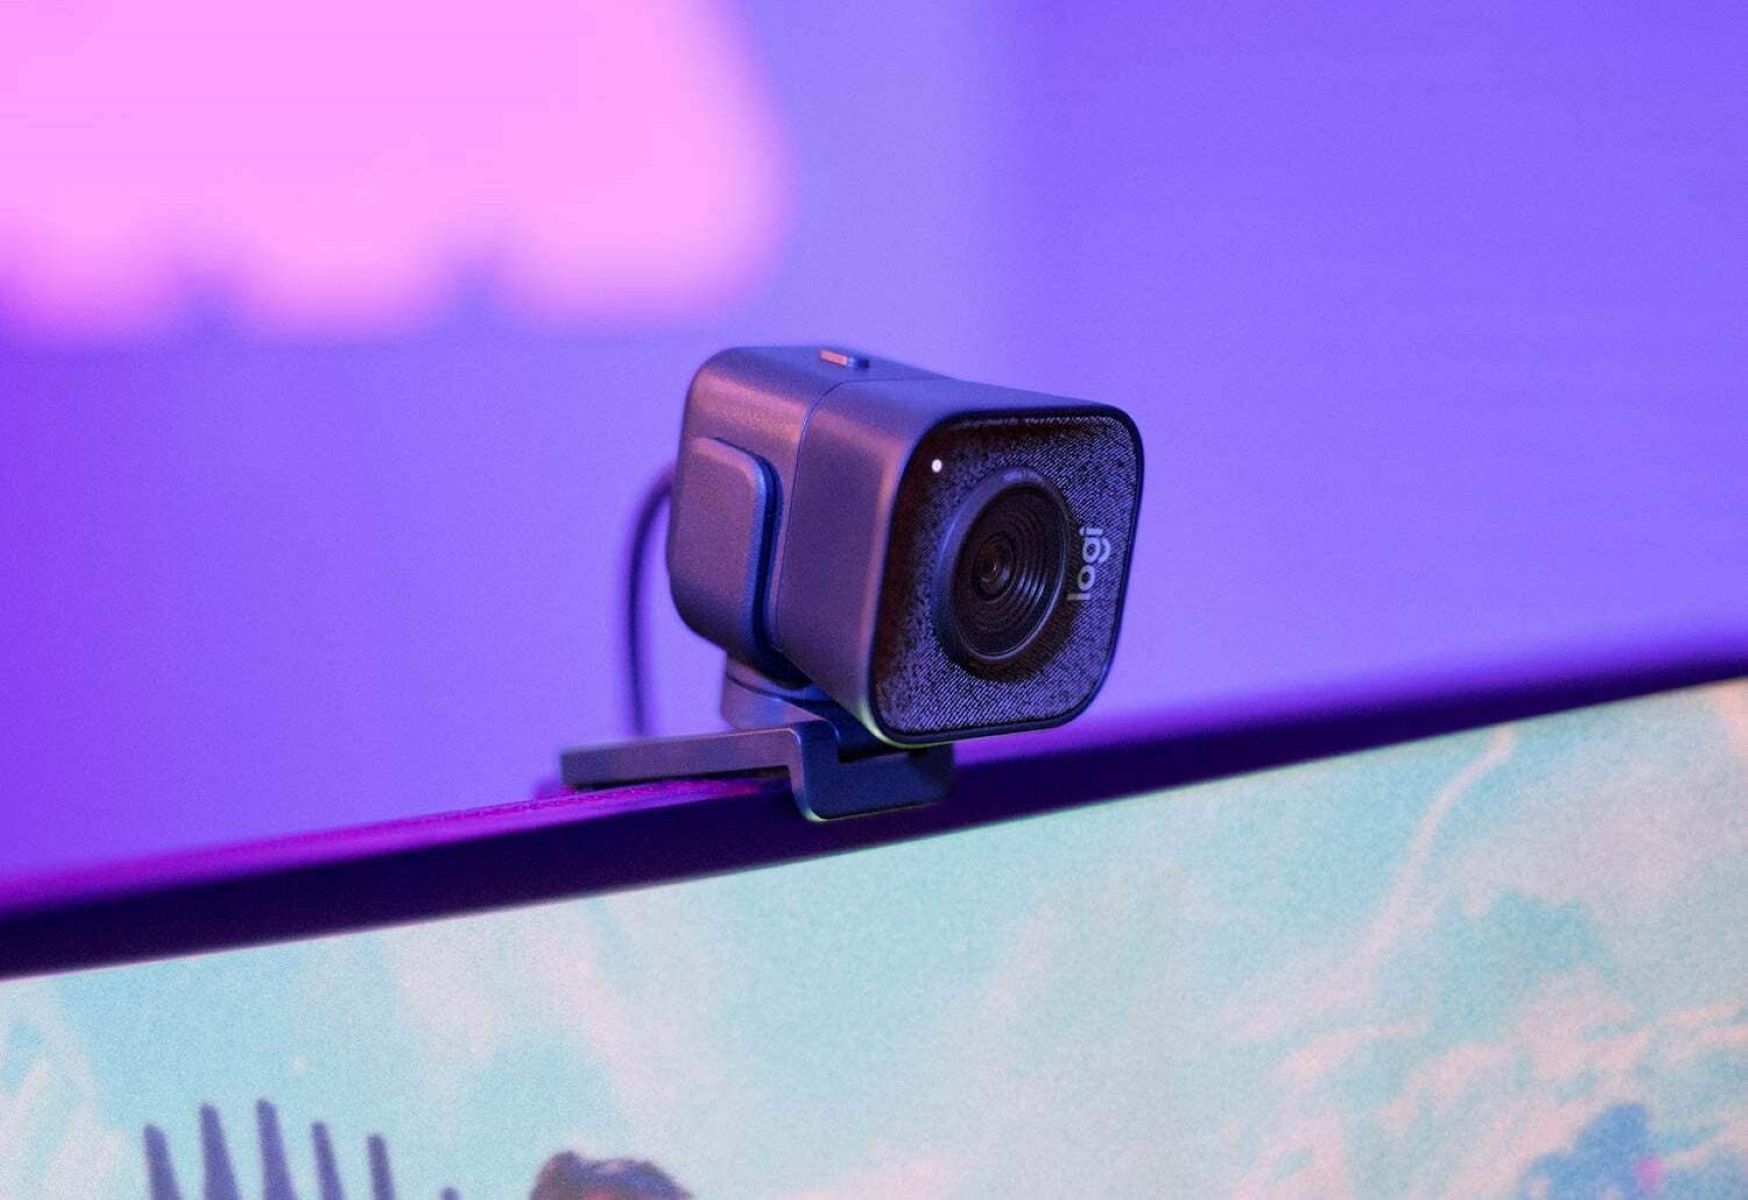
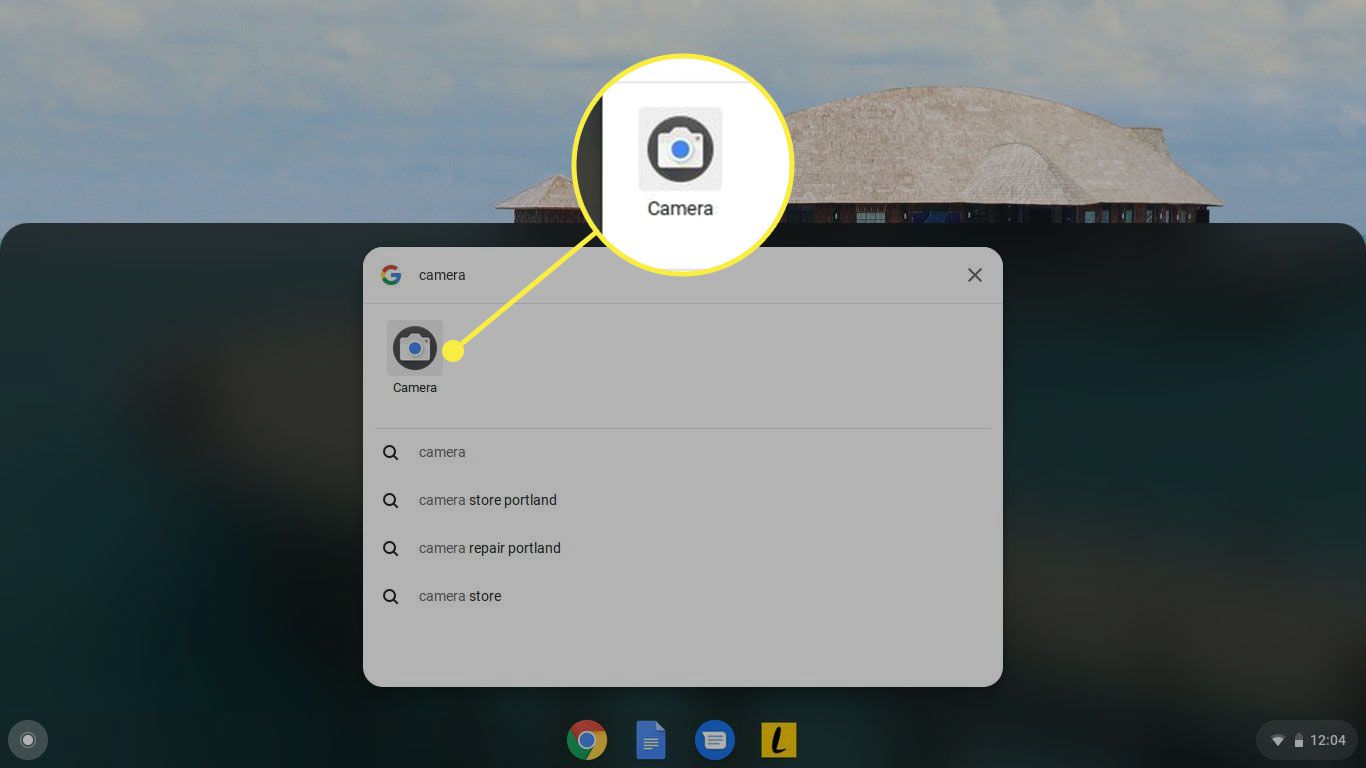
Check the Camera Quality: First, ensure that your Chromebook has a built-in camera and that it is working properly. Open the Camera app or any video call application to test the camera’s quality and functionality. If you’re not satisfied with the quality, consider using an external webcam for better results.
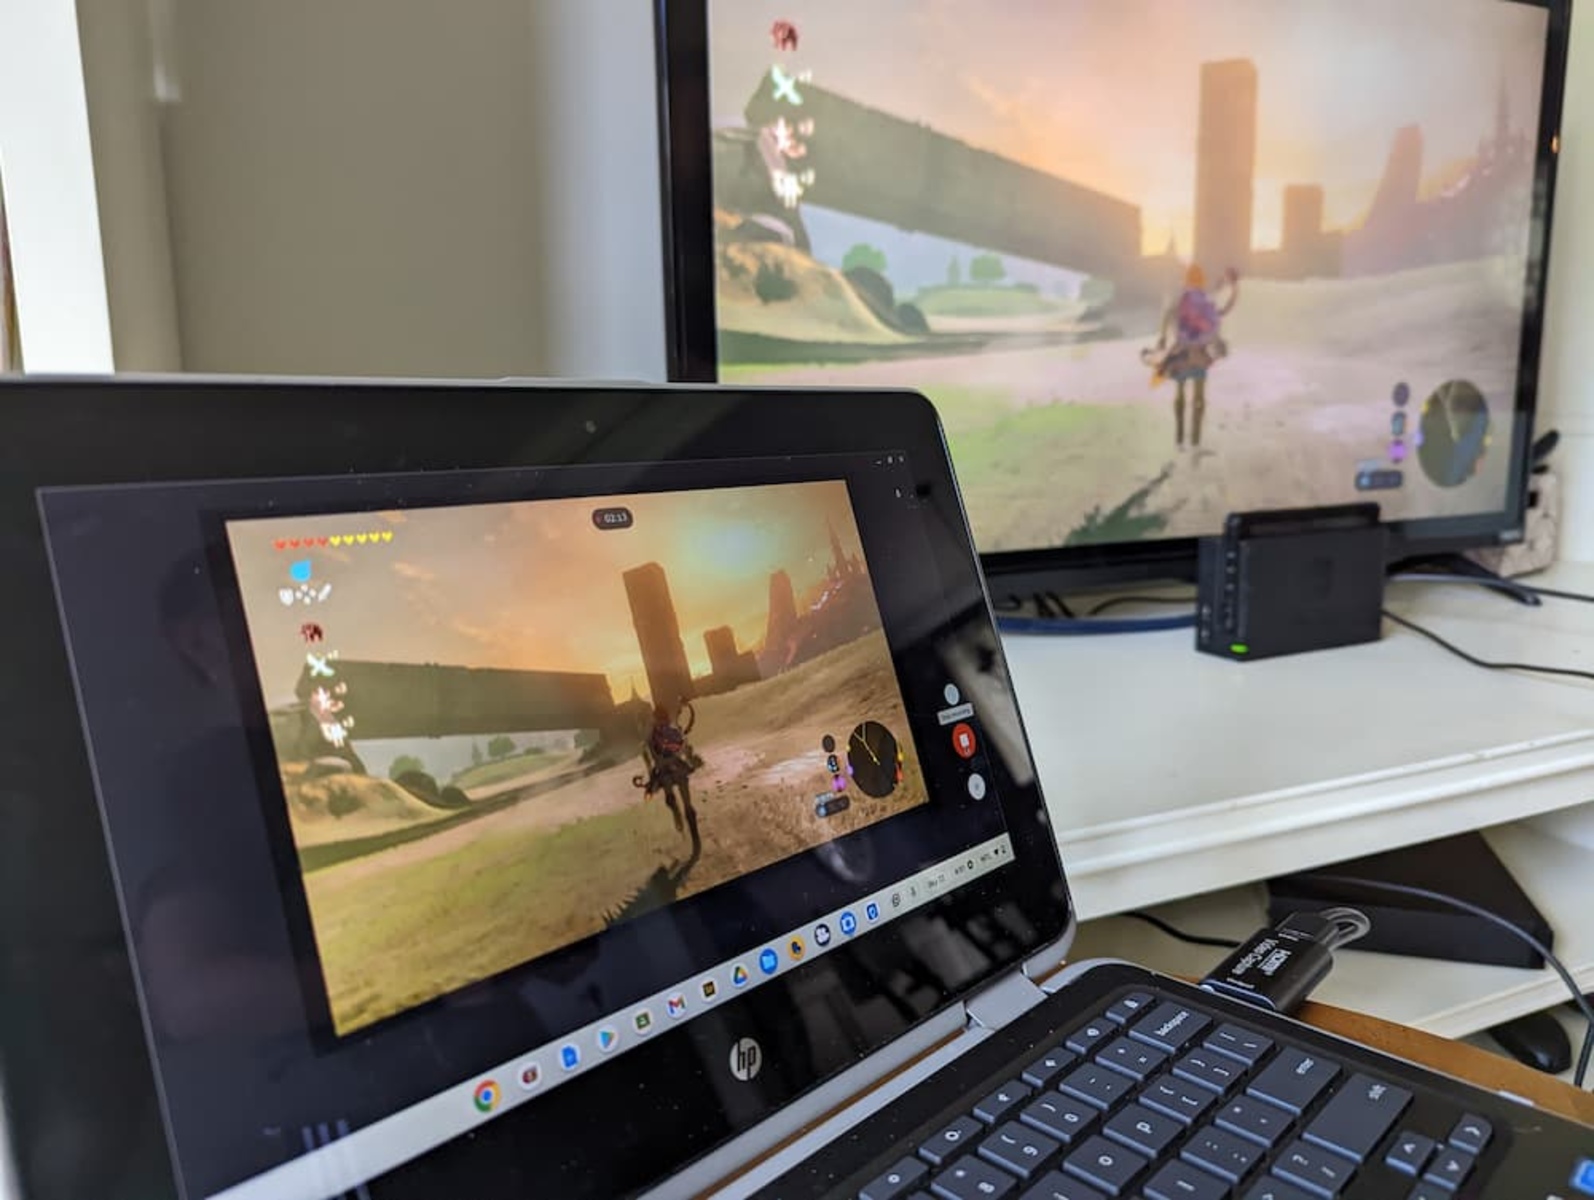
Position Your Chromebook: Next, find a stable surface to position your Chromebook. Whether you prefer a desk, table, or tripod, make sure the Chromebook is steady and at a comfortable height and angle for recording. This will help prevent shaky footage and ensure that you can capture your video effectively.
Optimize Lighting: Lighting plays a crucial role in the quality of your video. Make sure you are in a well-lit area, preferably with natural light. Avoid harsh shadows or overly bright spots. If necessary, use additional lighting sources, such as lamps or ring lights, to achieve a balanced and visually pleasing setup.
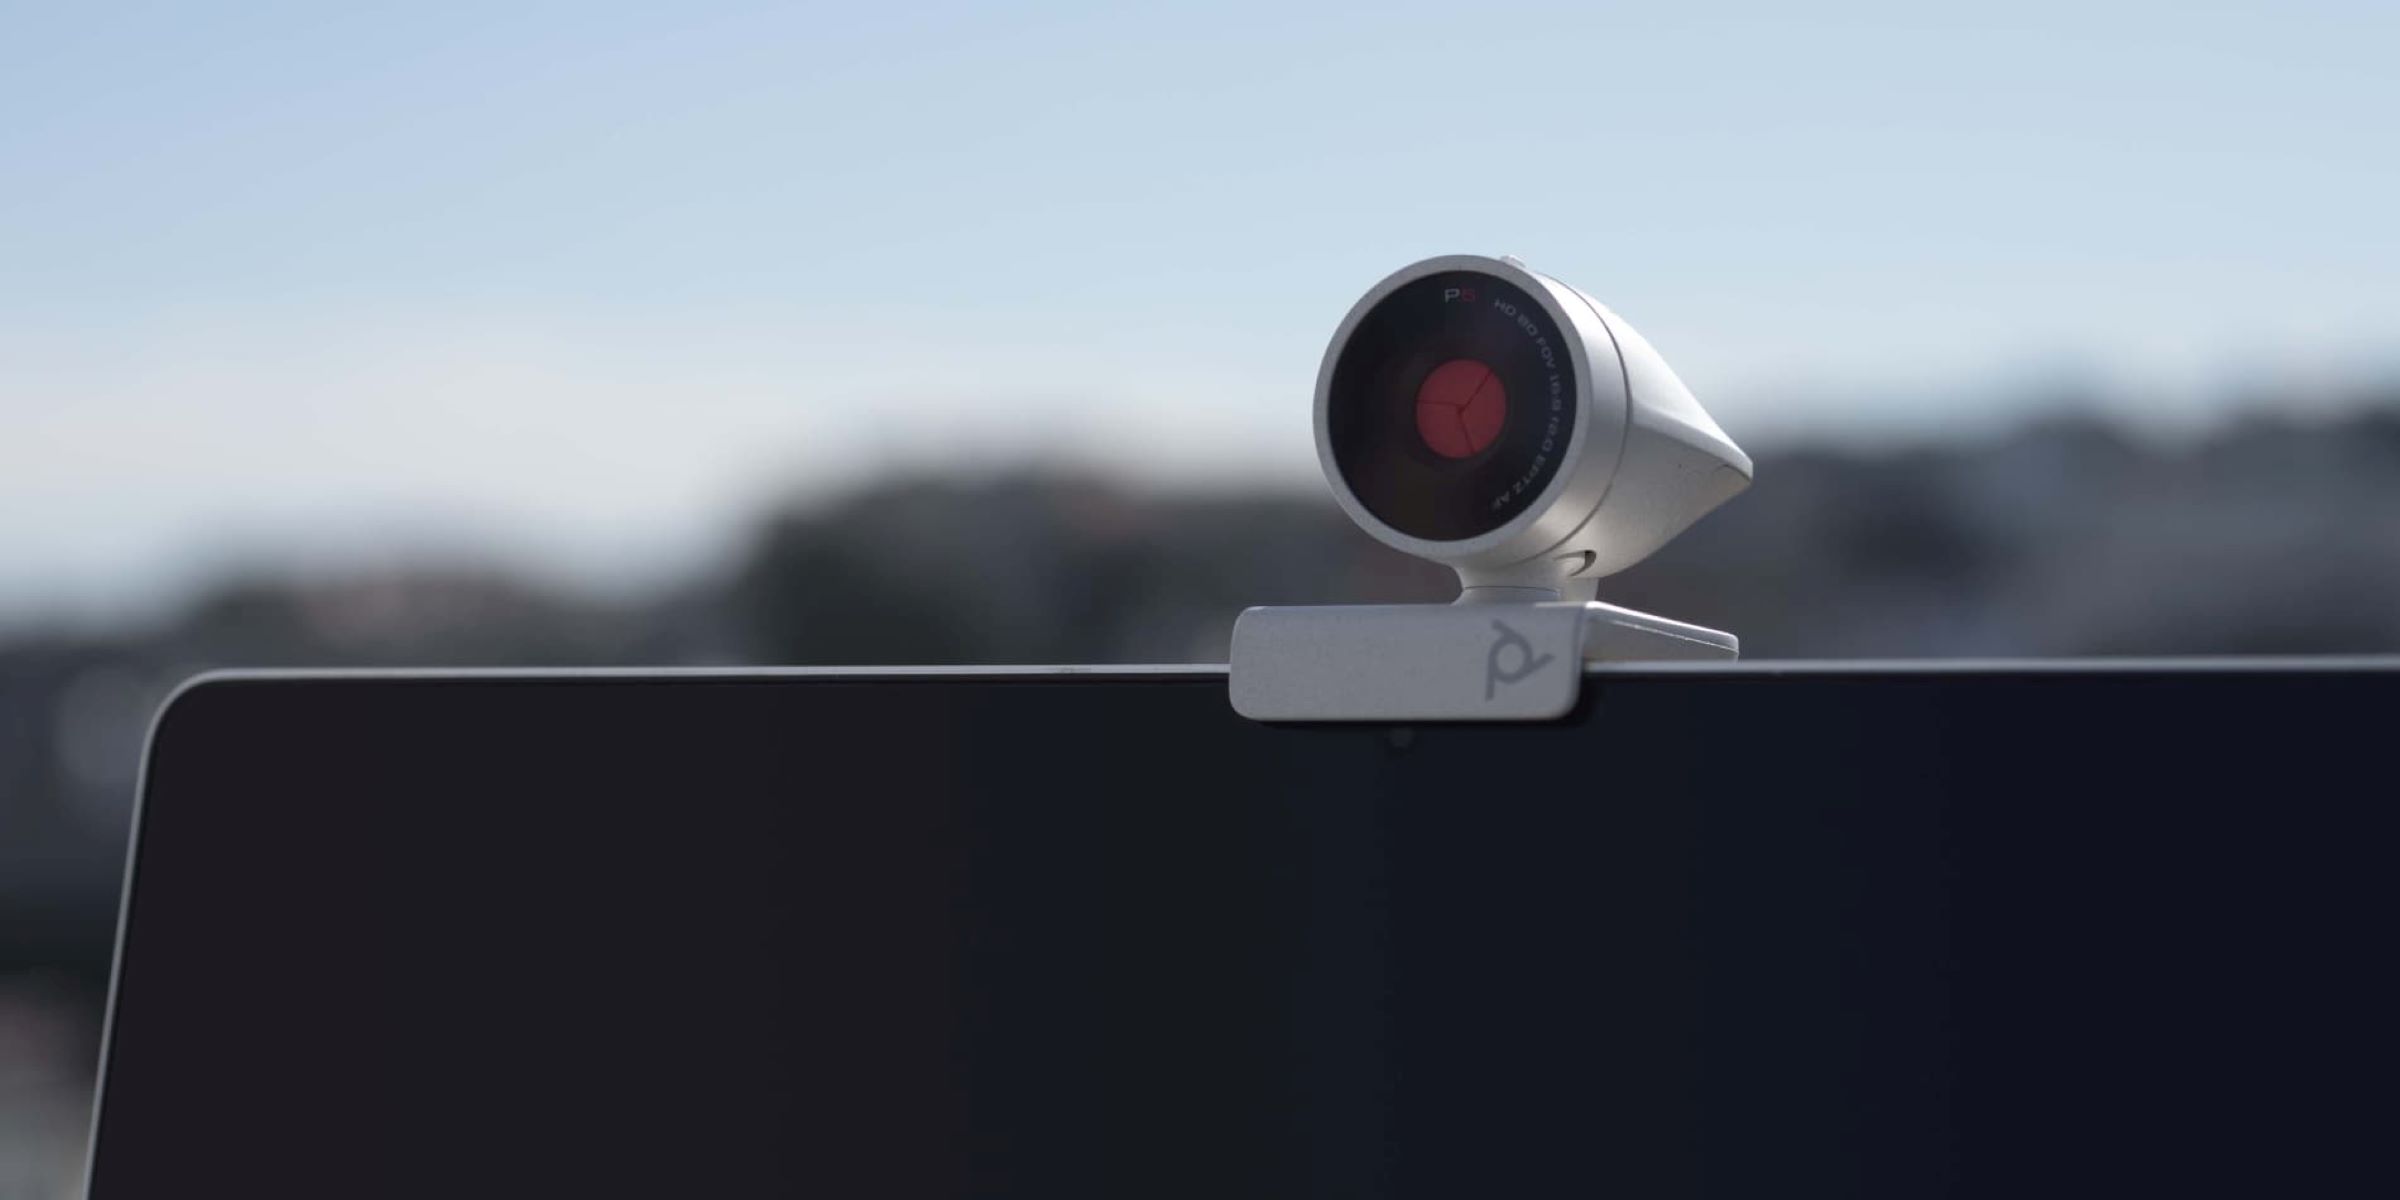
Consider Audio Quality: While Chromebooks typically have built-in microphones, the audio quality may not always be optimal. If you want to enhance the audio, consider using an external microphone. USB or Bluetooth microphones are easy to connect to your Chromebook and can significantly improve sound clarity and eliminate background noise.
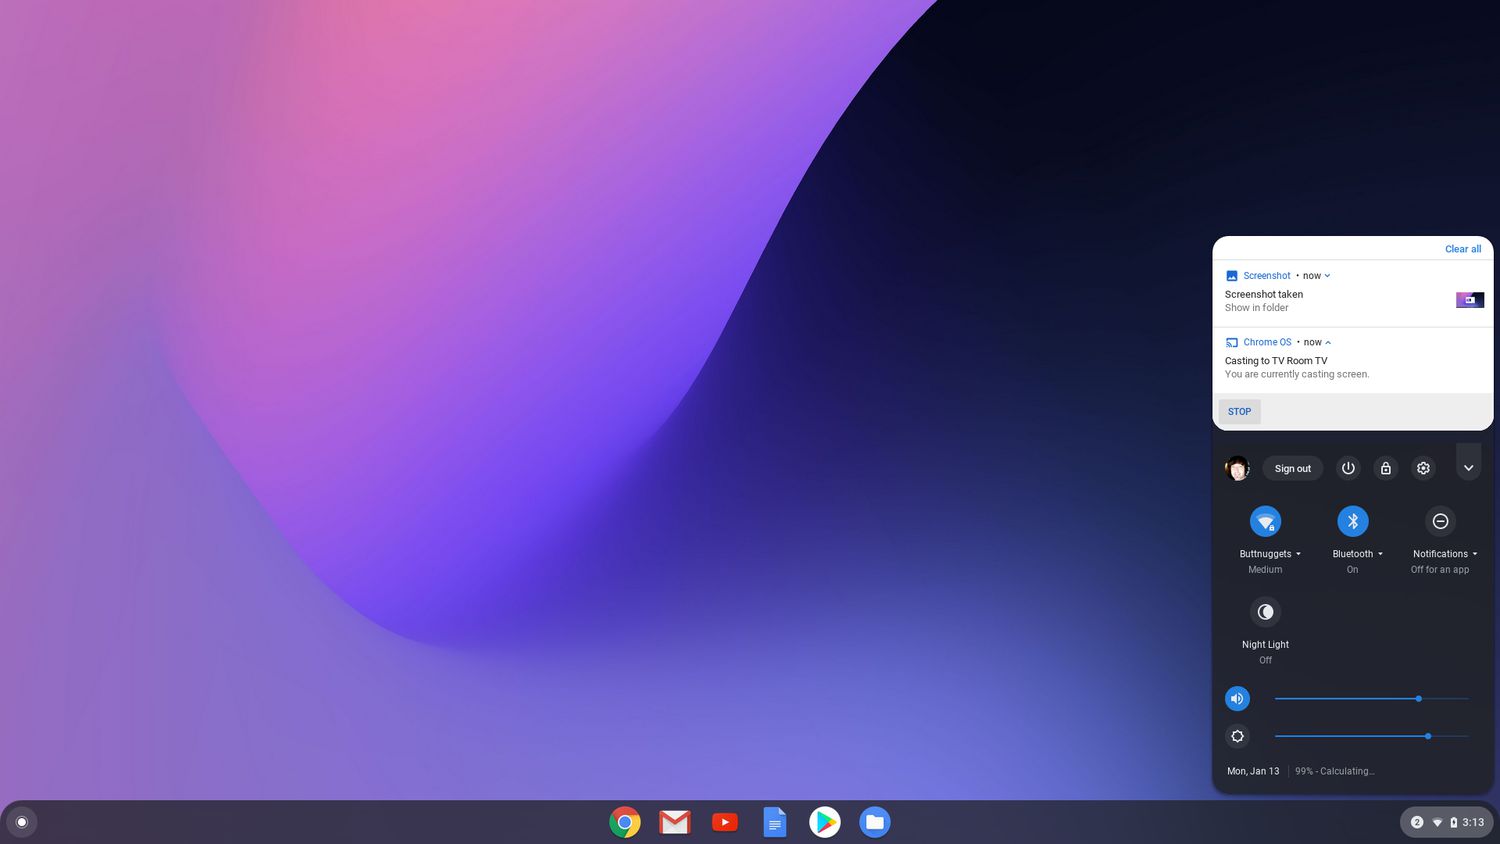
Adjust Settings: Depending on your video creation app, you may need to adjust specific settings for recording. Take a moment to explore the app’s preferences or settings menu to ensure that the video resolution, frame rate, and any other relevant options are set to your desired specifications.
Provide a Clean Background: Before hitting the record button, ensure that the area behind you is clean and free of any distractions. A cluttered or distracting background can take away from the quality and focus of your video. Consider using a solid-colored backdrop or a well-organized environment that complements the content of your video.
By following these steps, you can set up your Chromebook for video recording and create an optimal environment for capturing your content. Once you have everything in place, you’re ready to move on to the exciting part: recording your video! In the next section, we’ll guide you through the process of recording your video using your Chromebook.
Record Your Video
Now that your Chromebook is set up and ready, it’s time to start recording your video. Depending on the video creation app you’ve chosen, the steps may vary slightly, but the overall process remains relatively consistent. Here’s a general guide to help you get started:
Open the Video Creation App: Launch the video creation app of your choice on your Chromebook. If you haven’t downloaded the app yet, visit the Chrome Web Store and search for the app name. Once installed, open the app to proceed.
Select New Project or Create a New Video: In the app, navigate to the option that allows you to create a new project or start a new video. This step may involve clicking on a “+” or “Create” button, depending on the app’s interface.
Adjust Camera Settings: Within the app, you’ll likely find camera settings that allow you to choose the desired camera, adjust frame rates, enable or disable autofocus, and make other necessary adjustments. Familiarize yourself with these settings and configure them according to your preferences.
Compose Your Shot: Position yourself in front of the camera and frame the shot according to your video’s requirements. Ensure that you are well-centered and have adequate headroom and space around you. If you need assistance, consider using the grid lines or framing guides available in the app to help you align your shot accurately.
Start Recording: Once you’re ready, click the record button within the app to start recording your video. Don’t be afraid to be yourself and let your personality shine through. If you make a mistake, don’t worry; most video creation apps allow you to pause and resume recording, making it easy to edit out any errors later.
Be Mindful of Time and Storage: Keep an eye on the elapsed time and available storage space while recording. If you have limited storage, consider deleting unnecessary files or transferring them to an external storage device to free up space for your video recording.
Experiment with Different Shots and Angles: To add variety and visual interest to your video, try experimenting with different camera angles, perspectives, and shots. Capture close-ups, wide shots, and some creative angles to make your video more engaging and dynamic.
Review and Retake if Needed: Once you’re done recording, take a moment to review your footage. If you’re not satisfied with a particular segment, feel free to retake it until you’re happy with the result. Remember, practice makes perfect, and it’s okay to make adjustments along the way.
By following these steps, you’ll be able to record your video confidently and effectively on your Chromebook. In the next section, we’ll explore the editing process, where you can bring your video to life with creative enhancements, effects, and transitions.
Edit Your Video
After recording your video on your Chromebook, it’s time to bring your footage to life through the editing process. Editing allows you to trim, rearrange, and enhance your video to create a polished and professional-looking final product. Let’s explore the steps involved in editing your video:
Import Your Footage: Open your chosen video creation app on your Chromebook and import the footage you recorded. Most video editing apps provide an option to import videos directly from your device’s storage or a designated folder. Locate your recorded video and import it into the app’s project timeline.
Trim and Cut: Review your footage and identify sections that need to be trimmed or removed. Use the editing tools within the app to cut out any unwanted segments or mistakes. This process helps to refine the flow of your video and keep the viewer engaged by eliminating unnecessary content.
Arrange and Rearrange: Once you’ve trimmed your footage, you can rearrange the clips on the timeline to create a cohesive narrative. Drag and drop the clips to the desired order, ensuring a smooth and logical progression of scenes or content. This step is particularly crucial if you recorded your video in different takes or from various angles.
Add Transitions: To create seamless transitions between clips, consider adding transitions within your video editing app. Transitions, such as fades, dissolves, or wipes, help to smoothen the shift from one scene to another. Experiment with different transition effects to find the ones that best suit the style and tone of your video.
Enhance with Effects: Many video creation apps offer a wide range of effects and filters that can enhance the visual appeal of your video. Experiment with brightness, contrast, saturation, and other effects to achieve the desired look and feel. However, use effects sparingly to avoid overwhelming or distracting the viewer from your content.
Add Text and Graphics: If your video requires text overlays, subtitles, or graphic elements, take advantage of the text and graphic tools provided by your video editing app. Add titles, captions, or informational graphics to convey key points or highlight important information within the video. Ensure that the text is legible and complements the overall aesthetic of your video.
Adjust Speed and Timing: For creative purposes or to emphasize certain moments, you may want to adjust the speed or timing of specific clips. Slow down or speed up footage to create dramatic or comedic effects, or align clips with background music or voiceover narration. This technique can add depth and impact to your video.
Preview and Fine-Tune: After making all the necessary edits, take the time to preview your video in its entirety. Address any inconsistencies or areas that require further refinement. Adjust the timing, transitions, or effects as needed to ensure a seamless and engaging viewing experience.
Editing your video can significantly enhance its quality and impact. By taking the time to trim, rearrange, and enhance your footage, you’ll create a final product that effectively conveys your message and captivates your audience. In the next section, we’ll delve into adding effects, transitions, and text to further enhance your video’s visual appeal.
Add Effects, Transitions, and Text
After editing your video, it’s time to take it to the next level by adding effects, transitions, and text. These elements can enhance the visual appeal and storytelling of your video, making it more engaging and professional. Let’s explore how you can incorporate these elements into your video:
Effects: Video effects can be used to enhance specific scenes or evoke a particular mood. Experiment with effects such as color grading, filters, or overlays to achieve the desired aesthetic. For example, you can add a vintage effect to give your video a nostalgic feel or use a vibrant filter to make the colors pop.
Transitions: Transitions help smooth the flow between different scenes or shots in your video. They prevent abrupt cuts and create a seamless transition from one clip to another. Popular transition effects include fade-ins, fade-outs, cross dissolves, and wipes. Choose transitions that complement your video’s style and tone.
Text Overlays: Adding text to your video can provide important information or reinforce your message. Utilize text overlays to introduce sections, display titles, provide captions, or highlight key points. Ensure that the text is clear, readable, and visually appealing. Experiment with various fonts, sizes, and colors to find the best combination for your video.
Animated Graphics: If your video requires additional visual elements, consider incorporating animated graphics or icons. These can help illustrate concepts, enhance storytelling, or provide visual cues. Video creation apps often provide a library of pre-designed graphics for you to choose from or allow you to import your own custom graphics.
Sound Effects: Don’t forget about the audio component of your video. Adding sound effects can heighten the impact of certain scenes or actions. For example, you can include a “whoosh” sound effect during a quick transition or use applause or laughter to add emphasis or humor. Just be mindful of using sound effects tastefully and sparingly.
Music: Background music can greatly enhance the emotional impact of your video. Consider adding a suitable music track that complements the mood and tone of your content. Choose tracks that are royalty-free or properly licensed to avoid copyright issues. Ensure that the music volume is well-balanced with the voiceover or any other audio elements in your video.
Preview and Fine-Tune: Once you’ve added the effects, transitions, and text to your video, take the time to preview the final result. Pay attention to the overall visual coherence, timing, and the impact of the added elements. Adjust and fine-tune any aspects that may require further attention to create a polished and engaging video.
By incorporating effects, transitions, and text into your video, you can elevate the visual appeal and storytelling of your content. These elements can make your video more captivating and professional, enhancing its overall impact on your audience. In the next section, we’ll focus on adjusting the audio settings in your video to ensure crystal clear sound.
Adjust Audio Settings
Clear and high-quality audio is crucial for creating a professional video. By adjusting the audio settings in your video, you can ensure that your viewers have a pleasant and immersive audio experience. Here are some key steps to help you adjust the audio settings:
Check and Calibrate the Microphone: Before recording, check the microphone settings on your Chromebook. Ensure that the microphone input is enabled and set to an appropriate volume level. Test the microphone by recording a short sample and adjusting the input volume until it captures your voice clearly without distortion or background noise.
Remove Background Noise: Background noise can distract viewers from the main audio content of your video. To eliminate or reduce background noise, you can utilize noise reduction tools within your video creation app or use audio editing software. These tools typically include features such as noise gates or noise suppression that can enhance the clarity of your audio.
Balance Audio Levels: It’s essential to balance the audio levels to maintain consistent volume throughout your video. Ensure that the audio from different sources, such as voiceovers, music, and sound effects, blend well together and do not overpower or clash with each other. Adjust the volume levels accordingly, keeping in mind the overall audio balance and the impact on your viewers.
Apply Equalization: Equalization (EQ) allows you to adjust the frequency levels of your audio to improve clarity and enhance specific tones. Utilize EQ tools within your video editing app to modify the bass, treble, or mid-range frequencies of your audio. This can help optimize the sound and ensure that voices and other audio elements are clear and well-defined.
Add Voiceovers or Narration: If your video requires voiceovers or narration, ensure that the audio is recorded in a quiet environment using a high-quality microphone. Calibrate the microphone settings for optimal voice clarity and adjust the volume levels of the voiceover to ensure it is audible without overpowering other audio elements in your video.
Synchronize Audio with Video: In case your video has audio that is out of sync with the visuals, use the timeline or editing tools in your video creation app to align the audio correctly. This is important for maintaining a seamless viewing experience and ensuring that sound effects, dialogue, and other audio elements are perfectly synchronized with the corresponding video footage.
Preview Audio Levels: Before finalizing your video, preview it to ensure that the audio levels are balanced and consistent across different devices and playback platforms. Listen to your video on various devices, including laptops, smartphones, or headphones, to ensure that the audio sounds clear and well-balanced on each device.
Make Adjustments as Necessary: After reviewing your video, make any necessary adjustments to the audio settings based on feedback or to address any issues that you may have identified. Continually fine-tune the audio throughout the editing process to ensure that it meets your desired quality and effectively complements the visuals.
By adjusting the audio settings in your video, you can create an immersive and engaging experience for your viewers. Clear and well-balanced audio enhances the overall quality of your video and ensures that your message is effectively communicated. In the next section, we’ll explore how to export and save your video once you are satisfied with the final result.
Export and Save Your Video
Once you have finished editing your video on your Chromebook, it’s time to export and save it in a format that is ready for sharing or further distribution. Here’s how you can export and save your video:
Select Export or Save: In your video creation app, look for an option that allows you to export or save your video. This option is usually located in the file menu or represented by a specific icon. Click on it to initiate the export process.
Choose the Export Format: Depending on your needs and the intended use of the video, you’ll need to choose an export format. Common video formats include MP4, AVI, MOV, and WMV. Consider factors such as compatibility with different devices and platforms, file size, and video quality when selecting the appropriate format.
Select Video Quality: Most video editing apps offer different quality options for exporting your video. Choose the highest quality possible while considering the file size and the limitations of the platform where you intend to share the video. Higher quality settings typically result in better video resolution and clarity.
Set the Video Dimensions: If needed, adjust the dimensions of your video. Depending on the platform or device where you plan to publish or share your video, you may need to resize it to fit specific requirements. Common dimensions include 1280×720 (HD Ready), 1920×1080 (Full HD), or even custom dimensions for social media platforms.
Customize Video Settings: Some video creation apps provide additional settings for customization. Explore options such as frame rate, bitrate, or audio settings to optimize the export settings to your liking and the requirements of your video project.
Choose Export Location: Specify the directory or folder on your Chromebook where you want to save the exported video file. Make sure you have sufficient storage space available to accommodate the file size of the exported video.
Name Your Video: Give your video a descriptive and memorable filename that reflects its content. It’s a good practice to include keywords related to your video’s topic to enhance discoverability and organization.
Export and Wait: Click on the export or save button to begin the exporting process. Depending on the length and complexity of your video, it may take a few minutes or longer for the export to complete. Be patient and allow the app to process and generate the final video file.
Verify the Exported Video: Once the export process is finished, take a moment to play back the exported video to ensure that it matches your expectations. Verify that the video dimensions, quality, and audio settings have been preserved during the export process.
Make Backup Copies: To avoid potential loss or corruption of your video file, create backup copies of the exported video. Consider storing copies on external hard drives, cloud storage platforms, or other reliable backup solutions. This ensures that you have additional copies in case the original file becomes inaccessible or gets accidentally deleted.
By following these steps, you can successfully export and save your video on your Chromebook. Once you have the final video file, you’re ready to share it with the world. In the next section, we’ll explore various options for sharing your video across different platforms and audiences.
Share Your Video
Now that you have exported and saved your video on your Chromebook, it’s time to share it with your desired audience. Whether you want to showcase your creativity, promote a product, or educate others, here are some common methods for sharing your video:
Upload to Video Sharing Platforms: One of the most popular ways to share videos is by uploading them to video sharing platforms like YouTube, Vimeo, or Dailymotion. These platforms have a large user base and allow you to reach a wide audience. Create an account, follow the upload instructions, and provide engaging titles, descriptions, and tags to optimize discoverability.
Share on Social Media: Leverage the power of social media by sharing your video across platforms like Facebook, Twitter, Instagram, or LinkedIn. Customize your posts by adding captions, hashtags, and compelling descriptions. This can help your video gain traction, receive more views, and potentially go viral if the content resonates with your audience.
Embed on Websites or Blogs: If you have a website or blog, consider embedding your video directly into your web pages or blog posts. This allows your website visitors to watch the video without leaving your site, increasing engagement and keeping them on your platform for longer periods. Many video creation apps provide embed codes or shareable links that you can use.
Email Marketing: If you have an email list or newsletter, include the video in your email marketing campaigns. Craft a compelling email, include a thumbnail or preview of the video, and encourage your subscribers to click and watch. Personalize the message and explain the value or entertainment your video provides to increase engagement.
Collaborate with Others: Reach out to influencers, content creators, or like-minded individuals in your niche and collaborate on sharing your video. Guest posting on their platforms, featuring their content in your video, or co-hosting live streams can help expose your video to their audience, expand your reach, and attract new viewers.
Submit to Online Communities: Share your video within relevant online communities, forums, or discussion boards. Be an active participant, provide value, and follow community guidelines. Sharing your video where it is genuinely appreciated can generate engagement, feedback, and potentially attract subscribers or followers who resonate with your content.
Use SEO Techniques: Optimize your video’s metadata, including title, description, and tags, using relevant keywords and phrases. This helps search engines understand and index your video content properly. Additionally, consider embedding your video on web pages with contextual content, optimizing the page’s URL structure, and sharing the video across reputable websites to improve its search engine ranking.
Monitor Analytics and Feedback: Keep track of the performance of your video by monitoring the analytics provided by the platforms you use to share it. Pay attention to metrics such as views, watch time, engagement, and audience demographics. Analyzing these insights can help you understand your audience’s preferences, optimize future videos, and identify opportunities for growth.
By using a combination of these sharing methods, you can maximize the visibility and reach of your video. Engage with your audience, respond to comments, and encourage them to share your video to further expand its exposure. Don’t be afraid to promote your video across different channels and collaborate with others to amplify its impact.
Congratulations! You’ve learned how to make a video on your Chromebook, from choosing the right video creation app to exporting and sharing your masterpiece. Now it’s time to unleash your creativity and start creating amazing videos that will captivate your audience!
Conclusion
Creating videos on your Chromebook is an exciting and accessible way to unleash your creativity and share your message with the world. By following the steps outlined in this article, you have learned the process of making a video from start to finish. From choosing the right video creation app to editing, adding effects, adjusting audio settings, and ultimately sharing your video, you have all the tools and knowledge you need to create impressive videos that will captivate your audience.
With the evolving capabilities of Chromebooks and the availability of powerful video creation apps, you no longer need expensive equipment or complicated editing software to produce professional-looking videos. The Chromebook’s simplicity, combined with the versatility of video creation apps, allows for a seamless and enjoyable video-making experience.
Remember to strike a balance between delivering informative content and naturally incorporating keywords throughout the text to improve search engine optimization. Also, be creative in your writing style, infusing the article with insights and weaving them into the narrative to captivate readers. Utilize formatting such as headings, bulleted lists, and bold text to enhance readability and engage your audience.
So, grab your Chromebook, choose the right video creation app, set up your Chromebook for recording, and start capturing your ideas on camera. Edit your footage to perfection, add effects and text to enhance the visuals, adjust audio settings to ensure crystal clear sound, and then export and save your video. Finally, share your video across various platforms and engage with your audience to expand your reach.
Whether you’re creating videos for personal expression, educational purposes, or business promotion, the possibilities are endless. Embrace your creativity, experiment with different styles and techniques, and most importantly, have fun along the way. With each video, you’ll refine your skills and continue to produce captivating content that resonates with your viewers.
Congratulations on your journey to becoming a skilled video creator on your Chromebook. Now go ahead and bring your ideas to life through the power of video!