Introduction
Ice cream with a beautiful swirl is not only visually appealing but also a delight to your taste buds. Creating a swirl effect in ice cream may seem like a complex task, but with the right equipment and technique, you can easily achieve this impressive aesthetic. By using an ice cream maker, you can effortlessly create a swirl that adds a touch of elegance to your frozen treat.
In this article, we will guide you through the process of making a swirl with an ice cream maker. We will explain the equipment needed, offer tips on choosing flavors, guide you through the steps of preparing the ice cream machine, and share the secrets to creating a perfect swirl effect in your ice cream. Additionally, we will discuss the final steps of chilling and serving your swirl ice cream.
Whether you want to impress your guests at a dinner party or simply enjoy a gourmet dessert at home, this article will help you elevate your ice cream-making skills to the next level. Let’s dive in and learn how to make a swirl with your ice cream maker.
Equipment Needed
To make a swirl with an ice cream maker, you will need specific equipment to ensure the process goes smoothly. Here are the essential items you will need:
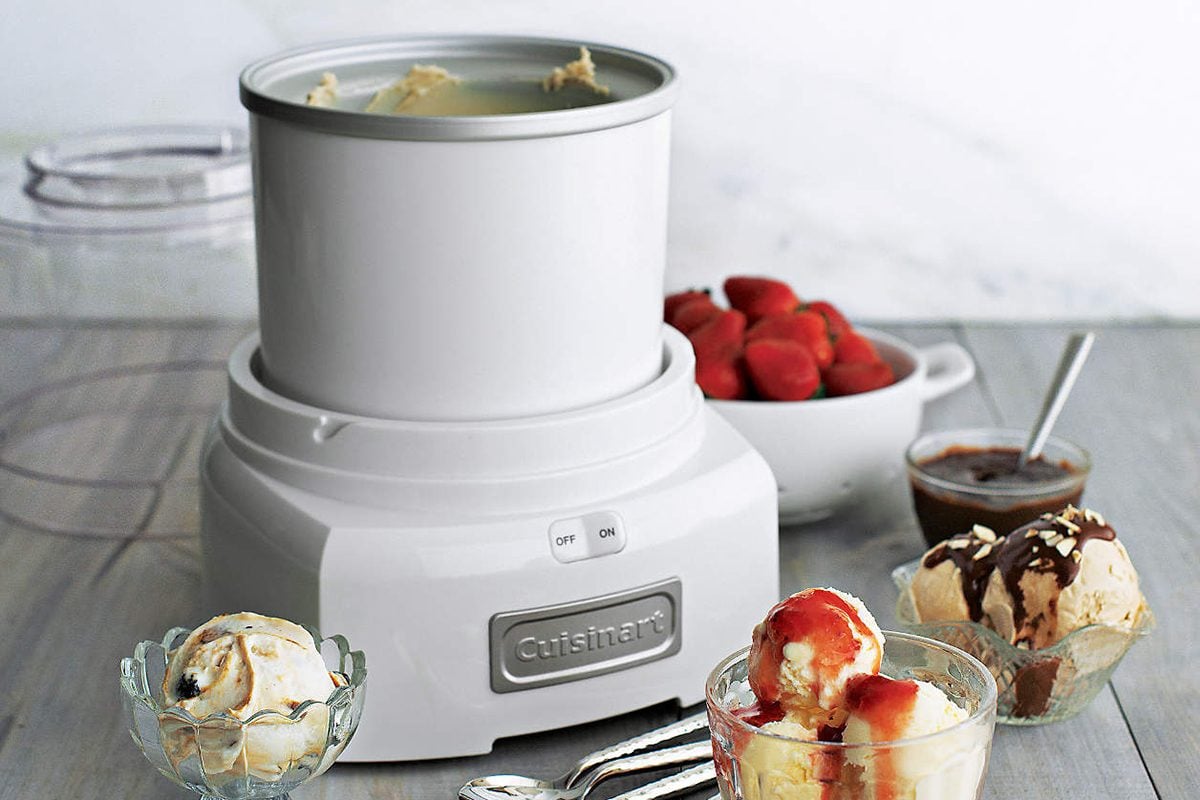
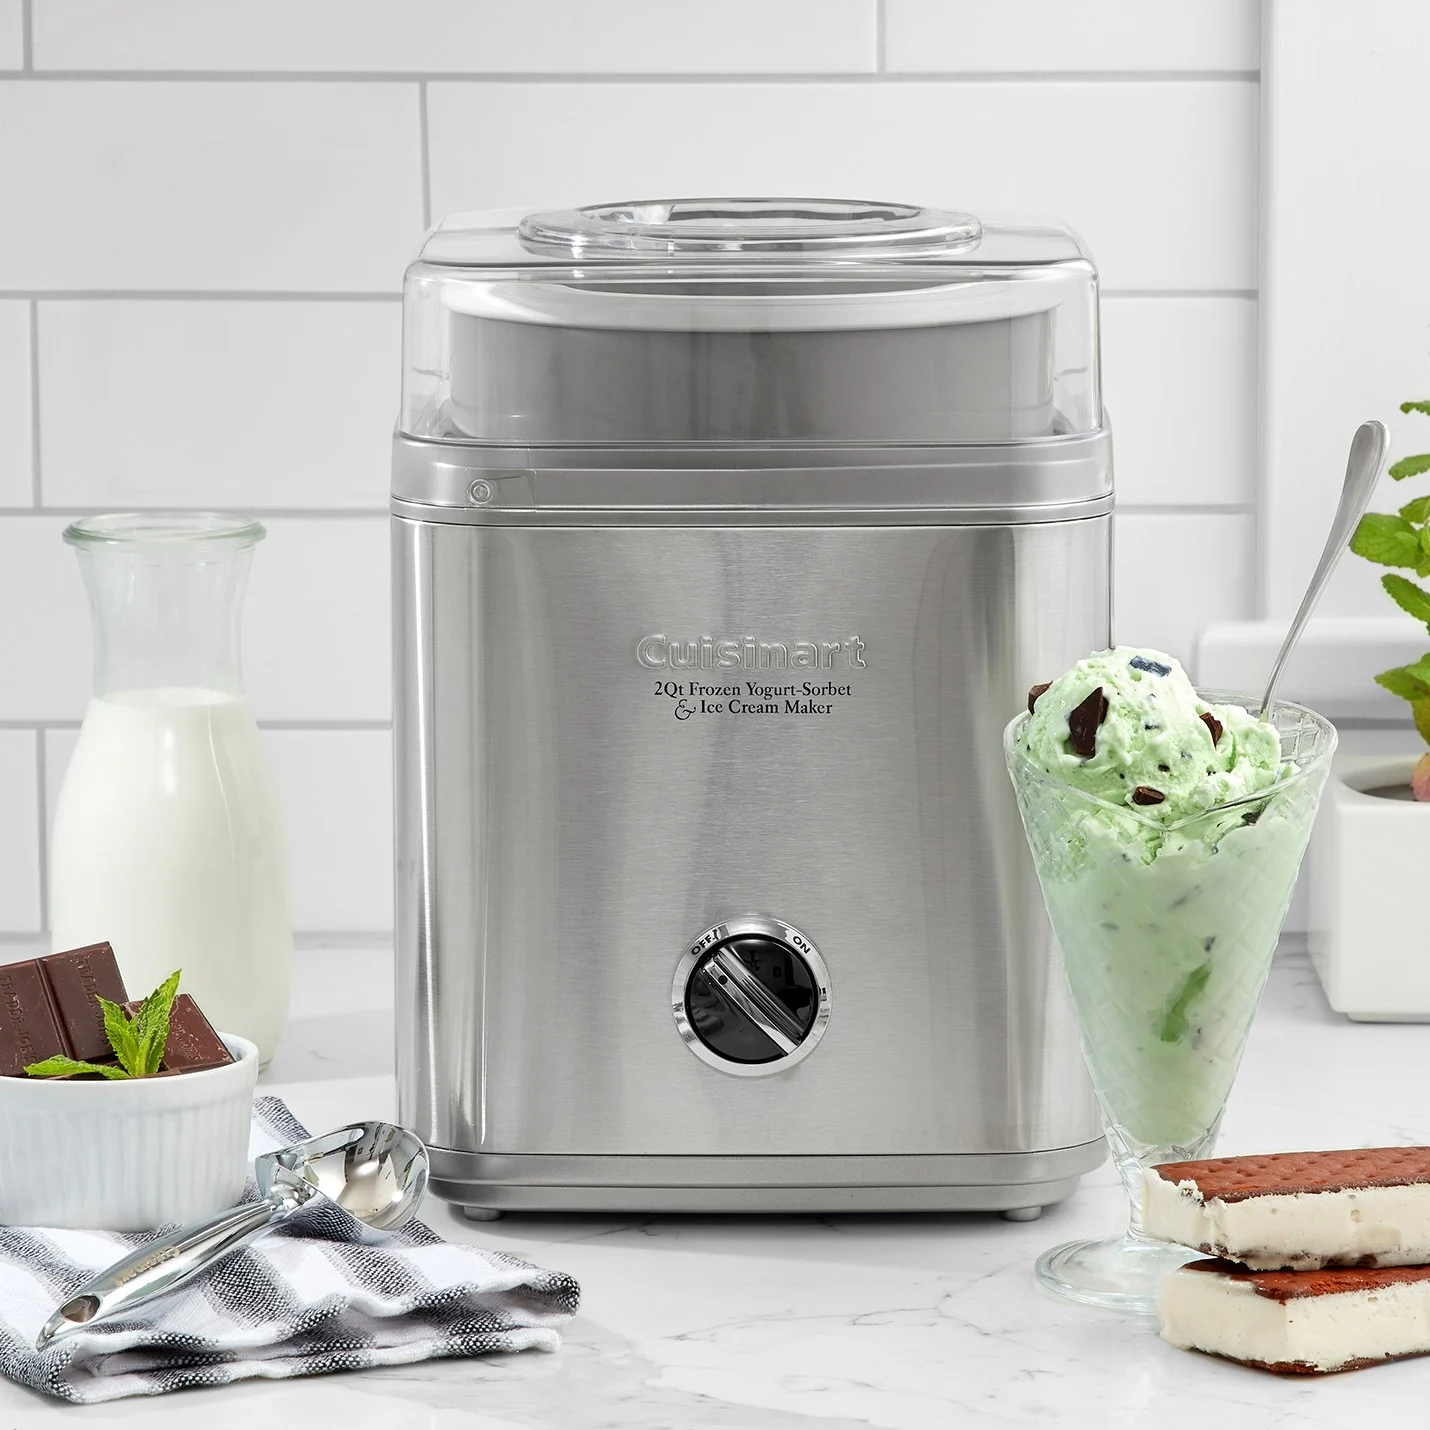
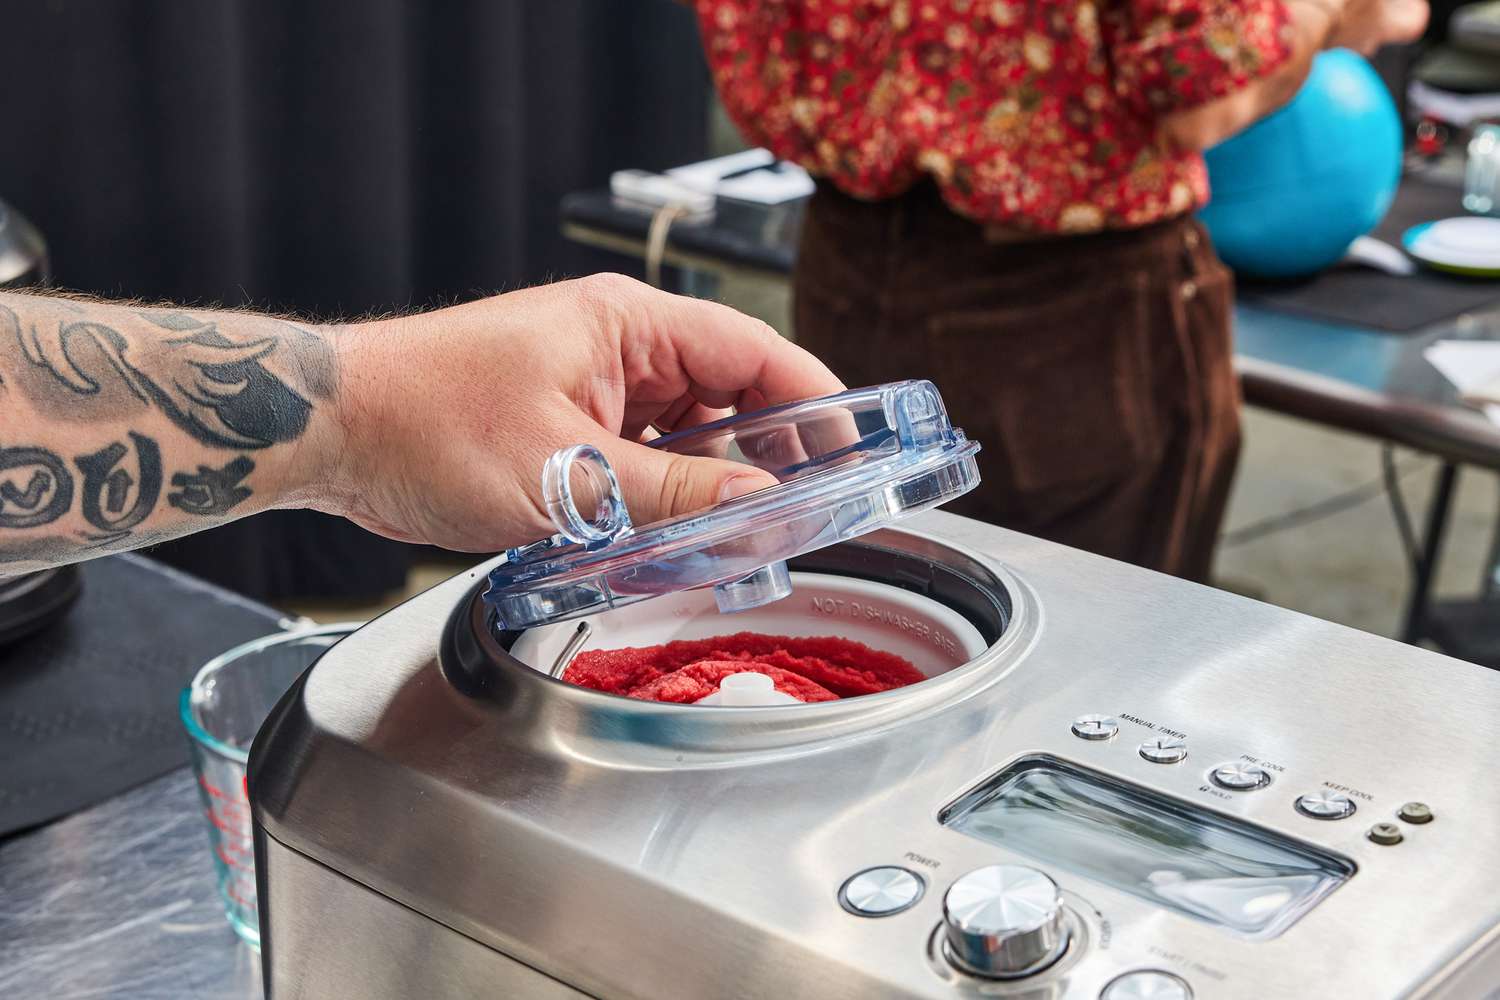
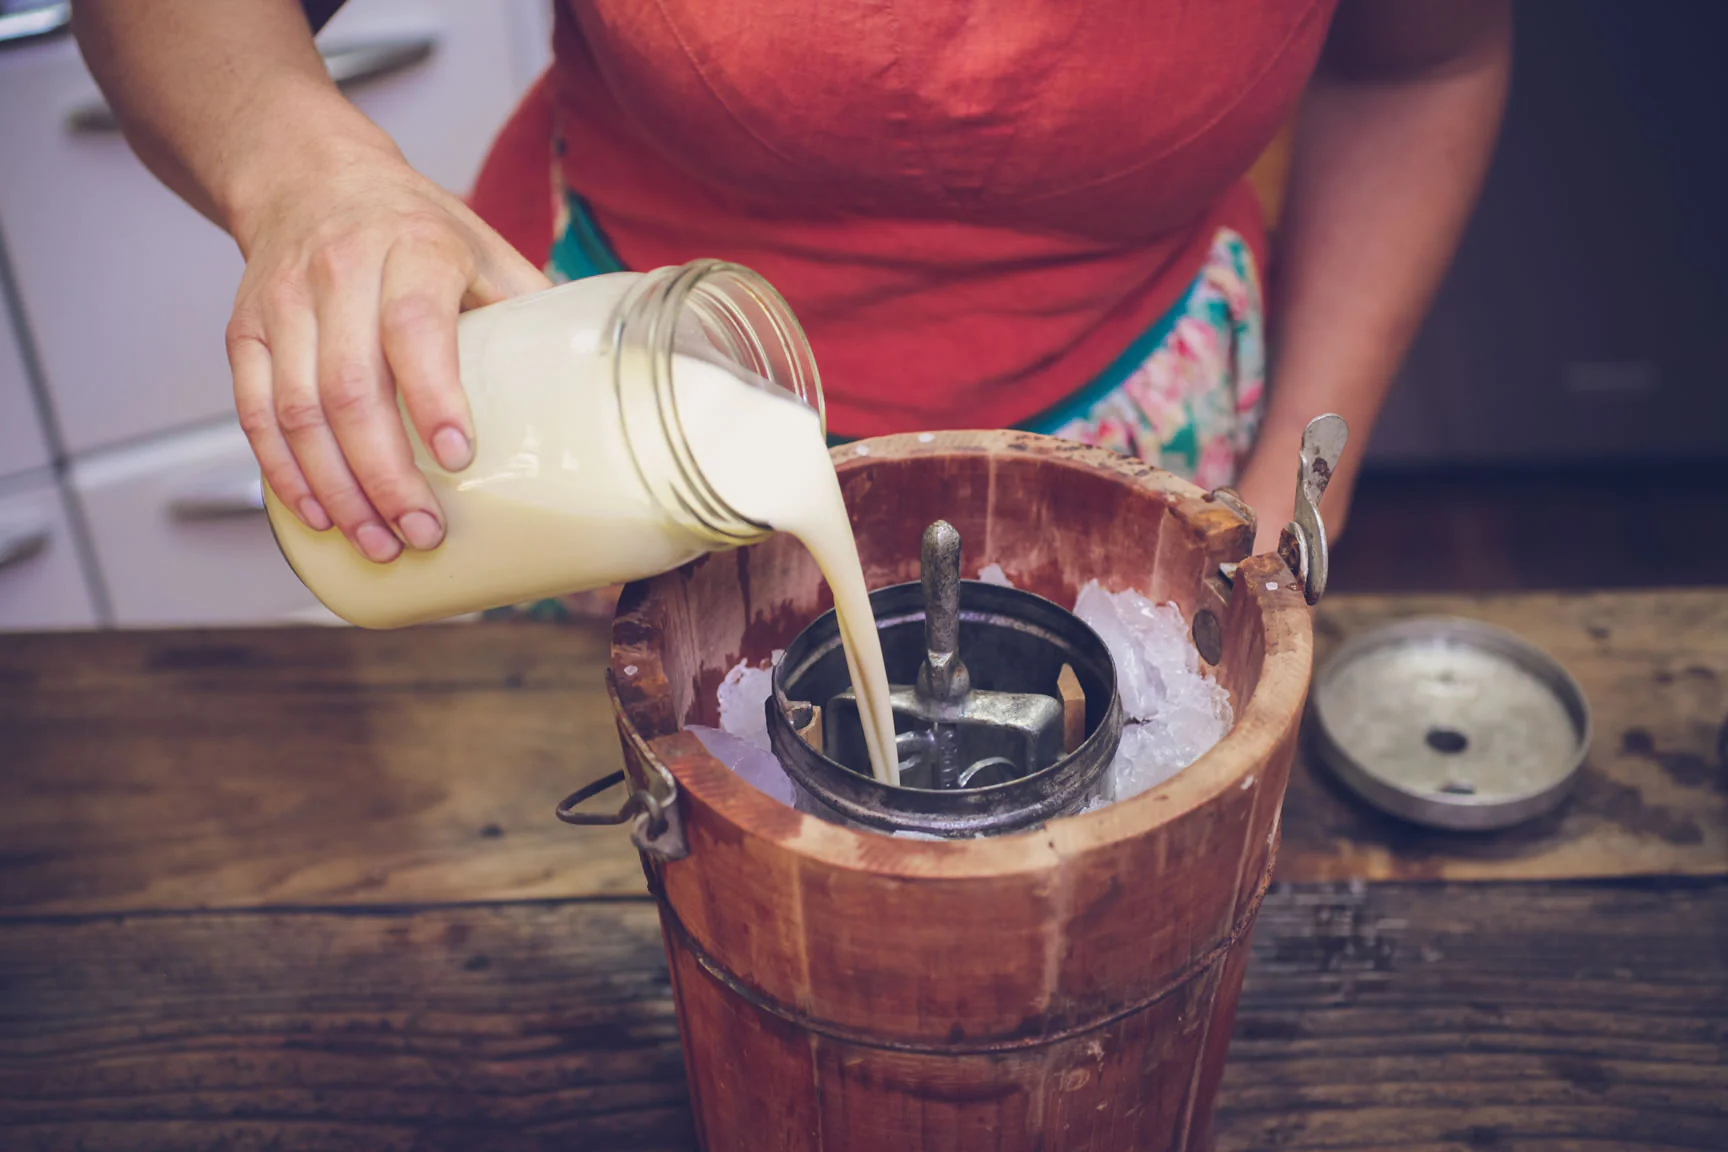
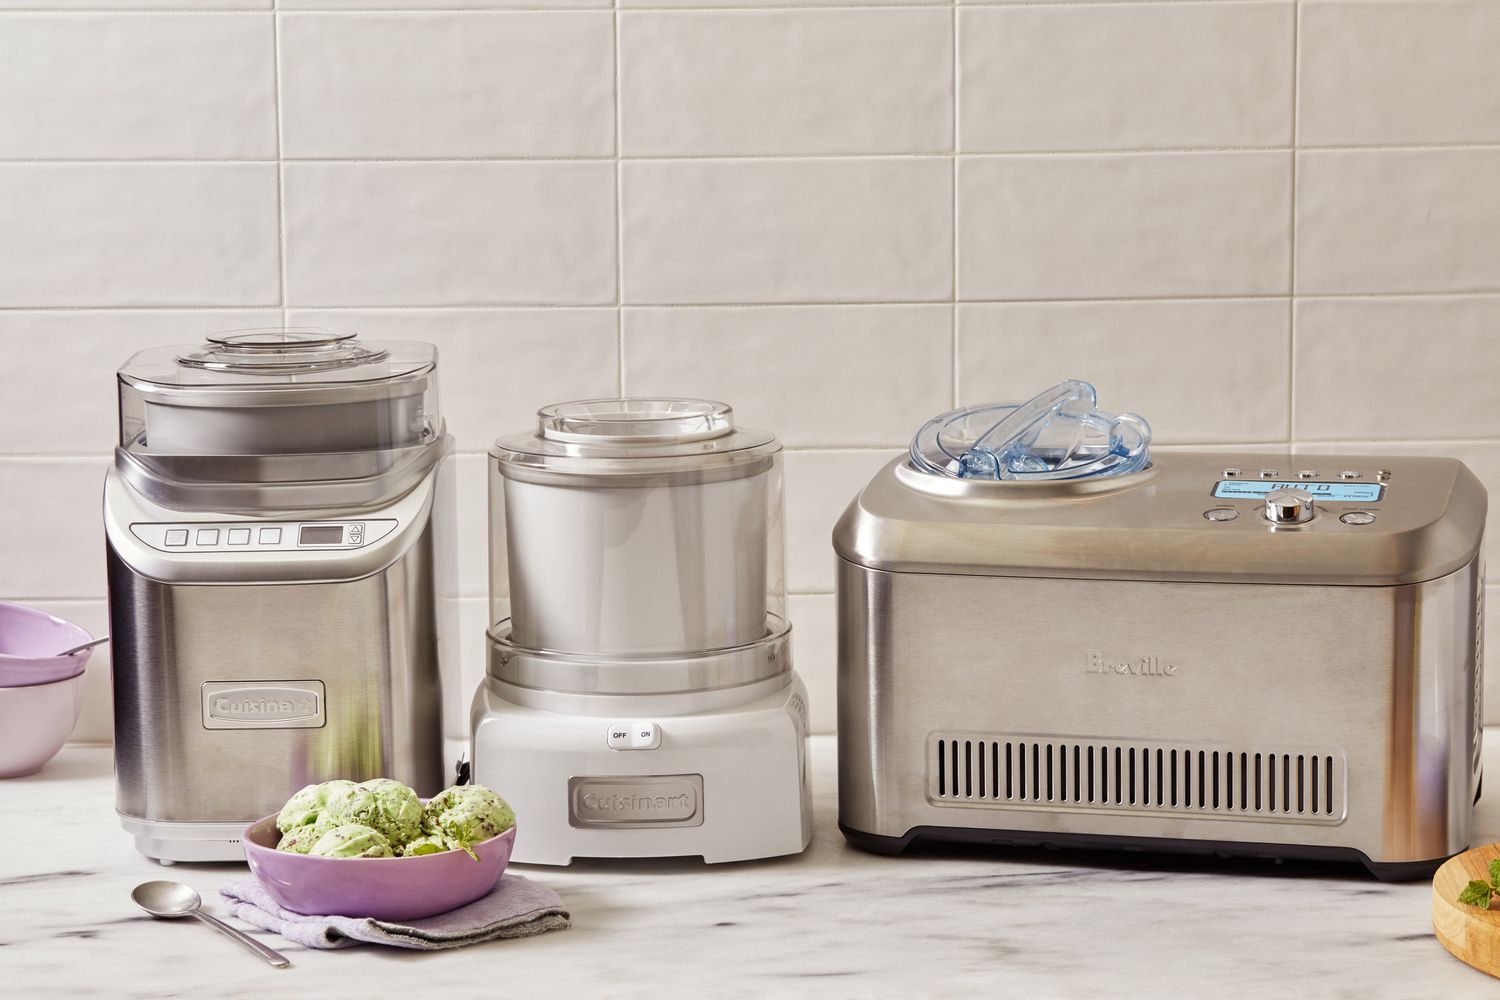
- Ice Cream Maker: A reliable ice cream maker is the key to creating a swirl effect. There are various types available, such as manual crank machines, electric models, or even attachment bowls for stand mixers. Choose a machine that suits your needs and budget.
- Freezer-Safe Container: Once your ice cream is ready, you will need a container to store it. Ensure the container is freezer-safe and has enough capacity to hold the desired amount of ice cream. A shallow container allows for easier swirling.
- Measuring Tools: Accurate measurements are crucial for achieving the perfect ice cream base. Invest in measuring cups and spoons to ensure you add the right amount of ingredients.
- Whisk or Spatula: A whisk or spatula is necessary for mixing the ice cream base ingredients. Make sure it’s sturdy and heat-resistant.
- Ingredients: Don’t forget the ingredients! You will need cream, milk, sugar, and any additional flavors or mix-ins you desire for your swirl ice cream.
- Freezer: A freezer is essential for chilling and setting your ice cream. Make sure you have enough space to accommodate the ice cream maker bowl or container.
- Optional: Add-ins and Toppings: If you want to enhance your swirl ice cream, consider adding inclusions like chocolate chips, nuts, or fruit, as well as toppings like chocolate sauce or whipped cream.
Having the right equipment will make the ice cream-making process much more enjoyable and successful. Now that you know what you need, let’s move on to the next step: choosing the flavors for your swirl ice cream.
Choosing Flavors
When it comes to creating a swirl with your ice cream maker, the flavor combination is essential. By selecting complementary flavors, you can enhance the overall taste and aesthetic of your swirl ice cream. Here are a few tips to help you choose the perfect flavors:
- Pairing Contrasting Flavors: Consider combining flavors that contrast each other, such as chocolate and raspberry, or vanilla and strawberry. The contrasting flavors create a delightful taste experience and make the swirl visually appealing.
- Matching Flavor Profiles: You can also opt for flavors that share similar profiles, such as vanilla and caramel or mint and chocolate. These combinations create a harmonious swirl and provide a balanced flavor.
- Considering Texture: Think about the texture of the flavors you plan to swirl. For example, chunky mix-ins like cookie dough or brownie bits create a delightful texture contrast in smooth ice cream.
- Experimenting with Unique Flavors: Don’t be afraid to try unconventional flavor combinations. Mix things up by incorporating unique ingredients like lavender, matcha, or exotic fruits. These unexpected swirls can pleasantly surprise your taste buds.
- Considering Seasonal Ingredients: Take advantage of seasonal fruits and flavors to create a swirl that captures the essence of the time of year. Whether it’s a refreshing lemon and blueberry swirl in the summer or a warm cinnamon and apple swirl in the fall, using seasonal ingredients adds a special touch to your ice cream.
Remember to consider personal preferences and dietary restrictions when choosing flavors. Whether you prefer classic combinations or bold, adventurous flavors, the key is to have fun and experiment with different combinations until you find your perfect swirl.
Now that you have an idea of the flavor combination, let’s move on to the next step: preparing the ice cream machine.
Preparing the Ice Cream Machine
Before diving into making your swirl ice cream, it’s important to properly prepare your ice cream machine. Follow these steps to ensure your machine is ready to churn out the perfect swirl:
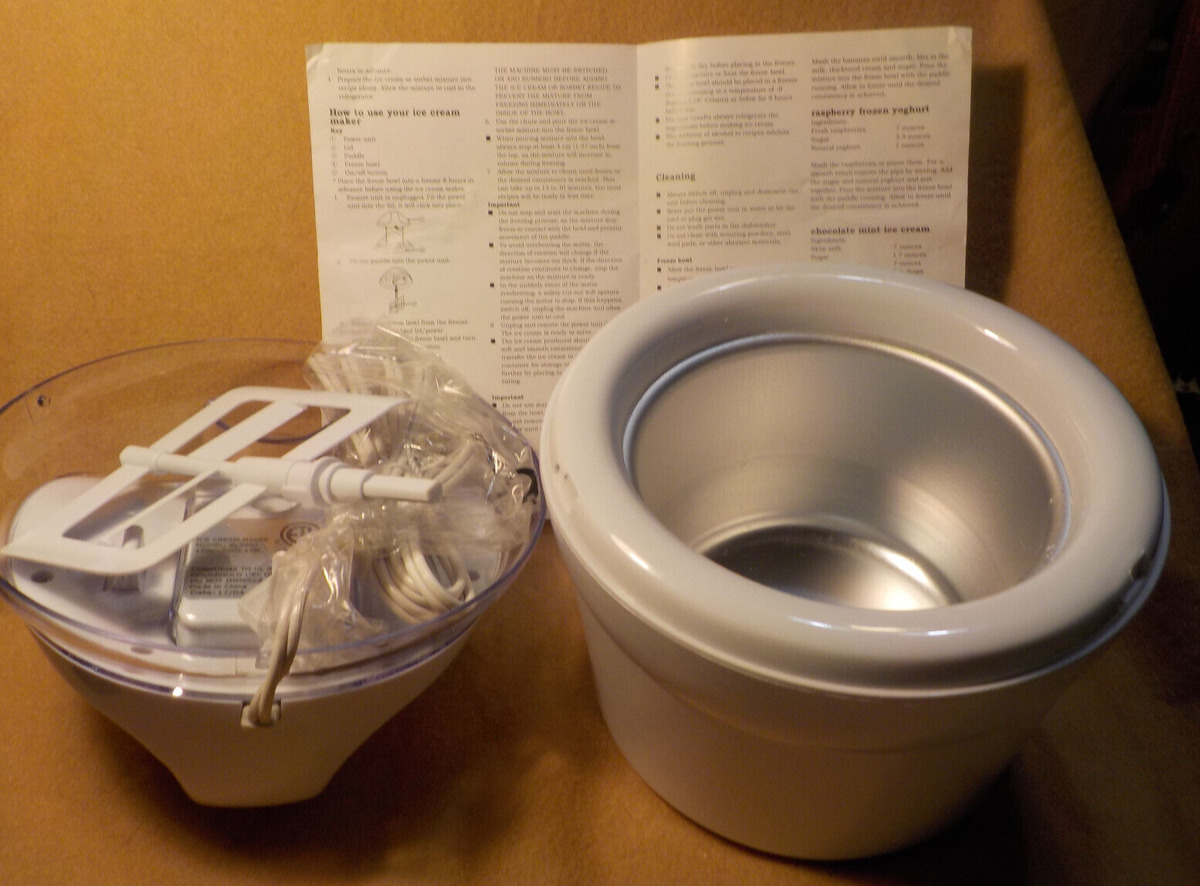
- Read the Instruction Manual: Every ice cream maker has different specifications. Familiarize yourself with the instruction manual to understand how your specific machine operates and any pre-chilling requirements.
- Freeze the Bowl: Most ice cream makers require a frozen bowl for optimal results. Place the bowl in the freezer for the recommended amount of time, usually between 12 to 24 hours, to ensure it’s fully frozen.
- Check the Churner Attachment: Ensure that the churner attachment is properly secured in the ice cream maker. Depending on the model, it may need to be clicked or snapped into place.
- Assemble the Ice Cream Maker: Follow the manufacturer’s instructions to assemble your ice cream maker properly. This may involve attaching the motor, lid, and other components.
- Place the Chilled Bowl: Once the bowl is frozen, remove it from the freezer and place it securely in the ice cream maker. Ensure it fits snugly and is properly aligned with the churner.
- Power up the Machine: Connect the ice cream maker to a power source and turn it on to begin the churning process. Allow the machine to run for a few minutes to ensure it’s functioning properly.
- Pre-Chill the Ice Cream Base (Optional): If your recipe calls for it, pre-chill your ice cream base in the refrigerator before pouring it into the machine. This can help shorten the freezing time and improve the texture of the final swirl ice cream.
Once your ice cream machine is properly prepared, you’re ready to move on to the exciting part: making the ice cream base for your swirl. Let’s get started!
Making the Ice Cream Base
The ice cream base sets the foundation for your swirl ice cream. It’s important to create a smooth and creamy base that will hold the swirl and deliver a delicious texture. Follow these steps to make the perfect ice cream base:
- Gather Your Ingredients: Start by gathering all the ingredients required for your ice cream base. These typically include cream, milk, sugar, and any additional flavorings or extracts you desire.
- Measure and Mix: Measure the appropriate quantities of cream, milk, and sugar according to your chosen recipe. In a large mixing bowl, combine the ingredients and whisk until the sugar dissolves completely.
- Add Flavorings: If you wish to add any flavorings, such as vanilla extract or cocoa powder, now is the time to do so. Mix well to distribute the flavorings throughout the base.
- Cook the Base (Optional): Depending on your recipe, you may need to cook the ice cream base. This step helps to pasteurize the ingredients and create a smooth texture. Follow your recipe’s instructions for the specific cooking method and duration.
- Cool the Base: After cooking (if required), allow the ice cream base to cool completely. You can speed up the cooling process by placing the mixture in the refrigerator for a couple of hours or in an ice bath for quicker results.
- Chill Overnight (Optional): For best results, allowing the ice cream base to chill in the refrigerator overnight is recommended. This step enhances the flavors and helps the base mature, resulting in a richer and smoother ice cream.
Once your ice cream base is prepared, it’s time to move on to the exciting part: creating the desired swirl effect in your frozen treat. Let’s explore the techniques for achieving that beautiful swirl!
Creating the Swirl Effect
Now comes the exciting part – creating the swirl effect in your ice cream! This step is where you can let your creativity shine and design beautiful patterns within your frozen treat. Follow these techniques to achieve the perfect swirl:
- Pour the Ice Cream Base: Start by pouring a layer of your ice cream base into the chilled container. The thickness of the layer will depend on your personal preference, but a thin layer works best for creating distinct swirls.
- Add the Swirling Flavor: Next, add the swirling flavor to the base. You can spoon dollops of the flavor directly onto the base or drizzle it in a zigzag pattern. The amount will depend on your taste preference and the intensity of the flavor you desire.
- Swirl with a Knife or Spoon: Use a knife or spoon to create the desired swirl effect. Start from one corner of the container and drag the knife or spoon through the base and swirling flavor. Repeat this motion in a diagonal or swirling pattern to create beautiful and distinct swirls.
- Repeat the Layers: Once you have created the initial swirl, repeat the process by adding another layer of ice cream base and swirling flavor. Continue layering and swirling until you have used up all the ice cream base and achieved the desired amount of swirls.
- Use a Skewer or Toothpick: For more intricate designs, you can use a skewer or toothpick to gently swirl and shape the patterns in your ice cream. Drag the skewer or toothpick through the layers, creating intricate swirls or marbling effects.
- Don’t Overmix: Be careful not to overmix your swirl as it may blend together and lose its distinct patterns. Aim for a balance between swirls and well-distributed flavors.
This is where your creativity and artistic flair can truly shine. Experiment with different patterns, colors, and techniques to create unique swirl designs that reflect your personal style. With practice, you will become more skilled in creating mesmerizing swirls in your ice cream.
Now that you have created the swirl effect, it’s time to move on to the final steps of chilling and serving your delicious homemade swirl ice cream.
Chilling and Serving the Ice Cream
Once you have created the swirl effect in your ice cream, it’s essential to properly chill and serve it to ensure the best possible taste and texture. Follow these steps to complete the process:
- Transfer to the Freezer: Cover the container with a lid or plastic wrap and carefully transfer it to the freezer. Make sure to place it on a flat surface where it won’t be disturbed.
- Chill for Several Hours: Allow the ice cream to freeze for a minimum of 4-6 hours, or as instructed by your ice cream maker’s manual. This step is crucial to ensure the ice cream sets properly and attains a creamy texture.
- Serve and Garnish: Once the ice cream is fully frozen, it’s ready to be served. Use an ice cream scoop warmed under hot water to easily scoop out your swirl ice cream into bowls or cones. Feel free to garnish with toppings like chocolate sauce, whipped cream, or sprinkles to enhance the presentation and flavor.
- Store Properly: If you have any leftovers, store the remaining swirl ice cream in an airtight container in the freezer. It is best consumed within a few weeks to maintain the quality and taste.
Remember to allow some time for the ice cream to soften slightly before scooping, as this will make it easier to get those perfect swirls onto your serving dish. The swirl effect will impress your guests and make your homemade ice cream truly eye-catching.
Now that you know the process of chilling and serving your swirl ice cream, it’s time to enjoy the fruits of your labor. Grab a spoon, dig in, and savor the delightful flavors and mesmerizing swirls!
Conclusion
Congratulations! You have learned how to make a swirl with an ice cream maker and discovered the tips and techniques needed to create beautiful and delicious swirl ice cream. By following the steps outlined in this article, you can now impress your friends and family with your homemade gourmet frozen treats.
Remember, the key to achieving a perfect swirl lies in choosing complementary flavors, properly preparing your ice cream machine, and mastering the art of swirling. Let your creativity shine as you experiment with different patterns and techniques to design unique swirls that reflect your personal style.
Don’t forget about the importance of chilling your ice cream base, allowing it to set in the freezer, and serving it with flair. The proper chilling process ensures a creamy and smooth texture, while garnishes and toppings add an extra touch of decadence to your swirl ice cream.
So, what are you waiting for? Gather your equipment, choose your flavors, and embark on the journey of creating swirl ice cream that will wow your taste buds and bring joy to your loved ones. Whether you’re enjoying it on a hot summer day or as a delightful dessert, your homemade swirl ice cream is guaranteed to be a crowd-pleaser.
Now, it’s time to unleash your inner ice cream artist and delight in the sweet swirls of your homemade masterpiece!