Introduction
Discord has become one of the most popular platforms for communication among gamers, communities, and even businesses. With its easy-to-use interface and numerous features, Discord allows users to create and join servers dedicated to specific topics or interests. If you’re looking to create your own server on Discord, you’ve come to the right place. In this guide, we will walk you through the step-by-step process of setting up your very own server.
Whether you want to connect with friends, build a community, or organize online events, having your own server on Discord provides a centralized hub for communication and collaboration. By creating a server, you can customize its settings, create different channels for specific discussions, and manage the roles and permissions of your server members.
While the process of setting up a server may seem daunting at first, rest assured that it is straightforward and user-friendly. Whether you are using the Discord website or the desktop app, the steps are essentially the same. By following this guide, you will be able to create a server that perfectly suits your needs and preferences.
So, if you’re ready to dive into the world of Discord and create your own server, let’s get started!
Step 1: Create a Discord Account
The first step in creating a Discord server is to create a Discord account. If you already have an account, you can skip this step and proceed to the next one.
To create an account, you will need to visit the Discord website or download the Discord app on your device. Once you’ve done that, follow these simple steps:
- Click on the “Login” or “Register” button to start the registration process.
- Choose a username for your account. This will be the name that others will see when you interact with them on Discord.
- Enter your email address and create a password for your account.
- You may also be asked to complete a captcha or verify your account through your email address.
- Once you’ve completed these steps, you’ll have successfully created your Discord account.
It’s important to choose a username that represents you or your server’s theme. Keep in mind that creating an account allows you to have access to all the features Discord has to offer, including creating and managing servers, joining communities, and participating in discussions.
Make sure to use a valid email address that you have access to, as you may need it for account verification and password recovery. Additionally, it’s a good idea to set a strong password to protect your account and ensure its security.
With your Discord account created, you’re now ready to move on to the exciting part: creating your very own server.
Step 2: Access the Discord Website or App
To create a server on Discord, you will need to access the Discord website or download the Discord app on your device. Both options provide a seamless and user-friendly experience.
If you prefer to use the Discord website, follow these steps:
- Open your preferred web browser and visit the Discord website (https://discord.com).
- Click on the “Open Discord in your browser” button that appears on the homepage.
- You will be directed to the Discord login page. Enter your email and password to log in to your Discord account.
- Once logged in, you will have full access to the Discord web interface and can proceed with creating your server.
If you prefer to use the Discord app on your device, follow these steps:
- Go to your device’s app store (Google Play Store for Android or the App Store for iOS) and search for “Discord”.
- Download and install the Discord app on your device.
- Open the Discord app and tap on the “Login” or “Register” button.
- Enter your email and password to log in to your Discord account.
- Once logged in, you will have full access to the Discord app and can start creating your server.
Both the Discord website and app offer a similar user interface, so you can choose the option that suits your preferences or device. The Discord app provides additional convenience, allowing you to access your server and chat with other members on the go.
Now that you have accessed the Discord website or app, you’re ready to move on to the next step: creating a new server.
Step 3: Create a New Server
Now that you have logged into your Discord account and accessed the Discord website or app, the next step is to create a new server. Follow these simple steps to create your server:
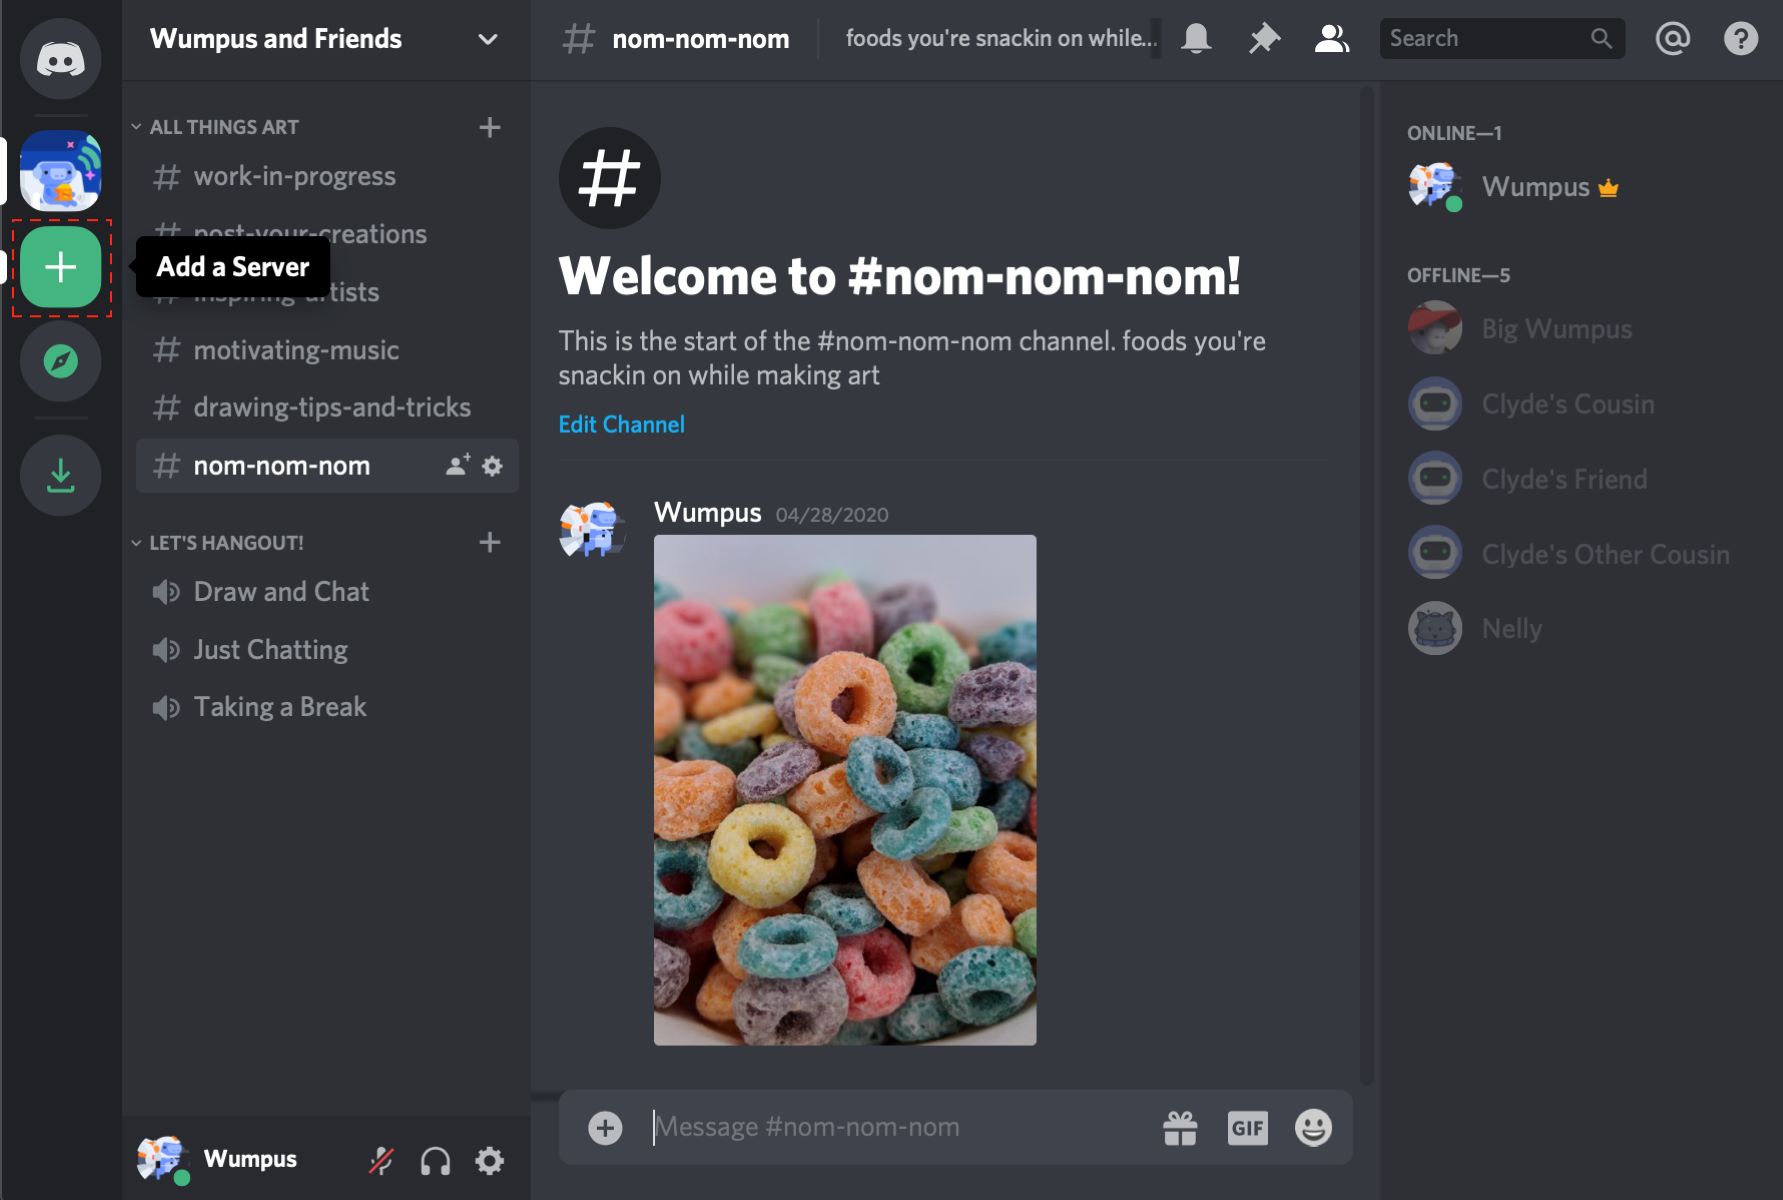
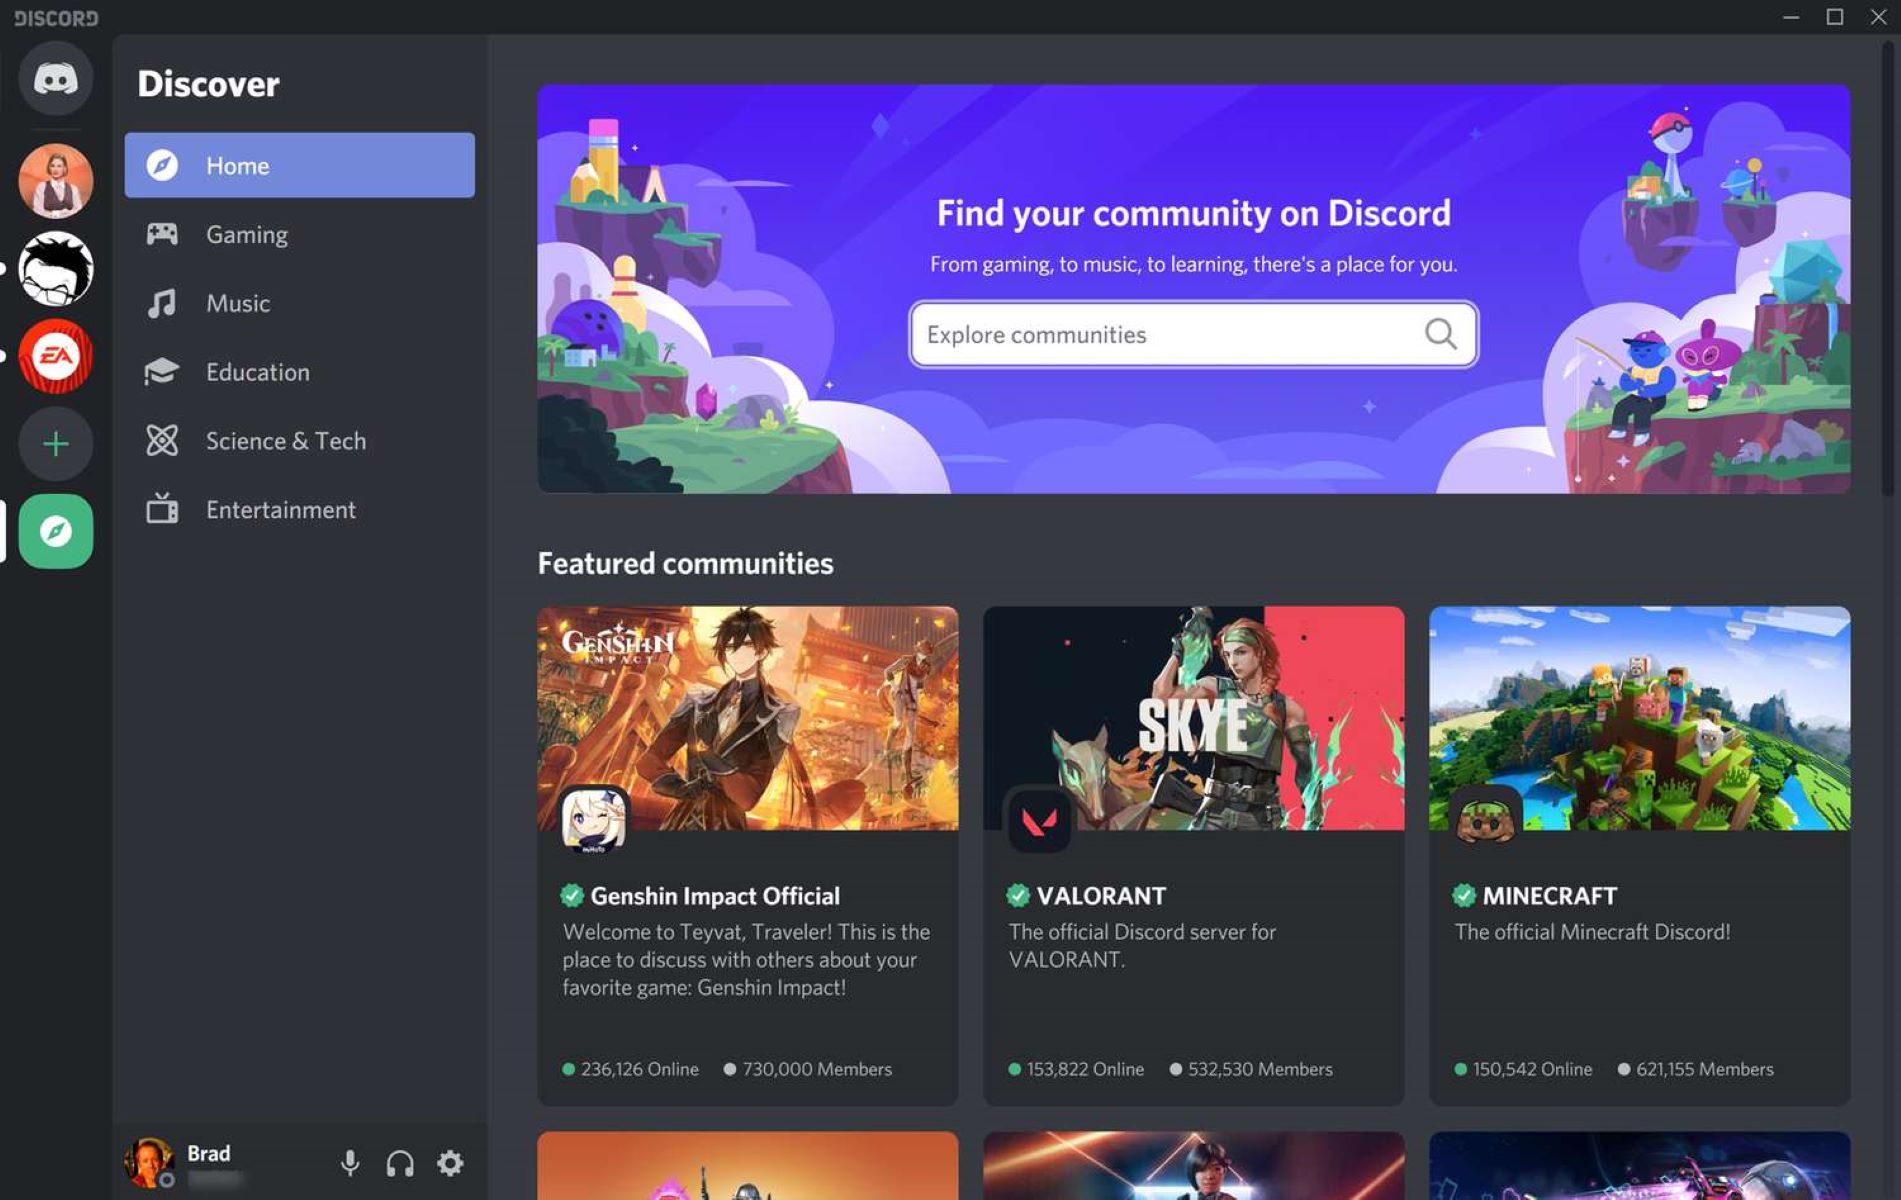
- Locate and click on the “+” icon or the “Create a Server” button. This button is typically located on the left-hand side of the Discord interface.
- A pop-up window will appear, giving you the option to either create a server from scratch or join an existing server. Select the “Create My Own” option.
- Next, choose a name for your server. This is the name that will be displayed to your server members and the Discord community. Make sure to choose a name that accurately reflects the purpose or theme of your server.
- Choose an appropriate region for your server. This sets the server location and helps ensure optimal performance for voice channels.
- Optionally, you can also upload a server icon by clicking on the square-shaped icon next to the server name. This can be a logo, image, or any other visual representation that represents your server.
- Once you have entered all the necessary information, click on the “Create” button to create your server.
Congratulations! You have successfully created your own server on Discord. You are now the proud owner of a virtual space where you can gather with your friends, community, or like-minded individuals.
It’s important to note that you can only create and own a limited number of servers based on your account level. Free Discord accounts can create up to 100 servers, while Nitro and Nitro Classic subscribers can create up to 200. If you exceed this limit, you will need to delete some of your existing servers before creating new ones.
With your new server created, it’s time to move on to the next step: customizing your server to make it unique and welcoming to your members.
Step 4: Customize Your Server
Once you have created your server on Discord, it’s time to customize it to make it unique and tailored to your needs. Discord provides a variety of customization options to help you create a visually appealing and organized server. Here’s how you can customize your server:
- Choose a server theme: To give your server a distinctive style, you can choose a theme from the pre-set options provided by Discord. These themes change the background, colors, and overall appearance of your server.
- Create categories: Categories allow you to group related channels together. To create a category, right-click on the server icon, select “Create Category,” and give it a name. You can then drag and drop channels into the category to keep your server organized.
- Set up channels: Channels are where conversations take place within your server. By default, Discord provides a few channels such as the text-based general channel and the voice-based general voice channel. You can create new channels based on your server’s needs. Right-click on the category or server icon, select “Create Channel,” and choose the type of channel you want to create, whether it’s a text channel or a voice channel. Give the channel a name and customize its settings, such as permissions, visibility, and topic.
- Customize channel settings: Each channel has its own settings that you can customize. Right-click on the channel and select “Edit Channel.” From here, you can change the channel name, topic, permissions, and even set slow mode to limit how often members can send messages.
- Add a server description: You can provide a brief description of your server to give potential members an overview of its purpose and what they can expect. To add a server description, go to the server settings, select “Overview,” and enter the description in the provided field.
- Set up a welcome channel and message: To greet new members and provide them with important information, you can set up a welcome channel and message. Create a separate channel dedicated to welcoming new members, and customize its settings to make it read-only for non-administrators. You can also set up an automated welcome message using a Discord bot or a bot integration.
Remember, customization is key to creating a server that reflects your vision and engages your members. Experiment with different themes, channel layouts, and settings until you find the perfect configuration for your server.
With your server now customized, it’s time to invite friends and other members to join your server. This will foster a lively and engaging community within your Discord server.
Step 5: Invite Friends to Join Your Server
A server on Discord is meant to be a social hub, so inviting friends and other members to join is an essential part of building a thriving community. Fortunately, Discord provides various methods to invite people to your server. Follow these steps to invite friends to join your server:
- Click on the server name to open the server dropdown menu.
- Select “Invite People” from the dropdown menu. This will bring up the invitation options.
- A pop-up window will appear, offering different ways to invite people to your server. You have the following options:
- Invite using a link: Discord provides you with an instant invite link that you can share with others. Simply click on the “Copy” button next to the link to copy it to your clipboard. You can then share this link through messaging apps, social media, or any other platform.
- Invite by username: If you know the Discord usernames of the people you want to invite, you can manually enter their usernames and send them direct invitations. Discord will search for the usernames in your friend list and send them an invite to join your server.
- Invite by sending an email: If you prefer to invite someone via email, you can use this option. Simply type in their email addresses, and Discord will send them an invitation email with a link to join your server.
- Select the option that best suits your needs and proceed accordingly.
- Once your friends receive the invitation, they can click on the invite link or accept the invitation to join your server. They will be prompted to either log in to their existing Discord account or create a new account if they don’t have one.
- Once they join, they will be able to access your server, participate in discussions, and engage with other members.
It’s important to note that you can also set specific permissions for each invite link. This allows you to control what actions the invited members can perform within your server, such as sending messages, creating channels, or managing server settings. When creating an invite link, make sure to review and adjust the permissions accordingly to maintain a safe and organized server environment.
By inviting friends and potential members to join your server, you are building a community and fostering a sense of belonging. Encourage interaction, engagement, and collaboration within your server to create a vibrant and thriving community.
Next, we will explore how to set up roles and permissions within your server, which will help you maintain order and manage members effectively.
Step 6: Set Up Roles and Permissions
Roles and permissions are powerful tools in Discord that allow you to organize and manage your server effectively. By assigning roles to members, you can control what actions they can perform, which channels they can access, and more. Follow these steps to set up roles and permissions in your server:
- Open your server and click on the server name to open the server dropdown menu.
- Select “Server Settings” from the dropdown menu. This will open the server settings page.
- Navigate to the “Roles” tab on the left-hand side of the settings page.
- By default, Discord provides two roles: @everyone and @here. The @everyone role includes all members of your server, while the @here role includes only the members who are currently online.
- To create a new role, click on the “+” icon on the right-hand side of the roles list. Give your role a name, choose a color, and set the desired permissions for that role.
- You can create multiple roles based on your server’s needs and assign different permissions to each role.
- Once you’ve created roles, you can assign them to members by clicking on the member’s username and selecting “Roles.” Check the box next to the roles you want to assign to that member.
- Roles work on a hierarchical system, where the highest role’s permissions take precedence. Make sure to arrange the roles in the correct order to avoid any conflicts or unwanted access.
- Additionally, you can customize the permissions for each channel by right-clicking on the channel and selecting “Edit Channel.” Under the “Permissions” tab, you can set specific permissions for each role or individual members.
- Experiment with different role setups and permissions to provide a structured and inclusive environment for your members.
Roles and permissions allow you to create a sense of order in your server and grant certain privileges to trusted members or moderators. Utilize these features to create a safe and enjoyable experience for everyone in your server.
Now that you have set up roles and permissions, it’s time to explore the next step: adding channels to your server. Channels play a crucial role in organizing discussions and facilitating communication within your community.
Step 7: Add Channels to Your Server
Channels are the heart of communication within your Discord server. By creating different channels, you can organize discussions based on topics, interests, or specific needs. Follow these steps to add channels to your server:
- Open your server and click on the “+” icon next to the “Text Channels” or “Voice Channels” category.
- Enter a name for your channel. Choose a name that accurately reflects the purpose or topic of the channel.
- Choose the channel type: text or voice.
- Optionally, set the channel’s topic, which provides a brief description or guidelines for the channel’s discussions.
- Customize the permissions for the channel by clicking on the “Permissions” tab. This allows you to control who can access and interact within the channel.
- Repeat these steps to add more channels based on your server’s needs.
- You can also create subchannels by dragging and dropping one channel onto another. This creates a nested channel structure, allowing for further organization.
When creating channels, consider your server’s purpose, size, and the topics of interest. By creating specific channels, you make it easier for members to find and participate in discussions that are relevant to them.
It’s important to note that you can also manage the order of channels by dragging and dropping them to reposition. This allows you to prioritize important channels or group related channels together.
Furthermore, channels can be customized by assigning different roles and permissions to control access and participation. This enables you to create private channels exclusive to specific roles or members.
With channels added, you have established the groundwork for communication and collaboration within your server. The next step is to configure server settings, which will further enhance your server’s functionality and appearance.
Step 8: Configure Server Settings
Configuring server settings is an important step in fine-tuning the functionality and appearance of your Discord server. By customizing server settings, you can control various aspects such as moderation, privacy, verification, and more. Follow these steps to configure your server settings:
- Open your server and click on the server name to open the server dropdown menu.
- Select “Server Settings” from the dropdown menu. This will take you to the server settings page.
- Navigate through the different tabs within the settings page to access various configuration options.
- General Settings: In this tab, you can change the server name, region, and server icon. You can also set a verification level to ensure that only verified individuals can access your server.
- Privacy Settings: This tab allows you to control who can invite others to the server, who can view server content, and who can send direct messages to members.
- Roles Settings: Here, you can manage the roles and permissions of your server’s members. You can assign, create, or delete roles, and adjust their permissions accordingly.
- Channels Settings: This tab provides additional configuration options for your channels. You can control message display settings, slow mode, and more.
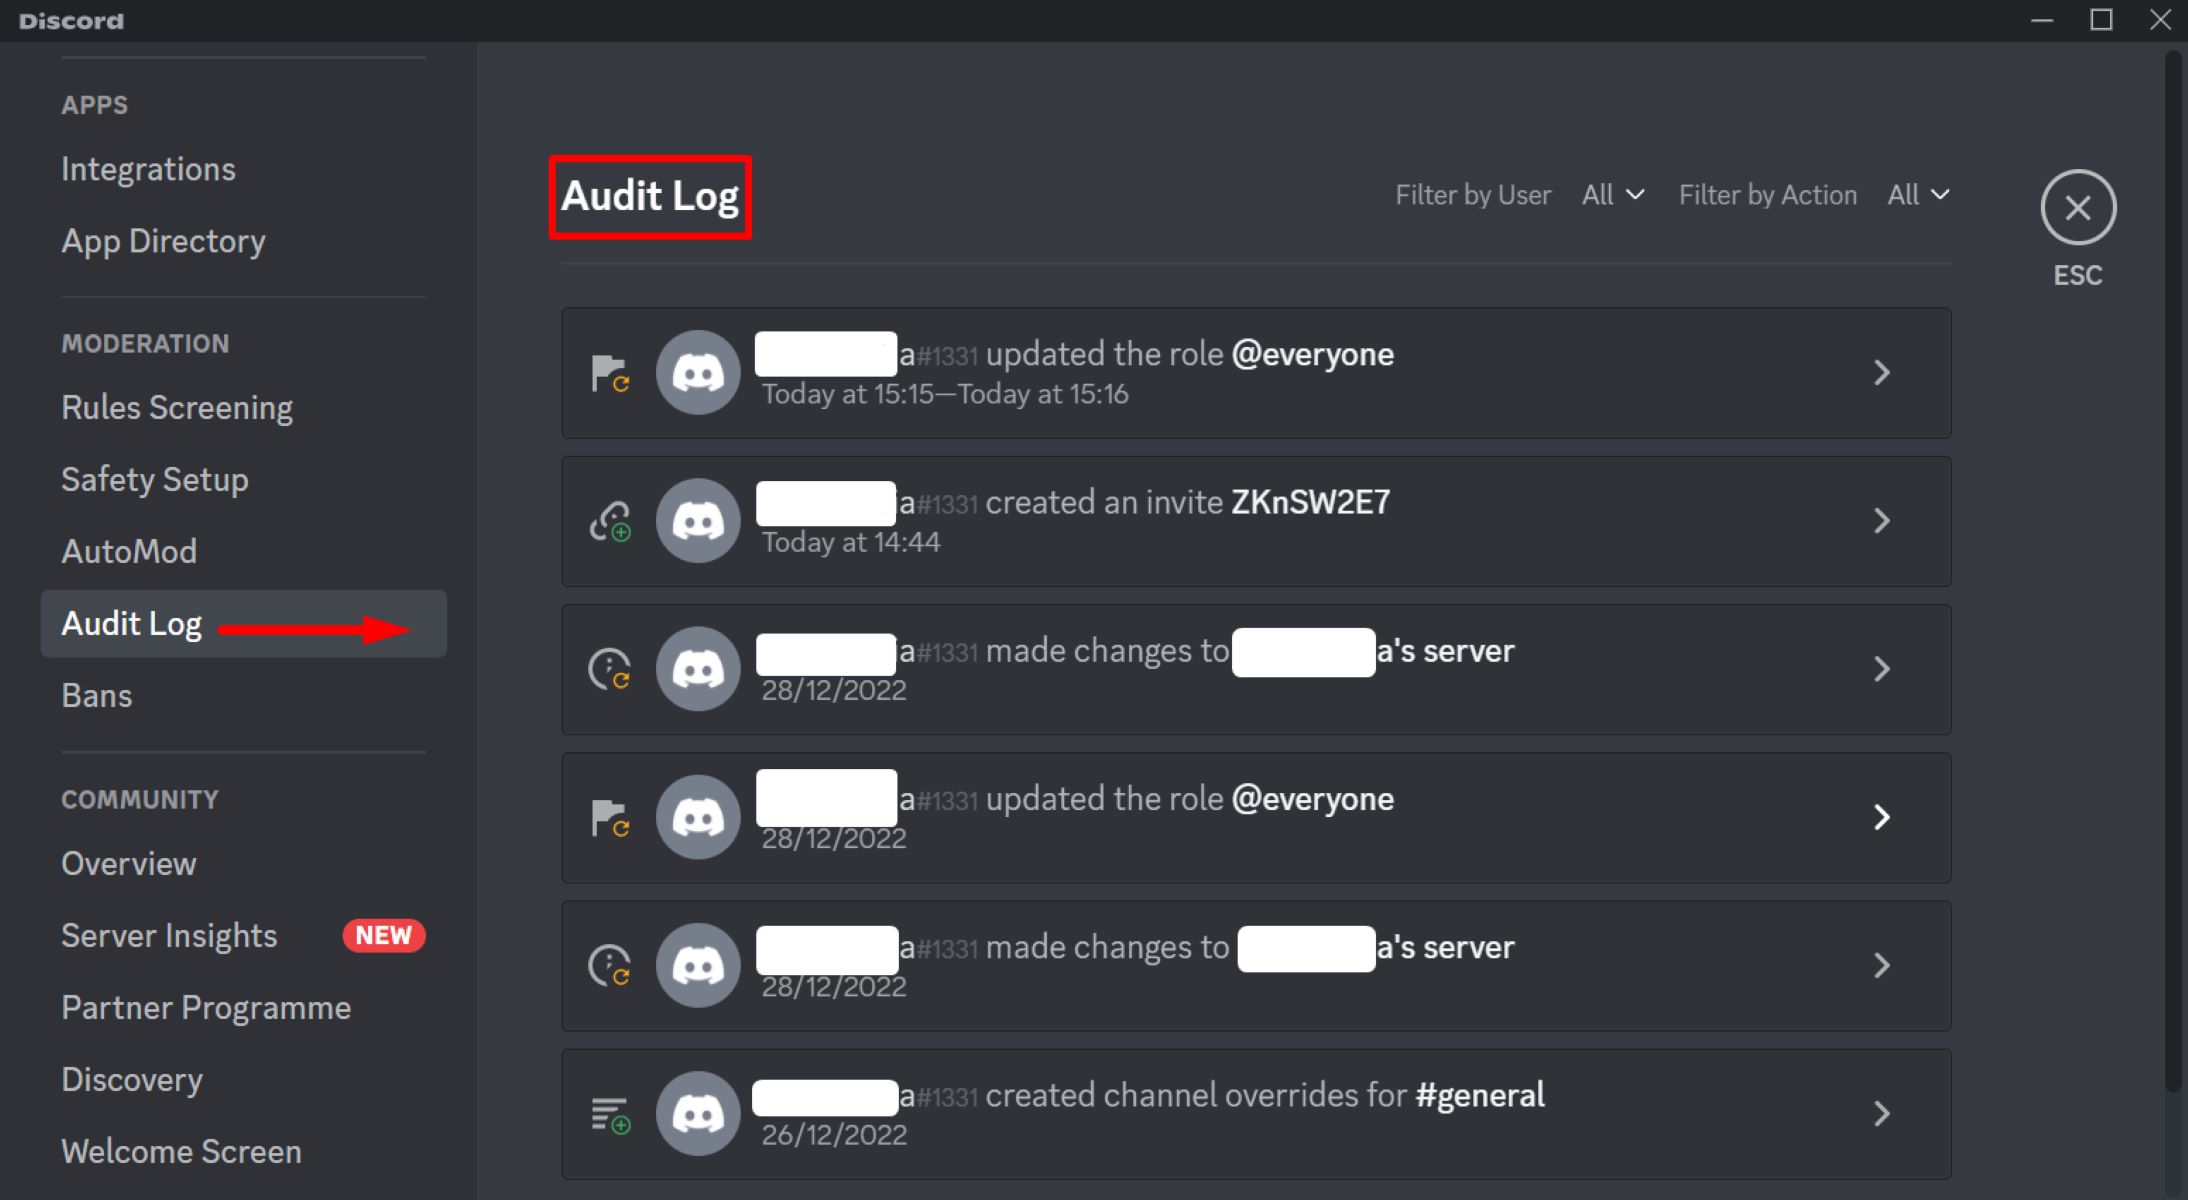
- Moderation Settings: In this tab, you can set up moderation tools to keep your server safe and friendly. You can enable features such as automod, which automatically filters and moderates content.
- Members Settings: Here, you can manage server invites and customize the display settings for members list and online status.
- Integrations Settings: This tab allows you to connect third-party integrations, such as Twitch or Spotify, to enhance your server’s functionality.
Take your time to explore each tab and configure the settings that align with your server’s goals and requirements. Remember to review and adjust these settings periodically as your server evolves and grows.
Configuring server settings allows you to create a safe, organized, and engaging environment for your server members. It also helps establish guidelines and rules for behavior and content to maintain a positive community atmosphere.
With your server settings configured, you are now equipped to effectively manage your server members and ensure smooth operation. In the next step, we will discuss how to manage server members and their roles.
Step 9: Manage Server Members
As the owner or administrator of a Discord server, managing server members is vital for maintaining order, enforcing rules, and ensuring a positive community experience. By effectively managing server members, you can control their roles, permissions, and access to various features. Follow these steps to manage your server members:
- Open your server and click on the server name to open the server dropdown menu.
- Select “Server Settings” from the dropdown menu. This will take you to the server settings page.
- Navigate to the “Members” tab on the left-hand side of the settings page.
- Here, you will see a list of all the members in your server.
- To manage a specific member, click on their username to open their profile.
- From the member’s profile, you can adjust their roles, permissions, and nickname. You can also kick or ban the member if necessary.
- To assign a role to a member, click on the “+” icon under the “Roles” section of their profile. Select the desired role and click “Save”.
- To adjust the permissions for a role, navigate to the “Roles” tab in the server settings. Click on the desired role and customize its permissions as needed.
- Additionally, you can create custom roles with specific permissions and assign them to members accordingly.
- Regularly review and manage your server members to ensure that everyone is following the rules and contributing positively to the community.
Effective member management promotes a friendly and inclusive environment within your server. Encourage open communication, address any issues or conflicts promptly, and enforce your server’s guidelines consistently.
Remember to be fair and transparent in your actions as a server owner or administrator. Communicate openly with your members and create a system that promotes accountability and mutual respect.
By actively managing your server members, you can foster a strong community, encourage engagement, and create a space that members will enjoy being a part of.
With this final step complete, you have successfully learned how to create and manage your own server on Discord. Congratulations! Now you can enjoy connecting with others, organizing discussions, and building a vibrant community on your very own Discord server.
Conclusion
Creating a server on Discord allows you to connect with friends, build communities, and foster collaboration within a specific topic or interest. Throughout this guide, we have explored the step-by-step process of creating and managing your own server on Discord.
We started by creating a Discord account and accessing the Discord website or app. Then, we walked through the process of creating a new server and customizing it to make it unique and tailored to your needs. We discussed the importance of inviting friends and other members to join your server to create a lively community.
We delved into the intricacies of setting up roles and permissions to control access and maintain order within your server. We also explored adding channels to facilitate organized discussions and configuring server settings to fine-tune the functionality and appearance of your server.
Lastly, we emphasized the significance of managing server members, assigning roles, and ensuring a positive community experience. By actively managing members, enforcing rules, and fostering open communication, you can create a thriving server environment.
Remember, a successful Discord server is built on active engagement, inclusivity, and effective moderation. Continuously evaluate and adjust your server as needed to meet the evolving needs and preferences of your members.
Now that you have gained the knowledge and understanding of creating and managing your own server on Discord, it’s time to dive in and unleash the potential of your virtual community. So gather your friends, organize discussions, and start building your own unique space on the Discord platform!


