Introduction
Welcome to the world of Probot Discord! If you’re looking for a way to enhance your Discord server and make it more interactive and productive, Probot Discord is the perfect solution. Whether you’re a server administrator or a Discord user, Probot Discord offers a range of features and functionality to enhance your experience.
Probot Discord is a powerful bot that can be added to your Discord server to automate various tasks, moderate discussions, manage permissions, and much more. This bot is highly customizable and can be tailored to suit the specific needs of your server.
In this article, we will guide you through the process of installing, configuring, and using Probot Discord effectively. By the end of this article, you will have a solid understanding of how to use Probot Discord to its full potential.
Please note that Probot Discord requires basic knowledge of Discord servers and permission management. If you are new to Discord, we recommend familiarizing yourself with the platform before diving into Probot Discord.
Without further ado, let’s dive into the world of Probot Discord and explore how it can revolutionize your Discord server experience.
What is Probot Discord?
Probot Discord is a feature-rich bot designed to enhance and streamline your Discord server. Developed using the powerful JavaScript framework, Probot, it offers a wide range of functionalities that can be customized to suit the needs of your server.
With Probot Discord, you can automate tasks, manage permissions, moderate discussions, and even integrate external services, such as GitHub and Trello, to enhance collaboration among server members. The bot is highly flexible and can be tailored to meet the unique requirements of your server.
One of the standout features of Probot Discord is its extensive library of community-developed plugins. These plugins provide additional functionality and extend the capabilities of the bot, allowing you to further enhance your Discord server experience.
Here are some key features and functionalities offered by Probot Discord:
- Automated Tasks: Probot Discord allows you to automate various tasks, such as welcoming new members, sending scheduled messages, and moderating content.
- Permissions Management: You can easily manage role-based permissions, granting specific permissions to users or restricting access to certain channels.
- Custom Commands: Probot Discord enables you to create custom commands to perform specific actions or retrieve information.
- Moderation: The bot provides powerful moderation tools to handle spam, offensive content, and member behavior, ensuring a safe and respectful environment.
- Integration: Probot Discord can integrate with external services, such as GitHub and Trello, allowing seamless collaboration and information sharing.
In addition to its robust functionalities, Probot Discord boasts a user-friendly interface, making it easy to configure and manage settings. Whether you’re a server administrator or a regular user, you can quickly set up Probot Discord to meet your specific needs, without the need for extensive coding knowledge.
Overall, Probot Discord is a versatile and powerful bot that can greatly enhance the functionality and productivity of your Discord server. With its vast range of features and customizable options, Probot Discord is a must-have tool for any Discord community.
How to Install Probot Discord
Installing Probot Discord onto your Discord server is a straightforward process. To begin, you will need to have the necessary permissions to invite bots to your server. Follow the step-by-step guide below to install Probot Discord:
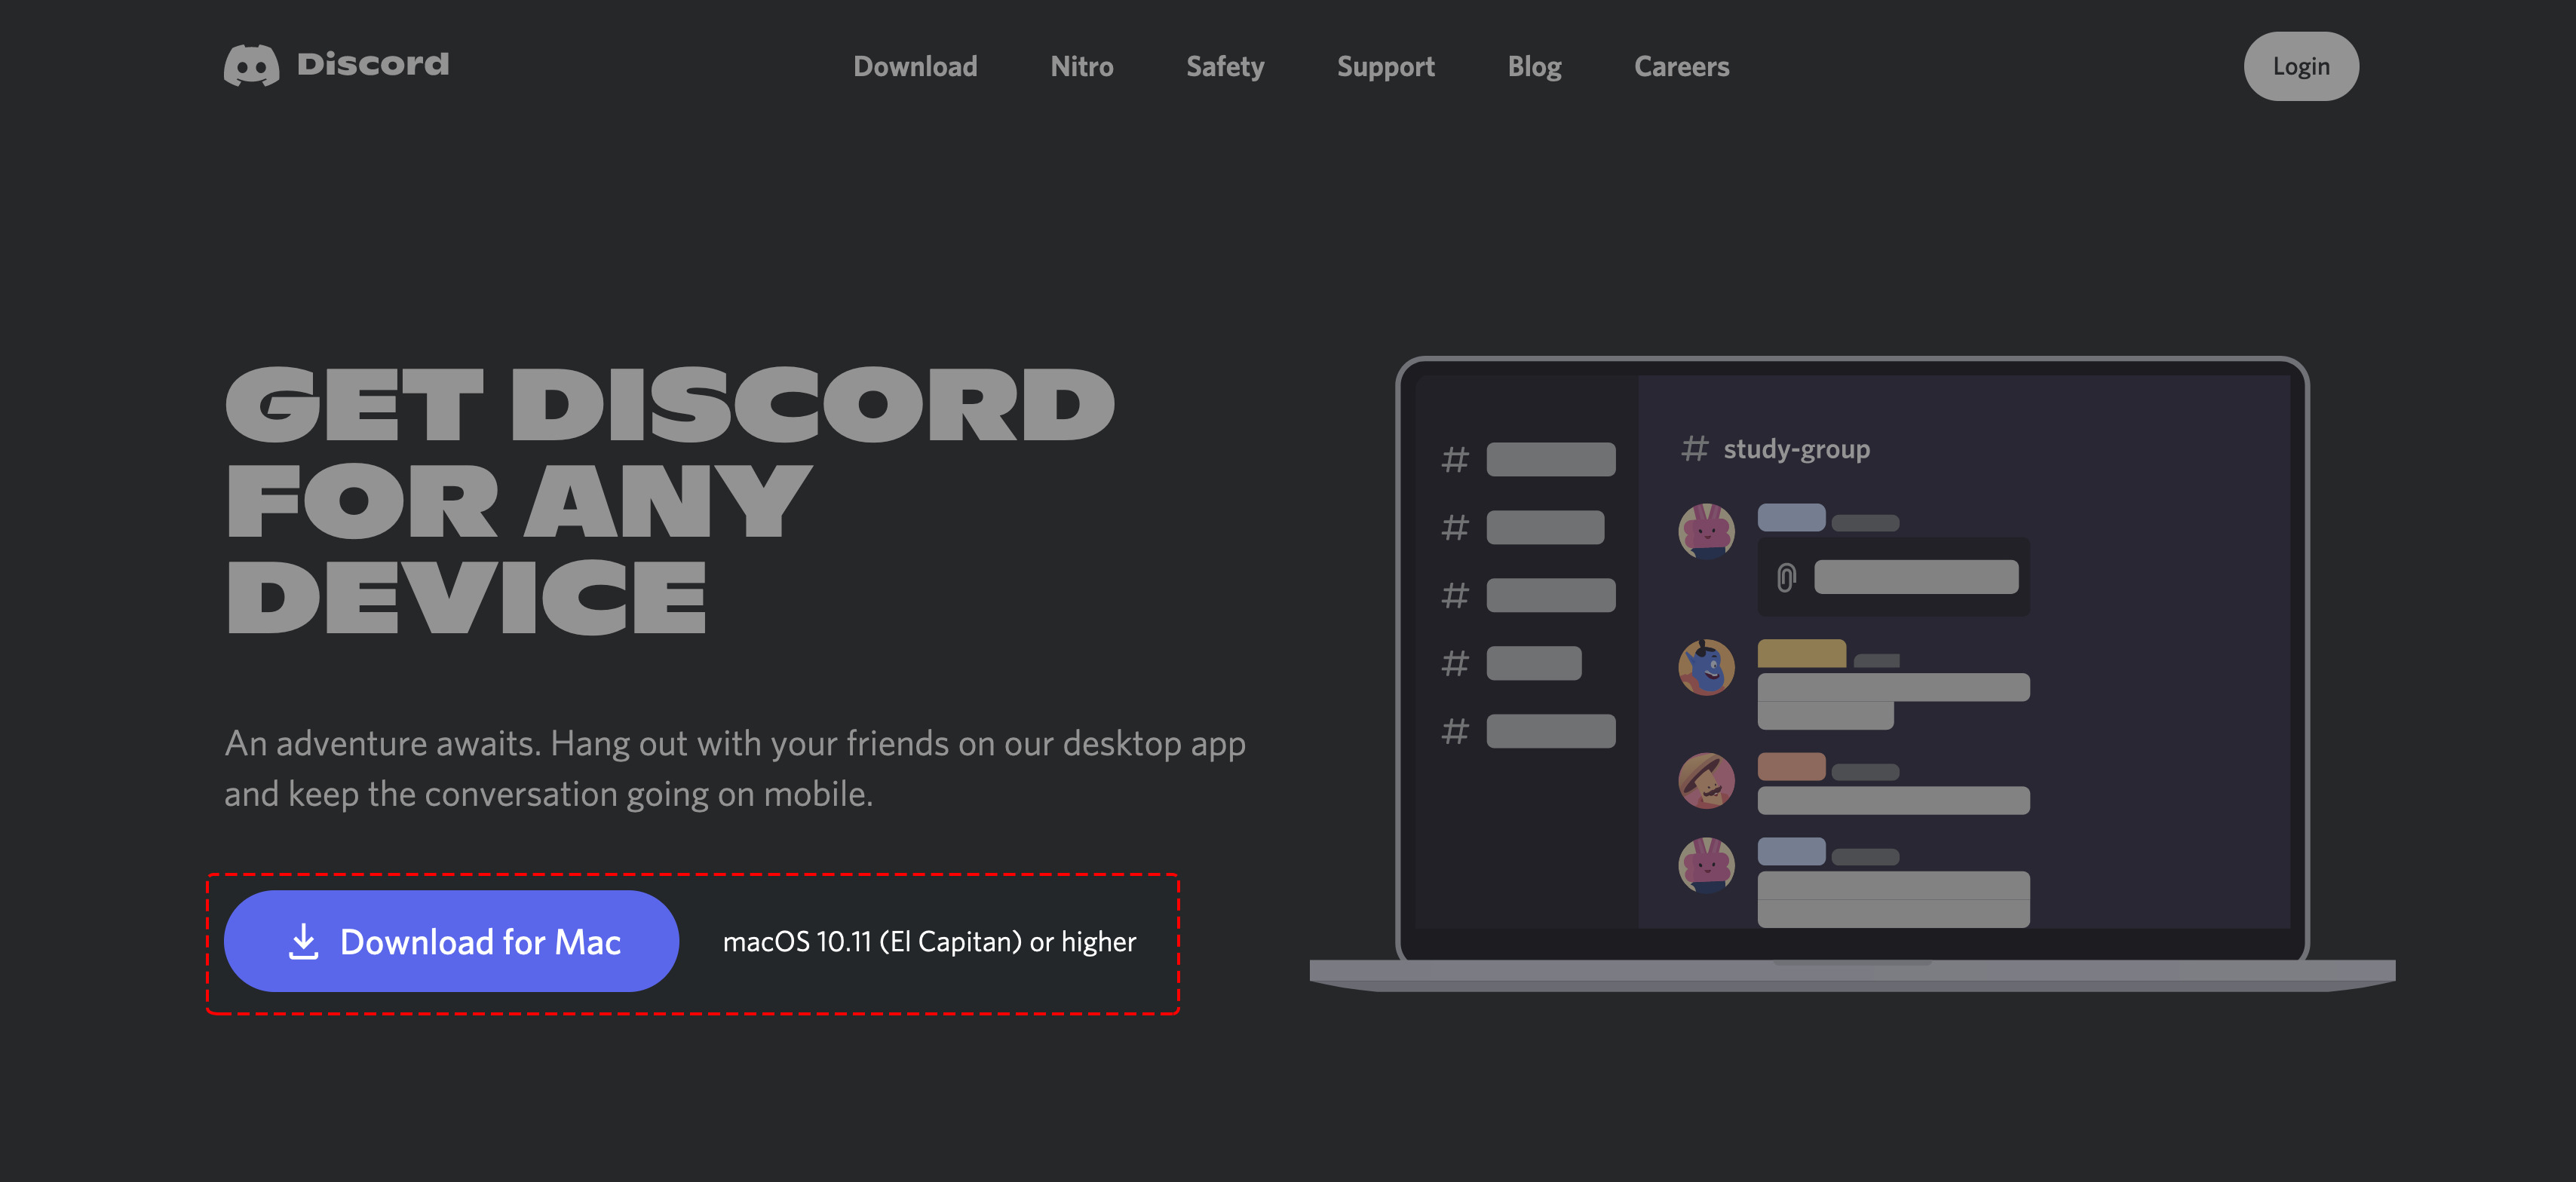
- Visit the Probot Discord website or search for “Probot Discord” on your preferred search engine.
- Click on the official Probot Discord website or any reputable source that provides the bot’s installation details.
- Once on the website, look for the installation or invite button. It is usually prominently displayed on the homepage or in the navigation menu.
- Click on the installation button to initiate the installation process.
- You will be redirected to Discord’s authorization page. Here, you will need to select the specific Discord server where you want to install Probot Discord.
- Ensure that you have the necessary permissions to add the bot to your server. If you are the server administrator, you should have the required permissions by default.
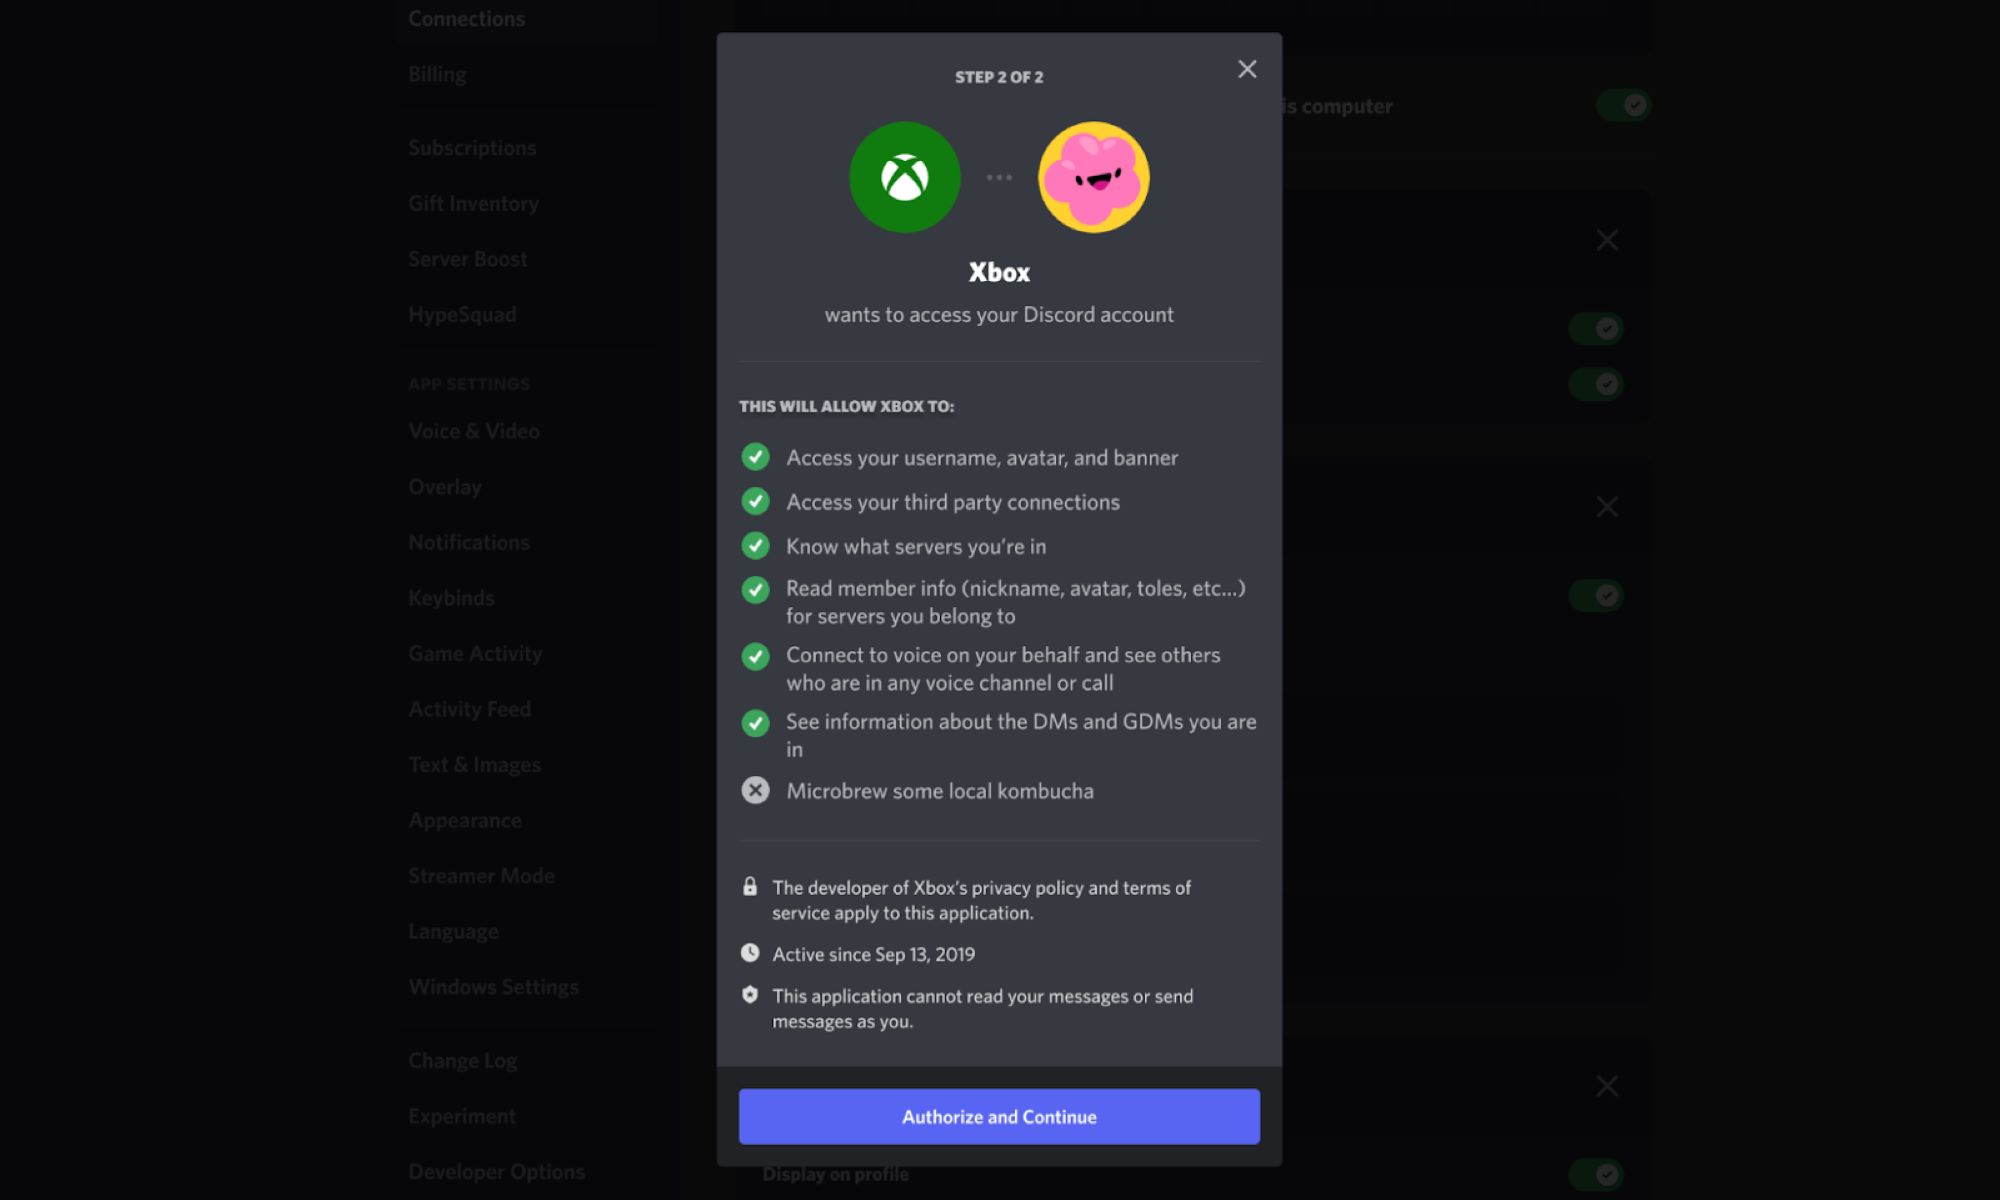
- Review the permissions requested by Probot Discord. These permissions determine the bot’s functionality and may vary depending on the specific plugins you choose to install.
- Once you are satisfied with the permissions, click on the “Authorize” or “Add to Server” button to add Probot Discord to your server.
- After successful authorization, Probot Discord will be added to your Discord server. You may receive a confirmation message or see the bot appear in the list of members on your server.
- Once installed, you can start configuring Probot Discord to suit your server’s needs.
It’s important to note that Probot Discord requires the “Manage Roles” and “Manage Channels” permissions to function properly. Ensure that you have these permissions enabled for the bot to access the necessary configuration settings.
That’s it! You have successfully installed Probot Discord onto your Discord server. Now, let’s move on to the next section to learn how to configure the bot and customize its functionalities to meet your specific requirements.
Configuring Probot Discord
Once you have installed Probot Discord on your Discord server, the next step is to configure its settings to tailor it to your specific needs. Configuring Probot Discord is an essential process that allows you to customize the bot’s functionalities, permissions, and behavior.
Here are the key steps to configure Probot Discord:
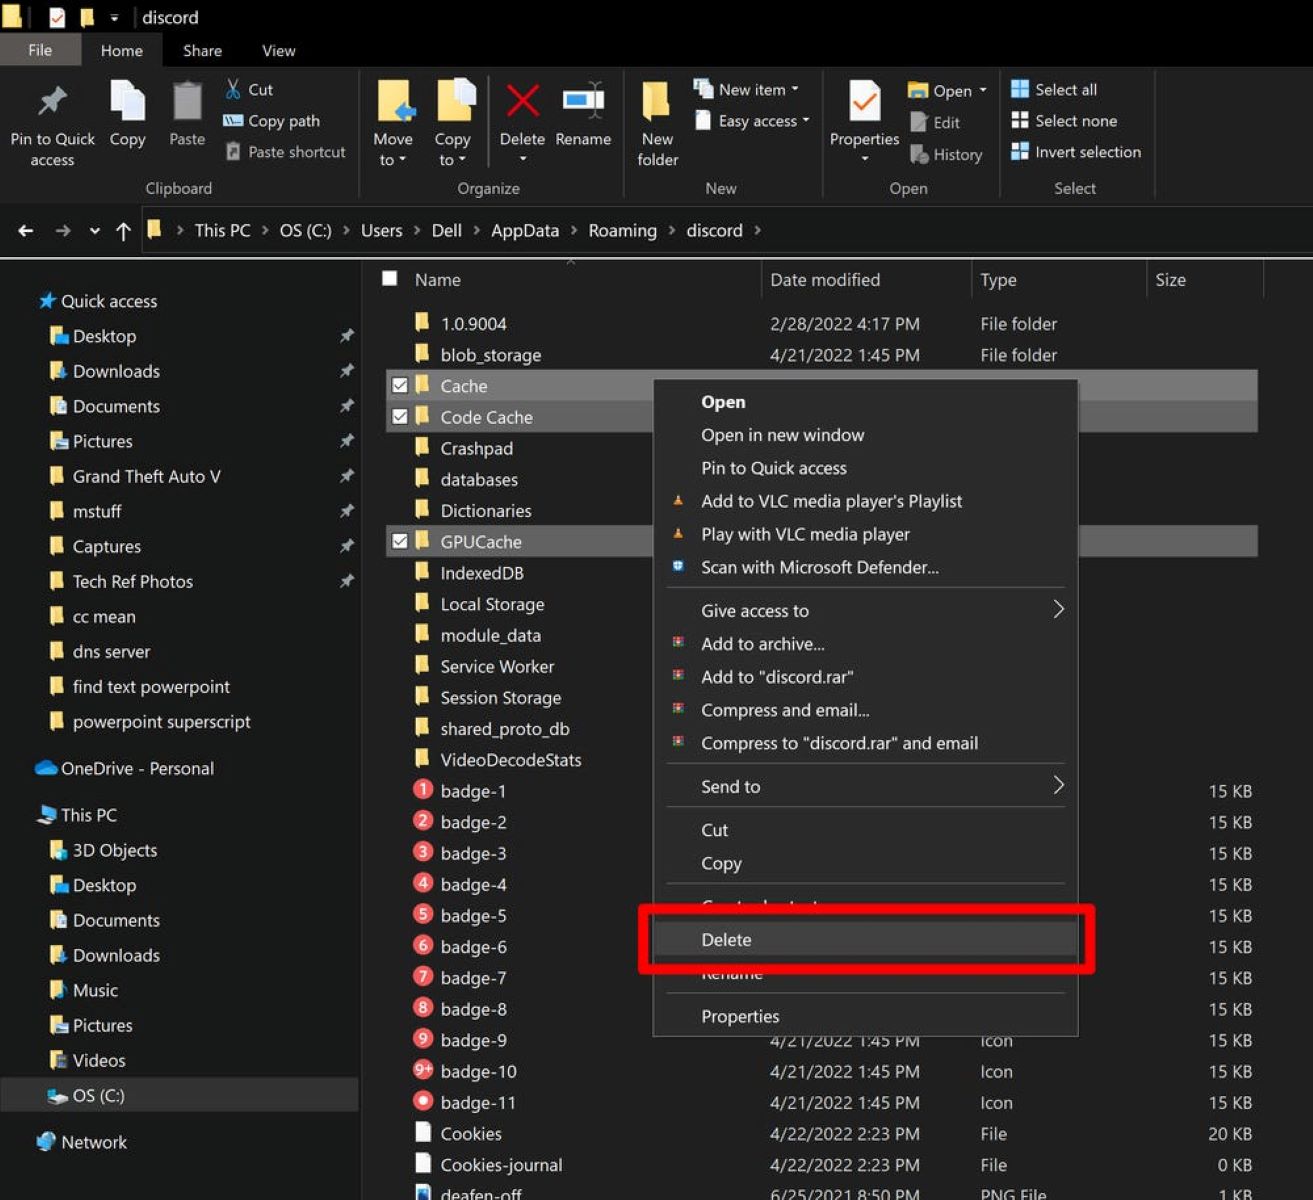
- Accessing the Configuration: To access Probot Discord’s configuration, locate the bot in your server’s member list and right-click on it. From the dropdown menu, select “DM” or “Message”. This will open a direct message conversation with Probot Discord.
- Sending Configuration Commands: In the direct message conversation, you can send commands to Probot Discord to configure its settings. The commands typically start with a prefix, such as “!config” or “!settings”, followed by the specific configuration command.
- Reviewing Available Commands: To view the available configuration commands, you can use the “!help” command or consult the documentation provided by Probot Discord. This will give you a list of commands and their functionalities.
- Changing Prefix: If you prefer a different command prefix than the default one, you can use the configuration command to change it to your desired prefix.
- Customizing Permissions: Probot Discord allows you to customize permissions for specific commands or modules. Using the configuration commands, you can grant or restrict access to certain commands based on user roles and permissions.
- Enabling/Disabling Modules: Probot Discord offers various modules or plugins that provide additional functionalities. You can enable or disable specific modules based on your requirements.
- Configuring Automations: Probot Discord supports automations, where you can set up specific tasks or messages to be sent automatically at given intervals. Use the configuration commands to set up and manage these automations.
- Testing and Fine-Tuning: After making changes to the bot’s configuration, it’s recommended to test the settings to ensure that Probot Discord is functioning as intended. Make any necessary adjustments based on the test results.
Keep in mind that the specific configuration commands and their functionalities may vary depending on the plugins or modules you have installed for Probot Discord. You can explore the available documentation or use the help command for comprehensive information on configuring the bot.
By taking the time to properly configure Probot Discord, you can optimize its performance and tailor it to meet the unique needs of your Discord server. This step is crucial in ensuring that Probot Discord aligns perfectly with your server’s goals and enhances the overall server experience.
Setting Up Permissions
Setting up permissions for Probot Discord is an important step in ensuring the proper functioning and security of your Discord server. Assigning the right permissions allows you to control who can access specific commands and functionalities offered by Probot Discord.
Here are the key steps to set up permissions for Probot Discord:
- Understanding Discord’s Permission System: Familiarize yourself with Discord’s permission system, as it forms the basis for setting up permissions for Probot Discord. Discord offers various default roles, such as Administrator, Moderator, and Member, each with different levels of permissions.
- Identifying the Necessary Permissions: Determine which permissions are required for users to access and utilize Probot Discord’s features. Some common permissions include managing roles, managing channels, kicking or banning members, and sending messages.
- Assigning Permissions: To assign permissions, navigate to your Discord server settings and locate the “Roles” or “Permissions” section. Create a new role specifically for Probot Discord or edit an existing role to grant the necessary permissions for the bot.
- Granting Permissions to Roles: Within the role settings, enable the desired permissions for the role, allowing members with that role to access and use Probot Discord’s features. Make sure the role is placed above the roles you do not want to have those permissions.
- Assigning Roles to Users: Once you have set up the role with the necessary permissions, assign that role to users who should have access to Probot Discord’s functionalities. You can do this by editing the user’s roles in their individual settings or using Discord’s built-in commands.
- Testing and Fine-Tuning: After setting up the permissions, it’s important to test Probot Discord’s functionalities to ensure that the assigned roles have the appropriate access and restrictions. Make any necessary adjustments based on the testing results.
- Regularly Reviewing Permissions: As your Discord server evolves and new plugins or modules are added to Probot Discord, periodically review and update the permissions to align with the changing requirements of your server.
Remember that managing permissions requires careful consideration to strike a balance between granting access to necessary functions and maintaining the integrity of your server. It’s crucial to ensure that only trusted users have access to crucial commands and moderation capabilities.
By properly setting up permissions for Probot Discord, you can ensure that your Discord server remains secure, organized, and well-managed, while empowering users with the appropriate level of access to utilize the bot’s functionalities.
Managing Probot Discord Commands
Probot Discord offers a wide range of commands that can be customized and managed to suit the needs of your Discord server. By effectively managing Probot Discord commands, you can enhance the functionality and user experience of your server.
Here are some key steps for managing Probot Discord commands:
- Understanding Command Prefix: Probot Discord commands usually require a prefix to activate. By default, the prefix is often an exclamation mark (!), but it can be customized if desired.
- Viewing Available Commands: Probot Discord has a variety of built-in commands that you can use right away. To view the available commands, you can use the built-in “help” command or consult the documentation provided by Probot Discord.
- Disabling or Enabling Commands: Probot Discord allows you to disable or enable specific commands based on your server’s needs. This can be done using the appropriate configuration commands. Disabling commands that are not relevant or are causing issues can help streamline the user experience.
- Customizing Commands: Probot Discord offers the flexibility to create custom commands specific to your server’s requirements. Using the appropriate configuration commands, you can create custom responses, retrieve information, or automate certain tasks.
- Restricting Command Usage: In some cases, you may want to limit access to specific commands. With Probot Discord’s permission management, you can assign roles that have the required permissions to use certain commands. This can help maintain control and prevent misuse.
- Regularly Updating and Testing: As the needs of your server change, it is important to regularly update and test the functionality of Probot Discord commands. This ensures that the commands are up to date and working as intended.
- Seeking Assistance: If you encounter any issues or need clarification on specific commands, the Probot Discord documentation and community resources are valuable sources of information. Don’t hesitate to consult the resources or seek assistance from the Probot Discord community.
By effectively managing Probot Discord commands, you can create a seamless and efficient user experience on your Discord server. Customizing and tailoring the commands to your server’s specific needs can also enhance engagement and interaction among your community members.
Remember to strike a balance between enabling useful commands and preventing command abuse. Carefully monitor command activity and consider updates and improvements based on user feedback.
Inviting Probot Discord to Your Server
Inviting Probot Discord to your Discord server is a simple process that allows you to unlock its powerful features and enhance your server’s functionality. By following the steps below, you can quickly and easily add Probot Discord to your server:
- Find Probot Discord: Search for Probot Discord on your preferred search engine or visit the Probot Discord website.
- Explore the Features: Familiarize yourself with the features and functionalities offered by Probot Discord to ensure it meets your server’s needs.
- Choose Plugins: Probot Discord offers a range of community-developed plugins that extend its capabilities. Choose the plugins that align with your server’s requirements.
- Authorize Probot Discord: Click on the “Invite” or “Add to Server” button on the Probot Discord website. You will be redirected to the Discord authorization page.
- Select Your Server: Choose the specific Discord server where you want to add Probot Discord. Make sure you have the necessary permissions to add bots to the server.
- Review Permissions: Probot Discord will request certain permissions that are required for its functionality. Review the requested permissions and ensure they align with your server’s needs.
- Authorize Probot Discord: Click on the “Authorize” or “Add to Server” button to grant Probot Discord access to your server. You may be prompted to solve a reCAPTCHA for security purposes.
- Server Configuration: Once Probot Discord is added to your server, it’s time to configure its settings to customize its behavior and enable the desired functionalities. Refer to the earlier sections of this guide for detailed information on configuring Probot Discord.
- Test and Fine-Tune: After the initial configuration, it’s recommended to test Probot Discord’s features and commands to ensure that everything is functioning as intended. Make any necessary adjustments based on the test results.
Inviting Probot Discord to your Discord server opens up a world of possibilities for automation, moderation, and collaboration. It’s important to regularly update and maintain Probot Discord, staying informed about new releases and features in order to maximize its benefits.
Remember to frequently check for updates and ensure the proper functioning of Probot Discord, as updates may introduce new features or bug fixes that enhance the overall experience for you and your server members.
Conclusion
Congratulations! You are now well-equipped with the knowledge and understanding of how to effectively use Probot Discord to enhance your Discord server. Probot Discord offers a vast array of features and functionalities that can automate tasks, manage permissions, and moderate discussions, among other things.
Throughout this article, we discussed the process of installing Probot Discord, configuring its settings, setting up permissions, managing commands, and inviting it to your server. By following these steps, you can take full advantage of Probot Discord’s capabilities and create a more interactive and productive Discord server environment.
Remember, Probot Discord is highly customizable and offers the flexibility to tailor its features to suit the specific needs of your server. Make sure to regularly review and update Probot Discord’s settings, permissions, and commands to align with the evolving requirements of your community.
Additionally, don’t hesitate to explore the vast library of community-developed plugins and seek assistance from the Probot Discord documentation and community resources. Continuous learning and experimentation will enable you to unlock the full potential of Probot Discord.
With Probot Discord, you can streamline administrative tasks, enhance communication, and foster collaboration among your server members. Take advantage of this powerful bot to create a thriving and engaging Discord community.
So go ahead, install Probot Discord, configure its settings, and start harnessing the power of automation and moderation to transform your Discord server into an organized and vibrant community.