Introduction
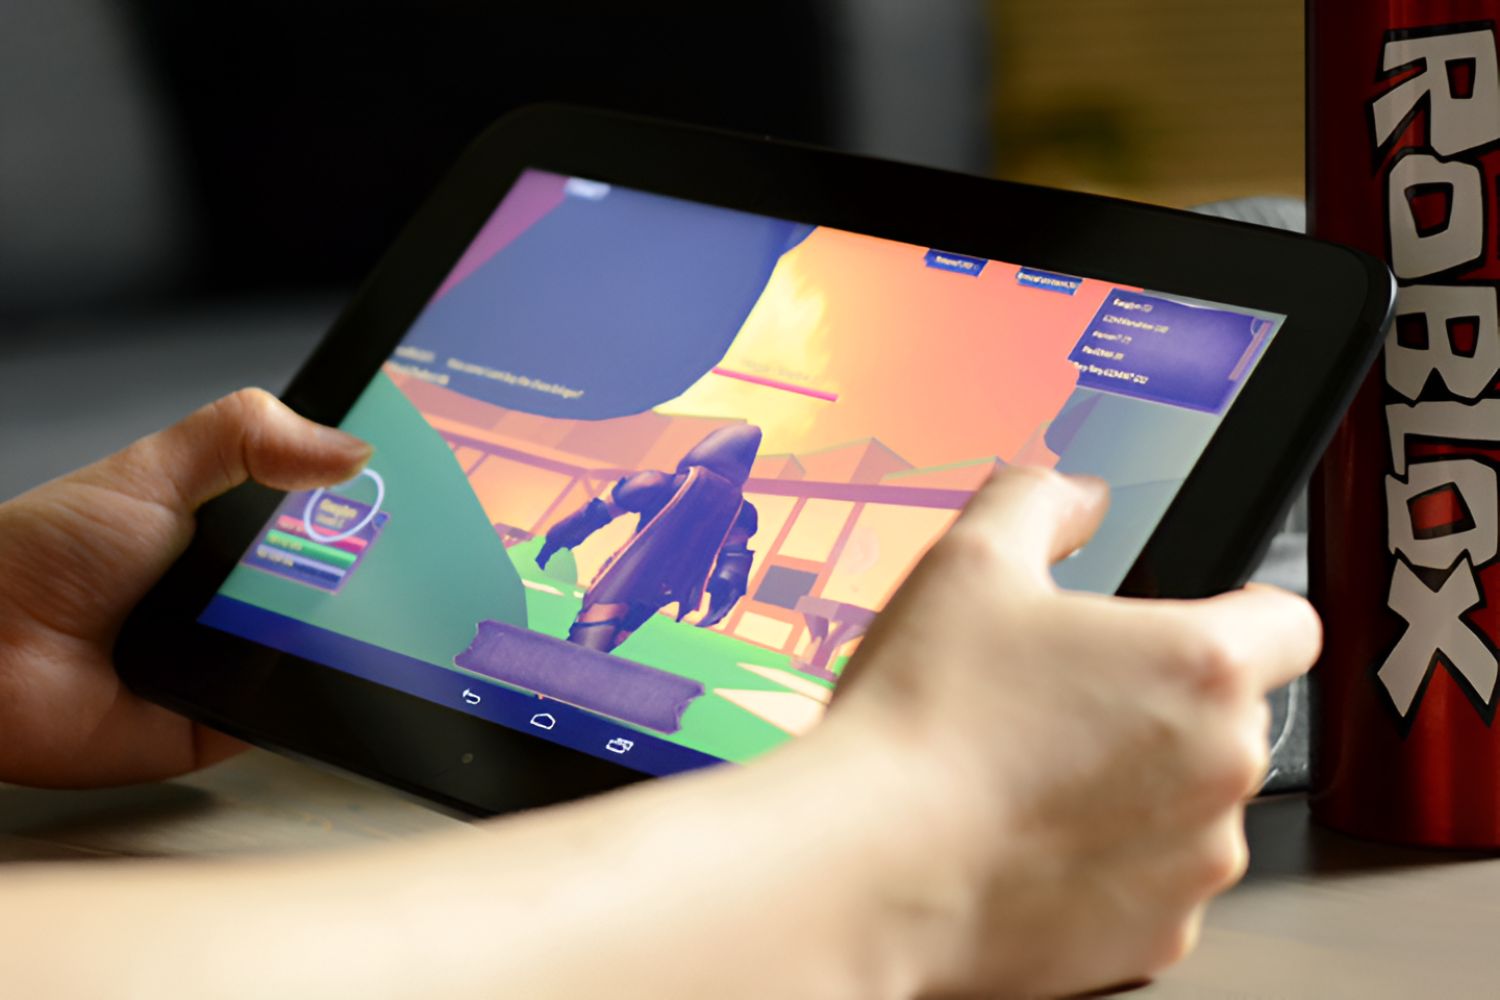
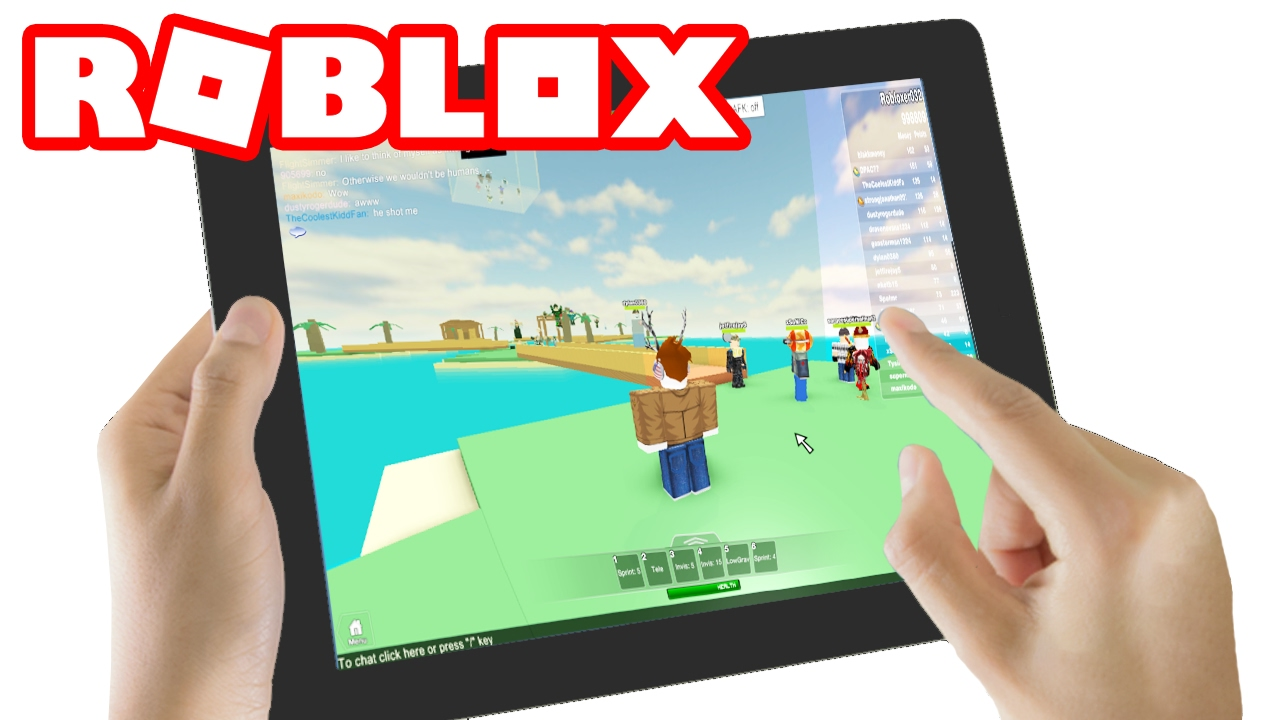
Roblox is a popular online gaming platform that allows users to create and play games made by other players. While many people enjoy playing games on Roblox, you may be interested in taking it a step further and creating your own game on the platform.
Creating a game on Roblox can be a rewarding experience, and with the right tools and guidance, anyone can do it. In this article, we will walk you through the process of making a game on Roblox using a tablet. Whether you’re a beginner or have some experience with game development, we’ll provide you with the necessary steps to get started.
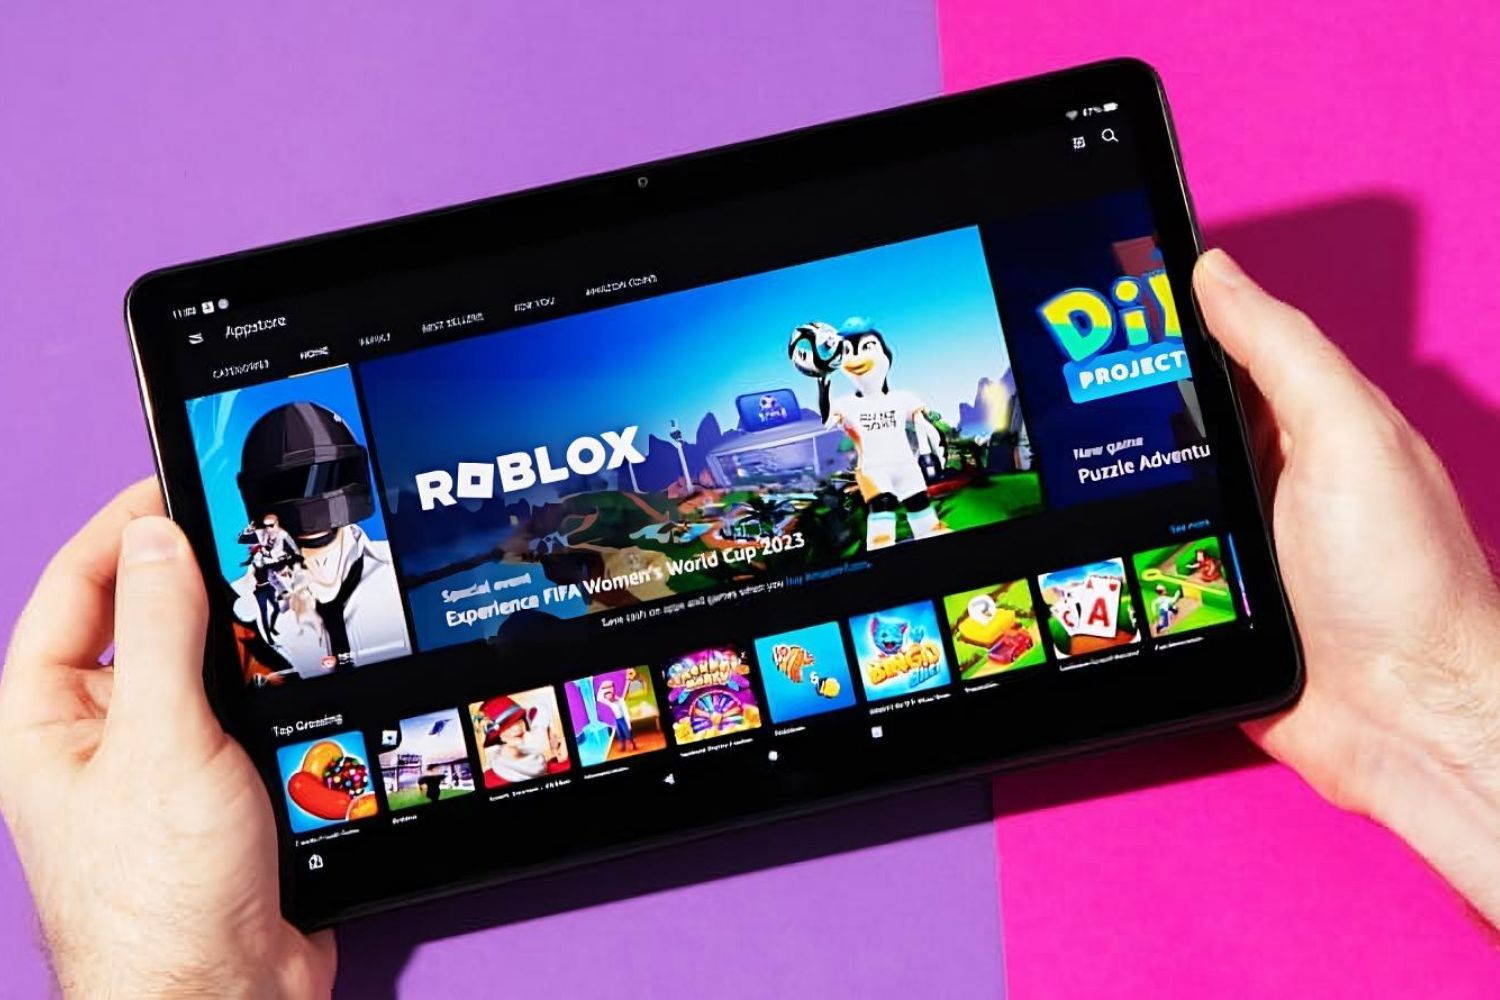
Before we begin, it’s important to note that you will need a Roblox account and the Roblox app installed on your tablet to create and play games. If you haven’t already, you can download the Roblox app from your device’s app store.
Once you have the app installed and an account created, you’ll be ready to embark on your game development journey. We’ll guide you through the process of navigating the Roblox Studio – the platform’s game development environment – and show you how to build and decorate your game, add game mechanics, and ultimately test and publish your creation.
Whether you have a vision for a complex multiplayer game or a simple single-player experience, Roblox provides the tools and resources to bring your ideas to life. So, grab your tablet, fire up Roblox, and let’s dive into the world of game development!
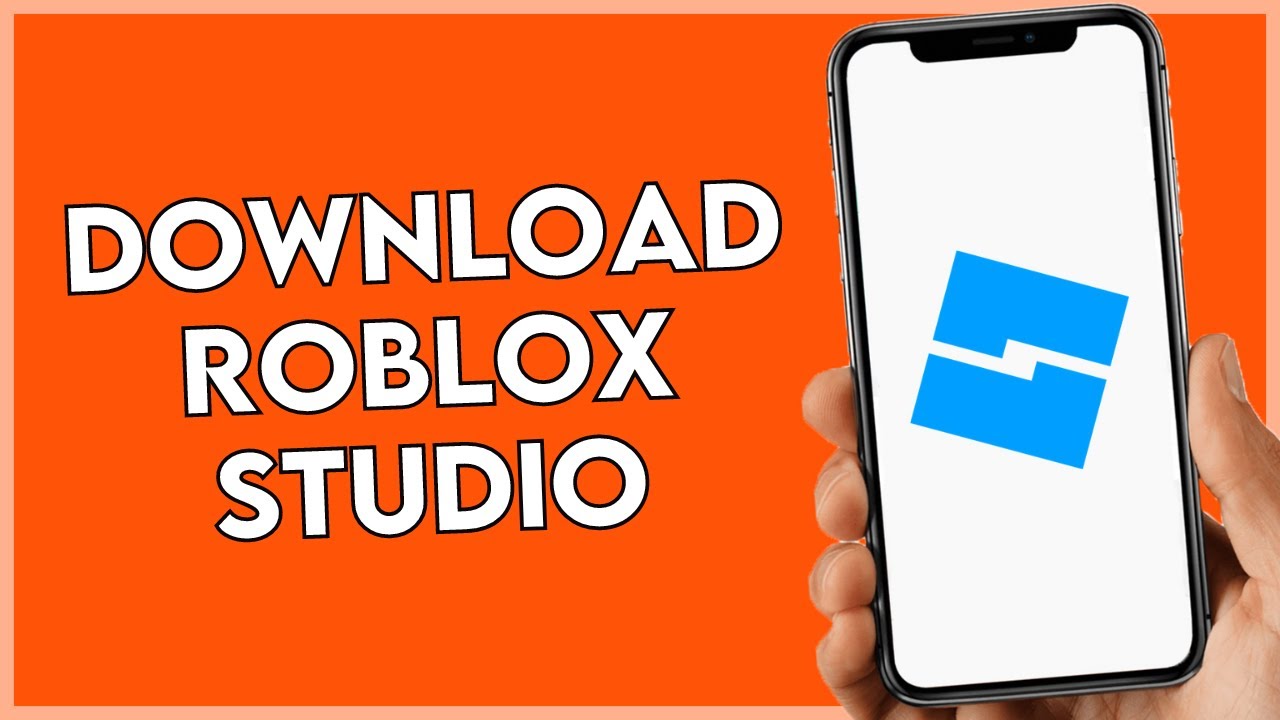
Step 1: Downloading the Roblox App
Before you can start creating your own game on Roblox, you need to ensure that you have the Roblox app installed on your tablet. The app is available for free and can be found on the app store specific to your device’s operating system.
To download the Roblox app, follow these simple steps:
- Open the app store on your tablet. This could be the Apple App Store for iOS devices or the Google Play Store for Android devices.
- In the search bar, type “Roblox” and tap on the search button.
- Once you find the Roblox app in the search results, tap on it to open the app’s download page.
- On the app’s download page, you will find an “Install” or “Get” button. Tap on it to initiate the download and installation process.
- Wait for the app to finish downloading and installing on your tablet. This may take a few moments, depending on your internet connection speed.
- Once the installation is complete, you can find the Roblox app on your tablet’s home screen or in the app drawer. Tap on the app icon to launch it.
- If you haven’t already created a Roblox account, you will be prompted to do so. Follow the on-screen instructions to sign up for an account.
Congratulations! You have successfully downloaded and installed the Roblox app on your tablet. Now, you’re one step closer to creating your very own game.
Please note that the steps to download the Roblox app may vary slightly depending on your device and operating system version. If you encounter any issues during the download or installation process, refer to the app store’s support documentation or contact their customer support for assistance.
Step 2: Creating a Roblox Account
Before you can start building and playing games on Roblox, you need to create a Roblox account. If you haven’t done so already during the app installation process, follow these steps to create your account:
- Open the Roblox app on your tablet.
- On the login screen, tap on the “Sign Up” option.
- You will be presented with different methods to sign up, such as using your Google account or creating a new account with your email address. Choose the method that suits you best.
- If you select the email option, enter your email address in the designated field and create a strong password for your account. Alternatively, if you choose to sign up with your Google account, tap on the Google sign-in button and follow the prompts to link your Google account to your Roblox account.
- Once you have entered your email address and password, tap on the “Sign Up” or “Create Account” button.
- Roblox will send a verification email to the address you provided. Check your inbox and follow the instructions in the email to verify your account.
- After confirming your account, you will be redirected back to the Roblox app. Follow the on-screen prompts to customize your avatar and set a display name for your account.
- Finally, review and agree to the terms of use and privacy policy before proceeding.
With your Roblox account now created, you have access to a world of games and the ability to start building your own. Make sure to keep your login credentials safe and secure to protect your account.
If you encounter any difficulties during the account creation process or have any questions, you can refer to Roblox’s support documentation or reach out to their customer support for assistance.
Step 3: Navigating the Roblox Studio
Once you have downloaded the Roblox app and created your account, it’s time to familiarize yourself with the Roblox Studio. This is where you’ll design and build your game, adding elements like terrain, objects, and scripts.
Follow these steps to navigate the Roblox Studio:
- Launch the Roblox app on your tablet and log in to your account.
- In the app’s main menu, tap on the “Create” button to open the Roblox Studio.
- You will be presented with various templates to choose from for your game. Select a template that aligns with the type of game you want to create, or choose the “Blank” template for full customization.
- Once the Roblox Studio loads, you will see a workspace with different windows and panels. The main window displays the 3D view of your game, where you can design and build the game world.
- On the left side of the Studio, you will find the Explorer window, which lists all the objects and components in your game. You can use this window to organize and select different elements.
- The Properties window is located on the right side and allows you to view and modify the properties of selected objects. You can change things like color, size, and behavior using this window.
- At the bottom of the Studio, you’ll find the Output and Command Bar windows. The Output window displays important messages and error logs, while the Command Bar allows you to enter specific commands or scripts.
- Take the time to explore the different menus and options in the Roblox Studio to familiarize yourself with the available tools and features. You can access additional functionalities through the top menu bar.
As you continue to work on your game, you’ll become more comfortable with navigating the Roblox Studio and utilizing its various tools. Don’t hesitate to refer to the official Roblox documentation and tutorials for more detailed guidance on specific features and functionalities.
Now that you’re familiar with the Roblox Studio interface, it’s time to start building your game world!
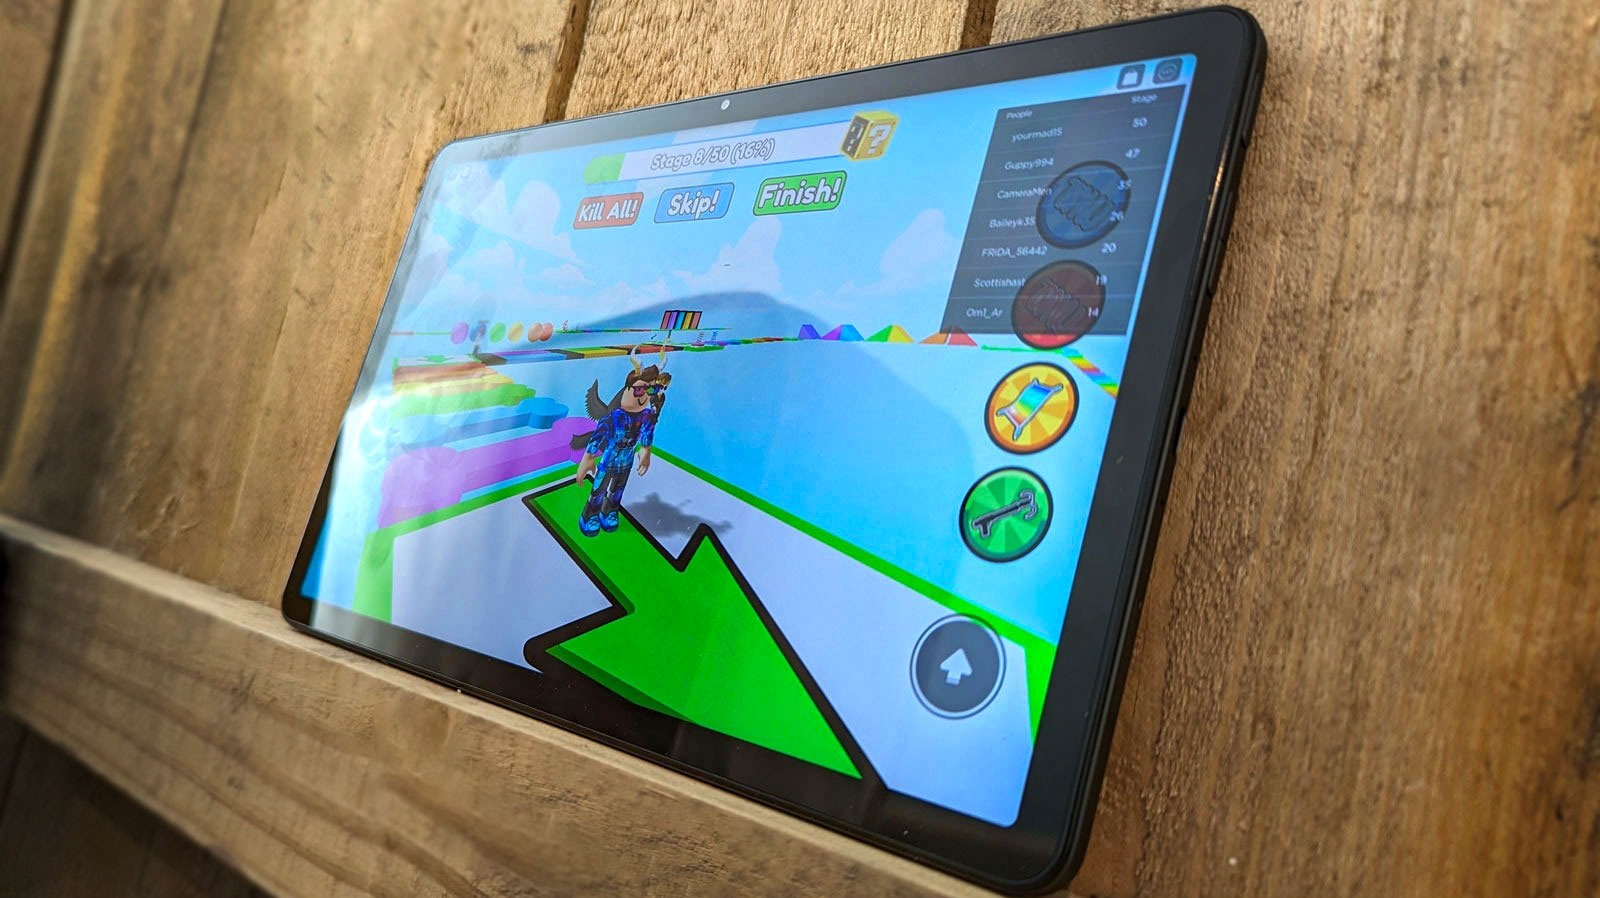
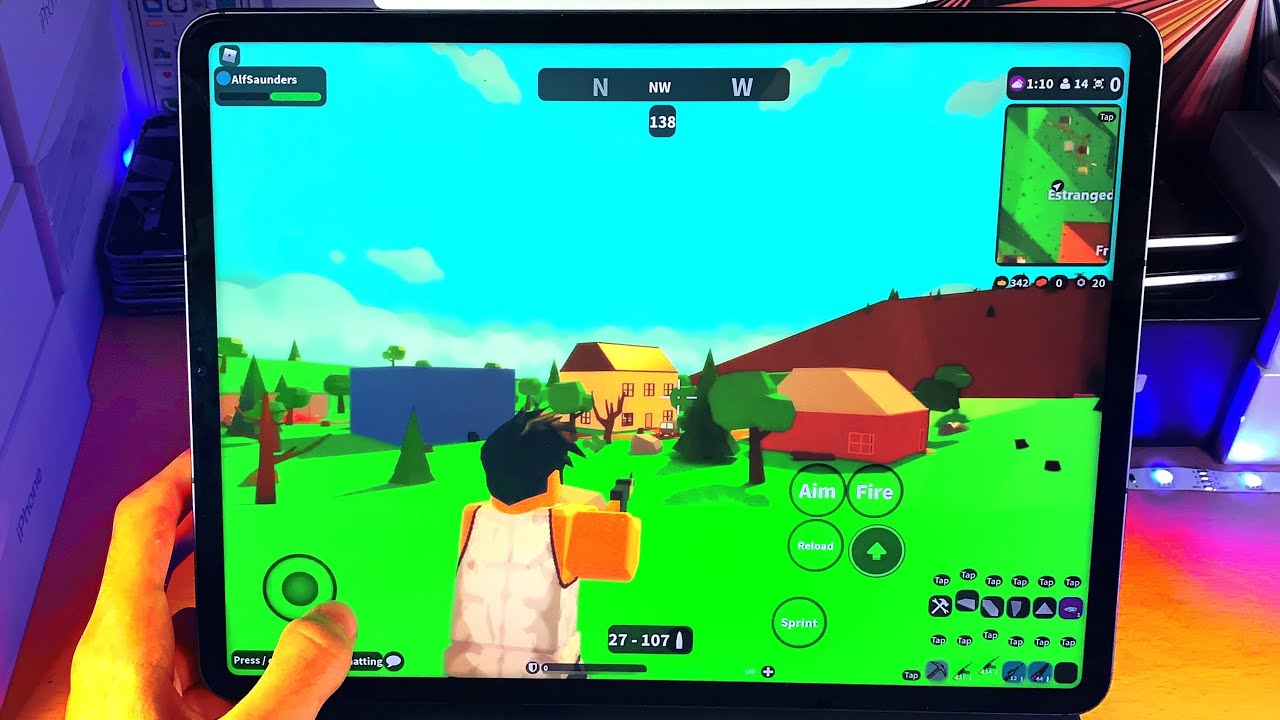
Step 4: Building Your Game
Now that you have a grasp of navigating the Roblox Studio, it’s time to roll up your sleeves and start building your game. The possibilities are endless when it comes to creating unique and exciting gameplay experiences. Here’s how you can get started:
- Think about the concept and theme of your game. Will it be a platformer, an adventure, a simulation, or something entirely unique? Plan out the key aspects of your game, such as the objective, levels, and game mechanics.
- In the Roblox Studio, you can start building your game world by placing objects and terrain. Use the toolbox to access various models, textures, and other assets for your game. Drag and drop them into the workspace to position them as desired.
- To modify the terrain, go to the “Terrain” tab in the top menu bar. Here, you can sculpt the landscape, add textures, and adjust the lighting to create the desired atmosphere for your game.
- Experiment with different object properties using the Properties window. You can change an object’s size, color, transparency, and more. This allows you to customize the look and behavior of your game elements.
- Don’t forget to add interactive elements to your game. This could include buttons, doors, traps, or any other objects that contribute to the gameplay experience. Use scripts to add functionality and interactivity to these objects.
- Consider implementing game mechanics and rules. This could involve coding scripts to control character movement, create obstacles, or define game logic. Utilize Roblox’s scripting language, Lua, to build these mechanics.
- Test your game frequently as you build. Use the “Play” button in the top menu bar to playtest your game. This will help you identify any issues or areas that need improvement. Make necessary adjustments and iterate on your design.
- Continue adding levels, challenges, and refining your game until you’re satisfied with the result. Remember to save your progress regularly to avoid losing any work.
Building a game takes time, patience, and creativity. Don’t be afraid to experiment and try new ideas. The more you practice and refine your skills, the better your game will become.
Once you’re content with the overall design of your game, it’s time to move on to the next step: adding game mechanics.
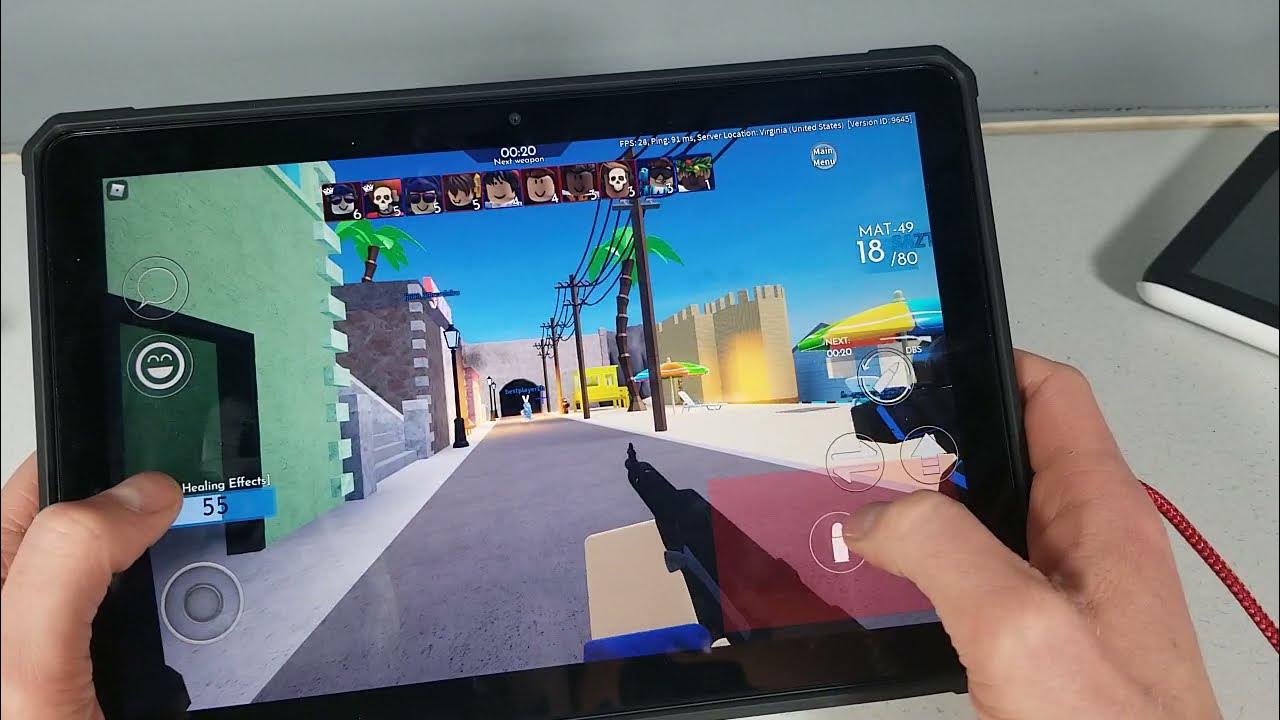
Step 5: Adding Game Mechanics
Game mechanics are the rules and systems that govern how your game functions. They add depth and interaction to your game, making it more engaging for players. In this step, we’ll explore how to incorporate game mechanics into your Roblox game:
- Consider the core mechanics for your game. Will there be jumping, collecting items, solving puzzles, or battling enemies? Define the actions and behaviors that players can perform in your game.
- Use scripting to bring your game mechanics to life. Roblox uses Lua, a simple and powerful scripting language, to enable interactivity in games. Learn the basics of scripting or find pre-made scripts in the Roblox Developer Hub to help you implement desired functionalities.
- Start by scripting basic actions like movement, jumping, and collisions. This will allow your players to navigate the game environment and interact with objects.
- Add more complex game mechanics as you progress. For example, if your game involves collecting items, script systems that track the number of collected items and trigger events when certain conditions are met.
- Include challenges and obstacles to create a sense of progression and difficulty in your game. This could involve scripting enemies, traps, or timed events. Balance these elements to ensure an enjoyable and fair gameplay experience.
- Implement scoring or point systems to reward players for their achievements. This can add a competitive element to your game, encouraging players to strive for higher scores or faster completion times.
- Iterate and playtest your game mechanics regularly. Test with different player perspectives to ensure they are balanced and provide a satisfying experience. Make adjustments as needed to improve gameplay flow.
- Consider adding additional features and bonus mechanics to surprise and entertain players. These can include power-ups, unlockable content, or secret areas. Be creative and think outside the box.
Adding game mechanics is a crucial step in creating an engaging and immersive experience for players. Take the time to plan and implement mechanics that align with your game’s theme and overall vision. With well-designed game mechanics, your Roblox game will come to life and provide hours of enjoyment for players.
Next, we’ll explore how to decorate and enhance your game with assets.
Step 6: Decorate Your Game with Assets
Now that your game mechanics are in place, it’s time to add visual flair and polish to your game using assets. Assets can include objects, textures, sound effects, and music that enhance the overall look and feel of your game. In this step, we’ll explore how to decorate your Roblox game with assets:
- Browse the Roblox Library or the Roblox Asset Marketplace for assets that suit your game’s theme and style. These assets are created by other Roblox developers and can be used to enhance your own game.
- Consider the environment and setting of your game. Are you creating a fantasy world, a futuristic city, or a cozy cottage? Choose assets that align with the visual aesthetic you have in mind.
- Place objects and props strategically throughout your game world. Use assets like trees, furniture, vehicles, or decorative items to add detail and create a realistic and immersive environment.
- Experiment with different textures and materials to give your game world variety and depth. Apply textures to surfaces, such as walls or floors, to add visual interest. You can find a wide range of textures in the Roblox Library or create your own.
- Incorporate lighting effects to create ambiance and set the mood of your game. Experiment with different lighting techniques, such as point lights or spotlights, to highlight important areas or create dramatic scenes.
- Add sound effects and music to enhance the overall audio experience of your game. Use assets from the Roblox Library or create your own unique sounds. Consider adding background music that complements the tone and style of your game.
- Test your game frequently to ensure that the assets blend well together and create a cohesive visual and auditory experience. Make adjustments as necessary to achieve the desired atmosphere and aesthetics.
- Don’t forget about the user interface (UI) elements of your game. Create UI assets, such as buttons, labels, or menus, to guide players through your game and provide a seamless user experience.
Decorating your game with assets is a creative process that allows you to bring your game world to life. Be mindful of the visual and auditory elements you choose, as they contribute to the overall immersion and enjoyment of your game.
With your game now beautifully decorated, it’s time to move on to the final step: testing and publishing your game.
Step 7: Testing and Publishing Your Game
After all the hard work you’ve put into creating and decorating your game, it’s crucial to thoroughly test it before sharing it with the world. Testing allows you to identify and fix any bugs or issues, ensuring a smooth and enjoyable gameplay experience for your players. Let’s dive into the final step: testing and publishing your Roblox game:
- Test your game locally within the Roblox Studio. Use the “Play” button to playtest your game and identify any gameplay or functionality issues. Pay close attention to player movement, object interactions, and overall performance.
- Invite friends or fellow Roblox developers to playtest your game and provide feedback. They can help identify any issues, suggest improvements, and give you a fresh perspective on the gameplay experience.
- Iterate on your game based on the feedback received. Address any bugs, adjust game mechanics, and make necessary improvements to enhance the overall gameplay experience.
- Once you’re confident in the stability and quality of your game, it’s time to publish it. Click on the “Publish to Roblox” button in the Roblox Studio to make your game available to players.
- Set appropriate game settings, such as game description, genre, and allowed player count. Choose relevant tags that will help players discover your game when searching in the Roblox platform.
- Consider creating an engaging and visually appealing thumbnail for your game. This will serve as the main image representing your game and can attract more players.
- Promote your game through social media, forums, or other Roblox communities to generate interest and attract players. Encourage friends and family to try out your game and leave reviews.
- Regularly monitor and respond to player feedback and reviews. This will help you understand the strengths and weaknesses of your game and make further improvements based on player input.
Remember, game development is an iterative process, and even after publishing, you can continue to update and improve your game based on player feedback and your own creative ideas.
Congratulations! You have successfully created, tested, and published your own game on the Roblox platform. It’s time to showcase your masterpiece and see the enjoyment it brings to players around the world.
Conclusion
Congratulations on completing this guide to creating a game on Roblox using a tablet! You’ve learned the essential steps to download the Roblox app, create a Roblox account, navigate the Roblox Studio, build your game, add game mechanics, decorate with assets, and test and publish your creation. Whether you’re a beginner or have some experience with game development, Roblox provides a user-friendly platform to bring your ideas to life.
Building your own game on Roblox can be an exciting and fulfilling experience. It allows you to unleash your creativity, explore game design principles, and share your creations with a vibrant community of players. Remember, game development is a continuous learning process, so don’t be afraid to experiment, iterate, and seek feedback.
By following the steps outlined in this guide, you’re well on your way to creating engaging and immersive experiences on Roblox. Whether you’re aiming to create a small mini-game or a sprawling multiplayer adventure, Roblox offers the tools and resources to turn your vision into reality. Keep refining your skills, learn from others, and continue to explore the vast possibilities that game development on Roblox has to offer.
Now, it’s time to unleash your imagination, get creative, and start building your own games on Roblox. Happy game development!