Introduction
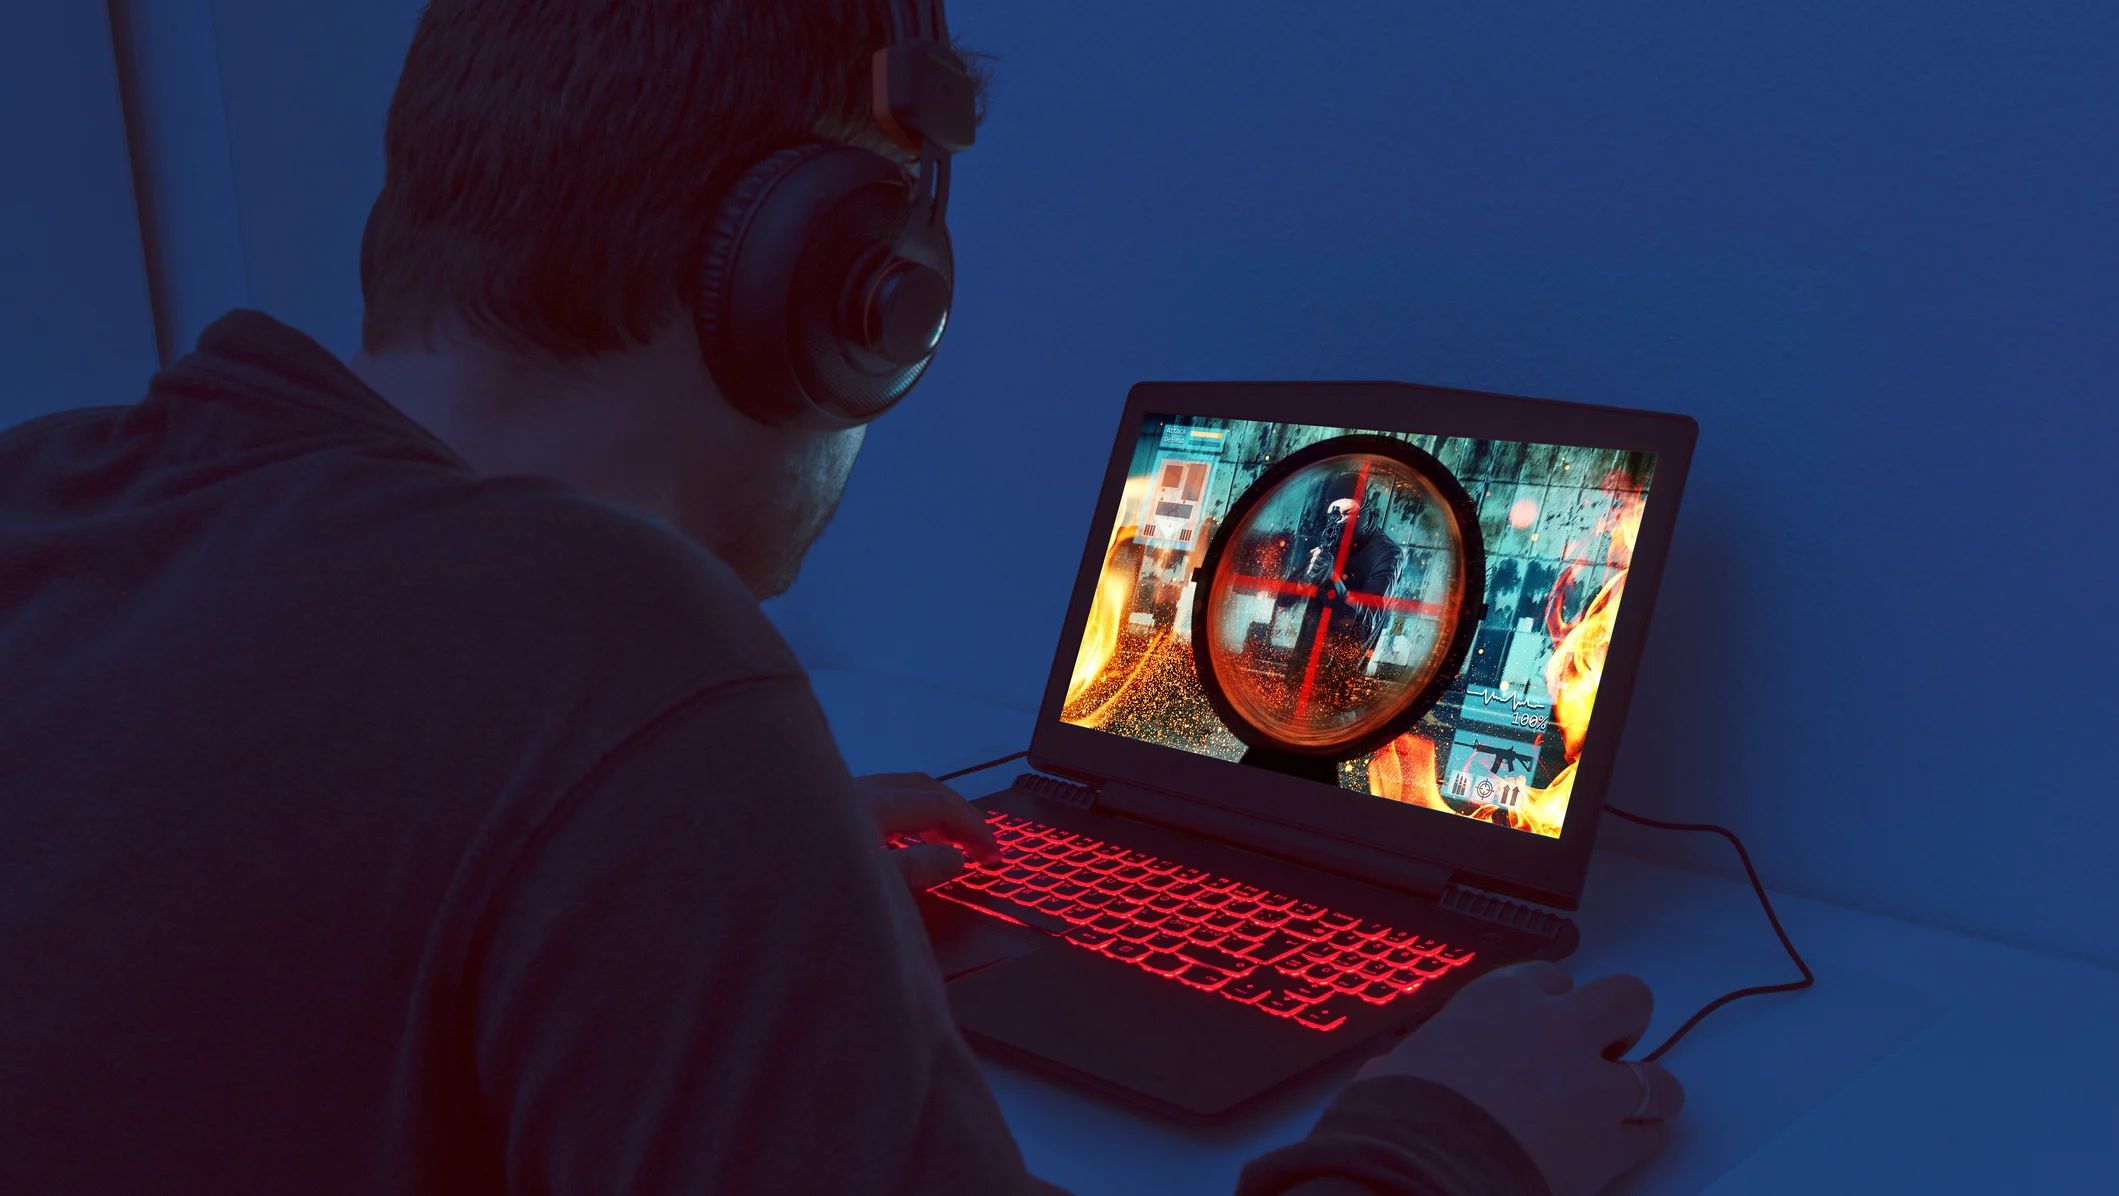
A laptop is a versatile tool that is essential for various activities, such as work, communication, and entertainment. While it may not have the same raw power as a dedicated gaming rig, it is still possible to transform your mediocre laptop into a gaming machine that can handle your favorite games with ease.
In this article, we will explore various methods and techniques to upgrade your laptop and enhance its gaming capabilities. By following these steps, you can maximize your laptop’s potential and enjoy a more immersive gaming experience without breaking the bank.
Before diving into the specific upgrades and optimizations, it’s important to assess your laptop’s hardware and determine its limitations. Keep in mind that not all laptops are created equal, and some may have limitations that cannot be overcome with simple upgrades.
First, check the specifications of your laptop, including the processor, RAM, graphics card, and storage capacity. This will give you an idea of the baseline performance and help you determine which areas need improvement. Additionally, consider the age and condition of your laptop, as older models may not support certain upgrades.
Once you have a clear understanding of your laptop’s capabilities, you can begin the upgrading process. However, it’s important to note that while these upgrades can enhance your laptop’s gaming performance, they will not completely transform it into a high-end gaming machine. Nonetheless, they will significantly improve your gaming experience on a modest budget.
So, if you’re ready to unleash the hidden gaming potential of your laptop, read on to discover the steps and upgrades you can undertake to turn your average laptop into a gaming powerhouse.
Assessing Your Laptop’s Hardware
Before embarking on the journey of transforming your laptop into a gaming machine, it is essential to assess the current hardware capabilities of your device. Understanding the limitations of your laptop will help you make informed decisions regarding the upgrades and optimizations needed to enhance its gaming performance.
Start by checking the specifications of your laptop, including the processor, RAM, graphics card, and storage capacity. These components play a crucial role in determining the gaming capabilities of your device.
The processor, also known as the CPU (Central Processing Unit), is responsible for executing instructions and performing calculations. A powerful processor can handle the demanding computational tasks required by modern games. However, older laptops may have slower processors, limiting the performance of CPU-intensive games.
The amount and speed of the RAM (Random Access Memory) also have a significant impact on gaming performance. Insufficient RAM can lead to frequent stutters, lags, and crashes while playing games. Ideally, a minimum of 8GB of RAM is recommended for smooth gaming, but upgrading to 16GB or more can further enhance performance.
The graphics card, or GPU (Graphics Processing Unit), is a crucial component for gaming. It is responsible for rendering and displaying graphics in games. Integrated graphics found in many laptops may struggle to handle graphically demanding games. Assessing the capabilities of your current GPU will help you determine if an upgrade is necessary for a smoother gaming experience.
Storage capacity and speed can impact loading times and overall system performance. Upgrading to a Solid-State Drive (SSD) can significantly enhance your laptop’s performance by reducing game load times and improving overall system responsiveness.
In addition to the hardware specifications, consider the age and condition of your laptop. Older models may have limited upgrade options or may not support certain hardware upgrades.
Once you have a clear understanding of your laptop’s current hardware limitations, you can make informed decisions on which components to upgrade. Upgrading the RAM, switching to an SSD, and improving the graphics card are common upgrades that can greatly enhance your laptop’s gaming capabilities.
Remember, working with hardware can be challenging, so if you are unsure or uncomfortable performing the upgrades yourself, it is advisable to seek professional help or consult the laptop manufacturer’s documentation for compatibility and upgrade options.
Now that you have assessed your laptop’s hardware, let’s move on to the next steps of upgrading and optimizing your laptop for improved gaming performance.
Upgrading RAM for Increased Performance
One of the most effective and affordable ways to boost your laptop’s gaming performance is by upgrading its RAM (Random Access Memory). The RAM plays a crucial role in game performance, as it determines how much data can be stored and accessed by the processor at any given time.
Assessing your laptop’s current RAM capacity is the first step. Check how much RAM is currently installed in your laptop and compare it to the requirements of the games you wish to play. If your laptop has less than 8GB of RAM, upgrading to 8GB or more can make a noticeable difference in game performance.
Upgrading your laptop’s RAM is relatively simple and does not require advanced technical skills. However, it is important to ensure compatibility between the new RAM module and your laptop’s motherboard. Consult your laptop’s user manual or manufacturer’s website for information on the supported RAM specifications.
To upgrade your laptop’s RAM, follow these steps:
- Turn off your laptop and unplug it from the power source.
- Locate the RAM compartment cover on the bottom of your laptop. It is usually secured with screws.
- Remove the screws and carefully take off the cover.
- Locate the RAM slots. Depending on your laptop, there may be one or multiple slots.
- Gently release the clips securing the RAM module(s) in place.
- Remove the old RAM module(s) by pulling them out at a 45-degree angle.
- Insert the new RAM module(s) by aligning the notch on the module with the slot and pushing it in at a 45-degree angle until it clicks into place.
- Secure the module(s) by pushing them down until the clips lock into place.
- Replace the RAM compartment cover and secure it with the screws.
- Power on your laptop and check if the new RAM is recognized. You can do this by opening the system properties or using software tools like CPU-Z.
Once the new RAM is installed, you should notice improvements in game loading times, smoother gameplay, and reduced lag. More RAM allows your laptop to access and store more data, which can prevent slowdowns and optimize game performance.
It is also worth mentioning that upgrading your RAM can improve overall system performance beyond gaming. Multitasking and running resource-intensive applications will become smoother and more efficient.
While upgrading RAM can have a significant impact on gaming performance, it is important to note that it is only one aspect of optimizing your laptop for gaming. In the following sections, we will explore additional upgrades and optimizations to further enhance your gaming experience.
Switching to an SSD for Faster Loading Times
If you’re tired of long loading times in your favorite games, upgrading from a traditional hard drive to a Solid-State Drive (SSD) can make a world of difference. An SSD offers significant performance improvements, not only in gaming but also in overall system responsiveness.
Unlike traditional hard drives, SSDs use flash memory technology, which allows for much faster data access speeds. This means that games installed on an SSD will load faster, reducing waiting times and getting you into the action more quickly.
Switching to an SSD involves migrating your operating system and game files from the existing hard drive to the new SSD. Here is a step-by-step guide to help you with the process:
- Backup your important files and data to an external storage device.
- Choose the right SSD for your laptop by considering factors such as capacity, performance, and budget.
- Shutdown your laptop, unplug it from the power source, and remove the back panel.
- Locate the existing hard drive and disconnect the SATA data and power cables.
- Remove the hard drive from its bay or slot by unscrewing it or releasing any securing brackets.
- Insert the new SSD into the empty bay or slot, making sure it is securely connected.
- Reattach the SATA data and power cables to the SSD.
- Replace the back panel and secure it with the screws.
- Boot up your laptop and install the operating system on the SSD using a USB installation drive or cloning software.
- Transfer your games and other files from the old hard drive to the new SSD. You can use file transfer software or manually copy and paste the files.
Once the SSD is installed and all the necessary files have been transferred, you will immediately notice faster loading times when launching games. Load screens will be shorter, and you’ll spend less time waiting and more time playing.
In addition to faster loading times, SSDs also offer benefits such as improved system startup speed, faster file transfers, and reduced power consumption. Overall, the switch to an SSD can greatly enhance your laptop’s performance for both gaming and everyday tasks.
It’s important to note that while SSDs are more expensive than traditional hard drives, the price per gigabyte has decreased significantly in recent years. Consider the capacity you need and shop around for the best deals to find an SSD that fits your budget.
Switching to an SSD is a highly recommended upgrade for any laptop user, especially for gamers who want to optimize their gaming experience. With faster loading times, you’ll be able to jump into your favorite games without delay and enjoy a smoother and more immersive gameplay experience.
Upgrading the Graphics Card for Better Gaming Experience
When it comes to gaming performance, the graphics card (GPU) plays a crucial role. Upgrading your laptop’s graphics card can significantly enhance your gaming experience by allowing for smoother gameplay, better visuals, and improved frame rates.
However, it’s important to note that not all laptops have upgradable graphics cards. Many laptops, especially thinner and more compact models, come with integrated graphics that are integrated into the motherboard and cannot be upgraded. If your laptop has a dedicated graphics card that can be upgraded, you can follow the steps below.
Here is a step-by-step guide to upgrading your laptop’s graphics card:
- Research and select a compatible graphics card for your laptop. Check the manufacturer’s website or consult the laptop’s user manual for the supported graphics card options.
- Before proceeding, make sure to back up all your important files and create a system restore point to revert any changes if needed.
- Shutdown your laptop and unplug it from the power source.
- Remove the laptop’s back panel and locate the current graphics card.
- Disconnect any cables or connectors connected to the graphics card.
- Gently remove the old graphics card from the slot, keeping an eye out for any securing mechanisms or screws that need to be undone.
- Insert the new graphics card into the slot, ensuring it is properly aligned. Carefully press it down until it is securely seated.
- Reconnect any cables or connectors that were previously connected to the old graphics card.
- Replace the back panel, screw it in place, and make sure it is secure.
- Power on your laptop and install the latest drivers for the new graphics card. You can find the drivers on the manufacturer’s website.
Upgrading your graphics card can have a significant impact on gaming performance. With a more powerful graphics card, you’ll be able to run games at higher settings, achieve smoother frame rates, and enjoy improved visual quality. This can make a noticeable difference, especially in newer, more demanding games.
However, it’s important to consider the limitations of your laptop’s cooling system. Upgrading to a more powerful graphics card can generate more heat, which may lead to increased temperatures and possible thermal throttling. Ensure that your laptop’s cooling system is adequate to handle the new graphics card’s thermal requirements, as overheating can affect performance and potentially damage your laptop.
It’s worth mentioning that graphics card upgrades may not be possible or practical for all laptops. In some cases, the graphics card may be soldered onto the motherboard, making it non-upgradable. If your laptop falls into this category, consider other optimization methods, such as upgrading RAM or switching to an SSD, to improve gaming performance.
By upgrading your laptop’s graphics card, you can elevate your gaming experience and enjoy more visually stunning and immersive gameplay. Just make sure to research compatibility and consider any limitations or cooling requirements of your laptop before proceeding with the upgrade.
Overclocking the CPU for Improved Speed
If you’re looking to squeeze out even more performance from your laptop, overclocking the CPU (Central Processing Unit) can provide a significant boost in speed and responsiveness. Overclocking involves increasing the clock speed of your CPU beyond its factory settings, allowing it to process instructions and perform tasks at a faster rate.
Before you begin overclocking, it’s essential to understand the risks involved. Overclocking puts additional stress on the CPU, resulting in increased heat generation. This can potentially lead to overheating and instability if not properly managed. Additionally, not all laptops support CPU overclocking due to system limitations or locked BIOS settings.
If you decide to proceed with overclocking, follow these general steps:
- Research your laptop’s CPU and its overclocking potential. Check forums, websites, and user guides specific to your laptop model for information on safe overclocking limits and recommended settings.
- Download a reliable CPU monitoring tool, such as HWMonitor or Core Temp, to monitor temperature and voltage during overclocking.
- Access your laptop’s BIOS settings by restarting your laptop and pressing the designated key during startup (usually displayed as a prompt on the screen).
- Locate the CPU settings in the BIOS menu. Look for options related to clock speed, voltage, and multiplier.
- Incrementally increase the clock speed or multiplier by small increments (e.g., 100MHz or 0.1x) and test for stability by running benchmark tests or stress tests.
- If your laptop becomes unstable or exhibits signs of overheating, revert to the previous settings or decrease the clock speed/multiplier.
- Continue this process of increasing the clock speed/multiplier and testing for stability until you reach a satisfactory level of performance or the maximum stable overclock.
- Monitor the CPU temperature closely during overclocking and ensure it stays within safe limits. If temperatures are too high, consider improving your laptop’s cooling system with additional cooling pads or external cooling solutions.
- Save your settings in the BIOS and restart your laptop to apply the overclock.
- Monitor your laptop’s performance during regular usage and gaming to ensure stability and evaluate the benefits of overclocking.
Overclocking can lead to significant performance gains, resulting in faster application launches, improved multitasking, and better gaming performance. However, it’s essential to strike a balance between performance and stability. Pushing the CPU too hard can result in system crashes, freezes, or even permanent damage if not done carefully.
Remember that every laptop and CPU is unique, and the overclocking potential will vary. It’s crucial to research your specific laptop model and CPU to ensure safe and effective overclocking without compromising the stability and longevity of your laptop.
If you are uncomfortable with or unsure about overclocking your laptop’s CPU, it’s best to avoid it and focus on other methods of optimizing your gaming experience, such as upgrading RAM, switching to an SSD, or optimizing game settings.
Now that you have an understanding of CPU overclocking, let’s move on to optimizing Windows settings for even better gaming performance.
Optimizing Windows Settings for Gaming
Windows provides various settings and features that can be optimized to enhance your laptop’s gaming performance. By fine-tuning these settings, you can ensure that your laptop is running at its best while gaming. Here are some tips to optimize Windows settings for gaming:
- Update Windows: Keeping your operating system up to date is crucial for optimal performance and security. Make sure to install the latest Windows updates to benefit from bug fixes and performance improvements.
- Game Mode: Windows 10 offers a built-in Game Mode that optimizes the system resources for gaming. To enable Game Mode, go to Settings > Gaming > Game Mode and toggle it on.
- Power Plan: Adjusting the power plan settings can have a significant impact on gaming performance. Selecting the High-Performance power plan in the Power Options settings can ensure that your laptop delivers maximum performance while gaming. You can access the power plan settings by right-clicking the battery icon in the system tray and selecting Power Options.
- Disable unnecessary background processes: Closing unnecessary background processes and applications can free up system resources and improve gaming performance. Use the Task Manager (Ctrl + Shift + Esc) to identify resource-intensive processes and close them.
- Visual effects: Adjusting the visual effects of Windows can help allocate more system resources to gaming. Go to Control Panel > System and Security > System > Advanced system settings. Under the Performance section, click on Settings and select the “Adjust for best performance” or manually customize the visual effects settings to prioritize performance over visual aesthetics.
- Disable Windows notifications: Notifications can interrupt gameplay and cause performance hiccups. Temporarily disable notifications during gaming by enabling Focus Assist in the Action Center or by going to Settings > System > Focus Assist.
- Uninstall unnecessary programs: Removing unnecessary software and applications can free up storage space and improve system performance. Uninstall programs that you no longer use or need through the Control Panel or Settings app.
- Optimize in-game settings: Each game has its own graphics settings that can be adjusted for optimal performance. Experiment with the graphics settings within games to find the right balance between visuals and performance.
- Driver updates: Keeping your graphics card and other drivers up to date is essential for optimal gaming performance. Visit the manufacturer’s website or use driver update software to ensure you have the latest drivers installed.
- Game-specific optimizations: Some games come with optimization guides or configuration files that can be modified to improve performance. Check the game’s official forums or community websites for specific tweaks and recommendations.
By implementing these optimizations, you can maximize your laptop’s potential for gaming. However, it’s important to note that the impact of these optimizations may vary depending on your laptop’s hardware and the specific games you are playing.
Experimenting with these settings and finding the right balance for your system will help you achieve smoother gameplay, reduced lag, and an overall improved gaming experience.
Now that you have optimized your Windows settings for gaming, let’s explore cooling solutions to prevent overheating during intense gaming sessions.
Cooling Solutions to Prevent Overheating
Overheating is a common issue when gaming on a laptop, as intense gameplay can put a significant strain on the system’s cooling capabilities. Continuous high temperatures can lead to reduced performance, system instability, and even irreversible damage to components. To prevent overheating and ensure optimal performance, here are some cooling solutions you can implement:
- Elevate your laptop: Placing your laptop on a cooling pad or an elevated surface allows for increased airflow underneath the device. This helps dissipate heat more effectively and prevents overheating.
- Clean the cooling vents and fans: Over time, dust and debris can accumulate in the cooling vents and fans, obstructing airflow and causing overheating. Regularly clean these components using compressed air or a soft brush to remove any build-up and maintain proper airflow.
- Use a laptop cooling pad: Cooling pads are equipped with built-in fans that help cool down your laptop during gaming sessions. These pads provide additional airflow and can reduce temperatures effectively.
- Consider undervolting: Undervolting is a technique that involves reducing the voltage supplied to the CPU, which can decrease heat generation. Undervolting should be done cautiously and with proper guidance, as an improperly configured undervolt can lead to system instability.
- Optimize fan settings: Some laptops allow you to adjust the fan settings in the BIOS or through dedicated software. Increasing the fan speed or setting the cooling mode to “Performance” can help keep temperatures in check during intense gaming sessions.
- Avoid gaming on surfaces that trap heat: Playing games on fabric surfaces or soft materials can obstruct airflow and lead to overheating. Opt for hard, flat surfaces that allow better heat dissipation.
- Monitor temperatures: Install temperature monitoring software, such as HWMonitor or Core Temp, to keep an eye on your laptop’s temperatures while gaming. If temperatures consistently reach critical levels, take appropriate action to address the issue.
- Manage ambient temperature: Gaming in a cool environment can help reduce the strain on your laptop’s cooling system. Ensure that the room temperature is not excessively high and consider using air conditioning or fans to maintain a cooler environment.
- Limit background processes: Closing unnecessary applications and processes running in the background can reduce the CPU and GPU workload, resulting in lower temperatures and improved cooling.
- Consider professional cleaning and maintenance: If your laptop continues to experience overheating issues despite your best efforts, it may be beneficial to seek professional help. A professional technician can clean the internal components, replace thermal paste, and ensure that the cooling system is functioning optimally.
Implementing these cooling solutions can help prevent overheating and keep your laptop running at its best during gaming sessions. Remember, maintaining proper cooling not only improves performance and longevity but also contributes to a more comfortable gaming experience with reduced system noise.
Now that we have explored cooling solutions, let’s dive into utilizing external accessories for an enhanced gaming experience.
Utilizing External Accessories for Enhanced Gaming
When it comes to gaming on a laptop, external accessories can greatly enhance the gaming experience by providing additional functionality, convenience, and comfort. Whether you’re looking for improved control, immersive audio, or extended display options, utilizing external accessories can take your gaming setup to the next level. Here are some accessories you may consider:
- Gaming Mouse: A gaming mouse offers better precision, responsiveness, and customization options compared to a standard mouse. Look for a mouse with adjustable DPI settings, programmable buttons, and ergonomic design for an improved gaming experience.
- Gaming Keyboard: Gaming keyboards usually have features like mechanical key switches, customizable backlighting, macro keys, and anti-ghosting capabilities. These features enhance typing and provide a more immersive gaming experience.
- External Monitor: Connecting your laptop to an external monitor provides a larger display, better viewing angles, and higher refresh rates, resulting in a more immersive gaming experience. Make sure to choose a monitor with suitable specifications for gaming, such as a high refresh rate and low response time.
- Gaming Headset: A gaming headset with high-quality audio and built-in microphone can provide immersive sound, clear communication, and noise isolation, enhancing the overall gaming experience.
- External Speakers: If you prefer using speakers for gaming, external speakers can offer improved audio quality, better bass response, and immersive surround sound, allowing you to fully immerse yourself in the game’s audio.
- Gamepad or Controller: Using a gamepad or gaming controller can provide a more intuitive and comfortable gaming experience, especially for games that are designed for console gaming. Look for a controller that is compatible with your laptop’s operating system and supports the games you play.
- Laptop Cooling Pad: A laptop cooling pad with additional fans can help keep your laptop cool during intense gaming sessions, preventing overheating and maintaining optimal performance.
- External Storage: An external hard drive or SSD can provide additional storage space for your games, allowing you to install and store more games without sacrificing the performance of your laptop’s internal storage.
- Wireless Gaming Router: For online gaming, a reliable and high-speed wireless gaming router can minimize lag and provide a stable connection. Look for a router that supports the latest Wi-Fi standards and has features like Quality of Service (QoS) for prioritizing gaming traffic.
Each of these accessories can enhance specific aspects of your gaming experience. Choose the ones that align with your gaming preferences and budget. It’s important to ensure compatibility with your laptop and to research and read reviews to find the best fit for your needs.
Remember that while these accessories can enhance the gaming experience, the foundation of a smooth gaming experience lies in a well-configured laptop and optimized settings. Ensure that your laptop is equipped with suitable hardware and has been optimized for gaming before exploring external accessories.
By utilizing external accessories, you can transform your laptop into a powerful gaming setup, ensuring that you have all the tools necessary to fully enjoy your gaming adventures.
Now that we have explored external accessories, let’s dive into software tweaks and tips to maximize gaming performance.
Software Tweaks and Tips to Maximize Performance
In addition to hardware upgrades and external accessories, there are several software tweaks and tips that can further maximize your laptop’s gaming performance. From optimizing game settings to utilizing performance-enhancing software, these tips can help you squeeze out every bit of power from your laptop. Here are some software tweaks and tips to consider:
- Update Graphics Drivers: Keeping your graphics card drivers up to date is essential for optimal gaming performance. Visit the manufacturer’s website to download and install the latest drivers for your specific graphics card model.
- Modify In-Game Settings: Adjusting the graphics settings within games can have a significant impact on performance. Experiment with lowering settings such as texture quality, shadow quality, anti-aliasing, and post-processing effects to achieve a better balance between visuals and performance.
- Close Unnecessary Background Applications: Closing unnecessary programs and applications running in the background can free up system resources, reducing the workload on your laptop and improving gaming performance. Use the Task Manager to identify and close resource-intensive processes.
- Disable Visual Effects: Disabling unnecessary visual effects in Windows can improve gaming performance. Go to Control Panel > System and Security > System > Advanced system settings. Under the Performance section, click on Settings and select “Adjust for best performance” or manually customize visual effects for optimal performance.
- Use Performance-Enhancing Software: There are various software solutions available that can enhance gaming performance, such as game boosters or performance optimization tools. These software utilities can help allocate system resources, close unnecessary background processes, and optimize game settings for improved performance.
- Manage Virtual Memory: Adjusting the virtual memory settings on your laptop can help improve gaming performance. Increase the virtual memory allocation or enable automatic management to ensure that your laptop has enough memory resources to handle demanding games.
- Disable Automatic Updates: Automatic updates from Windows and other software can interrupt gameplay and cause performance drops. Consider disabling automatic updates during your gaming sessions to prevent sudden interruptions.
- Defragment and Optimize Hard Drive: Fragmented files on your hard drive can impact loading times and overall system performance. Regularly defragment and optimize your hard drive using built-in Windows tools or third-party software to improve data access speeds.
- Scan for Malware and Viruses: Malware and viruses running in the background can severely impact gaming performance. Regularly scan your laptop with a reliable antivirus software to detect and remove any malicious programs that may be affecting performance.
- Optimize Network Settings: Gaming online requires a stable and fast internet connection. As such, optimizing your network settings can help reduce latency and improve overall gaming performance. Consider adjusting router settings, disabling QoS for non-gaming activities, or using a wired Ethernet connection for maximum stability.
Implementing these software tweaks and tips can help fine-tune your laptop’s performance, optimizing it specifically for gaming. Combine these software optimizations with the hardware upgrades and external accessories mentioned earlier for a comprehensive approach to maximizing your gaming experience.
Remember to regularly check for updates, both for your games and the software running on your laptop, as developers often release performance optimizations and bug fixes that can further improve your gaming experience.
Now that you’ve learned about various software tweaks and tips, it’s time to wrap up this guide on transforming your laptop into a gaming machine. With the right upgrades, optimizations, and accessories, you can enjoy an enhanced gaming experience without having to invest in a brand-new gaming rig.
Conclusion
Transforming your ordinary laptop into a gaming powerhouse is entirely possible with the right upgrades, optimizations, and accessories. By carefully assessing your laptop’s hardware, upgrading components like RAM and the graphics card, switching to an SSD, overclocking the CPU, optimizing Windows settings, implementing cooling solutions, utilizing external accessories, and applying software tweaks, you can significantly enhance your gaming experience.
Upgrading your laptop’s RAM and switching to an SSD will improve performance and reduce loading times, while upgrading the graphics card and overclocking the CPU will provide better visuals and faster processing speeds. Optimizing Windows settings, managing cooling solutions, and incorporating external accessories will boost gaming comfort and immersion. Additionally, applying software tweaks will fine-tune system performance and maximize the efficiency of your laptop.
Remember to research compatibility and seek professional help if needed, especially when performing hardware upgrades. Monitor temperatures and ensure that your laptop remains cool during extended gaming sessions to prevent overheating and maintain optimal performance. Regularly update your drivers, scan for malware, and keep your software up to date to benefit from the latest performance improvements and optimizations.
By implementing these strategies and techniques, you can take your laptop gaming experience to new heights without breaking the bank. While your laptop may not rival a high-end gaming rig, it will provide a capable and enjoyable gaming experience for a fraction of the cost.
So, unleash your laptop’s true potential, dive into your favorite games, and immerse yourself in the world of gaming with your newly transformed gaming laptop.


