Introduction
Welcome to our guide on how to lock a channel in Slack!
Slack is a powerful communication and collaboration tool used by businesses and teams across the globe. With its intuitive interface and extensive features, Slack helps streamline communication, increase productivity, and foster effective teamwork. One important aspect of managing channels in Slack is the ability to lock them.
But what exactly does it mean to “lock” a channel? Locking a channel restricts who can access and contribute to it, ensuring that only authorized members can participate in the conversation. This can be particularly useful for sensitive or confidential discussions, allowing teams to maintain privacy and control over their communications.
In this guide, we will walk you through the process of locking a channel in Slack. Whether you need to secure a channel for confidential projects, limit participation to specific team members, or create a designated space for announcements, locking a channel can help you achieve your goals.
We will provide you with step-by-step instructions on how to lock a channel, as well as additional tips for effectively managing locked channels in Slack. By the end of this guide, you will have the knowledge and confidence to safeguard your channels and promote secure communication within your team.
So, let’s dive in and explore the world of channel locks in Slack!
Getting started with Slack
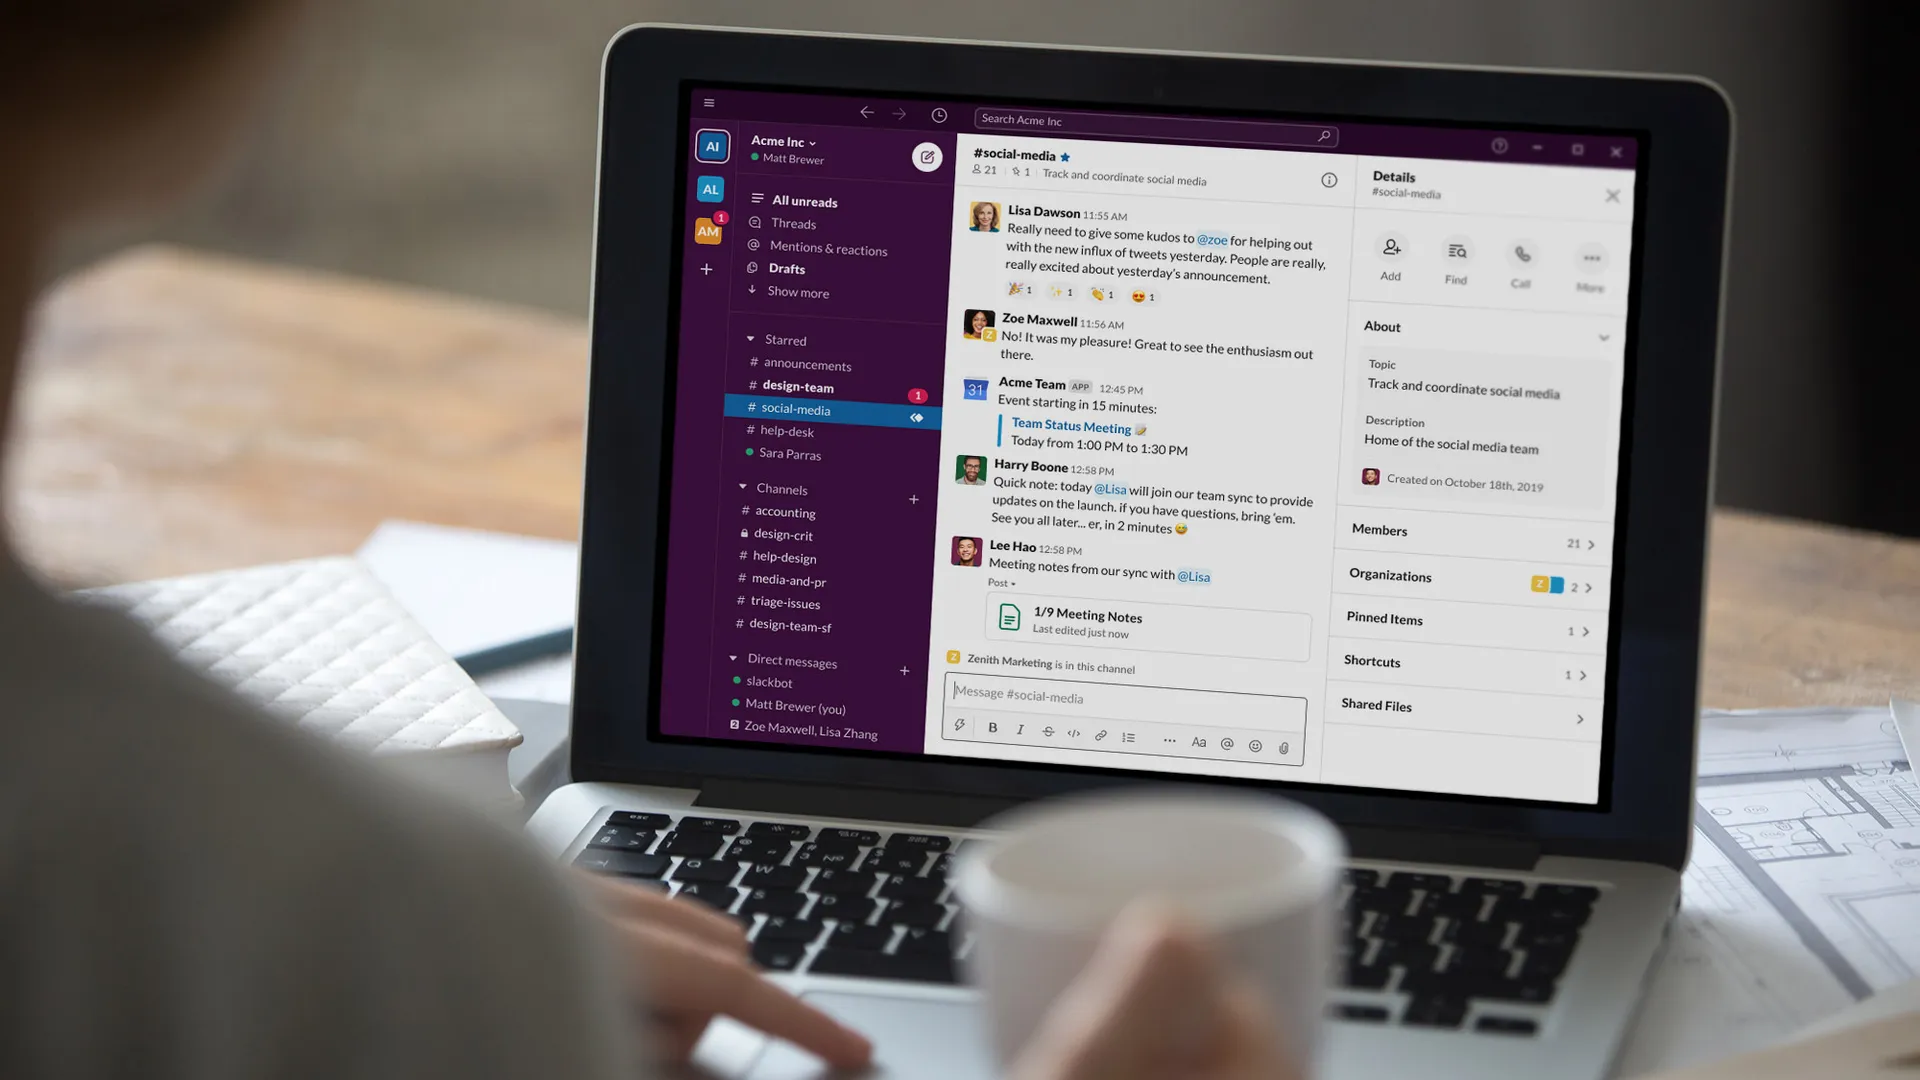
If you’re new to Slack or need a refresher, this section will provide you with an overview of the platform and its key features.
Slack is a cloud-based collaboration tool that allows teams to communicate, share files, and collaborate in real-time. With its user-friendly interface and extensive integrations, Slack has become a popular choice for businesses of all sizes.
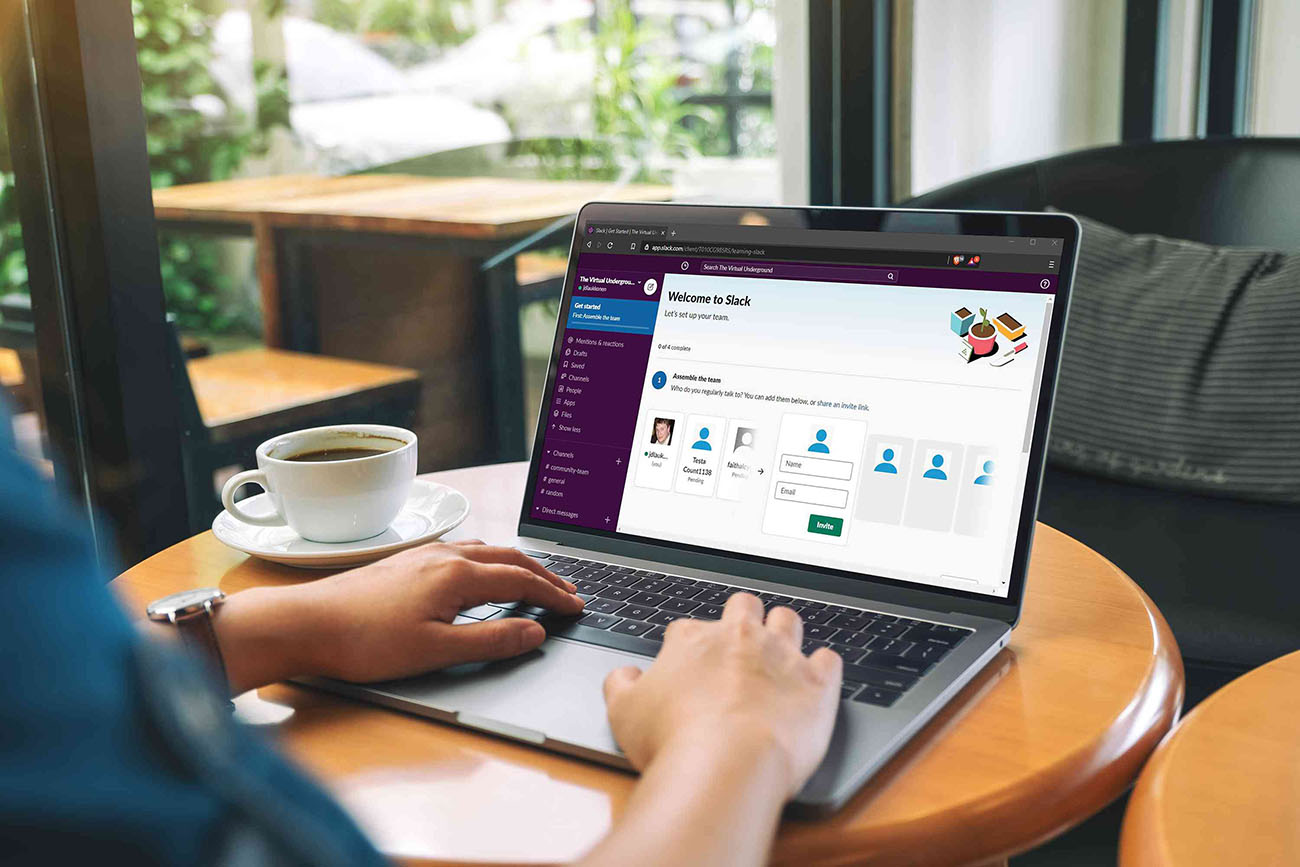
When you first sign up for Slack, you’ll need to create a workspace. A workspace is the shared environment where your team members can collaborate and communicate. Once you have your workspace set up, you can start creating channels.
Channels are the building blocks of communication in Slack. They serve as dedicated spaces for specific topics, projects, or teams. By organizing conversations into channels, you can easily find and access relevant discussions without cluttering the main workspace.
In addition to channels, Slack offers various communication methods, such as direct messages and group messages. Direct messages allow you to have private conversations with individual team members, while group messages enable you to communicate with multiple people at once.
Slack also supports file sharing and integration with popular tools and services like Google Drive, Trello, and Dropbox. This seamless integration allows you to collaborate on documents, share updates, and automate workflows within the Slack platform.
Furthermore, Slack offers a wide range of customization options to tailor your workspace to your team’s preferences. You can change themes, set notification preferences, and choose from a variety of apps and bots to enhance productivity and simplify tasks.
Now that you have a basic understanding of Slack and its features, let’s explore how you can leverage channel locks to create secure and controlled communication spaces in the next section.
What is a channel lock?
A channel lock in Slack refers to the feature that allows you to restrict access and participation in a specific channel. When you lock a channel, only authorized members can view and contribute to the conversations within that channel.
By implementing channel locks, you can ensure that sensitive discussions, confidential information, or important announcements are kept private and accessible only to the intended audience.
When a channel is locked, users who are not members of that channel won’t be able to join or see the content within it. This helps maintain confidentiality, prevent unauthorized access, and keep the channel focused on its designated purpose.
The channel lock feature is particularly useful in scenarios where you need to limit participation to a specific group of individuals. For example, if you’re working on a project with a cross-functional team that comprises members from different departments, you can lock the channel to only include those team members. This way, you can ensure that discussions remain relevant and confidential among the project stakeholders.
Additionally, channel locks can be beneficial for creating announcement channels, where only designated individuals or teams have the ability to post messages. You can lock the channel and assign specific users the permission to share updates, ensuring that important information reaches the intended recipients while maintaining control over the channel’s content.
Furthermore, channel locks can help prevent spam, unwanted messages, or off-topic discussions within a particular channel. By limiting access to authorized members, you minimize the risk of distractions and ensure that the conversations remain focused and relevant.
Now that you understand the concept of channel locks in Slack and their benefits, let’s proceed to the next section to learn how to lock a channel in Slack.
Benefits of locking a channel
Locking a channel in Slack offers several advantages that can greatly enhance your team’s communication and collaboration. Let’s explore some of the key benefits of using channel locks:
1. Enhanced privacy and security: By locking a channel, you can ensure that only authorized members have access to the conversations and content within. This helps maintain privacy, protect sensitive information, and minimize the risk of unauthorized individuals gaining access to confidential discussions.
2. Controlled communication: Channel locks enable you to control who can participate in a specific channel. This is especially useful in scenarios where you want to limit participation to a specific group of team members or stakeholders. By ensuring that only relevant individuals have access, you can maintain focus, confidentiality, and relevance within the channel.
3. Preventing distractions and noise: Locked channels can help reduce noise and distractions by limiting participation to authorized members. By preventing unauthorized users from joining the conversation, you can maintain a more focused and productive environment within the channel.
4. Centralized announcements: Locking a channel can be particularly valuable for creating designated announcement channels. By restricting posting privileges to specific individuals or teams, you can ensure that important updates and announcements reach the intended recipients without being overshadowed by unrelated discussions.
5. Compliance and regulatory requirements: For organizations that handle sensitive data or operate in regulated industries, channel locks can assist in meeting compliance and regulatory requirements. By controlling access and participation, you can ensure that conversations adhere to necessary guidelines and protocols.
6. Streamlined project collaboration: Locking channels can be beneficial for project-specific discussions. By restricting access to only the project team members, you can ensure that conversations, files, and updates are shared within an exclusive space, promoting efficient collaboration and information sharing.
These are just a few examples of the benefits that channel locks in Slack can provide. Now that you understand the advantages, let’s move on to the next section, where we’ll guide you through the process of locking a channel in Slack.
How to lock a channel in Slack
Locking a channel in Slack is a straightforward process that can be done within the channel settings. Follow the steps below to lock a channel:
Step 1: Open the Slack desktop or web app
Launch the Slack app on your desktop or open it in your web browser and log in to your workspace.
Step 2: Choose the channel you want to lock
Select the channel from the left sidebar where you want to enable the lock.
Step 3: Click on the channel name or settings icon
In the channel header at the top, click on the channel name or the “More” settings icon (represented by three vertical dots).
Step 4: Select “Edit Channel Details”
In the dropdown menu, choose the “Edit Channel Details” option. This will open the channel settings.
Step 5: Enable “Only allow messages from members to this channel”
Scroll down to the “Permissions” section in the channel settings. Toggle on the switch for “Only allow messages from members to this channel”.
Step 6: Save the changes
Click the “Save” button at the bottom of the channel settings to apply the changes and lock the channel.
Voila! You have successfully locked the channel.
Please note that once a channel is locked, only members of the channel will be able to view and contribute to the conversations. Non-members will no longer have access to the channel or its content.
Remember, as the channel owner or admin, you have the ability to manage the access and membership of the locked channel. You can add or remove members, adjust permissions, and control who can join the channel to ensure it remains secure and controlled.
Now that you know how to lock a channel, let’s explore some additional tips for managing locked channels effectively in the next section.
Step 1: Open the Slack desktop or web app
The first step in locking a channel in Slack is to open the Slack desktop or web app. Follow the instructions below to get started:
- If you are using the Slack desktop app, locate the app icon on your computer and double-click to launch it. If you prefer to use the web app, open your preferred web browser (such as Google Chrome or Mozilla Firefox) and go to the Slack website.
- Once you have opened the Slack app or the website, you will need to log in to your workspace. Enter your workspace URL or select the appropriate workspace from the list, and then enter your login credentials (email address and password).
- After successfully logging in, you will be directed to the Slack main interface, where you can see all your channels, direct messages, and other relevant information.
It is important to ensure that you have the correct permissions to lock a channel. Typically, workspace owners, administrators, or members with specific channel management privileges will have the ability to lock a channel. If you do not have the necessary permissions, you may need to reach out to a workspace administrator or owner to assist you.
Now that you have opened Slack, you are ready to proceed to the next step and select the channel you want to lock. Continue reading to learn more.
Step 2: Choose the channel you want to lock
Once you have opened the Slack desktop or web app and logged into your workspace, it’s time to select the channel that you want to lock. Follow the steps below:
- Look at the left sidebar of the Slack interface. You will see a list of channels under the “Channels” section. Scroll through the list to find the channel you want to lock.
- Click on the channel name to select it. The channel will be highlighted, indicating that it is currently active.
If you have a long list of channels and find it difficult to locate the specific channel you want to lock, you can use the search function at the top of the left sidebar. Simply type in keywords or the channel name, and Slack will filter the results, making it easier to find the desired channel.
It’s important to note that only members with the necessary permissions can lock a channel. As a user, ensure that you have the appropriate privileges to access the channel settings and lock it. If you don’t have the required permissions, you may need to reach out to a workspace administrator or owner for assistance.
Now that you have selected the channel you want to lock, let’s move on to the next step, which involves accessing the channel settings. Continue reading to learn more.
Step 3: Click on the channel name or settings icon
After choosing the channel you want to lock in Slack, the next step is to access the channel settings. Follow the instructions below:
- Look at the channel header, located at the top of the Slack interface. You will see the channel name and other relevant information.
- To access the channel settings, click on the channel name itself. Alternatively, you can also click on the settings icon, represented by three vertical dots, located beside the channel name.
When you click on the channel name or the settings icon, a dropdown menu will appear with various options and settings related to the selected channel.
If you click on the channel name, it will display additional information about the channel, such as the purpose, member list, pinned messages, and more. This additional information can help you better understand the channel’s context and purpose.
If you click on the settings icon, the dropdown menu will provide you with a range of options for managing the channel, including editing the channel details, changing settings, and more.
It’s important to note that only members with the appropriate permissions can access the channel settings and make changes. If you do not have the necessary privileges, you may need to seek assistance from a workspace administrator or owner.
Now that you have successfully accessed the channel settings, you are one step closer to locking the channel. In the next step, we will guide you through the process of editing the channel details to enable the lock. Continue reading to learn more.
Step 4: Select “Edit Channel Details”
After clicking on the channel name or settings icon in Slack, you will need to select the “Edit Channel Details” option. Follow the steps below to proceed:
- From the dropdown menu that appears after clicking on the channel name or settings icon, locate and click on the “Edit Channel Details” option. This will open the channel settings page.
The “Edit Channel Details” option is a crucial step towards locking the channel as it allows you to modify various aspects of the channel.
By selecting this option, you gain access to a range of settings and options that enable you to customize the channel to suit your needs. You can change the channel name, add or modify the channel purpose, adjust notification preferences, and more.
The ability to edit channel details provides flexibility in tailoring the channel to its intended use and ensuring that it aligns with your team’s requirements.
Keep in mind that not everyone will have permission to access or modify the channel details. Typically, workspace owners, administrators, and members with specific channel management privileges will have the necessary permissions to make changes. If you do not have the required privileges, you may need to seek assistance from a workspace administrator or owner.
Now that you have accessed the channel details section, you are ready to proceed to the next step, where you will enable the “Only allow messages from members to this channel” option. Continue reading to learn more.
Step 5: Enable “Only allow messages from members to this channel”
Once you have accessed the channel settings and the “Edit Channel Details” page in Slack, you can proceed to enable the “Only allow messages from members to this channel” option. Follow the steps below:
- Scroll down the channel settings page until you reach the “Permissions” section.
- In the “Permissions” section, you will see a toggle switch labeled “Only allow messages from members to this channel”.
- Click on the switch to enable it.
Enabling the “Only allow messages from members to this channel” option ensures that only authorized members can post messages within the channel. This helps maintain control over the content and restricts access to the channel.
By enabling this option, you strengthen the security and privacy of the channel, ensuring that only designated members can view and contribute to the conversations. Non-members will be unable to see the channel or its content, reducing the risk of sensitive information being exposed to unauthorized individuals.
It’s important to note that enabling this option does not affect the ability of non-members to see the channel name or its purpose. However, the actual messages within the channel will only be visible to authorized members.
Once you have enabled the “Only allow messages from members to this channel” option, your channel is now locked, and only authorized members can actively participate in the conversation.
Now that you have successfully enabled the channel lock, it’s time to save the changes and complete the process. We will cover this final step in the next section. Keep reading to learn more.
Step 6: Save the changes
After enabling the “Only allow messages from members to this channel” option in the channel settings, the final step in locking a channel in Slack is to save the changes you have made. Follow the instructions below to complete the process:
- Scroll to the bottom of the channel settings page where you made the changes.
- Look for the “Save” button located at the bottom right-hand corner of the page.
- Click on the “Save” button to apply and save the changes you have made to the channel settings.
By clicking on the “Save” button, you confirm your decision to lock the channel and implement the “Only allow messages from members to this channel” restriction. Any non-members will no longer have access to view or participate in the channel’s conversations.
It’s important to ensure that you have completed all the necessary adjustments to the channel settings before saving the changes. This includes enabling the appropriate permissions and any other desired modifications to the channel details.
Once you have successfully saved the changes, the channel is officially locked, and only authorized members can engage in discussions within that channel.
Remember that as the channel owner or an admin, you can continue to manage the access and membership of the locked channel. This includes adding or removing members, adjusting permissions, and controlling who can join the channel to ensure it remains secure and controlled.
Congratulations! You have successfully locked the channel in Slack.
In the next section, we will provide you with additional tips for effectively managing locked channels. Continue reading to learn more.
Additional tips for managing locked channels
Now that you have successfully locked a channel in Slack, it’s important to implement effective strategies for managing and optimizing the use of locked channels. Here are some helpful tips:
1. Communicate the purpose and guidelines: Clearly communicate the purpose and guidelines for the locked channel to the members. This helps set expectations and ensures everyone understands the intended use and the type of content that should be shared within the channel.
2. Regularly review and manage membership: Keep an eye on the membership of the locked channel and regularly review it to ensure it remains relevant. Add new members when necessary or remove members who no longer need access. This helps maintain the integrity and relevance of the channel.
3. Establish clear moderations rules: Determine the moderation rules for the locked channel. Specify who has moderation privileges and the processes for handling inappropriate or off-topic discussions. This helps maintain a professional and focused environment within the channel.
4. Encourage active participation: Promote active participation and engagement within the locked channel. Encourage members to share insights, ask questions, and collaborate on relevant topics. This fosters a sense of community and enhances the value of the channel for all members.
5. Regularly update channel information: Keep the channel information up to date and relevant. Update the channel’s purpose, description, and other details periodically to reflect any changes in the project or team focus. This ensures members have accurate information and context when accessing the channel.
6. Monitor and address any issues: Keep an eye on the channel for any issues that may arise. Regularly monitor the discussions, address any conflicts or disagreements promptly, and provide guidance to maintain a positive and productive channel environment.
7. Educate members on channel etiquette: Remind members about appropriate channel etiquette and usage. Encourage respect, professionalism, and adherence to any specific guidelines or rules established for the channel. This helps promote a healthy and constructive communication atmosphere.
By implementing these tips, you can effectively manage the locked channels in Slack, ensuring they serve their intended purpose and contribute to a productive work environment.
In the next section, we will wrap up this guide on locking channels in Slack. Read on for a quick summary of what you have learned.
Conclusion
Locking a channel in Slack is a valuable feature that allows you to control access and participation, ensuring secure and focused communication within your team. By following the step-by-step guide we provided, you can easily lock a channel and reap the benefits of enhanced privacy, controlled communication, and streamlined collaboration.
We explored the process of locking a channel, starting with opening the Slack app, choosing the desired channel, accessing the channel settings, enabling the “Only allow messages from members to this channel” option, and saving the changes. We also discussed the importance of managing locked channels effectively by communicating the purpose, reviewing membership, establishing moderation rules, encouraging active participation, and staying updated with channel information.
With the knowledge and understanding you have gained, you are well-equipped to utilize channel locks in Slack to create secure and controlled spaces for your team’s communication needs. Whether you need to safeguard confidential discussions, limit participation to specific team members, or create designated announcement channels, locking a channel can help you achieve these goals.
Remember, as with any feature in Slack, it’s essential to evaluate and adjust your approach based on the unique needs of your team and projects. Regularly assess the effectiveness of the locked channels and make any necessary updates or changes to ensure they continue to serve their intended purpose.
We hope this guide has provided you with the information and guidance you need to leverage the power of channel locks in Slack effectively. Now, go ahead and start locking channels to foster secure and focused communication within your team!


