Introduction
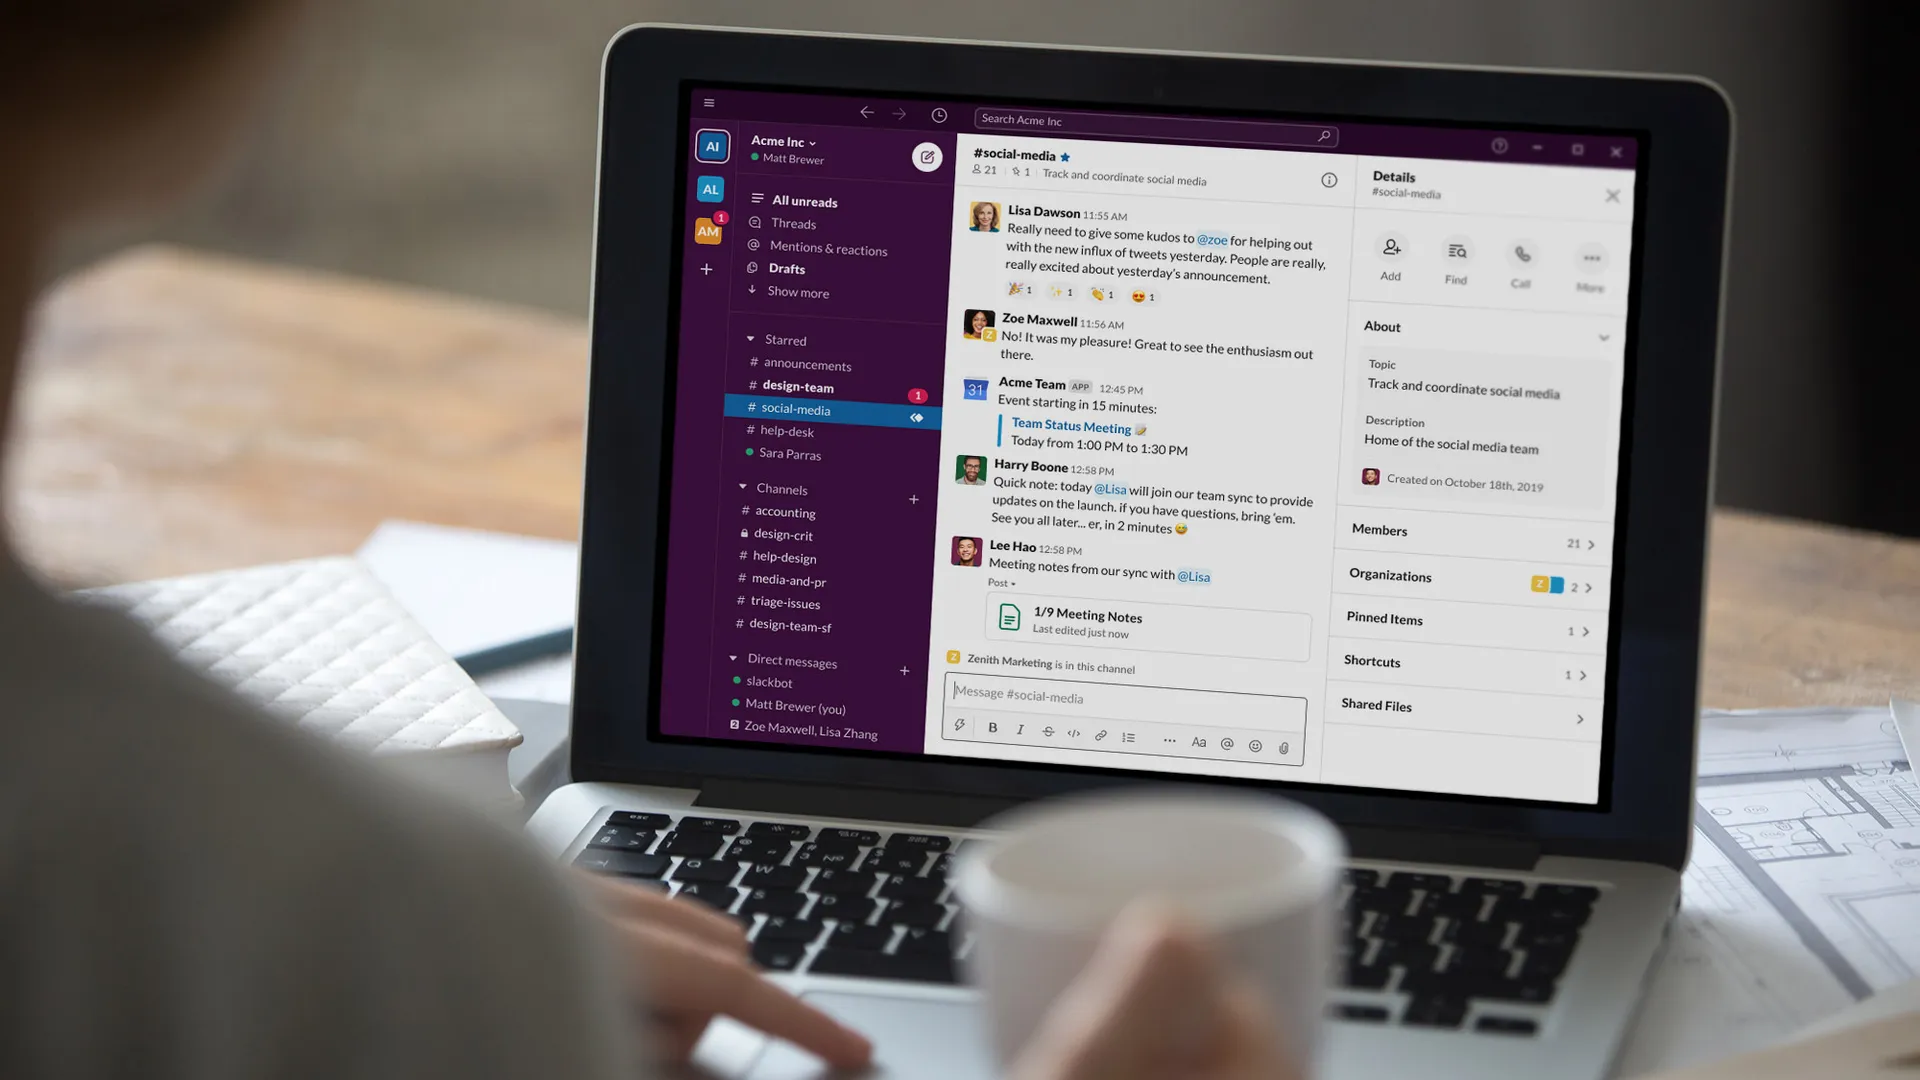
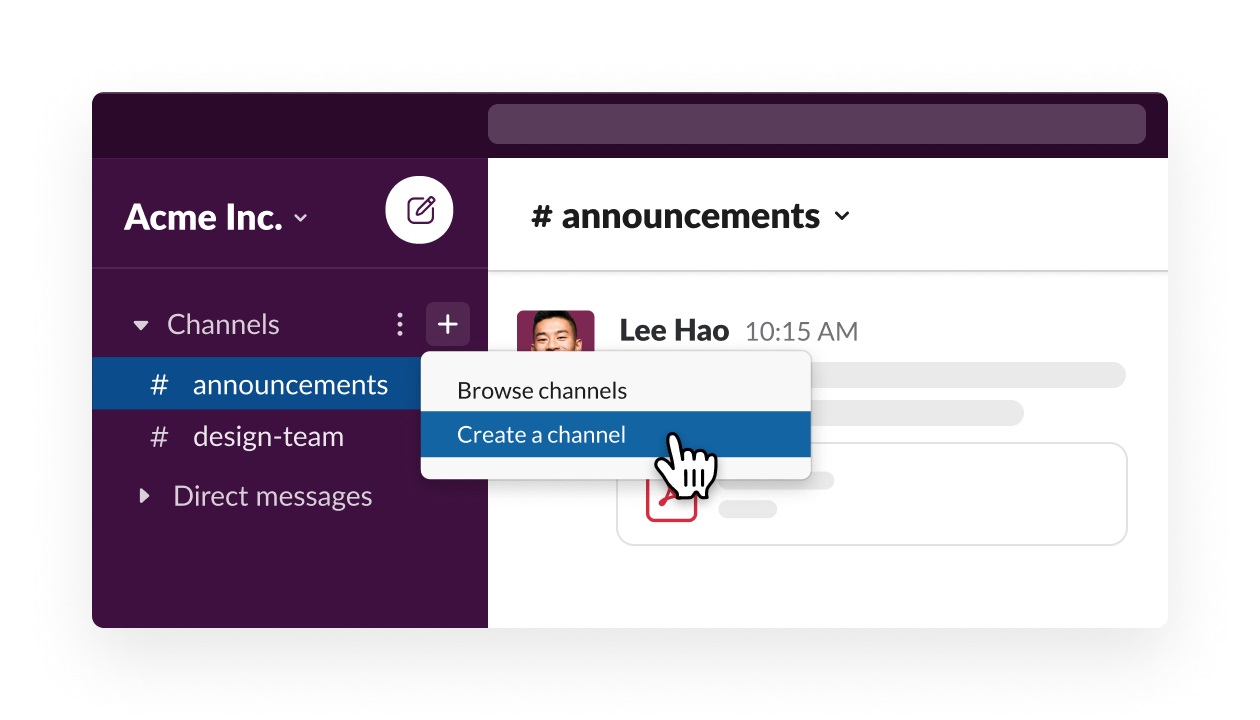
Slack is a popular collaboration platform that allows teams to communicate and work together efficiently. One of its key features is the ability to create channels, which are dedicated spaces for specific topics, projects, or departments within an organization.
By default, Slack channels are open and accessible to all members of a workspace. However, there may be situations where you need to make a channel private to restrict access to a select group of individuals. Creating a private channel ensures that sensitive information and discussions are kept confidential and only visible to authorized team members.
In this article, we will guide you through the process of making a Slack channel private. Whether you’re managing a project that requires confidentiality or simply want a space for a specific group to have private discussions, this step-by-step guide will help you achieve that.
With Slack’s easy-to-use interface and straightforward settings, you can set up a private channel in no time. So, let’s dive in and learn how to make a Slack channel private.
Step 1: Sign in to your Slack workspace
Before you can make a Slack channel private, you’ll need to sign in to your Slack workspace. Open your preferred web browser and navigate to the Slack website. If you don’t have a Slack account yet, click on the “Get started for free” button to create one.
Once you’re on the Slack website, enter your workspace URL or choose it from the list of available workspaces. Then, click on the “Continue” button to proceed to the login page.
Enter your email address and password associated with your Slack account, and click on the “Sign in” button. If you’re using a single sign-on (SSO) method, click on the “Continue with SSO” button and follow the authentication process.
Upon successful authentication, you will be redirected to your Slack workspace’s homepage, where you can access all your channels, direct messages, and collaborative features.
If you have multiple workspaces associated with your email address, make sure you select the workspace in which the channel you want to make private is located. You can switch between workspaces by clicking on your profile picture/avatar at the top-right corner and selecting the desired workspace from the dropdown menu.
Now that you’re signed in to your Slack workspace, let’s move on to the next step: opening the desired channel.
Step 2: Open the desired channel
Once you’ve signed in to your Slack workspace, navigate to the channel that you want to make private. Channels are listed on the left-hand side of the Slack interface.
If the channel you’re looking for is listed among your visible channels, simply click on its name to open it. The channel will load in the main content area, displaying all the conversations and messages within.
In case the channel you want to make private is not visible in your channel list, you can use the search bar at the top of the interface to find it. Type in the name of the channel and Slack will display relevant results. Click on the channel name once it appears in the search results to open it.
Alternatively, you can use the shortcut method to open a channel. Press the `Ctrl + K` keys (Windows) or `Cmd + K` keys (Mac) simultaneously to open the Quick Switcher dialog. Then, start typing the name of the channel and select it from the dropdown list when it appears. This will directly open the desired channel in Slack.
Whether you use the channel list, search bar, or the Quick Switcher dialog, the end result is the same – the channel you want to make private is now open and ready for the next steps.
With the desired channel opened, let’s move on to the next step: clicking on the settings gear icon to access the channel settings.
Step 3: Click on the settings gear icon
To make a Slack channel private, you’ll need to access the channel settings. In Slack, these settings can be easily accessed by clicking on the settings gear icon located at the top-right corner of the channel interface.
Locate the gear icon, which is a small gear-shaped icon. Clicking on it will open a dropdown menu with various options and settings related to the channel.
The gear icon is a universal symbol for settings and can be found in multiple places within the Slack interface. However, for this specific step, make sure you click on the settings gear icon within the channel you want to make private.
If you’re unsure whether you’re clicking on the correct gear icon, you can verify it by hovering your mouse cursor over the icon. A tooltip will appear, displaying the word “Settings” or a similar indication. This ensures you’re accessing the proper settings for the current channel.
Once you’ve clicked on the gear icon, the dropdown menu will appear, revealing a range of options for managing the channel’s settings. Don’t worry if the dropdown menu appears crowded with options – we’ll guide you through the steps to find the specific settings for making the channel private.
Now that you’ve successfully accessed the channel settings by clicking on the gear icon, let’s move on to the next step: selecting “Additional options.”
Step 4: Select “Additional options”
After clicking on the settings gear icon in the Slack channel interface, a dropdown menu will appear with different options and settings. To make the channel private, you need to select the “Additional options” section.
Scroll down the dropdown menu until you find the “Additional options” section. It may be located at the bottom of the list or in a specific area designated for advanced settings.
Once you’ve located the “Additional options” section, click on it to expand the menu and reveal additional settings for the channel.
Slack’s “Additional options” section provides various customization settings for channels, including privacy settings. This section allows you to fine-tune the channel’s behavior, appearance, and membership.
If you’re having trouble finding the “Additional options” section, you can use the search bar within the dropdown menu. Simply type “additional” or “options” in the search bar, and Slack will highlight or display the relevant section.
By selecting “Additional options,” you’re one step closer to making the Slack channel private. Now, let’s proceed to the next step: choosing “Privacy & Security.”
Step 5: Choose “Privacy & Security”
After selecting the “Additional options” section in the Slack channel settings dropdown menu, you will be presented with various settings related to customization and management. To make the channel private, you need to choose the “Privacy & Security” option.
Scroll through the options within the “Additional options” section until you find the “Privacy & Security” setting. Typically, it is located in the middle of the list, but the exact position may vary depending on the customization options available for your Slack workspace.
Once you’ve located the “Privacy & Security” option, click on it to access the privacy settings for the channel.
The “Privacy & Security” setting allows you to control the visibility and access of the channel. By choosing this option, you’ll be able to set the channel to private, ensuring that only authorized members can view and join the channel.
If you’re having trouble finding the “Privacy & Security” option, you can use the search bar within the “Additional options” section. Simply type in “privacy” or “security”, and Slack will highlight or display the relevant setting.
By choosing “Privacy & Security,” you’re almost there! Now, let’s move on to the next step: toggling the “Make private” switch.
Step 6: Toggle the “Make private” switch
After selecting the “Privacy & Security” option in the Slack channel settings, you will be presented with specific privacy settings for the channel. To make the channel private, you need to toggle the “Make private” switch.
Look for the “Make private” switch within the “Privacy & Security” settings. It is usually displayed as a toggle switch or checkbox, indicating whether the channel is currently private or public.
Click on the “Make private” switch to change the channel’s privacy settings. When the switch is toggled to “On” or the checkbox is checked, it signifies that the channel will be made private.
By making the channel private, you ensure that only authorized members can access and participate in the conversations within the channel. This is ideal for discussions and collaborations that require confidentiality or are limited to a specific group.
If you’re unsure whether the “Make private” switch has been successfully toggled, you can verify it by checking the switch’s position or observing any visual indications in the interface. Usually, the switch will display the “On” position when the channel is private.
Now that you’ve toggled the “Make private” switch to set the channel as private, let’s move on to the next step: confirming the channel’s privacy changes.
Step 7: Confirm the channel’s privacy changes
After toggling the “Make private” switch in the Slack channel settings, you need to confirm the changes to ensure that the channel is now private.
Typically, once you toggle the switch to make the channel private, Slack will prompt you to confirm the action. This confirmation step is crucial to prevent accidental changes to the channel’s privacy settings.
Review the confirmation message or dialog box that appears on the screen, ensuring that it states that the channel will be changed to private. Take a moment to double-check that you are modifying the correct channel.
If you’re certain that you want to proceed with making the channel private, click on the confirmation button, which is usually labeled “Confirm” or “Save.” This will finalize the changes and update the channel’s privacy settings.
Once the changes are confirmed, Slack will update the channel’s visibility and access. From now on, only authorized members will be able to view and participate in discussions within the private channel.
If you have accidentally toggled the “Make private” switch or changed your mind about making the channel private, you can select the appropriate option to cancel or revert the changes. This may involve choosing a “Cancel” button or undoing the toggle switch.
With the channel’s privacy changes successfully confirmed, we can now move on to the next step: adding members to the private channel.
Step 8: Add members to the private channel
After making a Slack channel private, you have the flexibility to control who can access and participate in the conversations within the channel. In this step, we will guide you on how to add members to the private channel.
To add members to the private channel, navigate to the channel and locate the member’s section. This section is usually displayed as a list of existing members who have access to the channel.
Click on the “Add people to this channel” button or the similar option that allows you to add new members. This action will open a dialog box or input field where you can search for and select the members you want to add.
In the input field, start typing the name, email address, or username of the person you want to add to the private channel. Slack will automatically display matching results as you type.
Select the appropriate member from the search results to add them to the private channel. You can add multiple members at once or repeat the process individually for each member you want to include.
Once you’ve selected and added the desired members, they will receive an invitation or notification to join the private channel. They will then be able to access and participate in the private discussions within the channel.
It’s important to note that only existing members of your Slack workspace can be added to a private channel. If you need to invite new members to your Slack workspace, you must do so separately before adding them to the private channel.
By adding members to the private channel, you ensure that the right individuals have the appropriate access and permissions to collaborate within the confines of the private discussions.
With the members successfully added to the private channel, we can now move on to the next step: understanding the limitations and considerations of private channels.
Step 9: Understand the limitations and considerations of private channels
After setting up a private channel in Slack, it’s important to be aware of the limitations and considerations associated with this privacy feature. Understanding these aspects will ensure that you can effectively manage and utilize private channels within your workspace.
Here are some key limitations and considerations to keep in mind:
1. Membership Restrictions: Only existing members of your Slack workspace can be added to private channels. This means that you cannot invite individuals who are not already part of your workspace to join a private channel.
2. Visibility and Discovery: Private channels are hidden from non-members and do not appear in public channel lists or search results. This ensures that confidential discussions are kept private, but it also means that new members may not be aware of the existence of private channels unless they are specifically invited.
3. Admin Control: Workspace admins have the ability to view and access all private channel conversations, even if they are not explicitly added as members. This helps in maintaining transparency and managing the overall security of the workspace.
4. Channel Access: Members who have been added to a private channel can access and participate in conversations within that channel. However, it’s important to communicate to the members the confidential nature of the discussions and remind them to respect the privacy of the information shared within the private channel.
5. Channel Management: As the creator or admin of the private channel, you have the responsibility to manage the members and ensure that only authorized individuals have access to the channel. Regularly review the membership list to add or remove members based on their involvement in the project or their need for access to the private discussions.
6. Channel Naming: While naming the private channel, be cautious not to use names that are too descriptive or easily guessable. This helps maintain an extra layer of confidentiality by preventing unauthorized individuals from deducing the purpose or content of the private channel based on its name.
By understanding these limitations and considerations, you can effectively utilize private channels to protect sensitive information, foster focused collaboration, and maintain the security of your Slack workspace.
Congratulations! You have successfully completed all the steps to make a Slack channel private and have gained insights into the considerations associated with private channels.
Conclusion
Creating private channels in Slack is a valuable feature that allows teams to have confidential and focused discussions. By following the step-by-step guide outlined in this article, you can effectively make a Slack channel private and control access to sensitive information.
We started by signing into your Slack workspace and opening the desired channel. Then, we accessed the channel settings by clicking on the settings gear icon and selecting “Additional options.” From there, we chose “Privacy & Security” and toggled the “Make private” switch to set the channel as private.
After confirming the channel’s privacy changes, we explored the process of adding members to the private channel. This ensures that only authorized individuals have access to the private discussions and maintains the confidentiality of the information shared.
Finally, we discussed the limitations and considerations of private channels, such as membership restrictions, visibility and discovery, admin control, and channel management. Understanding these factors is essential for effectively utilizing private channels within your Slack workspace.
By making use of private channels, you can protect sensitive information, foster collaborative environments, and ensure that confidential discussions remain private.
Now that you have the knowledge and steps needed to make a Slack channel private, you can confidently create private channels to enhance communication and collaboration within your team.
So, go ahead and get started with making your Slack channels private. Enjoy the benefits of a secure and focused workspace for your team’s private discussions!