Introduction
Welcome to the world of Slack, a popular communication and collaboration tool used by businesses and teams worldwide. Slack offers numerous features to enhance productivity, including the ability to create public and private channels. By default, the channels you create in Slack are private, meaning only invited members have access. However, there may be instances where you want to make a private channel public, allowing anyone in your organization to join and participate.
In this article, we will provide a step-by-step guide on how to make a private Slack channel public. Whether you’ve mistakenly set a channel to private or you simply want to open up discussions to a wider audience, we’ll walk you through the process to make it seamless and hassle-free.
Before we dive into the steps, it’s important to note that modifying a private channel to be public should be done thoughtfully and with consideration for your organization’s policies and security requirements. You’ll want to assess if making a private channel public aligns with your team’s communication needs and the sensitivity of the information shared. By carefully following the steps outlined below, you can ensure a smooth transition while maintaining the desired level of privacy and security.
Step 1: Accessing the Slack settings
The first step in making a private Slack channel public is to access the Slack settings. To do this, follow these simple instructions:
- Log in to your Slack workspace using your credentials.
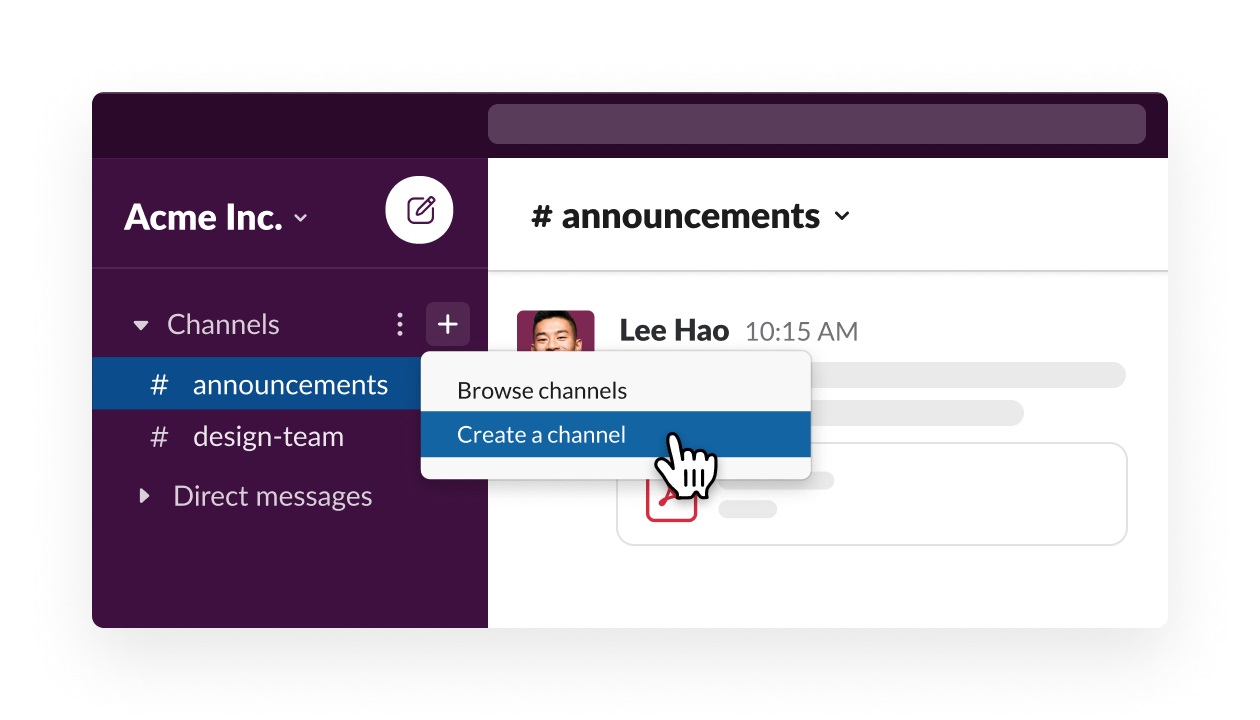
- Once you’re on the Slack homepage, locate the sidebar on the left-hand side of the screen.
- Scroll down the sidebar until you find the “Channels” section.
- Click on the name of the private channel you want to make public.
- This will open the channel in the main view.
- Look for the channel settings icon, which looks like a gear or a cog. You can typically find it near the top right corner of the screen.
- Click on the channel settings icon to open the channel settings menu.
- Within the channel settings menu, locate and click on the “Edit Channel” option.
- Now you’re ready to move on to the next step and modify the channel’s privacy settings.
Note: The specific steps and icons may vary slightly depending on the version of Slack you are using, but the general process remains the same.
Step 2: Modifying the channel privacy settings
Once you’ve accessed the channel settings, it’s time to modify the privacy settings to make a private Slack channel public. Follow these steps:
- In the “Edit Channel” menu, you’ll see various options to customize the channel’s settings.
- Look for the “Privacy” option, which controls the channel’s access.
- By default, the privacy setting is set to “Private,” restricting access to invited members only.
- Click on the drop-down menu next to “Privacy” to reveal the available options.
- Select the “Public” option from the drop-down menu.
- Once you’ve chosen the “Public” option, you’ll notice that the access restrictions change to allow anyone in your organization to join the channel.
- Review the other available options in the “Edit Channel” menu, such as notification preferences and member roles, and make any desired modifications.
- When you’re satisfied with the changes, click the “Save” or “Update” button to apply the new privacy settings.
After modifying the privacy settings to make the channel public, it’s time to move on to the next step and adjust additional channel settings to ensure a seamless transition.
Step 3: Adjusting channel settings
Now that you’ve made your Slack channel public, it’s important to adjust the channel settings to optimize the user experience and ensure effective communication. Follow these steps to make the necessary adjustments:
- Return to the main view of the channel by clicking on its name in the sidebar.
- Look for the channel settings icon or gear icon once again and click on it.
- In the channel settings menu, explore the available options to customize the channel to your preferences.
- Consider adjusting the channel name to clearly reflect its new public status.
- Review the notification preferences to ensure that members receive relevant updates without being overwhelmed.
- Take advantage of the various settings related to file uploads, message threading, and other features to optimize collaboration within the channel.
- If necessary, adjust the default posting permissions to allow members to contribute to the conversation.
- Consider enabling integrations and bots that can enhance the functionality of the channel.
- Take the time to familiarize yourself with the available settings and make any adjustments that align with your team’s needs.
- Once you’ve finished adjusting the channel settings, click the “Save” or “Update” button to apply the changes.
By fine-tuning the channel settings according to your requirements, you can create an optimized and collaborative environment that fosters open communication and knowledge sharing.
Step 4: Updating the channel description and purpose
Now that you’ve adjusted the settings of your newly public Slack channel, it’s important to update the channel description and purpose to provide clarity and context to potential members. Here’s how you can do it:
- Go back to the main view of the channel by clicking on its name in the sidebar.
- Locate the channel details section, typically found at the top of the screen.
- Click on the “Details” or “Info” button to access the channel information.
- In the channel details section, you’ll find fields to edit the channel name, description, and purpose.
- Update the channel description to clearly explain the topic or purpose of the channel. This information helps potential members understand what the channel is about and determine whether they should join.
- Add relevant keywords or tags to the description, making it easier for users to find and join the channel based on their interests or areas of expertise.
- Consider incorporating any guidelines or rules for the channel to ensure that members are aware of and adhere to them.
- Revise the channel purpose, if necessary, to align with the new public status and the goals you want to achieve through open collaboration.
- Review the other available options, such as adding a channel image or integrating external apps, to enhance your channel’s visual appeal and functionality.
- Once you’ve updated the channel description and purpose, click the “Save” or “Update” button to apply the changes.
By providing a clear and comprehensive description of the channel, you can attract engaged members who share similar interests or goals, fostering meaningful discussions and collaborations.
Step 5: Review and confirmation
As you near the end of the process to make your private Slack channel public, it’s important to review and confirm that all the necessary changes have been made. Follow these steps to ensure everything is in order:
- Take a moment to go through the channel settings, including privacy, notifications, posting permissions, and integrations, to ensure they reflect your desired configuration.
- Double-check the channel description and purpose to make sure they accurately convey the goals and focus of the channel.
- Consider reaching out to your team or colleagues and informing them about the channel’s new public status, especially if they were previously unaware.
- Encourage interested members to join the channel and start participating in the discussions.
- Monitor the channel closely during the initial transition period to gauge engagement and address any questions or concerns.
- Evaluate the impact of making the channel public and assess whether it meets your objectives for collaboration and knowledge sharing.
By reviewing and confirming the changes made, you can ensure a smooth transition to a public Slack channel and make any necessary adjustments or clarifications along the way.
Conclusion
Congratulations! You have successfully made a private Slack channel public. By following the steps outlined in this guide, you’ve opened up the channel to a wider audience, fostering collaboration and knowledge sharing within your team or organization.
Remember, the decision to make a private channel public should be made thoughtfully, taking into consideration your organization’s policies and security requirements. It is essential to strike a balance between openness and privacy to ensure effective communication while protecting sensitive information.
Throughout the process, you accessed the Slack settings, modified the channel’s privacy settings, adjusted other channel settings, updated the channel description and purpose, and reviewed and confirmed all the changes. By carefully considering each step, you have set up a public Slack channel that is inviting, informative, and conducive to collaboration.
As you move forward with your public Slack channel, it’s important to regularly monitor and evaluate its effectiveness. Encourage active participation, engage with members, and address any concerns or issues that may arise. Remember, communication and collaboration are key to maximizing the potential of your public Slack channel.
We hope this guide has provided you with a clear and comprehensive understanding of how to make a private Slack channel public. By leveraging the features and functionalities available within Slack, you can create a vibrant and inclusive space for your team to connect, share ideas, and work together towards common goals.
So go ahead, embrace the power of public channels in Slack, and watch your team’s collaboration and productivity flourish!