Introduction
Live streaming from a DJI drone is an exciting way to share breathtaking aerial footage with your audience in real-time. Whether you’re a filmmaker, photographer, or just a drone enthusiast, being able to stream your flights can take your content to the next level.
In this guide, we will provide you with step-by-step instructions on how to set up and live stream from your DJI drone. We will cover everything from the initial drone setup to connecting your drone to a mobile device and choosing the right live streaming platform. By the end of this article, you’ll be ready to take your drone adventures to the online world.
Before we dive into the details, it’s important to note that live streaming from a DJI drone requires careful preparation and adherence to local laws and regulations. Make sure to familiarize yourself with the rules and obtain any necessary permits or licenses before embarking on your live streaming journey.
So, if you’re ready to take your drone footage to new heights and showcase your adventures in real-time, let’s get started with the setup process of live streaming from your DJI drone.
What you need to get started
Before you can start live streaming from your DJI drone, there are a few essential items you’ll need to have in place. Here’s what you’ll need:
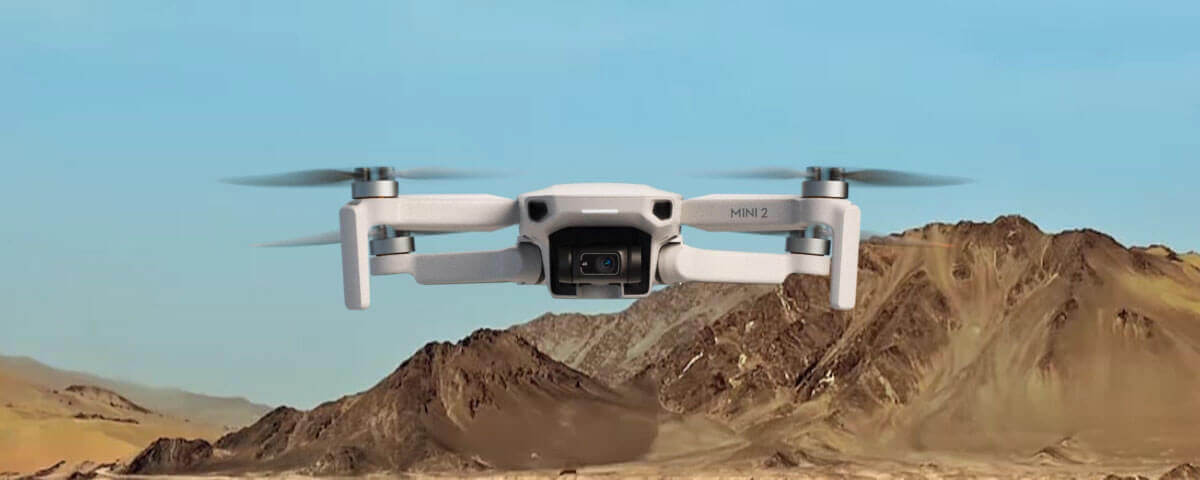
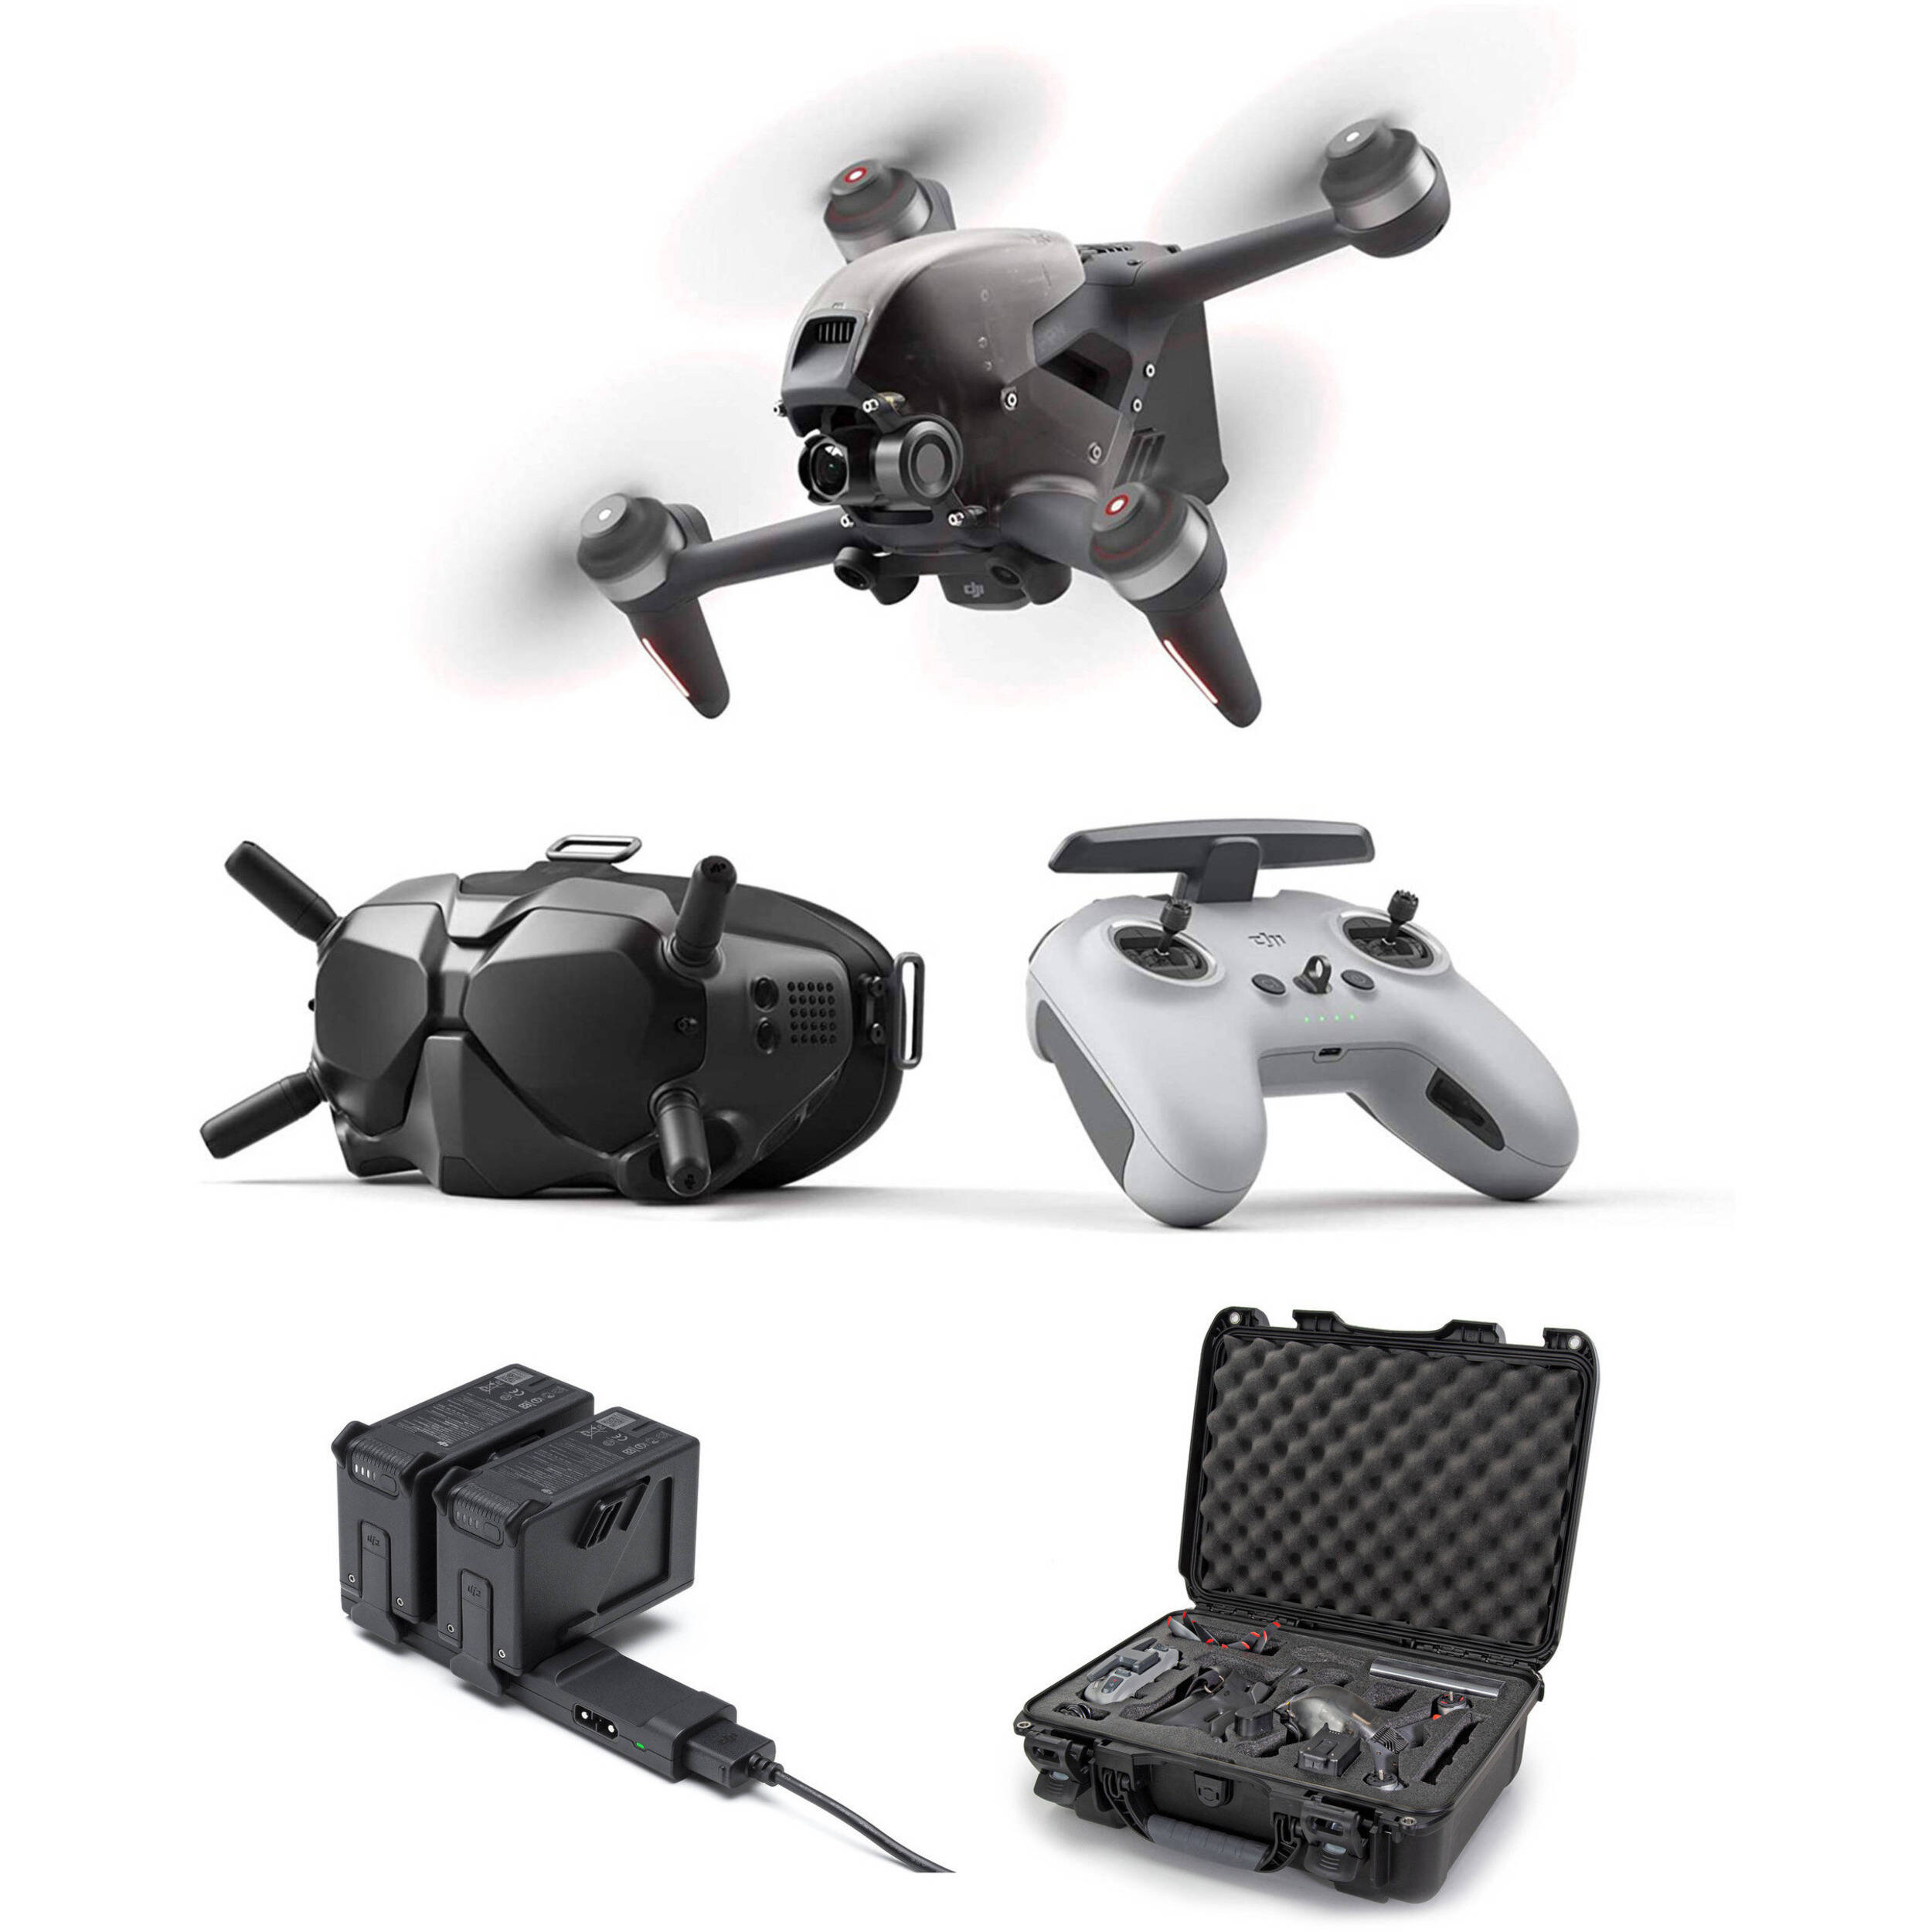
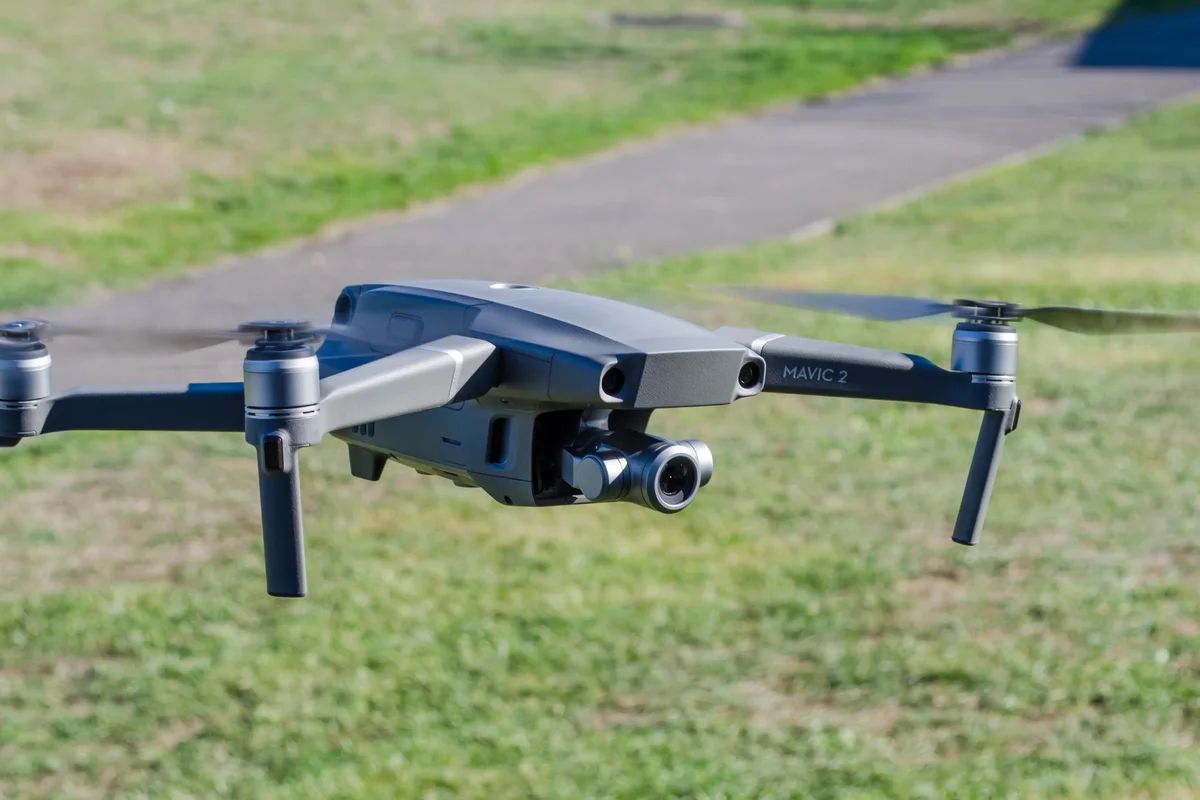
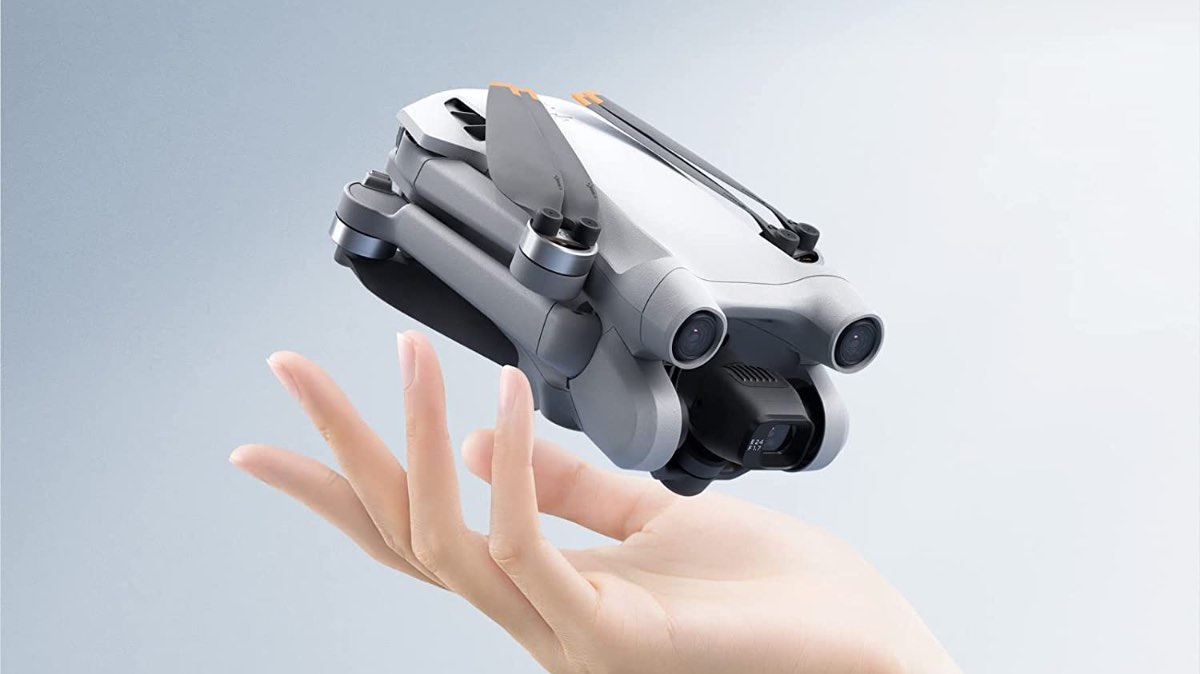
- A DJI drone: Of course, you’ll need a DJI drone that is capable of live streaming. Most DJI drones, such as the Phantom or Mavic series, have this functionality built-in. Make sure your drone is compatible with live streaming before proceeding.
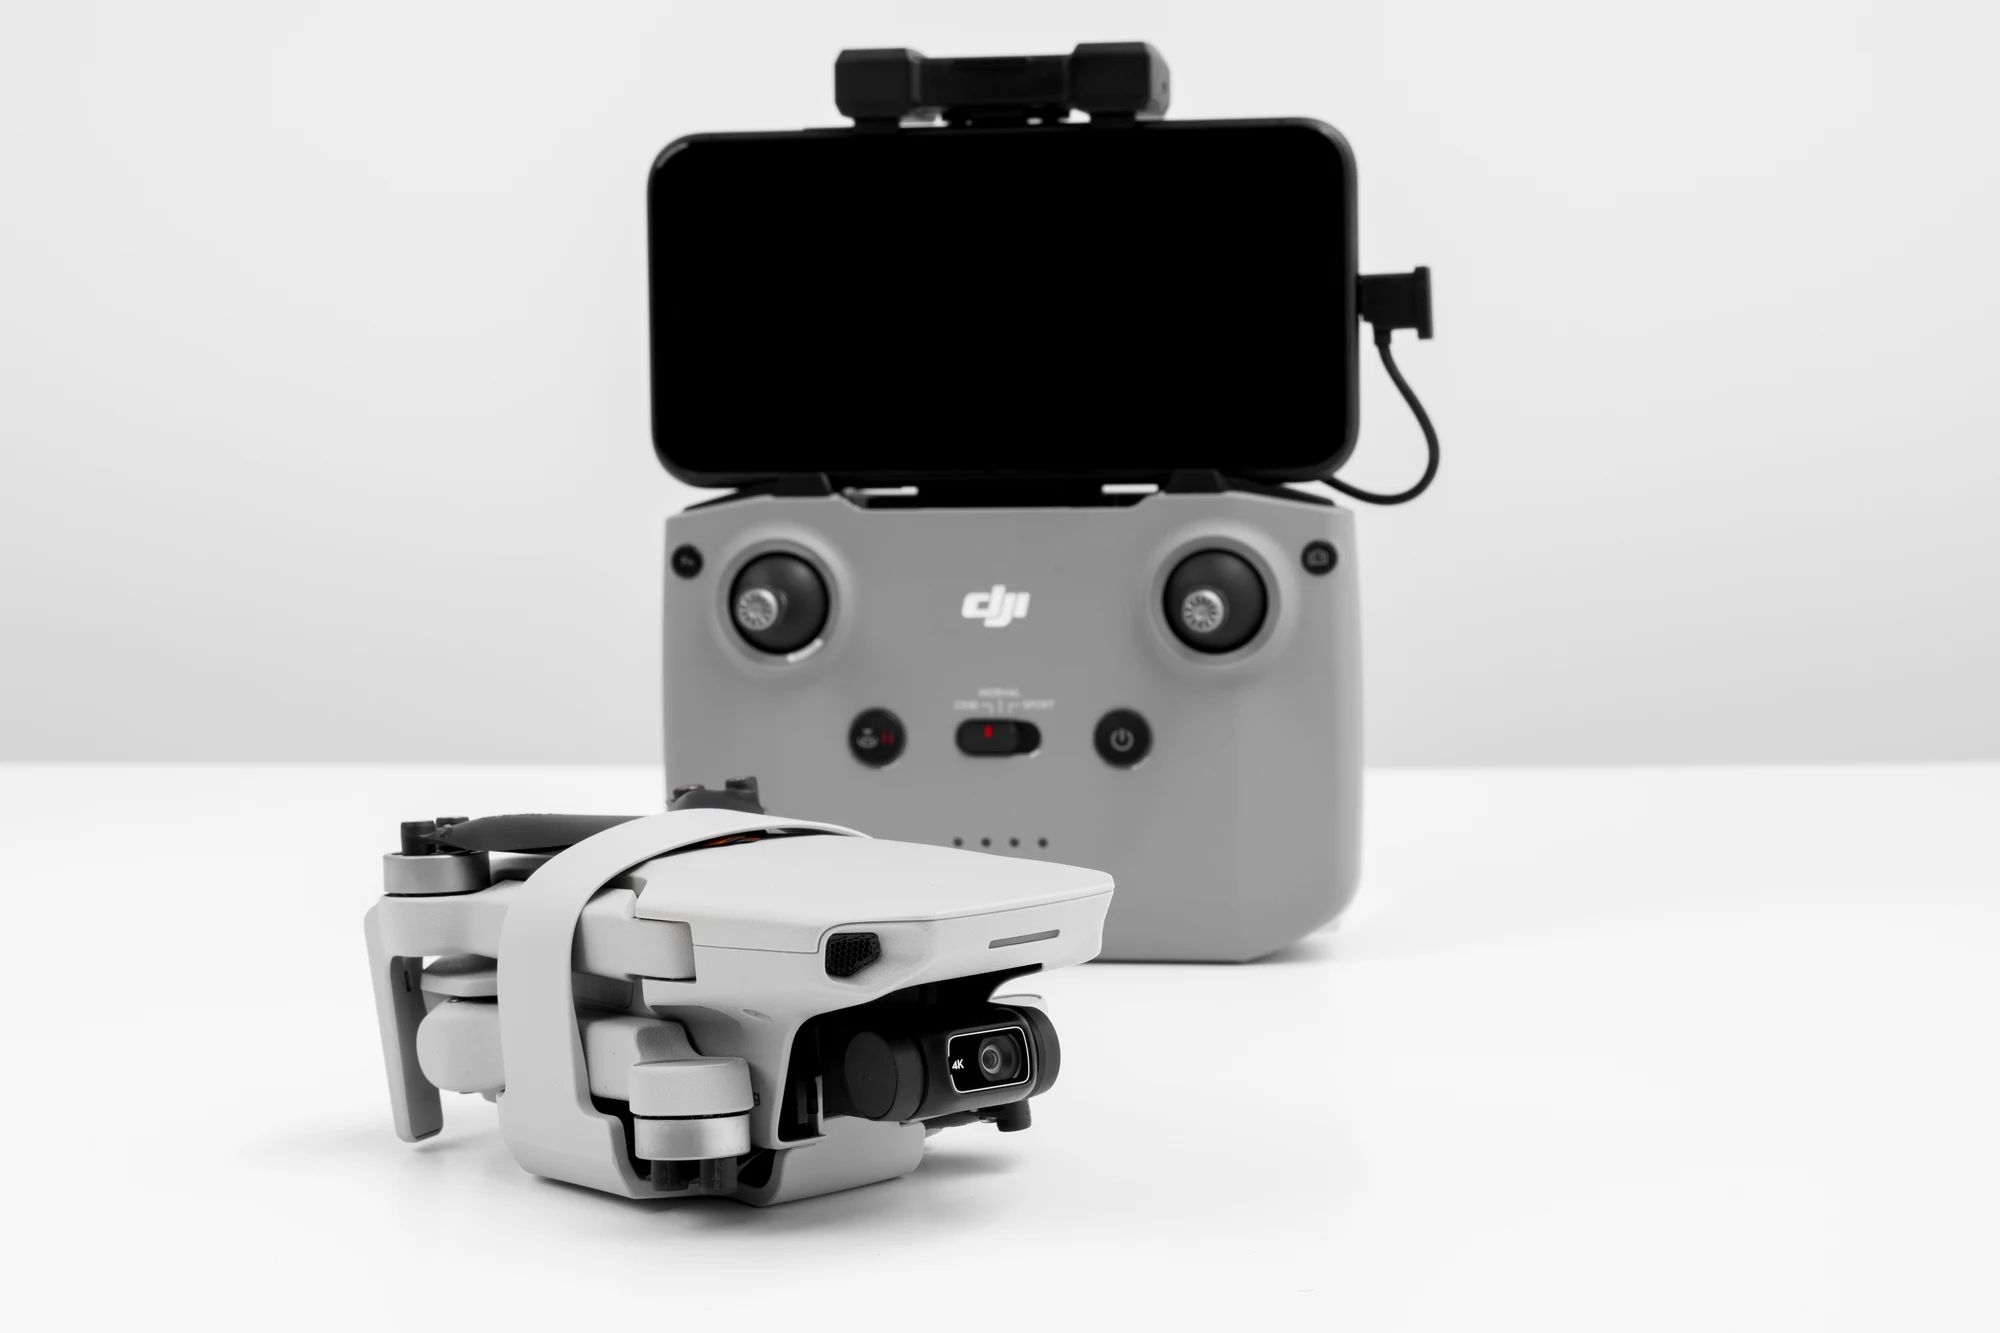
- A mobile device: You’ll need a mobile device, such as a smartphone or tablet, to connect to your DJI drone. Ensure that your mobile device is compatible with the DJI app and meets the system requirements.
- A reliable internet connection: Live streaming requires a stable internet connection to transmit the video feed. Ensure that you have a reliable internet connection with sufficient upload speed for smooth streaming.
- A live streaming platform: Choose a live streaming platform that supports drone live streaming. Popular options include platforms like YouTube Live, Facebook Live, or Twitch. Check the requirements and guidelines of your chosen platform beforehand.
- A fully charged battery: Before taking off, make sure your drone’s battery is fully charged to avoid interruptions during the live stream. It’s also a good idea to have spare batteries on hand in case you need to swap them out.
By having these essential items ready, you’ll be well-prepared to start your live streaming journey with your DJI drone. Now that you have everything you need, let’s move on to the step-by-step process of setting up your DJI drone for live streaming.
Step 1: Set up your DJI drone
Before you can begin live streaming from your DJI drone, you’ll need to set it up properly. Follow these steps to ensure your drone is ready for live streaming:
- Check for firmware updates: Start by checking if your DJI drone has the latest firmware version installed. Firmware updates often include performance improvements and new features that can enhance your live streaming experience.
- Calibrate the compass and IMU: It’s crucial to calibrate your drone’s compass and Inertial Measurement Unit (IMU) to ensure accurate flight control and stable live streaming. Follow the instructions provided by DJI to perform these calibrations.
- Attach the propellers: Safely attach the propellers to your drone, ensuring that they are properly secured. Double-check that they are spinning freely without any obstructions.
- Install the camera and gimbal: If your drone’s camera and gimbal are detachable, install them securely. Ensure that the camera is aligned correctly and that the gimbal is balanced.
- Perform a pre-flight check: Before taking off, conduct a thorough pre-flight check. Verify that all components of your drone, including batteries, motors, and sensors, are functioning properly.
It’s essential to complete these setup steps to ensure the optimal performance and reliability of your DJI drone during the live streaming session. Once you’ve completed the setup, you’re ready to move on to the next step: connecting your DJI drone to your mobile device.
Step 2: Connect your DJI drone to your mobile device
Once your DJI drone is set up, it’s time to connect it to your mobile device. Follow these steps to establish a connection:
- Install the DJI app: Begin by downloading and installing the DJI app on your mobile device. The app is available for both iOS and Android devices and can be found in the respective app stores.
- Power on your drone: Turn on your DJI drone and wait for it to complete its initialization process. Ensure that the drone is in pairing mode, ready to establish a connection.
- Enable Wi-Fi and connect: On your mobile device, enable Wi-Fi and search for available networks. Look for the network name or SSID of your DJI drone, which should be indicated in the drone’s user manual. Connect to the drone’s network.
- Open the DJI app: Launch the DJI app on your mobile device. It should automatically detect the connected drone. If not, go to the app’s settings and manually select your drone model.
- Establish the connection: Follow the on-screen prompts to finalize the connection between your DJI drone and mobile device. This may involve entering a password or confirming permissions.
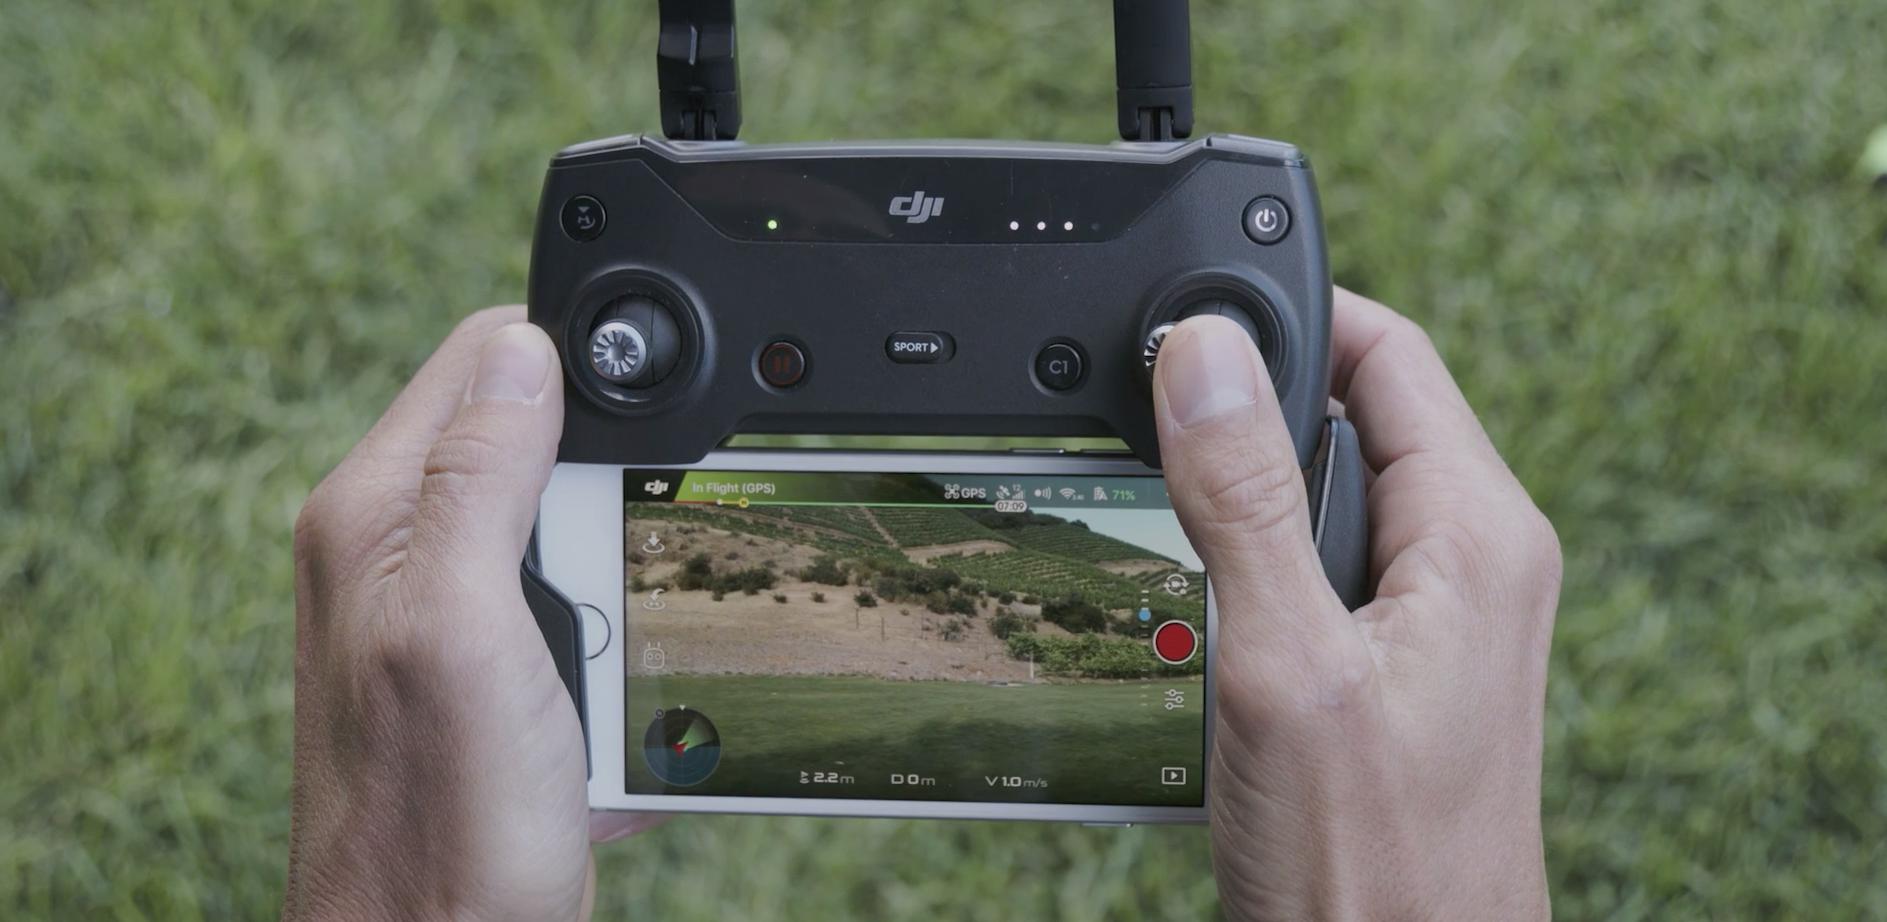
Once the connection is established, your mobile device will serve as a control center for your DJI drone. You can access the drone’s camera feed, adjust settings, and initiate live streaming directly from the app. Ensure that the connection remains stable throughout the live streaming session for uninterrupted broadcasting.
Now that your DJI drone is connected to your mobile device, let’s move on to the next step: setting up your live streaming platform.
Step 3: Set up your live streaming platform
With your DJI drone connected to your mobile device, it’s time to set up your live streaming platform. Follow these steps to get started:
- Choose a live streaming platform: Select a live streaming platform that best suits your needs and audience. Popular options include YouTube Live, Facebook Live, and Twitch. Each platform has its own features and audience, so consider your target viewership before making a decision.
- Create an account: Sign up for an account on your chosen live streaming platform. This typically involves providing your email address, creating a username, and setting a password. Follow the platform’s instructions to complete the registration process.
- Set up your stream: Once your account is created, locate the live streaming settings or options on the platform. Here, you will find options to configure your stream’s title, description, privacy settings, and other broadcasting preferences.
- Configure video and audio settings: Adjust the video and audio settings to ensure optimal quality for your live stream. Set the resolution, frame rate, and bitrate according to your preferences and the capabilities of your DJI drone and mobile device.
- Test your stream: It’s always a good idea to do a test run before going live. Some live streaming platforms offer the option to create a private test stream that allows you to check the video and audio quality. Use this opportunity to fine-tune your settings and ensure everything is working as expected.
By setting up your live streaming platform correctly, you can deliver an engaging and high-quality live stream to your audience. The platform you choose will play a significant role in the reach and interaction of your live stream, so take the time to explore the features and options available.
Now that your live streaming platform is ready, let’s move on to the next step: adjusting the settings for live streaming from your DJI drone.
Step 4: Adjust settings for live streaming
Before you begin live streaming from your DJI drone, it’s important to adjust the settings to ensure a smooth and high-quality broadcast. Follow these steps to configure the settings:
- Open the DJI app: Launch the DJI app on your mobile device and connect to your DJI drone.
- Access the settings: Navigate to the settings menu within the DJI app. Look for options related to live streaming or broadcasting.
- Select the live streaming platform: Choose the live streaming platform you will be using and select it within the settings. This will ensure that the DJI app is integrated with the chosen platform.
- Configure video settings: Adjust the video settings within the DJI app to match the requirements of your live streaming platform. Set the resolution, frame rate, and other video parameters according to your preferences.
- Set audio preferences: Choose the audio source for your live stream, whether it’s the audio recorded by the DJI drone or an external microphone. Test the audio levels to ensure clear and balanced sound.
- Choose the stream quality: Determine the quality of your live stream by selecting the appropriate bitrate and resolution. Higher quality settings may require a more stable internet connection and may consume more data.
- Consider additional settings: Depending on your specific requirements, there may be additional settings to adjust. These could include options for privacy, watermarking, or adding custom overlays.
By adjusting the settings for live streaming, you can customize the broadcast according to your preferences and the capabilities of your DJI drone. Take the time to test different settings and configurations to find the optimal balance between quality and performance.
Now that the settings for live streaming are adjusted, let’s move on to the final step: starting the live stream from your DJI drone.
Step 5: Start live streaming from your DJI drone
Now that everything is properly set up, it’s time to start the live stream from your DJI drone. Follow these steps to begin broadcasting your aerial adventures:
- Ensure a stable internet connection: Make sure you have a stable internet connection before starting your live stream. Connect your mobile device to a reliable Wi-Fi network or use a stable cellular data connection.
- Position your DJI drone: Find a suitable location for taking off with your DJI drone. Ensure that you have enough space and a clear flight path for capturing captivating footage.
- Open the live streaming platform: Launch the live streaming platform on your mobile device, where you’ve configured your stream settings in the previous steps.
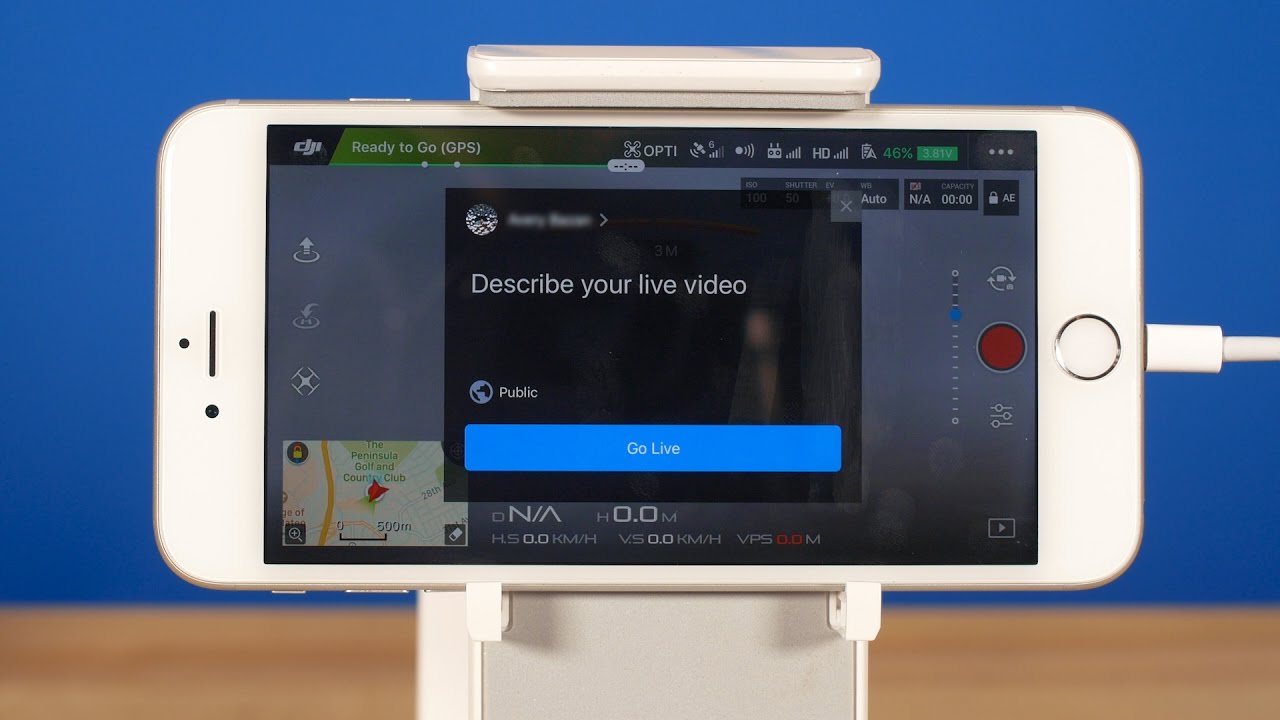
- Initiate the live stream: Look for the “go live” or “start streaming” button within the live streaming platform. Tap on it to begin the live stream from your DJI drone.
- Monitor the live stream: Keep an eye on the live streaming platform and the DJI app on your mobile device. Monitor the stream’s performance, video quality, and viewer interaction throughout the live broadcast.
- Engage with your audience: Interact with your audience by responding to comments, answering questions, or acknowledging their presence during the live stream. This will create a more engaging and immersive experience for viewers.
- End the live stream: When you are ready to conclude the live stream, make sure to properly end the broadcast within the live streaming platform. You may have to navigate through the settings or simply click on the “stop streaming” button.
Remember to be mindful of your surroundings, follow local drone regulations, and prioritize safety throughout the live streaming session. Keeping these tips in mind will help you deliver an exceptional live stream experience from your DJI drone.
Congratulations! You’ve successfully completed the steps to start live streaming from your DJI drone. By following these guidelines, you can captivate your audience with stunning aerial footage in real-time. Now it’s time to soar to new heights and share your drone adventures with the world!
Tips for successful live streaming
While the steps we’ve covered are essential for live streaming from your DJI drone, here are some additional tips to ensure a successful and engaging live stream:
- Plan your flight route: Before going live, plan your flight route to include interesting landmarks, scenic views, or points of interest. This will help create captivating footage that keeps your audience engaged.
- Consider the lighting conditions: Pay attention to the lighting conditions when planning your live stream. Choose times of the day when lighting is optimal, such as during the golden hour, to capture stunning visuals.
- Monitor the battery life: Keep an eye on your DJI drone’s battery life during the live stream. It’s a good practice to have spare batteries on hand and be mindful of the drone’s flight time to avoid interruptions.
- Engage with your audience: Actively engage with your audience by responding to comments, asking for their opinions, and addressing their questions during the live stream. This fosters a sense of connection and keeps viewers invested.
- Be mindful of your framing: Pay attention to your framing and composition when positioning your DJI drone. Aim for visually pleasing shots by following the rule of thirds and experimenting with different angles and perspectives.
- Utilize storytelling techniques: Incorporate storytelling techniques into your live stream to make it more compelling. Narrate your actions, share interesting facts, or tell a story about the location or event you’re capturing.
- Take advantage of interactive features: Explore the interactive features offered by your chosen live streaming platform. Polls, quizzes, and live chat can enhance viewer participation and make the live stream more interactive.
- Test your equipment before each live stream: Prior to each live stream, conduct a quick equipment check to ensure that everything is working properly. Test the connection, camera feed, audio quality, and any additional accessories before going live.
- Promote your live stream in advance: Generate excitement and increase viewership by promoting your upcoming live stream. Share details on your social media channels, create teasers, and notify your audience well in advance.
- Review your live streams after: Take the time to review your previous live streams. Identify what worked well and areas for improvement. Learning from each experience will help you refine your live streaming skills.
By implementing these tips, you can take your live streams to the next level, attract a larger audience, and provide an engaging experience for your viewers. Don’t be afraid to experiment and discover your own unique style that sets your live streams apart.
Now that you have all the tools and tips for successful live streaming, it’s time to go out there and showcase the world from the perspective of your DJI drone. Enjoy the thrill of live streaming from the sky and captivate your audience with breathtaking aerial footage!
Conclusion
Live streaming from your DJI drone allows you to share the beauty and excitement of your aerial adventures with the world in real-time. By following the steps outlined in this guide, you can confidently set up and start live streaming from your DJI drone. From the initial setup process to connecting your drone to your mobile device and choosing the right live streaming platform, each step is crucial to ensure a seamless and captivating live stream.
Remember to always prioritize safety and adhere to local laws and regulations when operating your DJI drone. Familiarize yourself with the rules and obtain any necessary permits or licenses before embarking on your live streaming journey.
In addition to the step-by-step instructions, we provided you with valuable tips for successful live streaming. By planning your flight route, engaging with your audience, framing your shots creatively, and utilizing interactive features, you can elevate the overall experience and leave a lasting impression on your viewers.
Now it’s time to unleash your creativity, explore different destinations, and share the wonders of the world from a bird’s-eye view. Soar to new heights, master the art of live streaming from your DJI drone, and enjoy the thrill of broadcasting your adventures in real-time!