Choosing the Windows Version
When it comes to installing Windows on a new PC, one of the first decisions you need to make is choosing the right Windows version for your needs. Microsoft offers several options, each with its own features and capabilities. In this section, we will explore some factors to consider when selecting the ideal Windows version for your new PC.
The most commonly used Windows version is Windows 10, which is recommended for most users. It is a versatile operating system that combines the familiarity of the Start menu with new features such as Cortana, a digital personal assistant, and the Windows Store for downloading various apps and games.
If you’re a professional or running a business, Windows 10 Pro might be the better choice for you. It includes additional features like domain joining, which allows your PC to connect to a corporate or school network, and BitLocker encryption for added security.
For those working in creative fields, Windows 10 Pro for Workstations is designed to handle resource-intensive tasks, such as video editing or 3D rendering. It supports high-performance hardware configurations and includes features like Resilient File System (ReFS) for enhanced data integrity.
If you’re a home user with basic computing needs, Windows 10 Home is a more budget-friendly option. It provides essential features like Microsoft Edge web browser, Windows Defender antivirus, and the ability to connect to Bluetooth devices.
For certain specialized scenarios, there are other Windows versions available, such as Windows 10 Education for students and Windows 10 Enterprise for large organizations.
When deciding on the Windows version, consider your specific requirements, such as desired features, budget, and whether you need support for business or specialized tasks. Additionally, ensure that your hardware meets the system requirements for the chosen version, as some features may require specific hardware capabilities.
Gathering the Necessary Tools
Before you begin the installation process, it’s crucial to gather all the necessary tools to ensure a smooth and successful installation of Windows on your new PC. Here are some essential tools you’ll need:
1. Windows Installation Media: You will need a copy of the Windows operating system that you have chosen, either on a DVD or in the form of an ISO file. If you don’t have it yet, you can purchase a copy from the Microsoft website or obtain it from an authorized retailer.
2. USB Drive: If you don’t have an optical drive on your new PC or prefer the convenience of a USB drive, you will need a blank USB flash drive with at least 8 GB of storage capacity. This will be used to create a bootable USB installation media.
3. Product Key: Make sure to have your Windows product key readily available. This is a 25-character alphanumeric code that is typically included in the packaging or provided via email when you purchase the Windows version.
4. Backup: It’s always a good idea to back up your important files and data before installing the operating system. This way, you can avoid any accidental data loss during the installation process.
5. Internet Connection: Having an internet connection during the installation process is beneficial as it allows you to download the latest updates and drivers during the installation or immediately afterward.
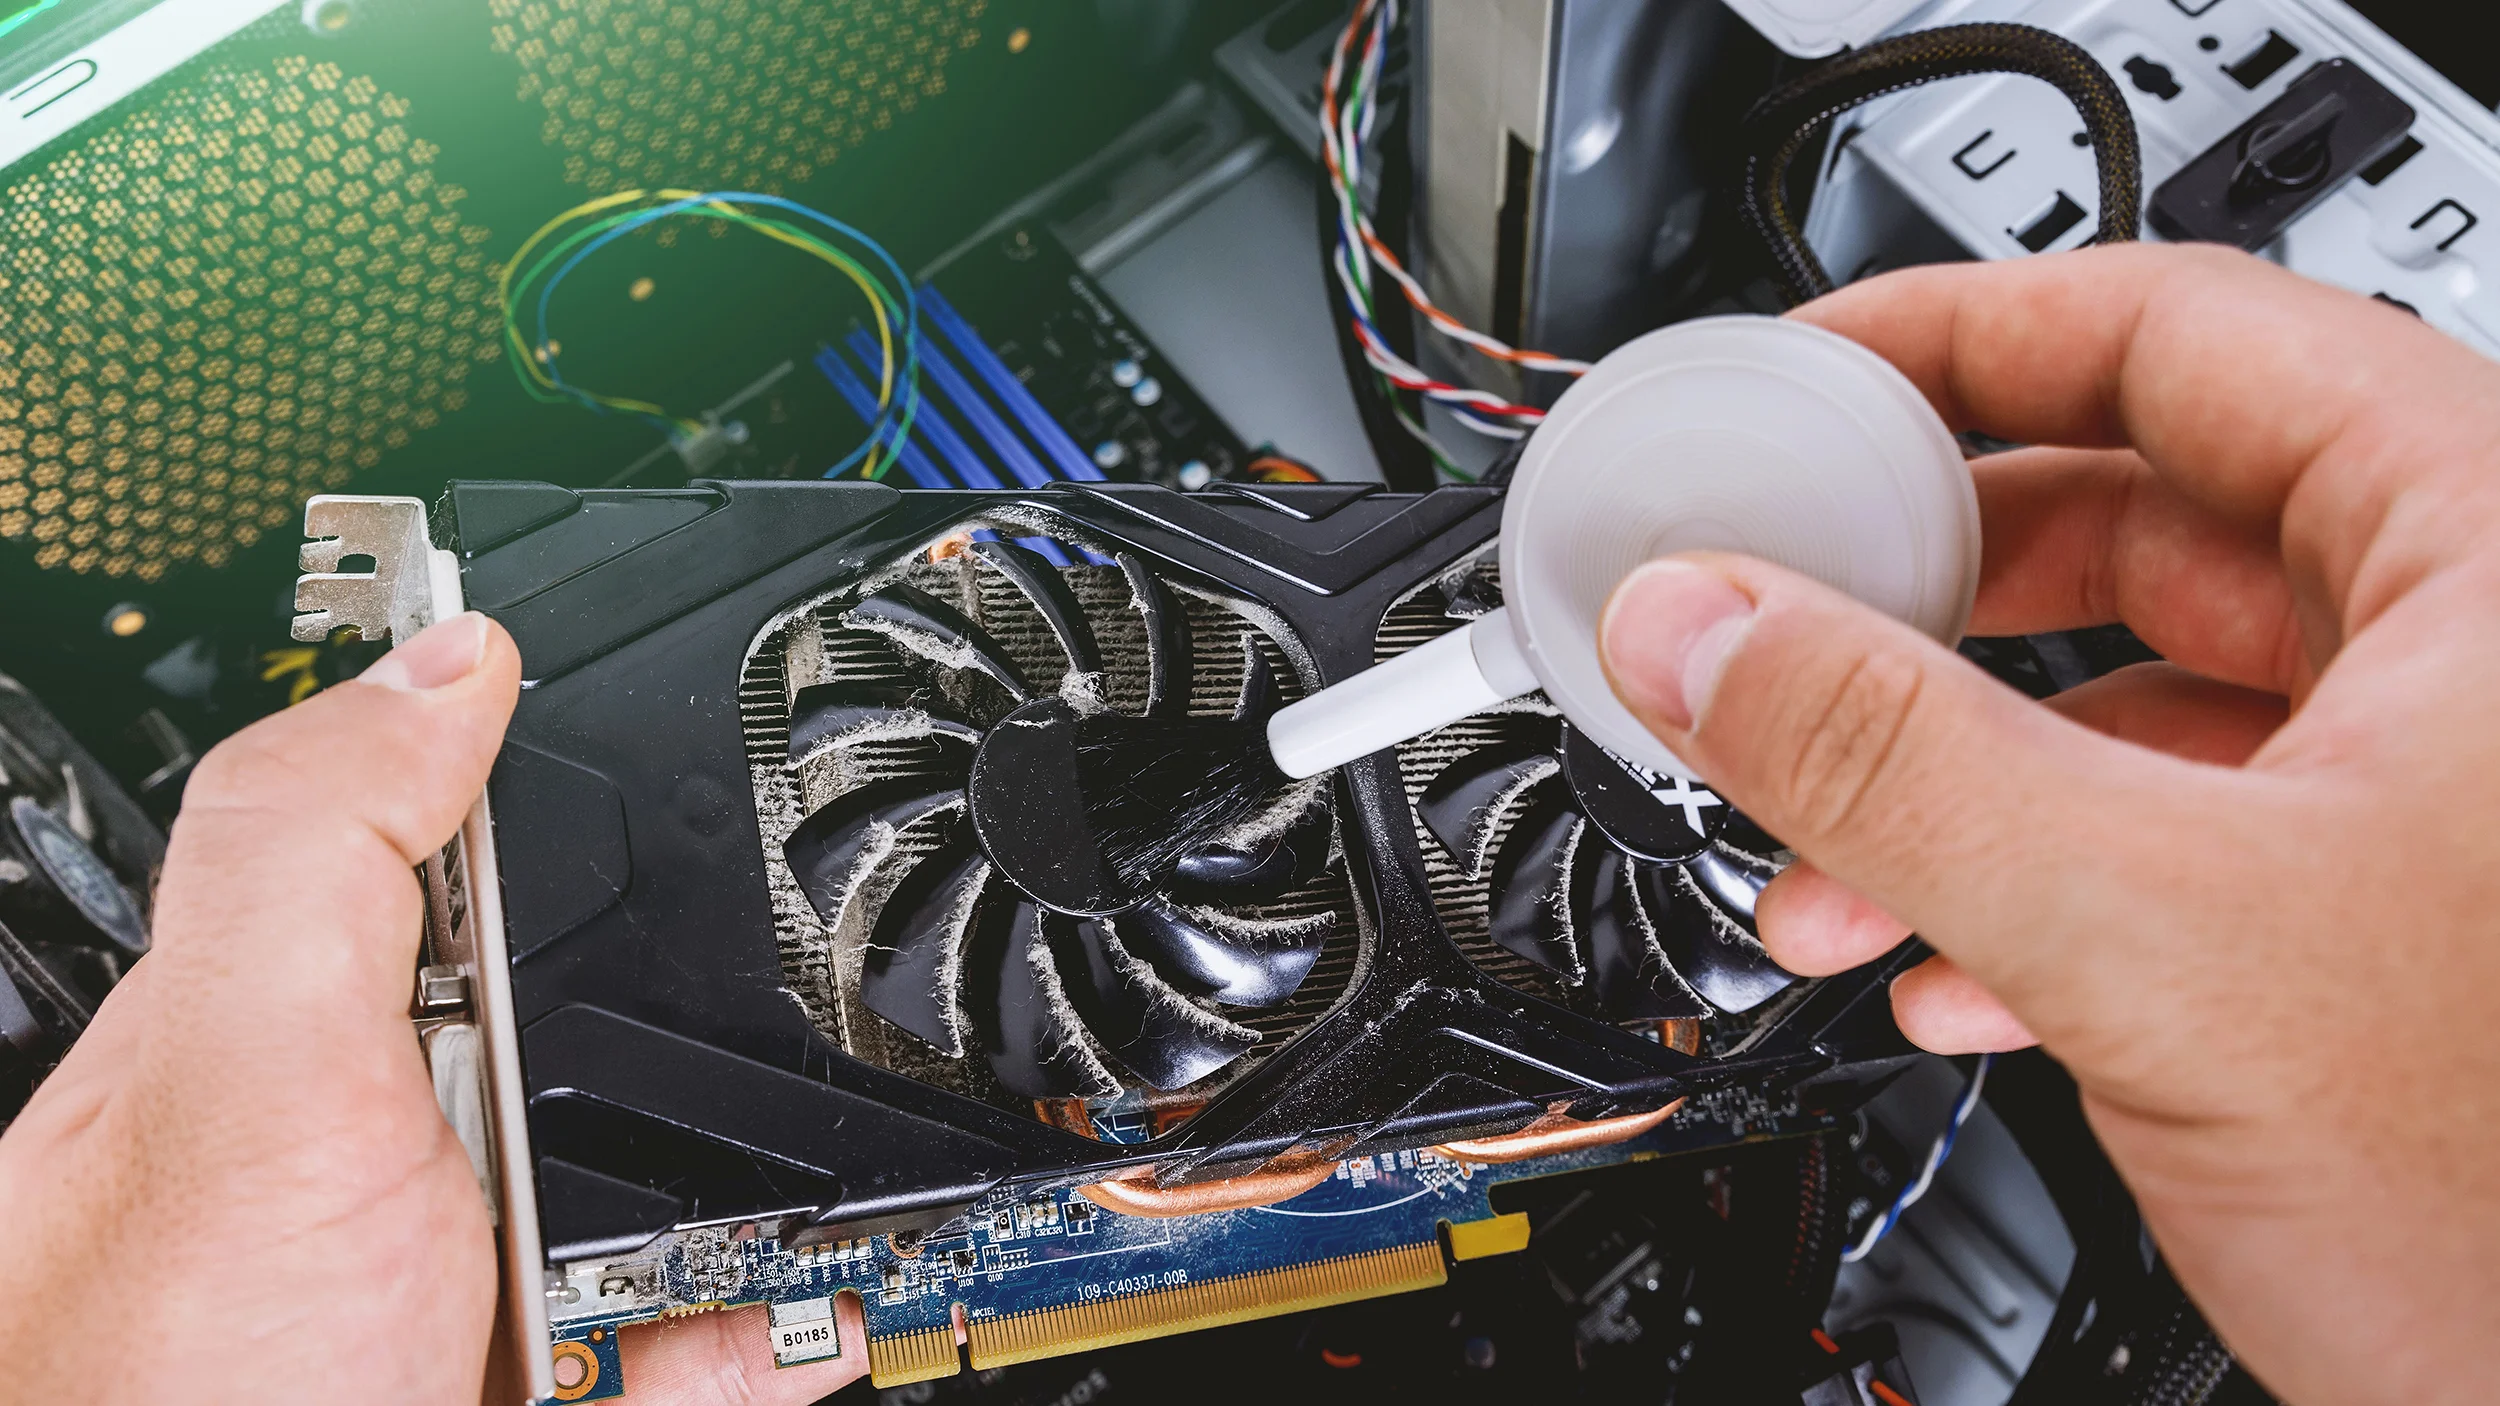
6. Hardware Documentation: Keep the documentation of your new PC’s hardware components, such as motherboard, graphics card, and network adapter, handy. This will help you identify the correct drivers that need to be installed after the Windows installation.
By ensuring that you have all these tools ready, you can proceed with confidence and minimize any interruptions or delays during the installation process. Taking the time to gather these essentials will help you create a smooth and hassle-free installation experience on your new PC.
Creating a Bootable USB Drive
Creating a bootable USB drive is an essential step in installing Windows on your new PC. It allows you to easily launch the installation process without the need for an optical drive. Here’s a step-by-step guide on how to create a bootable USB drive:
1. Obtain the Windows ISO file: If you don’t have the Windows installation media in the form of a DVD, you can download the ISO file directly from the Microsoft website. Make sure to select the correct version and edition of Windows that you want to install.
2. Prepare the USB drive: Insert the blank USB drive into a USB port on your current computer. It’s important to note that all existing data on the USB drive will be erased, so make sure to back up any important files before proceeding.
3. Format the USB drive: Open File Explorer and right-click on the USB drive. Select the “Format” option from the context menu. In the format window, make sure to select the “FAT32” file system and give the drive a name for easy identification.
4. Create a bootable USB drive: Download a third-party tool like Rufus or the official Windows USB/DVD Download Tool from Microsoft. Launch the tool and follow the instructions to select the Windows ISO file you downloaded and choose the USB drive as the destination for creating the bootable USB drive. Start the process and wait for it to complete.
5. Eject the USB drive: Once the bootable USB drive creation process is finished, safely eject the USB drive from your current computer. It is now ready to be used for installing Windows on your new PC.
After creating the bootable USB drive, insert it into a USB port on your new PC and restart the computer. Adjust the boot order in the BIOS settings to prioritize booting from the USB drive. This will allow the Windows installation process to begin and guide you through the setup steps.
By following these steps to create a bootable USB drive, you can ensure a convenient and efficient installation process for Windows on your new PC without the need for an optical drive.
Starting the Installation Process
With your bootable USB drive ready, you’re now ready to start the installation process of Windows on your new PC. Follow these steps to begin:
1. Insert the bootable USB drive: Insert the USB drive that contains the Windows installation media into a USB port on your new PC.
2. Power on the PC: Start or restart your new PC. During the startup process, you may need to press a key (such as F12 or Delete) to access the boot menu. Refer to your computer’s manual or the manufacturer’s website for the specific key to access the boot menu.
3. Select the USB drive as the boot device: In the boot menu, use the arrow keys on your keyboard to navigate to the option that corresponds to the USB drive. Select it and press Enter to boot from the USB drive.
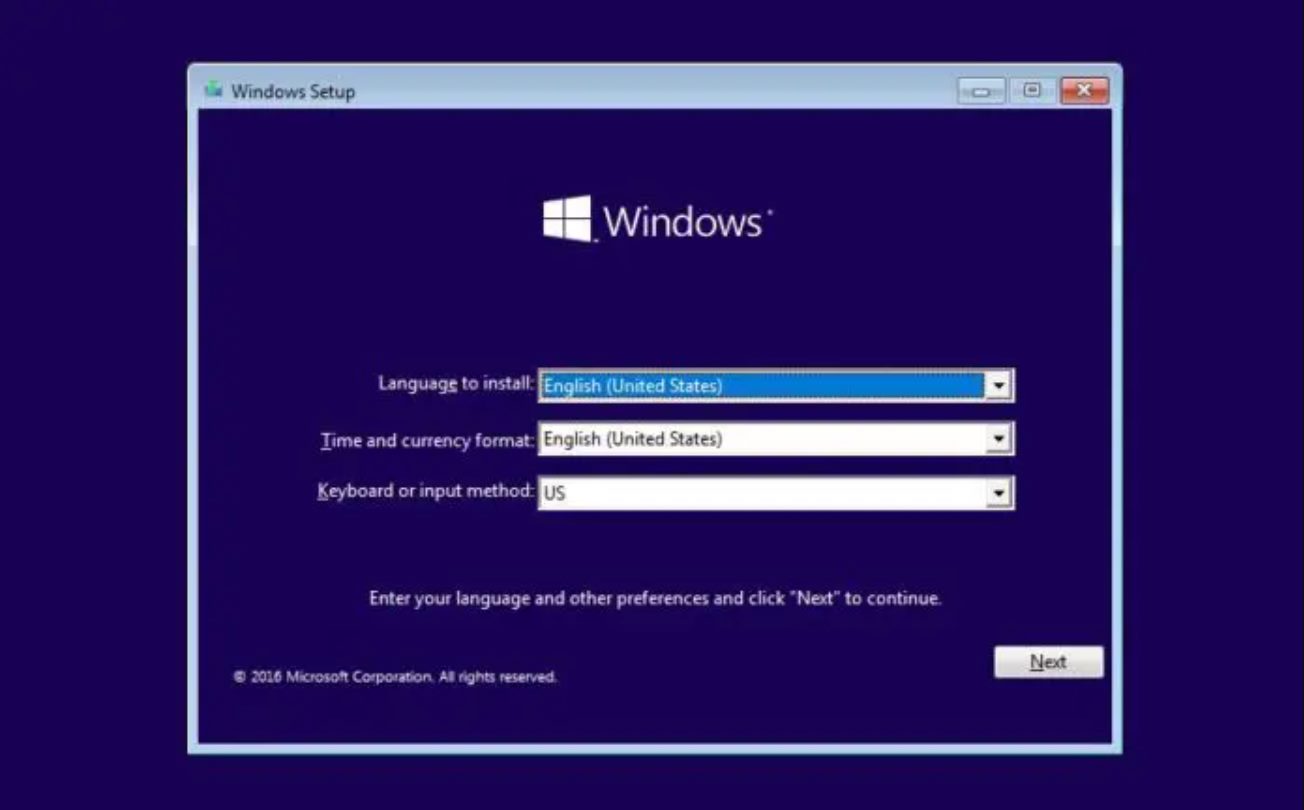
4. Windows Setup: After choosing the USB drive as the boot device, the Windows Setup screen will appear. Select your preferred language, time, and keyboard settings, and click “Next” to proceed.
5. Install Now: On the next screen, click “Install Now” to begin the installation process.
6. Enter the product key: On the next page, you will be prompted to enter the 25-character product key for your Windows version. Enter the key and click “Next” to continue.
7. Accept the license terms: Read and accept the license terms by checking the box, and click “Next.”
8. Choose the installation type: On the next screen, you can choose the installation type. If you’re installing Windows on a new PC and there are no previous installations, select “Custom: Install Windows only (advanced).” This option allows you to create and format partitions as needed.
9. Select the installation location: Choose the hard drive or partition where you want to install Windows. If necessary, you can delete existing partitions and create new ones. Select the desired location and click “Next” to proceed.
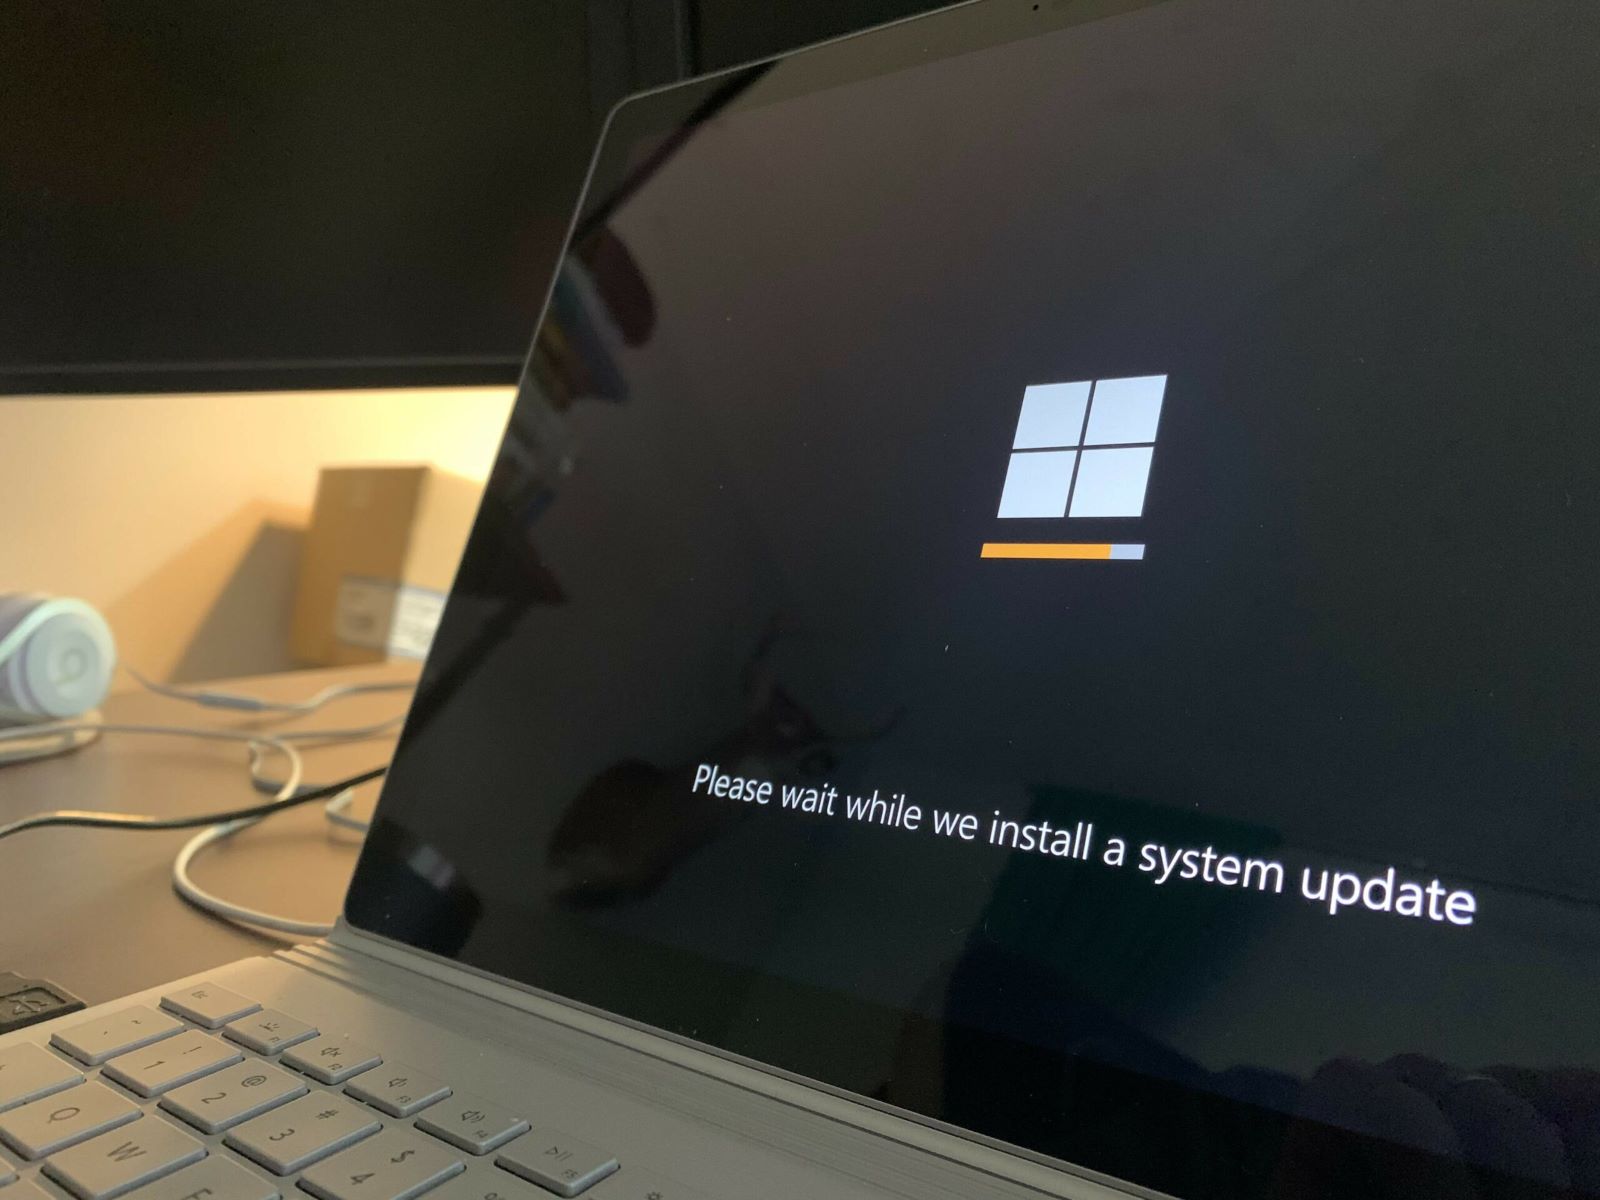
10. Installing Windows: The installation process will begin, and you will see a progress bar indicating the installation progress. The computer may restart several times during this process. Avoid interrupting the installation or powering off the PC.
Follow the on-screen prompts to complete the installation, including configuring your region, signing in to your Microsoft account (optional), and personalizing Windows settings. Once the installation is complete, you will be greeted with the Windows desktop, ready for further configuration and customization.
By following these steps, you can successfully initiate the installation process of Windows on your new PC and lay the foundation for a fully functioning operating system.
Configuring the Installation Settings
After the initial setup and installation of Windows on your new PC, it’s essential to configure the installation settings to ensure optimal performance and customization. Let’s explore the key steps involved in configuring the installation settings:
1. Select your region and language: During the installation process, you will be prompted to choose your region and language preferences. Select the appropriate options to customize Windows according to your location and preferred language.
2. Create a user account: Windows will ask you to create a user account for the PC. This account will serve as your primary login and allow you to access all the features and settings of the operating system. Enter a username and password for the account and choose whether you want to set up a Microsoft account or a local account.
3. Customize privacy settings: Windows offers various privacy settings that allow you to control how the operating system collects and uses your data. Take the time to review and customize these settings according to your preferences. For example, you can choose whether to enable or disable features like location tracking, personalized ads, and diagnostic data collection.
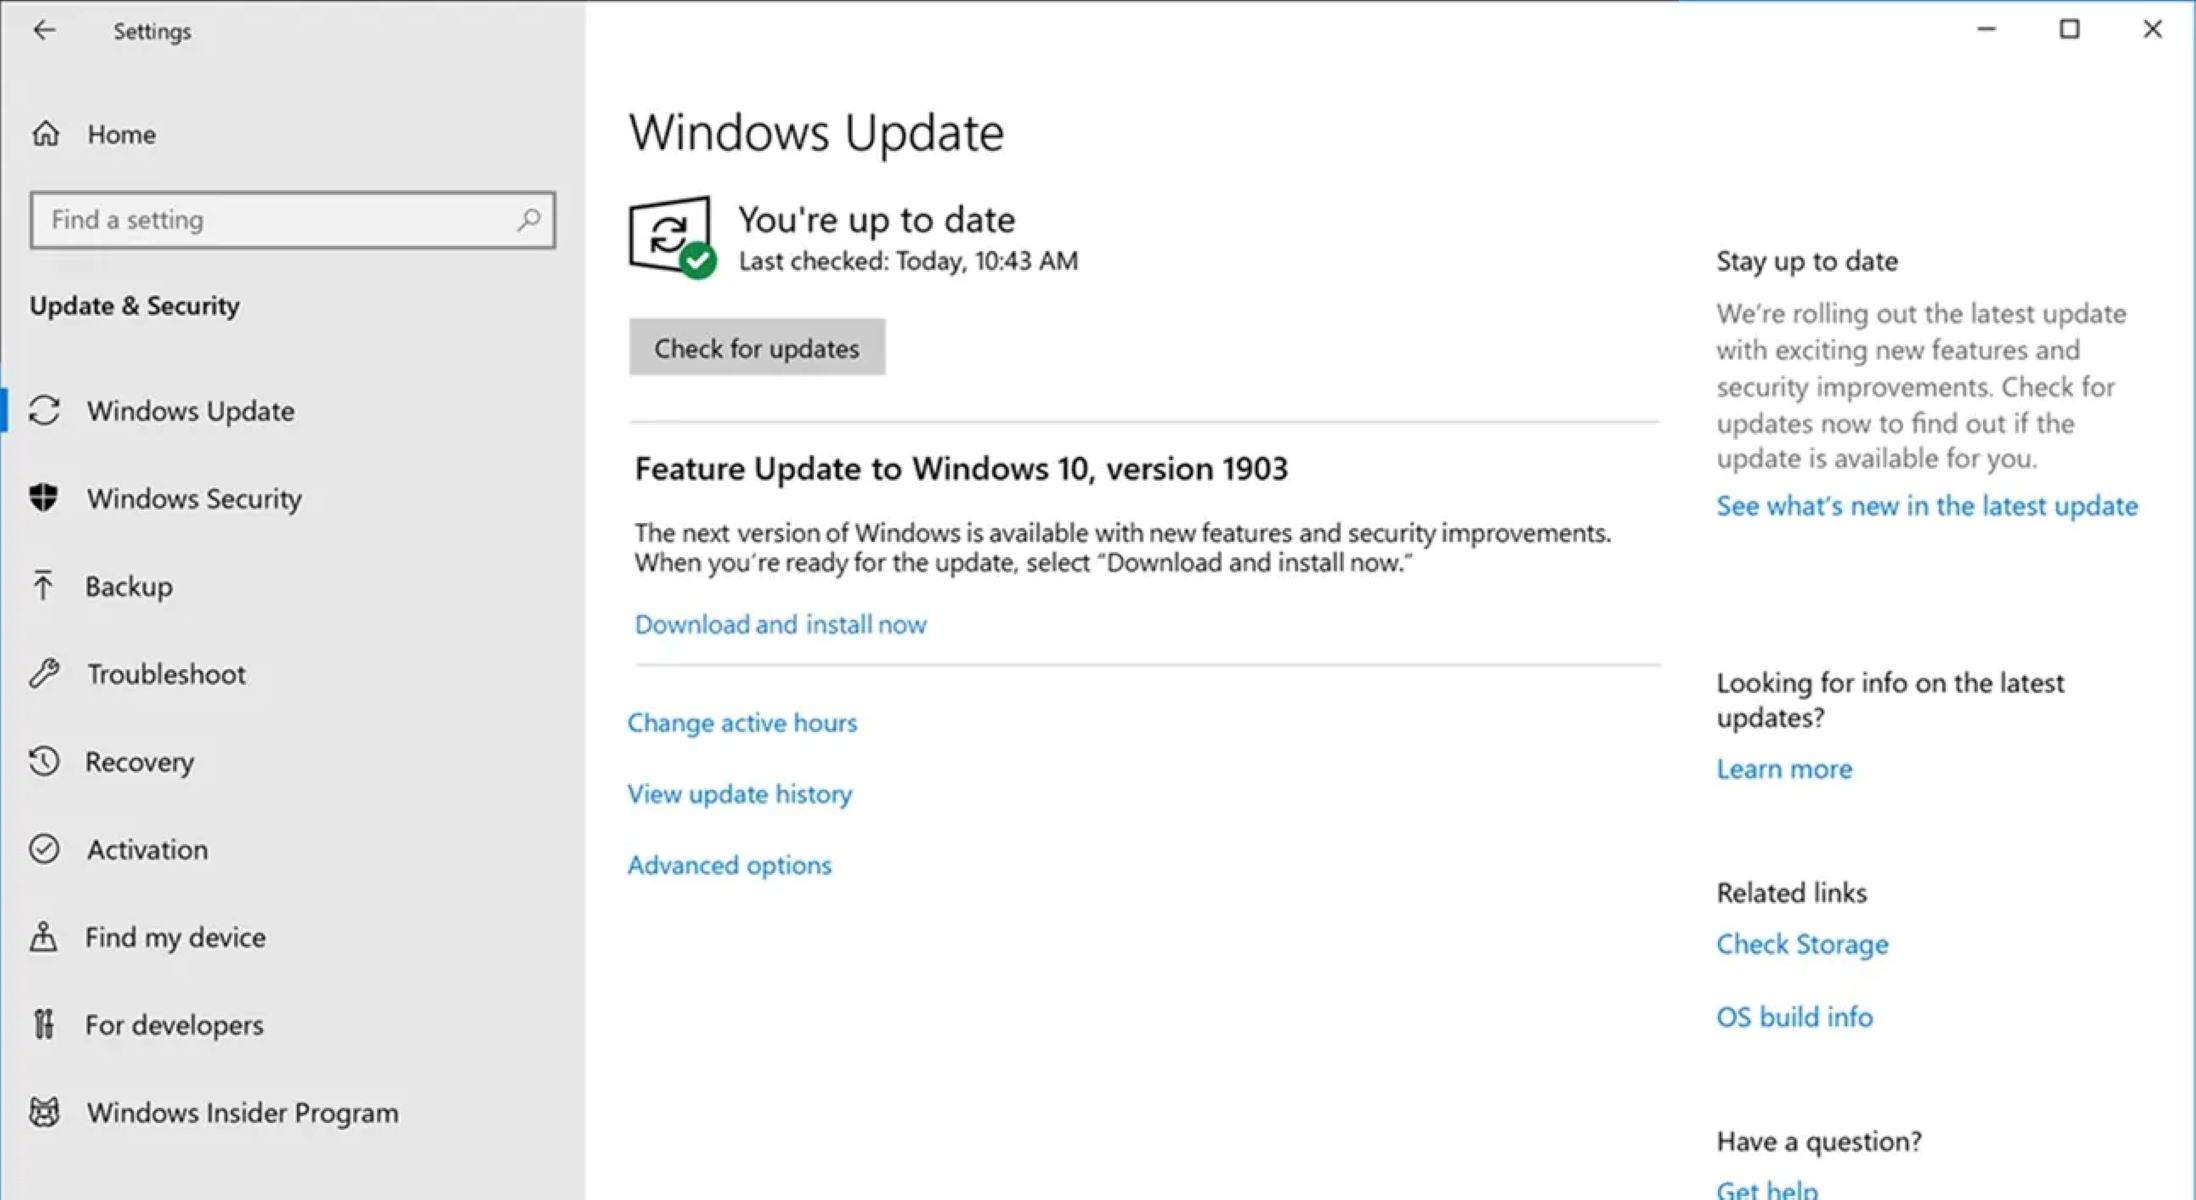
4. Install Windows updates: After the initial installation, it’s crucial to install the latest updates to ensure that your system is up to date with the latest security patches and improvements. Windows will automatically check for updates, but you can also manually initiate the update process by going to Settings > Update & Security > Windows Update.
5. Configure network settings: If your PC is connected to the internet, you’ll want to configure the network settings to ensure a stable and secure connection. You can set up your Wi-Fi network or connect using an Ethernet cable by going to Settings > Network & Internet.
6. Customize display and appearance: Personalize your Windows experience by customizing the display settings, such as screen resolution, brightness, and color calibration. You can also adjust the desktop background, themes, and visual effects to suit your preferences. Access these options through Settings > Personalization.
7. Set up additional devices and peripherals: If you have additional devices like printers, scanners, or external monitors, you may need to install the necessary drivers or software to ensure compatibility. Check the manufacturer’s instructions and download the drivers from their official website.
8. Install essential software and applications: After configuring the basic settings, it’s time to install the essential software and applications you need for your daily tasks. Consider installing a web browser, productivity suite, media player, and any other software that you regularly use.
By following these steps and configuring the installation settings, you can personalize your Windows experience and optimize your new PC for your specific needs and preferences. Take the time to explore the various settings available and tailor them to create a comfortable and efficient computing environment.
Installing Device Drivers
Device drivers are essential software components that allow your operating system to communicate and interact with hardware devices connected to your new PC. When installing Windows on a new PC, it’s important to install the necessary device drivers to ensure proper functionality and optimal performance. Here’s how to install device drivers on your new PC:
1. Windows Update: The first step in installing device drivers is to let Windows Update automatically search and install the latest drivers for your hardware components. Windows Update will usually identify and install most generic drivers for devices such as graphics cards, network adapters, and audio devices. To do this, go to Settings > Update & Security > Windows Update and click “Check for updates.”
2. Manufacturer’s Websites: If Windows Update doesn’t find the necessary drivers or if you want to install specific drivers provided by the hardware manufacturers, you can visit their official websites. Look for the “Support” or “Drivers” section on the manufacturer’s website, search for your specific device model, and download the latest drivers available for your operating system.
3. Device Manager: Windows provides Device Manager, a built-in tool that allows you to manage and update device drivers. To open Device Manager, right-click on the Start menu and select “Device Manager” from the context menu. In Device Manager, locate the device that requires a driver update, right-click on it, and choose “Update driver.” Select the option to search for drivers automatically or manually browse your computer for the downloaded driver files.
4. Driver Installation Wizard: Some devices come with their own driver installation wizard. If you have a driver installation disc or downloaded driver files, double-click on the executable file to launch the driver installation wizard. Follow the on-screen instructions provided by the wizard to install the drivers for the specific device.
5. Third-Party Driver Update Software: Alternatively, you can use third-party driver update software tools to automate the driver installation process. These tools scan your system, detect outdated or missing drivers, and provide a convenient way to update them. Be cautious when using third-party software and only download from reputable sources.
Remember to install drivers for essential hardware components such as the graphics card, sound card, network adapter, as well as any specific peripherals or devices you have connected to your new PC. Regularly check for driver updates and install them to ensure compatibility and reliability.
By following these methods, you can install the necessary device drivers on your new PC, ensuring that all hardware components are recognized and functioning correctly with the operating system.
Updating Windows and Installing Necessary Software
After installing device drivers and configuring your new PC, it’s crucial to keep your Windows operating system up to date and install the necessary software to enhance functionality and productivity. Here are the key steps to follow:
1. Windows Update: Regularly check for and install Windows updates to ensure that your operating system has the latest security patches, bug fixes, and performance improvements. Windows Update automatically checks for updates, but you can manually initiate the process by going to Settings > Update & Security > Windows Update.
2. Software Updates: In addition to Windows updates, it’s important to keep all your installed software up to date. Many programs have built-in update mechanisms, or you can manually check for updates on the software manufacturer’s website. Keeping your software updated helps ensure compatibility, stability, and security.
3. Antivirus Software: Install a reputable antivirus program to protect your PC from malware, viruses, and cyber threats. Update the antivirus software regularly to ensure that it has the latest virus definitions and security features. Windows Defender, the built-in antivirus program in Windows 10, can provide basic protection if you don’t have a third-party antivirus solution.
4. Productivity Tools: Install the necessary productivity software to enhance your workflow. This may include office suites, document editors, project management tools, or collaboration software. Choose the software that best suits your needs and ensures seamless productivity in your daily tasks.
5. Web Browsers: Install one or more web browsers based on your preferences. Popular options include Google Chrome, Mozilla Firefox, and Microsoft Edge. Ensure that your chosen browser is up to date to benefit from the latest security features and improved browsing performance.
6. Media Players and Codecs: Depending on your media needs, install media players capable of playing various formats. Examples include VLC Media Player, Windows Media Player, or specific players for audio and video formats. Install necessary codecs to ensure compatibility with different media files.
7. Creative Software: If you are involved in creative work such as graphic design, video editing, or music production, install relevant software tools and applications. Examples include Adobe Creative Cloud, CorelDRAW, Audacity, or video editing software like Adobe Premiere Pro or Final Cut Pro.
8. Cloud Storage and File Backup: Consider setting up cloud storage services like Google Drive, Dropbox, or Microsoft OneDrive for easy access to your files from any device and for data backup purposes. Regularly backup important files to prevent data loss.
Remember to review and download software from trusted sources to minimize the risk of malware or other malicious programs. Be cautious of unnecessary or potentially harmful software, and read user reviews and recommendations before installation.
By regularly updating Windows and installing necessary software, you can ensure a secure, efficient, and productive computing experience on your new PC.
Activating Windows
After installing Windows on your new PC, you need to activate your operating system to confirm its legitimacy and access all the features and functionality it offers. Activation verifies that you have a valid license for the version of Windows installed on your PC. Here’s how to activate Windows:
1. Activation wizard: Shortly after installing Windows, you may receive a prompt to activate your copy of the operating system. If this happens, click on the notification or go to Settings > Update & Security > Activation to open the Activation settings.
2. Product Key: You will need a valid product key to activate Windows. If you purchased a retail copy of Windows, the product key should be included in the packaging. If you bought a digital copy, you may have received the key via email or it may be associated with your Microsoft account. Enter the product key when prompted, ensuring that it is correctly entered to avoid activation issues.
3. Activate Online: Most users can activate Windows online by following the prompts in the Activation settings. Ensure that your PC is connected to the internet and click on the “Activate” button. Windows will connect to Microsoft’s activation servers, validate your product key, and activate your copy of Windows. A successful activation message will confirm that Windows is now activated.
4. Activate by Phone: If you encounter any issues activating Windows online, you can activate it by phone. On the Activation settings page, click on the option to activate by phone. Follow the on-screen instructions to generate a unique installation ID. Use the provided phone number to reach the Microsoft Activation Center and provide the installation ID. The representative will guide you through the activation process over the phone.
5. Troubleshooting Activation Issues: If you experience activation errors or have trouble activating Windows, you can access additional support options through the Activation settings. Windows provides troubleshooters and online resources to assist in resolving activation problems. You can also contact Microsoft support for further assistance.
It’s important to activate Windows within a certain period after installation to continue using all the features and receive essential updates. Failure to activate Windows may result in limited functionality and eventual restrictions on usage. By following these steps, you can ensure that your Windows operating system is properly activated and ready for use on your new PC.
Finalizing the Setup Process
After the installation, configuration, and activation of Windows on your new PC, there are a few remaining steps to finalize the setup process and ensure that your system is ready for use. Here’s what to do:
1. Install Essential Software: Install any additional software that you need for your daily tasks. This may include productivity suites, media players, web browsers, and other software that you regularly use. Make sure to download these applications from reputable sources and keep them updated with the latest versions.
2. Transfer Data: If you have data from your previous PC or device that you want to transfer, you can use the Windows migration tools or third-party software to simplify the process. This will help you move files, documents, photos, and other important data to your new PC without hassle.
3. Set Up Security Measures: Take steps to ensure the security of your new PC. Install reliable antivirus software and enable Windows Defender (the built-in antivirus program) to protect against malware and viruses. Consider setting up a firewall to control network traffic and enable automatic updates for security patches.
4. Customize Settings: Personalize Windows settings to optimize your experience. Adjust display settings, wallpaper, screen savers, and other visual elements to suit your preferences. Set up your notification preferences, power management settings, and accessibility options to enhance usability.
5. Create System Restore Point: Before making any major changes or installing additional software, create a system restore point. This will allow you to revert to a previous state if something goes wrong. To create a system restore point, search for “create a restore point” in the Windows search bar and follow the prompts.
6. Data Backup: Set up regular data backups to protect your important files and documents. Consider using external hard drives, cloud storage services, or backup software to automate the backup process. Regular backups will protect against data loss in case of system failure or accidental deletion of files.
7. Test Hardware Functionality: Ensure that all hardware components are functioning properly. Test devices such as printers, scanners, audio devices, and external storage devices to ensure they are recognized and working as expected. If you encounter any issues, refer to the device manufacturer’s instructions or contact their support for assistance.
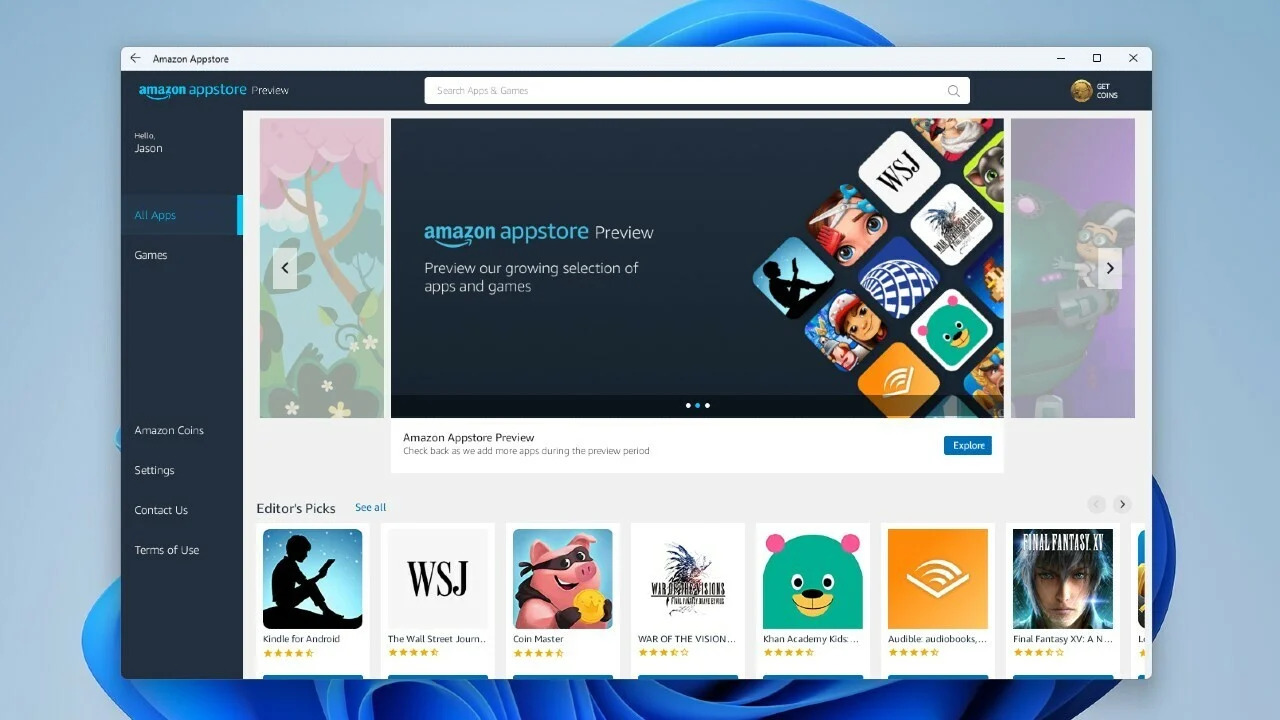
8. Explore Windows Features: Take the time to explore the various features and capabilities of Windows, such as Cortana (the digital assistant), the Windows Store (for downloading apps), virtual desktops, and the Action Center. Familiarize yourself with the functionalities that can enhance your productivity and overall computing experience.
By following these steps to finalize the setup process, you can ensure that your new PC is fully functional, secure, and optimized according to your preferences. Regularly update your software and operating system, practice safe browsing habits, and keep your system organized to maintain an efficient and enjoyable computing experience.