Introduction
Are you tired of your computer overheating during intense gaming sessions or CPU-intensive tasks? Look no further! The Rosewill Deep Cool CPU Cooler is the perfect solution to keep your CPU cool and prevent any performance degradation due to overheating.
In this comprehensive guide, we will walk you through step-by-step instructions on how to install the Rosewill Deep Cool CPU Cooler. This high-performance cooler is designed to efficiently dissipate heat, providing optimal cooling for your CPU and ensuring smooth operation.
Whether you’re a seasoned tech enthusiast or a novice just starting to delve into computer hardware, this guide will provide you with all the necessary information and instructions to successfully install the Rosewill Deep Cool CPU Cooler.
Before we dive into the installation process, let’s take a closer look at what the Rosewill Deep Cool CPU Cooler is and how it can benefit your computer’s performance.
The Rosewill Deep Cool CPU Cooler is a top-of-the-line cooling solution designed to effectively remove heat from your CPU. It features a durable construction and innovative design that allows for efficient heat dissipation, keeping your CPU temperature within optimal limits.
One of the key features of the Rosewill Deep Cool CPU Cooler is its compatibility with a wide range of CPU sockets. Whether you have an Intel or AMD processor, this cooler is designed to fit seamlessly onto your CPU without any compatibility issues.
Not only does the Rosewill Deep Cool CPU Cooler provide excellent cooling performance, but it also operates quietly. The included fan is designed to generate minimal noise, ensuring a peaceful computing experience without any distracting fan noise.
To install the Rosewill Deep Cool CPU Cooler, you will need a few tools and components, which we will discuss in the next section. Don’t worry; these are readily available and won’t break the bank.
So, if you’re ready to give your computer the cooling performance it deserves, let’s jump right into the installation process for the Rosewill Deep Cool CPU Cooler.
What Is Rosewill Deep Cool CPU Cooler
The Rosewill Deep Cool CPU Cooler is a high-quality cooling solution designed to keep your computer’s CPU running at optimal temperatures. It is a vital component for any PC enthusiast or gamer who wants to maximize performance and ensure longevity for their processor.
This cooler utilizes advanced technology and engineering to efficiently dissipate heat generated by the CPU. By doing so, it prevents the processor from overheating and experiencing performance degradation. The Rosewill Deep Cool CPU Cooler is compatible with both Intel and AMD processors, making it a versatile option for a wide range of systems.
One of the standout features of the Rosewill Deep Cool CPU Cooler is its robust construction. It is made from high-quality materials that ensure durability and longevity. The cooler’s design includes an array of heat pipes, fins, and a large contact surface area, all working together to efficiently transfer heat away from the CPU.
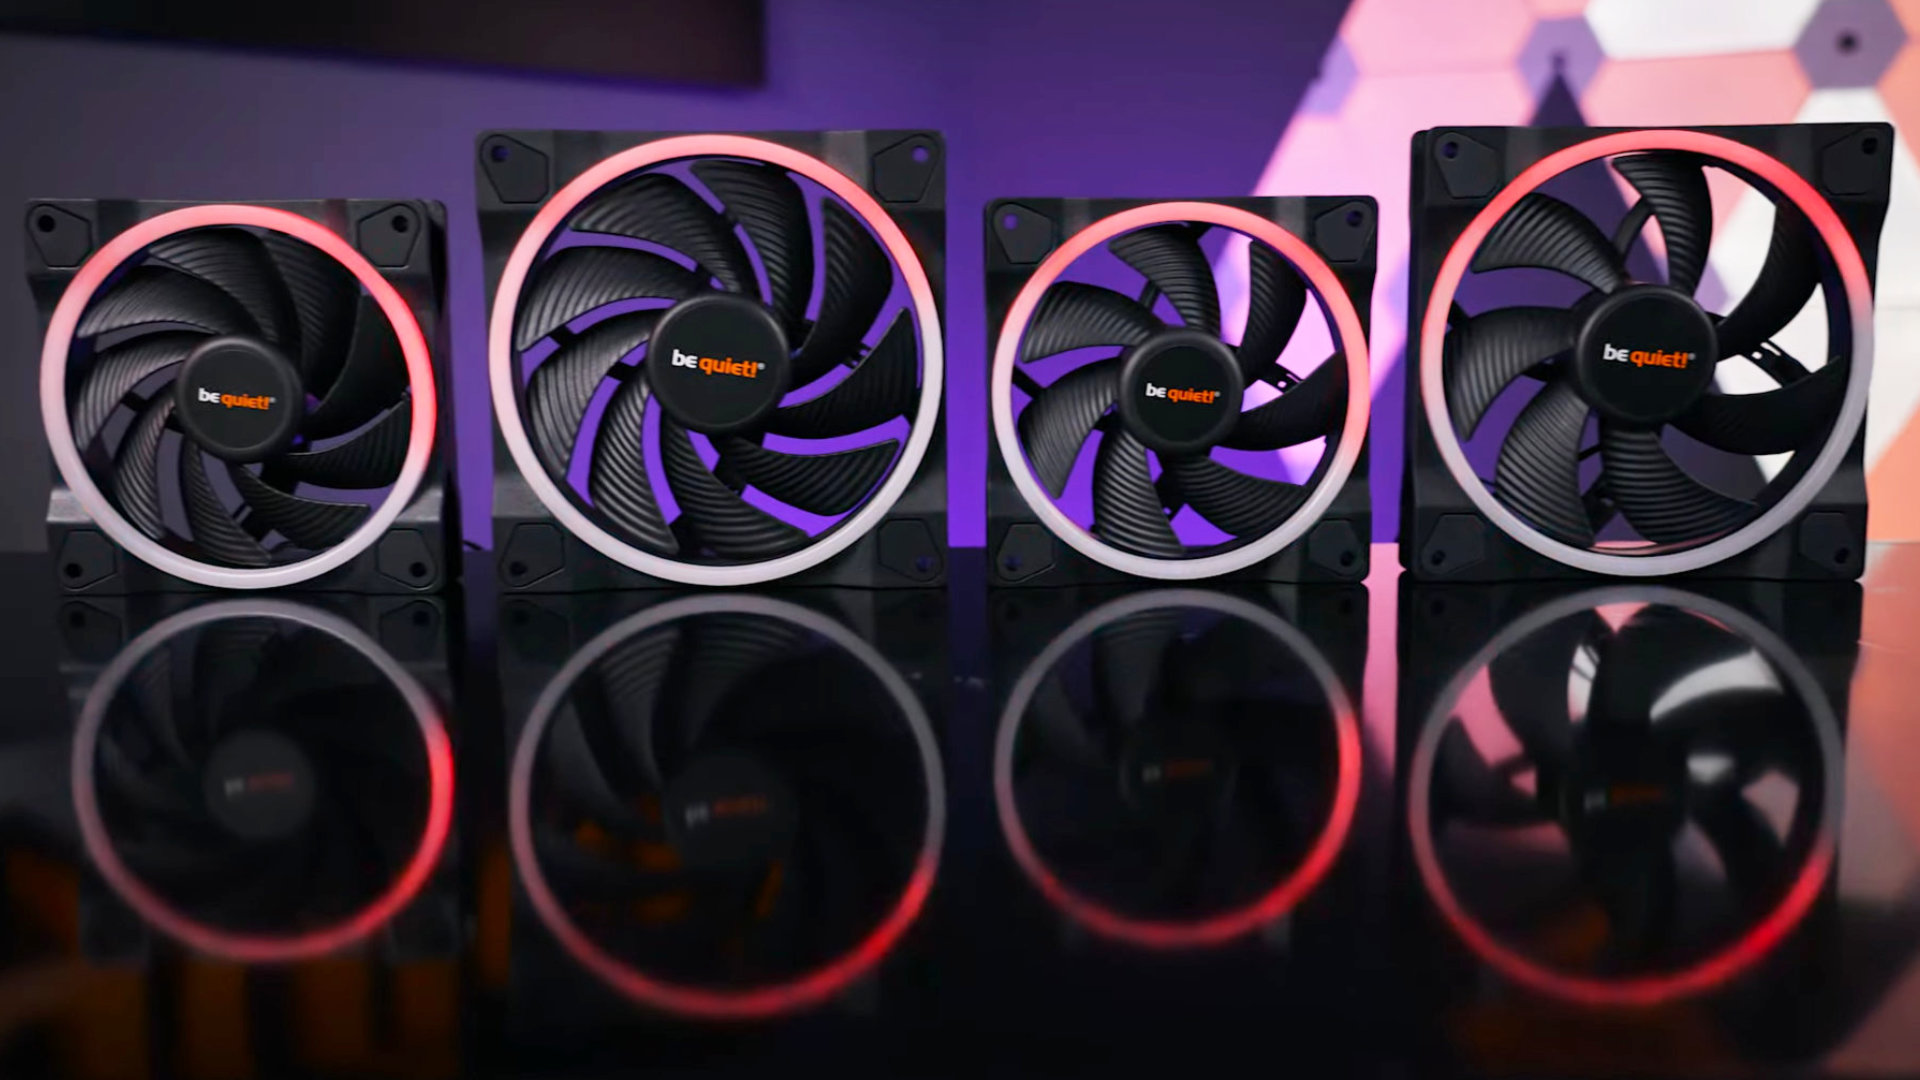
The Rosewill Deep Cool CPU Cooler also features a powerful fan that enhances cooling performance. This fan is designed to provide a strong airflow while operating quietly, so you can enjoy a cool and peaceful computing experience without any distracting noise.
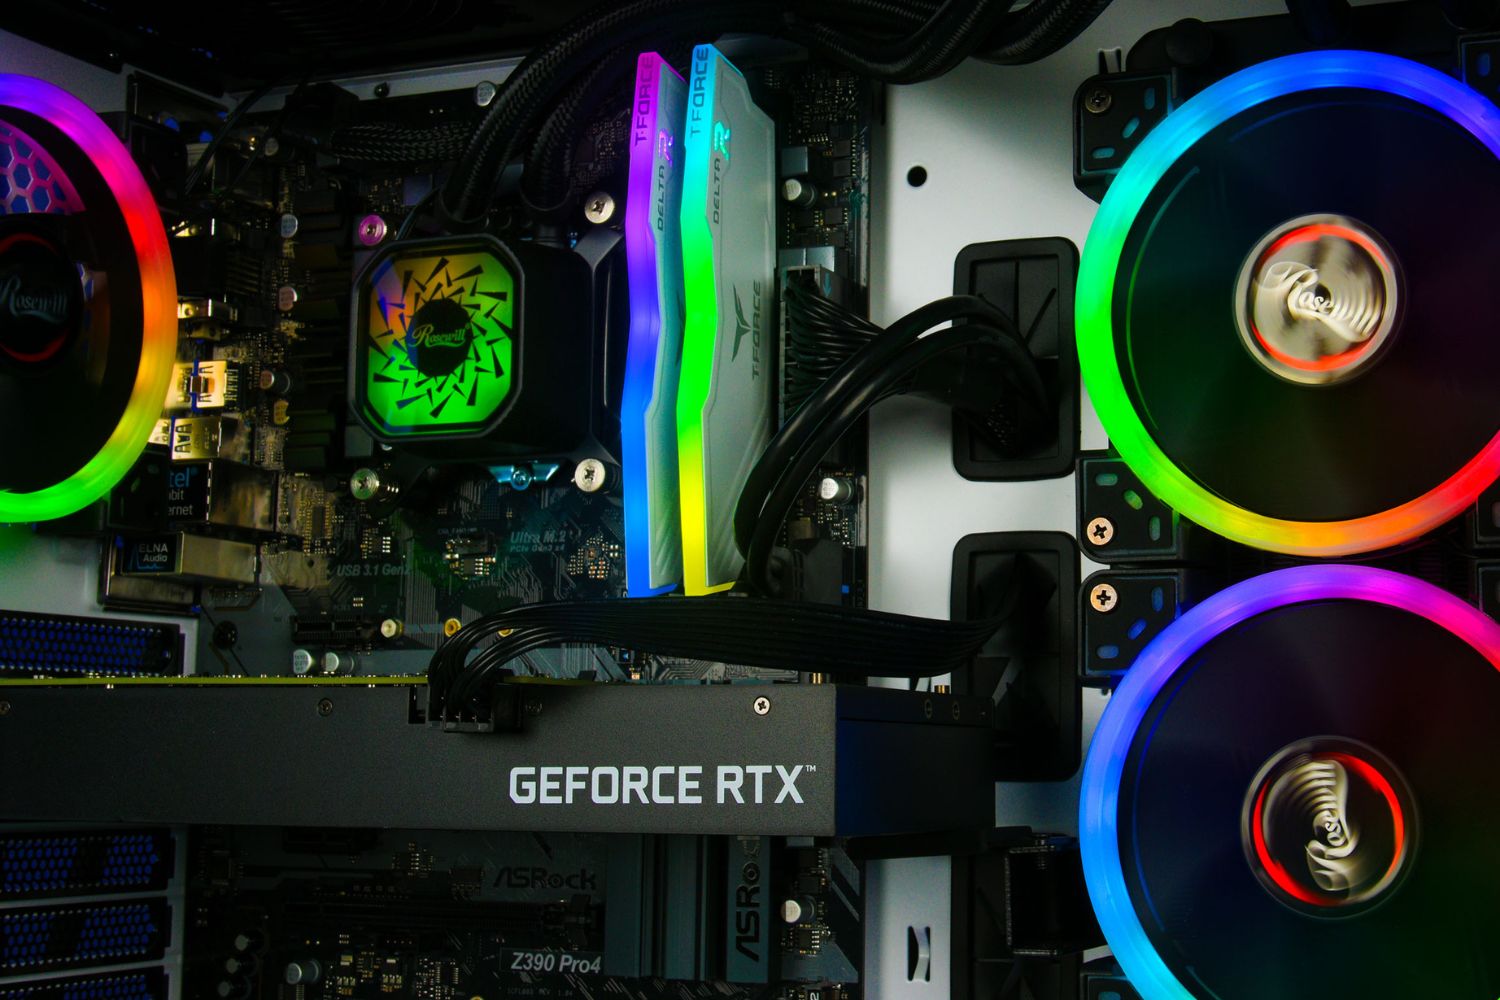
In addition to its cooling capabilities, the Rosewill Deep Cool CPU Cooler also adds a visual appeal to your PC. With its sleek and stylish design, it enhances the overall aesthetics of your system. The cooler’s RGB lighting options allow you to customize the appearance to match your personal taste and complement the rest of your PC components.
Installing the Rosewill Deep Cool CPU Cooler is a straightforward process, and it comes with all the necessary mounting hardware and thermal paste for easy installation. Whether you are a seasoned computer builder or a first-time user, you can confidently install this cooler and reap the benefits of improved CPU cooling.
With the Rosewill Deep Cool CPU Cooler, you can expect lower CPU temperatures, improved performance, and the peace of mind that comes with knowing your processor is protected. So, if you want to keep your CPU running cool and optimize your computer’s performance, the Rosewill Deep Cool CPU Cooler is a reliable and cost-effective choice.
Things You Will Need
Before you begin the installation process for the Rosewill Deep Cool CPU Cooler, it is important to gather all the necessary tools and components. Having everything ready will ensure a smooth and efficient installation. Here’s a list of things you will need:
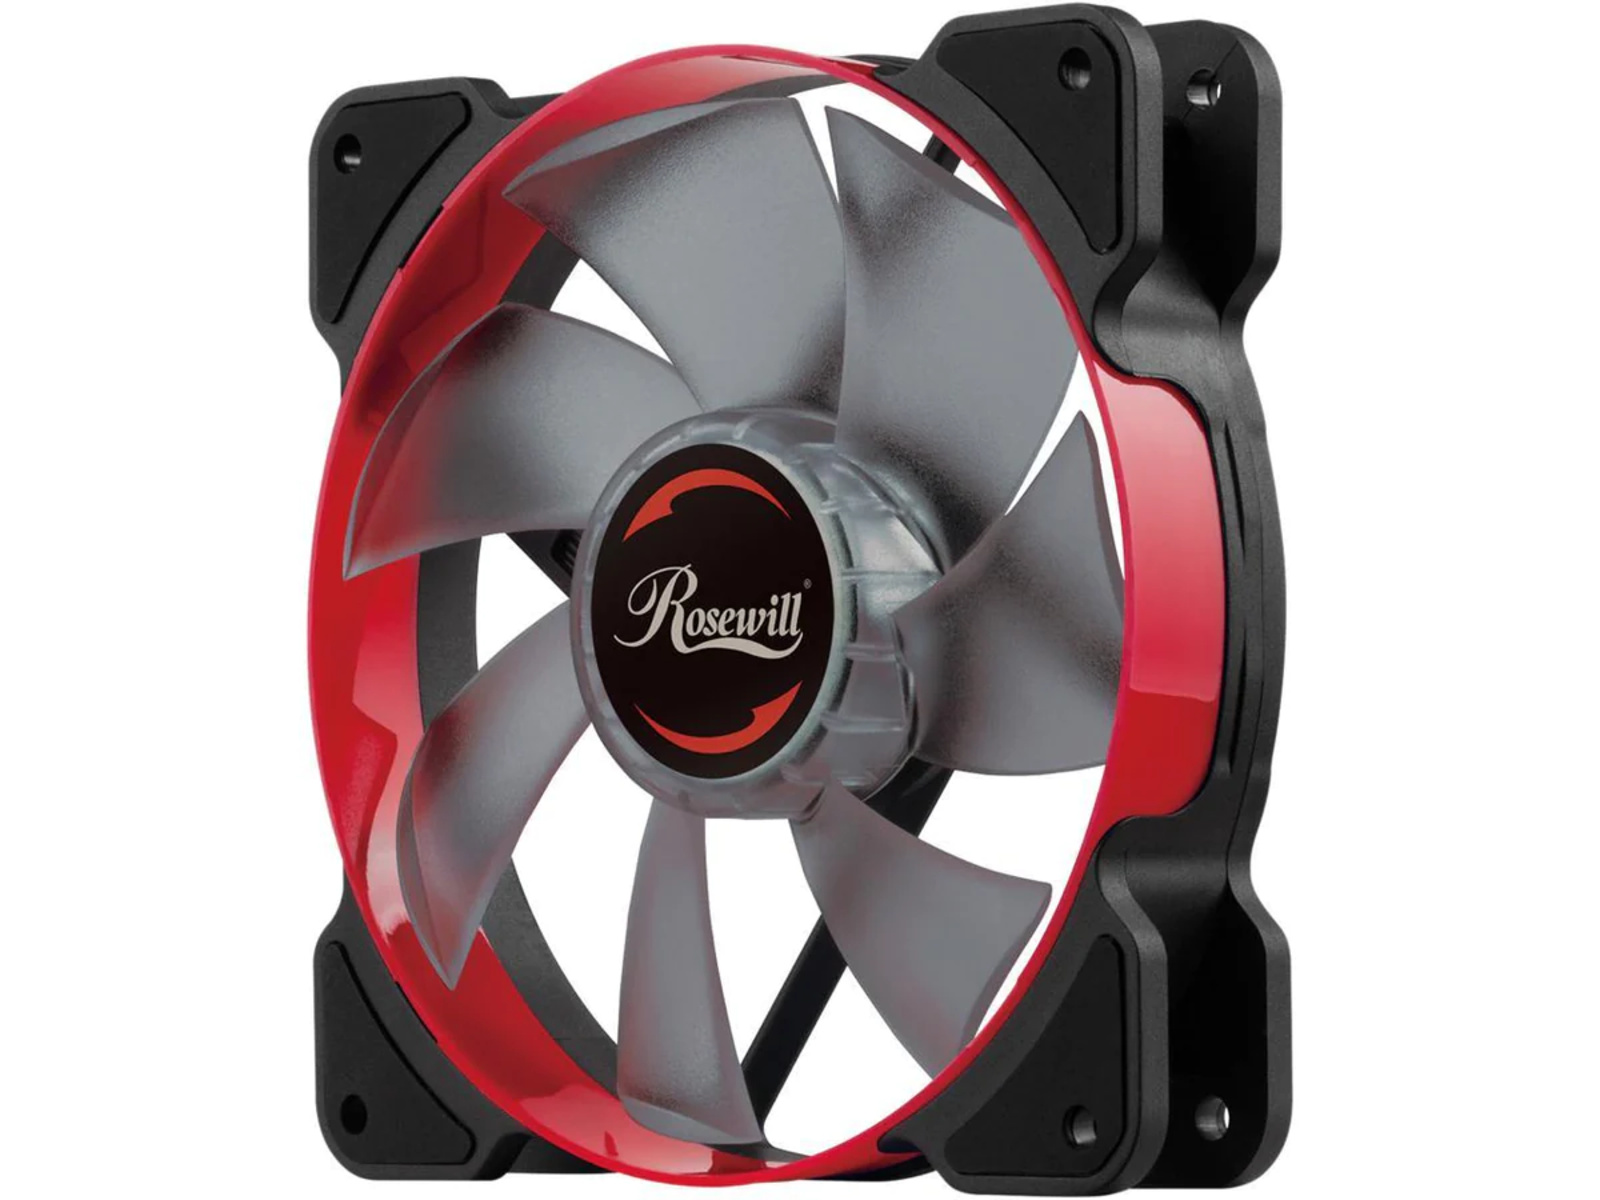
1. Rosewill Deep Cool CPU Cooler: Of course, you will need the actual CPU cooler itself. Make sure you have the correct model and variant that is compatible with your CPU socket.
2. Thermal Paste: Thermal paste is a crucial component in proper heat transfer between the CPU and the cooler. Make sure you have a high-quality thermal paste to apply during the installation process.
3. Screwdriver: You will need a screwdriver to remove the old CPU cooler and install the Rosewill Deep Cool CPU Cooler. Ensure that the screwdriver corresponds to the type of screws utilized in your system.
4. Cleaning Cloth: It is essential to have a clean cloth or microfiber cloth to wipe away any dust or thermal paste residue from the CPU before installing the cooler. A clean surface is crucial for optimal thermal contact.
5. Rubbing Alcohol: To thoroughly clean the CPU surface, it is recommended to have rubbing alcohol or isopropyl alcohol on hand. This will help remove any remnants of thermal paste from the previous cooler installation.
6. Anti-static Wrist Strap (optional): To protect your computer from static electricity, you may want to use an anti-static wrist strap. This will help prevent damage to sensitive components during the installation process.
7. User Manual: The Rosewill Deep Cool CPU Cooler comes with a user manual that provides detailed instructions for installation. Make sure to have the manual handy for reference throughout the process.
By ensuring that you have all the necessary tools and components before starting the installation, you can proceed with confidence knowing that you have everything you need for a successful installation.
Now that you have gathered all the required items, let’s move on to the step-by-step installation process for the Rosewill Deep Cool CPU Cooler.
Step 1: Preparing Your CPU
Before we can install the Rosewill Deep Cool CPU Cooler, it is essential to properly prepare your CPU. This step ensures that the CPU surface is clean and ready for the installation process. Follow these steps to prepare your CPU:
1. Power Off Your Computer: Start by shutting down your computer and disconnecting the power cord. This will prevent any electrical accidents or damage to the components during the installation process.
2. Ground Yourself: To avoid damaging sensitive electronic components with static electricity, ground yourself by touching a grounded metal object, such as a metal part of your computer case.
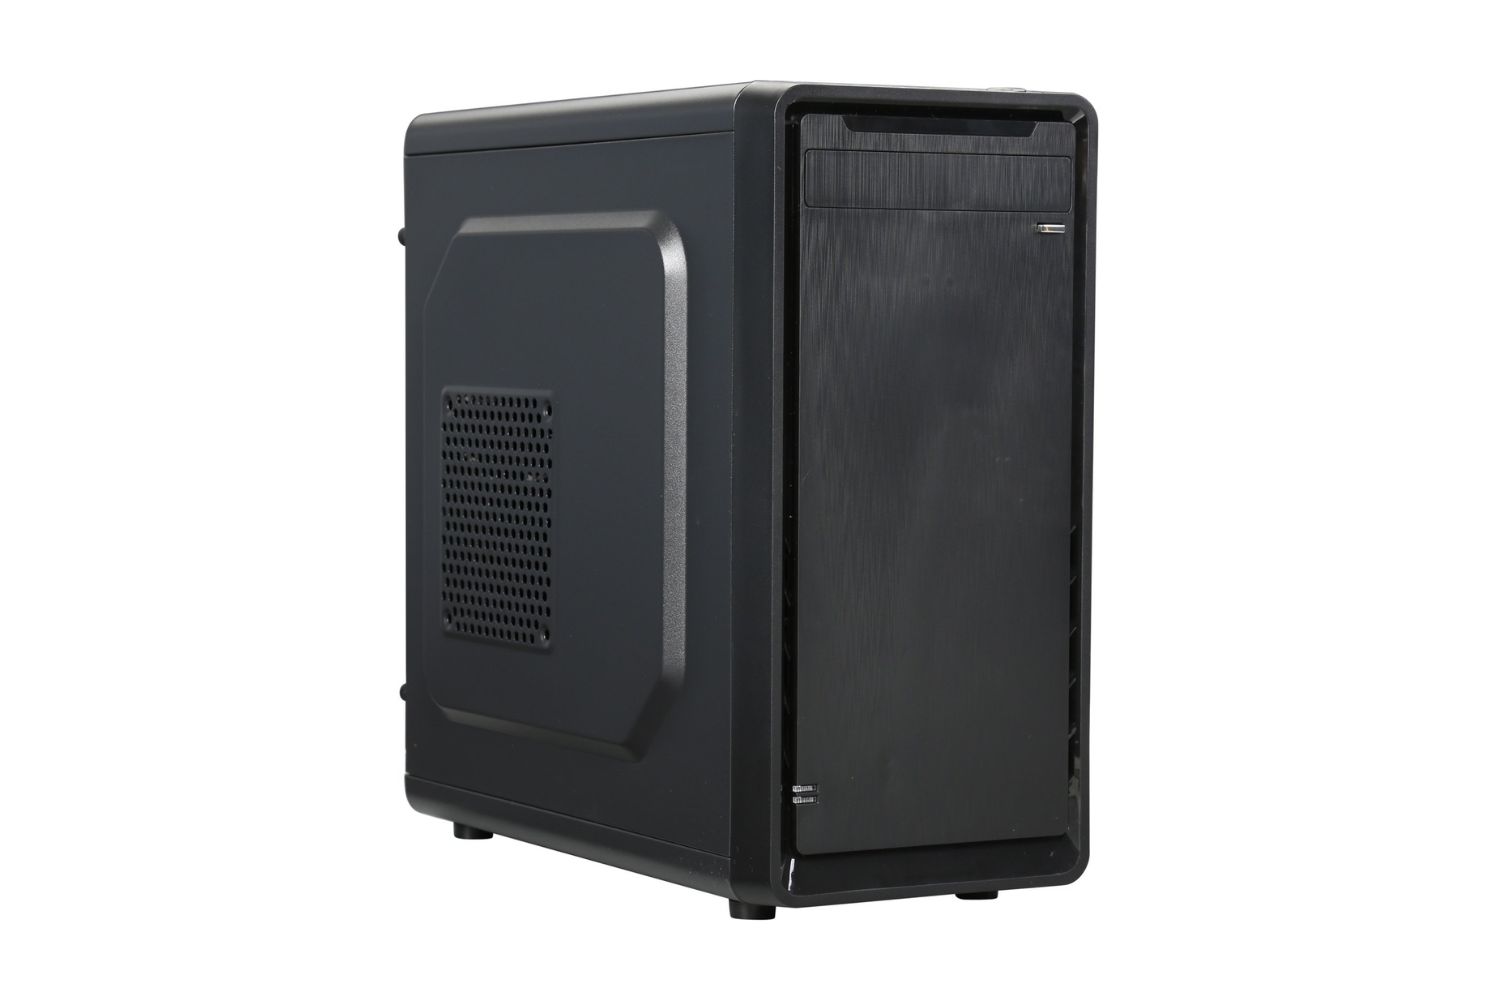
3. Remove the Side Panel: Open your computer case by removing the side panel. The method for removing the panel varies depending on the case model, but it typically involves unscrewing a few screws or sliding the panel off.
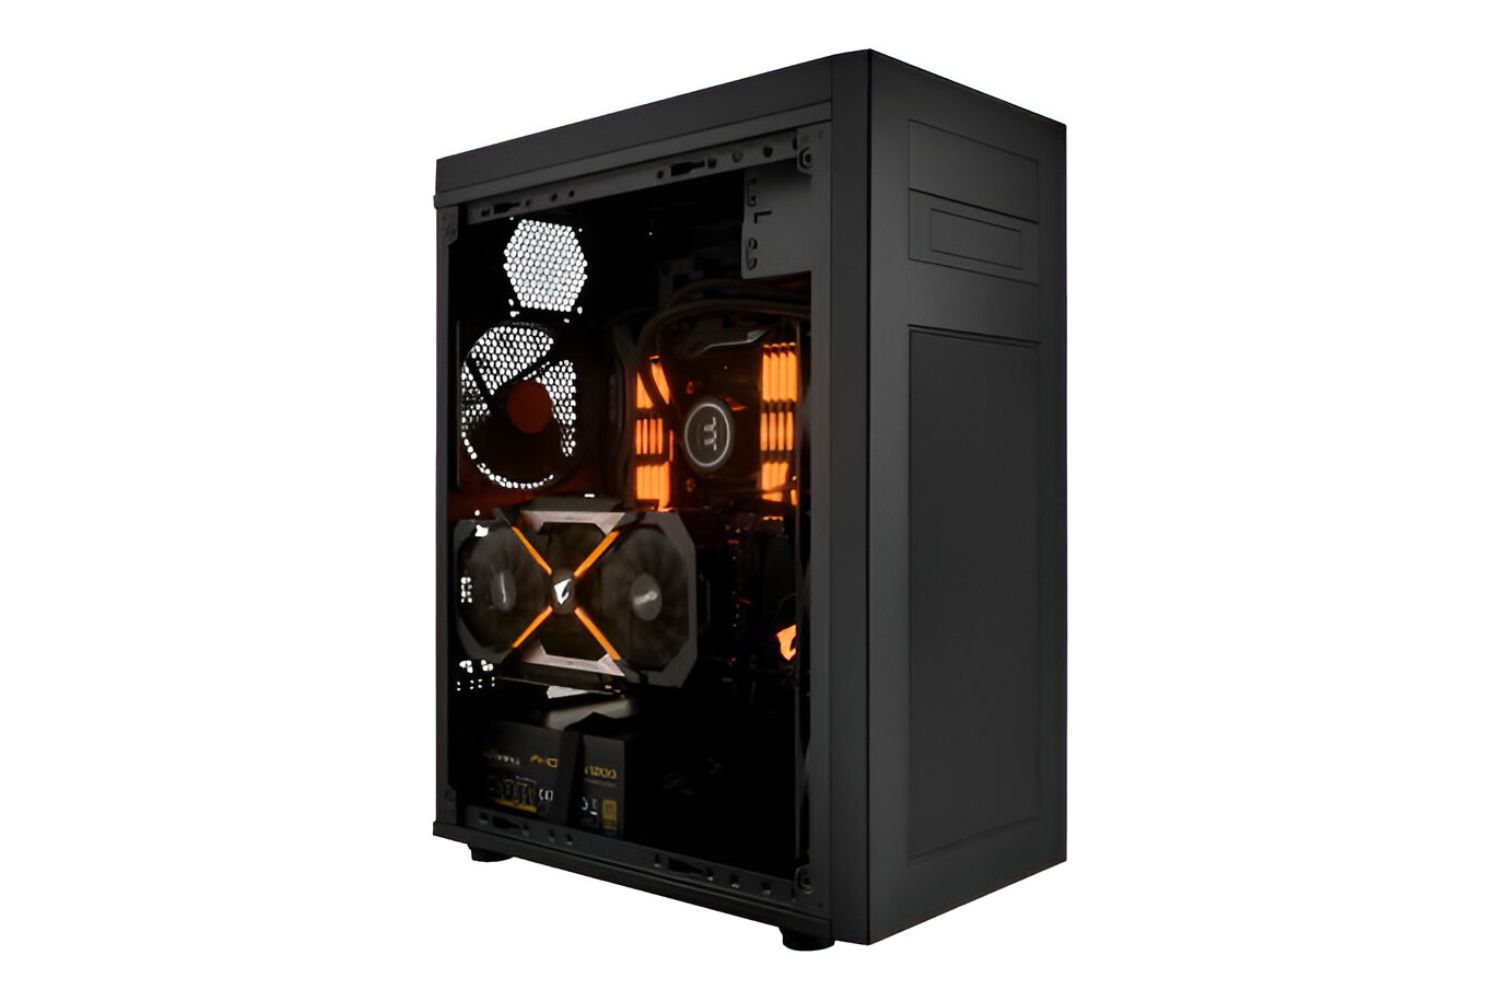
4. Locate the CPU: Once the side panel is removed, locate the CPU socket on the motherboard. It is a square or rectangular socket usually located in the upper middle section of the motherboard.
5. Remove the Old Thermal Paste: Check if there is any existing thermal paste on the CPU. If so, use a clean cloth or microfiber cloth along with rubbing alcohol to gently wipe away the old thermal paste. Ensure that the entire surface is clean and free from any residue.
6. Inspect the CPU Pins: Take a moment to inspect the CPU pins or contacts on the motherboard. Make sure they are clean and free from any debris or damage. If necessary, use compressed air or a soft brush to remove any dust or particles.
By carefully preparing your CPU, you ensure a clean and optimal surface for installing the Rosewill Deep Cool CPU Cooler. This step is crucial for maintaining proper thermal contact and maximizing cooling performance.
Now that your CPU is prepared, we can move on to the next step: removing the old CPU cooler.
Step 2: Removing the Old CPU Cooler
Now that your CPU is prepared, it’s time to remove the old CPU cooler before installing the Rosewill Deep Cool CPU Cooler. Follow these steps to safely remove the old cooler:
1. Locate the CPU Cooler: Identify the existing CPU cooler mounted on top of the CPU. It is usually a large metal heatsink with a fan attached to it.
2. Disconnect the Fan Power Cable: Locate the fan power cable connected to the motherboard. Gently unplug the cable from the motherboard to disconnect the power supply to the fan.
3. Remove the Fastening Mechanism: Most CPU coolers use a retention mechanism to secure the heatsink in place. Depending on the model, this may involve screws, clips, or brackets. Carefully remove these fastening mechanisms to release the cooler from the CPU.
4. Detach the Cooler from the CPU: Once the retention mechanism is removed, gently lift the CPU cooler off the CPU surface. Be cautious not to apply excessive force or twist the cooler, as this can damage the CPU or the motherboard.
5. Clean the CPU Surface: After removing the old CPU cooler, inspect the CPU surface for any remaining thermal paste. Clean the surface using a clean cloth or microfiber cloth along with rubbing alcohol, ensuring that it is free from any debris or residue.
6. Inspect for Damage: Take a moment to inspect the CPU and motherboard for any damage, bent pins, or abnormalities. If you notice any issues, it is advisable to address them before proceeding with the installation of the new CPU cooler.
By properly removing the old CPU cooler, you create a clean slate for installing the Rosewill Deep Cool CPU Cooler. It also allows for easy access to the CPU socket and ensures a smooth installation process.
With the old CPU cooler out of the way, we can now move on to the next step: preparing the Rosewill Deep Cool CPU Cooler for installation.
Step 3: Preparing the Rosewill Deep Cool CPU Cooler
Now that the old CPU cooler has been removed, it’s time to prepare the Rosewill Deep Cool CPU Cooler for installation. Follow these steps to ensure a smooth preparation process:
1. Unbox the Cooler: Start by unboxing the Rosewill Deep Cool CPU Cooler and carefully remove all the components from the packaging. Ensure that you have the heatsink, fan, mounting brackets, and any additional accessories that come with the cooler.
2. Apply Thermal Paste: High-performance thermal paste is essential for optimal heat transfer between the CPU and the cooler. Take the provided thermal paste or a high-quality thermal paste and apply a small pea-sized amount to the center of the CPU surface. Avoid applying too much, as it can cause excessive thermal conductivity issues.
3. Spread the Thermal Paste (optional): Some users prefer to spread the thermal paste evenly across the CPU surface using a spreader or a plastic card. This ensures proper coverage and eliminates any air gaps that may hinder effective heat transfer. If you choose to spread the thermal paste, do so with caution to maintain a thin and even layer.
4. Prepare the Mounting Brackets: Depending on your CPU socket type, you may need to install the appropriate mounting brackets provided with the Rosewill Deep Cool CPU Cooler. Consult the user manual to determine the correct mounting brackets and follow the instructions to attach them securely.
5. Inspect the Fan: Take a moment to inspect the fan that comes with the cooler. Ensure that it is clean and free from any obstructions or debris. If necessary, gently clean the fan blades using a soft brush or compressed air to maintain optimal cooling performance.
By properly preparing the Rosewill Deep Cool CPU Cooler, you ensure that all components are in place for a seamless installation process. The thermal paste ensures effective heat transfer, and the mounting brackets provide a secure attachment to the CPU socket.
With the cooler prepared, we are now ready to move on to the exciting part: installing the Rosewill Deep Cool CPU Cooler onto your CPU.
Step 4: Installing the Rosewill Deep Cool CPU Cooler
Now that you have prepared the Rosewill Deep Cool CPU Cooler, it’s time to install it onto your CPU. Follow these step-by-step instructions for a hassle-free installation:
1. Identify the Mounting Holes: Locate the mounting holes around the CPU socket on your motherboard. These holes correspond to the mounting brackets on the Rosewill Deep Cool CPU Cooler.
2. Align the Cooler: Carefully align the mounting brackets on the cooler with the corresponding mounting holes on the motherboard. Ensure that the cooler is positioned correctly to match your CPU socket.
3. Secure the Cooler: Using the provided screws or fasteners, secure the cooler onto the motherboard by attaching the mounting brackets to the mounting holes. Tighten the screws firmly but avoid over-tightening, as it may damage the CPU or motherboard.
4. Verify Proper Alignment: Take a moment to verify that the cooler is securely attached and aligned properly. It should sit evenly on top of the CPU socket without any gaps or misalignment.
5. Connect the Fan Power Cable: Locate the fan power connector on the cooler. Connect it to the corresponding fan header on the motherboard. Ensure that it is securely plugged in to provide power to the fan for optimal cooling performance.
6. Reinstall the Side Panel: Once the Rosewill Deep Cool CPU Cooler is securely installed, close the computer case by reattaching the side panel. Make sure to align it correctly and secure it with the screws to ensure a proper fit.
By following these steps, you can successfully install the Rosewill Deep Cool CPU Cooler onto your CPU. It is important to take your time and double-check the alignment and installation to avoid any issues.
With the cooler now installed, we can move on to the next step: attaching the fan to the Rosewill Deep Cool CPU Cooler.
Step 5: Attaching the Fan
After installing the Rosewill Deep Cool CPU Cooler, the next step is to attach the fan to enhance its cooling performance. Follow these steps to securely attach the fan to the cooler:
1. Locate the Fan Mounting Points: Identify the fan mounting points on the Rosewill Deep Cool CPU Cooler. These are usually located on the sides of the heatsink.
2. Align the Fan: Carefully align the fan with the mounting points on the cooler. Ensure that it is positioned correctly and that the screw holes on the fan align with the corresponding holes on the cooler.
3. Use the Screws: Insert the provided screws through the fan mounting holes into the corresponding holes on the cooler. Gently tighten the screws using a screwdriver, ensuring that they are snug but not overly tightened.
4. Verify Proper Alignment: Check that the fan is securely attached to the cooler and that it is aligned properly. Ensure that it sits evenly on the cooler and that there is no interference with other components or cables.
5. Connect the Fan Power Cable: Locate the fan power cable on the cooler. Connect it to the corresponding fan header on the motherboard. Ensure that it is securely plugged in to provide power to the fan.
6. Cable Management: Take a moment to organize and route the fan power cable neatly to avoid any obstruction or interference with other components. Use cable ties or clips to secure the cable and maintain a clean and tidy appearance.
By attaching the fan to the Rosewill Deep Cool CPU Cooler, you enhance its cooling capabilities and ensure efficient heat dissipation. The fan’s airflow improves overall thermal performance, keeping your CPU at optimal temperatures during intense tasks or gaming sessions.
Now that the fan is securely attached, we can move on to the next step: connecting the power and ensuring proper operation.
Step 6: Connecting the Power
With the fan attached to the Rosewill Deep Cool CPU Cooler, the next step is to connect the power cables to ensure proper operation. Follow these steps to connect the power:
1. Locate the Fan Header: Identify the fan header on your motherboard. It is typically labeled as “CPU_FAN” or something similar.
2. Connect the Power Cable: Take the fan power cable from the Rosewill Deep Cool CPU Cooler and align it with the fan header on the motherboard. Ensure that the pins on the cable match the corresponding pins on the header.
3. Secure the Connection: Carefully insert the power cable into the fan header, making sure it is fully seated and secure. The connection should be snug, with no loose or partially inserted pins.
4. Check the Rotation: Take a moment to confirm that the fan is spinning freely and in the correct direction. Most fans have an arrow indicating the direction of airflow. Ensure that the fan is oriented properly to push air towards the heatsink.
5. Cable Management: Organize and route the fan power cable neatly to avoid any obstruction or interference with other components. Use cable ties or clips to secure the cable and maintain a clean and tidy appearance.
Connecting the power to the fan ensures that it receives the necessary electricity to function and provide efficient cooling to your CPU. Properly securing the connection and verifying the fan’s rotation direction are important steps to ensure optimal performance.
With the power connected, we can move on to the final step: testing the installation to ensure everything is working as expected.
Step 7: Testing the Installation
After completing the installation of the Rosewill Deep Cool CPU Cooler and connecting the power, it’s crucial to test the installation to ensure everything is working as expected. Follow these steps to perform a thorough test:
1. Power On Your Computer: Turn on your computer by reconnecting the power cord and pressing the power button. Wait for your computer to boot up and reach the desktop.
2. Monitor CPU Temperatures: Use temperature monitoring software to check the temperatures of your CPU. You can use programs like HWMonitor, Core Temp, or the monitoring software provided by your motherboard manufacturer. Keep an eye on the CPU temperature readings to ensure they are within acceptable ranges.
3. Perform CPU Intensive Tasks: To stress-test the newly installed Rosewill Deep Cool CPU Cooler, engage in CPU-intensive activities like running demanding applications or playing graphically demanding games. Monitor the CPU temperatures during these activities to ensure that the cooler is effectively keeping the temperature under control.
4. Listen for Unusual Noises: While the computer is running, pay attention to any unusual noises coming from the CPU cooler or fan. A properly installed cooler should operate quietly without any rattling or grinding sounds. If you notice any unusual noises, double-check the installation and ensure everything is securely attached.
5. Monitor System Stability: Observe the overall stability of your computer. If you experience any crashes, freezes, or sudden shutdowns, it may indicate an issue with the cooler installation or thermal management. In such cases, double-check the mounting, thermal paste, and fan connections.
By performing these tests, you can ensure that the Rosewill Deep Cool CPU Cooler is functioning effectively and maintaining optimal CPU temperatures. It’s essential to address any abnormalities or issues to prevent potential damage to your CPU and optimize system performance.
With the installation tested and confirmed to be working properly, you can now enjoy the benefits of a cool and efficient CPU, allowing for smoother and improved computing experiences.
Conclusion
Installing the Rosewill Deep Cool CPU Cooler is a straightforward process that can greatly enhance your computer’s performance and prevent CPU overheating. By following the step-by-step instructions outlined in this guide, you can successfully install this high-quality cooler and enjoy the benefits of efficient heat dissipation.
The Rosewill Deep Cool CPU Cooler offers a reliable cooling solution for both Intel and AMD processors. With its durable construction, powerful fan, and sleek design, it not only keeps your CPU cool but also adds a touch of visual appeal to your system.
Proper preparation of your CPU, careful removal of the old cooler, and correct installation of the Rosewill Deep Cool CPU Cooler are essential for achieving optimal cooling performance. Additionally, connecting the power and testing the installation ensure that everything is functioning as expected.
Continuous monitoring of CPU temperatures and system stability is important to maintain optimal performance. Regularly checking for any unusual noises or issues will help ensure the longevity and reliability of your cooling system.
Now that you have successfully installed the Rosewill Deep Cool CPU Cooler, you can confidently engage in CPU-intensive tasks, gaming, or any other demanding activities without worrying about overheating. With improved cooling, you can expect better system performance and longevity for your CPU.
Remember, each computer setup may vary slightly, so it’s crucial to consult the user manual provided with the cooler and refer to any specific instructions unique to your system.
By following this guide and taking the necessary precautions, you have taken a significant step towards maintaining the health and performance of your CPU. Enjoy the cool and efficient computing experience that the Rosewill Deep Cool CPU Cooler provides!