Introduction
Welcome to our guide on how to install a liquid CPU cooler! If you’re looking to upgrade your computer’s cooling system and take your CPU’s performance to the next level, installing a liquid CPU cooler is a great option. The thermal efficiency and cooling capabilities of liquid coolers make them a popular choice among gamers, overclockers, and PC enthusiasts.
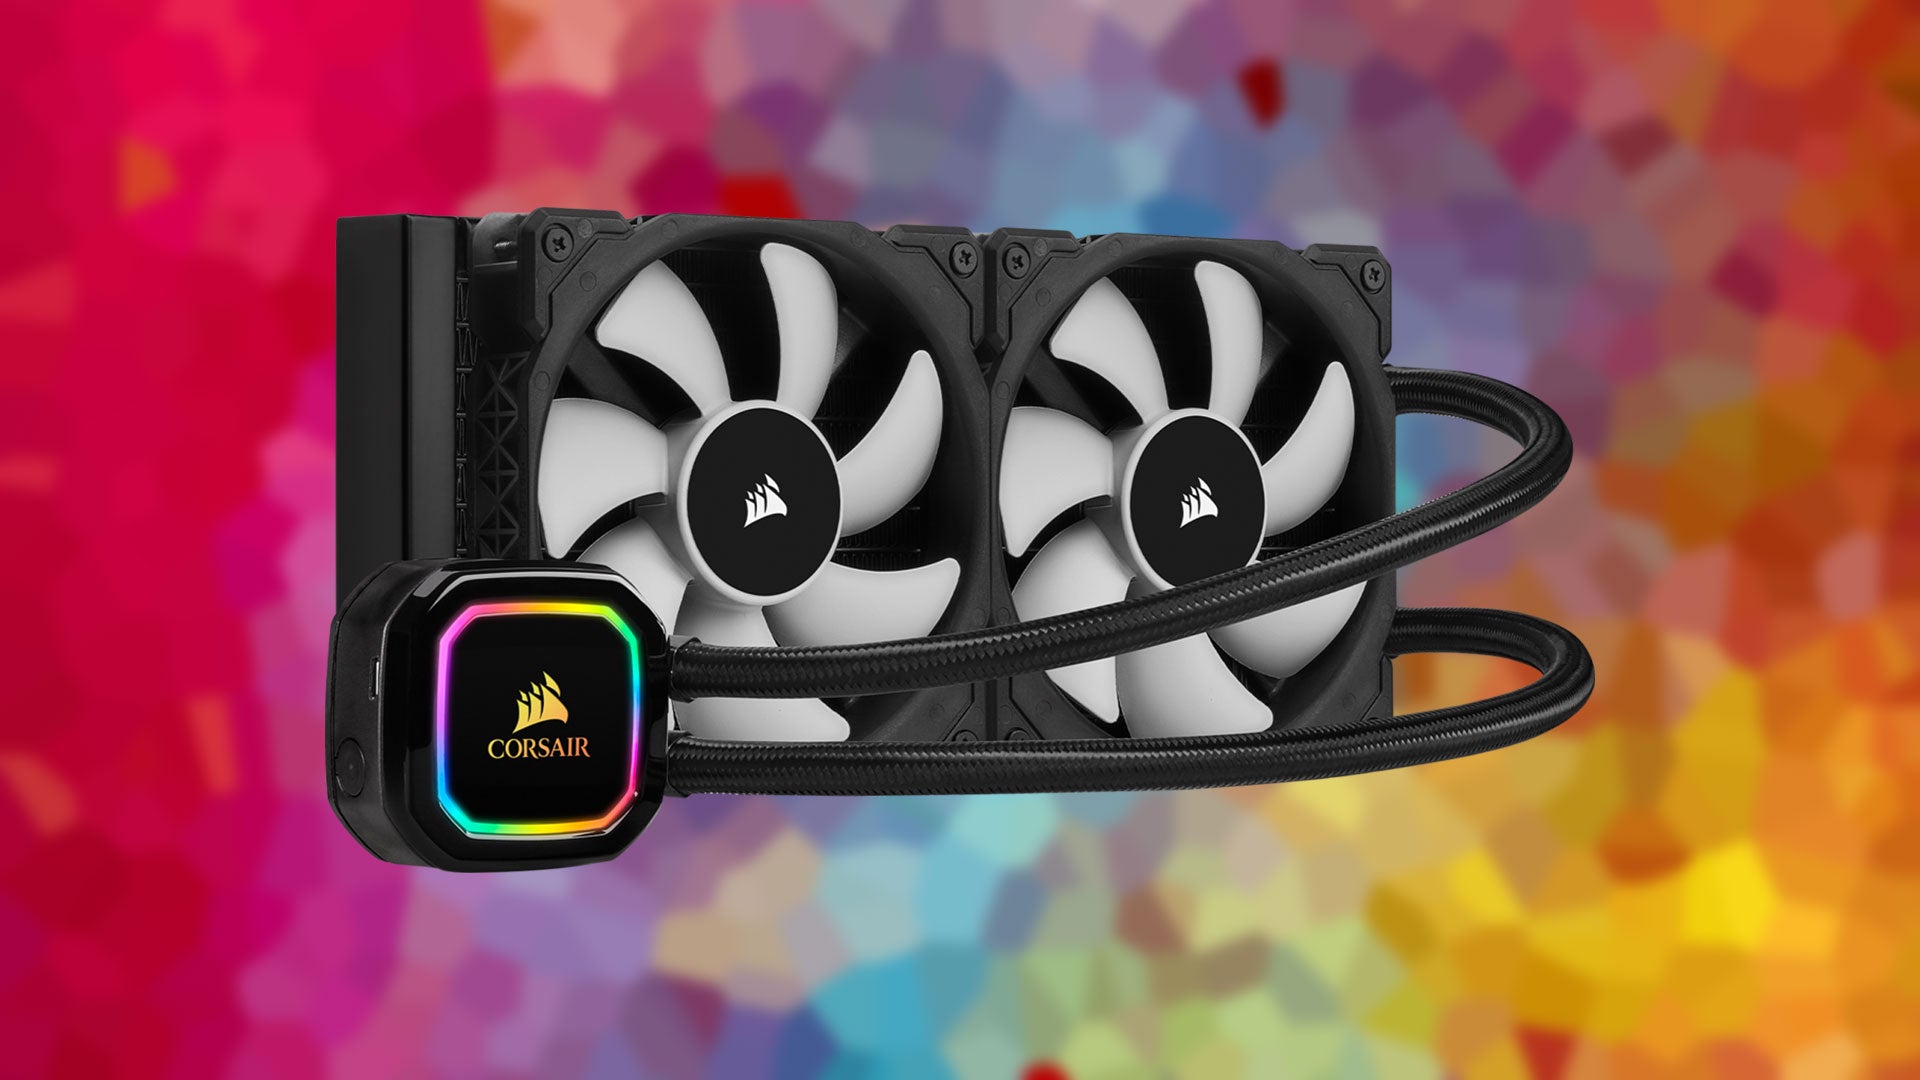
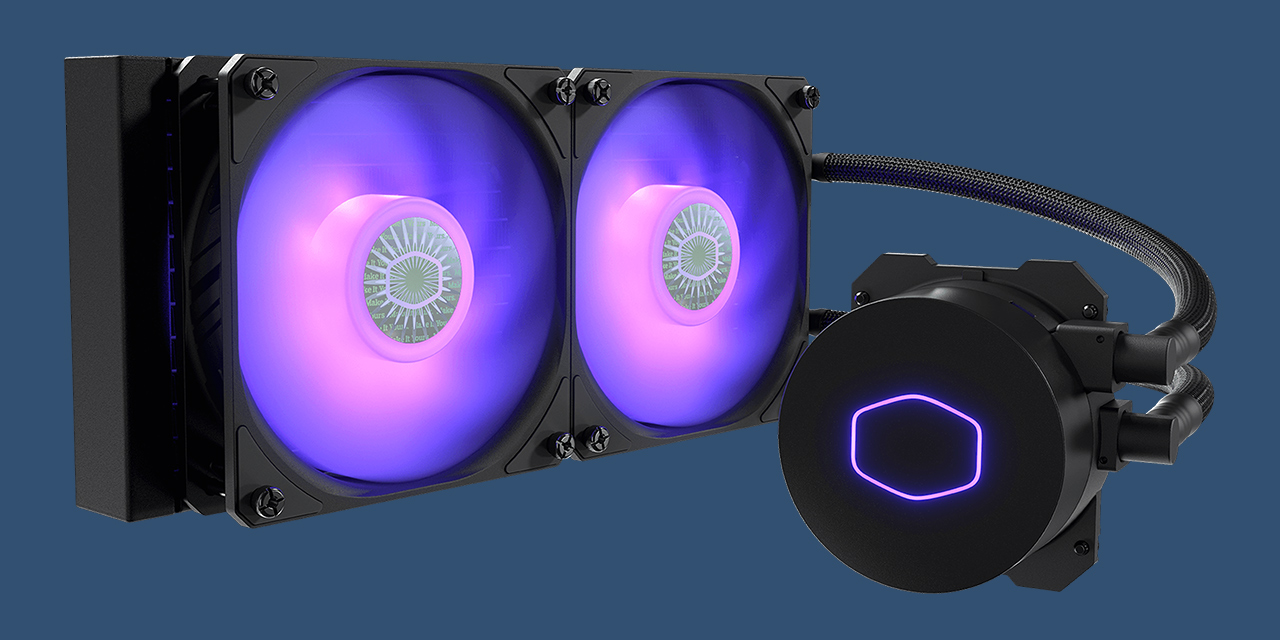
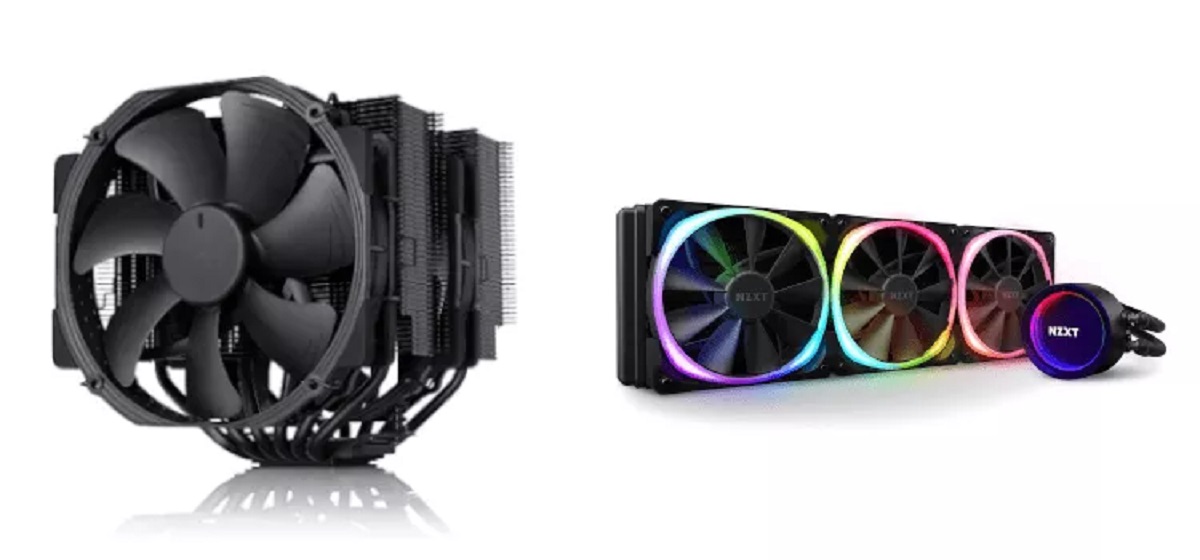
A liquid CPU cooler, also known as an all-in-one (AIO) cooler, consists of a water block, pump, radiator, and fan(s). Unlike traditional air coolers, which rely on a large heatsink and fan to dissipate heat, liquid coolers use liquid coolant to absorb heat from the CPU, transfer it to the radiator, and then disperse it using one or more fans.
The benefits of using a liquid CPU cooler are numerous. Firstly, they provide superior cooling performance compared to air coolers, allowing you to achieve lower CPU temperatures under heavy workloads. This can contribute to improved system stability and longevity, especially when overclocking your CPU for maximum performance. Additionally, liquid coolers are often quieter than their air counterparts, as the fans can operate at lower speeds while maintaining efficient cooling. This makes them a popular choice for gamers and content creators who require a quiet computing environment.
Before diving into the installation process, there are a few things you need to consider. Firstly, make sure that your computer’s case is compatible with a liquid cooler. Some cases have specific mounting points or clearance requirements for radiator installation. Check the case manufacturer’s specifications or user manual to confirm its compatibility.
Additionally, you should also ensure that your CPU is compatible with a liquid cooler. Most modern CPUs are compatible, but some high-end server CPUs may have specific cooling requirements. Consult the CPU manufacturer’s documentation to confirm compatibility.
Now that you understand the basics of liquid CPU cooling and what to consider before installation, let’s gather the necessary tools and materials for the job. In the next section, we’ll provide you with a list of everything you’ll need to successfully install a liquid CPU cooler in your computer.
What is a Liquid CPU Cooler?
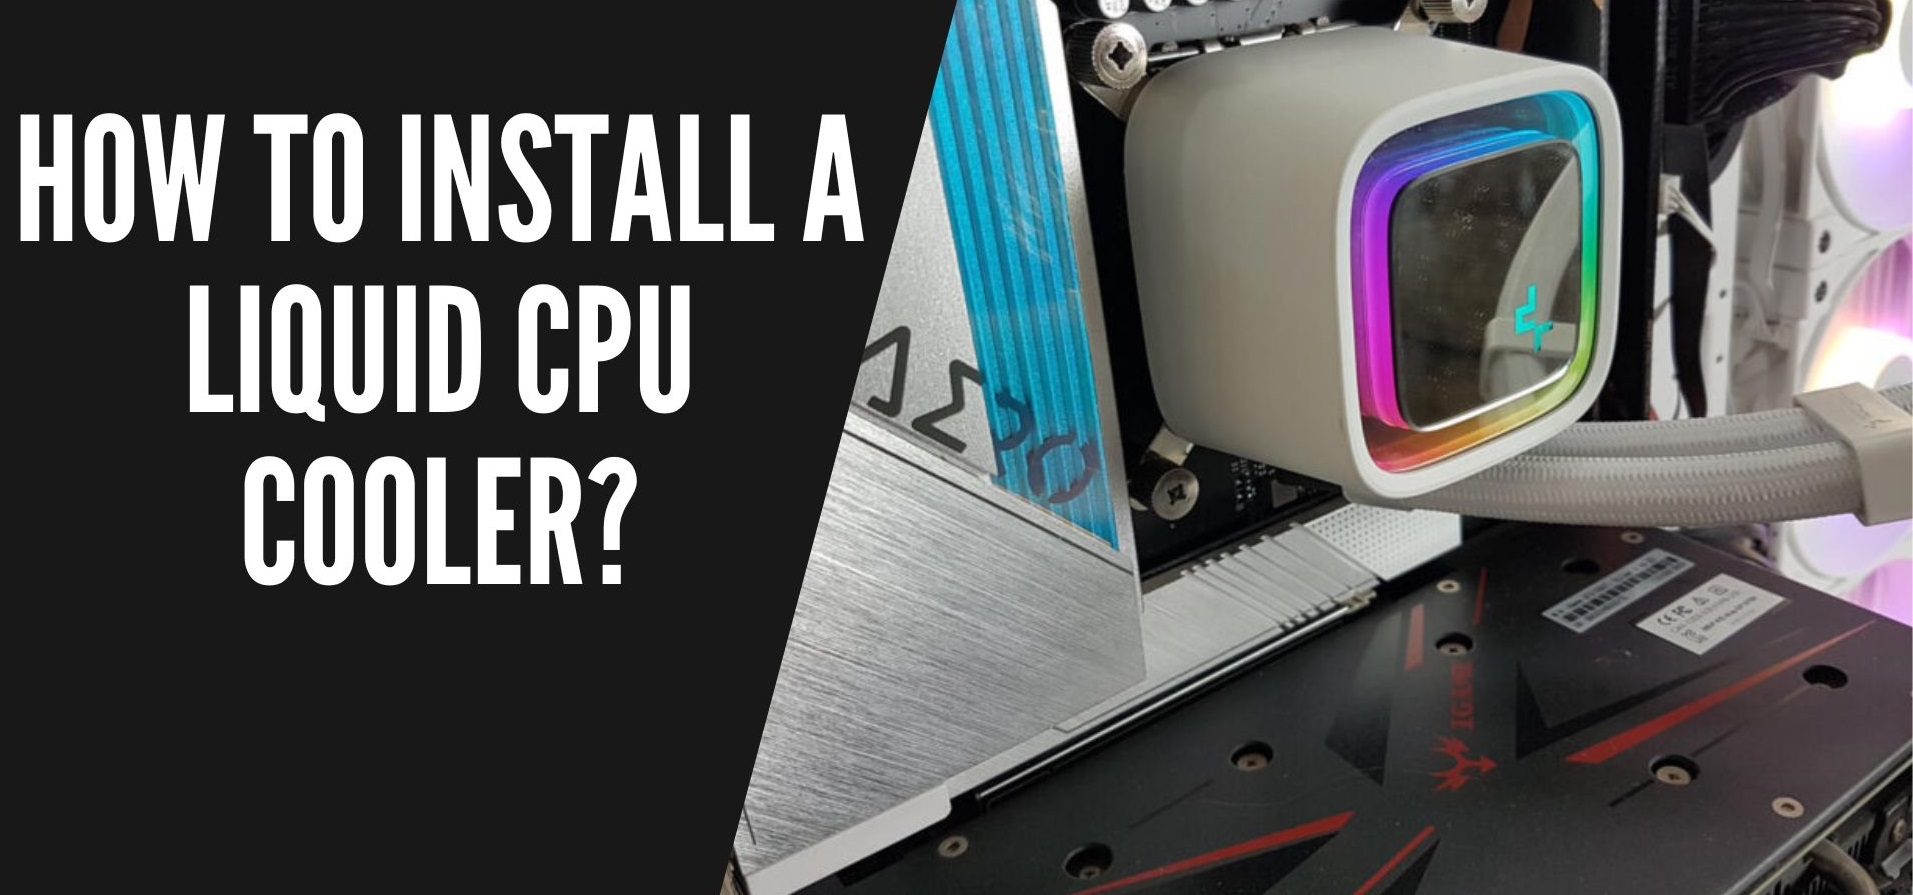
A liquid CPU cooler, also known as an all-in-one (AIO) cooler, is a cooling solution designed to dissipate heat generated by a computer’s central processing unit (CPU). It utilizes a combination of liquid coolant, a water block, a pump, a radiator, and one or more fans to effectively cool the CPU and maintain optimal operating temperatures.
The liquid CPU cooler operates on a closed-loop system, which means that the liquid coolant is pumped from the water block to the radiator and back, transferring heat away from the CPU in the process. The water block, usually made of copper or aluminum, is attached directly to the CPU, allowing for efficient heat transfer.
The liquid inside the cooler absorbs heat from the CPU, rapidly carrying it away to the radiator, which is typically mounted at the rear or top of the computer case. The radiator features a series of thin metal fins that increase the surface area available for heat dissipation. One or more fans are attached to the radiator, actively blowing air across the fins to facilitate the cooling process.
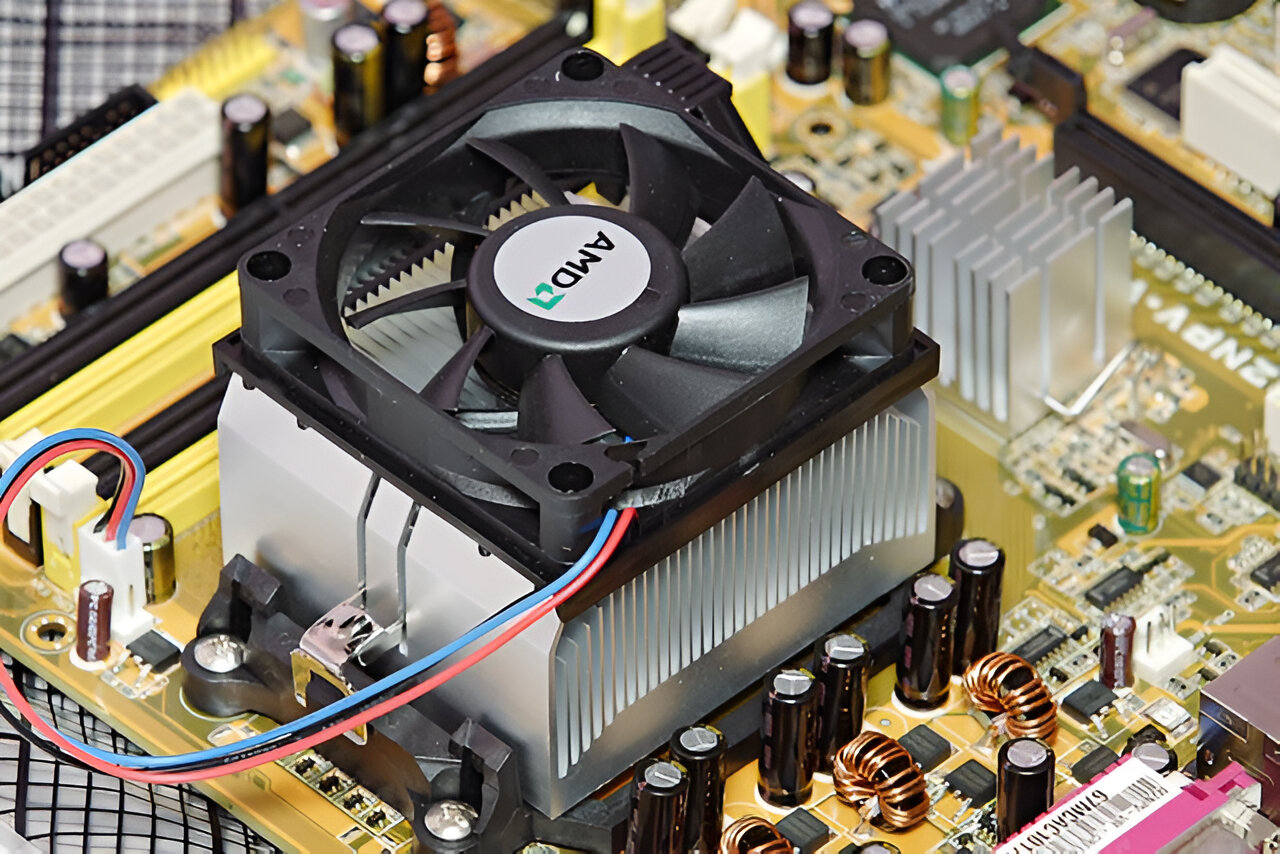
Compared to traditional air coolers, liquid CPU coolers offer several advantages. Firstly, they have superior heat dissipation capabilities, allowing for better cooling efficiency. The liquid coolant can absorb and transfer heat more effectively than air, resulting in lower CPU temperatures under heavy workloads or during overclocking.
Furthermore, liquid CPU coolers are generally quieter than air coolers. The fans in liquid coolers can operate at lower speeds while providing efficient cooling, resulting in reduced noise levels. This makes liquid coolers an attractive option for those who prioritize a quieter computing experience.
Additionally, liquid CPU coolers provide the advantage of flexibility in terms of installation. They typically have a smaller footprint than bulky air coolers, allowing for easier clearance in compact computer cases. Moreover, liquid coolers often feature modular components, providing flexibility in terms of radiator and fan placement to suit different case layouts and airflow preferences.
In summary, a liquid CPU cooler is a high-performance cooling solution that effectively dissipates heat from the CPU. Its closed-loop system, comprising a water block, pump, radiator, and fan(s), ensures efficient cooling and lower CPU temperatures. With their superior cooling capabilities and quieter operation, liquid CPU coolers have become a popular choice for gamers, overclockers, and PC enthusiasts seeking optimal cooling performance for their systems.
Benefits of Liquid CPU Cooler
Investing in a liquid CPU cooler, also known as an all-in-one (AIO) cooler, offers several significant benefits for your computer system. Let’s explore some of the advantages of using a liquid CPU cooler:
1. Superior Cooling Performance: Liquid CPU coolers excel at heat dissipation, providing more efficient cooling than traditional air coolers. The liquid coolant swiftly and effectively absorbs heat from the CPU, allowing for lower temperatures, improved system stability, and increased overclocking potential. Whether you’re a gamer pushing your hardware to the limit or a content creator working on resource-intensive tasks, a liquid CPU cooler can handle the heat.
2. Quiet Operation: If noise levels are a concern for you, a liquid CPU cooler is an excellent solution. Unlike air coolers that often rely on high-speed fans to dissipate heat, liquid coolers can operate at lower fan speeds while maintaining efficient cooling. This results in a quieter computing experience – ideal for those who value a peaceful environment during intense gaming sessions or demanding workloads.
3. Space Optimization: Liquid coolers have a more compact profile compared to bulky air coolers. This makes them an excellent choice for systems with limited space, such as mini-ITX builds or small form factor cases. The smaller footprint of liquid coolers offers greater flexibility in installation, allowing easier clearance of components and improved airflow within the system.
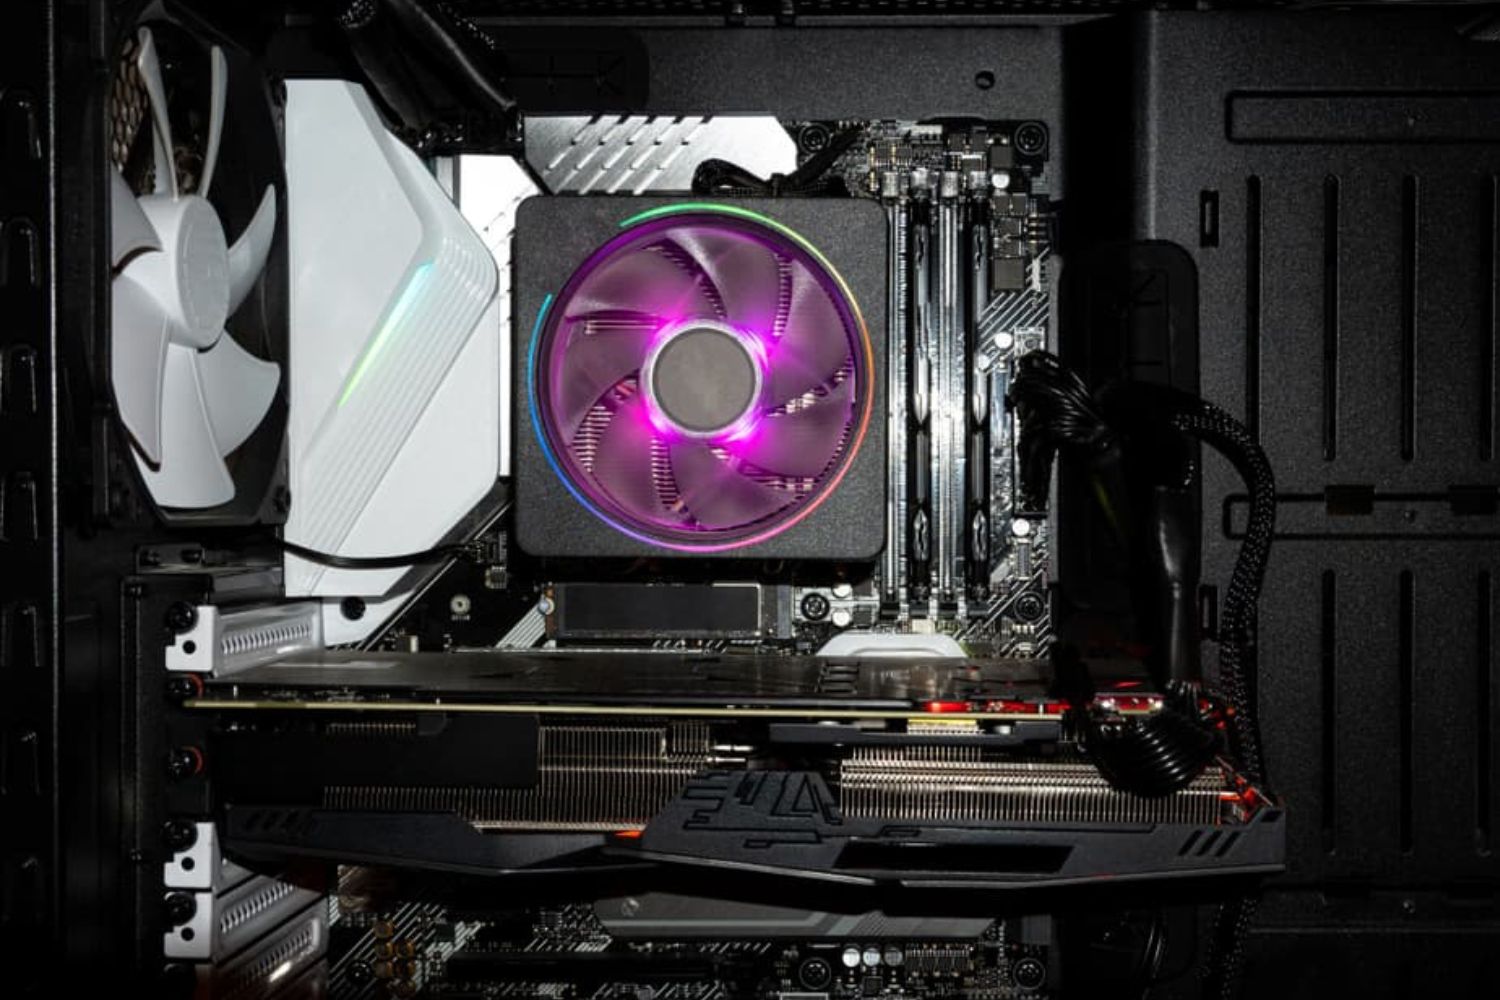
4. Improved Aesthetics and Customization: Liquid CPU coolers often feature sleek designs, RGB lighting options, and customizable software controls. These aesthetic enhancements not only add a visually appealing element to your system but also provide the opportunity to match your cooler’s lighting with the rest of your setup. With various lighting effects and color options, you can create a unique and personalized look for your PC.
5. Long-Term Reliability: Liquid CPU coolers are designed to handle high thermal loads effectively. By efficiently dissipating heat, they help prolong the lifespan of your CPU and other components. Additionally, many reputable liquid cooler manufacturers offer extended warranties, providing peace of mind for the long-term reliability of your cooling solution.
In summary, a liquid CPU cooler offers superior cooling performance, quieter operation, space optimization, improved aesthetics, and long-term reliability. Whether you’re a hardcore gamer, a content creator, or simply seeking optimal cooling for your PC, a liquid CPU cooler can deliver the performance and efficiency you need. Invest in a quality liquid cooler and enjoy cool, quiet, and stable computing for years to come.
Things to Consider Before Installing
Before diving into the installation process of a liquid CPU cooler, there are several important factors to consider. Taking these into account will ensure a smooth and successful installation. Let’s explore these considerations:
1. Case Compatibility: Check if your computer case is compatible with a liquid CPU cooler. Some cases have specific mounting points or clearance requirements for radiator installation. It’s crucial to verify that your case supports the radiator size and fan configuration of the liquid cooler you plan to install. Refer to the case manufacturer’s specifications or user manual to confirm compatibility.
2. CPU Compatibility: Ensure that your CPU is compatible with a liquid cooler. Most modern CPUs are compatible, but some high-end server CPUs may have specific cooling requirements. Consult the CPU manufacturer’s documentation or website to confirm compatibility and recommended cooling solutions for your specific CPU model.
3. Available Space: Measure the available space in your case to ensure proper installation of the liquid cooler. Consider factors such as radiator dimensions, fan placement, and clearances for other components like memory modules, graphics cards, and motherboard components. A clear understanding of your case’s internal layout will help you determine the best installation configuration for optimal cooling performance.
4. Installation Difficulty: Assess your comfort level with computer hardware installation. While liquid CPU cooler installation is generally straightforward, it does require some technical knowledge and careful handling. Ensure you are comfortable working with computer hardware, connecting cables, and securely mounting components. If necessary, refer to the liquid cooler manufacturer’s installation guide or seek assistance from an experienced individual.
5. Power Supply Capacity: Check your power supply unit (PSU) to ensure it can accommodate the additional power requirements of the liquid cooler. While most modern PSUs can handle the power demands, it’s always a good idea to verify that your PSU has sufficient wattage and the required connectors for the cooler’s fans and pump.
6. System Compatibility: Check if your motherboard supports the required connections for the liquid cooler. Most AIO coolers utilize standard connections such as 4-pin PWM fan headers for the radiator fan(s) and a USB connection for software control. Ensure your motherboard has the necessary headers and connectors to support the liquid cooler’s components.
7. Budget: Consider your budget when selecting a liquid CPU cooler. There is a wide range of options available, from budget-friendly AIO coolers to high-end models with advanced features. Determine your cooling needs and budget constraints to choose a cooler that strikes the right balance between performance and affordability.
By considering these factors before installing a liquid CPU cooler, you can ensure that you select the appropriate cooler for your system and have a smooth installation process. Taking the time to plan and prepare will result in optimal cooling performance and a successful upgrade to your computer system.
Tools and Materials Needed
Before you begin installing a liquid CPU cooler, it’s essential to gather all the necessary tools and materials. Having everything readily available will streamline the installation process and ensure a successful outcome. Here is a list of what you’ll need:
1. Liquid CPU Cooler: Select a suitable liquid CPU cooler that is compatible with your CPU and computer case. Consider factors such as radiator size, fan configuration, and cooling performance to meet your specific needs.
2. Thermal Paste: Thermal paste is crucial for maximizing heat transfer between the CPU and the water block. It helps fill in microscopic gaps and air pockets, ensuring optimal thermal conductivity. Some liquid CPU coolers come with pre-applied thermal paste, but it’s always a good idea to have extra thermal paste on hand.
3. Screwdriver: Depending on your computer case, you may need a Phillips or flat-head screwdriver to remove and install screws. Make sure you have the appropriate screwdriver size for your case.
4. CPU Cleaning Solution and Microfiber Cloth: Before installing the liquid cooler, it’s recommended to clean the CPU surface to remove any old thermal paste or debris. A CPU cleaning solution and a microfiber cloth will help ensure a clean and flat CPU surface for optimal heat transfer.
5. Isopropyl Alcohol: Isopropyl alcohol is used to clean the CPU and water block surface after removing the old thermal paste. It effectively removes any stubborn residue and prepares the surfaces for the application of fresh thermal paste.
6. Cable Ties or Velcro Straps: Cable ties or Velcro straps can be handy for managing and organizing cables inside your computer case. Keeping cables neat and secure will improve airflow and minimize clutter during the installation process.
7. Anti-Static Wrist Strap (Optional): To prevent electrostatic discharge, you may want to use an anti-static wrist strap. This helps protect your computer components from potential damage caused by static electricity.
8. Extra Fans (Optional): If you wish to enhance cooling performance, you can add extra fans to the liquid cooler radiator. Make sure the fans are compatible with your liquid cooler and computer case for proper installation.
9. User Manual and Installation Guide: Check the liquid cooler manufacturer’s user manual and installation guide for specific instructions and guidelines. Different models may have slightly different installation requirements, so it’s essential to have the correct information at hand.
By gathering these tools and materials before starting the installation process, you’ll be well-prepared to install your liquid CPU cooler efficiently and effectively. Remember to follow the manufacturer’s instructions and take proper precautions during the installation to ensure a successful and trouble-free installation.
Step-by-Step Installation Guide
Now that you have gathered all the necessary tools and materials, it’s time to install your liquid CPU cooler. Follow these step-by-step instructions to ensure a successful installation:
1. Preparation: Start by shutting down your computer and unplugging the power cord. This will ensure your safety during the installation process.
2. Remove Old Cooler: If you have an existing cooler installed, carefully remove it by disconnecting the fan(s), unscrewing any mounting brackets, and gently detaching it from the CPU.
3. Clean the CPU Surface: Use a CPU cleaning solution and a microfiber cloth to clean the CPU surface, removing any old thermal paste or debris. Ensure that the surface is clean and free from any residue.
4. Prepare the Water Block: Apply a small amount of thermal paste onto the center of the CPU surface. Ensure that you use an appropriate quantity, following the thermal paste manufacturer’s guidelines.
5. Mount the Water Block: Carefully place the water block onto the CPU, aligning the mounting holes. Gently press it down to ensure even contact between the CPU and the water block.
6. Secure the Water Block: Depending on the manufacturer’s instructions, fasten the water block onto the CPU using the provided mounting brackets or screws. Ensure that it is securely attached, but avoid applying excessive force.
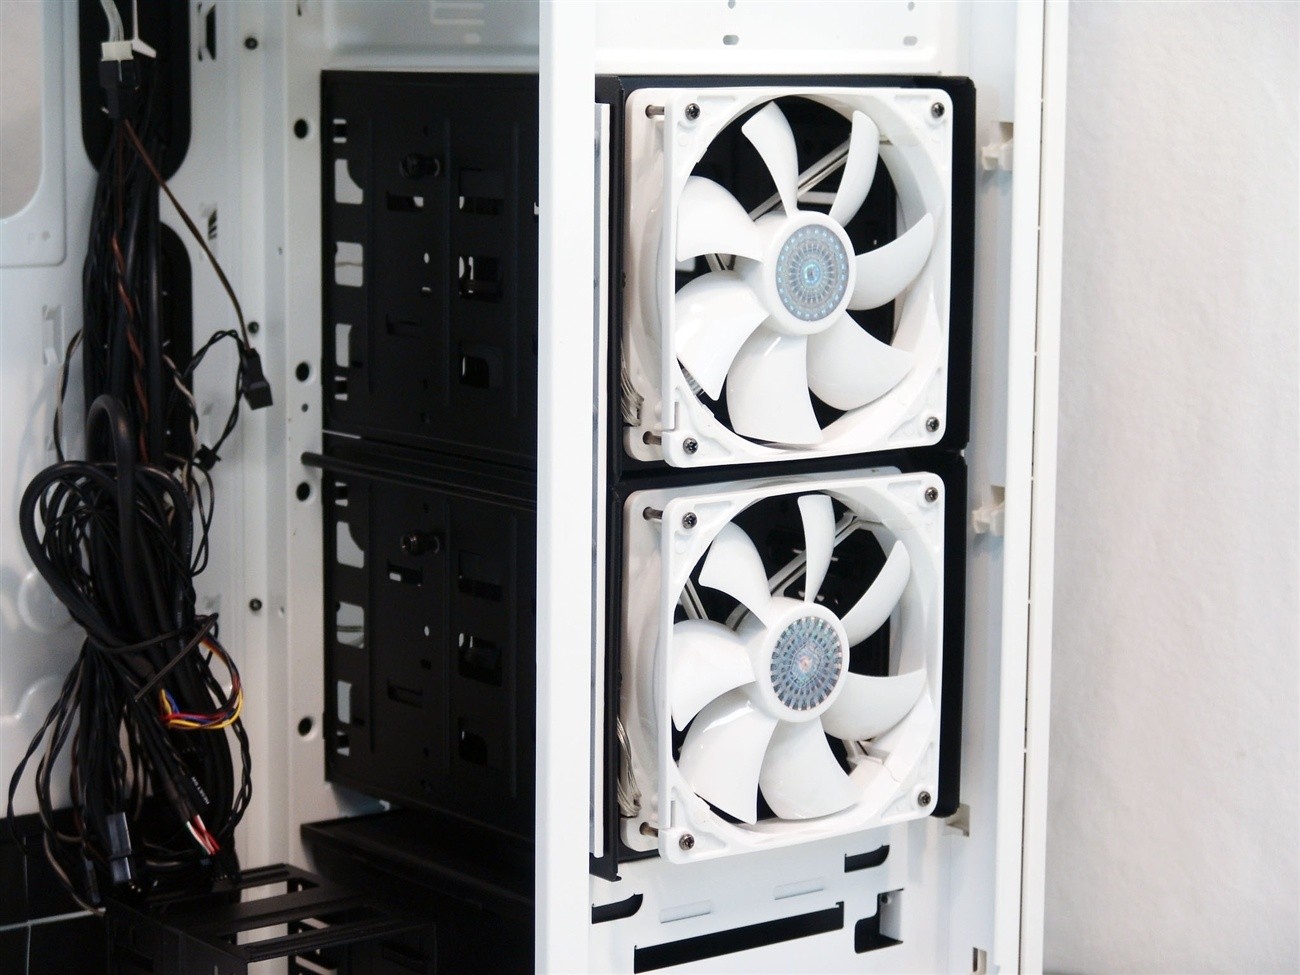
7. Prepare the Radiator and Fans: Install the fans onto the radiator following the manufacturer’s instructions. Make sure the airflow direction is correct – typically, the fans should blow air through the radiator, expelling heat from the system.
8. Mount the Radiator: Find an appropriate location inside your computer case to mount the radiator. Most cases have designated spots at the front, top, or rear for radiator installation. Use the supplied screws or brackets to secure the radiator in place.
9. Connect Cables: Connect the fan cables from the liquid cooler to the appropriate fan headers on your motherboard. If your liquid cooler requires USB connectivity for software control, connect the USB cable as well.
10. Manage Cables: Use cable ties or Velcro straps to organize and secure the cables inside your computer case. Ensure that the cables are neatly arranged and do not obstruct the airflow.
11. Reassemble and Power On: Once everything is securely installed and cables are managed, reassemble your computer by placing the side panels back on. Reconnect the power cord and power on your computer to start the cooling process.
12. Monitor and Test: After powering on, monitor the temperatures of your CPU using appropriate software. Ensure that the liquid cooler is functioning properly and effectively cooling the CPU. If necessary, adjust fan speeds or configurations for optimal performance and noise levels.
By following these step-by-step instructions, you can successfully install a liquid CPU cooler and enjoy improved cooling performance for your computer system. Take your time, follow the manufacturer’s instructions, and pay attention to detail to ensure a smooth and trouble-free installation process.
Conclusion
Congratulations! You have successfully completed the installation of your liquid CPU cooler. By following the step-by-step guide and considering important factors beforehand, you have equipped your computer with an efficient cooling solution that will enhance performance and stability.
Liquid CPU coolers offer superior cooling performance, quieter operation, and sleek aesthetics compared to traditional air coolers. With the ability to handle high thermal loads and dissipate heat effectively, these coolers are ideal for gamers, content creators, and PC enthusiasts looking to push their systems to the limit.
Remember, proper installation and maintenance are crucial for optimal performance and longevity of your liquid cooler. Regularly monitor CPU temperatures and fan speeds to ensure everything is functioning as expected. Keep an eye on the coolant levels and periodically clean the radiator and fans to prevent dust buildup and maintain maximum cooling efficiency.
If you encounter any issues or have questions, refer to the manufacturer’s documentation or seek assistance from technical support. It’s always recommended to follow the specific guidelines provided by the liquid cooler manufacturer for cleaning, maintenance, and troubleshooting.
With your newly installed liquid CPU cooler, you can enjoy lower CPU temperatures, improved system stability, and the ability to push your PC to its limits. Whether you’re a gamer aiming for high frame rates or a content creator handling resource-intensive tasks, a liquid CPU cooler will help keep your system cool under pressure.
Thank you for taking the time to read this installation guide. We hope you found it informative and helpful. Best of luck with your liquid CPU cooler and enjoy your enhanced computing experience!


