Introduction
Welcome to our step-by-step guide on how to install the Corsair H100i Pro 75 CFM Liquid CPU Cooler. If you’re looking to upgrade your system with a high-performance cooling solution, the H100i Pro is an excellent choice.
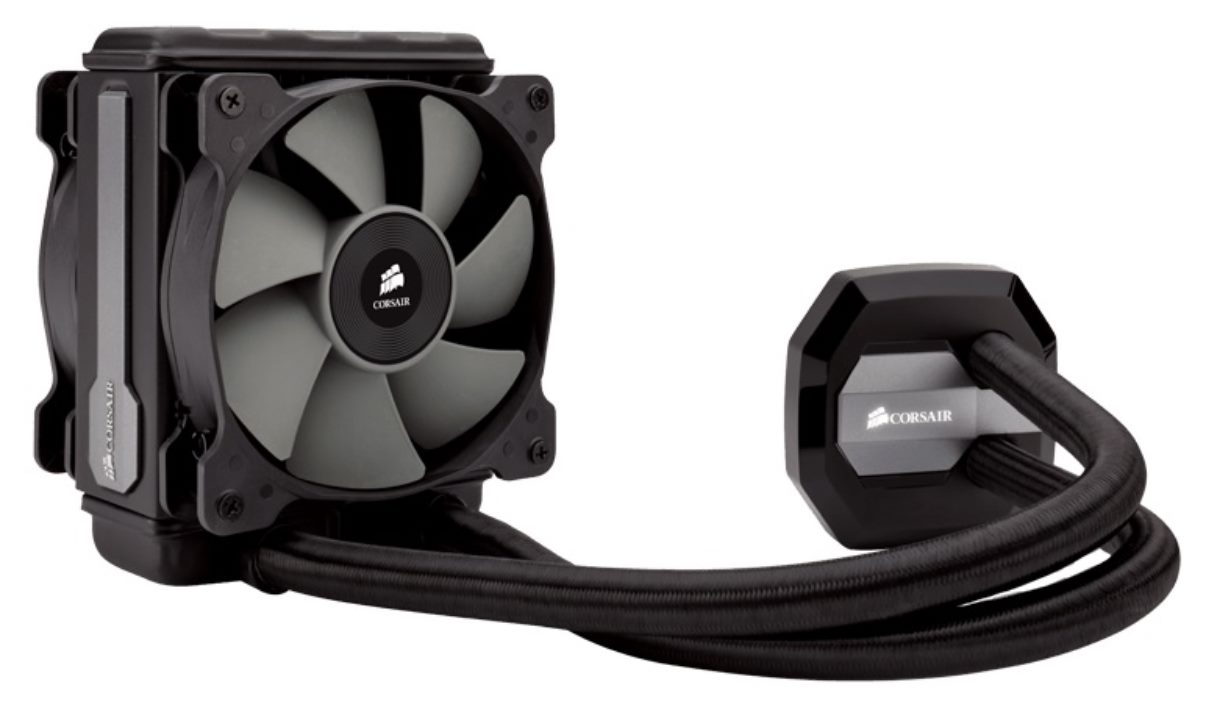
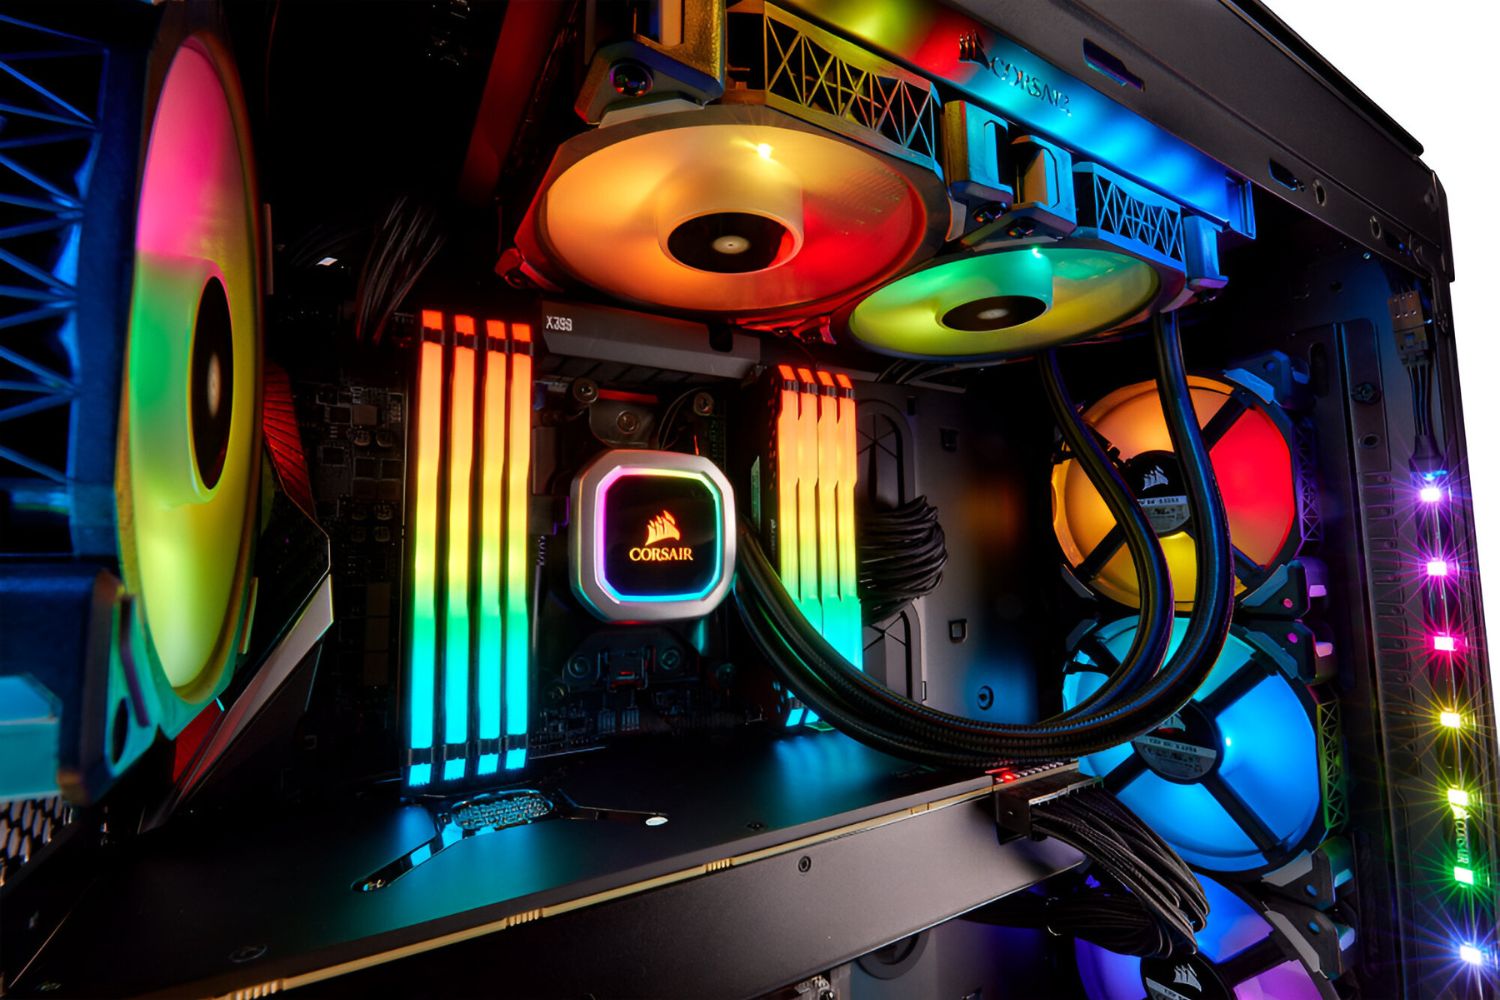
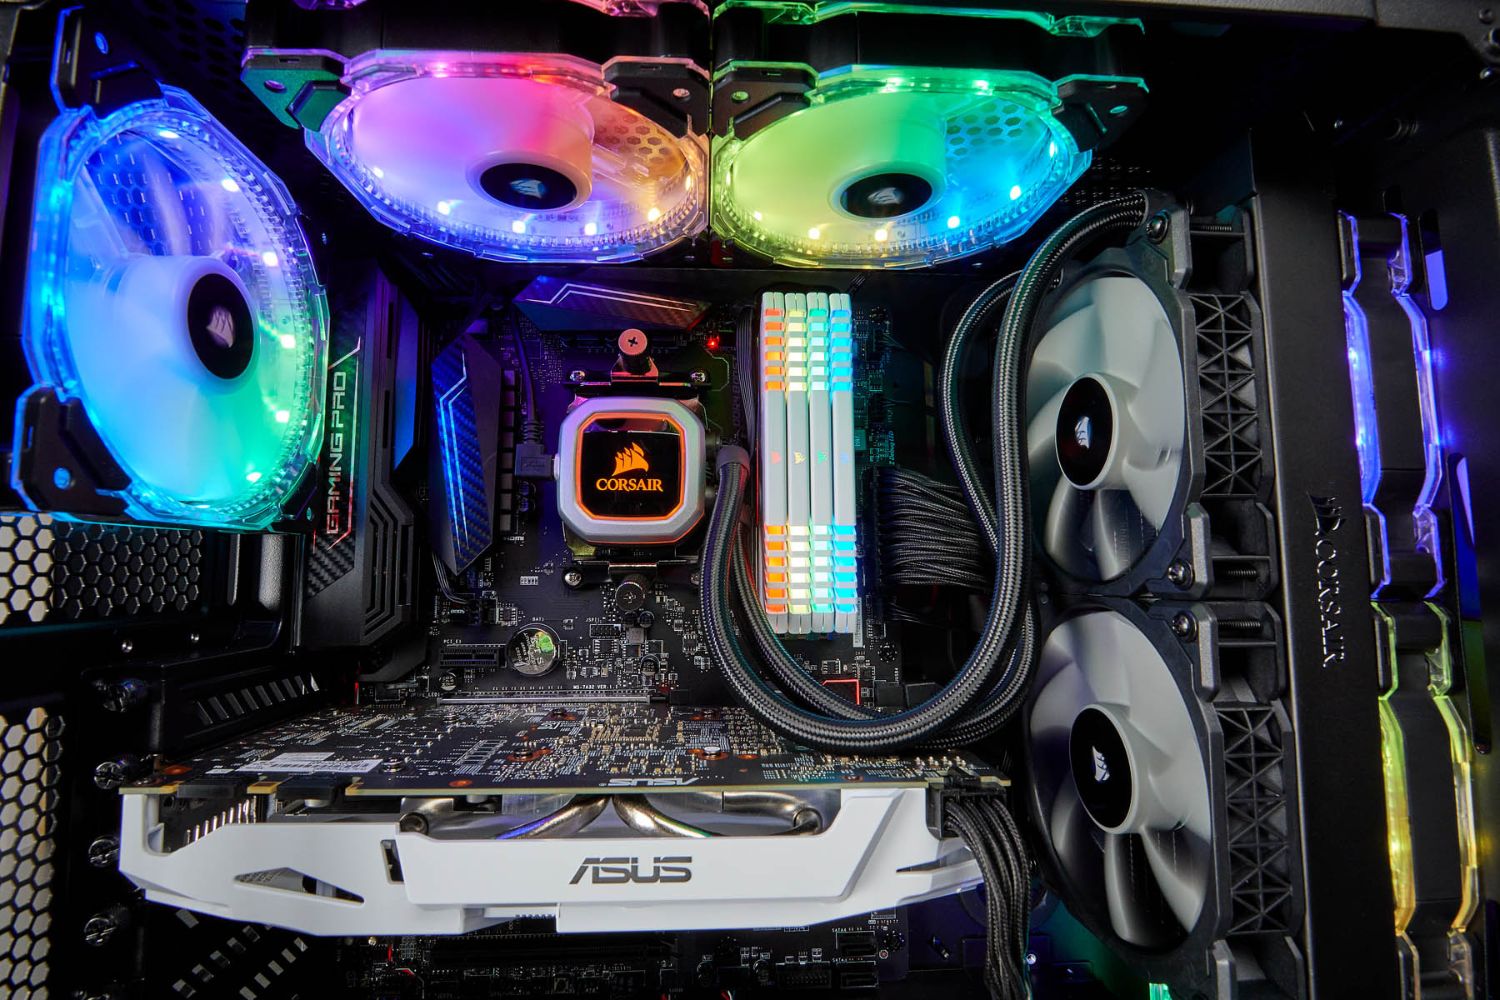
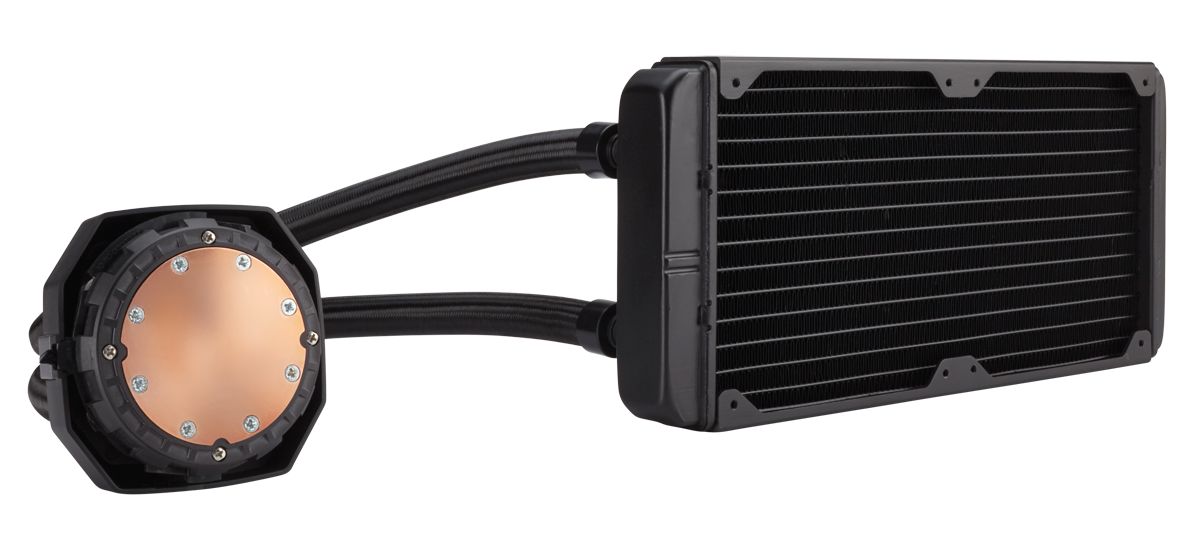
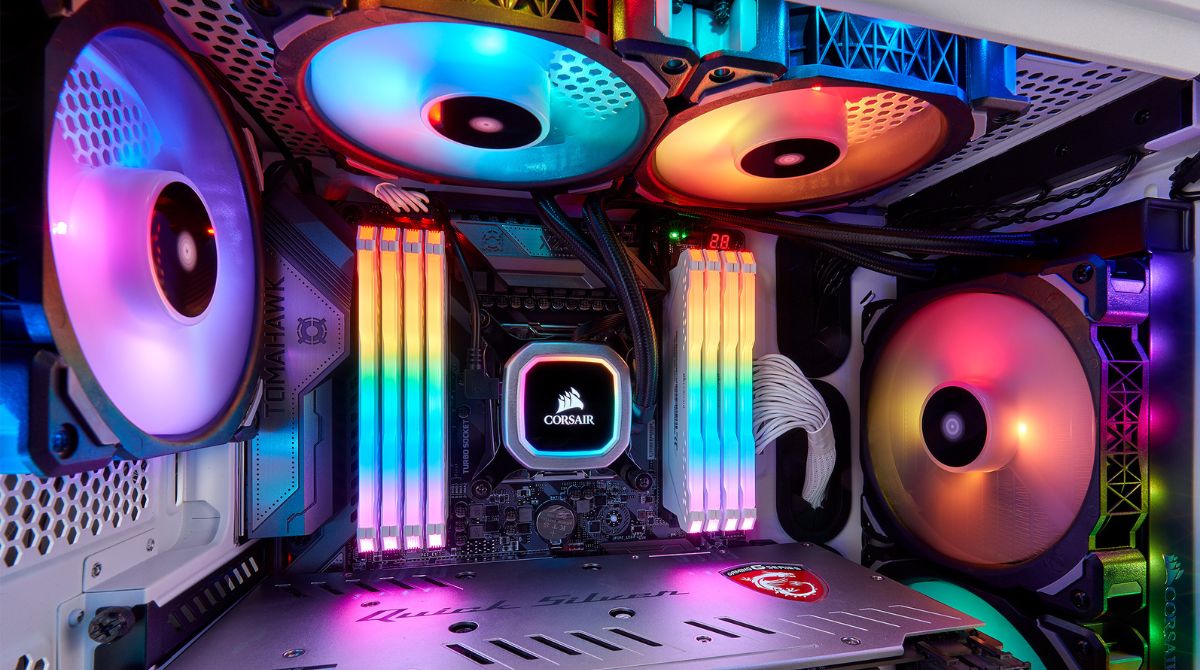
Designed for enthusiasts and gamers alike, the Corsair H100i Pro offers superior cooling capabilities to keep your CPU running at optimal temperatures, even during intensive tasks. With its powerful 240mm radiator, dual SP Series PWM fans, and advanced Corsair iCUE software integration, this liquid CPU cooler provides efficient cooling performance while maintaining a whisper-quiet operation.
In this guide, we will walk you through the installation process step by step, from unboxing the cooler to connecting all the necessary components. We will also cover important tips and troubleshooting techniques to help you ensure a successful installation.
Before we dive into the installation process, it’s important to note that proper installation of any cooling system is crucial for optimal performance and longevity of your CPU. Following the manufacturer’s instructions and guidelines is essential, so make sure to read the user manual thoroughly before you begin.
In addition, keep in mind that each system may have its own unique layout and configuration. While we will provide general instructions, it’s always a good idea to consult your motherboard’s manual or seek assistance from a professional if you encounter any difficulties during the installation process.
Now, without further ado, let’s gather the necessary tools and supplies and begin the installation of the Corsair H100i Pro liquid CPU cooler.
Tools and Supplies Needed
Before starting the installation process, it’s important to ensure that you have all the necessary tools and supplies handy. Here’s a list of what you’ll need:
- Phillips screwdriver: This will be needed to secure the radiator and fans in place.
- Thermal paste: A small amount of thermal paste is required to create a layer of conductivity between the CPU and the CPU block.
- CPU cleaning solution: If you’re replacing an old cooler, you’ll need a CPU cleaning solution to remove any residual thermal paste from the CPU surface.
- Cotton swabs or lint-free cloth: These will be useful for applying the thermal paste and cleaning off any excess.
- Cable ties: You may need cable ties to neatly route and secure the hoses and cables.
Additionally, make sure you have the following supplies ready:
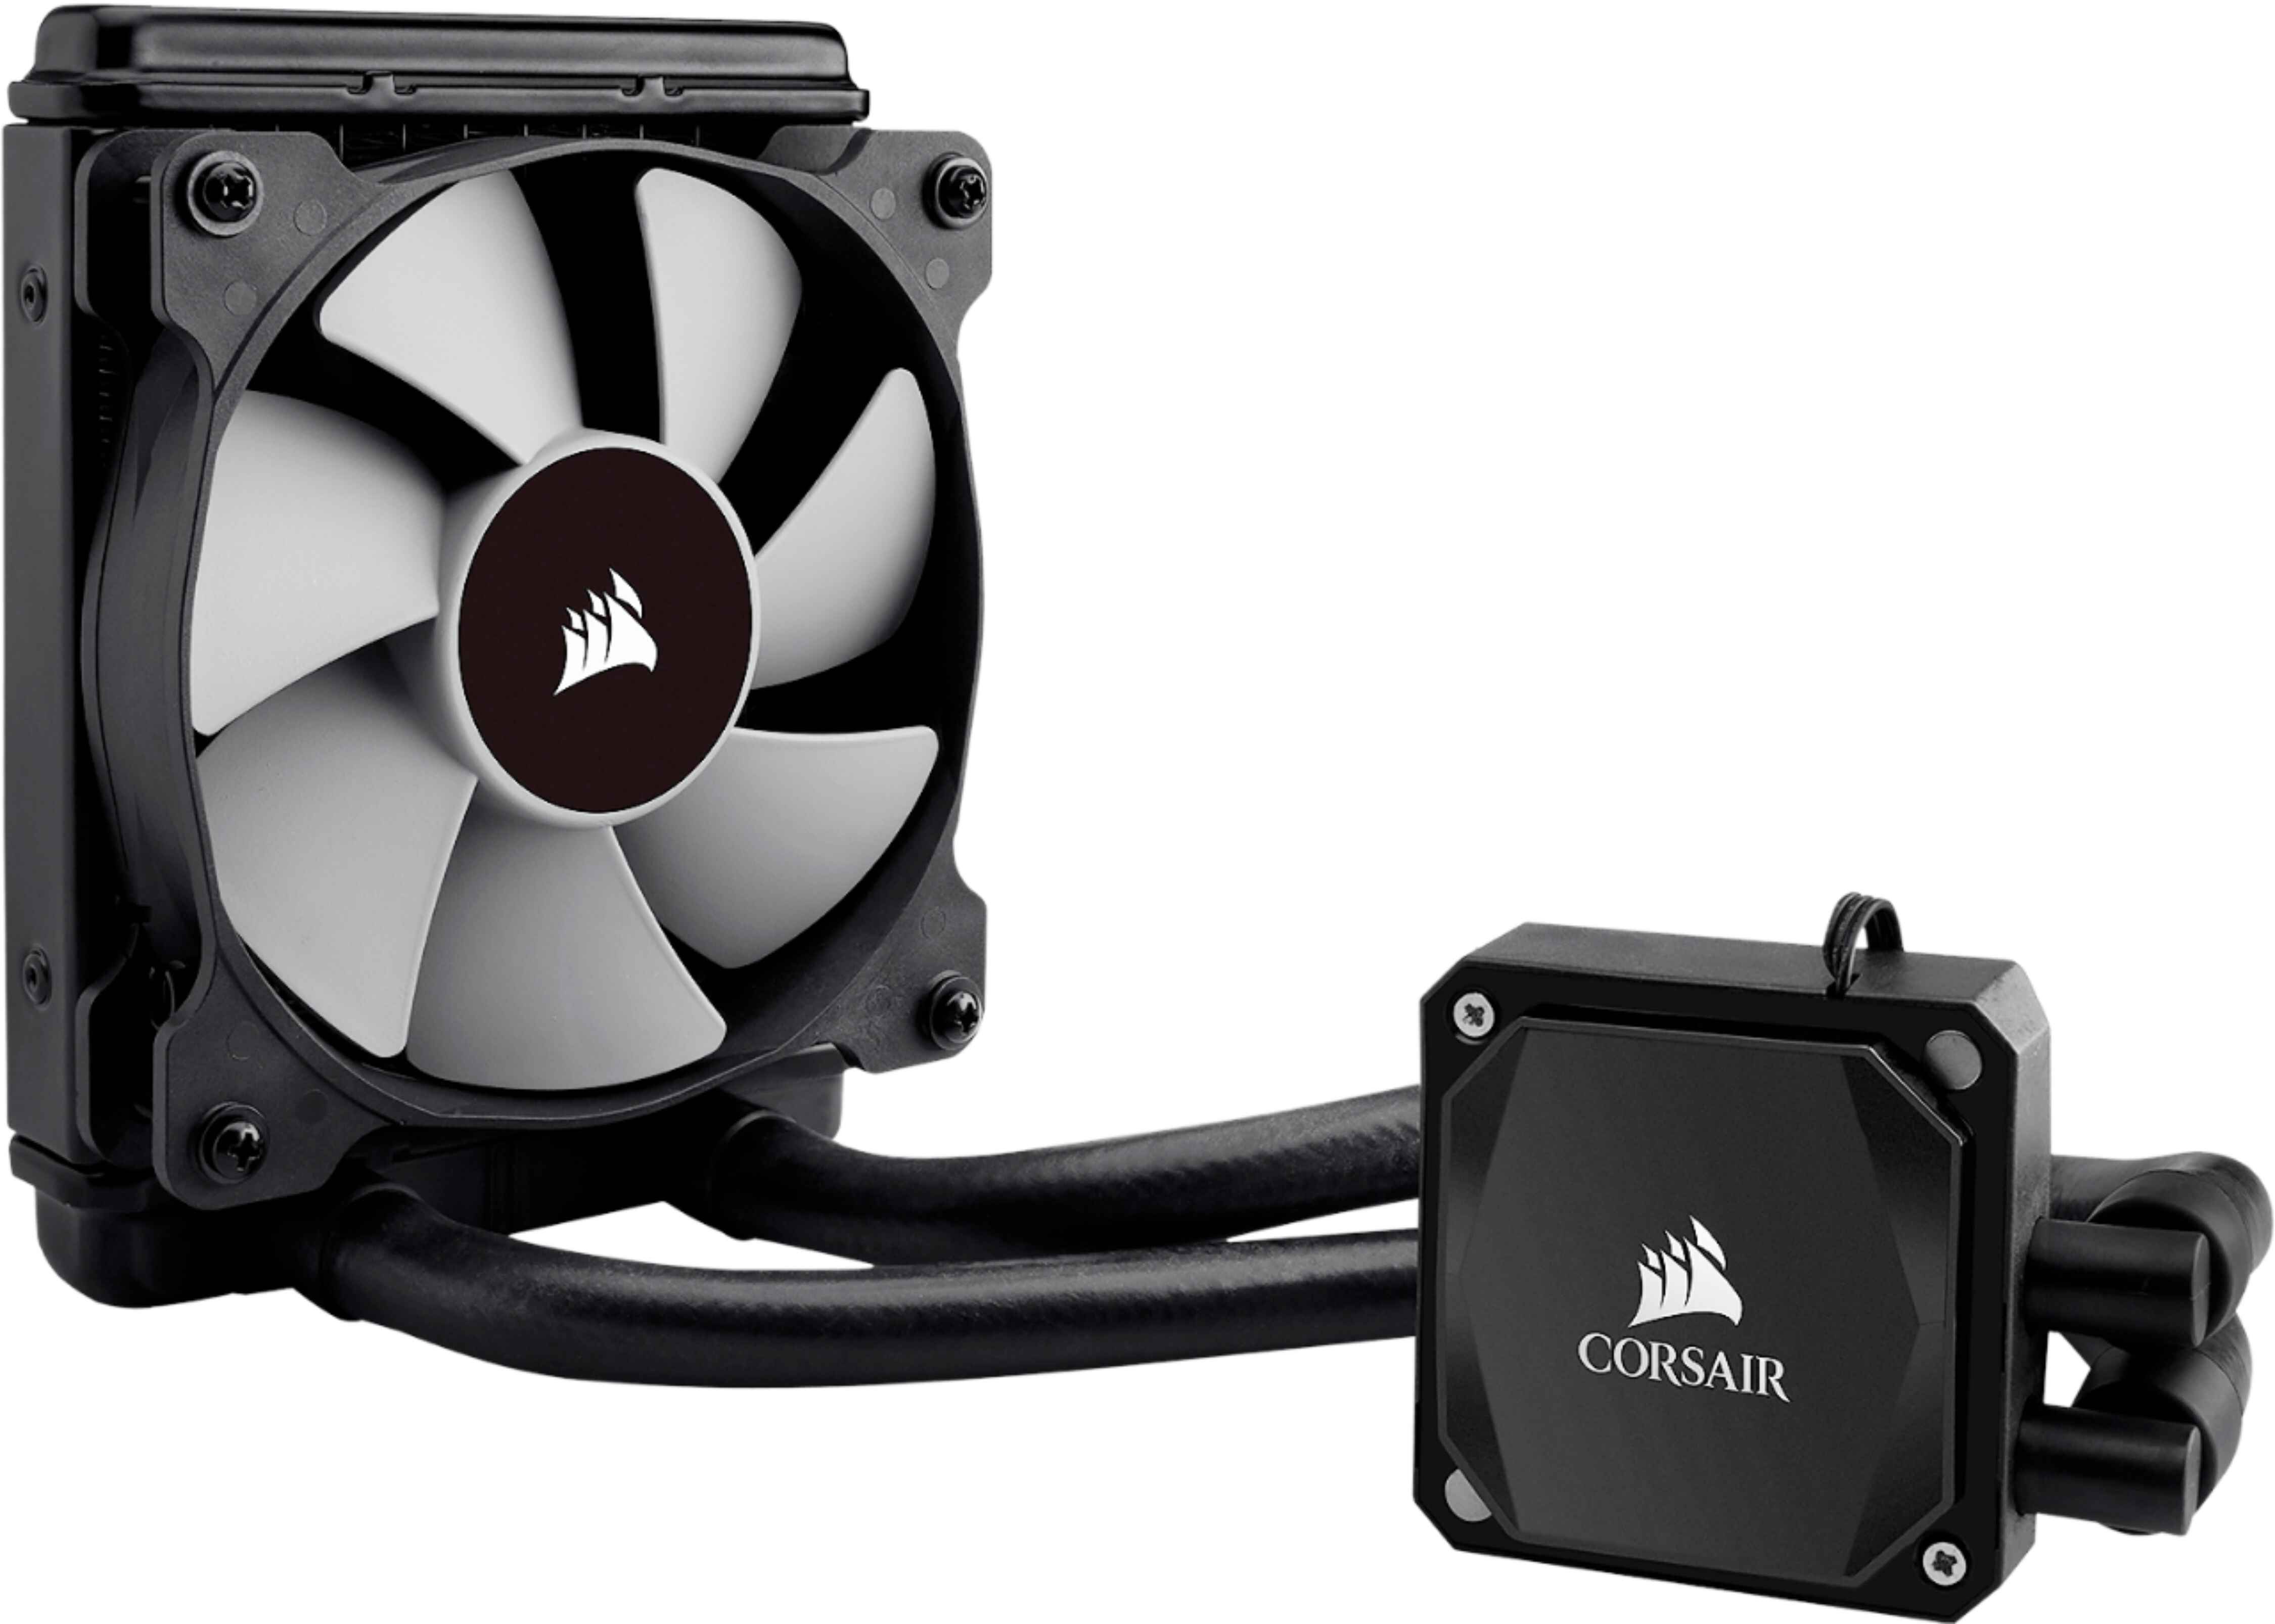
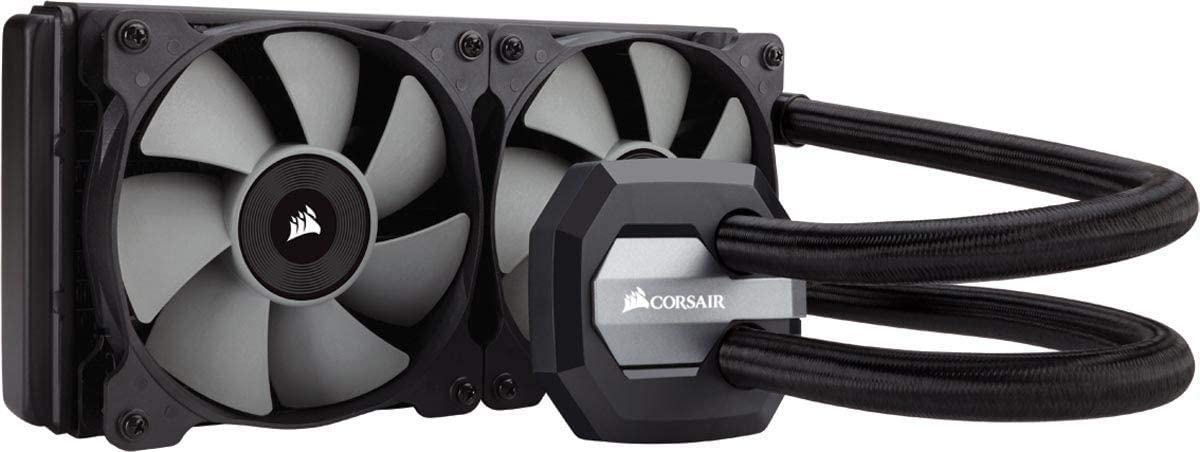
- Corsair H100i Pro cooler: The star of the show, this is the main component you’ll be installing.
- Mounting hardware: Corsair provides all the necessary brackets, screws, and backplates to secure the cooler in place.
- Fans: The H100i Pro comes with two SP Series PWM fans for efficient cooling.
- USB cable: This is used to connect the cooler to your motherboard for software control and monitoring.
It’s always a good idea to double-check the contents of the Corsair H100i Pro packaging to ensure that everything is included. If something is missing or damaged, reach out to Corsair’s support for assistance.
Now that you have gathered all the required tools and supplies, you’re ready to move on to the next step: Preparing your system for installation. Let’s get started!
Preparing Your System
Before installing the Corsair H100i Pro CPU cooler, you’ll need to prepare your system to ensure a smooth installation process. Here are the steps to follow:
- Power down your system: Shut down your computer and unplug it from the power source. This is crucial to prevent any electrical accidents or damage to your components.
- Remove the existing CPU cooler (if applicable): If you are replacing an old CPU cooler, carefully detach it from the CPU socket. Follow the instructions in your old cooler’s manual to ensure a proper removal.
- Clean the CPU surface: Using a CPU cleaning solution and a lint-free cloth or cotton swabs, gently clean off any residual thermal paste from the CPU surface. Ensure that the surface is clean and free from any debris or oil.
- Inspect the motherboard: Take a moment to inspect the motherboard and identify the mounting location for the Corsair H100i Pro CPU cooler. Check for any obstructions that may interfere with the installation, such as heatsinks or capacitors near the CPU socket.
- Plan the cable routing: It’s a good practice to plan ahead for cable management. Determine the best path for routing the cooler’s hoses and the USB cable to ensure a neat and organized appearance.
- Ensure proper airflow: Confirm that there is enough space in your case to accommodate the radiator and fans of the Corsair H100i Pro. Make sure that the case fans are correctly positioned to provide optimal airflow.
By thoroughly preparing your system, you’ll minimize the risk of complications during the installation process and create an ideal environment for the Corsair H100i Pro to perform at its best. Once you’ve completed these steps, you’re ready to unbox the cooler and proceed with the installation.
Unboxing the Corsair H100i Pro
Now that you’ve prepared your system, it’s time to unbox the Corsair H100i Pro and familiarize yourself with its components. Follow these steps to unbox the cooler:
- Locate the packaging: The Corsair H100i Pro comes in a sturdy box with all the components securely packed inside. Look for the box labeled “Corsair H100i Pro” or a similar designation.
- Open the box: Carefully open the box, taking care not to damage any of the contents inside.
- Inspect the contents: Inside the box, you’ll find the main components of the cooler, such as the radiator, CPU block, and fans. Additionally, there will be mounting hardware, a USB cable, and any necessary documentation.
- Inspect for damages: Take a moment to inspect each component for any signs of damage during shipping. Look for any bent fins, broken parts, or loose connections.
- Read the manual: Before proceeding with the installation, it’s essential to read the user manual provided by Corsair. The manual will provide step-by-step instructions specific to the H100i Pro and ensure a proper installation process.
It’s important to note that the Corsair H100i Pro is a precision-engineered cooling solution, and mishandling or incorrectly installing the components could void the warranty. By carefully unboxing the cooler and familiarizing yourself with the documentation, you’ll be better equipped to install it properly and enjoy optimal performance.
Once you’ve completed these steps, you’re ready to move on to the next section: Mounting the Radiator.
Mounting the Radiator
Mounting the radiator is a crucial step in the installation process of the Corsair H100i Pro CPU cooler. Here’s a step-by-step guide on how to mount the radiator:
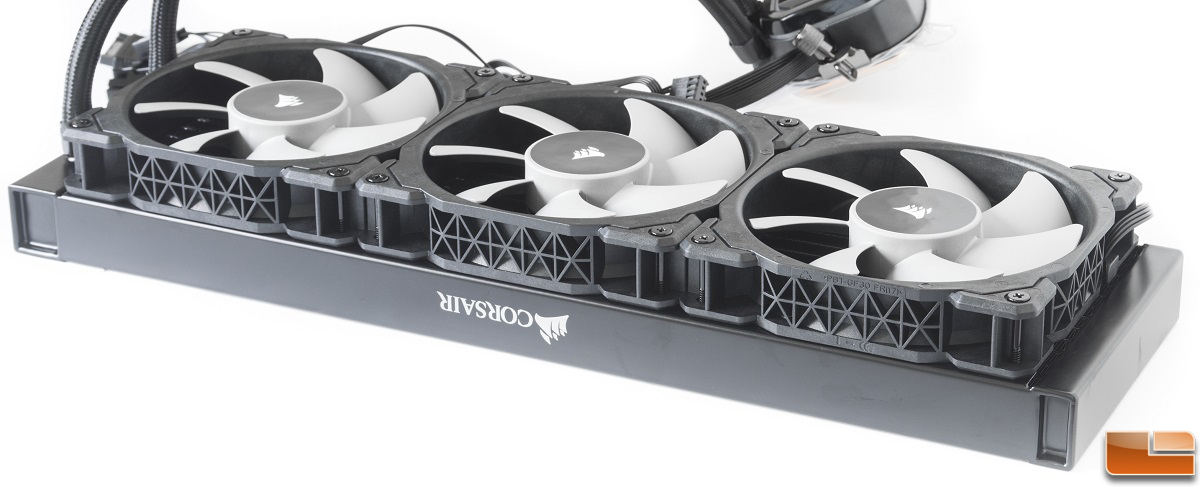
- Choose the mounting location: Determine the best position inside your case to mount the radiator. Ideally, it should be mounted at the top or rear exhaust locations to ensure efficient heat dissipation.
- Remove the existing fans (if applicable): If you have pre-installed case fans at the chosen mounting location, carefully remove them to make room for the radiator. Keep the fans in a safe place, as you may reattach them later.
- Position the radiator: Place the radiator in the intended mounting location, aligning it with the screw holes in the case. The hoses should be oriented towards the CPU area for easier hose connection later on.
- Secure the radiator: Using the appropriate screws, secure the radiator to the case. Start by hand-tightening the screws, and then use a Phillips screwdriver to firmly secure them. Be careful not to overtighten, as this could damage the radiator or strip the screw holes.
- Attach the fans (optional): If you removed any case fans in step 2, you can now reattach them to the radiator. Ensure that the fans are properly aligned, with the airflow direction following the arrows on the fans.
- Cable management: Route the fan cables and hoses neatly to prevent any interference with other components. Use cable ties or suitable clips to secure them in place and maintain a clean and organized appearance.
Mounting the radiator correctly is essential for optimal heat dissipation and cooling performance. Take your time to ensure that the radiator is securely attached and positioned according to your case’s layout. Once you have completed mounting the radiator, you are ready to proceed to the next section: Installing the CPU block.
Installing the CPU Block
Now that you have successfully mounted the radiator, it’s time to install the CPU block of the Corsair H100i Pro. Follow these steps to install the CPU block:
- Remove the protective cover: Start by removing the protective cover from the CPU block. This cover ensures that the thermal paste is not exposed to dust or contaminants before installation.
- Apply thermal paste: Apply a small amount of thermal paste onto the surface of the CPU. The thermal paste helps to create a better thermal interface between the CPU and the CPU block, thus enhancing heat transfer.
- Position the CPU block: Carefully position the CPU block over the CPU, aligning the mounting holes with the CPU socket. Ensure that the hoses are oriented towards the radiator for easier hose connection later on.
- Secure the CPU block: Once aligned, use the provided mounting brackets and screws to secure the CPU block to the CPU socket. Start by lightly screwing them in and then use a diagonal tightening pattern to ensure even pressure distribution.
- Connect the CPU fan header: Locate the CPU fan header on your motherboard, usually labeled as “CPU_FAN.” Connect the CPU block’s fan cable to this header. This connection allows the motherboard to monitor and control the fan speed based on CPU temperature.
- Connect the pump header: Locate the pump header on your motherboard, usually labeled as “PUMP” or “AIO_PUMP.” Connect the pump cable from the CPU block to this header. This connection powers the pump and ensures proper coolant circulation.
It’s important to note that different motherboards may have different labeling or header configurations. Refer to your motherboard’s manual to identify the specific headers for the CPU fan and pump connections.
By following these steps, you have successfully installed the CPU block of the Corsair H100i Pro. Ensure that all the connections are securely in place, and the CPU block is mounted properly. Next, we will move on to connecting the hoses and fans.
Connecting the Hoses and Fans
Now that the CPU block is securely in place, it’s time to connect the hoses and fans of the Corsair H100i Pro. Follow these steps to ensure a proper connection:
- Hose connections: Locate the hoses extending from the CPU block and carefully connect them to the corresponding ports on the radiator. The ports are labeled to indicate the inlet and outlet. Ensure a snug connection, but be gentle to prevent any damage.
- Fan connections: Connect the fan cables from the Corsair H100i Pro to the fan headers on your motherboard. Refer to your motherboard’s manual for guidance on which headers to use. This allows the motherboard to control the fan speed based on temperature.
- Cable management: Neatly route the hoses and fan cables to achieve a clean and organized appearance. Use cable ties or clips to secure them in place, ensuring that they are not obstructing any other components.
- Powering the cooler: Connect the SATA power cable from the Corsair H100i Pro to an available SATA power connector on your power supply unit (PSU). This provides the necessary power to run the pump and RGB lighting (if applicable).
As you connect the hoses and fans, make sure to double-check all the connections to ensure they are secure and properly aligned. Avoid applying excessive force or bending the hoses beyond their recommended range.
Proper hose and fan connections are essential for the efficient functioning of the Corsair H100i Pro CPU cooler. By following these steps and ensuring all the connections are secure, you’re one step closer to experiencing optimal cooling performance for your CPU.
Next, we will move on to connecting the USB cable for software control and monitoring.
Connecting the USB Cable
In order to take full advantage of the features and software control of the Corsair H100i Pro, it’s important to connect the USB cable. Follow these steps to connect the USB cable:
- Locate the USB header: Look for the USB header on your motherboard. It is usually labeled as “USB” or “USB 2.0”. Refer to your motherboard’s manual if you’re unsure of the exact location.
- Connect the USB cable: Take the USB cable provided with the Corsair H100i Pro and plug it into the USB header on the motherboard. Ensure a secure connection by aligning the pins and applying gentle pressure until it is firmly in place.
- Manage the cable: Neatly route and manage the USB cable to ensure it doesn’t obstruct other components or impede airflow. Using cable ties or clips, secure the cable along the existing cable routing paths in your case.
By connecting the USB cable, you enable software control and monitoring of the Corsair H100i Pro through Corsair’s iCUE software. This software allows you to customize lighting effects, monitor coolant temperatures, adjust fan speeds, and fine-tune performance settings according to your preferences.
Once the USB cable is securely connected, make sure to install the necessary software drivers provided by Corsair. These drivers enable proper communication between the cooler and the iCUE software.
With the USB cable connected and the software installed, you’re ready to proceed with testing and configuration of the Corsair H100i Pro.
Testing and Configuration
After successfully installing and connecting the Corsair H100i Pro CPU cooler, it’s time to test and configure its performance. Follow these steps to ensure everything is working as expected:
- Power on your system: Plug in your computer and power it on. Make sure all the components are receiving power, including the Corsair H100i Pro.
- Check for proper fan operation: Observe the fans attached to the radiator to ensure they are spinning. You should also monitor the CPU temperature to ensure it stays within acceptable ranges. If the fans are not spinning, check the fan connections and ensure they are properly plugged into the correct headers on the motherboard.
- Verify pump functionality: Listen for the gentle hum of the pump to confirm it is operating correctly. You can also check the iCUE software to monitor the pump speed and coolant temperature. If the pump is not running or if the coolant temperature is unusually high, double-check the pump connections and make sure it is receiving power.
- Configure fan and pump settings: Open the Corsair iCUE software and navigate to the H100i Pro settings. From here, you can adjust fan curves, customize RGB lighting effects, and fine-tune performance settings for optimal cooling performance. Experiment with different configurations to find the balance between cooling and noise levels that best suits your needs.
- Monitor system performance: Keep an eye on your CPU temperatures and system stability after configuring the cooler. Run stress tests or perform intensive tasks to ensure that the Corsair H100i Pro effectively keeps your CPU cool and maintains stable operation under load.
Regularly monitor your system’s temperatures and performance to ensure the Corsair H100i Pro is functioning properly. If you notice any abnormal behavior, such as excessive heat or loud noise, double-check your installation, connections, and software settings.
With proper testing and configuration, you can enjoy the benefits of the Corsair H100i Pro, including improved CPU cooling performance and customizable settings to suit your needs and preferences.
If you encounter any issues during testing or need further assistance, consult the Corsair support documentation or reach out to their customer support for troubleshooting guidance.
Troubleshooting Common Issues
While the installation and configuration of the Corsair H100i Pro CPU cooler are generally straightforward, you may encounter some common issues along the way. Here are a few troubleshooting tips to help you resolve these issues:
- Check for loose connections: Ensure that all the cables and connections, including the fan headers, pump connections, and USB cable, are securely plugged in. Loose connections can cause intermittent operation or complete failure.
- Double-check the installation: Review the installation steps to make sure you have correctly mounted the radiator, installed the CPU block, and connected the hoses and fans. Improper installation can lead to poor cooling performance or system instability.
- Verify proper power supply: Ensure that the Corsair H100i Pro is receiving adequate power. Check that all the necessary power cables, including the SATA power cable, are securely connected to a proper power source.
- Check for air bubbles: If you notice unusual noises or inconsistent cooling performance, there may be air bubbles trapped in the cooling system. Tilt your computer gently or run it for a longer period to allow any air bubbles to escape from the CPU block and radiator.
- Update software and drivers: Keep your Corsair iCUE software up to date with the latest version and ensure that you have installed the necessary drivers. Outdated software or incompatible drivers can cause various issues with fan control, RGB lighting, and performance monitoring.
- Monitor temperatures and adjust settings: Use the iCUE software to monitor your CPU temperatures and adjust the fan curves accordingly. If your CPU is running hotter than expected, consider increasing the fan speeds or reapplying thermal paste to the CPU.
- Check system compatibility: Ensure that your motherboard is compatible with the Corsair H100i Pro. Check the supported socket types and any specific requirements mentioned in the product manual or Corsair’s website. Incompatible components may cause installation or functionality issues.
If you encounter persistent issues that you cannot resolve on your own, consider contacting Corsair’s customer support for further assistance. They have knowledgeable staff who can provide specialized guidance based on your specific situation.
By following these troubleshooting tips, you can address common issues and resolve them effectively, allowing you to enjoy the optimal performance and cooling benefits of the Corsair H100i Pro CPU cooler.
Conclusion
Congratulations! You have successfully completed the installation and configuration of the Corsair H100i Pro 75 CFM Liquid CPU Cooler. By following this step-by-step guide, you have elevated your system’s cooling capabilities and can expect improved CPU performance under demanding workloads.
Throughout the installation process, you learned how to unbox the cooler, mount the radiator, install the CPU block, connect the hoses and fans, and configure the cooler using the Corsair iCUE software. In addition, you have been equipped with troubleshooting techniques to address common issues that may arise during the installation or operation of the cooler.
Remember that proper installation and regular maintenance are essential for the long-term performance and reliability of the Corsair H100i Pro. Keep an eye on your system’s temperatures, monitor performance, and make any necessary adjustments to fan curves or cooling settings to achieve the best results for your specific needs.
If you encounter any difficulties or have further questions, don’t hesitate to consult the Corsair user manual and support resources. Corsair’s customer support team is also available to provide guidance and assistance if needed.
With the Corsair H100i Pro CPU cooler, you can confidently push your system to its limits, knowing that you have a high-performance cooling solution that will help maintain optimal temperatures and preserve the lifespan of your valuable components.
Thank you for choosing the Corsair H100i Pro 75 CFM Liquid CPU Cooler. Enjoy your enhanced cooling experience and maximize the potential of your system!