Introduction
Installing apps on an external hard drive can be a game-changer for Mac users seeking to expand their storage capacity and improve system performance. With the limited internal storage space of most Mac devices, installing apps on an external hard drive offers several benefits, including freeing up space on your Mac’s internal drive, allowing you to store a larger number of apps, and improving the overall speed and performance of your system.
By moving apps to an external hard drive, you can avoid cluttering your Mac’s internal storage and ensure that your system runs smoothly without experiencing a decrease in performance. This also allows you to take advantage of the large storage capacity that external hard drives offer, enabling you to install and run resource-intensive applications without worrying about space limitations. Whether you’re a professional using memory-intensive software or a casual user with a growing collection of applications, installing apps on an external hard drive can be a practical solution.
In this guide, we will walk you through the process of installing apps on an external hard drive on your Mac. We’ll cover everything from preparing your external hard drive to transferring existing apps and installing new ones. Additionally, we’ll provide troubleshooting tips to help you overcome any potential challenges you may encounter along the way. By the end of this guide, you’ll have a clear understanding of how to optimize your Mac’s storage space and ensure smooth app performance by utilizing an external hard drive.
Benefits of Installing Apps on an External Hard Drive
Installing apps on an external hard drive offers a host of benefits for Mac users. Let’s explore some of the key advantages:
- Increased Storage Capacity: One of the primary advantages of installing apps on an external hard drive is the ability to significantly expand your Mac’s storage capacity. Rather than relying solely on limited internal storage, you can utilize the vast space available on external hard drives to store a larger number of apps.
- Improved System Performance: By moving apps to an external hard drive, you can alleviate the burden on your Mac’s internal drive, freeing up valuable space. This can lead to improved system performance, as your Mac’s resources can be dedicated to running the operating system and essential applications without being weighed down by a multitude of installed apps.
- Flexibility and Portability: External hard drives offer flexibility and portability, allowing you to easily carry your apps and data between different Mac devices. This can be particularly useful for professionals who need to work on multiple devices or for students who want access to their apps and files on various computers.
- Easy App Organization: With an external hard drive, you can keep your apps and related files organized separately from your Mac’s internal storage. This can make it easier to locate and manage your apps, particularly if you have a large number of them. You can create specific folders and directories on the external hard drive to categorize your apps, enhancing efficiency and productivity.
- Protection Against Data Loss: Storing your apps on an external hard drive provides an additional layer of protection against data loss. In the event of a system failure or a need to reformat your Mac, your apps and related files can remain safely stored on the external drive, ensuring that you don’t lose any important data.
By taking advantage of the benefits of installing apps on an external hard drive, you can optimize your Mac’s performance, increase storage capacity, and enhance your overall computing experience. Now that we’ve explored the advantages, let’s move on to the next section, where we’ll discuss how to prepare your external hard drive for installing apps.
Preparing Your External Hard Drive
Before you start installing apps on your external hard drive, there are a few key steps you need to take to ensure proper preparation. Let’s go through them:
1. Check System Requirements: Ensure that your external hard drive meets the system requirements specified by the app developers. Verify the compatibility of the drive with your Mac device and the macOS version you are using. This will help avoid any compatibility issues and ensure smooth operation of the installed apps.
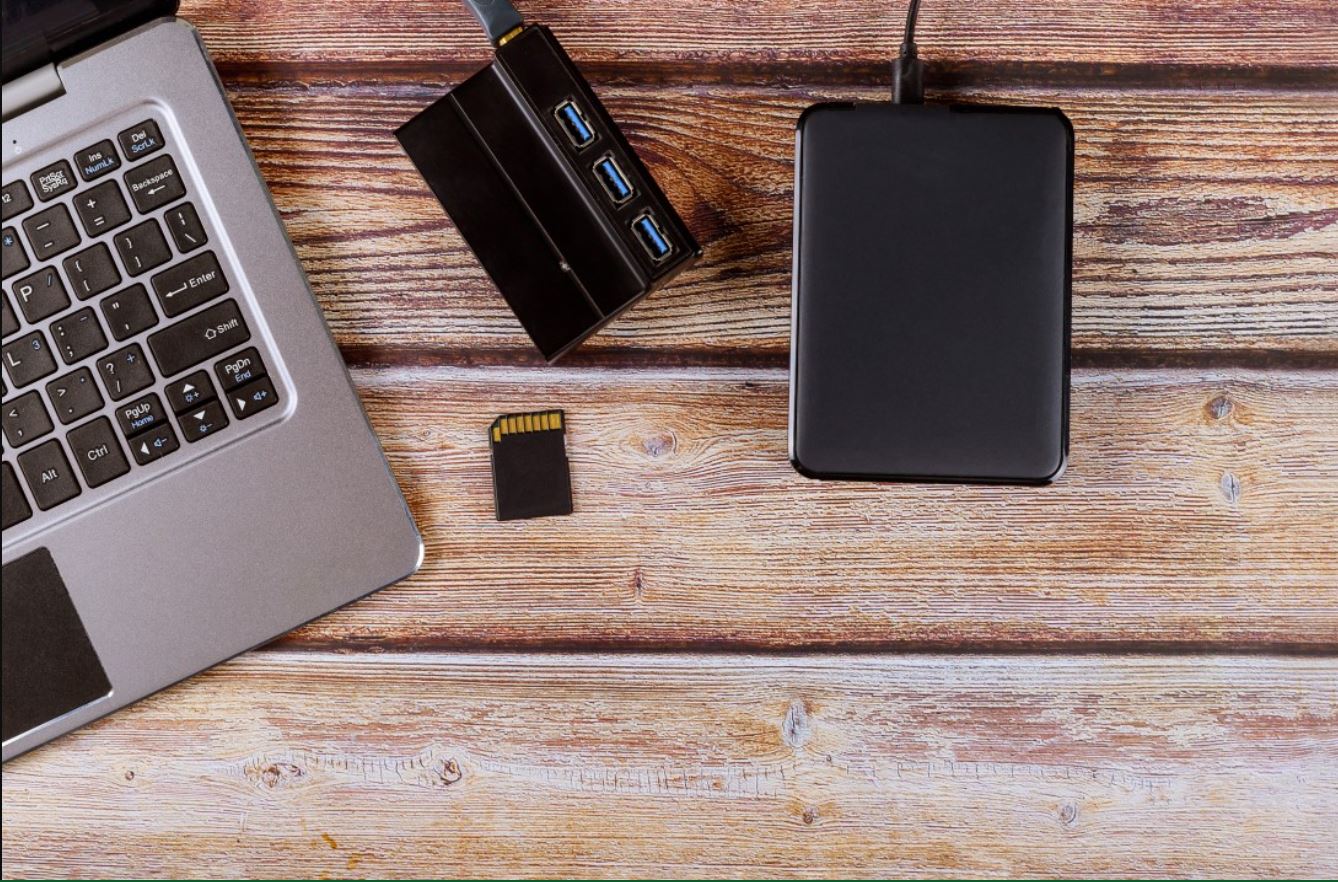
2. Choose the Right External Hard Drive: Select an external hard drive with sufficient storage capacity and reliable performance. Consider factors such as the type of connection (USB, Thunderbolt, etc.), the drive’s transfer speed, and the overall durability of the device. It’s also recommended to choose a drive that has a dedicated power source for stable performance.
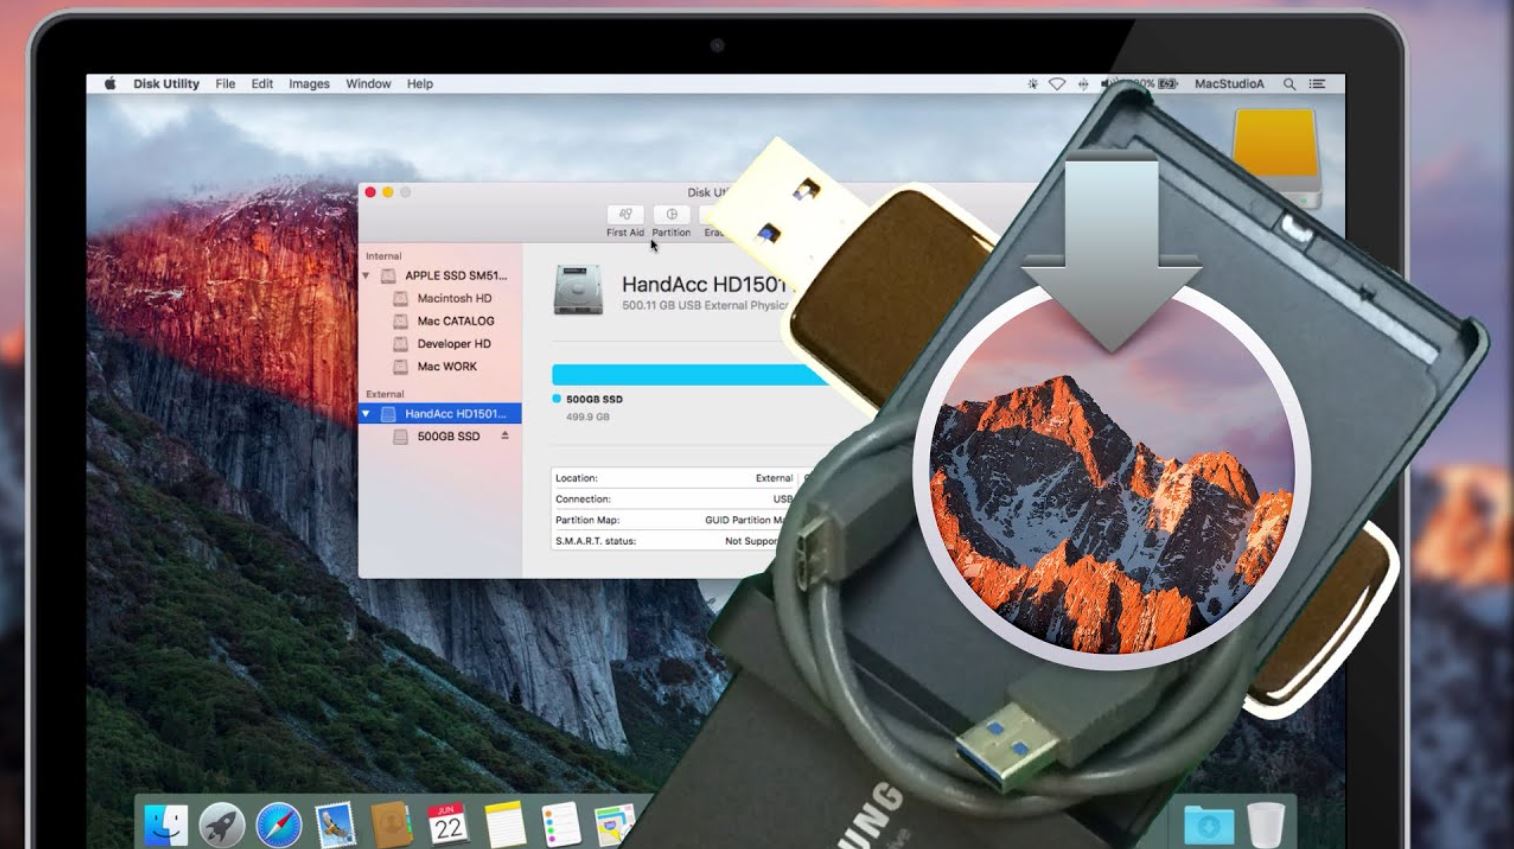
3. Format the External Hard Drive: Before installing apps, you’ll need to format the external hard drive to ensure compatibility with macOS. Formatting is also necessary if the drive was previously used with a different file system. You can format the drive using Disk Utility, a built-in macOS utility that allows you to erase and configure storage devices.
4. Backup Important Data: It is crucial to back up any important data on your external hard drive before formatting or installing new apps. This will prevent data loss in case of any unexpected errors or problems during the installation process.
5. Create App-specific Folders: To keep your installed apps organized, consider creating specific folders on your external hard drive. You can categorize the folders based on the type of apps or their functionality. This will help you easily locate and manage the apps, even as your collection grows.
By following these steps to prepare your external hard drive, you’ll ensure a smooth and hassle-free installation process. Now that you’re ready with a properly formatted and organized drive, it’s time to transfer your existing apps and install new ones. Let’s move on to the next section for detailed instructions.
Checking System Requirements
Before installing apps on your external hard drive, it’s essential to verify that your Mac meets the system requirements specified by the app developers. Checking system requirements ensures compatibility and prevents any potential issues during installation or usage. Here are the steps to check system requirements:
1. Review the App Documentation: Start by consulting the documentation or official website of the app you intend to install. Look for information about the minimum software and hardware requirements needed to run the app. Most developers provide these details to guide users in determining compatibility.
2. Check the macOS Version: Verify that your Mac is running a compatible version of macOS. Some apps might require specific macOS versions to function properly. You can check your macOS version by clicking on the Apple menu in the top-left corner of the screen and selecting “About This Mac.”
3. Check Hardware Specifications: Take note of the hardware specifications required by the app. This may include the processor type and speed, RAM (memory) requirements, and disk space needed. Compare these specifications with your Mac’s hardware to ensure compatibility.
4. Consider External Drive Compatibility: While checking system requirements, make sure the app is compatible with running from an external hard drive. Many apps work seamlessly from external storage, but some may have specific requirements or limitations. Always refer to the app’s documentation or contact the developer for confirmation.
5. Account for Additional Software: Some apps may require the installation of additional software or libraries for proper functionality. Review the app’s documentation to identify any additional software needed, and ensure those software requirements are met on your Mac.
By thoroughly checking the system requirements, you can prevent compatibility issues and ensure a smooth installation and usage experience. If your Mac meets the requirements, you can proceed with installing apps on your external hard drive. However, if your Mac falls short in any aspect, you may need to upgrade your hardware or consider alternative apps that are compatible with your system.
Now that you have verified the system requirements, the next step is to choose the right external hard drive that meets your needs. We’ll discuss this further in the following section.
Choosing the Right External Hard Drive
When it comes to installing apps on an external hard drive, selecting the right device is crucial. Consider the following factors to ensure you choose an external hard drive that meets your needs:
1. Storage Capacity: Determine how much storage capacity you require for installing apps. Consider the size of the apps you plan to install, as well as any future application needs. It’s advisable to choose a drive with enough storage capacity to accommodate your current and future requirements.
2. Connection Type: Evaluate the connection options available on your Mac and choose an external hard drive that is compatible. Common connection types include USB, Thunderbolt, and USB-C. USB 3.0 or higher is recommended for faster data transfer speeds.
3. Transfer Speed: Look for an external hard drive with a fast transfer speed. A higher rotational speed (RPM) or solid-state drive (SSD) technology can significantly improve the performance of your installed apps. This ensures smooth and efficient operation, especially for resource-intensive applications.
4. Reliability: Opt for a reliable and reputable external hard drive brand. Research customer reviews and ratings to gauge the reliability and durability of the device. You want a drive that is built to last and can withstand regular use.
5. Portability: Consider the portability factor if you plan to use your external hard drive on the go. Look for a compact and lightweight device that is easy to carry and transport. Some drives offer rugged features, such as shock resistance and protective casings, for added durability during travel.
6. Power Source: Determine whether you prefer an external hard drive that draws power from your Mac or one with an external power source. Drives with external power sources often provide more consistent performance for running apps, especially if you plan to use resource-intensive applications.
7. Cost: Set a budget for your external hard drive purchase and compare different options within your price range. It’s important to strike a balance between cost and features. Consider the overall value and reliability of the drive rather than solely focusing on the price.
By carefully considering these factors, you can choose an external hard drive that not only meets your budget but also fulfills your storage and performance requirements. Once you have selected the right drive, the next step is to format it for use with your Mac. We’ll cover this topic in the next section.
Formatting the External Hard Drive
In order to use your external hard drive for installing apps on your Mac, it needs to be properly formatted. Formatting prepares the drive for use with macOS and ensures compatibility with your system. Follow these steps to format your external hard drive:
1. Connect the External Hard Drive: Plug in your external hard drive to one of the available USB or Thunderbolt ports on your Mac. Ensure a secure connection before proceeding.
2. Open Disk Utility: Go to the “Applications” folder in Finder, then open the “Utilities” folder, and launch Disk Utility. Alternatively, you can search for “Disk Utility” using Spotlight.
3. Select the External Hard Drive: In Disk Utility, you will see a list of drives and volumes on the left-hand side. Locate your external hard drive and select it from the list. Be careful to select the correct drive to avoid accidentally formatting the wrong device.
4. Erase and Format: With the external hard drive selected, click on the “Erase” button at the top of the Disk Utility window. A pop-up menu will appear, allowing you to choose the format for the drive.
5. Choose a Format: Select a format that is compatible with macOS, such as “Mac OS Extended (Journaled)” or “APFS” (Apple File System). It’s important to note that choosing a different format may result in limited functionality or incompatibility with macOS.
6. Provide a Name: Give your formatted external hard drive a distinct name. This will help you easily identify it when connecting it to your Mac or when managing files and applications.
7. Start the Format: Once you have selected the format and provided a name, click on the “Erase” button to begin the formatting process. This will erase all data on the drive, so ensure you have a backup of any important files.
8. Wait for Completion: The formatting process may take a few minutes to complete. Wait until you see a confirmation message indicating that the format was successful before proceeding.
After formatting your external hard drive, it will be ready to use for installing apps on your Mac. The next step is to transfer existing apps from your Mac’s internal storage to the external hard drive. We’ll cover this topic in the next section.
Transferring Existing Apps to the External Hard Drive
Once you have formatted your external hard drive, you can start transferring your existing apps from your Mac’s internal storage to the external drive. Follow these steps to transfer your apps:
1. Create App-specific Folders: Before transferring your apps, it’s a good practice to create specific folders on your external hard drive to organize them. You can categorize the folders based on the type of apps or their functionality to make it easier to locate and manage them.
2. Locate the Apps on Your Mac: Open Finder and navigate to the “Applications” folder on your Mac’s internal storage. This is the default location where apps are installed on macOS.
3. Select and Copy the Apps: Select the desired apps you want to transfer from the “Applications” folder and copy them by either right-clicking and selecting “Copy” or using the keyboard shortcut Command+C. Alternatively, you can click and drag the apps to the external hard drive.
4. Paste the Apps: Navigate to the app-specific folder you created on the external hard drive and paste the copied apps by either right-clicking and selecting “Paste” or using the keyboard shortcut Command+V. The apps will begin copying to the external hard drive.
5. Repeat for All Apps: Repeat the process for each app you want to transfer to the external hard drive. Make sure to copy and paste all the necessary files and folders associated with each app.
6. Verify Transfer Completion: Once you have finished transferring all the apps, double-check that all the files have been successfully copied to the external hard drive. You can do this by opening the app-specific folders on the external drive and ensuring that all the necessary files are present.
By following these steps, you can successfully transfer your existing apps from your Mac’s internal storage to the external hard drive. Once the transfer is complete, you’ll be able to run these apps directly from the external drive, freeing up valuable space on your Mac and improving overall system performance.
Next, let’s move on to the process of installing new apps directly onto the external hard drive.
Installing New Apps on the External Hard Drive
Installing new apps directly onto your external hard drive can be a convenient way to manage your storage space on your Mac. Follow these steps to install new apps on the external hard drive:
1. Download the App: Download the desired app from a trusted source or the official website. Most apps come as disk image files (.dmg) or package files (.pkg).
2. Open the Disk Image or Package File: Locate the downloaded file and double-click to open it. This will typically mount the disk image or launch the package installer.
3. Follow the Installation Wizard: The installation process may vary for different apps. Follow the on-screen instructions provided by the app’s installation wizard.
4. Choose the Destination: During the installation process, you will be prompted to choose the destination where the app will be installed. Select the external hard drive as the installation location. If the external drive is not listed, ensure it is properly connected and recognized by your Mac.
5. Complete the Installation: Proceed with the installation process and wait for it to complete. The app will be installed directly onto the external hard drive.
6. Repeat for Additional Apps: If you have multiple apps to install, repeat the process for each one. Choose the external hard drive as the destination for every installation.
7. Verify the Installation: Once the installations are complete, open the app-specific folder on the external hard drive and ensure that the newly installed app is present. You can also launch the app to confirm that it runs smoothly from the external drive.
By installing new apps directly onto the external hard drive, you can better manage your storage space on your Mac and keep your internal drive free from unnecessary clutter. This approach allows you to take full advantage of the larger storage capacity provided by the external hard drive.
Next, we’ll discuss how to configure macOS to run apps from the external hard drive.
Configuring macOS to Run Apps from the External Hard Drive
After installing apps on your external hard drive, you need to configure macOS to recognize and run these apps from the external drive. Here’s how you can set up your system to run apps from the external hard drive:
1. Open System Preferences: Click on the Apple menu in the top-left corner of the screen and select “System Preferences” from the drop-down menu.
2. Navigate to Security & Privacy: In the System Preferences window, click on the “Security & Privacy” icon. This will open the Security & Privacy settings.
3. Go to the Privacy Tab: In the Security & Privacy window, select the “Privacy” tab located at the top-right corner of the window.
4. Click on Full Disk Access: In the Privacy tab, scroll down the left-hand menu and click on “Full Disk Access.” This grants permission for apps to access and run from external drives.
5. Unlock the Settings: Click on the padlock icon located at the bottom-left corner of the window and enter your administrator password to unlock the settings. This will allow you to make changes.
6. Add the External Hard Drive: To grant full disk access to the external hard drive, click on the “+” (plus) button under the list of applications. In the file browser window, navigate to the external hard drive and select it. Click on “Open” to add the external drive to the list of allowed apps.
7. Restart Your Mac: Once you have added the external hard drive to the list of allowed apps, restart your Mac to apply the changes. This ensures that macOS recognizes the drive and allows apps to run from it.
After your Mac restarts, you should be able to run apps from the external hard drive without any issues. Simply launch the desired app from the external drive, and it will launch and operate as usual.
By configuring macOS to run apps from the external hard drive, you can enjoy the benefits of expanded storage space and improved performance without the need to transfer apps back to your Mac’s internal drive.
Next, we’ll provide some troubleshooting tips to help you overcome any potential challenges you may encounter throughout the process.
Troubleshooting Tips
While installing and running apps from an external hard drive can greatly enhance your Mac’s performance, you may encounter some challenges along the way. Here are some troubleshooting tips to help you overcome common issues:
1. Permission Issues: If you encounter permission errors when trying to install or run apps from the external hard drive, ensure that you have granted the necessary permissions to the drive in the Security & Privacy settings. Double-check that the external drive is added to the list of allowed apps in Full Disk Access.
2. Error Messages during Installation: If you receive error messages during installation, verify that the external hard drive has enough available space to accommodate the app. Also, ensure that you have chosen the correct destination during the installation process.
3. Slow Performance: If you notice slow performance when running apps from the external hard drive, ensure that the drive is connected to a high-speed USB or Thunderbolt port. Additionally, consider using a solid-state drive (SSD) or a drive with a high rotational speed (RPM) for better performance.
4. App Compatibility: If certain apps refuse to run from the external hard drive, check their compatibility with external storage. Some apps may have specific requirements or limitations and may only operate from the Mac’s internal drive. Review the app’s documentation or contact the developer for guidance.
5. Drive Recognition: If your Mac fails to recognize the external hard drive, first ensure that it is properly connected and powered on. Try using a different USB or Thunderbolt cable to rule out any connection issues. If the problem persists, test the drive on another computer to determine if it’s a drive-specific issue.
6. Compatibility with macOS Updates: Keep in mind that macOS updates may introduce changes that affect app performance from external drives. If you encounter issues after a macOS update, ensure that your apps and the external hard drive’s firmware or drivers are up to date. Check the app developer’s website or the external hard drive manufacturer’s support page for updates.
7. Backup Your Data: Always have a backup of your important data. Before making any changes to your external hard drive or when troubleshooting issues, ensure that you have a backup of your apps and files. This ensures you can recover your data in case of data loss or corruption.
By following these troubleshooting tips, you can effectively address common issues that may arise when installing and running apps from an external hard drive. If you continue to experience difficulties, don’t hesitate to reach out to the app developers’ support team or consult relevant user forums for further assistance.
With the troubleshooting tips covered, let’s summarize the key points discussed in this guide.
Conclusion
Installing apps on an external hard drive can be a practical solution for expanding storage capacity and improving performance on your Mac. By following the steps outlined in this guide, you can successfully install and run apps directly from an external hard drive.
We explored the benefits of installing apps on an external hard drive, including increased storage capacity, improved system performance, flexibility, and easy app organization. Preparing the external hard drive by checking system requirements and choosing the right device is an important initial step. Properly formatting the drive ensures compatibility with macOS.
We discussed how to transfer existing apps to the external hard drive, as well as how to install new apps directly onto the drive. Configuring macOS to run apps from the external drive requires granting full disk access permissions in the Security & Privacy settings. We also provided troubleshooting tips to address common challenges that may arise during the process.
By installing apps on an external hard drive, you can optimize your Mac’s storage space, enhance performance, and enjoy the convenience of a portable storage solution. However, it’s important to remember to regularly back up your data and keep your apps and external hard drive firmware up to date to ensure a smooth experience.
We hope this guide has equipped you with the knowledge and confidence to successfully install and run apps from an external hard drive on your Mac. Enjoy the benefits of expanded storage capacity and improved system performance as you make the most of your Mac’s capabilities!