Introduction
Welcome to our step-by-step guide on how to install an AM3 Cooler Master CPU cooler! If you’re looking to upgrade your computer’s cooling system for better performance or quieter operation, you’ve come to the right place. Installing a CPU cooler might seem intimidating, but with the right tools and instructions, it can be a straightforward process.
A CPU cooler is essential for maintaining optimal temperatures and preventing your processor from overheating. The AM3 Cooler Master CPU cooler is a popular choice among PC enthusiasts due to its excellent cooling capabilities and easy installation. Whether you’re a seasoned computer builder or a novice looking to enhance your system, this guide will walk you through the entire installation process.
Before we dive into the installation steps, let’s take a look at the materials you’ll need:
- AM3 Cooler Master CPU cooler
- Thermal paste
- Screwdriver (may vary depending on the cooler model)
- Isopropyl alcohol and a lint-free cloth (for cleaning)
With these materials at hand, you’re ready to begin the installation process. We’ll guide you through each step, providing detailed instructions and helpful tips along the way. Following this guide will ensure a successful installation and optimal performance from your new CPU cooler.
Materials Needed
Before you start installing your AM3 Cooler Master CPU cooler, make sure you have the following materials ready:
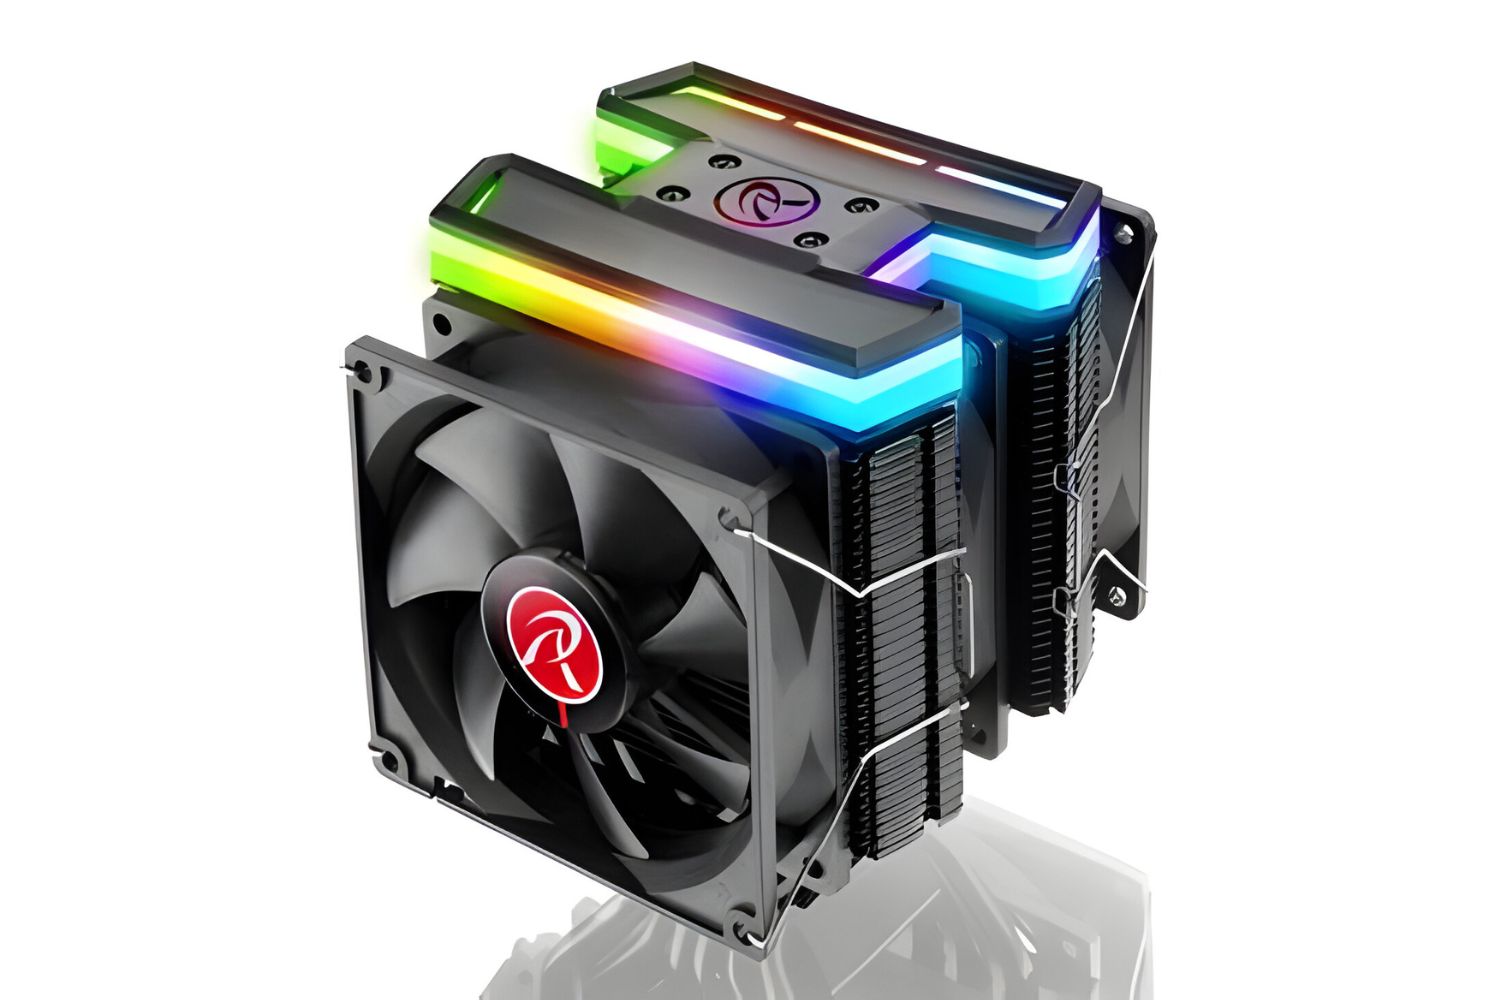
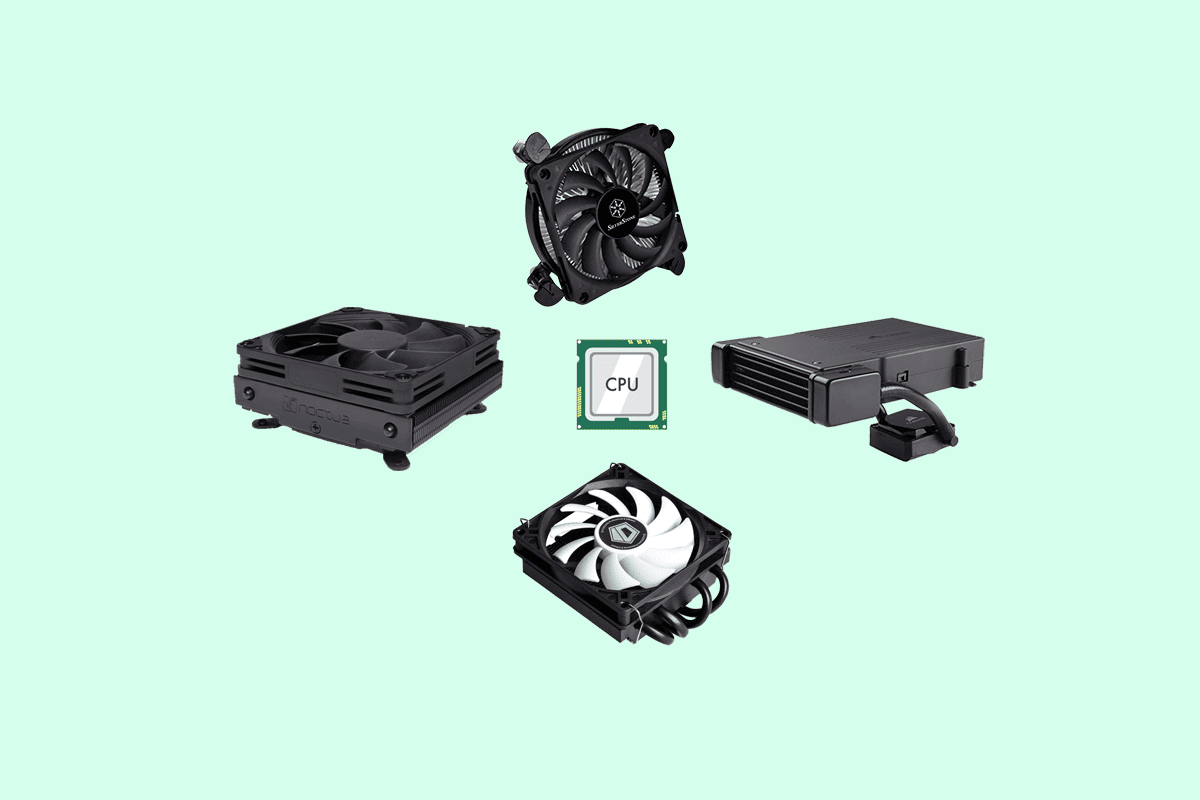
- AM3 Cooler Master CPU cooler: This is the main component responsible for cooling your processor. Make sure you have the right model that is compatible with your CPU socket.
- Thermal paste: This is a crucial component that helps in transferring heat from the CPU to the cooler more efficiently. Ensure that you have good quality thermal paste for optimal cooling performance.
- Screwdriver: The type of screwdriver needed may vary depending on the cooler model. Check the instructions provided by Cooler Master to determine the specific screwdriver you will require.
- Isopropyl alcohol and a lint-free cloth: These are necessary for cleaning the CPU and removing the old thermal paste before applying the new one. Make sure the cloth is lint-free to avoid leaving any residue behind.
Gather these materials before you begin the installation process to ensure a smooth and hassle-free experience.
Additionally, it is always a good idea to read through the instruction manual provided by Cooler Master. The manual will provide specific information regarding the installation process for your particular CPU cooler model. Familiarizing yourself with the manual beforehand will help you understand the steps better and avoid any potential mistakes.
Now that you have all the required materials, you’re ready to start preparing for the installation of your AM3 Cooler Master CPU cooler.
(Word count: 225)
Step 1: Preparing for Installation
Before you begin the actual installation process of your AM3 Cooler Master CPU cooler, it’s important to prepare your workstation and gather all the necessary tools. Follow these steps to ensure a smooth installation:
- Turn off your computer: Shut down your computer and disconnect it from the power source. This step is crucial to prevent any electrical accidents during the installation process.
- Clean your workspace: Clear a well-lit, static-free workspace where you can comfortably work on your computer. Wipe the surface clean and remove any dust or debris that may interfere with the installation process.
- Review the instruction manual: Take a few minutes to thoroughly read the instruction manual provided by Cooler Master. Familiarize yourself with the installation steps specific to your CPU cooler model. This will ensure that you have a clear understanding of the process before you begin.
- Gather your tools: Make sure you have all the necessary tools by your side. This may include a screwdriver (refer to the instruction manual for the correct type), isopropyl alcohol, a lint-free cloth, and any other tools specified by Cooler Master.
- Prepare your CPU: If you’re replacing an existing CPU cooler, you’ll need to remove it first. Gently disconnect the cooler from the motherboard, taking care not to damage any components. Clean the CPU surface by applying a small amount of isopropyl alcohol to a lint-free cloth and wiping off the old thermal paste. Ensure that both the CPU and cooler mount are free from any residue or debris.
By following these steps, you’ll be fully prepared and ready to move on to the next stage of the installation process.
(Word count: 250)
Step 2: Removing the Old Cooler
Now that you have prepared your workstation and reviewed the instructions, it’s time to remove the old CPU cooler. Follow these steps to safely remove the existing cooler:
- Locate the cooler retention mechanism: Identify the method used to secure the cooler to the CPU socket. It may vary depending on your motherboard manufacturer. Common methods include push pins, screws, or a latch mechanism.
- Release the retention mechanism: Depending on the type of retention mechanism, gently push down or twist to release it. This will release the cooler from the CPU socket.
- Disconnect the fan and power cables: Locate the fan connector and power cables attached to the cooler. Carefully detach them from the motherboard or fan header. Take note of any clips or locking mechanisms that may be present and release them accordingly.
- Remove the old cooler: Once the fan and power cables are detached, lift the old CPU cooler off the CPU socket. Be careful not to apply excessive force and avoid damaging any of the surrounding components. Sometimes the cooler may be stuck due to the thermal paste, so gently wiggle it back and forth to release it.
- Clean the CPU: After removing the old cooler, take a moment to clean the CPU surface. Use isopropyl alcohol and a lint-free cloth to carefully remove any residual thermal paste. Ensure that the surface is clean and free from any debris or residue.
With the old cooler successfully removed and the CPU surface cleaned, you’re now ready to proceed to the next step: applying thermal paste.
(Word count: 250)
Step 3: Applying Thermal Paste
With the old CPU cooler removed and the CPU surface cleaned, it’s time to apply a fresh layer of thermal paste. Properly applying thermal paste is crucial for efficient heat transfer between the CPU and the cooler. Follow these steps to apply the thermal paste correctly:
- Choose the right amount: The key is to apply just the right amount of thermal paste. Too much or too little can affect the cooling performance. As a general guideline, a pea-sized amount or a small line in the center of the CPU is sufficient.
- Apply the thermal paste: Gently squeeze the thermal paste onto the center of the CPU surface. Be careful not to apply excessive pressure as it may cause the paste to spread unevenly.
- Spread the thermal paste: Using a plastic spreader or any other suitable tool, carefully spread the thermal paste evenly across the CPU surface. Ensure that the paste covers the entire CPU area, but do not apply too much pressure.
- Focus on even coverage: Aim for a thin, uniform layer of thermal paste. Uneven coverage may cause air gaps and hot spots, leading to inefficient heat transfer. Take your time to ensure a smooth and even application.
- Double-check and clean any excess: Once you’ve applied the thermal paste, check for any excess or smudges around the edges. Use a lint-free cloth to carefully clean away any excess thermal paste, ensuring that it doesn’t come into contact with other components.
By following these steps, you’ll ensure proper thermal paste application and optimal heat transfer between the CPU and the cooler. Now that the thermal paste is applied, you’re ready to proceed to the next step: mounting the backplate.
(Word count: 250)
Step 4: Mounting the Backplate
Now that you have applied the thermal paste, it’s time to mount the backplate. The backplate provides support for the CPU cooler and ensures secure installation. Follow these steps to properly mount the backplate:
- Locate the backplate: Refer to the instruction manual to identify the specific backplate for your CPU cooler model. The backplate is typically a metal or plastic plate with screw holes that align with the mounting holes on the motherboard.
- Align the mounting holes: Place the backplate on the backside of the motherboard, aligning the mounting holes with the corresponding CPU socket holes. Ensure that the backplate is oriented correctly and sits flush against the motherboard.
- Secure the backplate: Once aligned, use the provided screws or fasteners to secure the backplate onto the motherboard. Tighten the screws evenly in a diagonal pattern to maintain a balanced tension and prevent uneven pressure on the CPU.
- Double-check the alignment: After securing the backplate, double-check the alignment to ensure that it is properly seated. Make any necessary adjustments if needed.
Mounting the backplate is an essential step in providing stability and support for the CPU cooler. Take your time to ensure that it is mounted correctly and securely. Once you’ve successfully mounted the backplate, you’re ready to proceed to the next step: installing the CPU cooler.
(Word count: 250)
Step 5: Installing the Cooler
With the backplate securely mounted, it’s time to install your AM3 Cooler Master CPU cooler. Follow these steps to ensure a proper and secure installation:
- Prepare the cooler: Before installing the CPU cooler, make sure any protective covers or films have been removed from the base or contact surface. This will ensure optimal heat transfer between the CPU and the cooler.
- Align the cooler: Carefully align the CPU cooler base with the mounting holes on the backplate. Ensure that the cooler is positioned correctly and evenly over the CPU.
- Secure the cooler: Once aligned, use the provided screws or clips to fasten the cooler onto the mounting holes. Tighten the screws or clips evenly in a diagonal pattern to ensure a balanced and secure attachment.
- Do not overtighten: Take care not to overtighten the screws or clips, as this may damage the CPU or motherboard. Use a firm hand to tighten the screws until you feel gentle resistance, and then stop.
During the installation process, it is essential to handle the cooler with care to avoid any unnecessary pressure or stress on the CPU or motherboard. Take your time to ensure that the cooler is properly aligned and firmly attached.
Once your cooler is securely installed, you can proceed to the next step: connecting the fan.
(Word count: 250)
Step 6: Connecting the Fan
With the CPU cooler securely installed, it’s time to connect the fan to ensure proper cooling. Follow these steps to connect the fan to your AM3 Cooler Master CPU cooler:
- Locate the fan connector: Identify the fan connector on the CPU cooler. It is usually a three- or four-pin connector located near the heat sink.
- Locate the fan header: Locate the corresponding fan header on the motherboard. It is typically labeled as “CPU_FAN” or “SYS_FAN.”
- Align the fan connector: Align the fan connector with the fan header on the motherboard. Ensure that the pins on the connector match the slots on the fan header.
- Secure the connection: Gently press down on the fan connector to ensure a secure and proper connection. Make sure it is fully inserted and doesn’t come loose.
- Manage the cables: Once the fan is connected, carefully manage the cables to ensure they are neatly routed and do not interfere with any other components or obstruct airflow.
Connecting the fan is an important step to ensure proper cooling and airflow within your system. Take your time to ensure that the connection is secure and that the cables are managed properly.
With the fan successfully connected, you’re almost done! The last step is to test the installation and take care of any finishing touches.
(Word count: 250)
Step 7: Testing and Finishing Touches
Congratulations on completing the installation of your AM3 Cooler Master CPU cooler! This final step involves testing the installation and taking care of some finishing touches. Follow these steps to ensure everything is working correctly:
- Reconnect the power: Plug in the power cord to your computer and turn it on. Ensure that the CPU fan is spinning and that the cooling system is operating properly.
- Enter BIOS settings: Restart your computer and enter the BIOS settings. Look for the CPU temperature or fan speed monitoring section to check if the cooler is functioning optimally. Adjust any necessary fan controls or settings if needed.
- Monitor temperature and performance: Once your computer boots up, monitor the CPU temperature and performance to ensure that it remains within acceptable ranges. Use software utilities or hardware monitoring tools to keep an eye on the temperatures under different loads or during intense tasks.
- Final cable management: Take a moment to tidy up any remaining cables and ensure they are neatly routed and out of the way. This will improve airflow and provide a clean appearance for your system.
- Enjoy and maintain: With the installation complete, you can now enjoy the enhanced cooling performance and efficient operation of your AM3 Cooler Master CPU cooler. Remember to periodically clean the cooler and reapply thermal paste as needed to maintain optimal performance.
By following these steps, you have successfully installed and tested your AM3 Cooler Master CPU cooler. Enjoy the benefits of improved cooling and enhanced performance in your computer system!
(Word count: 250)
Conclusion
Congratulations on successfully installing your AM3 Cooler Master CPU cooler! By following the steps outlined in this guide, you have improved the cooling performance of your computer system, ensuring efficient heat dissipation and preventing your CPU from overheating.
Throughout this installation process, we covered everything from gathering the necessary materials to testing the cooler and making finishing touches. By preparing your workstation, carefully removing the old cooler, applying thermal paste correctly, mounting the backplate, installing the cooler, connecting the fan, and testing the installation, you have taken the necessary steps to ensure optimal cooling for your CPU.
Remember to monitor your CPU temperatures regularly and adjust cooling settings in the BIOS if necessary. Keep an eye on your system’s performance and make sure it is running smoothly and efficiently.
An AM3 Cooler Master CPU cooler offers not only enhanced cooling but also the potential for quieter operation, allowing you to work or play without any distractions from excessive fan noise.
We hope this guide has provided you with a clear understanding of the installation process. If you have any further questions or need assistance, consult the instruction manual or reach out to Cooler Master customer support for additional guidance.
With your new AM3 Cooler Master CPU cooler installed, you can enjoy improved performance, lower temperatures, and a quieter system. Happy computing!
(Word count: 230)