Introduction
Upgrading your computer’s hard drive to a solid-state drive (SSD) can significantly improve its performance and speed. If you’re still using Windows 7, this guide will walk you through the process of installing an SSD and transferring your operating system and files to it. Not only will this boost your computer’s overall performance, but it will also extend its lifespan by reducing the wear and tear associated with traditional hard drives.
SSDs offer numerous advantages over traditional hard drives, including faster boot times, quicker file transfers, and improved system responsiveness. By replacing your old hard drive with an SSD, you’ll experience a noticeable improvement in your computer’s overall speed and responsiveness.
However, the process of installing an SSD and transferring your files can seem intimidating, especially if you’re not familiar with computer hardware and software. Don’t worry! This guide will take you step-by-step through the process, ensuring a smooth and successful installation.
Before we dive into the installation process, let’s take a moment to gather the necessary tools and materials you’ll need to complete the task. It’s always a good idea to have everything ready before starting any computer-related project to avoid any unnecessary delays or hiccups along the way.
Gathering the necessary tools and materials
Before you begin the installation process, it’s important to gather all the necessary tools and materials. Here’s a list of what you’ll need:
-
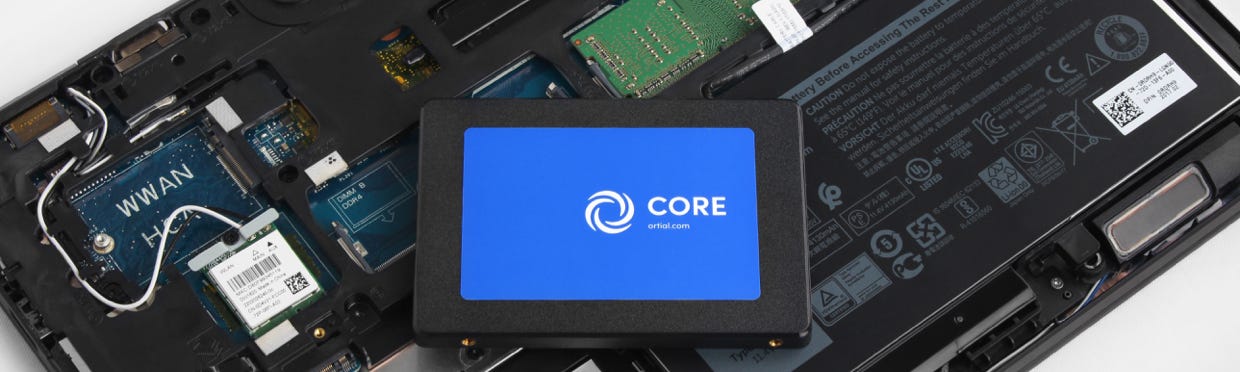
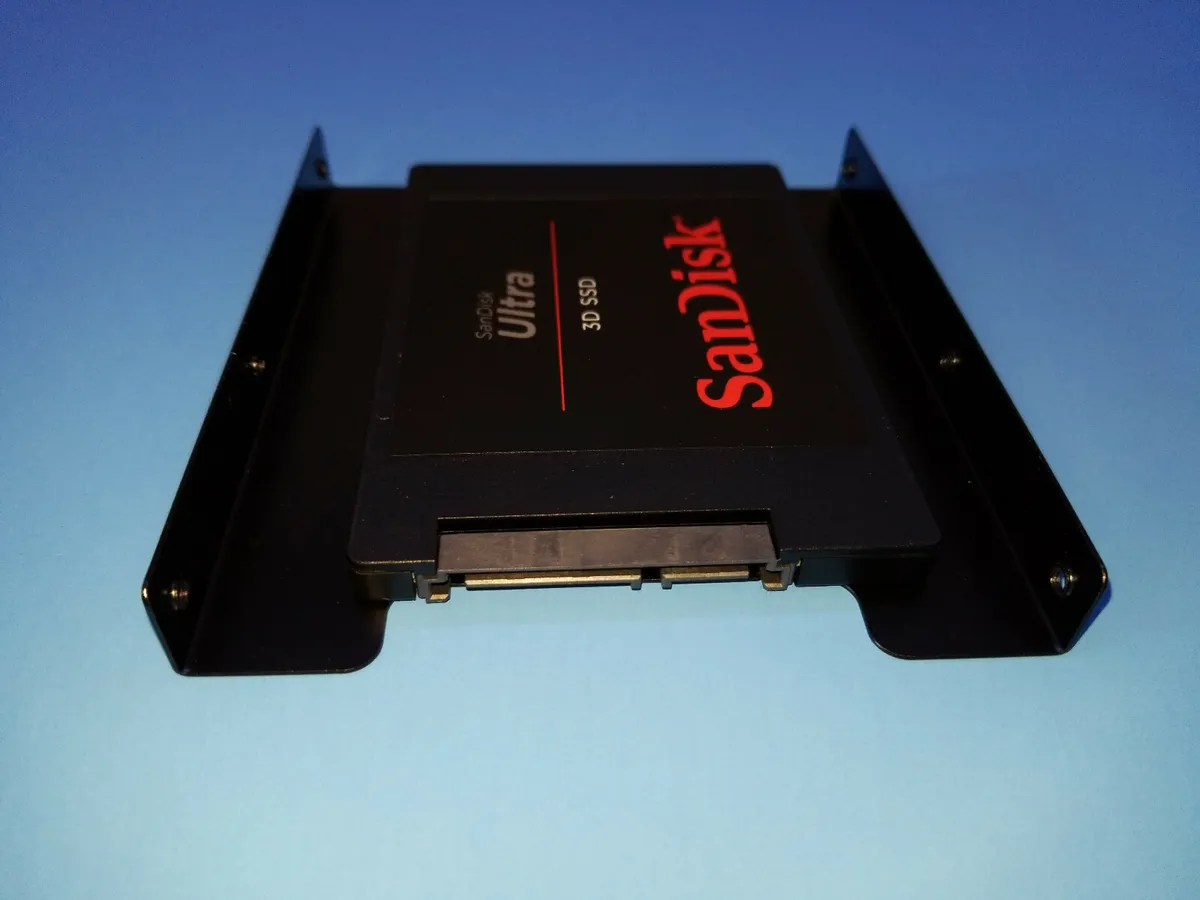
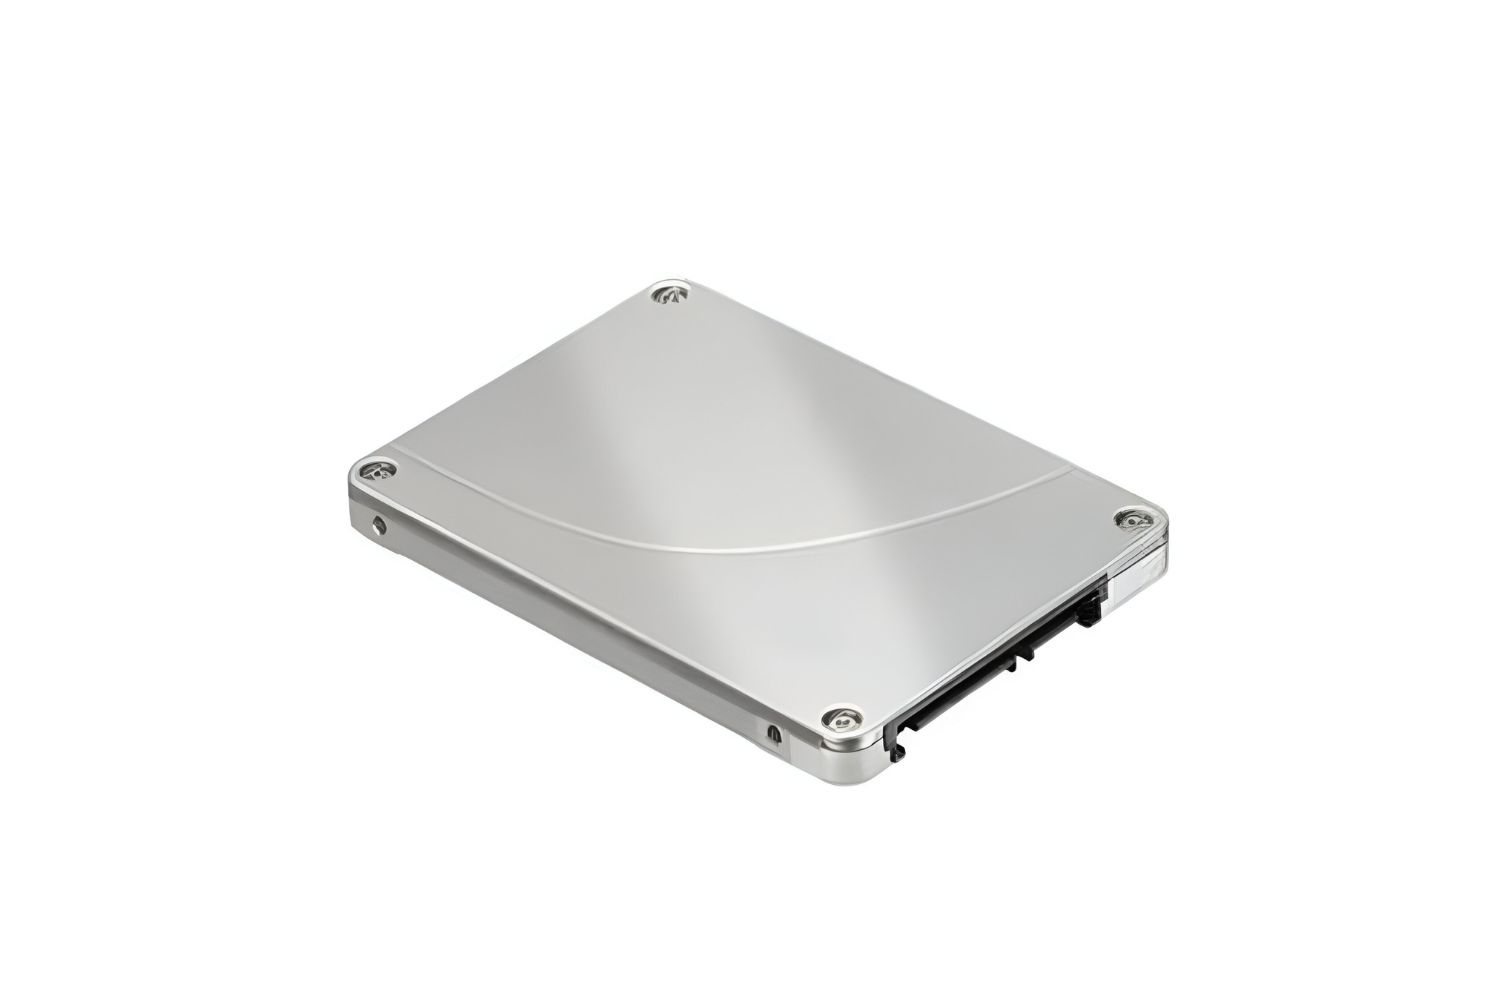
Solid-state drive (SSD): This is the main component of the upgrade. Choose an SSD with enough storage capacity to accommodate your operating system and files. Make sure the SSD is compatible with your computer’s interface, such as SATA or NVMe.
-
Screwdriver: You’ll need a screwdriver to remove and secure the SSD in your computer. Check the size and type of screws required for your specific computer model.
-
SATA cable or NVMe adapter: Depending on your SSD interface, you may need a SATA cable to connect the SSD to your computer’s motherboard. For NVMe SSDs, you’ll need an NVMe adapter that fits into an available M.2 slot.
-
External drive or USB flash drive: To back up your files and transfer them to the new SSD, you’ll need an external drive or USB flash drive with enough storage capacity to hold your data.
-
Operating system installation media: If you don’t have the original installation disk or USB drive for your Windows 7 operating system, make sure you have a copy to reinstall it on the new SSD.
-
Data migration software: To transfer your operating system and files from the old hard drive to the new SSD, you’ll need data migration software. There are several free and paid options available, such as Samsung Data Migration, Acronis True Image, and EaseUS Todo Backup.
Having these tools and materials ready before you begin the installation process will help ensure a smooth and efficient upgrade. It’s also a good idea to consult your computer’s user manual or manufacturer’s website for any specific requirements or recommendations regarding the SSD installation.
Cloning your current hard drive
Before installing the new SSD, it’s important to clone your current hard drive to ensure a seamless transition. Cloning allows you to transfer all your operating system, files, and settings to the new SSD, essentially creating a mirror image of your current hard drive. Here’s how you can clone your hard drive:
-
Connect your external drive or USB flash drive to your computer and make sure it has enough storage space to accommodate your data.
-
Launch your chosen data migration software and select the option to clone a drive.
-
Choose your current hard drive as the source and select the new SSD as the destination drive.
-
Review the cloning settings and make any necessary adjustments, such as excluding certain files or partitions if desired.
-
Start the cloning process and wait for it to complete. This may take some time, depending on the size of your hard drive and the speed of your system.
Once the cloning process is finished, you can proceed to physically install the new SSD into your computer. Keep in mind that the cloned SSD will be an exact replica of your current hard drive, including all files, applications, and settings. This means that you can seamlessly continue using your computer without having to reinstall or reconfigure anything.
Cloning your hard drive ensures that your new SSD has all your data and settings intact, allowing for a smooth transition and minimal downtime. It’s always a good idea to double-check the cloned SSD to make sure everything has been transferred successfully before proceeding to the next step.
Physically install the SSD
Now that you have successfully cloned your current hard drive to the new SSD, it’s time to physically install the SSD into your computer. Follow these steps to ensure a proper installation:
-
First, shut down your computer and unplug it from the power source. This will prevent any electrical damage during the installation process.
-
Open your computer case. The process varies depending on your computer model, so consult your computer’s user manual or manufacturer’s website for specific instructions. In most cases, you’ll need to remove a side panel or unscrew the case.
-
Locate the slot for your SSD. This may be an empty drive bay or an M.2 slot on the motherboard. Refer to your user manual or manufacturer’s instructions to identify the correct slot.
-
If you’re installing a 2.5-inch SSD, attach it to the drive bay using the screws that came with your computer or the SSD. Make sure to align the connectors properly.
-
If you’re installing an M.2 SSD, carefully insert it into the M.2 slot at a 30-degree angle. Gently push it down until it is securely in place.
-
If you’re installing a 2.5-inch SSD, connect one end of the SATA cable to the SSD’s SATA connector and the other end to an available SATA port on the motherboard.
-
If you’re installing an M.2 SSD, skip this step as it does not require a separate data cable.
-
Close your computer case and secure any screws or latches to keep it in place.
-
Finally, reconnect the power cable and any other peripherals, such as your monitor and keyboard.
Once the SSD is physically installed, you’re ready to move on to the next step of the installation process. Before powering on your computer, it’s important to ensure that the SSD is properly recognized by your system. Restart your computer and access the BIOS to verify that the SSD is detected as a connected device.
Congratulations! You’ve successfully installed the SSD into your computer. In the next section, we’ll guide you through the process of setting the SSD as the primary boot device and installing Windows 7.
Restart your computer and access the BIOS
After physically installing the SSD into your computer, it’s important to restart your system and access the BIOS (Basic Input/Output System) to ensure that the SSD is properly recognized. The BIOS is a firmware interface that allows you to change hardware settings and configure your computer’s boot order. Here’s how you can access the BIOS:
-
Restart your computer by clicking on the Start menu and selecting the Restart option. Alternatively, you can press the reset button on your computer case.
-
As your computer restarts, pay close attention to the startup screen. There is usually a message indicating which key to press to access the BIOS. Common keys to enter the BIOS include Esc, F2, F9, F10, or Del. Refer to your computer’s user manual or manufacturer’s website if you’re unsure which key to press.
-
Once you have determined the correct key, press it repeatedly as soon as the startup screen appears. Timing is crucial, so don’t hesitate to press the key multiple times until the BIOS screen is displayed.
-
Use the arrow keys on your keyboard to navigate through the BIOS menus. Look for an option related to storage devices or boot order.
-
Select the option that allows you to set the boot order. This may be labeled as ‘Boot’ or ‘Boot Priority’.
-
Set the SSD as the primary boot device by moving it to the top of the boot order. This ensures that your computer will boot from the SSD instead of the old hard drive.
-
Save your changes and exit the BIOS. This may be done by pressing the F10 key or selecting an option to save and exit.
Once you have saved the BIOS settings and exited, your computer will restart. It should now boot from the SSD as the primary drive. This means that your operating system and files stored on the SSD will be used for the boot process, resulting in faster startup times and overall improved performance.
In the next section, we’ll guide you through the process of installing Windows 7 on the SSD, ensuring that your operating system is properly transferred.
Set the SSD as the primary boot device
Now that you have successfully accessed the BIOS and are in the boot order settings, it’s time to set the SSD as the primary boot device. This ensures that your computer will start up from the SSD instead of the old hard drive. Follow these steps to make the necessary changes:
-
Navigate to the boot order settings in the BIOS. This may be labeled as ‘Boot’, ‘Boot Priority’, or ‘Boot Sequence’.
-
Locate the entry for your current hard drive in the boot order list. It may be labeled with the manufacturer’s name or disk model number.
-
Using the arrow keys on your keyboard, move the entry for the SSD to the top of the boot order list. This ensures that it will be the first device your computer tries to boot from.
-
If desired, you can also disable or remove the entry for the old hard drive from the boot order list. This prevents your computer from accidentally trying to boot from it.
-
Save your changes and exit the BIOS. This typically involves pressing the F10 key or selecting an option to save and exit.
Once you have saved the changes and exited the BIOS, your computer will restart. It will now prioritize the SSD as the primary boot device. This means that when you start your computer, it will use the operating system and files stored on the SSD, resulting in faster boot times and improved overall performance.
In the next section, we’ll guide you through the process of installing Windows 7 on the SSD, ensuring that your operating system is properly transferred and optimized for the new drive.
Installing Windows 7 on the SSD
Now that you have set the SSD as the primary boot device, it’s time to install Windows 7 on the SSD. Follow these steps to ensure a successful installation:
-
Insert your Windows 7 installation media, such as a DVD or USB drive, into your computer.
-
Restart your computer and wait for the startup screen to appear. If necessary, press the key indicated on the screen to access the boot menu. Select the option that allows you to boot from the Windows 7 installation media.
-
Follow the on-screen instructions to begin the Windows 7 installation process. When prompted, choose your language, time zone, and keyboard layout preferences.
-
When you reach the “Where do you want to install Windows?” screen, select the SSD as the destination for the installation. If the SSD does not appear on the list, click on the “Load Driver” button and install any necessary drivers for your SSD.
-
Click “Next” to begin the installation. Windows 7 will copy the necessary files to the SSD and proceed with the installation process.
-
Follow the on-screen instructions to complete the installation. This may include setting up a user account, entering your Windows 7 product key, and customizing your Windows settings.
-
Once the installation is complete, your computer will restart. Make sure to remove the installation media before the restart so that your computer boots directly into the newly installed Windows 7 on the SSD.
Congratulations! You have successfully installed Windows 7 on your SSD. Your operating system is now optimized for the new drive, which will result in faster boot times, quicker file transfers, and improved overall performance. In the next section, we’ll guide you through the process of optimizing your SSD for even better performance.
Optimizing your SSD for improved performance
Once you have installed Windows 7 on your SSD, there are a few additional steps you can take to optimize its performance. These optimizations will help ensure that your SSD operates at its full potential. Follow these recommendations to get the most out of your SSD:
-
Enable AHCI mode: Access the BIOS and set the SATA controller mode to AHCI (Advanced Host Controller Interface) if it’s not already enabled. This mode is specifically designed for solid-state drives and offers better performance and reliability.
-
Enable TRIM: TRIM is a feature that allows the operating system to communicate with the SSD to optimize performance and maintain its longevity. To enable TRIM, open the Command Prompt as an administrator and type the command: “fsutil behavior set disabledeletenotify 0”.
-
Disable indexing and defragmentation: SSDs do not benefit from indexing or defragmentation, as they have fast access times and do not experience file fragmentation. To disable indexing, go to “Control Panel” > “Indexing Options” and remove the SSD from the indexed locations list. To disable defragmentation, go to “Disk Defragmenter” and exclude the SSD from the schedule.
-
Disable hibernation: Hibernation creates a large file on your SSD, which can take up valuable space. To disable hibernation, open the Command Prompt as an administrator and type the command: “powercfg /hibernate off”.
-
Adjust power settings: SSDs do not require the same power-saving features as traditional hard drives. In the power settings, select a high-performance power plan and customize it to disable any features that may affect the SSD’s performance.
-
Update firmware: Check the manufacturer’s website for any firmware updates for your SSD. Updating the firmware can improve stability, compatibility, and performance.
By implementing these optimizations, you can ensure that your SSD operates at its full potential, delivering the fastest and most reliable performance. Remember to periodically check for firmware updates and review your system settings to maintain optimal performance.
In the next section, we’ll guide you through the process of transferring your files from the old hard drive to the SSD, allowing you to fully utilize the storage space and enjoy a clutter-free system.
Transferring your files to the SSD
Now that you have successfully installed Windows 7 on your SSD and optimized its performance, it’s time to transfer your files from the old hard drive to the SSD. Here are a few methods you can use to transfer your files:
-
Manual file transfer: You can manually copy and paste your files from the old hard drive to the SSD. Connect both drives to your computer and navigate to the files you want to transfer. Select the files and folders, right-click, and choose “Copy”. Then, navigate to the SSD location and right-click, choosing “Paste”. This method allows you to have full control over which files and folders are transferred.
-
Backup and restore: Use a backup and restore tool to create a backup of your files on the old hard drive and then restore them to the SSD. Windows 7 has a built-in backup and restore feature that you can utilize. Simply create a backup of your files to an external drive or network location, and then restore them onto the SSD. This method is useful for transferring a large number of files or if you want to maintain the file structure.
-
Data migration software: If you used data migration software to clone your hard drive to the SSD, it should have already transferred your files. However, if you want to update the transferred files or add new ones, you can use the same software to perform a partial migration or update. Follow the instructions provided by the software to complete the transfer.
Regardless of the method you choose, it’s important to review your files on the SSD and ensure that all important data has been successfully transferred. Double-check folders, documents, photos, and any other files to confirm their presence on the SSD. You may also want to organize and declutter your files during this transfer process to optimize the storage space on your SSD.
Now that your files are safely stored on the SSD, you can enjoy faster access times, improved performance, and a clutter-free storage solution. In the next section, we’ll wrap up the installation process and highlight the key takeaways from this guide.
Conclusion
Congratulations! You have successfully installed a solid-state drive (SSD) and transferred your files on Windows 7. By upgrading to an SSD, you’ve significantly improved your computer’s performance, boot times, and overall responsiveness. Here’s a quick recap of the key steps you’ve taken:
- Gathered the necessary tools and materials, including the SSD itself.
- Cloned your current hard drive to ensure a smooth transition.
- Physically installed the SSD into your computer.
- Accessed the BIOS and set the SSD as the primary boot device.
- Installed Windows 7 on the SSD.
- Optimized your SSD for improved performance.
- Transferred your files from the old hard drive to the SSD.
By following these steps, you’ve successfully upgraded your computer’s storage infrastructure and unlocked the full potential of your system. The SSD will provide faster access to your operating system and files, resulting in a more enjoyable and efficient computing experience.
Remember, periodic maintenance, such as firmware updates and file organization, will help ensure the longevity and optimal performance of your SSD. Regularly backup your important files and consider implementing a robust backup strategy to safeguard your data.
Thank you for following this guide on installing an SSD on Windows 7. We hope that you found it helpful and that it has empowered you to take advantage of the benefits of SSD technology. Enjoy your faster and more efficient computing experience!