Introduction
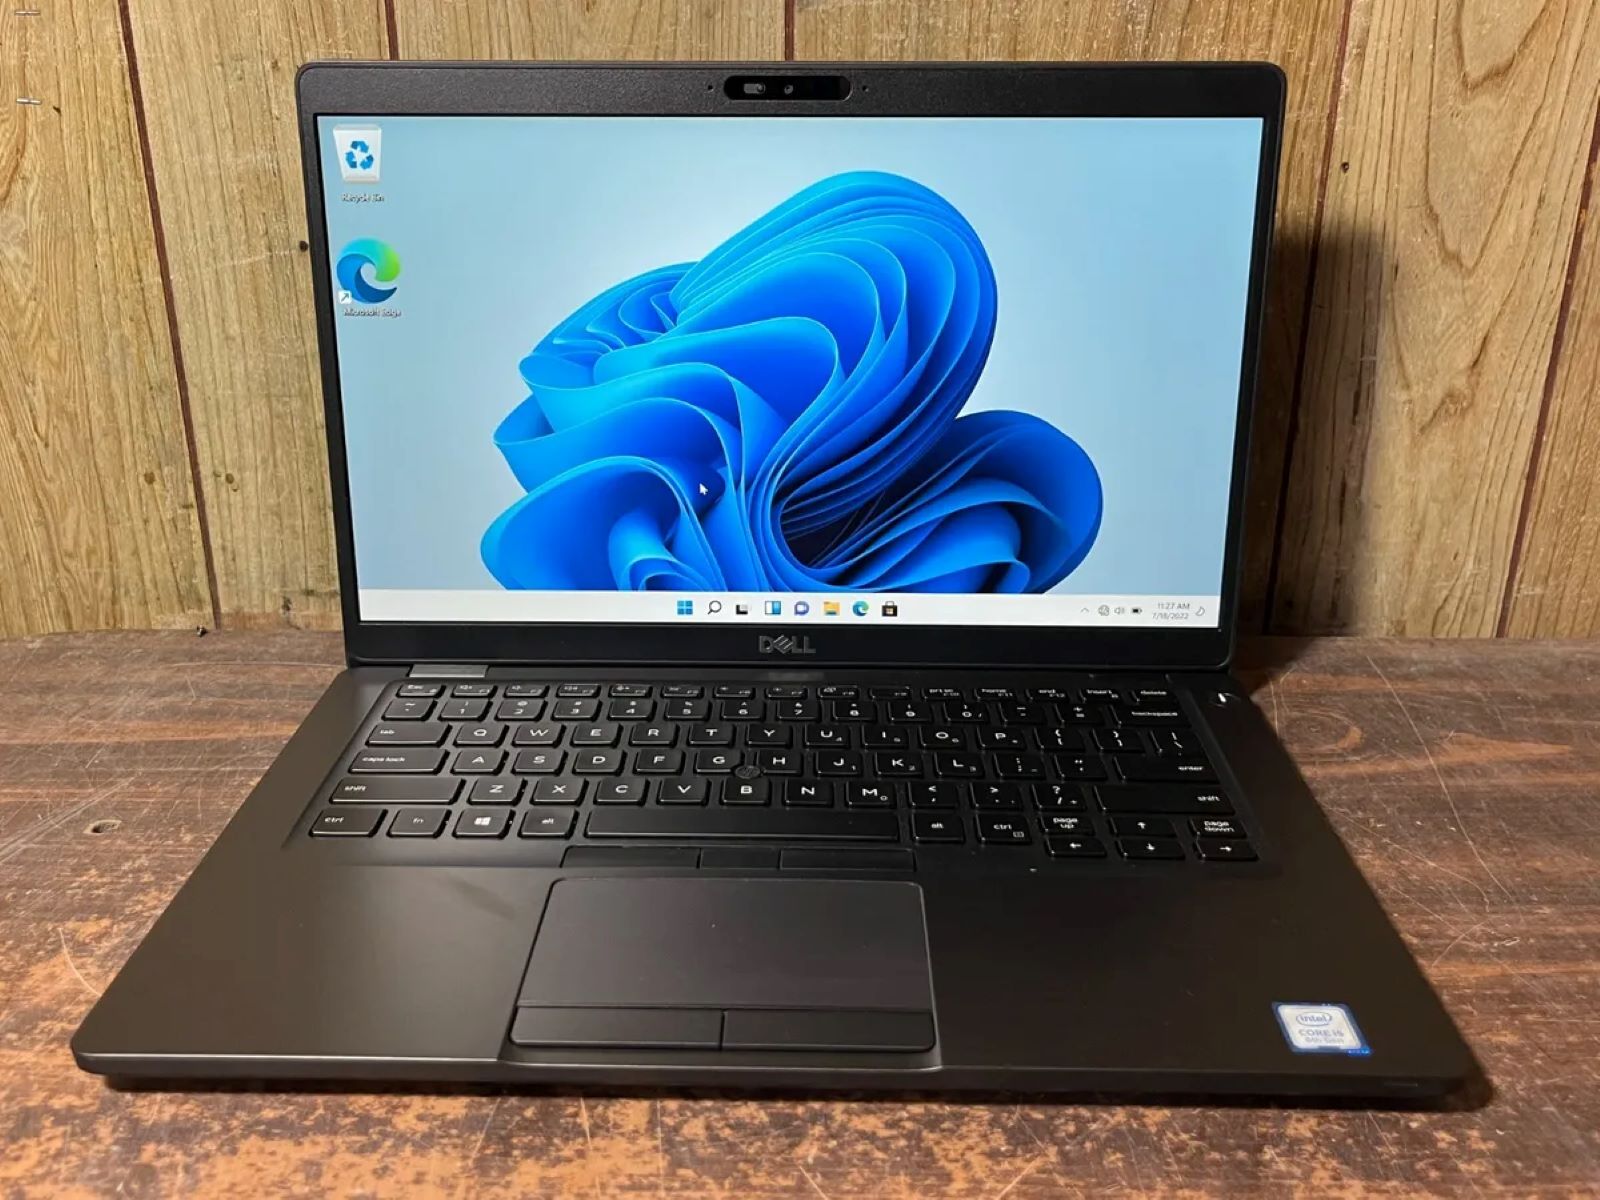
Welcome to the comprehensive guide on how to install a solid-state drive (SSD) into a Dell Inspiron laptop. As technology advances, upgrading to an SSD has become a popular choice for laptop owners looking to improve their system’s performance, speed, and reliability. By replacing your traditional hard drive with an SSD, you can experience faster boot times, quicker application launches, and smoother overall operation.
In this step-by-step tutorial, we will walk you through the process of installing an SSD into your Dell Inspiron laptop, ensuring that you have all the necessary tools and materials, and providing detailed instructions for a successful installation. Whether you are a tech-savvy enthusiast or a novice user, this guide will help you upgrade your laptop’s storage and unleash its full potential.
Before we dive into the installation process, it’s essential to understand the benefits of using a solid-state drive. Unlike traditional hard drives that rely on spinning platters and mechanical read/write heads, SSDs use flash memory to store data. This makes them significantly faster, more durable, and quieter compared to their HDD counterparts. With an SSD installed, you can expect improved system responsiveness, reduced power consumption, and enhanced multitasking capabilities.
It’s important to note that before proceeding with the installation, you should backup your important files and data to an external storage device or cloud-based service. Additionally, make sure to power off and unplug your Dell Inspiron laptop to avoid any electrical mishaps during the installation process.
Now that you understand the benefits and precautions, let’s move on to the first step: gathering the necessary tools and materials for a successful SSD installation in your Dell Inspiron laptop.
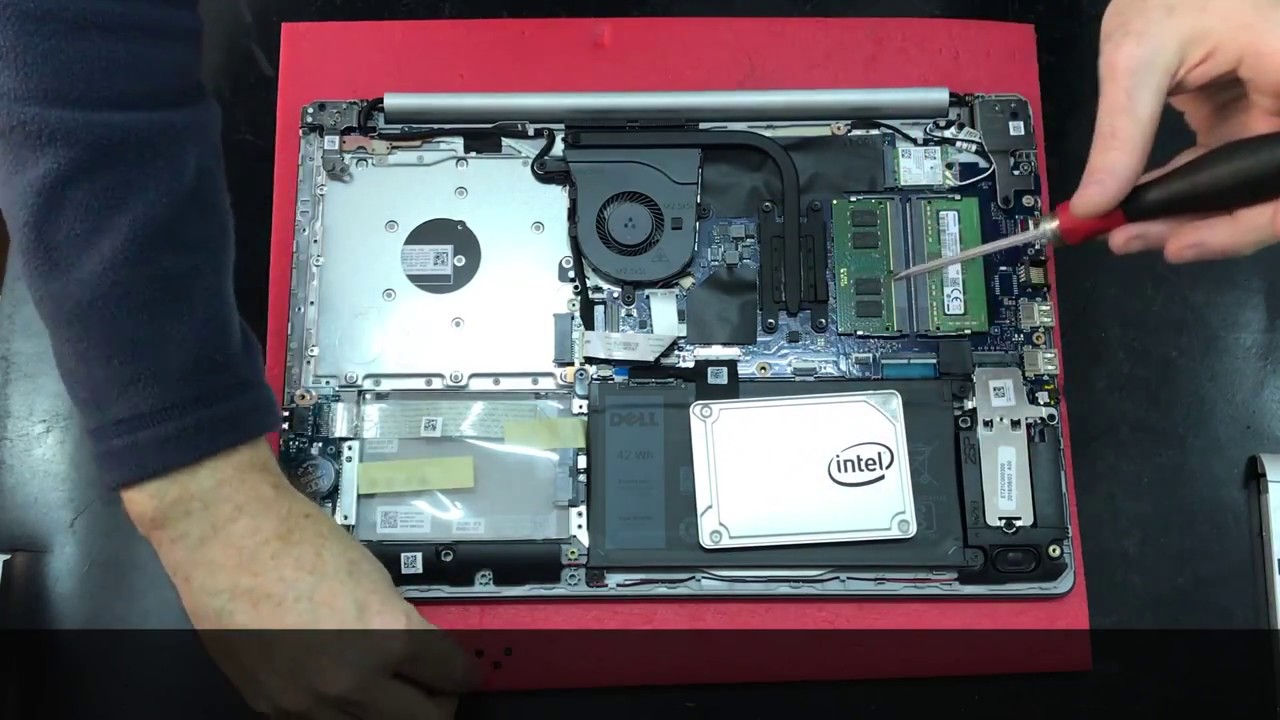
Step 1: Gather the necessary tools and materials
Before you begin the installation process, it’s crucial to gather all the necessary tools and materials. Having everything prepared will ensure a smooth and efficient installation. Here’s a list of items you will need:
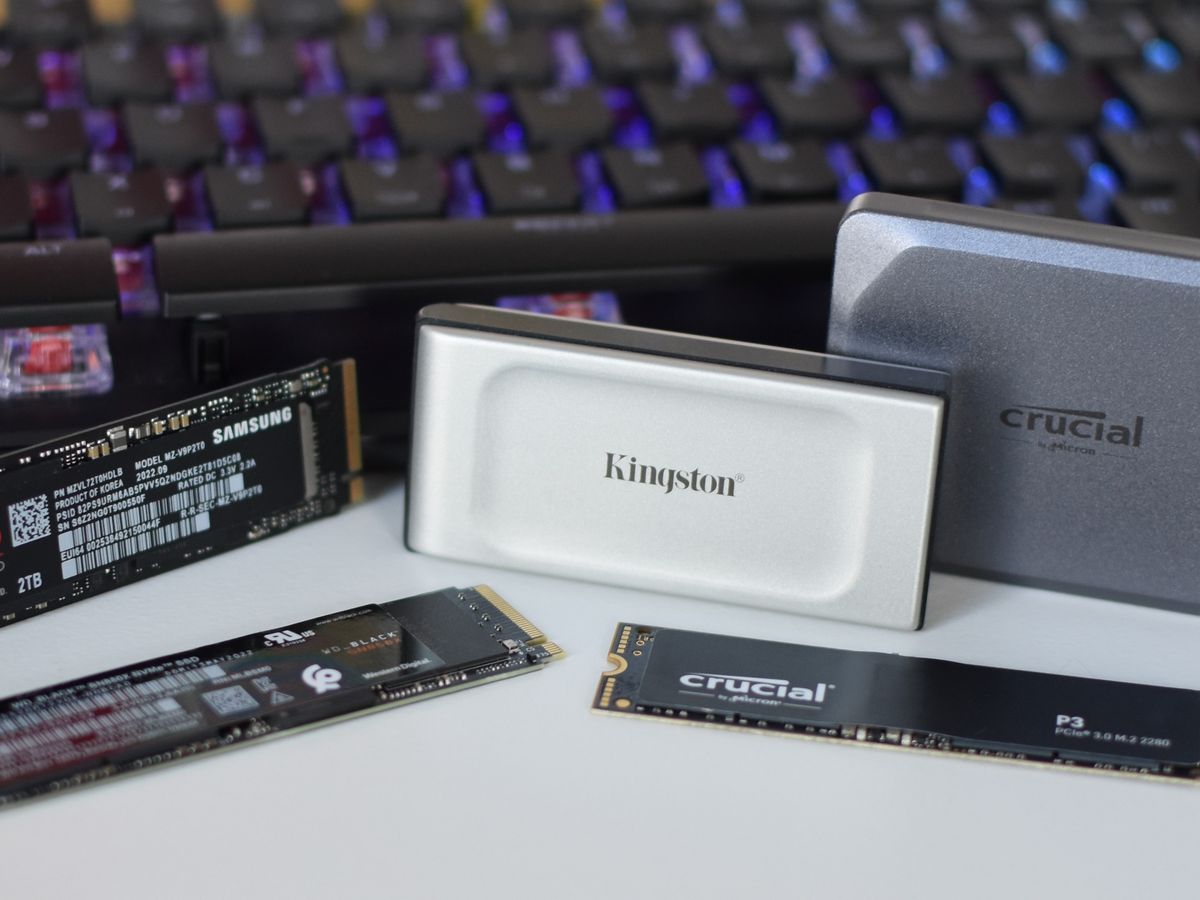
- SSD: Make sure you have the solid-state drive that you want to install. Ensure it is compatible with your Dell Inspiron laptop model.
- Screwdriver: You will need a Phillips head screwdriver to remove and secure screws during the installation process.
- Backup storage: It is highly recommended to have an external storage device or cloud-based service to back up your data before proceeding with the installation.
- Static wristband (optional): While not necessary, using a static wristband can help prevent electrostatic discharge from damaging sensitive electronic components.
- Clean cloth or anti-static mat: It’s a good idea to have a clean cloth or anti-static mat to place your laptop on during the installation to prevent any accidental damage to the components.
Double-check that you have gathered all the necessary tools and materials before moving on to the next step. This will save you time and frustration during the installation process.
Once you have everything ready, you can proceed to the next step: preparing your Dell Inspiron laptop for the SSD installation.
Step 2: Prepare the laptop for installation
Before you can install the solid-state drive (SSD), you need to prepare your Dell Inspiron laptop for the installation process. Follow these steps to ensure a smooth and successful installation:
- Power off and unplug your laptop: Shut down your laptop and disconnect it from the power source. This will prevent any electrical mishaps and ensure your safety during the installation process.
- Remove the battery: If your laptop has a removable battery, carefully remove it. This step will give you better access to the internals of your laptop.
- Ground yourself: To prevent static electricity from damaging the sensitive components of your laptop, ground yourself by touching a metal object or wearing a static wristband. This will discharge any built-up static electricity in your body.
- Find the hard drive bay: Locate the hard drive bay on your Dell Inspiron laptop. It is usually located on the bottom of the laptop and secured with screws or a latch. Refer to your laptop’s user manual or manufacturer’s website for specific instructions on finding the hard drive bay.
- Remove the access panel: Using a screwdriver, remove the screws securing the access panel of the hard drive bay. Set the screws aside in a safe place for later reassembly.
- Identify the existing hard drive: Take a moment to identify the existing hard drive in your laptop. Pay attention to the position and orientation of the drive, as it will guide you during the installation of the new SSD.
- Disconnect any cables: Carefully detach any cables connected to the existing hard drive. These may include SATA cables and power cables. Take note of how the cables are connected so that you can reconnect them properly later.
- Remove the existing hard drive: Once the cables are disconnected, gently slide the existing hard drive out of its bay. Be cautious not to apply excessive force or damage any components in the process.
By preparing your laptop in these steps, you are setting the stage for a seamless installation process. With the laptop ready, you can move on to the next step: removing the old hard drive to make way for the new solid-state drive.
Step 3: Remove the old hard drive
Now that your Dell Inspiron laptop is prepared, it’s time to remove the old hard drive to make way for the new solid-state drive (SSD). Follow these steps to safely remove the old hard drive:
- Ensure that your laptop is powered off and unplugged: It’s crucial to maintain safety precautions by making sure your laptop is completely powered down and disconnected from any power sources.
- Locate the old hard drive: The existing hard drive is typically located in the hard drive bay, which you have accessed during the previous step. Take note of its position and orientation for reference.
- Disconnect any remaining cables: Carefully detach any remaining cables connected to the old hard drive. These could include SATA cables or power cables. Remember to handle these cables gently to avoid any damage.
- Remove the screws: Use a screwdriver to remove the screws securing the old hard drive. Set the screws aside in a safe place.
- Slide out the old hard drive: With the screws removed, gently slide the old hard drive out of its bay. Be cautious not to apply excessive force or damage any components in the process.
- Set aside the old hard drive: Safely store the old hard drive in an anti-static bag or on an anti-static mat. You may want to keep it as a backup or repurpose it for another use.
By following these steps carefully, you have successfully removed the old hard drive from your Dell Inspiron laptop. With the old drive out of the way, you can now move on to the exciting part – installing the new solid-state drive.
Step 4: Install the solid-state drive
Now that the old hard drive has been removed, it’s time to install the new solid-state drive (SSD) into your Dell Inspiron laptop. Follow these steps to successfully install the SSD:
- Grab the new SSD: Take the new SSD out of its packaging and familiarize yourself with its design and connectors. Ensure that it is compatible with your Dell Inspiron laptop.
- Insert the SSD into the hard drive bay: Carefully align the solid-state drive with the empty slot in the hard drive bay. Gently slide it into place, making sure it is properly seated.
- Secure the SSD with screws: Use the screws you set aside from earlier to secure the SSD in place. Insert the screws into the designated holes on the SSD and tighten them, but be careful not to overtighten.
- Connect the necessary cables: Attach the necessary cables to the SSD. This typically includes a SATA cable and a power cable. Make sure the connections are secure and properly aligned.
It’s important to note that the specific steps for installing the SSD may vary depending on your laptop model. Refer to your laptop’s user manual or the manufacturer’s website for detailed instructions regarding the installation process for your specific Dell Inspiron model.
By following these steps, you have successfully installed the SSD into your Dell Inspiron laptop. The next step involves connecting the new drive to the laptop, so you can proceed to Step 5 to continue the installation process.
Step 5: Connect the new drive to the laptop
With the solid-state drive (SSD) securely installed in the hard drive bay, the next step is to connect the new drive to your Dell Inspiron laptop. Follow these steps to successfully establish the necessary connections:
- Refer to the old hard drive’s connections: Take note of how the cables were connected to the old hard drive. This will serve as a reference when connecting the cables to the new SSD.
- Attach the SATA cable: Connect one end of the SATA cable to the SSD’s SATA port. The SATA port is typically located on the side of the SSD and is easily identifiable based on its L-shaped connector.
- Connect the other end of the SATA cable: Attach the opposite end of the SATA cable to the corresponding SATA port on the laptop’s motherboard. Refer to your laptop’s user manual or the manufacturer’s website for precise instructions on locating the SATA port.
- Connect the power cable: Attach the power cable to the power connector on the SSD. This connector may vary depending on the laptop model and SSD design. Ensure a secure and proper connection.
- Reconnect any additional cables (if applicable): If there were any additional cables connected to the old hard drive, such as power or data cables, reconnect them to the appropriate ports on the new SSD.
Take your time to ensure that all connections are securely attached and properly aligned. Double-check that the SATA cable and power cable are connected to the correct ports on both the SSD and the laptop’s motherboard.
Connecting the new drive to the laptop is a critical step in the installation process. It establishes the necessary communication and power supply to fully utilize the capabilities of the newly installed SSD.
Now that the new drive is successfully connected, you can proceed to the next step: securing the solid-state drive in place to ensure stability during laptop usage.
Step 6: Secure the solid-state drive in place
Now that you have connected the new solid-state drive (SSD) to your Dell Inspiron laptop, it’s vital to secure the drive in place for stability during laptop usage. Follow these steps to ensure the SSD is properly secured:
- Check for any mounting brackets or screws: Depending on your laptop model, you may have mounting brackets or screws specifically designed to secure the SSD. If present, locate these components.
- Align the SSD with the mounting brackets (if applicable): If your laptop has mounting brackets, align the SSD with the brackets to ensure a proper fit. Take note of any openings or screw holes that need to be aligned.
- Insert screws into the screw holes (if applicable): If there are screw holes on the SSD or mounting brackets, carefully insert the appropriate screws. Use a screwdriver to tighten them, but be cautious not to overtighten and damage the SSD.
- Verify the SSD is securely in place: Gently press on the SSD to check if it is firmly secured. The drive should not move or shift when pressure is applied.
It’s important to note that the specific method of securing the SSD may vary depending on your laptop model. Refer to your laptop’s user manual or the manufacturer’s website for detailed instructions on securing the SSD in your specific Dell Inspiron model.
By following these steps, you have successfully secured the solid-state drive in place within your Dell Inspiron laptop. This step is crucial to ensure the stability and reliability of the SSD during regular laptop usage.
Next, let’s move on to the exciting step of reassembling your laptop after installing the new drive.
Step 7: Reassemble the laptop
After securely installing the solid-state drive (SSD), it’s time to reassemble your Dell Inspiron laptop. Follow these steps to put everything back together:
- Retrieve the screws: Gather the screws that were removed during the disassembly process. Ensure that you have all the necessary screws to reassemble the laptop.
- Place the access panel back: Align the access panel with the laptop’s body and gently slide it into place. Make sure it is correctly positioned and fits snugly with no gaps.
- Secure the access panel with screws: Insert the screws into their respective holes on the access panel. Use a screwdriver to tighten them, but be careful not to overtighten and strip the screws.
- Reconnect the battery (if applicable): If you had removed the laptop’s battery earlier, now is the time to reattach it. Carefully align the battery with the connectors and gently press it into place.
- Power on your laptop: Once the access panel is secured and the battery is reconnected, plug in your laptop and power it on to ensure everything is functioning properly.
- Confirm SSD recognition: Access your laptop’s BIOS or operating system’s disk management utility to verify that the SSD is recognized. If it is detected, you can proceed with the operating system installation.
It’s important to keep track of the screws and components during reassembly to ensure that everything is properly secured. Take your time and double-check that all connections are securely in place.
Now that your laptop is reassembled, you are ready to move on to the final steps of installing the operating system and drivers for your new solid-state drive.
Step 8: Install the operating system and drivers
With the solid-state drive (SSD) securely installed and your Dell Inspiron laptop reassembled, it’s time to install the operating system and drivers onto your new drive. Follow these steps to complete the installation:
- Create an installation media: Use another computer to create a bootable USB drive or DVD with the installation files for your operating system. Refer to the operating system’s official website or documentation for instructions on creating the installation media.
- Insert the installation media: Power off your Dell Inspiron laptop and insert the bootable USB drive or DVD into the appropriate port or drive.
- Boot from the installation media: Turn on your laptop and access the BIOS settings by pressing the appropriate key (e.g., F2 or Del) during startup. Set the boot order to prioritize the installation media, and save the changes.
- Follow the on-screen instructions: Once the operating system installation begins, follow the prompts and instructions provided by the installer. Select the SSD as the destination drive for the installation.
- Install the necessary drivers: After the operating system installation is complete, access the official Dell website or the manufacturer’s website to download and install the latest drivers for your laptop model. This step ensures that the hardware components, including the SSD, function optimally.
- Configure the operating system: Customize the settings, personalize your laptop, and install any additional software or applications you require.
It’s essential to have your operating system license key ready during the installation process if prompted. Without a valid license, you may not be able to activate and fully use your operating system.
By following these steps, you will successfully install the operating system onto the SSD and ensure that all necessary drivers are up to date. Once the installation and configuration are complete, your Dell Inspiron laptop will be ready to deliver enhanced performance and responsiveness thanks to the new solid-state drive.
Now that you have completed the installation process, it’s time to confirm the success of the installation and optimize your new solid-state drive in the next step.
Step 9: Verify the installation and optimize the drive
After successfully installing the operating system and drivers onto your Dell Inspiron laptop’s new solid-state drive (SSD), it’s important to verify the installation and optimize the drive for peak performance. Follow these steps to ensure everything is in proper working order:
- Check the drive’s recognition: Access your computer’s BIOS or operating system’s disk management utility to verify that the SSD is detected and recognized. Ensure that the drive is properly identified with the correct capacity.
- Update the firmware (if applicable): Check the manufacturer’s website for firmware updates specific to your SSD model. Updating the firmware can help improve performance, stability, and compatibility.
- Enable TRIM (if applicable): TRIM is a command that helps maintain the performance and lifespan of SSDs. Ensure that TRIM is enabled in your operating system’s settings for optimal SSD performance.
- Perform a disk cleanup: Use your operating system’s disk cleanup tool to remove unnecessary files and free up space on the SSD. This helps ensure efficient usage of the drive’s capacity.
- Disable automatic defragmentation: SSDs do not benefit from defragmentation and, in fact, it can decrease their lifespan. Disable automatic defragmentation in your operating system’s settings to prevent unnecessary wear on the SSD.
- Enable AHCI mode: Access your computer’s BIOS settings and ensure that the SATA controller mode is set to AHCI (Advanced Host Controller Interface) for optimal performance with the SSD.
- Monitor health and performance: Install a reputable SSD health-monitoring tool to keep an eye on the drive’s performance and usage. These tools can provide valuable insights and alerts if any issues arise.
These steps will help you verify the successful installation of the SSD and optimize it for maximum performance and longevity. It’s important to regularly monitor the health and performance of your SSD and apply any necessary updates or optimizations as recommended by the manufacturer.
By following these steps, you can ensure that your Dell Inspiron laptop’s new solid-state drive is operating at its best and providing you with the improved performance and responsiveness you were seeking.
Congratulations! You have completed the entire process of installing and optimizing a solid-state drive into your Dell Inspiron laptop. Enjoy the enhanced speed and reliability that the SSD brings to your computing experience.
Conclusion
Congratulations on successfully completing the installation of a solid-state drive (SSD) into your Dell Inspiron laptop! By following the step-by-step guide, you have significantly improved the performance, speed, and reliability of your laptop. The SSD installation process may seem daunting at first, but with the right tools and instructions, it becomes a straightforward and rewarding task.
By replacing your traditional hard drive with an SSD, you benefit from faster boot times, quicker application launches, and smoother overall performance. The flash memory technology of SSDs not only enhances speed but also decreases power consumption and noise, providing you with an efficient and silent computing experience.
Remember to always backup your important files and data before performing any hardware upgrades to ensure their safety. Additionally, take proper precautions to avoid static electricity and handle your laptop and its components with care.
Now that you have successfully installed the SSD, the next steps will involve installing the operating system, updating drivers, and optimizing the drive. These steps are essential to ensure optimal performance and reliability.
Monitor the health and performance of your SSD regularly using appropriate software and apply any firmware updates recommended by the manufacturer. By doing so, you can ensure the longevity and continued performance of your SSD.
Enjoy the improved performance and responsiveness that the SSD brings to your Dell Inspiron laptop. Whether you use your laptop for work, gaming, or everyday tasks, the SSD upgrade will greatly enhance your user experience.
Thank you for following this guide on how to install a solid-state drive into a Dell Inspiron laptop. We hope that this comprehensive tutorial has been helpful and that you’re now enjoying the benefits of a faster and more efficient laptop.