Introduction
Welcome to our comprehensive guide on how to install a CD drive into a PC case. CD drives are essential components for those who still utilize CDs for data storage or enjoy playing DVD movies or CD-ROM games. Installing a CD drive may seem like a daunting task, especially for those new to building computers, but fear not! In this guide, we will walk you through the step-by-step process to ensure a successful installation.
Before we get started, it’s important to note that this guide assumes you already have a compatible CD drive and PC case. Additionally, make sure you have a set of basic tools such as a screwdriver and cable ties on hand. Gathering the necessary tools and equipment in advance will make the installation process smoother and more efficient.
Installing a CD drive offers several benefits. Alongside providing additional storage options, it allows you to install software directly from CDs, access multimedia content, and burn CDs or DVDs. Whether you’re a gaming enthusiast, a music lover, or someone in need of extra data storage, adding a CD drive to your PC can expand its capabilities and enhance your overall computing experience.
In the following sections, we will guide you through each step, from preparing the PC case to connecting the necessary cables. By the end of this guide, you’ll have successfully installed a CD drive into your PC case and be ready to take advantage of all its features.
So, without further ado, let’s gather our tools and jump into the installation process!
Gather the Necessary Tools and Equipment
Before you begin the installation process, it’s crucial to make sure you have all the required tools and equipment readily available. Having everything within reach will save time and ensure a smooth installation. Here’s a list of the necessary items:
- Screwdriver set: Make sure you have a screwdriver set that includes both flathead and Phillips head screwdrivers. This will ensure you have the correct tool for different screw types.
- Cable ties: These are used to organize and secure cables inside the PC case, preventing them from obstructing other components or becoming tangled.
- Anti-static wrist strap: Although not mandatory, an anti-static wrist strap can help protect your components from electrostatic discharge (ESD) while handling them. This is especially important if you’re working on a carpeted surface or during dry weather.
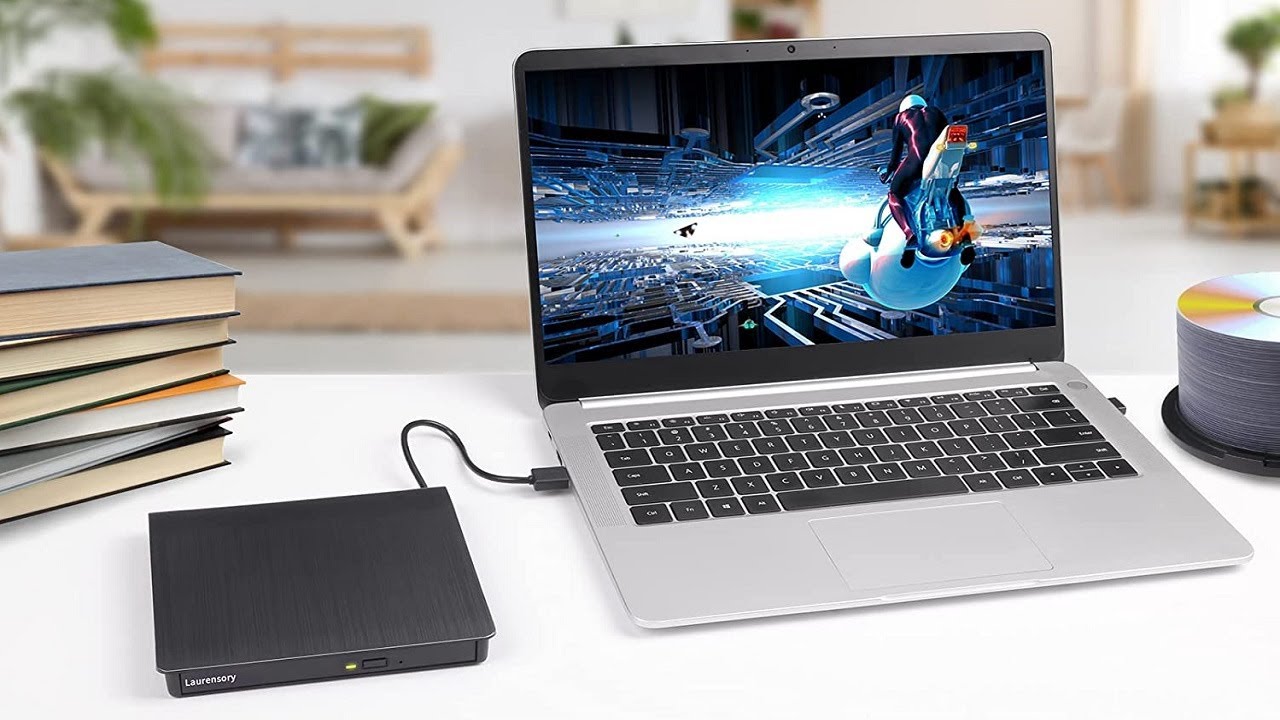
- CD drive: Ensure you have a CD drive that is compatible with your PC case and the appropriate connections (e.g., SATA or IDE). Consult your PC case and CD drive manuals for compatibility information.
- Power and data cables: Check if your CD drive requires any specific power and data cables. Most modern CD drives use SATA connectors, so ensure you have the necessary cables on hand.
Having these tools and equipment ready at the beginning of the installation process will save you the hassle of searching for them mid-way. It’s always a good practice to double-check that you have everything you need before you begin.
Remember to work in a clean and well-lit area to avoid misplacing screws or damaging components accidentally. It’s also recommended to ground yourself by touching a metal part of the PC case before handling any sensitive computer parts, minimizing the risk of ESD damage.
Now that you have all the necessary tools and equipment gathered, it’s time to prepare the PC case for the CD drive installation. Let’s move on to the next section!
Prepare the PC Case
Before inserting the CD drive into the PC case, it’s important to prepare the case to ensure a proper fit and functionality. Follow these steps to prepare the PC case:
- Power off your computer and unplug it from the power source. Safety should always be a top priority when working with computer hardware.
- Open the PC case. Most cases have a side panel that can be removed with the help of screws or latches. Refer to your PC case manual for specific instructions on how to open it.
- Find an appropriate drive bay for the CD drive. Most PC cases have multiple drive bays in different sizes. Choose a bay that matches the size of your CD drive.
- Remove any existing covers or brackets from the drive bay. In some cases, drive bays may come with covers or brackets that need to be unscrewed or detached before inserting the CD drive.
- Inspect the inside of the drive bay for any metal or plastic protrusions that may interfere with the CD drive’s installation. If there are any, use a pair of pliers or a file to remove them carefully. Ensure the inside of the bay is smooth and free from any obstructions.
- Check the orientation of the drive bay rails. These are used to secure the CD drive in place. Ensure they are properly aligned and ready for the installation.
Preparing the PC case ensures that the CD drive will fit securely and function properly once installed. Taking the time to remove any obstacles or conflicting components will prevent any issues during the installation process.
Now that the PC case is prepared, we can move on to the exciting part – inserting the CD drive into the case!
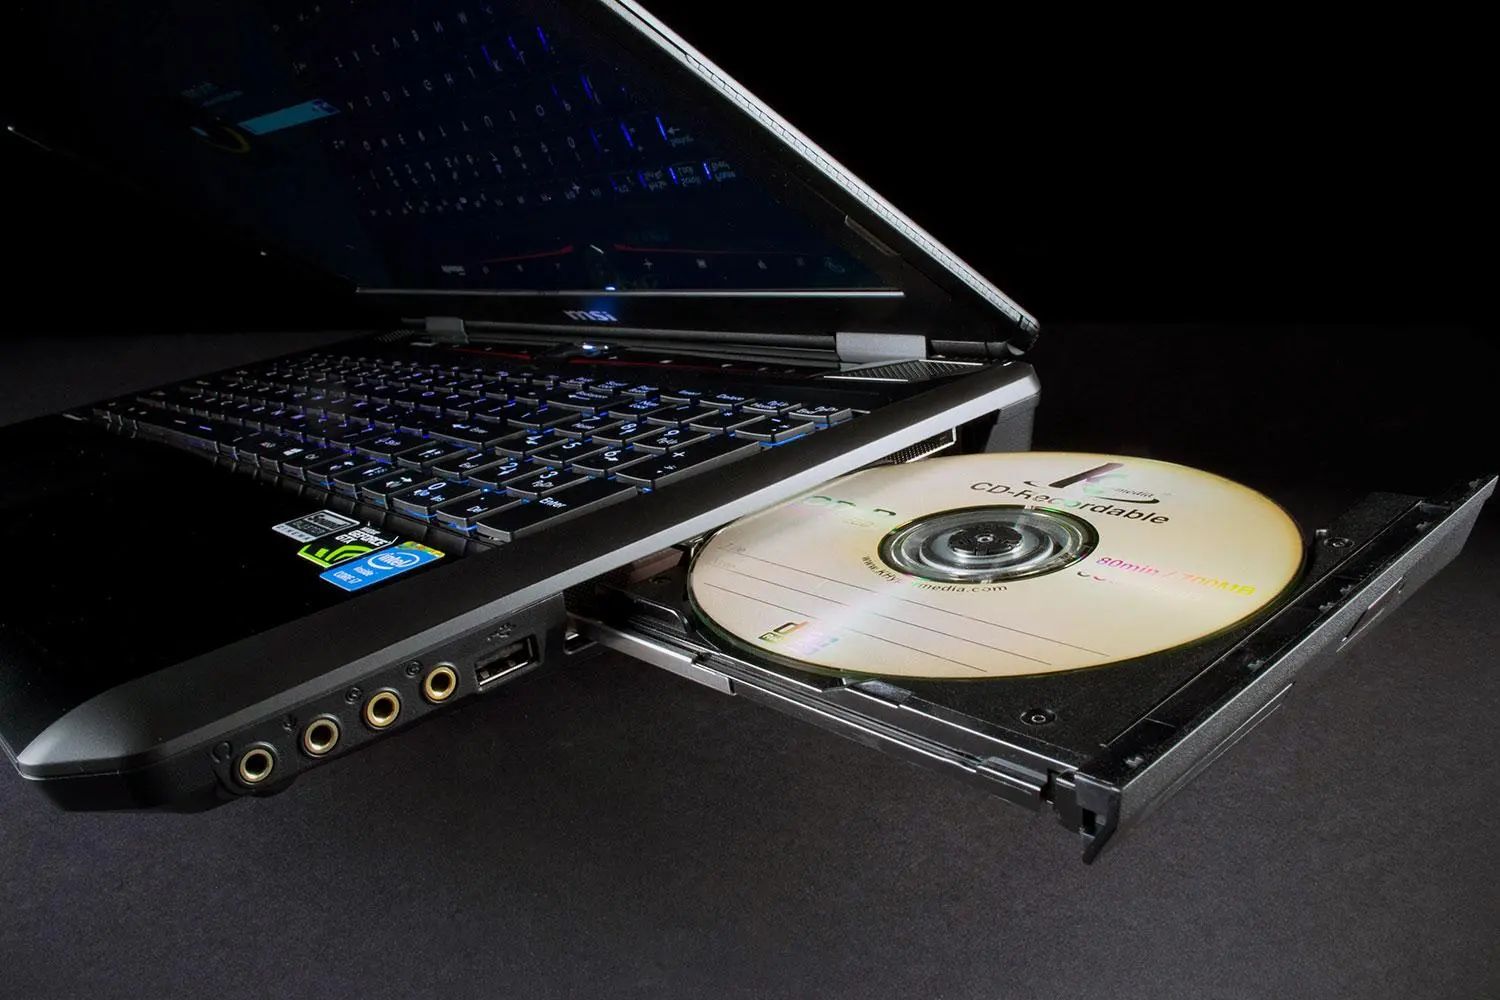
Insert the CD Drive into the Case
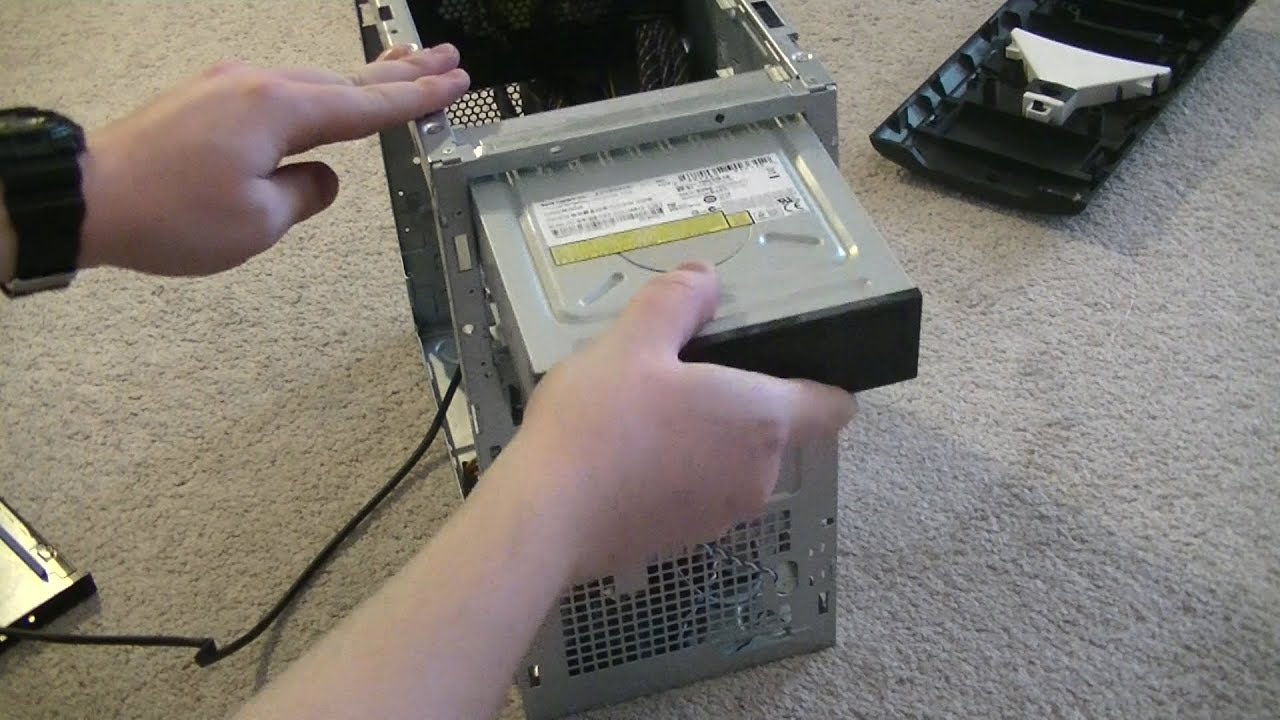
Now that the PC case is prepared, it’s time to insert the CD drive into the designated drive bay. Follow these steps to ensure a proper installation:
- Hold the CD drive with both hands, positioning it so that the front panel faces the front of the PC case.
- Carefully slide the CD drive into the designated drive bay, ensuring that the connectors on the back of the drive align with the corresponding slots in the case.
- Push the CD drive gently until it is fully inserted into the bay. You should feel it lock into place or hear a clicking sound, indicating that it is securely seated.
- If your case has drive bay rails, slide them into position on both sides of the CD drive to secure it in place. Refer to your case manual for instructions on how to secure the drive if necessary.
It’s important to handle the CD drive with care while inserting it into the case to prevent any damage to the delicate components. Take your time and make sure the drive is fully seated in the bay before moving on to the next step.
Now that the CD drive is securely installed in the case, we can proceed to the next step – securing the drive to ensure that it stays in place during operation.
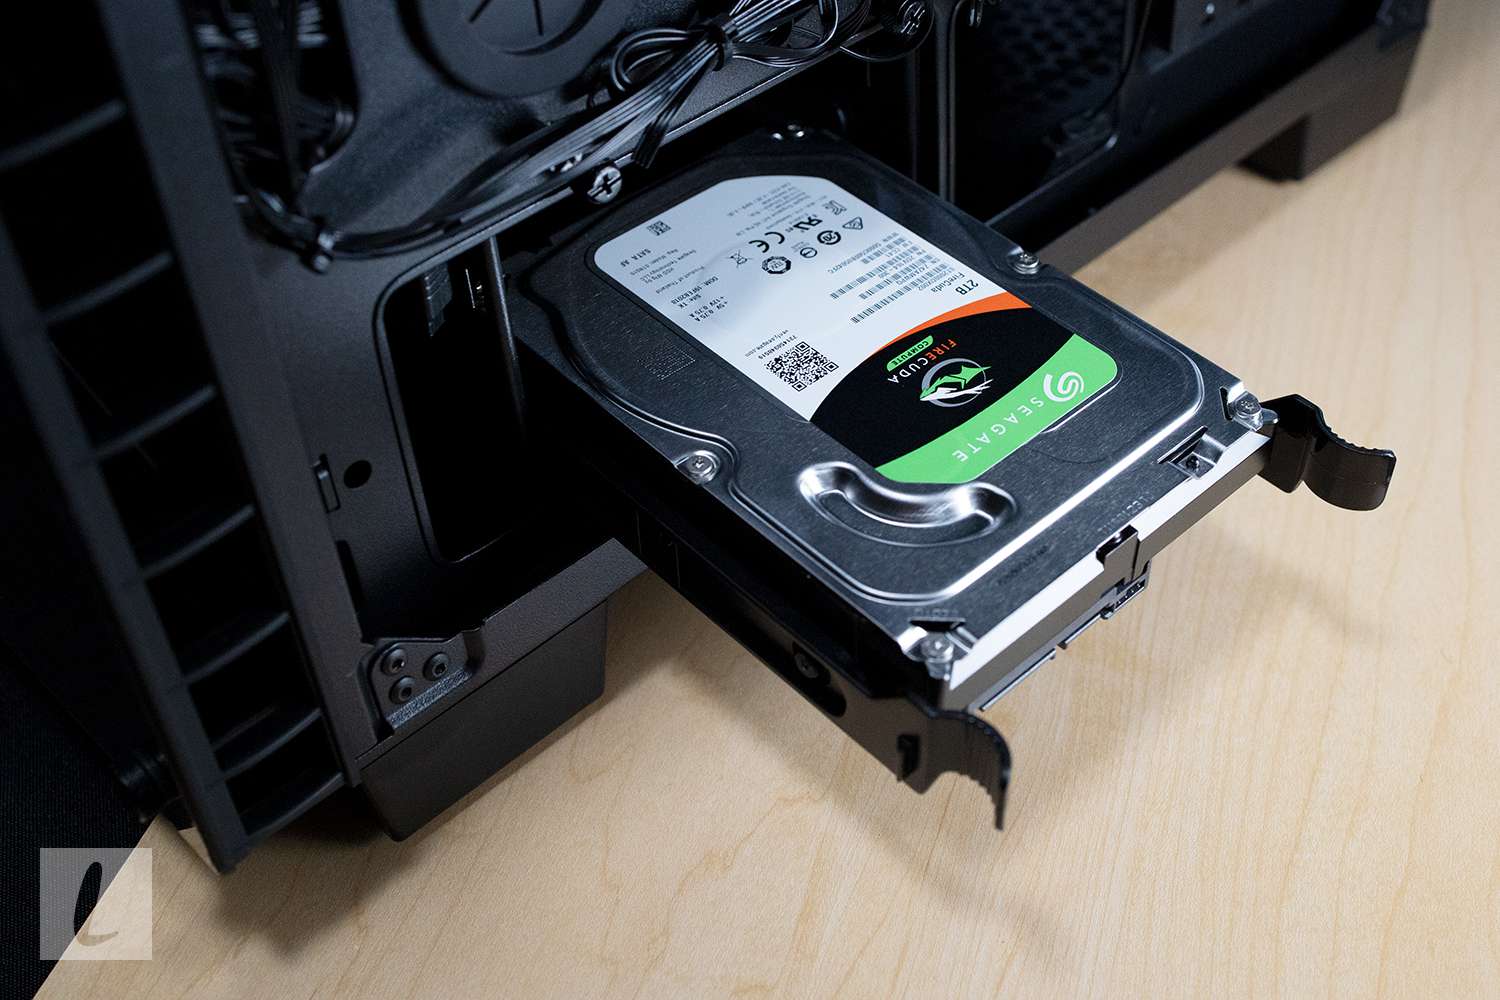
Secure the CD Drive in Place
After inserting the CD drive into its designated drive bay, it’s crucial to secure it properly to ensure it remains firmly in place. Follow these steps to secure the CD drive:
- Locate the screw holes on both sides of the CD drive. These are usually located near the front or back edges of the drive.
- Using the screws provided with your PC case, insert them through the screw holes on the CD drive and into the corresponding holes in the drive bay.
- Use a screwdriver to tighten the screws gently until the CD drive feels secure. Avoid overtightening, as it can damage the drive or strip the screw holes.
Securing the CD drive in place is essential to prevent it from moving or vibrating during operation, which could potentially lead to damage or improper functionality. By firmly attaching the drive to the case, you ensure a stable and reliable installation.
Once you have secured the CD drive, it’s time to connect the necessary cables to enable data transfer and power the device. Let’s move on to the next section!
Connect the Cables
Now that the CD drive is securely in place, it’s time to connect the necessary cables for data transfer and power. Follow these steps to ensure proper cable connections:
- Locate the SATA or IDE data port on the back of the CD drive. It is usually a small rectangular slot or connector.
- Take the corresponding SATA or IDE data cable and connect one end to the data port on the CD drive. Ensure that the connector aligns properly with the port and gently push it in until it is securely connected.
- Locate the power connector on the CD drive. It is typically a small rectangular or square-shaped port.
- Take the appropriate power cable from your power supply unit (PSU) and connect one end to the power port on the CD drive. Again, ensure that the connector aligns properly and push it in until it is securely connected.
Double-check that both the data and power cables are securely connected to the CD drive. A loose connection can result in data transfer issues or the drive not functioning properly.
If your PC case has cable management options such as cable ties or clips, use them to organize and secure the cables, keeping them neatly routed away from other components inside the case. This not only ensures a cleaner overall appearance but also helps improve airflow and prevents cables from obstructing other parts.
With the cables properly connected and secured, we are almost ready to test the CD drive. But first, let’s make sure we haven’t missed any steps so far. Take a moment to review the installation process before moving on.
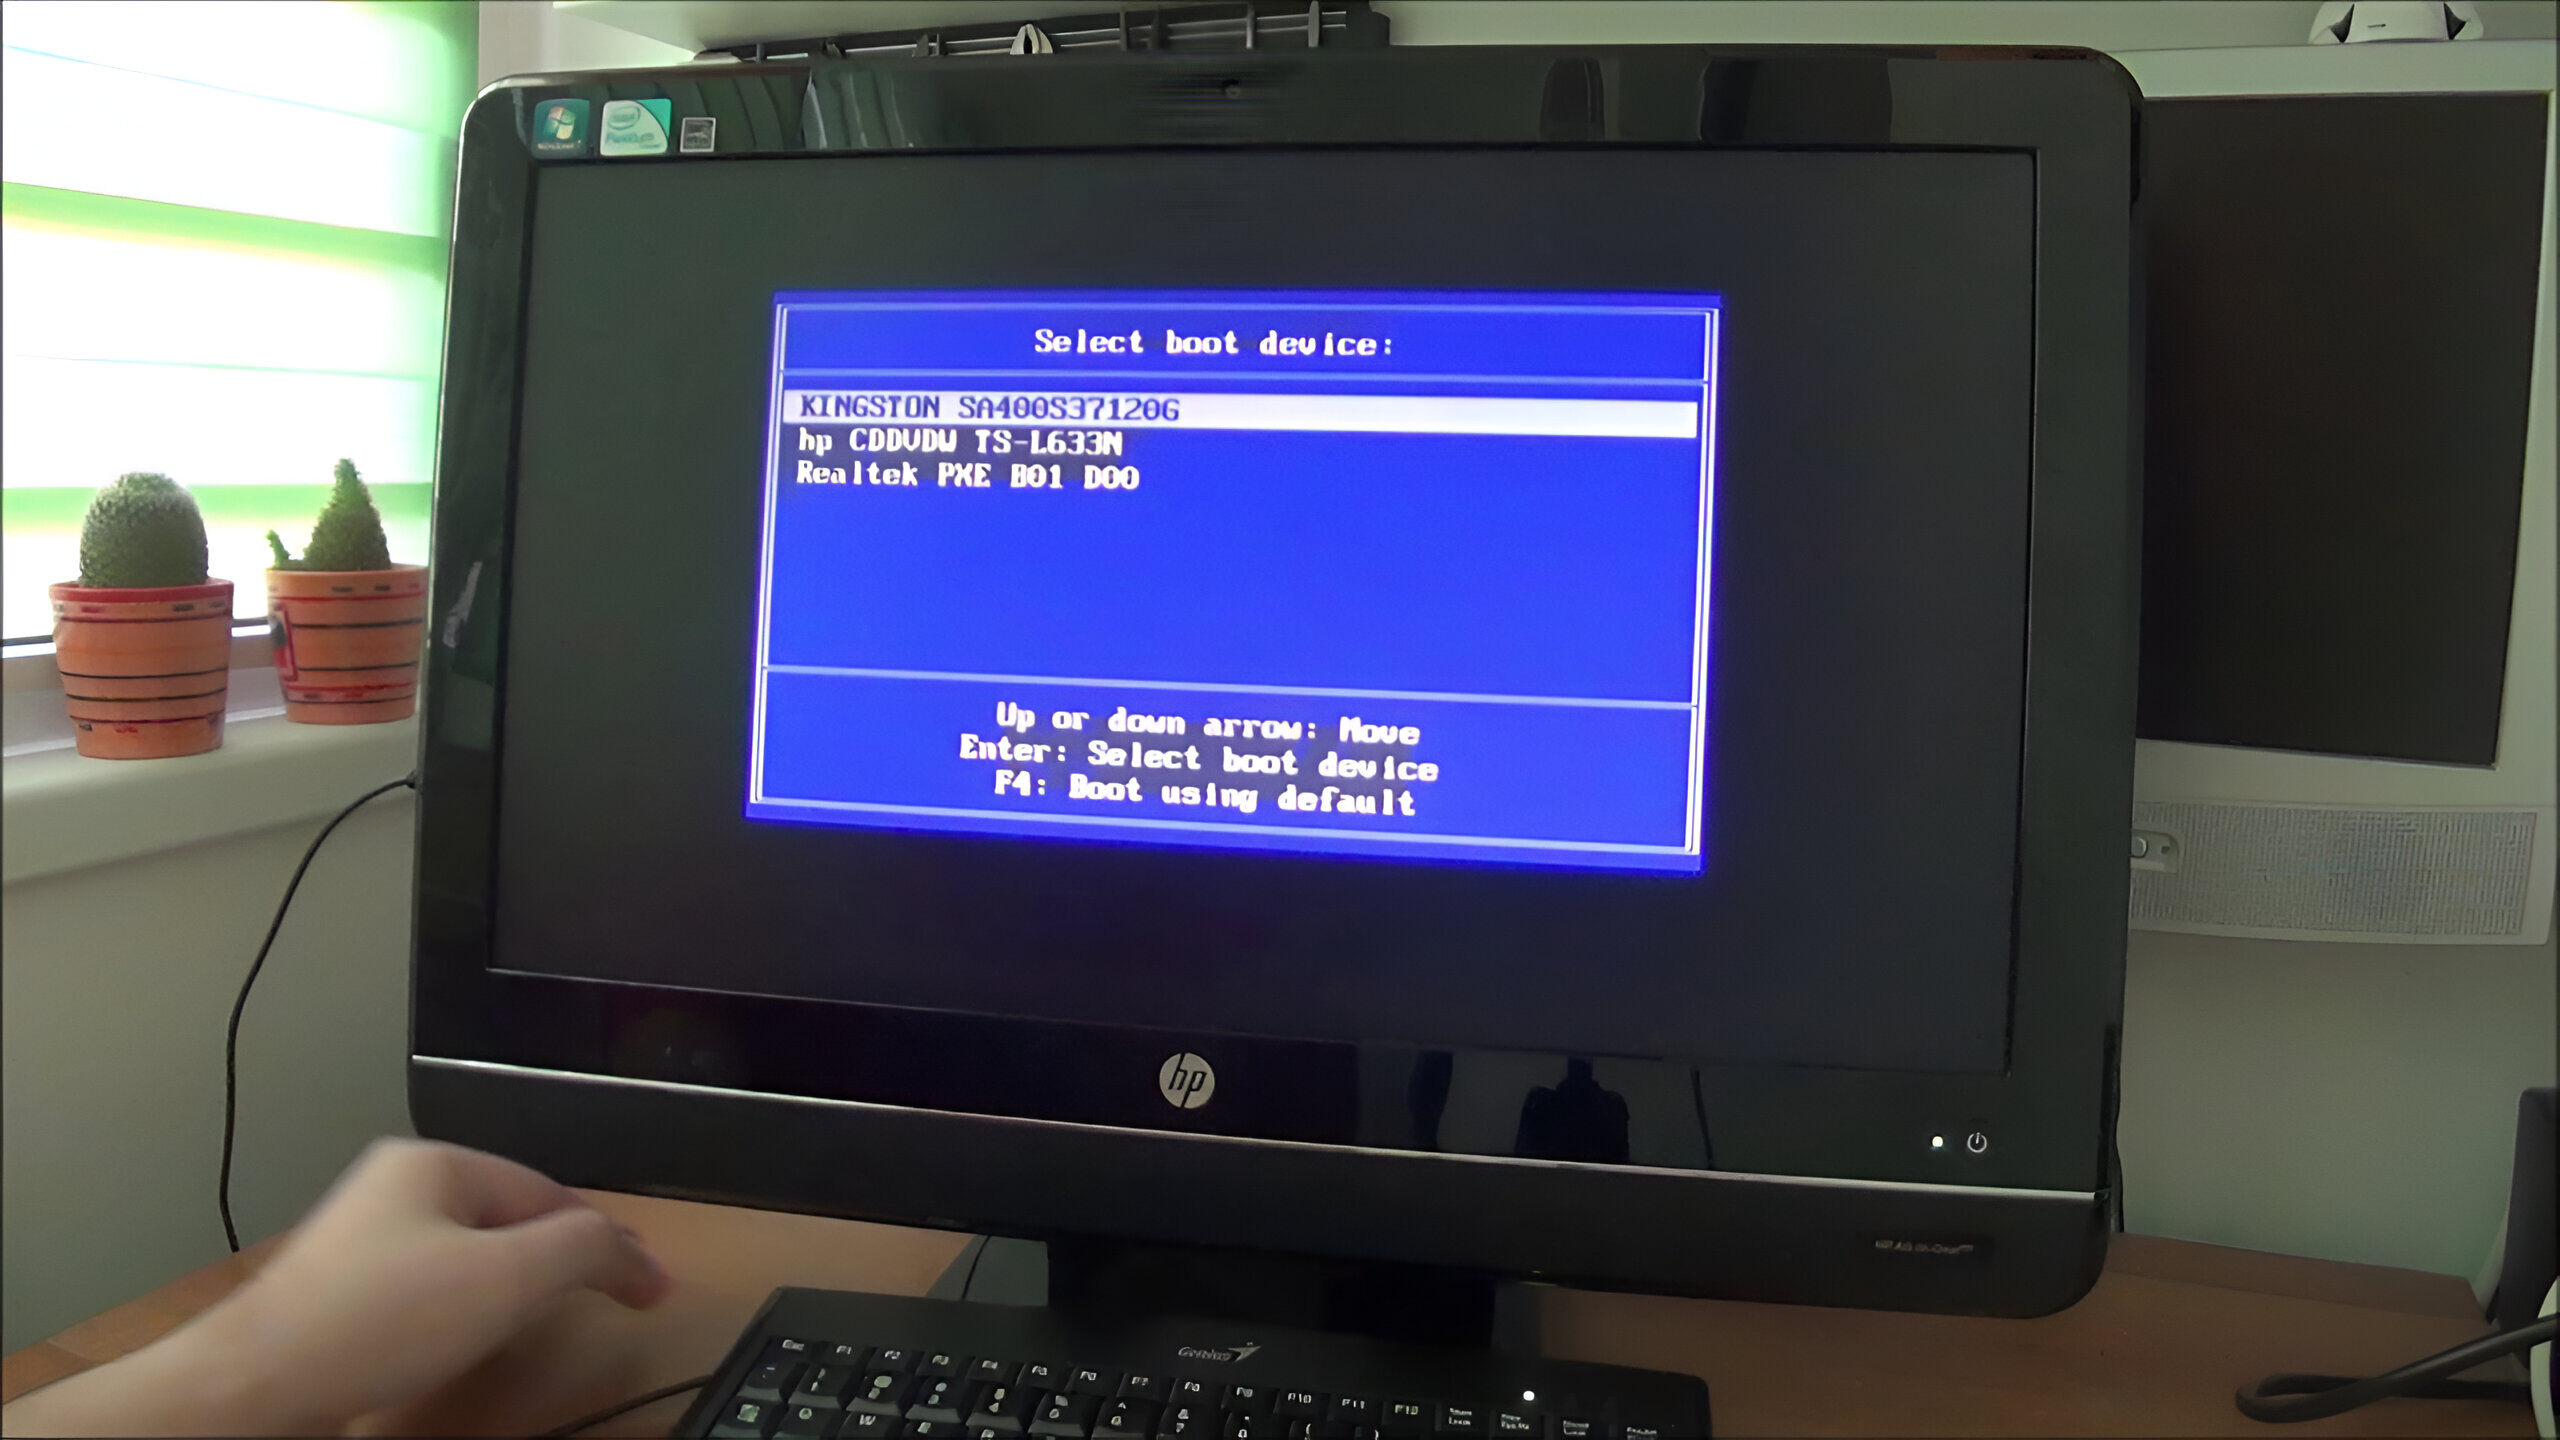
Test the CD Drive
Now that the CD drive is installed and all the necessary cables are connected, it’s time to test its functionality. Follow these steps to ensure the CD drive is working properly:
- Ensure that your computer is still powered off and disconnected from the power source.
- Carefully close the PC case, making sure to align the side panel properly and secure it with screws or latches.
- Reconnect the power cable to your computer and turn it on.
- Wait for your operating system to load. Once it has loaded, insert a CD or DVD into the CD drive.
- Listen for any spinning or whirring noises coming from the drive, indicating that it is functioning correctly.
- Access the CD or DVD in your operating system to confirm that it is detected and readable.
- If the CD drive is not functioning correctly or not recognized by your operating system, double-check all cable connections and ensure they are secure. If necessary, consult the CD drive manual or seek assistance from a technical professional.
If the CD drive passes the test and is functioning as expected, congratulations! You have successfully installed and tested your CD drive.
Remember to keep the CD drive firmware and drivers up to date to ensure optimal performance and compatibility with the latest software and operating systems.
With the CD drive installed and working, you can now enjoy the benefits of having an additional storage option, the ability to install software from CDs, access multimedia content, and burn CDs or DVDs on your computer.
Now that you’ve completed the installation and testing process, take a moment to appreciate your hard work and enjoy the expanded capabilities of your PC!
Conclusion
Installing a CD drive into a PC case may seem like a daunting task, but with the right tools, equipment, and a step-by-step approach, it can be an achievable endeavor for anyone. In this guide, we covered the essential steps involved in installing a CD drive into a PC case, from gathering the necessary tools and equipment to testing the functionality of the drive.
By preparing the PC case and ensuring a proper fit, inserting the CD drive securely, connecting the necessary cables, and testing the drive for functionality, you can successfully add a CD drive to your computer system.
Remember to take your time during the installation process and follow the manufacturer’s instructions specific to your PC case and CD drive model. This will help ensure a smooth installation and prevent any potential damage to the components.
Adding a CD drive to your PC opens up a world of possibilities, whether it’s for accessing multimedia content, installing software from CDs, or burning your own CDs or DVDs. It provides you with another valuable storage option and enhances the functionality of your computer.
We hope this guide has been helpful in guiding you through the process of installing a CD drive into a PC case. Now, it’s time for you to enjoy the benefits of your newly installed CD drive and explore the possibilities it offers.
Happy computing!


![How to Fix 0x80300024 Error on Windows 10 [Easy Guide]](https://robots.net/wp-content/uploads/2022/06/0x80300024-featured-300x175.jpg)