Introduction
Welcome to the world of wireless connectivity! Adding Bluetooth to your PC can open up a whole new realm of possibilities, allowing you to connect and interact with various devices without the hassle of wires. Whether you want to connect a wireless mouse and keyboard, transfer files between devices, or even stream music to Bluetooth speakers, having Bluetooth capability on your PC can greatly enhance your user experience.
In this guide, we will show you how to add Bluetooth to your PC in a few simple steps. Don’t worry if you’re not tech-savvy – we’ll walk you through the process and make it easy to understand. By the end of this guide, you’ll be able to enjoy the convenience and freedom of wireless connectivity on your PC.
Before we jump into the steps, let’s talk a bit about what Bluetooth is. Bluetooth is a wireless technology that allows devices to communicate and transfer data over short distances. It operates on radio waves, enabling devices to connect and exchange information without the need for cables. Bluetooth is commonly used in various devices such as smartphones, tablets, headphones, keyboards, and more. By adding Bluetooth to your PC, you can connect and interact with these devices seamlessly.
Now that we have a basic understanding of Bluetooth, let’s dive into the step-by-step process of adding Bluetooth to your PC. Whether you have a desktop or a laptop, the process is similar and straightforward. Just follow the instructions, and soon you’ll be enjoying the benefits of wireless connectivity.
Step 1: Check your PC’s compatibility
Before you proceed with adding Bluetooth to your PC, it’s important to ensure that your computer is compatible with this technology. Most modern PCs already come with built-in Bluetooth capabilities, but if your PC is older or doesn’t have Bluetooth, you will need to verify its compatibility.
The first thing you should do is check your PC’s specifications. Look for the model number or name of your computer and search for its technical details online. Check if Bluetooth functionality is listed as one of the features. If it is, then you’re in luck – your PC is already Bluetooth-enabled, and you can skip to the next step.
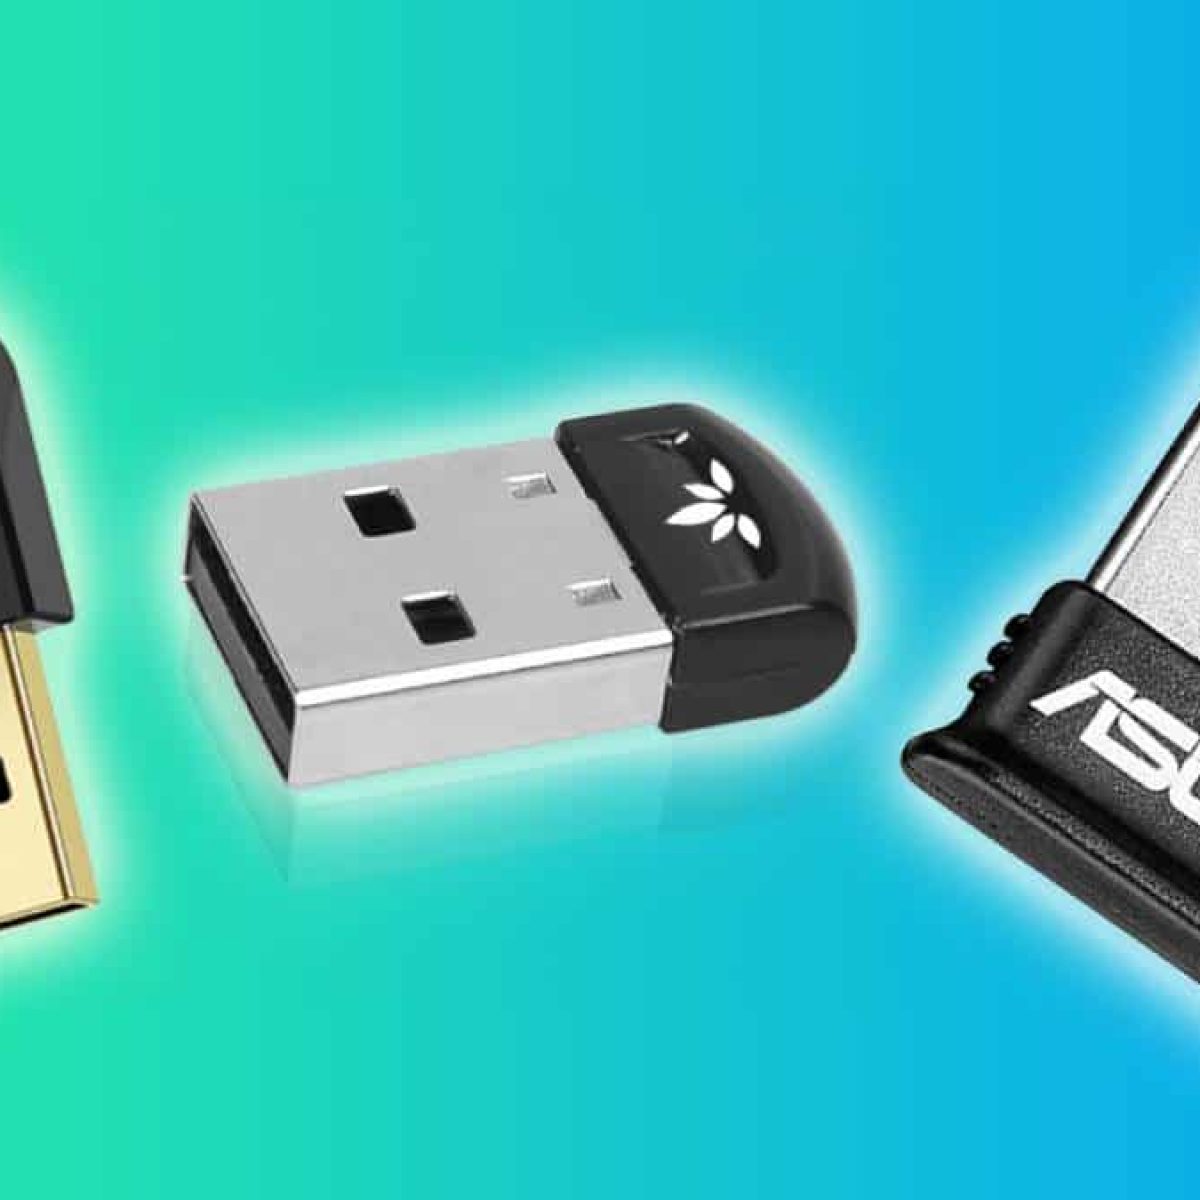
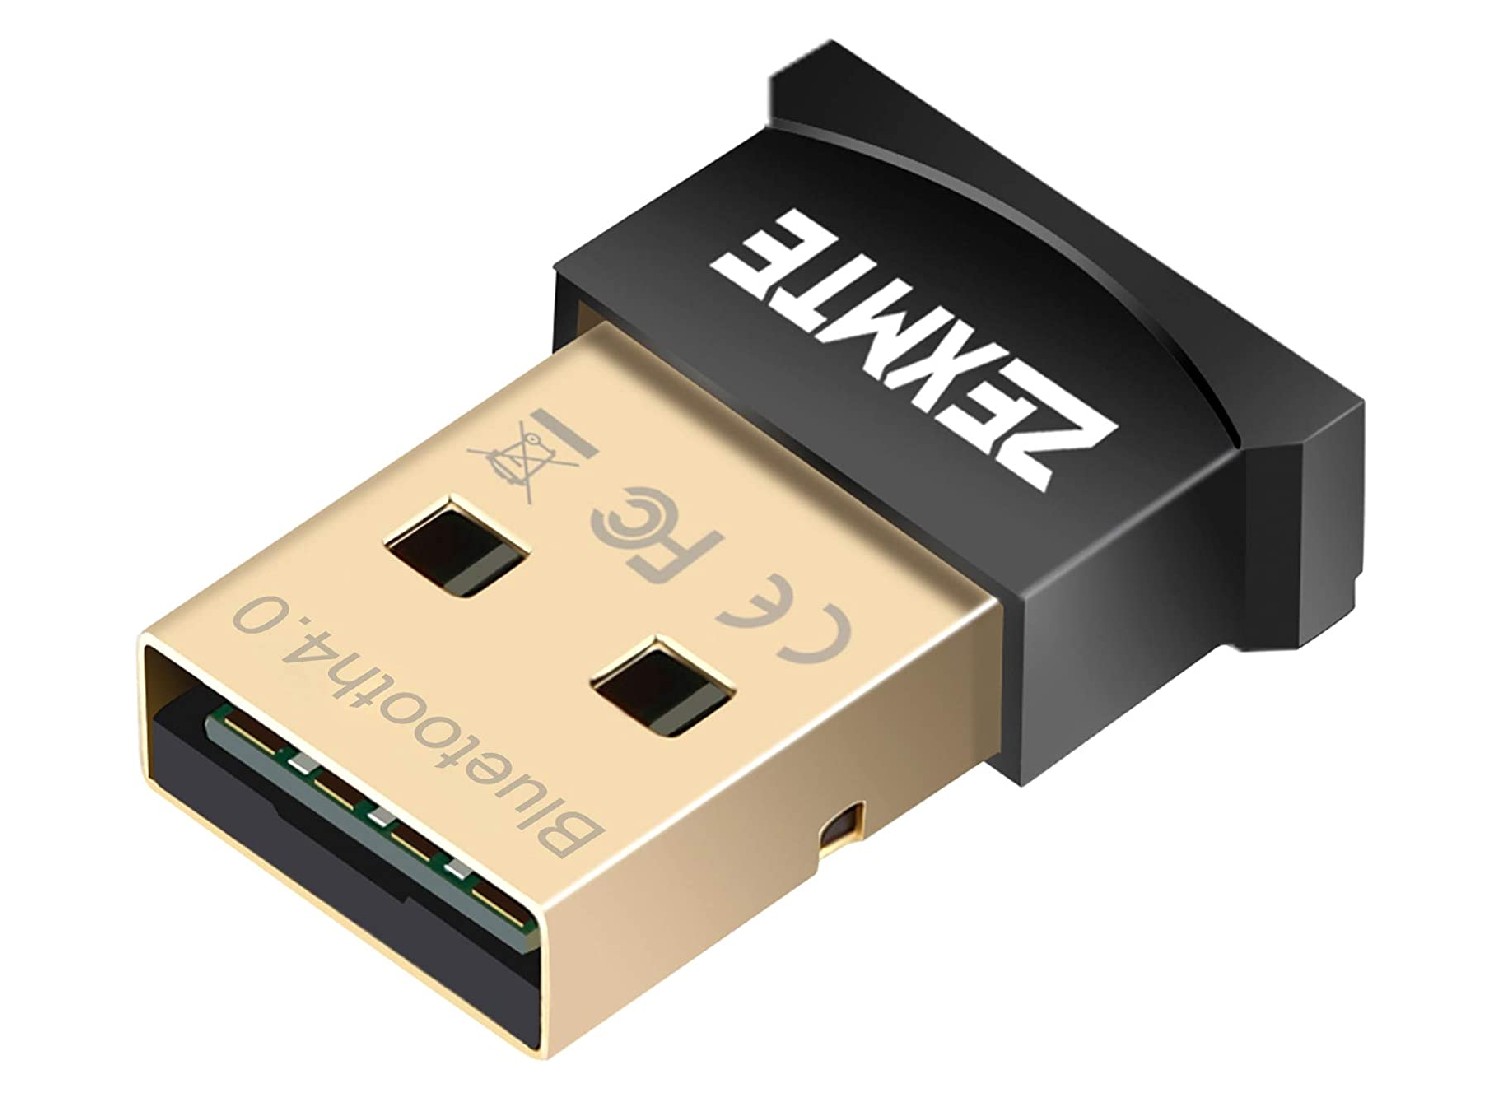
If your PC doesn’t have built-in Bluetooth, don’t worry! There’s still a way to add this functionality. You can do so by using a Bluetooth adapter. A Bluetooth adapter is a small device that plugs into your PC’s USB port and allows it to connect wirelessly with other Bluetooth devices.
Before you purchase a Bluetooth adapter, it’s important to determine the type of USB port(s) available on your PC. Most PCs have USB 2.0 as well as USB 3.0 ports. USB 3.0 ports provide faster data transfer speeds, so if your PC has USB 3.0 ports, it’s recommended to get a Bluetooth adapter that supports USB 3.0 for optimal performance.
Additionally, consider the size and form factor of the Bluetooth adapter. Some adapters are small and low-profile, while others are larger and may obstruct nearby ports. Choose an adapter that fits your needs and won’t restrict the use of neighboring USB ports.
Once you have determined your PC’s compatibility and identified the type of Bluetooth adapter you need, you’re ready to move on to the next step.
Step 2: Purchase a Bluetooth adapter
If your PC doesn’t have built-in Bluetooth, the next step is to purchase a Bluetooth adapter. This small device will provide your PC with Bluetooth functionality, allowing you to connect and interact with various Bluetooth devices.
When choosing a Bluetooth adapter, there are a few factors to consider. Firstly, ensure that the adapter is compatible with your PC’s operating system. Most Bluetooth adapters are compatible with Windows operating systems, but if you’re using a Mac or Linux, make sure to check for compatibility before purchasing.
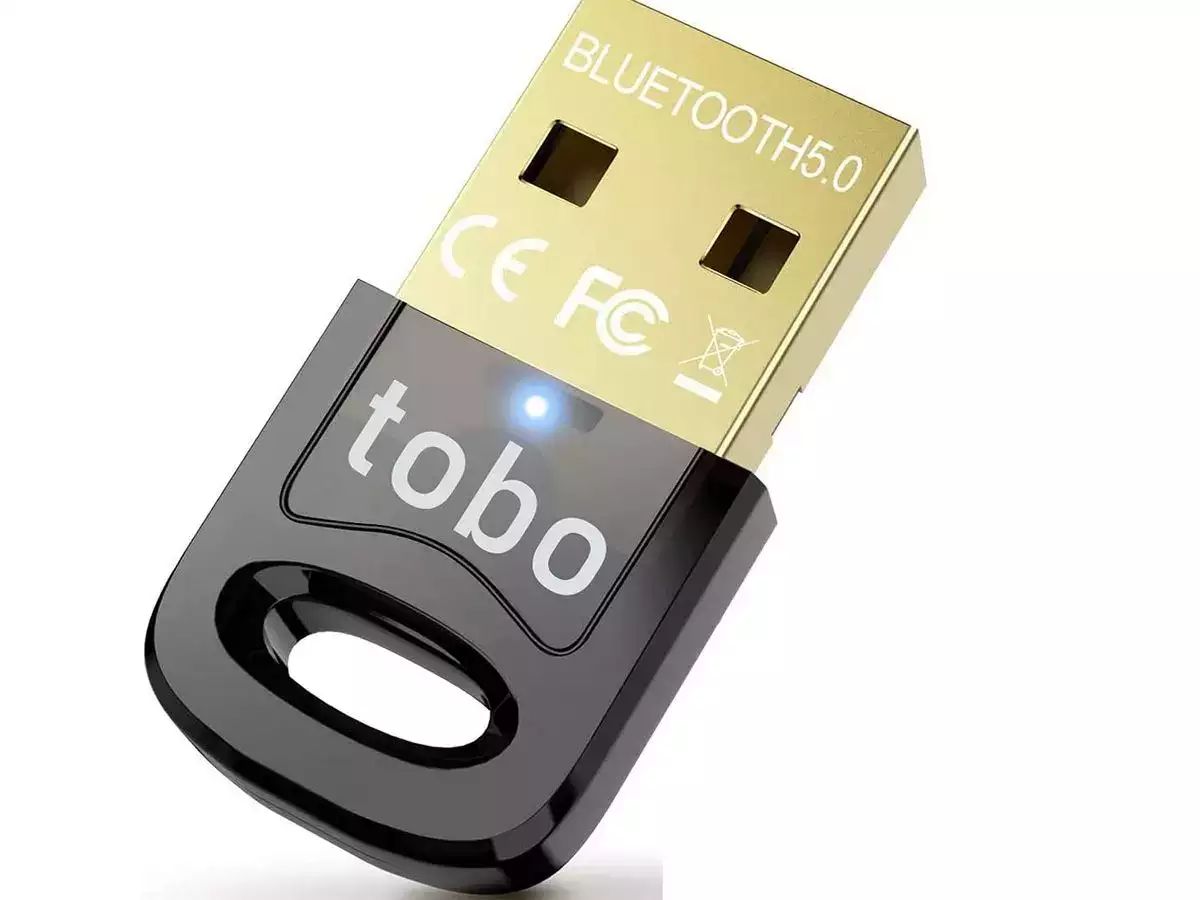
Next, consider the Bluetooth version supported by the adapter. The latest Bluetooth version is Bluetooth 5.0, which offers faster speeds and improved range compared to earlier versions. However, keep in mind that the devices you want to connect to should also support the same Bluetooth version for optimal performance.
The range of the Bluetooth adapter is another important consideration. If you plan to use Bluetooth devices within close proximity to your PC, then a standard range adapter should be sufficient. However, if you need to connect devices that are located further away, consider getting an adapter with an extended range.
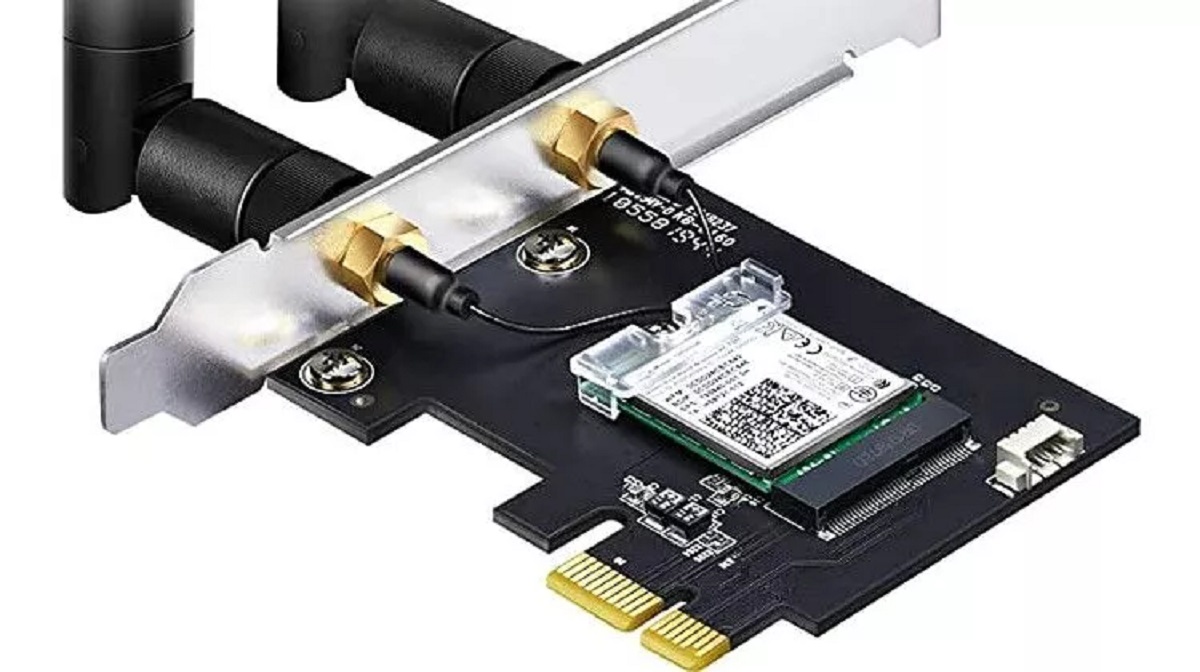
Lastly, take into account the form factor of the Bluetooth adapter. There are various options available, including USB dongles and internal adapters. USB dongles are plug-and-play devices that can be easily connected to your PC’s USB port, while internal adapters require opening up your PC’s casing and installing the adapter onto the motherboard.
Take the time to research different Bluetooth adapters, read reviews, and compare prices before making a purchase. Look for reputable brands known for their quality and reliability. Once you have found the right Bluetooth adapter for your needs, proceed to the next step.
Step 3: Install the driver software
After purchasing a Bluetooth adapter, the next step is to install the necessary driver software. The driver software enables your PC to recognize and communicate with the Bluetooth adapter, allowing it to function properly.
Before you begin the installation process, ensure that your PC is connected to the internet. This will allow the operating system to automatically search and download the appropriate driver software for your Bluetooth adapter. In most cases, Windows operating systems will automatically detect the new hardware and initiate the driver installation process.
If the driver software isn’t automatically installed, you may need to manually install it using the installation CD that comes with the Bluetooth adapter. Insert the CD into your computer’s CD/DVD drive and follow the on-screen instructions to install the software. If your PC doesn’t have a CD/DVD drive, you can also download the driver software from the manufacturer’s website using another computer and transfer it to your PC using a USB drive.
During the installation process, make sure to carefully read and follow the instructions provided by the driver software. You may need to restart your PC once the installation is complete to ensure that the driver software is fully implemented.
Once the driver software is successfully installed, your PC will recognize the Bluetooth adapter, and you’ll be ready to proceed to the next step.
Step 4: Connect the Bluetooth adapter to your PC
Now that you have installed the driver software, it’s time to connect the Bluetooth adapter to your PC. This step will establish the physical connection between your PC and the Bluetooth adapter, allowing them to communicate with each other.
If you’re using a USB Bluetooth adapter, simply insert it into an available USB port on your PC. Make sure to insert it securely to ensure a stable connection. Your operating system should automatically detect the adapter and configure it for use.
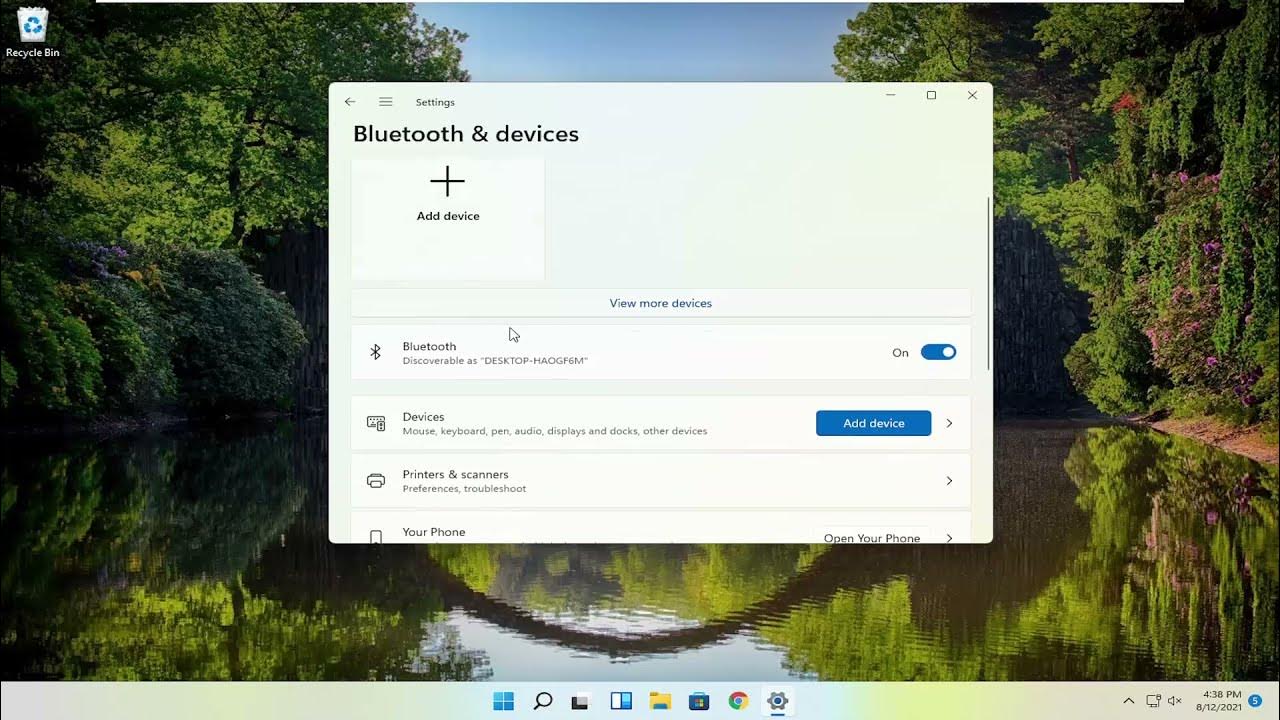
In some cases, you may need to manually activate the Bluetooth functionality on your PC after connecting the adapter. To do this, navigate to the settings menu on your PC and locate the Bluetooth settings. Enable Bluetooth and wait for your PC to establish a connection with the adapter.
If you’re using an internal Bluetooth adapter, you will need to open your PC’s casing and locate an available expansion slot on the motherboard. Carefully insert the adapter into the slot and secure it in place. Once the adapter is installed, close the casing and power on your PC.
After connecting the Bluetooth adapter, it’s essential to check if it is recognized by your PC. Open the device manager on your PC and look for the Bluetooth adapter under the “Bluetooth” or “Network Adapters” section. If it is listed without any errors or warnings, it means that the adapter is successfully connected to your PC.
At this point, it’s important to note that some Bluetooth adapters may require additional configuration. Refer to the user manual or documentation provided by the manufacturer for specific instructions on configuring the adapter settings.
With the Bluetooth adapter successfully connected to your PC, you’re now ready to move on to the next step and pair your Bluetooth devices.
Step 5: Pair your Bluetooth devices
Now that you have connected the Bluetooth adapter to your PC, it’s time to pair your Bluetooth devices. Pairing is the process of establishing a secure connection between your PC and a Bluetooth device, such as a wireless mouse, keyboard, headphones, or smartphone.
To begin the pairing process, make sure that the device you want to connect is in discoverable or pairing mode. This mode allows the device to be detected by other Bluetooth-enabled devices. Refer to the device’s user manual or manufacturer’s instructions for guidance on how to enable pairing mode.
On your PC, navigate to the Bluetooth settings menu. The location of this menu may vary depending on your operating system, but it is usually found in the system tray or in the settings menu. Enable the Bluetooth function on your PC if it’s not already active.
In the Bluetooth settings menu, click on the option to add or discover Bluetooth devices. Your PC will search for nearby Bluetooth devices and display them in a list. Select the device you want to pair with and click on the “Pair” or “Connect” button.
Depending on the device, you may be prompted to enter a PIN code or passkey to complete the pairing process. The PIN or passkey is usually provided in the device’s user manual or on the device itself. Enter the code when prompted and click “OK” or “Pair” to finalize the connection.
Once the pairing is successful, your PC and the Bluetooth device will be connected. You can now enjoy the wireless functionality provided by the Bluetooth technology. Repeat the pairing process for any additional Bluetooth devices you want to connect to your PC.
Keep in mind that some Bluetooth devices may require additional setup or configuration. Refer to the device’s user manual or manufacturer’s instructions for specific instructions on how to optimize the connection and customize the device settings.
With your devices successfully paired, you can now take advantage of the convenience and freedom of wireless connectivity on your PC.
Step 6: Enjoy wireless connectivity on your PC
Congratulations! You have successfully added Bluetooth to your PC and paired your Bluetooth devices. You’re now ready to enjoy the benefits of wireless connectivity and the convenience it brings to your computing experience.
With the Bluetooth functionality enabled on your PC, you can now connect a wide range of Bluetooth devices. Here are a few examples of what you can do with your newfound wireless connectivity:
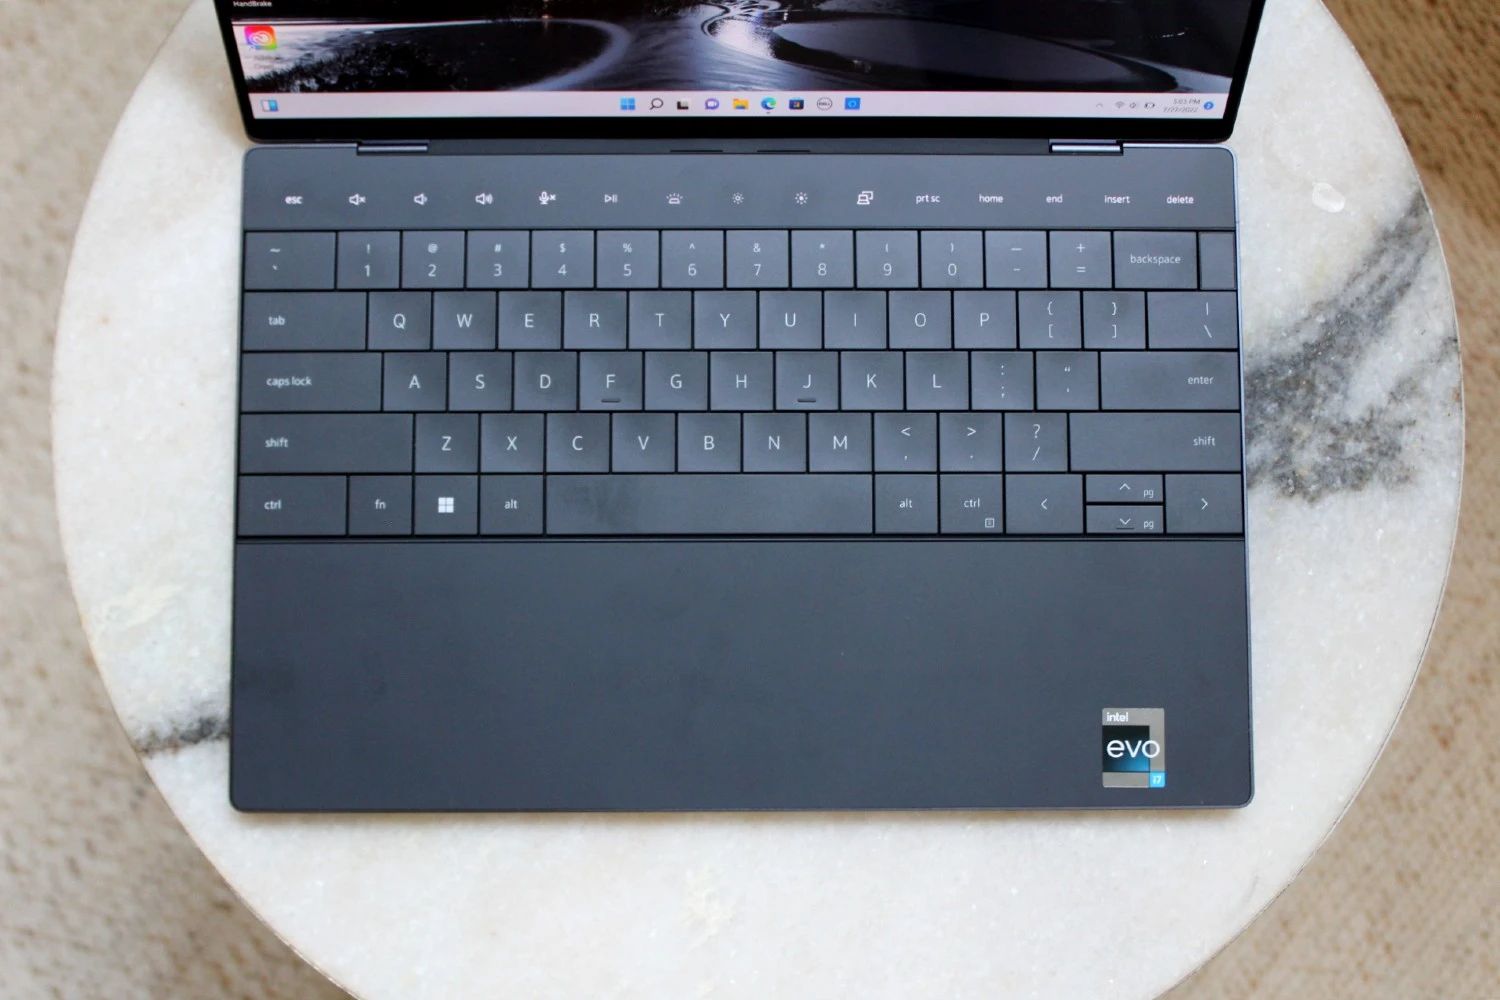
- Pair a wireless mouse and keyboard for a clutter-free workspace and seamless navigation.
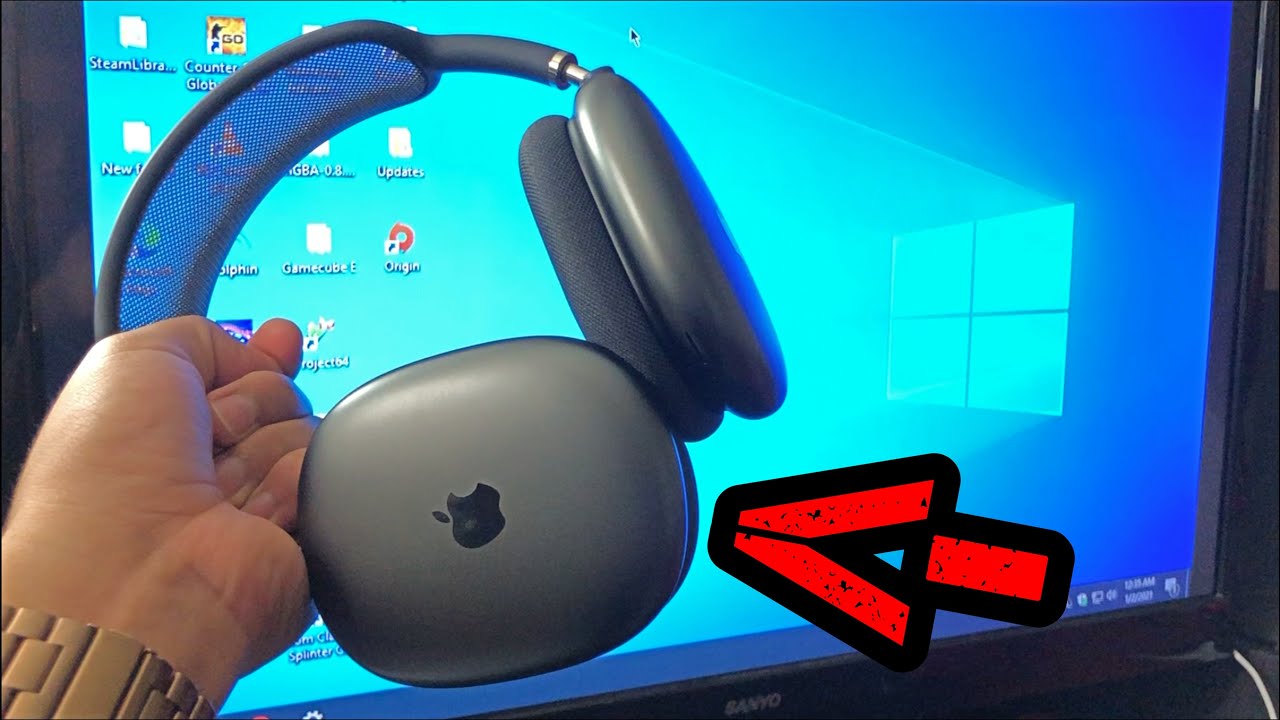
- Connect Bluetooth headphones or speakers for immersive audio experiences without the hassle of wires.
- Transfer files between your PC and other Bluetooth-enabled devices, such as smartphones or tablets.
- Use your PC as a wireless hotspot by tethering your smartphone’s internet connection via Bluetooth.
- Sync your PC with Bluetooth-enabled fitness devices, such as fitness trackers or smartwatches, to track your health and fitness goals.
- Connect and control Bluetooth-enabled smart home devices, such as smart lights or smart speakers, directly from your PC.
Remember to keep your Bluetooth adapter and devices within the recommended range for optimal connectivity. Bluetooth typically has an effective range of up to 30 feet, but this can vary depending on the environment and any potential interference.
If you experience any connectivity issues or encounter difficulties with specific devices, make sure to troubleshoot the problem by checking for updated drivers, ensuring devices are fully charged, and minimizing potential interference from other wireless devices.
With Bluetooth now added to your PC, you can say goodbye to tangled cables and enjoy the freedom of wireless connection. Take some time to explore the various possibilities and make the most out of this convenient technology.
Now that you’ve completed all the steps, enjoy the wireless connectivity on your PC and make the most of your Bluetooth-enabled devices!
Conclusion
Adding Bluetooth to your PC is a simple and effective way to enhance your computing experience. With Bluetooth connectivity, you can seamlessly connect and interact with a wide range of devices without the need for cables or wires.
In this guide, we have walked you through the step-by-step process of adding Bluetooth to your PC. From checking your PC’s compatibility and purchasing a Bluetooth adapter, to installing the driver software, connecting the adapter, and pairing your devices, each step has brought you closer to enjoying wireless connectivity.
By following these steps, you can now connect wireless peripherals, transfer files between devices, stream audio to Bluetooth speakers, and much more. The possibilities are endless, providing you with greater convenience, flexibility, and freedom in using your PC.
Remember to choose a Bluetooth adapter that is compatible with your PC’s operating system, supports the Bluetooth version you desire, and fits your connectivity needs. Additionally, keep in mind the range and form factor of the adapter to ensure optimal performance and compatibility with your PC.
As with any technology, it’s important to stay updated with the latest driver software and firmware for your Bluetooth devices. This will ensure you have access to the latest features and enhancements, as well as address any potential compatibility issues.
Now that you have successfully added Bluetooth to your PC, it’s time to explore the world of wireless connectivity and enjoy the convenience and freedom it offers. Whether you’re connecting wireless peripherals, sharing files with other devices, or simply enjoying wireless audio, Bluetooth will undoubtedly enhance your computing experience.
So go ahead, connect your Bluetooth devices, and embrace the wireless future on your PC!