Introduction
Welcome to this tutorial on how to connect an Apple keyboard to your PC. If you’re a fan of Apple products and prefer using their keyboards, you might be wondering if it’s possible to connect them to your PC. The good news is that it is indeed possible, and in this guide, we’ll walk you through the steps to make it happen.
Apple keyboards are known for their sleek design, comfortable typing experience, and seamless integration with Apple devices. However, with the right setup, you can also use them with your PC and enjoy the same benefits. Not only will this allow you to use a high-quality keyboard, but it can also save you from the hassle of purchasing a separate keyboard for your PC.
Before we dive into the steps, it’s important to note that the method we’ll be discussing is specifically for connecting Apple keyboards to a PC using Bluetooth. So, make sure you have Bluetooth functionality on your PC or a Bluetooth adapter connected to it.
Now, let’s get started with the step-by-step process of connecting your Apple keyboard to your PC and enjoy a seamless typing experience.
Step 1: Check Compatibility
Before attempting to connect your Apple keyboard to your PC, it’s important to ensure that they are compatible with each other. While most modern PCs have built-in support for Bluetooth keyboards, it’s still a good idea to verify the compatibility to avoid any compatibility issues.
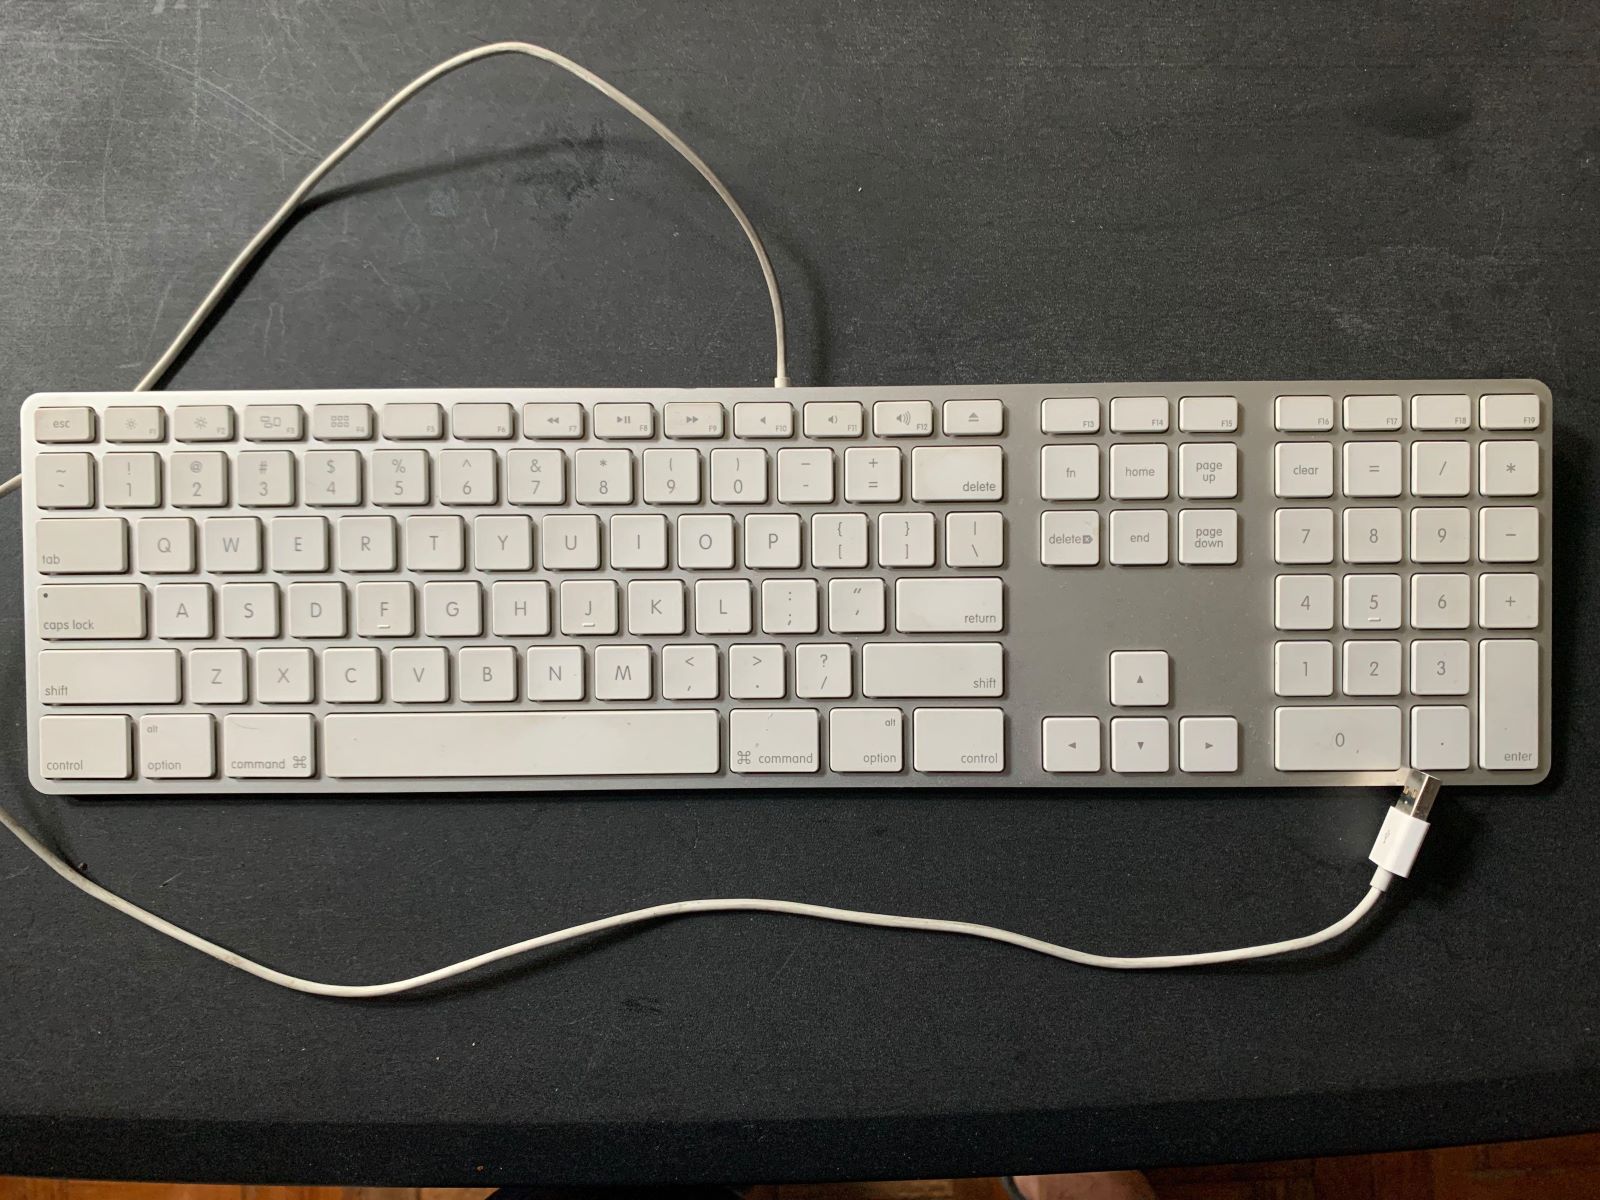
First, check the model of your Apple keyboard. The compatibility may vary depending on the model and its age. Generally, Apple keyboards such as the Magic Keyboard, Magic Keyboard with Numeric Keypad, and older models like the Apple Wireless Keyboard are compatible with PCs.
Next, check your PC for Bluetooth functionality. Look for the Bluetooth icon in the system tray or go to the Settings menu and see if there is an option to enable Bluetooth. If your PC doesn’t have built-in Bluetooth, you can use a USB Bluetooth adapter to add this functionality.
Additionally, it’s essential to ensure that your PC’s operating system is compatible with Apple keyboards. Most modern operating systems, such as Windows 10, Windows 8, and macOS, have built-in support for Apple keyboards. It’s also recommended to keep your operating system updated to the latest version to ensure maximum compatibility.
Once you’ve verified the compatibility between your Apple keyboard and your PC, you’re ready to move on to the next steps and start the connection process. Remember, compatibility is crucial for a successful connection, so take the time to double-check before proceeding.
Step 2: Power on the Apple Keyboard
Now that you’ve confirmed the compatibility of your Apple keyboard with your PC, let’s move on to the next step: powering on the keyboard. To do this, follow the steps below:
- Locate the power button on your Apple keyboard. Depending on the model, it may be located on the side or the back of the keyboard.
- Press and hold the power button until the LED indicator on the keyboard starts flashing. This indicates that the keyboard is in pairing mode and ready to connect to a device.
- Keep in mind that certain Apple keyboards might require you to insert batteries or charge them before using. Ensure that your keyboard has sufficient power to function properly.
By powering on the Apple keyboard and placing it in pairing mode, you’re ready to proceed to the next step: enabling Bluetooth on your PC.
Note: If you’re using a wired Apple keyboard, you won’t need to power it on or enable Bluetooth. Simply connect the keyboard to your PC using the appropriate USB cable, and it should work automatically.
Step 3: Enable Bluetooth on your PC
In order to connect your Apple keyboard to your PC, you need to ensure that Bluetooth is enabled on your PC. Follow the steps below to enable Bluetooth:
- Click on the Start menu and open the Settings app on your PC. You can also access it by pressing the Windows key + I.
- In the Settings window, click on “Devices”.
- On the left-hand side, click on “Bluetooth & other devices”.
- In the Bluetooth & other devices settings, make sure the toggle switch under “Bluetooth” is turned on. This will enable Bluetooth functionality on your PC.
- Your PC will now start scanning for available Bluetooth devices. Wait for the scan to complete.
Once you’ve enabled Bluetooth on your PC, you’re ready to move on to the next step: pairing the Apple keyboard with your PC.
Note: The steps to enable Bluetooth may vary slightly depending on your PC’s operating system version. However, the general process should be similar.
Step 4: Pairing the Apple Keyboard with your PC
Now that Bluetooth is enabled on your PC, it’s time to pair your Apple keyboard with your PC. Follow the steps below to successfully pair the two devices:
- On your PC, go to the “Bluetooth & other devices” settings as mentioned in the previous step.
- Click on the “Add Bluetooth or other device” button. This will open a new window.
- In the new window, click on the “Bluetooth” option to select it.
- Your PC will start searching for available Bluetooth devices. Wait for your Apple keyboard to appear in the list of discovered devices.
- Once your Apple keyboard appears, click on it to select it, and then click on the “Pair” button.
- Follow any additional on-screen prompts to complete the pairing process.
During the pairing process, you may be asked to enter a passkey on either the PC or the Apple keyboard. If prompted, enter the passkey and continue. The specific passkey will vary depending on your keyboard and PC, but it is typically a random code that helps ensure a secure connection.
After successfully pairing your Apple keyboard with your PC, you are one step away from completing the connection.
Note: If you encounter any issues during the pairing process, make sure that both devices are in close proximity to each other and that there is no interference from other Bluetooth devices.
Step 5: Completing the Connection
After successfully pairing your Apple keyboard with your PC, it’s time to complete the connection and start using your keyboard. Follow the steps below to finalize the connection:
- Once the pairing process is complete, your PC will recognize the Apple keyboard as a connected device.
- Click on the “Done” button or close the Bluetooth settings window.
- Test the connection by typing on your Apple keyboard. The keystrokes should register on your PC.
- If the keyboard doesn’t work immediately, try restarting your PC and/or the keyboard, and then test the connection again.
- If you’re still experiencing issues, check the manufacturer’s website for any driver updates or troubleshooting guidelines specific to your Apple keyboard model.
Once the connection is established and the Apple keyboard is working with your PC, you can customize the keyboard settings to adjust the key mapping, function keys, or other preferences according to your needs. These settings can usually be accessed through the Control Panel or the keyboard settings in your PC’s operating system.
Now you can enjoy the comfort and convenience of using your Apple keyboard with your PC. Whether you’re working on documents, browsing the web, or playing games, the seamless integration of the Apple keyboard will enhance your overall typing experience.
Congratulations! You’ve successfully connected and paired your Apple keyboard with your PC. Happy typing!
Conclusion
Connecting an Apple keyboard to your PC is a great way to enhance your typing experience and enjoy the sleek design of Apple’s keyboards. By following the steps outlined in this tutorial, you can easily connect and pair your Apple keyboard with your PC, allowing you to use it seamlessly.
We started by checking the compatibility of your Apple keyboard with your PC, ensuring that you have the necessary Bluetooth functionality and a compatible operating system. Then, we powered on the Apple keyboard and entered pairing mode.
Next, we enabled Bluetooth on your PC, making sure it is ready to connect with your Apple keyboard. Once Bluetooth was enabled, we proceeded to pair the devices, following the on-screen prompts and entering any necessary passkeys.
Finally, we completed the connection by testing the keyboard and ensuring it was working properly. In the event of any issues, we discussed troubleshooting steps to help you resolve them.
With the connection complete, you can now enjoy the comfort and convenience of using your Apple keyboard with your PC. Remember, you can also customize the keyboard settings to suit your preferences and take full advantage of its features.
Connecting an Apple keyboard to your PC eliminates the need for a separate keyboard and allows you to utilize the high-quality typing experience Apple keyboards are known for. So go ahead, type away, and enjoy the seamless integration of your Apple keyboard with your PC!