Introduction
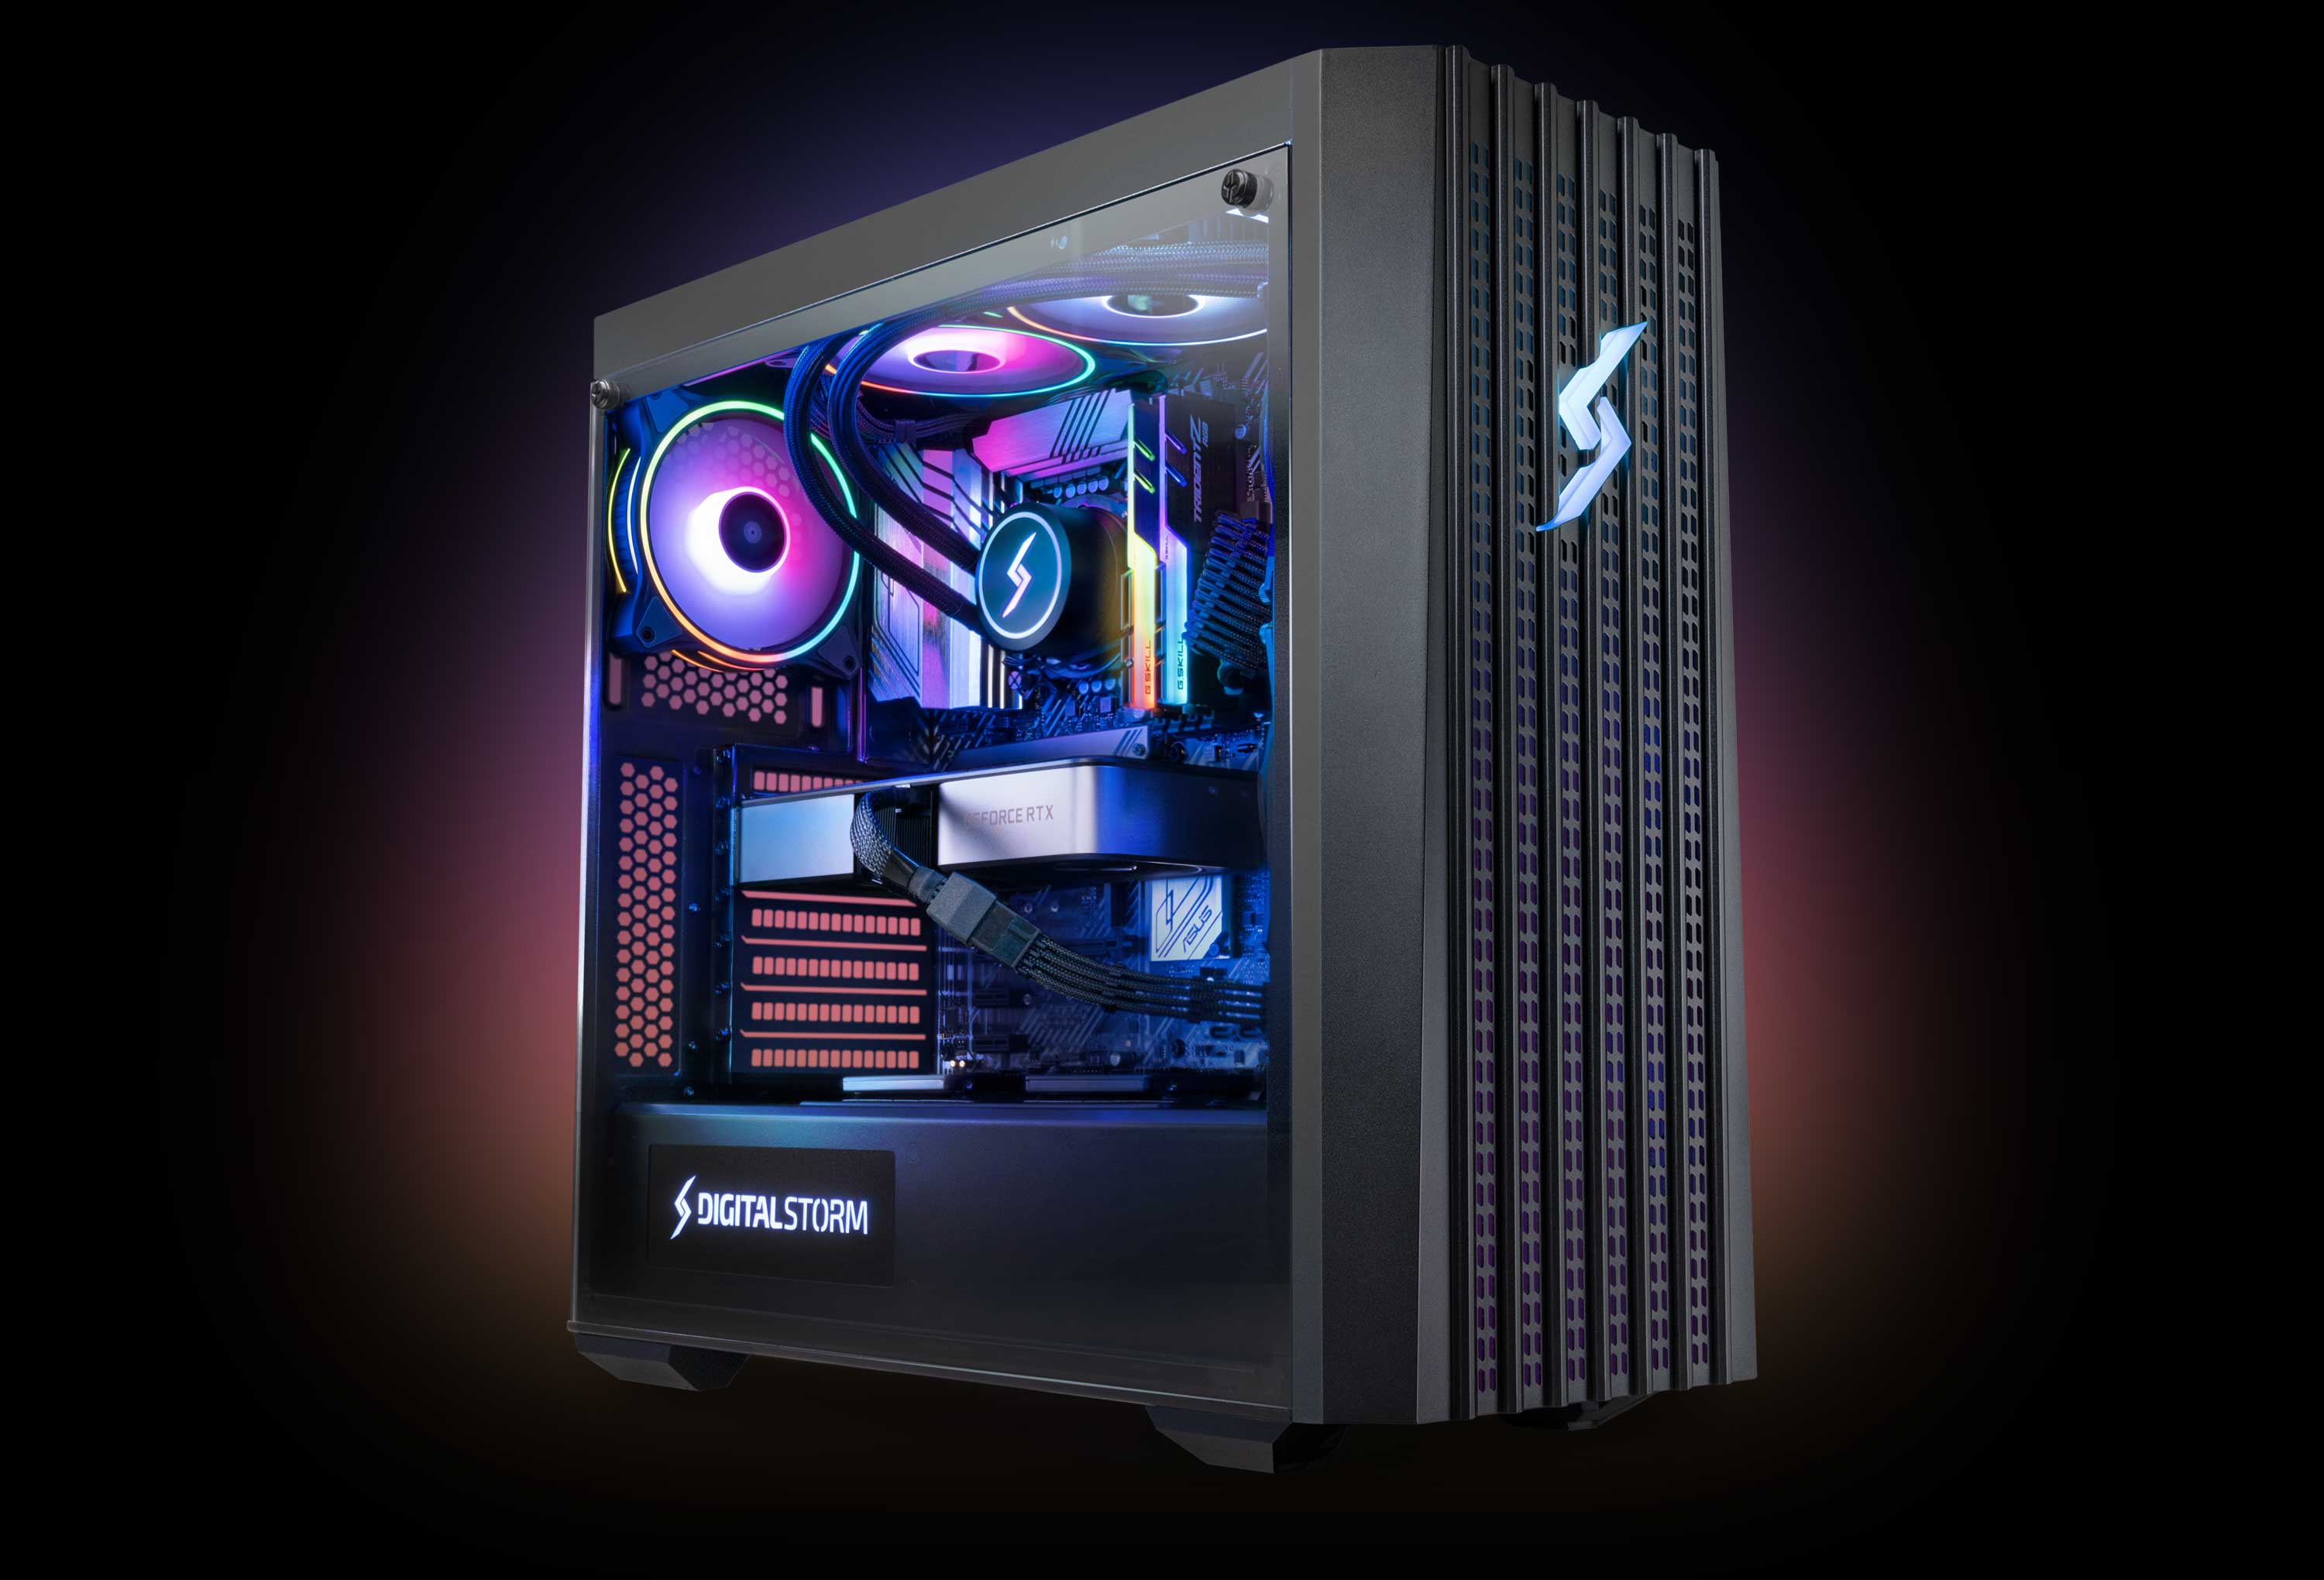
Welcome to this guide on how to install a 3rd case fan in the HAF 912! If you’re looking to improve the airflow and cooling efficiency of your computer, adding an additional case fan can make a significant difference. The HAF 912 is a popular choice among PC enthusiasts for its spacious interior and excellent airflow capabilities. By following the steps outlined in this guide, you’ll be able to easily and safely install a third case fan to further enhance your system’s cooling performance.
Proper airflow is essential for maintaining optimal temperatures inside your computer’s case. A well-ventilated system ensures that your components, such as the CPU and GPU, remain within acceptable temperature ranges, preventing overheating and potential damage. Installing an additional case fan in the HAF 912 can help dissipate heat more efficiently, reducing the overall temperature and improving the stability and longevity of your system.
In this guide, we will walk you through the process of installing a third case fan step by step. From preparing your case to connecting the fan to the motherboard, we’ll cover everything you need to know. Whether you’re a novice PC builder or a seasoned enthusiast, this guide is designed to be simple and straightforward, ensuring a smooth installation process.
Let’s get started and improve the cooling performance of your HAF 912 by adding a third case fan!
What You Will Need
Before you begin the installation process, it’s important to gather all the necessary tools and components. Here’s a list of what you’ll need:
- HAF 912 case
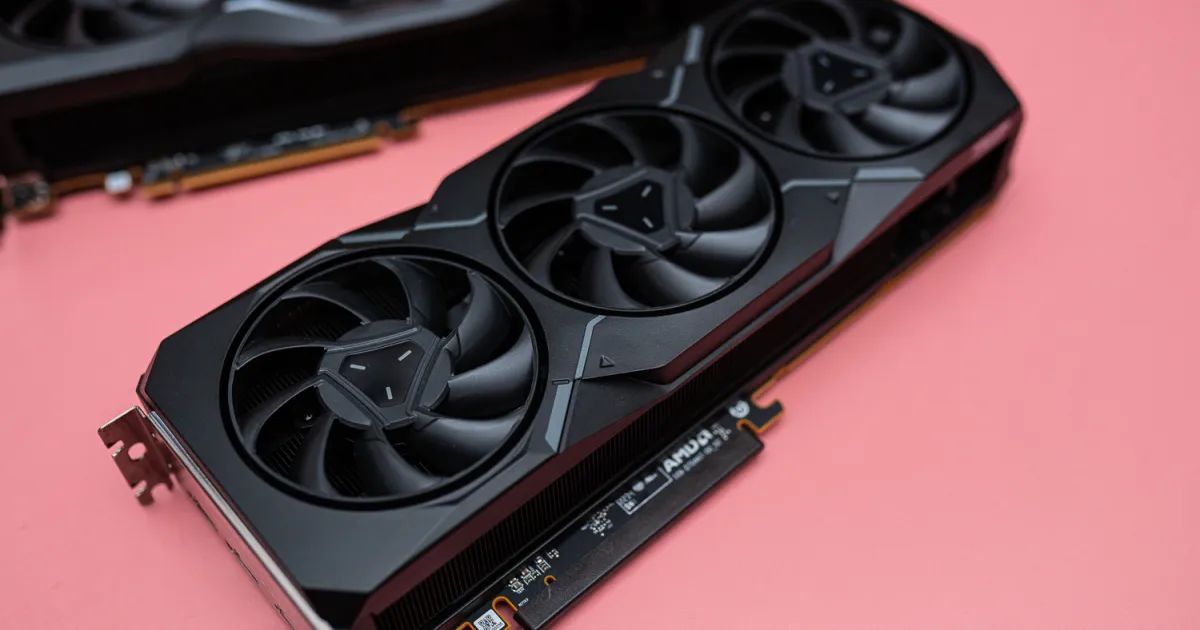
- Additional case fan
- Screwdriver
- Zip ties or cable management clips
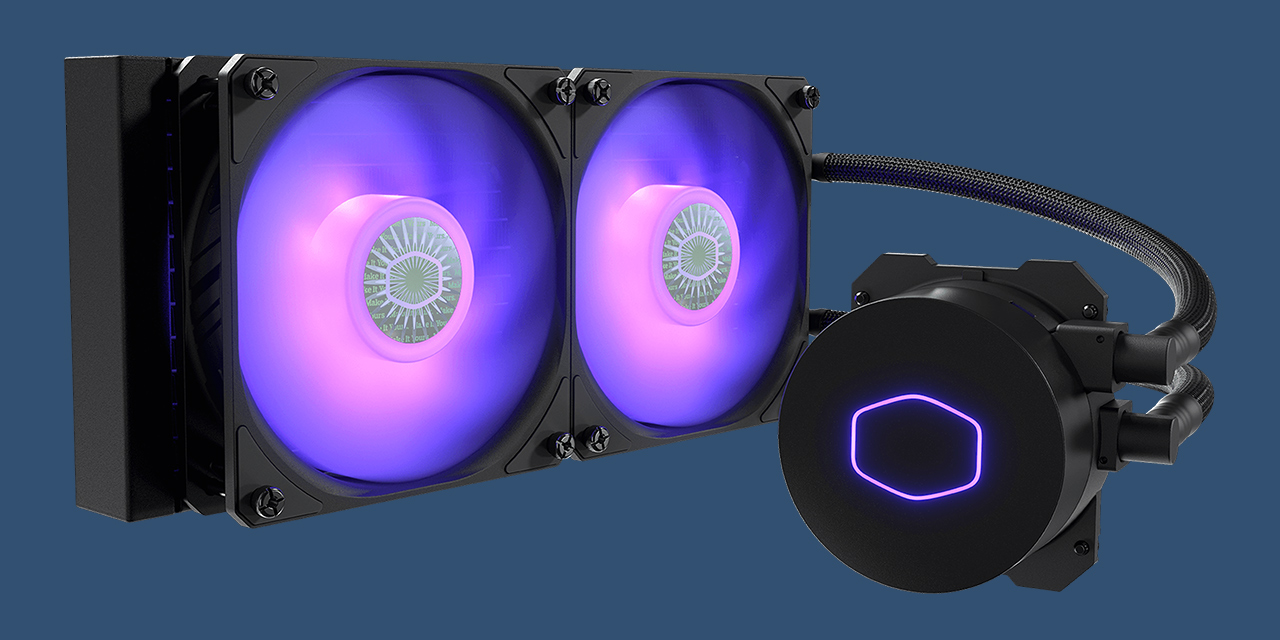
- Thermal paste (if you’re planning to remove and reapply your CPU cooler)
- Compatibility check: Make sure the case fan you’ve purchased is compatible with the HAF 912. Check the fan’s size, connector type, and mounting options to ensure a proper fit.
It’s always a good idea to have these items readily available before you start the installation. This will save you time and ensure a smooth process.
When selecting an additional case fan, consider factors such as size, airflow, and noise level. Choose a fan that matches the dimensions of the HAF 912’s mounting positions and delivers sufficient airflow to meet your cooling needs. It’s also worth considering fans with PWM (Pulse Width Modulation) control for better speed control and quieter operation.
The screwdriver is essential for securing the case fan in place and connecting it to the case or fan brackets. Make sure you have a screwdriver that fits the screws typically used in computer cases. If you don’t have the right size, consider purchasing a screwdriver set that includes a variety of sizes.
Zip ties or cable management clips are useful for securing the fan cables and keeping them organized. This helps to prevent cable clutter and ensures proper airflow within the case.
If you plan to remove and reapply your CPU cooler during the installation, make sure you have some thermal paste on hand. Thermal paste is necessary to facilitate heat transfer between the CPU and cooler, ensuring efficient cooling. If you’re unsure whether to remove the CPU cooler, consult your motherboard and CPU documentation or seek guidance from reliable sources.
With these tools and components ready, you’re well-prepared to proceed with the case fan installation in your HAF 912.
Step 1: Prepare Your Case
Before you start installing the third case fan, it’s important to prepare your HAF 912 case for the installation. The following steps will guide you through the preparation process:
- Power off your computer and unplug it from the power source. This ensures your safety and prevents any accidental damage to your system or components.
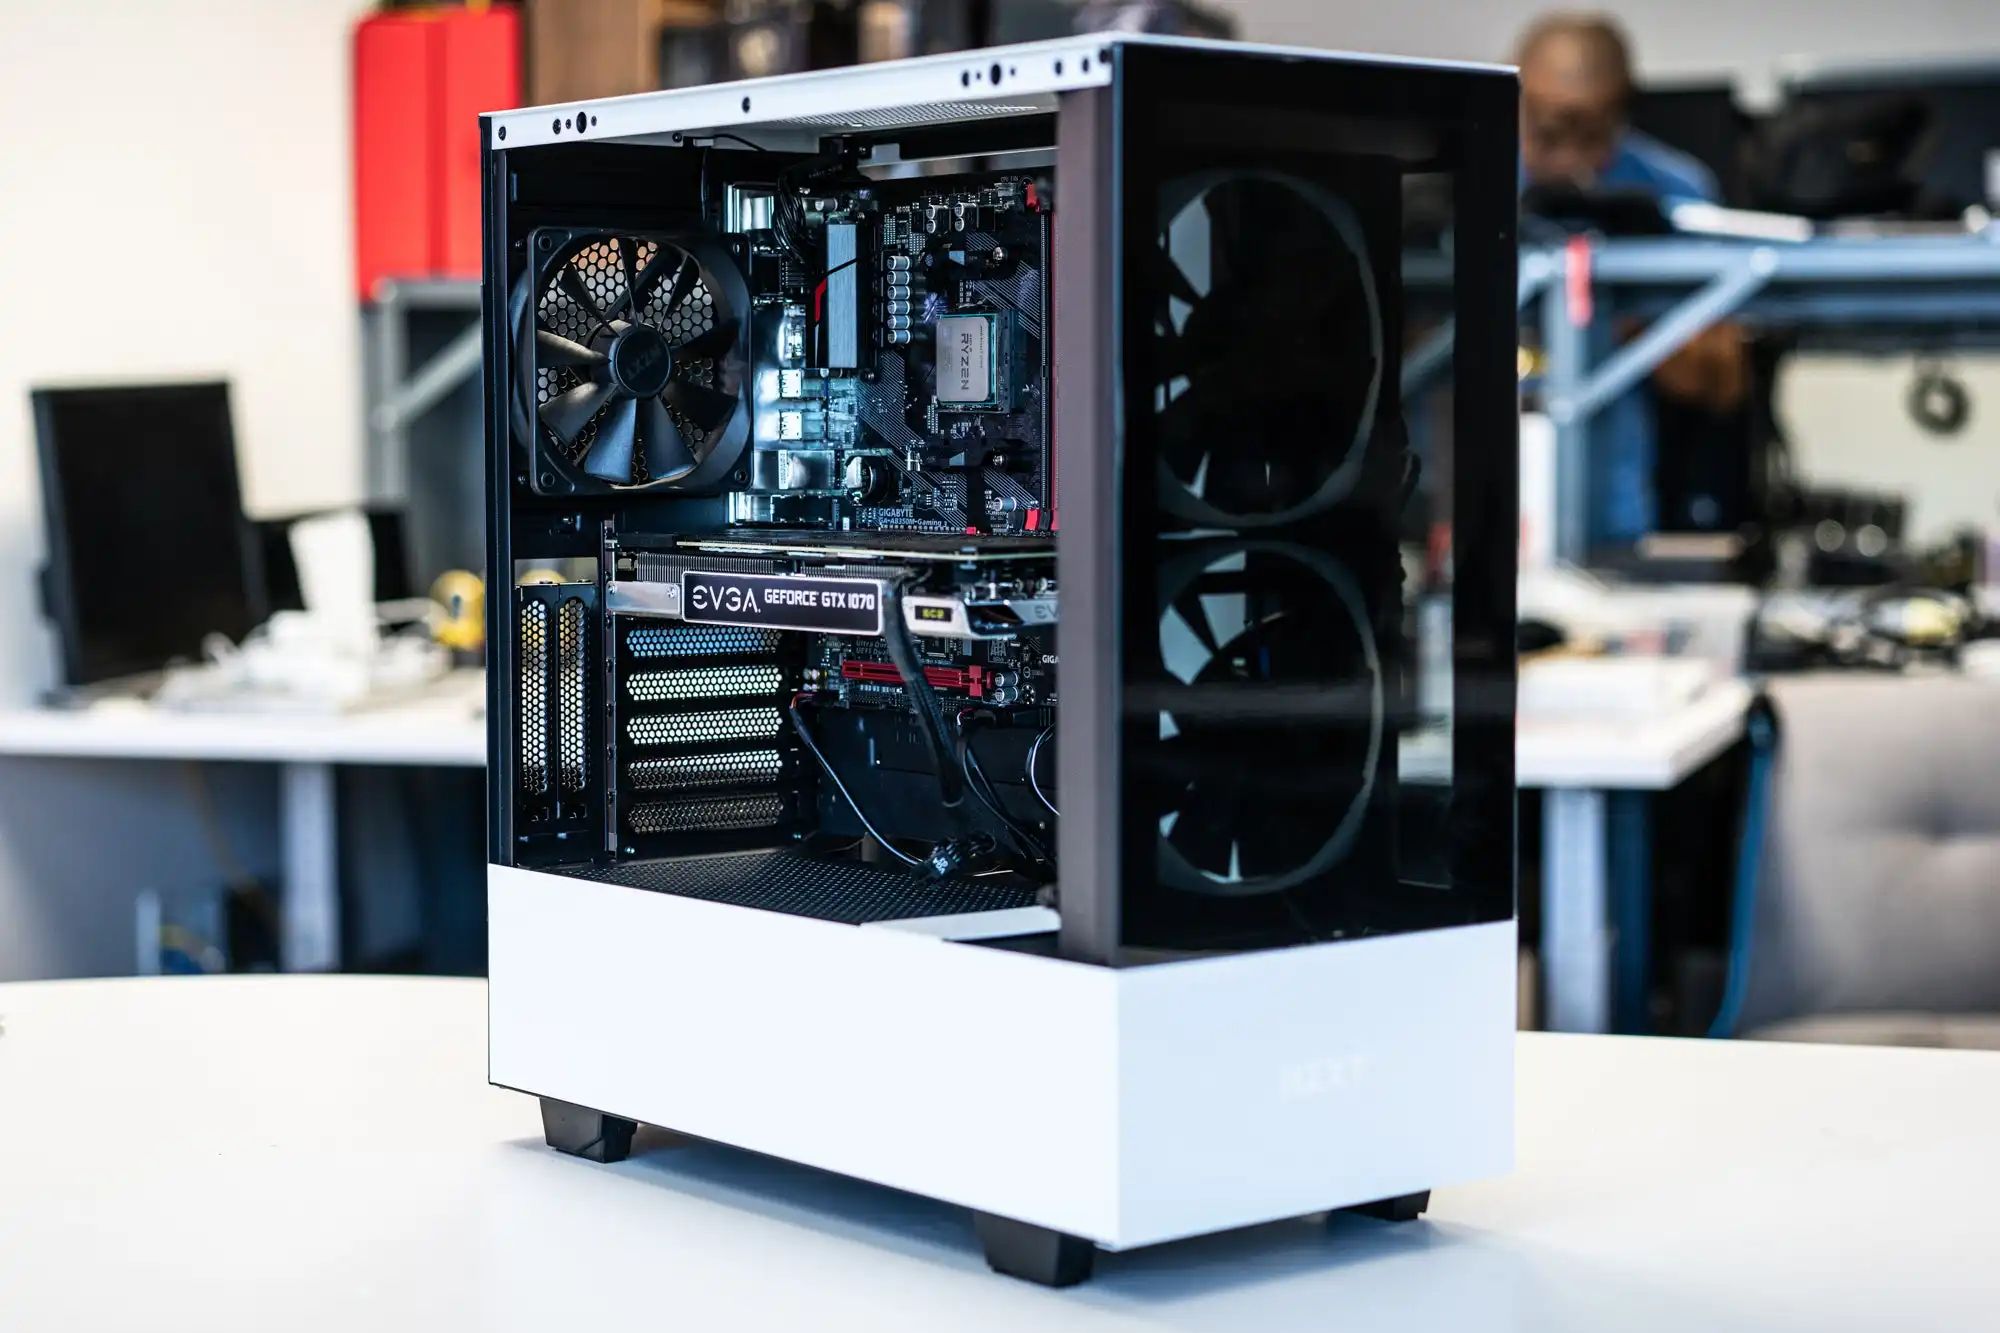
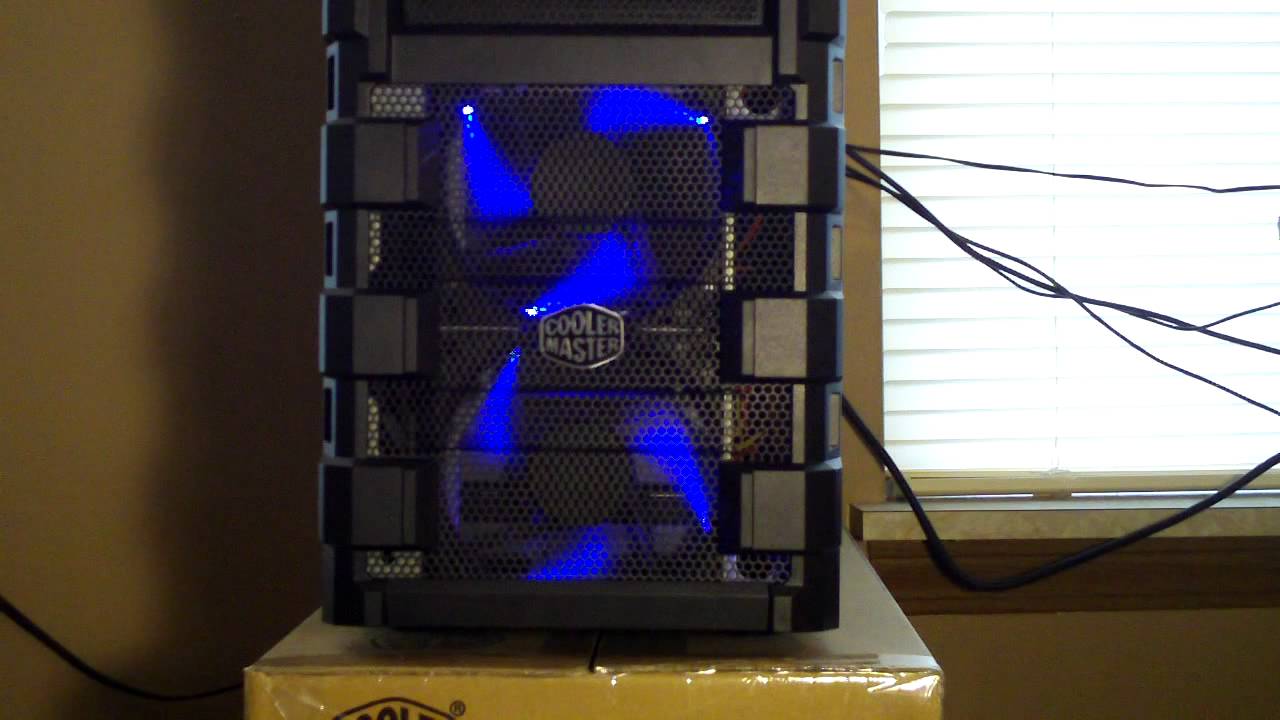
- Remove the side panel of your HAF 912 case. Most cases have screws securing the panel in place. Use the appropriate screwdriver to remove the screws, and gently slide the panel off. Set it aside in a safe location.
- Take a moment to familiarize yourself with the internal layout of your case. Identify the existing case fans, their locations, and the available mounting positions for additional fans. The HAF 912 typically has various mounting locations, such as the front, rear, and top panels.
- Inspect the mounting positions and ensure they are free from any obstructions. Remove any dust or debris using compressed air or a soft brush. Clearing these areas will ensure an unobstructed airflow path for the new case fan.
- Plan the placement of the third case fan. Consider factors such as the desired airflow direction, component cooling requirements, and cable management. The ideal location will depend on your specific needs and the available mounting options. Take your time to choose the most suitable position for optimal cooling efficiency.
- If necessary, remove any existing fan brackets or drive cages that may obstruct the installation of the new fan. This step may not be required if there is ample space and suitable mounting options available without removing any components.
Once you’ve completed these steps, your HAF 912 case will be ready for the installation of the third case fan. Taking the time to prepare your case ensures a smooth and hassle-free installation process, allowing for optimal cooling performance.
Step 2: Locate the Ideal Position for the Fan
Now that your HAF 912 case is prepared, it’s time to locate the ideal position for the third case fan. Choosing the right placement is crucial for efficient airflow and cooling. Follow these steps to identify the optimal location:
- Consider the intended purpose of the additional case fan. Are you looking to improve overall airflow within the case or target specific components, such as the CPU or graphics card? Understanding your cooling goals will help determine the best placement.
- Assess the current airflow within your case. Pay attention to areas that may have poor or limited airflow. These areas often include dead spots or places where components may generate more heat.
- Refer to the HAF 912 user manual or manufacturer’s specifications to identify the available mounting positions for case fans. It’s recommended to check the front, rear, and top panels as these are commonly used for fan installations.
- Determine the fan size that is compatible with the identified mounting position. Common sizes include 120mm, 140mm, and 200mm. Ensure the chosen fan size fits the available space and will not obstruct other components.
- Consider the orientation of the new fan. Will it be an intake or exhaust fan? Intake fans bring external air into the case, while exhaust fans expel hot air from inside. Optimal airflow is typically achieved by having a combination of intake and exhaust fans.
- Take into account cable management. Ensure that the chosen location allows for easy routing of fan cables without blocking other components or impeding airflow. Neatly securing and organizing the cables using zip ties or cable management clips will help maintain a clean and efficient setup.
By carefully considering these factors, you’ll be able to select the ideal position for your third case fan in the HAF 912. Remember, the goal is to improve airflow and cooling efficiency, so take your time to choose the most suitable placement for your needs.
Step 3: Mount the Fan in the Chosen Location
With the ideal position for the third case fan identified, it’s time to proceed with mounting the fan in the HAF 912. Follow these steps to ensure a secure and proper installation:
- Remove any dust filters, brackets, or drive cages that may obstruct the installation of the fan in the chosen location. This step may be necessary to create enough clearance and ensure a proper fit.
- Take the third case fan and align it with the mounting holes in the selected position. Ensure that the fan is oriented correctly, with the airflow direction matching your cooling goals (intake or exhaust).
- Using screws recommended for case fan installation, insert them through the mounting holes of the fan into the corresponding holes or fan brackets on the case. Use your screwdriver to tighten the screws, but be careful not to overtighten and risk damaging the fan or the case.
- Ensure that the fan is securely fastened in place, and there is no excessive movement or looseness. A stable installation is crucial for optimal cooling performance and to prevent any unwanted vibration noise.
- If the fan requires power via a 3-pin connector, make sure to route the fan cable to a nearby fan header on the motherboard. If it requires power via a 4-pin PWM connector, connect it to a PWM fan header for more precise speed control.
- Double-check the placement and orientation of the fan. Confirm that it aligns with your cooling goals and is not obstructing any other components or cables in the case.
By following these steps, you’ll successfully mount the third case fan in the HAF 912. The secure installation will ensure proper airflow and cooling, contributing to the overall stability and longevity of your system.
Step 4: Connect the Fan to the Motherboard
Once the third case fan is securely mounted in the HAF 912, it’s time to connect it to the motherboard. This step allows the fan to receive power and enables control over its speed. Follow these steps to ensure a proper connection:
- Locate a suitable fan header on your motherboard. Most motherboards have multiple fan headers labeled with “SYS_FAN” or similar designations. Choose a fan header that is convenient in terms of cable routing and accessibility.
- If the fan uses a 3-pin connector, connect it to the corresponding 3-pin fan header on the motherboard. Align the pins and gently push the connector onto the header until it is securely in place. Ensure that the locking mechanism engages to prevent accidental disconnection.
- If the fan utilizes a 4-pin PWM (Pulse Width Modulation) connector, connect it to a 4-pin PWM fan header on the motherboard. Again, align the pins and press the connector down until it clicks into place.
- Ensure that the fan cable is neatly routed and does not obstruct other components or impede airflow. Use zip ties or cable management clips to secure the cable along the case’s cable routing channels or other suitable locations.
- Turn on your computer and enter the BIOS settings. Depending on your motherboard’s manufacturer and model, the specific steps may vary. Look for options related to fan control and speed settings.
- Configure the fan settings according to your preferences. You may choose to enable automatic fan speed control (PWM) or set a fixed speed for the fan. Adjust the settings to achieve the desired balance between cooling performance and noise level.
- Save the changes and exit the BIOS. Your third case fan is now connected to the motherboard and ready to contribute to the overall cooling efficiency of your HAF 912.
Properly connecting the fan to the motherboard allows for control over its speed and ensures that it receives adequate power. This step helps optimize the cooling performance of your system and allows for a quieter operation.
Step 5: Secure the Fan Cables
After connecting the third case fan to the motherboard, it is important to secure the fan cables to ensure a tidy and organized system. Proper cable management not only improves the appearance of your build but also helps maintain optimal airflow and prevents cable interference. Follow these steps to secure the fan cables in the HAF 912:
- Start by identifying the fan cable coming from the third case fan. Locate the portion of the cable that extends beyond the fan connector.
- Use zip ties or cable management clips to gather and secure the excess cable length. Avoid pulling the cable too tight to prevent strain on the connector or motherboard header.
- Carefully route the fan cable along the designated cable routing channels or spaces within the HAF 912 case. This will help keep the cable out of the way of other components, ensuring a clutter-free environment.
- Make sure to avoid blocking any airflow paths or obstructing important connections such as the CPU cooler or GPU power cables.
- Check that the secured fan cable does not interfere with the movement or operation of any other components, such as CPU cooler fans or RAM modules.
- Take a final look at the cable routing to ensure that it appears neat and organized. Adjust the position of any cables if necessary.
By securing the fan cables in the HAF 912, you create a clean and well-organized system that allows for efficient airflow and easy maintenance. This step minimizes cable clutter, reduces potential cable tangles, and makes troubleshooting or future upgrades more convenient.
Step 6: Test Your New Fan
With the third case fan installed and its cables secured, it’s important to test the fan to ensure it is functioning properly. Testing the new fan will allow you to verify its speed, airflow, and noise levels. Follow these steps to test your new fan in the HAF 912:
- Power on your computer and enter the operating system. Wait for the system to fully boot up and stabilize.
- Download and install any necessary fan monitoring software or use the built-in monitoring tools provided by your operating system. This software will allow you to monitor the fan speed and adjust settings if needed.
- Launch the fan monitoring software and locate the third case fan in the list of detected fans. Verify that the fan is recognized and displaying the correct speed.
- Take note of the fan’s current speed and observe its performance. Ensure that it is operating smoothly and delivering the expected airflow according to its specifications.
- Monitor the noise level produced by the fan. It should be within acceptable limits and not generate any unusual or excessive noise. Excessive noise may indicate a problem with the fan or its installation.
- Consider making adjustments to the fan speed settings if desired. Depending on your preference and cooling requirements, you may want to fine-tune the speed using the fan monitoring software or BIOS settings.
- Perform a visual inspection of the fan to ensure that the blades are spinning freely and there are no visible obstructions or physical damage.
- Repeat the testing process periodically to monitor the fan’s performance over time. This will allow you to detect any changes or issues that may arise.
By conducting a thorough test of your new case fan, you can ensure that it is functioning optimally and contributing to the overall cooling efficiency of your HAF 912. Regular monitoring and maintenance of your fans will help keep your system running smoothly and prevent any potential cooling-related problems.
Conclusion
Congratulations! You have successfully installed a third case fan in your HAF 912, enhancing the cooling performance and airflow within your computer. By following the steps outlined in this guide, you prepared your case, located the ideal position for the fan, mounted it securely, connected it to the motherboard, secured the fan cables, and tested its functionality.
Adding an additional case fan provides several benefits, including improved cooling efficiency, lower temperatures for your components, and increased system stability. The HAF 912 is an excellent case choice with its ample space and airflow options, allowing for easy installation of additional fans.
Remember to regularly monitor the performance of your new case fan to ensure it continues to operate optimally. Keep an eye on its speed, airflow, and noise levels, and make any necessary adjustments to the fan settings as needed.
Proper cable management and regular cleaning of your HAF 912 case will help maintain the airflow paths, preventing dust build-up and obstructions that can reduce cooling efficiency over time.
By installing a third case fan in your HAF 912, you have taken a proactive step to improve the cooling capabilities of your system, providing a more stable and reliable computing experience. Enjoy the benefits of improved airflow and lower temperatures as you continue to use and upgrade your computer.
We hope this guide has been helpful in guiding you through the process of installing a third case fan in your HAF 912. If you have any questions or need further assistance, don’t hesitate to consult the manufacturer’s documentation or seek help from knowledgeable sources.
Happy computing and may your system stay cool and efficient!