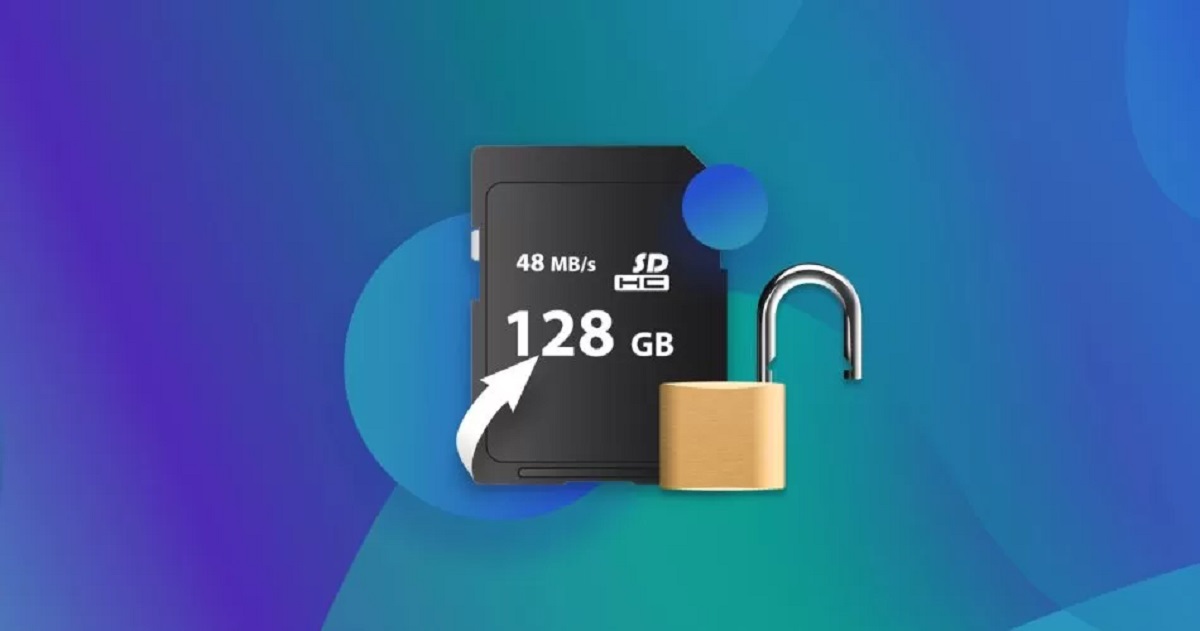
Introduction
Welcome to our guide on how to insert an SD card into a laptop. SD cards are popular removable storage devices that allow you to quickly and easily transfer files, photos, videos, and more between devices. Whether you want to expand your laptop’s storage capacity or simply transfer data, inserting an SD card is a simple and convenient solution.
In this step-by-step guide, we will walk you through the process of inserting an SD card into your laptop. We will cover everything from checking your laptop’s compatibility to safely ejecting the SD card. By the end of this guide, you will have all the information you need to confidently insert an SD card into your laptop.
Before we dive into the step-by-step process, it’s essential to note that the availability and location of the SD card slot may vary depending on the specific model and manufacturer of your laptop. However, the overall process remains similar across most laptops.
Now, let’s get started and learn how to insert an SD card into your laptop!
Step 1: Check your laptop compatibility
Before inserting an SD card into your laptop, it is crucial to ensure that your laptop is compatible with SD cards. Most modern laptops are equipped with built-in SD card slots, but older models and some budget laptops may not have this feature.
To check if your laptop has an SD card slot, first, locate the different ports and slots on your laptop’s sides or back. Look for a small rectangular slot that matches the size and shape of an SD card. The slot may have a label such as “SD” or “SDXC” next to it.
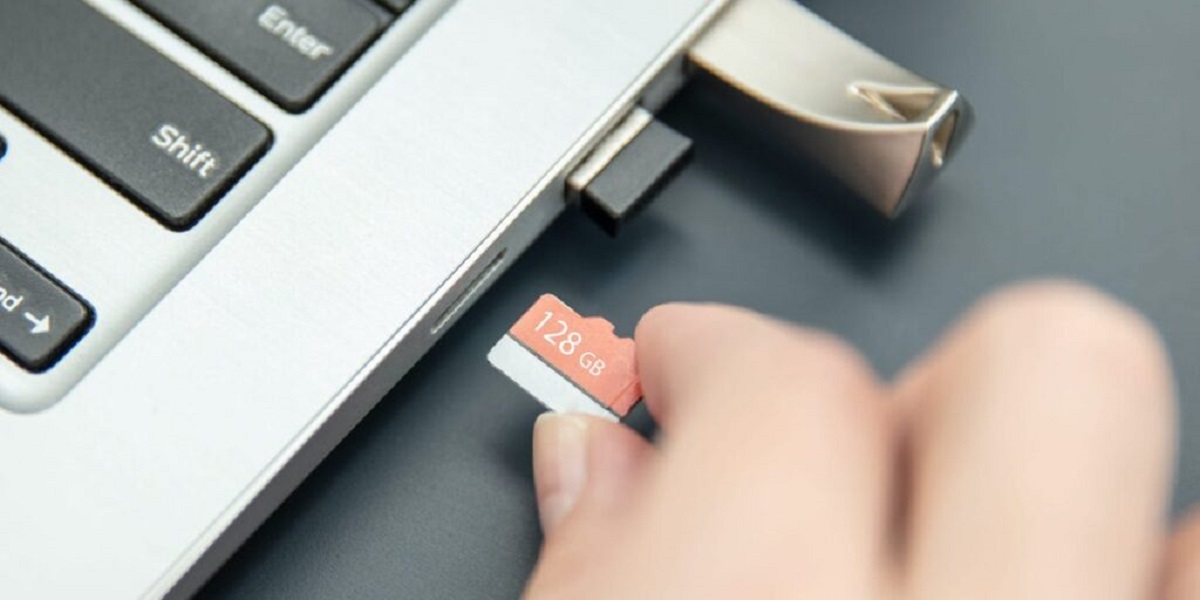
If you cannot find a dedicated SD card slot on your laptop, don’t worry! There are alternative solutions available. You can use an external SD card reader that connects to your laptop via USB. These card readers are inexpensive and offer the flexibility to insert SD cards into laptops without built-in slots.
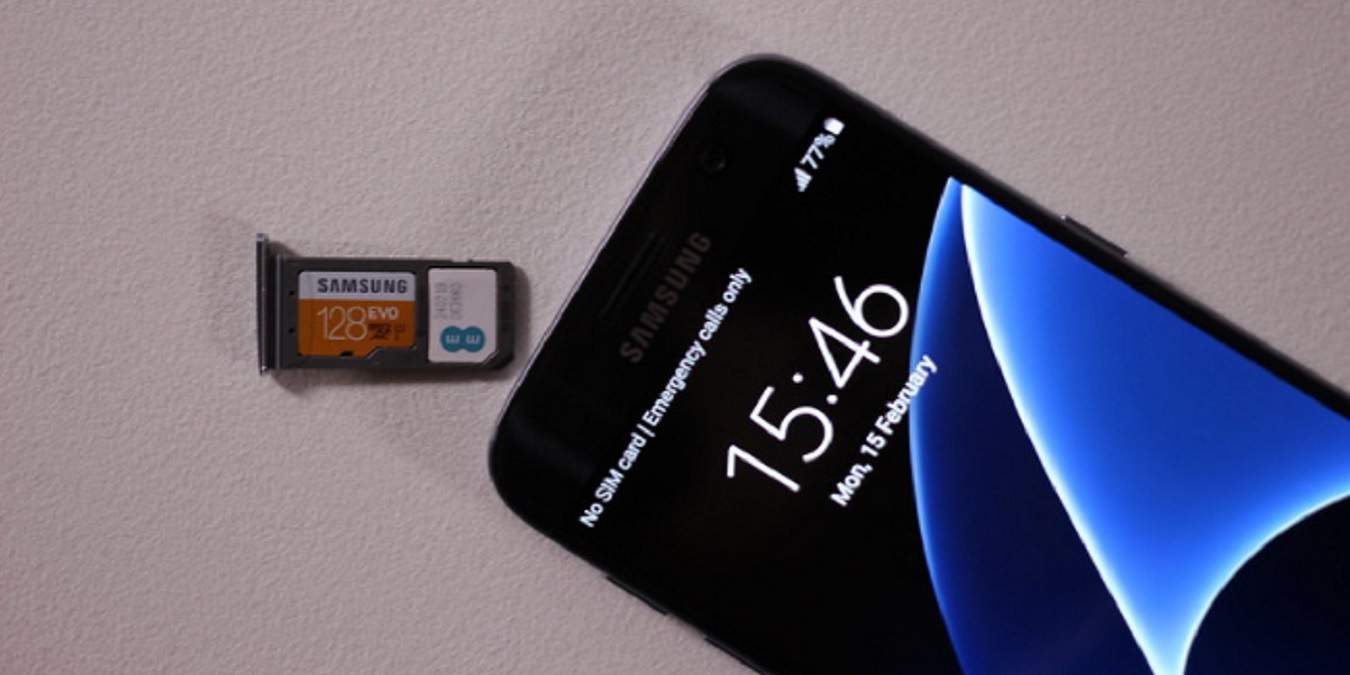
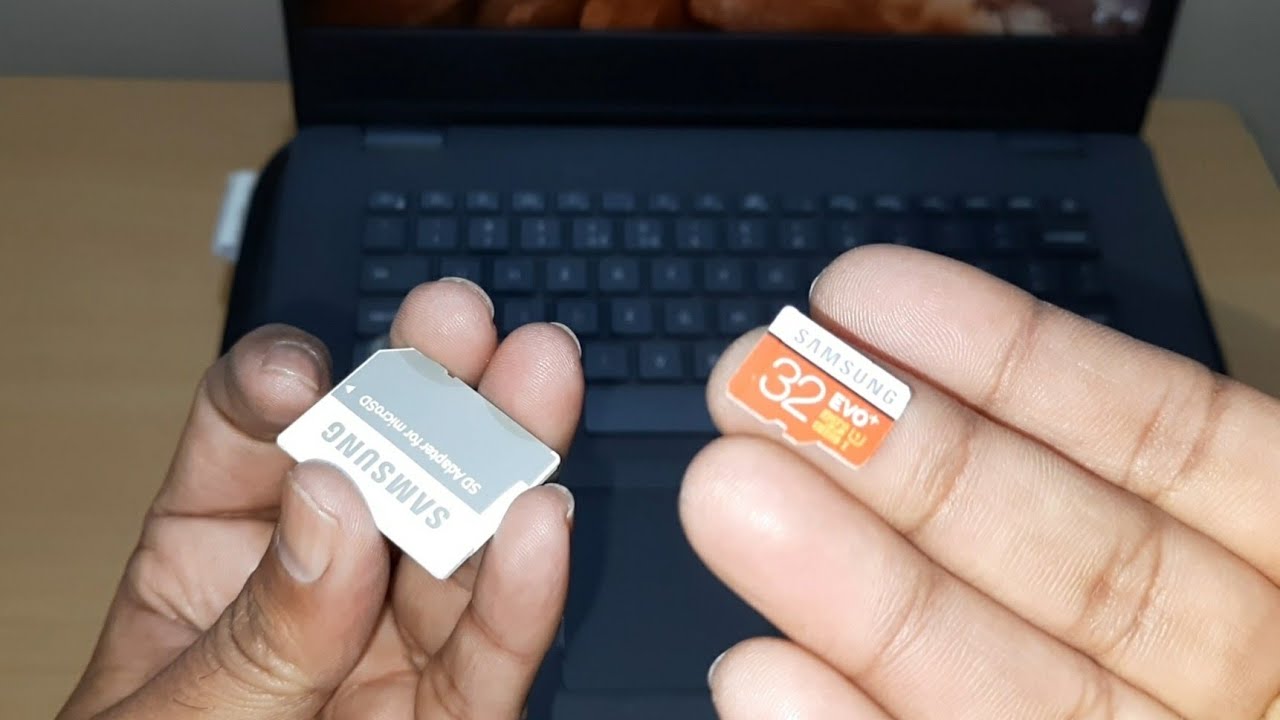
Another option is to use a microSD card along with a microSD to SD card adapter. MicroSD cards are smaller versions of SD cards commonly used in smartphones, cameras, and other devices. The adapter allows you to insert the microSD card into an SD card slot or card reader.
Once you have confirmed that your laptop is compatible with SD cards, you are ready to move on to the next step. In the following steps, we will guide you on preparing the SD card and inserting it into your laptop.
Step 2: Locate the SD card slot
Now that you have determined that your laptop is compatible with SD cards, the next step is to locate the SD card slot. The location of the SD card slot may vary depending on the brand and model of your laptop, but it is typically found on the side or front of the device.
Start by carefully examining the sides and front of your laptop. Look for a small rectangular slot that matches the size and shape of an SD card. The slot might be labeled as “SD,” “SDXC,” or simply have an icon representing an SD card.
If you are having trouble locating the SD card slot, refer to your laptop’s user manual or manufacturer’s website for more information. Many manufacturers provide detailed diagrams or instructions on how to find the SD card slot for their specific laptop models.
Alternatively, you can also do a quick online search by entering your laptop’s make and model along with the phrase “SD card slot location.” This may lead you to forums or support websites where other users have discussed or provided instructions on finding the SD card slot.
Once you have located the SD card slot, take note of its orientation. Most SD card slots are designed to accept cards in a specific way, often with the metal contacts facing downward. Familiarizing yourself with the slot’s orientation will make it easier to insert the SD card correctly in the next step.
With the SD card slot located and its orientation understood, you are now ready to move on to the next step: preparing the SD card for insertion into your laptop.
Step 3: Prepare the SD card
Before inserting the SD card into your laptop, it is essential to prepare the card properly. This involves a few simple steps to ensure that the card is in good condition and ready for use.
First, check the SD card for any physical damage or dirt. Inspect the card for scratches, bends, or other signs of damage. If you notice any damage, it is recommended to use a different SD card to avoid any potential issues with your laptop or data loss.
If the SD card looks fine, gently wipe it with a soft, lint-free cloth to remove any dust or dirt. This will help maintain a good connection when the card is inserted into the laptop. Avoid using harsh materials or cleaning agents as they may damage the card.
Additionally, it is a good practice to format the SD card before using it for the first time or if you are reusing an old one. Formatting erases all data on the card and prepares it for optimal performance. To format the SD card, you can use your laptop’s built-in formatting tool or a third-party software designed for SD card formatting.
Before formatting the card, make sure to backup any important data you may have on it, as formatting will erase all existing files. Once the backup is complete, insert the SD card into your laptop and open the formatting tool. Select the SD card from the list of available drives and follow the on-screen instructions to format it.
Once the SD card is formatted, you can proceed to the final step: inserting the SD card into your laptop.
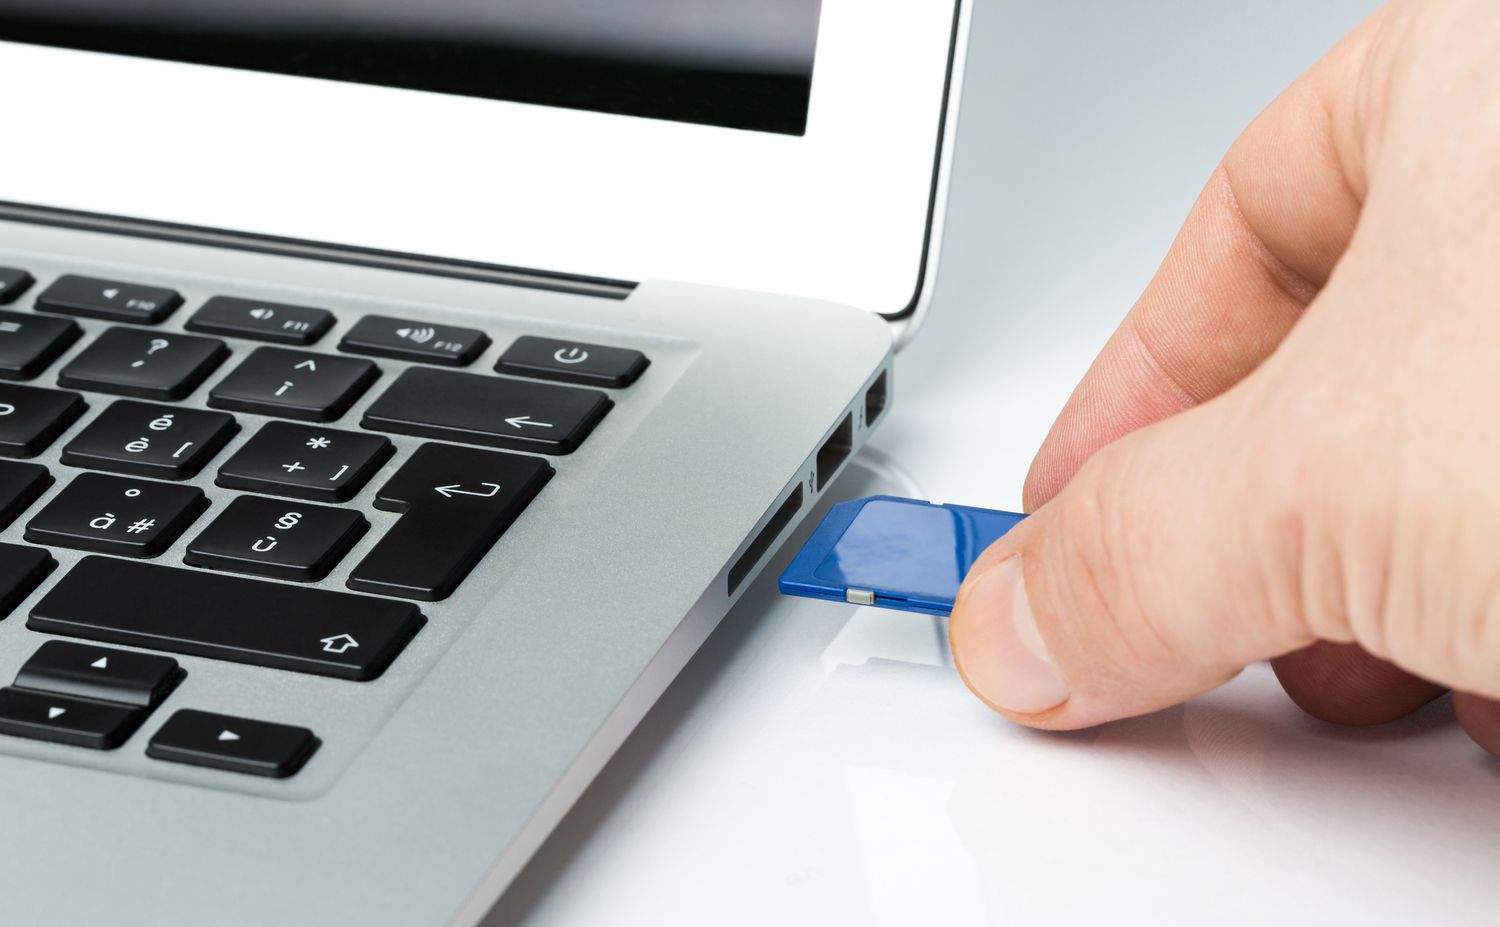
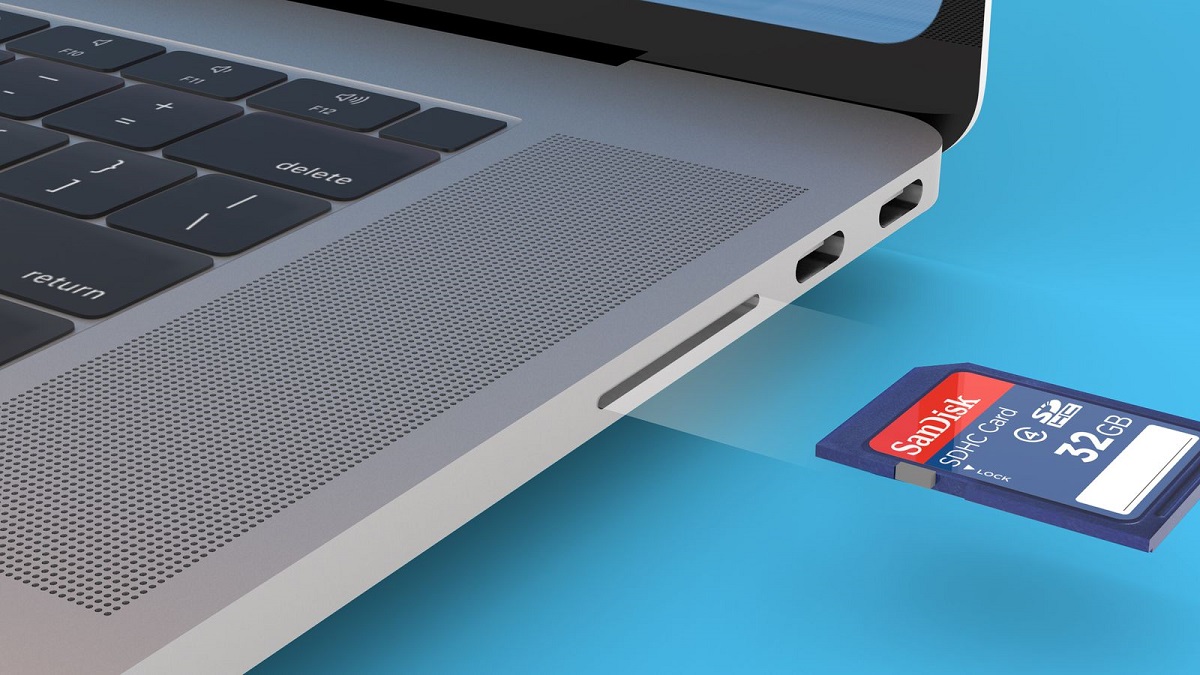
Step 4: Insert the SD card into the laptop
With your laptop’s compatibility checked, the SD card slot located, and the SD card prepared, it’s time to insert the SD card into your laptop.
Begin by ensuring your laptop is powered off or in sleep mode to prevent any data loss or damage. This step is crucial to avoid any potential issues when inserting or removing the SD card.
Take the SD card and hold it with the metal contacts facing down. Align the card with the orientation of the SD card slot that you identified in the previous step. Carefully insert the SD card into the slot, applying gentle pressure until it is fully inserted.
It’s important to note that you should never force the card into the slot. If you encounter any resistance, double-check the orientation and alignment of the card. Misalignment could damage the SD card or the slot itself.
Once the card is fully inserted, you should feel a slight click or resistance as it locks into place. This indicates that the SD card is securely inserted and will not accidentally dislodge while you are using your laptop.
Now, power on your laptop if it was off and wait for it to recognize the SD card. Depending on your operating system, you may see a notification or an automatic file explorer window pop up, indicating that the SD card has been successfully recognized.
You can now access the files, transfer data, or perform any desired operations with the inserted SD card.
Remember, when you are finished using the SD card, it’s important to safely eject it from your laptop to avoid data corruption or damage to the card. Let’s move on to the final step, where we will explain how to safely eject an SD card from your laptop.
Step 5: Eject the SD card safely
After using the SD card in your laptop, it is important to eject it safely to prevent any data loss or potential damage to the card. Safely ejecting the SD card ensures that any ongoing operations are completed, and the card can be safely removed from the laptop.
To safely eject the SD card, begin by closing any files or applications that are using or accessing the card. This ensures that all data has been saved and prevents any potential data corruption.
Next, locate the SD card icon on your computer’s taskbar or desktop. On Windows, you can find it in the system tray, near the clock. On Mac, you can find it on the desktop or in the Finder sidebar.
Once you have located the SD card icon, right-click (or control-click on Mac) on the icon. A context menu will appear with various options.
In the context menu, select the option to “Eject,” “Safely remove,” or a similar option related to ejecting or removing the SD card. This action will notify your laptop that you intend to remove the card and ensure that all pending operations are completed.
After selecting the eject option, wait for a moment until you receive confirmation or a notification that it is safe to remove the SD card. The notification might mention that the device can now be safely removed or that it has been ejected successfully.
Once you have received the confirmation, carefully remove the SD card from the slot. Gently pull it out, making sure not to apply excessive force or bend the card. If the card does not come out easily, double-check that you have properly ejected it and try again.
Finally, store the SD card in a safe place or insert it into a protective case to prevent damage or loss. This will ensure that the card remains in good condition and ready for future use.
Congratulations! You have successfully learned how to insert an SD card into your laptop and safely remove it. Now you can enjoy the benefits of expanded storage and easy data transfer with your SD card and laptop.
Conclusion
Inserting an SD card into your laptop is a straightforward process that allows you to expand storage capacity, transfer files, and conveniently access data on the go. By following the steps outlined in this guide, you can confidently insert and safely remove an SD card from your laptop.
Remember to check your laptop’s compatibility and locate the SD card slot before proceeding. Prepare the SD card by checking for physical damage, cleaning it, and formatting it if necessary. Once the SD card is ready, insert it into the laptop, ensuring proper alignment and gentle pressure. Power on your laptop and enjoy seamless access to your files and data stored on the SD card.
When you are finished using the SD card, always remember to safely eject it from your laptop. This ensures that any ongoing operations are completed and prevents data corruption or damage to the card. Safely ejecting the SD card involves closing any files or applications using the card, selecting the eject option from the context menu, and waiting for confirmation before removing the card.
By following these steps, you can make the best use of your laptop’s SD card slot or an external SD card reader. SD cards provide a convenient solution for expanding storage, transferring files between devices, and accessing data on the go.
Now that you have learned how to insert an SD card into your laptop and safely remove it, you can take full advantage of this versatile and portable storage device. Expand your laptop’s storage capacity, transfer files effortlessly, and keep important data readily accessible with the use of SD cards.
We hope this guide has been helpful in simplifying the process of inserting an SD card into your laptop. Enjoy the benefits of expanded storage and easy data transfer as you continue to make the most of your devices!