Introduction:
SD cards, short for Secure Digital cards, are portable storage devices commonly used to store and transfer data such as photos, videos, and documents. With their compact size and large storage capacities, SD cards have become popular for use in various devices, including cameras, smartphones, and tablets.
If you’re wondering how to put an SD card in a computer, you’ve come to the right place. In this article, we’ll guide you through the step-by-step process of inserting an SD card into a computer. Whether you’re looking to transfer files, access data, or simply expand your computer’s storage, knowing how to properly insert an SD card is essential.
Before we dive into the process, it’s important to note that not all computers have built-in SD card slots. Older models may require external card readers or adapters to connect an SD card. However, many modern computers, especially laptops, are equipped with dedicated SD card slots for convenient access.
Now that we have set the stage, let’s move on to the step-by-step instructions for putting an SD card in a computer. Whether you’re a tech-savvy individual or a novice user, our guide will walk you through the process and make it easy to follow.
Step 1: Check for an SD card slot
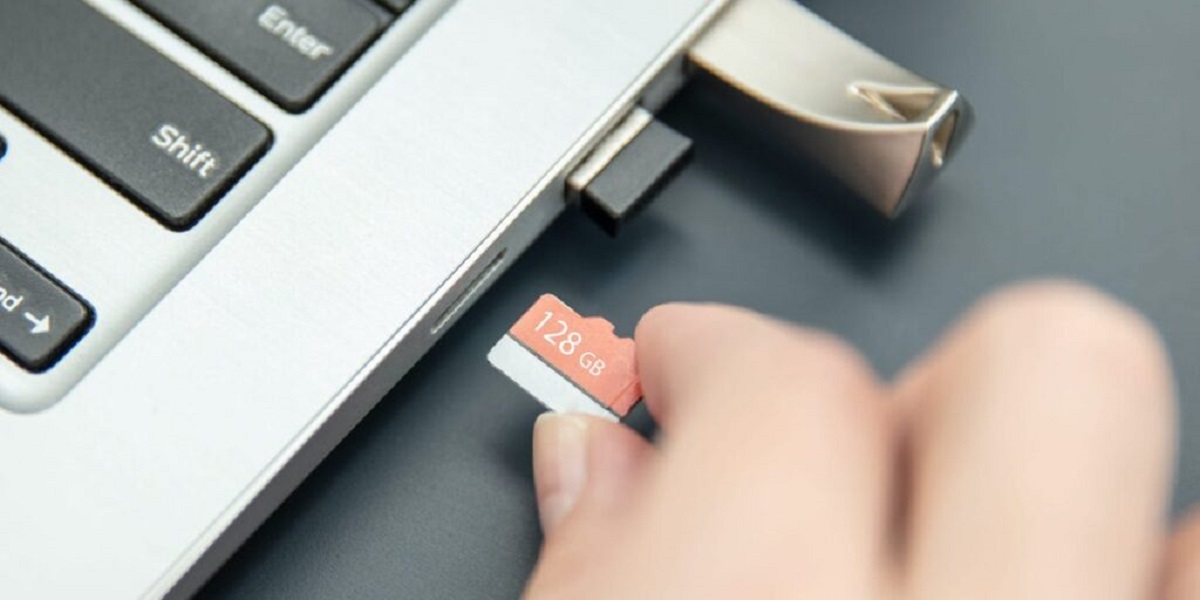
The first step in putting an SD card in a computer is to check whether your computer has an SD card slot. This is where you’ll insert the SD card for data transfer or storage. Most laptops and some desktop computers have built-in SD card slots for easy access.
Start by examining the sides or front of your computer. Look for a small rectangular slot that is likely labeled “SD.” It’s usually located next to other ports like USB or headphone jacks. The slot may also have an icon or a small drawing of an SD card to indicate its purpose.
If you’re using a desktop computer, the SD card slot may be located on the front or back of the computer tower. On some computers, it may be concealed behind a small cover or flap. If you can’t find an obvious slot, consult your computer’s user manual or visit the manufacturer’s website for specific information about your model.
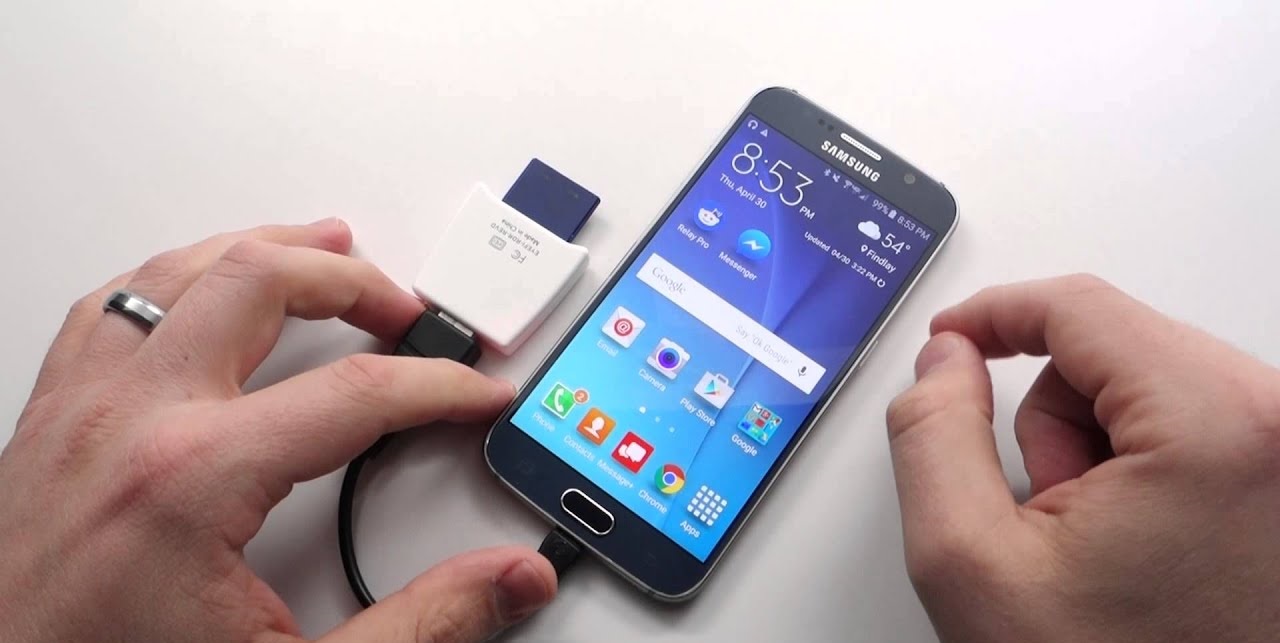
If your computer doesn’t have a built-in SD card slot, don’t worry. You can still use an external SD card reader or an adapter to connect the SD card to your computer. External card readers can be connected to your computer via USB ports, making it easy to transfer files from the SD card.
Once you’ve confirmed that your computer has an SD card slot or you have an external card reader, you’re ready to proceed to the next step. Make sure to power off your computer before attempting to insert the SD card, as this will help prevent any data loss or damage to the card or the computer itself.
Step 2: Power off the computer
Before inserting the SD card into your computer, it’s essential to power off the computer. This step is crucial for maintaining the integrity of the data on the SD card and preventing any potential damage to the card or the computer itself.
To power off your computer, locate the “Power” button, typically found on the front or top of your computer tower or on the keyboard for laptops. Press and hold the “Power” button until the computer shuts down completely. It’s important to wait a few moments to ensure that the computer has fully powered off before proceeding to the next step.
Shutting down the computer allows the system to close all active processes and applications, ensuring that no files are being accessed or transferred when you insert the SD card. This precautionary measure minimizes the risk of data corruption or loss.
It is also advisable to unplug any cables or accessories connected to the computer, such as external monitors or printers. This will prevent any accidental interference when inserting the SD card and reduce the risk of damage to the port or the card.
Once you have powered off your computer and disconnected any external devices, you’re ready to continue with the next step of inserting the SD card. Ensuring that the computer is powered off provides a safe environment for the SD card insertion process.
Step 3: Locate the SD card slot
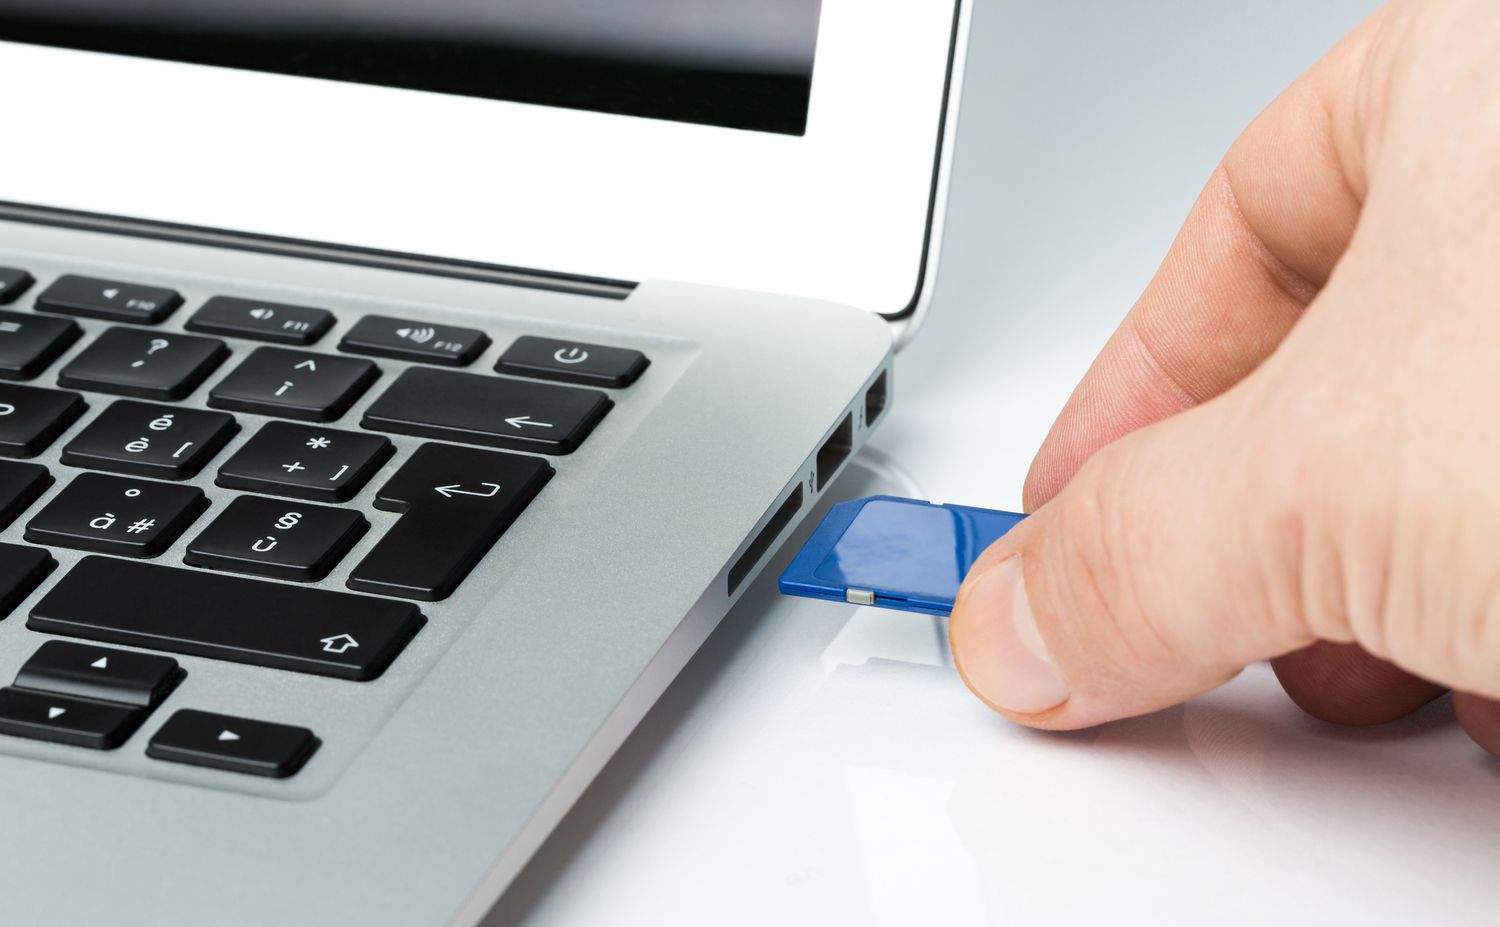
After powering off your computer, the next step is to locate the SD card slot. The location of the SD card slot will vary depending on the type of computer you are using, whether it’s a desktop or a laptop.
If you are using a laptop, the SD card slot is usually located on the side of the device. It may be positioned towards the front or back edge, or even on the right or left side. Look for a small rectangular slot with a label that indicates “SD” or an icon resembling an SD card.
On some laptops, the SD card slot may be hidden behind a protective cover or flap. Simply push the cover gently to reveal the slot. The cover may also have an icon or a label indicating its purpose.
For desktop computers, the SD card slot is often located on the front or top of the computer tower. It may be positioned alongside other ports like USB or headphone jacks. Look for a rectangular opening labeled “SD” or a small graphic representation of an SD card.
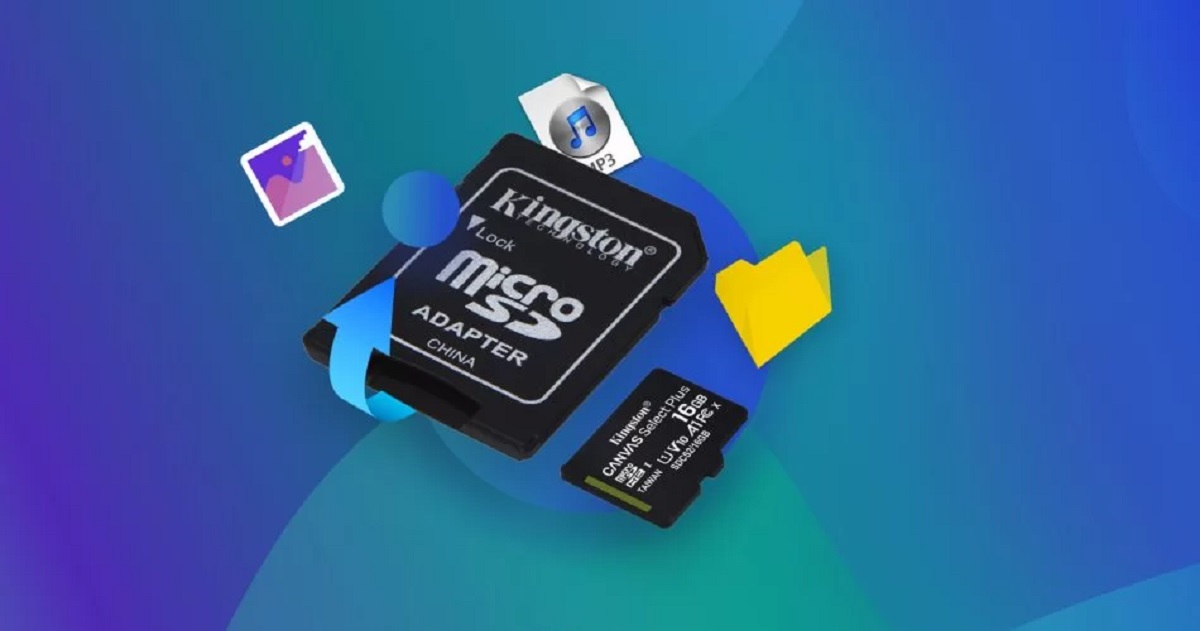
If you are unable to find the SD card slot, refer to your computer’s manual or consult the manufacturer’s website for specific instructions. Some older computers may require the use of an external SD card reader or adapter, which can be connected to a USB port.
Once you have located the SD card slot, proceed to the next step to insert the SD card securely into the slot. It’s important to handle the SD card with care and avoid touching the gold contacts to prevent any potential damage or data corruption.
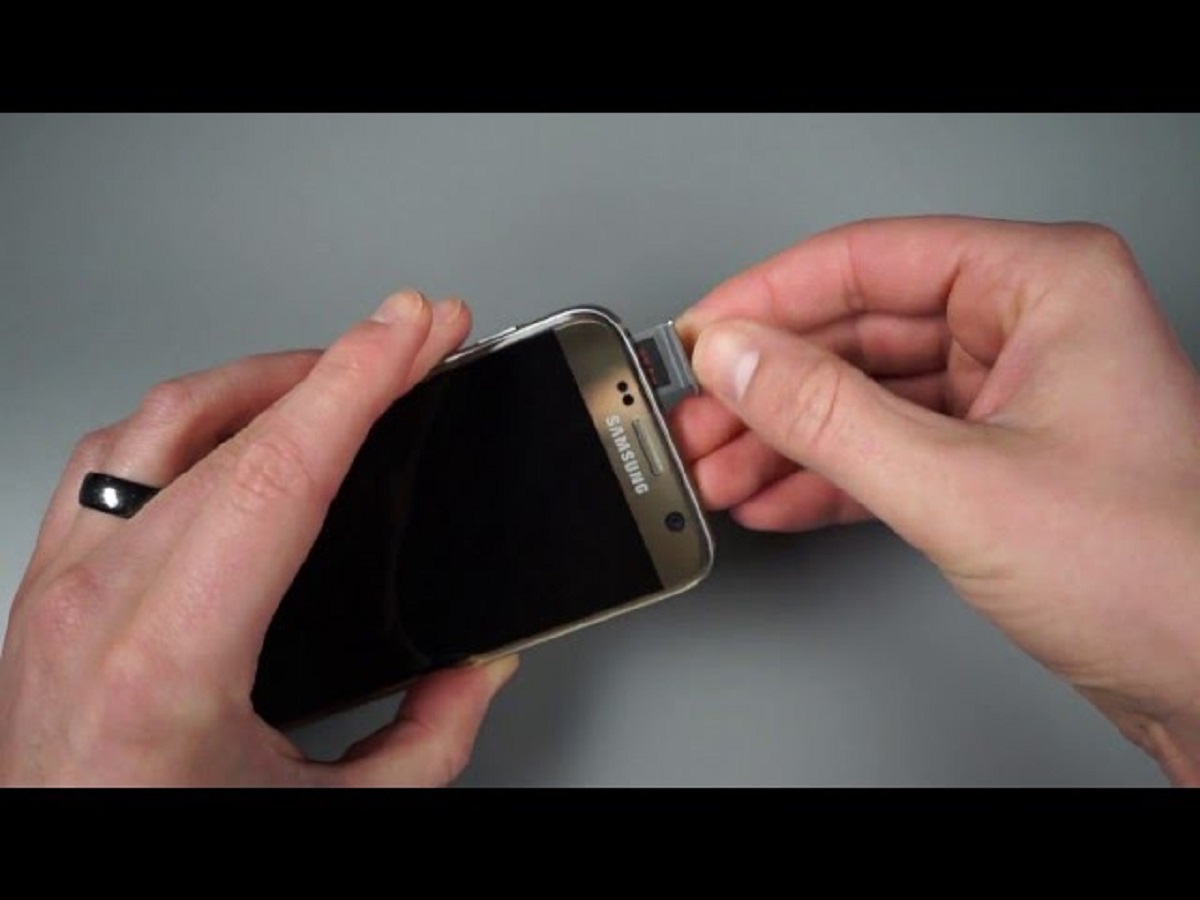
Step 4: Insert the SD card
With the SD card slot located, it’s now time to insert the SD card into the computer. Follow these steps to ensure a secure and proper insertion:
- Gently hold the SD card with your fingers, making sure to avoid touching the gold contacts on the bottom side of the card.
- Align the SD card’s notched corner with the corresponding corner of the SD card slot. This ensures that the card is inserted in the correct orientation.
- Gently slide the SD card into the slot, applying gentle pressure until it is fully inserted.
- Once inserted, you may feel a slight click or resistance, indicating that the card is securely in place.
- If you are using an external card reader or adapter, follow the manufacturer’s instructions to insert the SD card into the device, then connect the reader or adapter to your computer’s USB port.
It’s important to note that the SD card should be inserted smoothly, without forcing it or using excessive pressure. If you encounter any resistance or difficulty during the insertion process, double-check the card’s orientation and make sure it is properly aligned with the slot.
Never attempt to insert or remove an SD card while the computer is powered on or in use. Doing so can damage the card, the slot, or even the computer itself.
Once the SD card is securely inserted, move on to the next step to power on your computer and access the files stored on the card.
Step 5: Power on the computer
After successfully inserting the SD card into the slot, it’s time to power on your computer. Follow these steps to ensure a safe and proper power-on process:
- Before powering on the computer, make sure the SD card is inserted securely in its slot. Check that it is not protruding or loose.
- Connect the power cable to the computer and then plug it into a power outlet.
- Press the power button on your computer to turn it on.
- As the computer boots up, it will detect the presence of the SD card. The operating system will automatically recognize the SD card and assign it a drive letter.
- Once your computer has fully started up, you can access the files on the SD card. The SD card should now appear as a new drive in the operating system’s file explorer or desktop.
It’s important to remember that the time it takes for the computer to recognize the SD card may vary depending on its speed and the amount of data stored on the card.
If the SD card does not appear as a new drive or is not recognized by your computer, try removing and reinserting the card. Make sure it is fully inserted and properly aligned in the slot. If the issue persists, check your computer’s device manager or settings to ensure that the SD card slot or external card reader is enabled and functioning correctly.
Now that your computer is powered on and the SD card is recognized, you can proceed to access the files and data stored on the card. Remember to safely eject the SD card when you’re finished using it to prevent data corruption or loss.
Step 6: Access the SD card files
Once your computer has powered on and recognized the SD card, it’s time to access the files stored on the card. Follow these steps to access and manage the SD card files:
- Open the file explorer or navigate to the desktop on your computer.
- Locate the newly recognized SD card drive. It will be labeled with a drive letter, such as “D:” or “E:”, followed by the name of the SD card.
- Double-click on the SD card drive to open it.
- Inside the SD card drive, you will see all the files and folders stored on the SD card. You can navigate through the folders just like you would with any other storage device.
- To open a file, simply double-click on it. Depending on the file type and the software installed on your computer, the file will open in the appropriate application.
- You can also copy, move, rename, or delete files and folders on the SD card, just like you would with files on your computer’s internal storage.
- Remember to safely eject the SD card when you’re finished using it. To do this, right-click on the SD card drive and select “Eject” or “Safely Remove” to ensure that all data is written to the card and no data loss occurs.
It’s crucial to handle the SD card and its files with care to avoid any accidental deletion or corruption. Make sure to back up important data from the SD card regularly to prevent any potential loss.
If you encounter any issues while accessing or managing the files on the SD card, ensure that you have the necessary software or applications installed on your computer to open the specific file types.
With these simple steps, you can easily access and manage the files stored on your SD card, allowing you to transfer, view, or edit your data conveniently.
Conclusion:
Putting an SD card in a computer is a straightforward process that allows you to expand storage, transfer files, and access data conveniently. By following the steps outlined in this guide, you can safely and successfully insert an SD card into your computer.
Remember to check for an SD card slot on your computer, power off the computer before insertion, locate the SD card slot, insert the SD card securely, power on the computer, and access the files stored on the SD card.
If your computer doesn’t have a built-in SD card slot, you can always use an external card reader or adapter to connect the SD card to your computer’s USB port.
Once the SD card is inserted and recognized, be sure to handle it with care, avoid touching the gold contacts, and safely eject the card before removing it from the computer.
Whether you’re a professional photographer, a casual user, or someone looking to expand their computer’s storage capacity, knowing how to put an SD card in a computer is a valuable skill. It allows you to take advantage of the versatility and convenience that SD cards offer.
Now that you have a better understanding of the process, go ahead and confidently insert your SD card into your computer to enhance your data storage and transfer capabilities!