Introduction
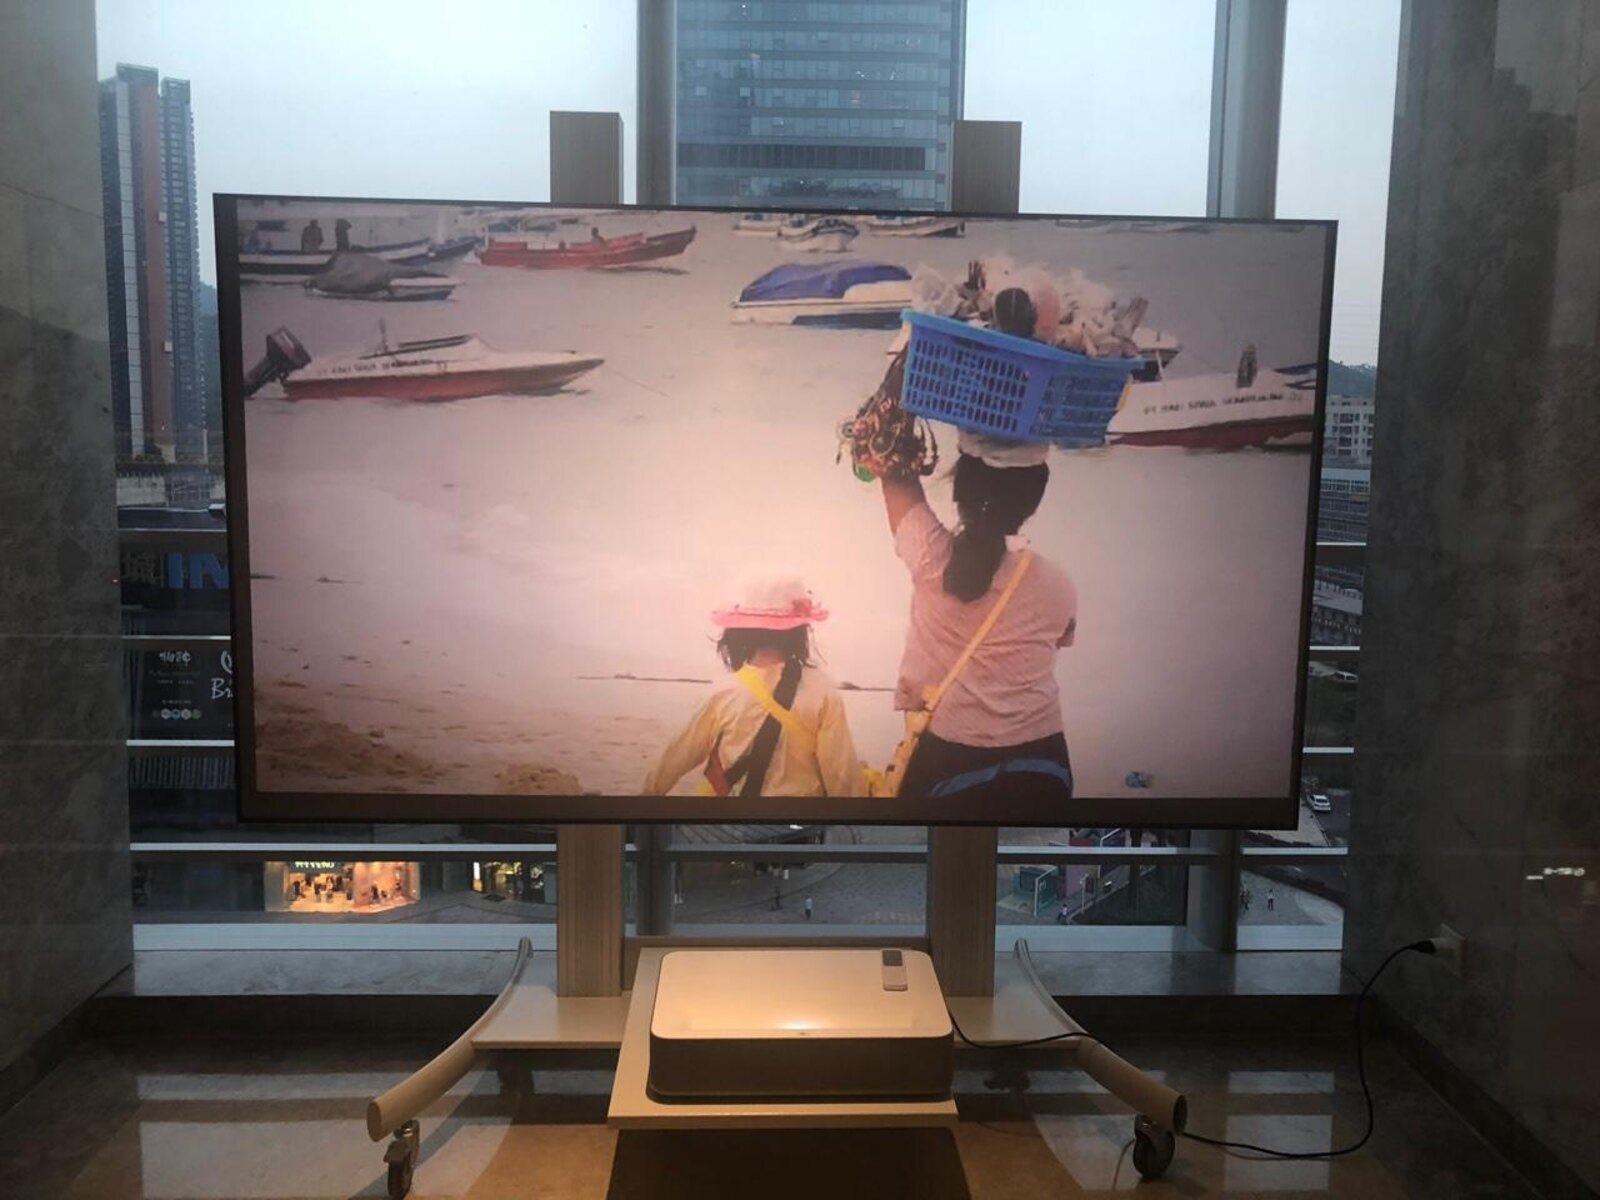
When it comes to enjoying movies, presentations, or any form of multimedia on a projector, having optimal brightness is crucial. The brightness of a projector directly affects the clarity, vibrancy, and overall viewing experience. If you find that your projector’s brightness is not up to par, there are several steps you can take to enhance it and make your content shine.
In this article, we will explore various methods to increase the brightness of your projector. By understanding the factors that affect brightness and implementing the right techniques, you can optimize your projector’s performance and enjoy a more immersive viewing experience.
Before diving into the solutions, it’s important to note that different projectors have different maximum brightness levels. So, while these tips will help you increase brightness within the projector’s limitations, they may not magically turn a low brightness projector into a high brightness one.
Now, without further ado, let’s explore the fascinating world of projector brightness and discover how we can make those images pop on the screen!
Understanding Projector Brightness
Before we delve into the methods to increase projector brightness, it’s important to have a basic understanding of what brightness actually means in the context of projectors. Projector brightness is measured in lumens, which refers to the amount of light output produced by the projector. The higher the lumens, the brighter the projected image will be.
Projector brightness plays a crucial role in the overall viewing experience. It determines how well images and videos are displayed on the screen, especially in well-lit environments. Insufficient brightness can result in washed-out colors, lack of clarity, and reduced visibility.
It’s important to consider the intended use of the projector when deciding the desired brightness level. For example, if you plan to use the projector mainly in a dimly lit room for movies or gaming, a lower brightness level might suffice. On the other hand, if you intend to use the projector in brightly lit environments, such as conference rooms or classrooms, a higher brightness level would be necessary to combat ambient light.
It’s worth noting that projector brightness is not the only factor that determines image quality. Contrast ratio, resolution, and color accuracy also have a significant impact. However, brightness is often the most noticeable aspect and directly affects the overall visual experience.
Projectors with higher brightness capabilities tend to come at a higher price point. Therefore, it’s important to strike a balance between your budget and the level of brightness required for your specific needs.
Now that we have a clearer understanding of projector brightness, let’s explore the factors that can affect it and how we can overcome any limitations to achieve optimal brightness in the next section.
Factors That Affect Projector Brightness
Several factors can impact the overall brightness performance of a projector. Understanding these factors will help you identify any potential issues and determine the best approach to increase brightness. Let’s take a closer look at some of the key factors:
- Light Source: The type of light source used in the projector can significantly affect its brightness. Traditional projectors use lamps, which gradually lose brightness over time as they age. LED and laser projectors, on the other hand, tend to maintain their brightness levels for a longer duration.
- Projection Surface: The surface on which the image is projected also plays a role in brightness. A smooth, white surface will reflect more light and result in a brighter image. If you’re using a textured or colored surface, it may absorb some light and reduce brightness.
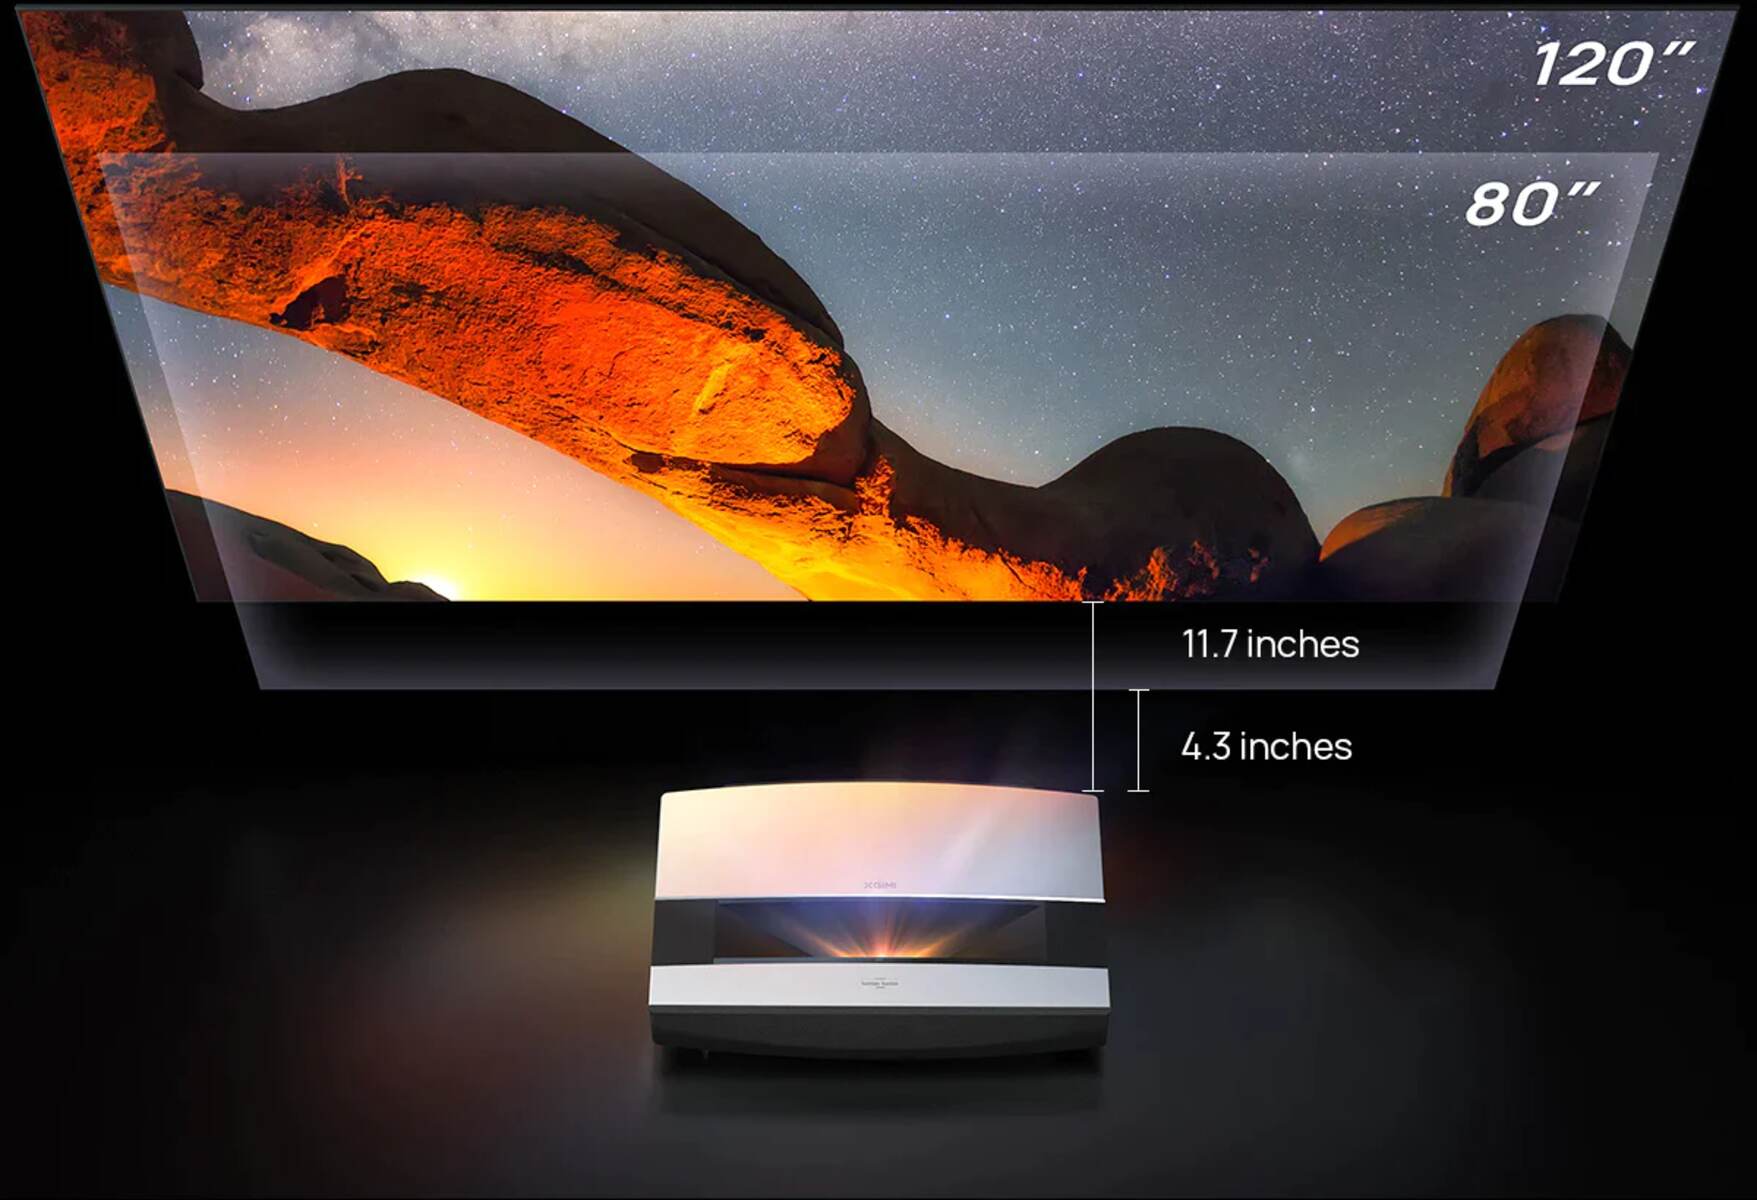
- Projection Distance: The distance between the projector and the screen affects the brightness level. The further the projector is from the screen, the dimmer the image will appear. Conversely, placing the projector closer to the screen can enhance brightness.
- Ambient Light: The amount of ambient light in the room can significantly impact the perceived brightness of the projected image. Bright lighting conditions, such as sunlight or overhead lights, can wash out the image and make it appear less bright. Consider managing ambient light to ensure optimal brightness.
- Projector Settings: Adjusting the brightness settings on the projector itself can also make a noticeable difference. Most projectors come with adjustable brightness controls, allowing you to increase or decrease the brightness as needed. Experimenting with these settings can help you find the optimal balance for your viewing environment.
By considering these factors, you can effectively address any limitations and make the necessary adjustments to enhance projector brightness. In the next sections, we will explore specific methods to increase brightness and ensure a captivating viewing experience.
Cleaning the Projector Lens
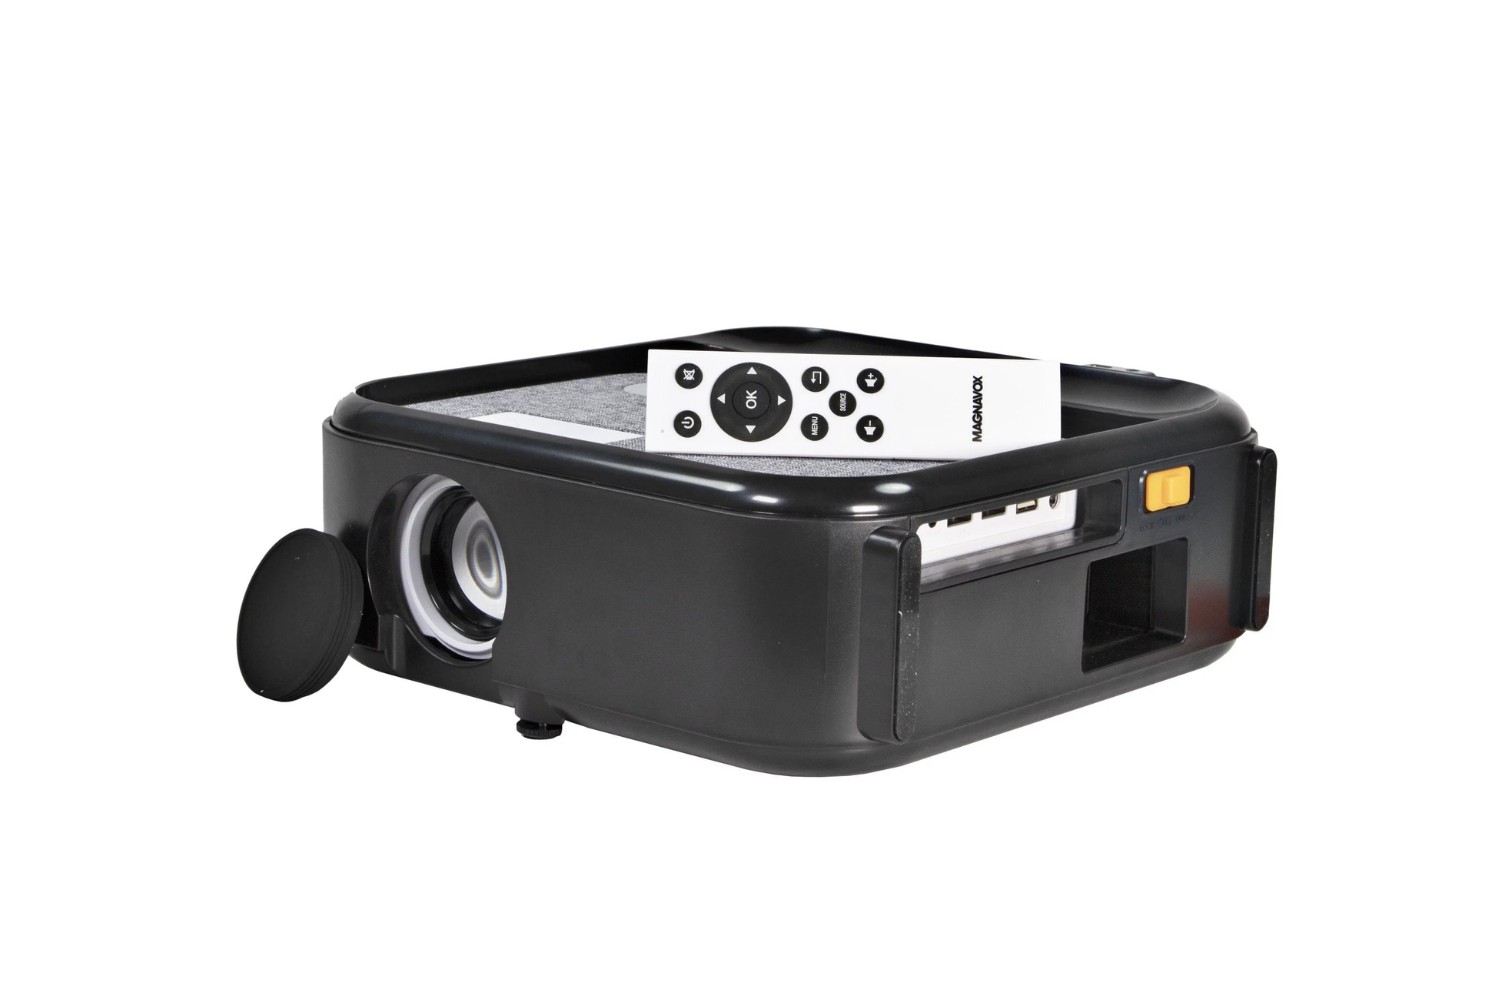
One common reason for reduced projector brightness is a dirty lens. Over time, dust, fingerprints, and smudges can accumulate on the lens surface, obstructing the projection path and reducing the amount of light reaching the screen. Cleaning the projector lens can significantly improve brightness and image clarity. Here’s how you can do it:
- Gather the necessary supplies: Before you start cleaning, gather a microfiber cloth, lens cleaning solution (specifically designed for optics), and a blower brush to remove any loose debris.
- Turn off the projector: Ensure that the projector is turned off and unplugged before you begin the cleaning process. This will prevent any accidental damage and keep you safe.
- Blow away loose debris: Use the blower brush to gently remove any loose dust or dirt particles from the lens surface. Be careful not to apply excessive force, as it may scratch the lens.
- Apply lens cleaning solution: Dampen the microfiber cloth with the lens cleaning solution. Avoid directly spraying the solution onto the lens to prevent any liquid damage. Gently wipe the lens in a circular motion, starting from the center and moving outward. Repeat this process until the lens is clean and free of smudges or fingerprints.
- Dry the lens: After cleaning, use a dry portion of the microfiber cloth to remove any excess moisture from the lens. Ensure that the lens is completely dry before turning on the projector.
- Reassemble and test: Once the lens is clean and dry, carefully reattach any lens covers or protective caps that were removed. Plug in the projector, turn it on, and check if the brightness has improved. If needed, you can make further adjustments to the brightness settings as mentioned earlier.
Regularly cleaning the projector lens will not only improve brightness but also enhance overall image quality. Aim to clean the lens periodically or whenever you notice a reduction in brightness or clarity. By taking this simple step, you can ensure that your projector delivers optimal performance and a captivating visual experience.
Adjusting the Projector’s Brightness Settings
One of the simplest ways to increase projector brightness is by adjusting the brightness settings directly on the projector. Most projectors come with built-in settings that allow you to customize the brightness level according to your preference and viewing environment. Here’s how you can adjust the brightness settings:
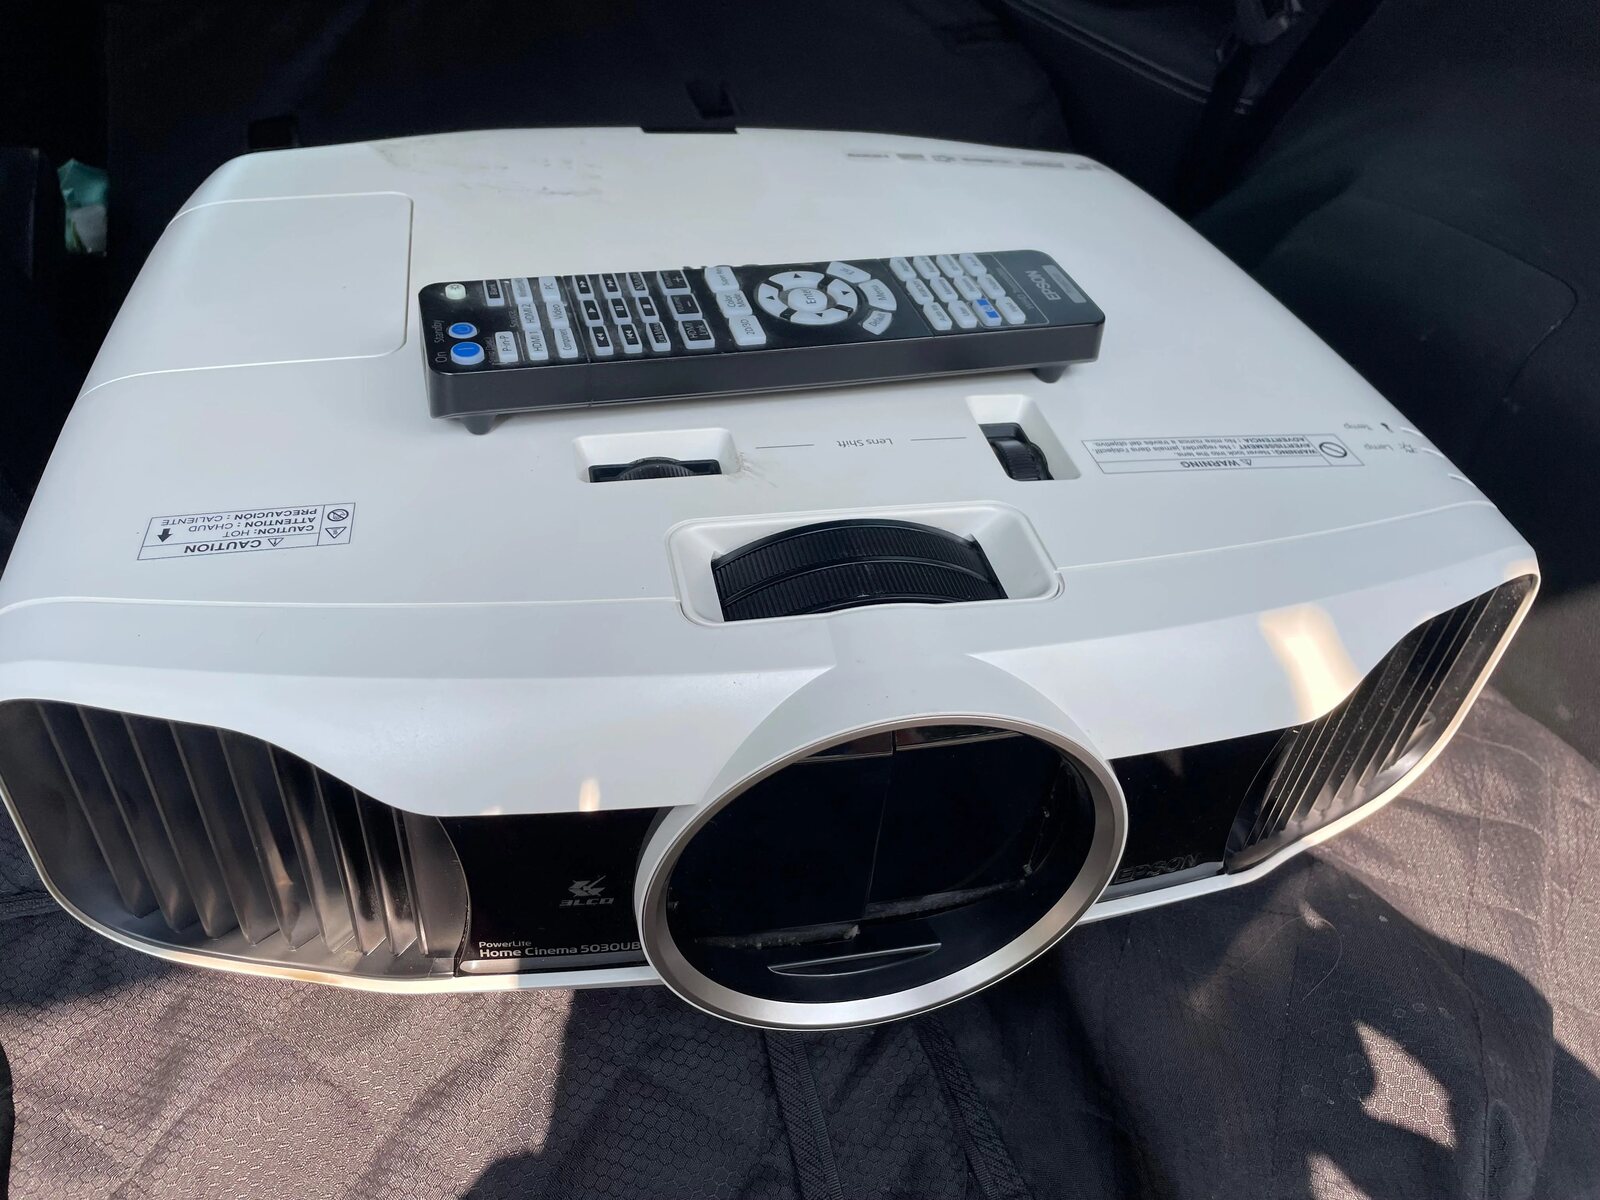
- Access the projector’s menu: Turn on the projector and navigate to the menu settings. The method to access the menu may vary depending on the projector model. Refer to the user manual for specific instructions.
- Locate the brightness settings: Once in the menu, look for the brightness or picture settings. It may be labeled as “Brightness,” “Image,” or “Picture Mode.”
- Adjust the brightness: Within the brightness settings, you will usually find a slider or numerical value that allows you to increase or decrease the brightness level. Gradually increase the brightness until you achieve the desired level.
- Consider other picture settings: In addition to brightness, explore other picture settings such as contrast, color temperature, and gamma correction. These settings can also have an impact on the perceived brightness and image quality. Experiment with these settings to find the optimal balance for your viewing environment.
- Save and test: Once you’ve made the desired adjustments, save the settings, and test the projector’s brightness. Play a video or display a test image to assess if the desired brightness level has been achieved. Make further adjustments if necessary.
Remember that the specific menu and options on your projector may differ, so it’s important to refer to your projector’s user manual for precise instructions.
Adjusting the brightness settings is a quick and easy solution to instantly enhance projector brightness. By fine-tuning these settings according to your viewing environment, you can optimize the projector’s performance and enjoy a brighter, visually captivating experience.
Using a Higher Wattage Bulb
Another effective method to increase projector brightness is by using a higher wattage bulb. The bulb is a crucial component of the projector that emits the light necessary for projection. By upgrading to a bulb with a higher wattage, you can boost the brightness levels and improve the overall image quality. Here’s how you can go about it:
- Check the projector’s compatibility: Not all projectors support higher wattage bulbs. Before making any purchases, ensure that your projector can accommodate the higher wattage bulb. Check the projector’s user manual or consult the manufacturer’s website for information on compatible bulb options.
- Research bulb options: Once you are aware of the bulb specifications your projector can support, research and compare different higher wattage bulb options available in the market. Look for reputable brands that offer bulbs with higher wattages and good customer feedback.
- Purchase the higher wattage bulb: Once you’ve found a suitable higher wattage bulb, make the purchase from a reliable source. It’s recommended to buy genuine bulbs from authorized dealers to ensure quality and compatibility.
- Replace the existing bulb: Turn off the projector and let it cool down for a sufficient amount of time. Refer to the projector’s user manual or manufacturer’s instructions on how to safely replace the bulb. Follow the step-by-step process to remove the existing bulb and carefully insert the higher wattage bulb in its place.
- Reset the lamp counter: After replacing the bulb, some projectors require you to reset the lamp counter. This step is important to ensure accurate tracking of bulb usage and maintain the optimal performance of the projector. Refer to the user manual for instructions on how to reset the lamp counter.
- Test and adjust settings if needed: Once the new bulb is installed, turn on the projector and test the brightness. You should notice an improvement in brightness compared to the previous bulb. If needed, you can further adjust the brightness settings on the projector to fine-tune the brightness level according to your preference.
Using a higher wattage bulb can significantly enhance the brightness of your projector. However, it’s important to note that higher wattage bulbs may generate more heat and have a shorter lifespan compared to lower wattage bulbs. Be mindful of any heat management requirements and the expected lifespan of the bulb.
By upgrading to a higher wattage bulb, you can maximize the brightness capabilities of your projector and enjoy a clearer, more vibrant projection experience.
Using a Gray Projection Screen
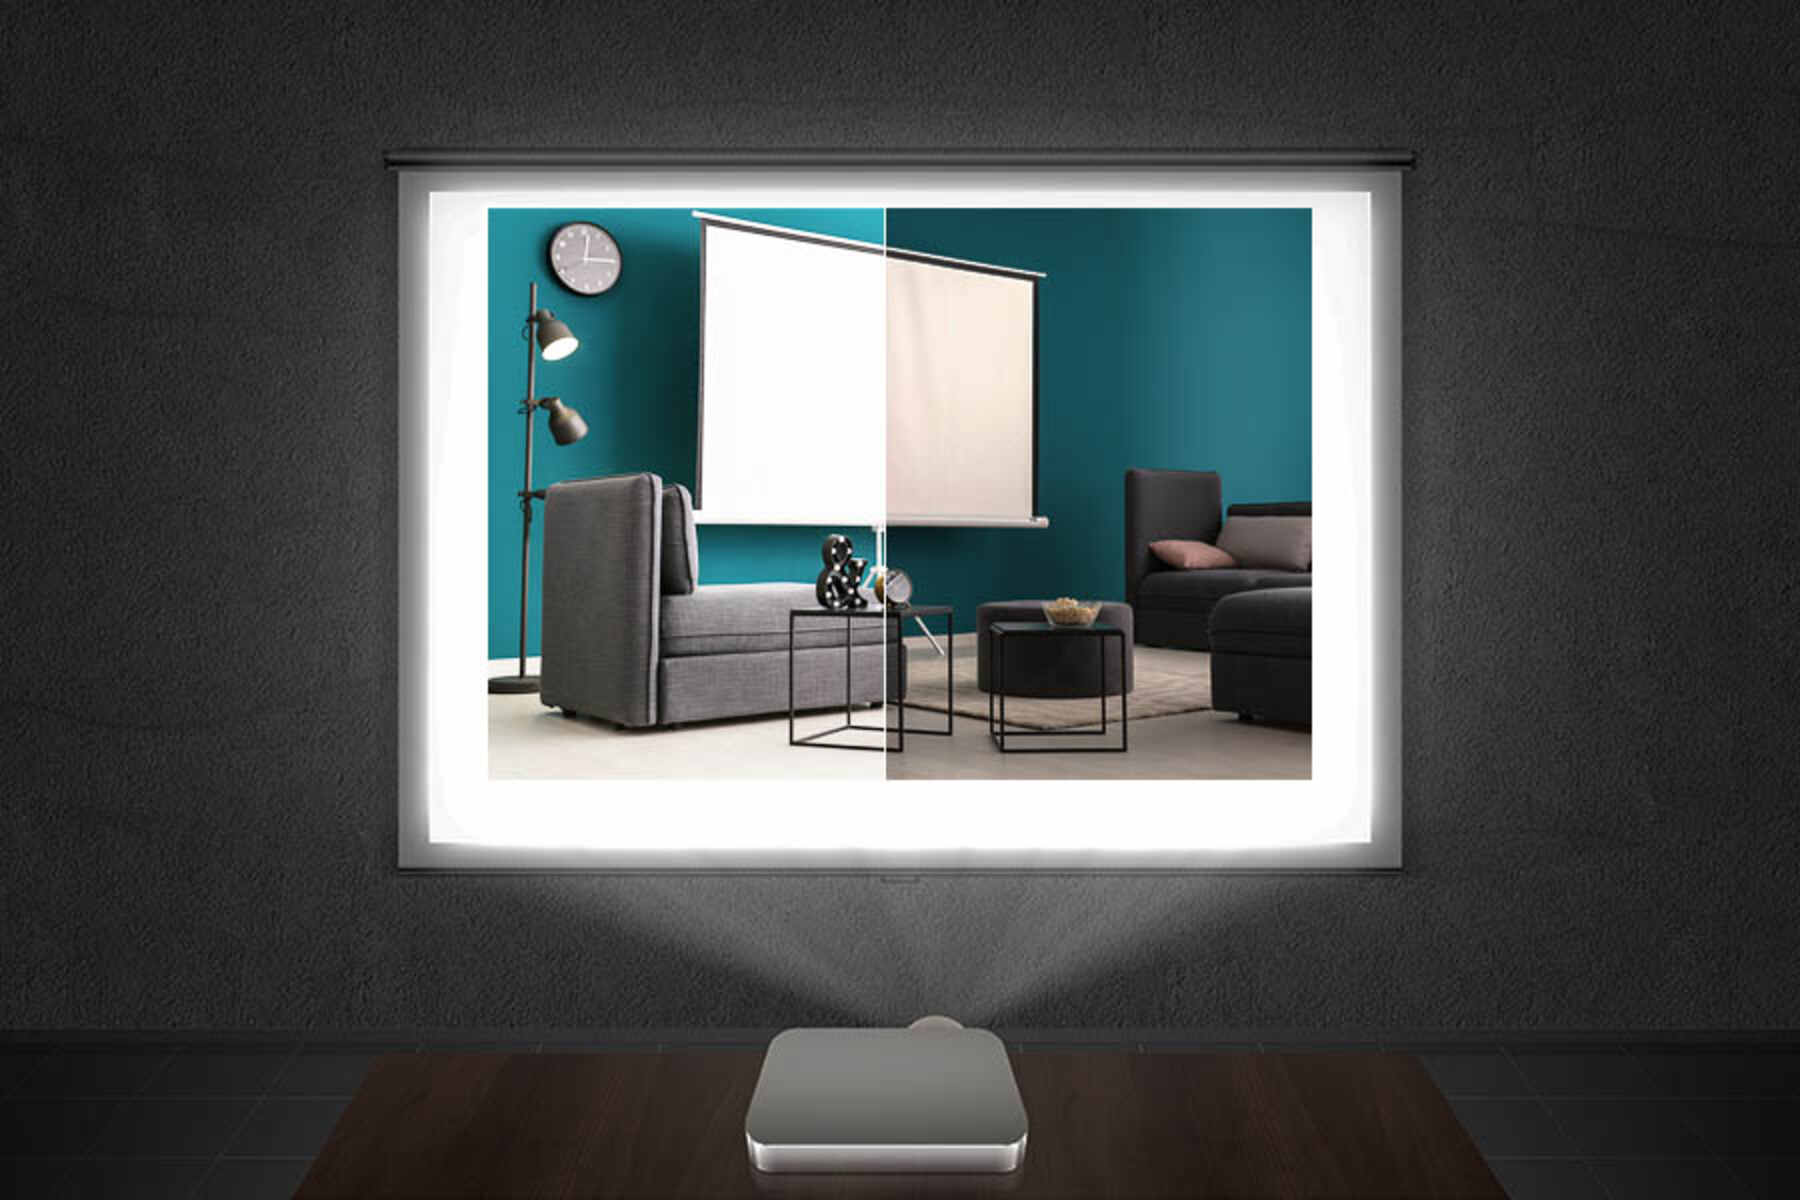
If you’re looking to further enhance the brightness and image quality of your projected content, consider using a gray projection screen. While traditional white screens reflect all light uniformly, a gray screen is designed to absorb and reject ambient light, resulting in improved contrast and perceived brightness. Here’s how using a gray projection screen can make a difference:
- Improved contrast: A gray screen helps to increase the perception of contrast in projected images. By absorbing ambient light and reducing screen glare, a gray screen enhances the difference between bright and dark areas, making images appear sharper and more defined.
- Reduced light reflection: Unlike white screens that reflect all incoming light, a gray screen absorbs some of the light, especially ambient light. This results in less glare and light bouncing back into the viewing area, allowing for a clearer and more immersive viewing experience.
- Enhanced black levels: With a gray screen, black levels appear deeper and more pronounced. The screen’s light-absorbing properties prevent light from passing through, creating a more distinct separation between black and other colors, resulting in improved image depth and overall color accuracy.
- Ambient light resistance: If you frequently use your projector in a room with ambient light, such as windows or overhead lighting, a gray screen can help combat these lighting conditions. The screen’s ability to absorb and reject ambient light ensures that the projected image remains bright and vivid, even in well-lit environments.
- Screen material considerations: When choosing a gray projection screen, consider the screen material itself. Some screens have specific gain values, which represent the amount of light reflected back to the viewer. Lower gain screens tend to provide a wider viewing angle but may sacrifice brightness, while higher gain screens offer increased brightness but may have a narrower viewing angle. Choose a screen material that suits your specific needs and environment.
Keep in mind that using a gray projection screen may require some adjustments to your projector’s settings, such as increasing brightness or contrast, to compensate for the screen’s light-absorbing properties. Additionally, it’s important to consider the viewing angle and seating arrangement in relation to the screen for optimal image quality and brightness for all viewers.
By opting for a gray projection screen, you can significantly enhance the perceived brightness and overall visual experience, especially in rooms with ambient lighting or when seeking improved contrast and black levels.
Managing Ambient Light in the Room
Ambient light in the room can have a significant impact on the perceived brightness and quality of the projected image. If you want to maximize the brightness of your projector, it’s essential to manage ambient light effectively. Here are some tips to help you control and minimize the impact of ambient light:
- Close curtains and blinds: One of the simplest ways to reduce ambient light is to close curtains or blinds in the room. Blocking out external light sources, such as sunlight or streetlights, can create a darker environment for the projection. Choose darker-colored curtains or blackout blinds for better light blockage.
- Dim or turn off lights: If you have control over the room’s lighting, consider dimming or turning off lights that are not essential for the viewing experience. By reducing the overall light levels in the room, you allow the projected image to stand out more and appear brighter.
- Use indirect lighting: Instead of using direct overhead lighting, consider using indirect lighting options such as floor lamps or wall sconces. These sources of light can provide a soft, ambient glow without causing glare or interfering with the projection.
- Invest in ambient light-rejecting paint: Another option for managing ambient light is to paint the walls of your viewing space with ambient light-rejecting paint. These specialized paints can help reduce the impact of incoming light, resulting in improved contrast and perceived brightness in the projected image. Consult with experts or do thorough research to choose the right paint.
- Consider using a projector screen: While the previous suggestions help control ambient light, using a high-quality projector screen specifically designed to combat ambient light can further enhance brightness. These screens have specialized coatings or materials that reflect more projected light back to the viewer, making the image appear brighter and more vibrant even in well-lit environments.
By effectively managing ambient light in the room, you can minimize the interference caused by external light sources and enhance the brightness and overall clarity of your projected content. Implementing a few simple adjustments and utilizing the right equipment can result in a more enjoyable and immersive viewing experience.
Conclusion
Ensuring optimal brightness on your projector is essential for a captivating viewing experience. By understanding the factors that affect projector brightness and utilizing the right techniques, you can enhance the image quality and make your content truly shine.
We explored various methods to increase projector brightness, including cleaning the projector lens to remove any dirt or smudges, adjusting the projector’s brightness settings, using a higher wattage bulb, opting for a gray projection screen to improve contrast, and effectively managing ambient light in the room.
Whether you choose to implement one or a combination of these methods, it’s important to consider your specific viewing environment and requirements. Experimentation and fine-tuning may be necessary to achieve the desired brightness level and overall image quality.
Additionally, remember to refer to your projector’s user manual for specific instructions and recommendations tailored to your device. Each projector model may have unique features and limitations that you should be aware of.
With the right approach, you can maximize the brightness capabilities of your projector, allowing for clearer, more vibrant images and a truly immersive viewing experience. Take the necessary steps to optimize your projector’s brightness, and get ready to enjoy your movies, presentations, and multimedia content like never before.


