Introduction
Welcome to our guide on how to fix an HDMI cable. HDMI (High-Definition Multimedia Interface) cables have become the standard for connecting devices such as TVs, monitors, and gaming consoles to transmit high-quality audio and video signals. However, like any other cable, HDMI cables can experience issues over time. From loose connections to damaged wires, these problems can disrupt the smooth transmission of audio and video signals.
Understanding how to fix common issues with HDMI cables can save you the frustration of having to replace them or spending money on professional repairs. In this guide, we will walk you through the step-by-step process of fixing an HDMI cable, providing you with the necessary tools and techniques to troubleshoot and repair common problems. Whether it’s a loose connection, a broken connector, or a damaged wire, we’ve got you covered.
By following this guide, you’ll be able to restore the functionality of your HDMI cable and enjoy uninterrupted audio and video streaming. You don’t need to have any prior experience in electrical repair; our instructions are designed to be beginner-friendly. So, let’s dive in and learn how to fix an HDMI cable to get your entertainment setup back on track.
Overview of HDMI Cables
HDMI cables have revolutionized the way we connect our devices to display screens. They have become the go-to solution for transmitting high-quality audio and video signals between devices such as televisions, monitors, Blu-ray players, gaming consoles, and computers. Understanding the features and capabilities of HDMI cables is essential for troubleshooting and fixing common problems.
HDMI cables transmit digital signals, delivering pristine audio and video quality without any loss in signal strength. Unlike analog cables, such as VGA or RCA, HDMI cables provide a digital connection that eliminates interference and ensures a seamless viewing experience. The digital nature of HDMI also allows for advanced features, including support for high-definition resolutions, 3D content, and multi-channel audio.
One of the primary advantages of HDMI cables is their ability to carry both audio and video signals through a single cable. This simplifies the setup process and reduces cable clutter behind your entertainment system. HDMI cables also support two-way communication between devices, enabling features like remote control integration and automatic device recognition.
There are different types of HDMI cables available on the market, each designed to support specific video and audio formats. HDMI 1.4 is the most common type, supporting resolutions up to 4K and providing enough bandwidth for most home entertainment setups. HDMI 2.0 and HDMI 2.1 are more recent versions that offer enhanced features such as support for higher refresh rates, dynamic HDR, and eARC (enhanced Audio Return Channel).
It is important to note that not all HDMI cables are created equal. While there are various options available, it is recommended to choose HDMI cables that are certified by the HDMI Licensing LLC. This certification ensures that the cables meet the required standards for digital transmission, signal quality, and compatibility. Using uncertified or low-quality HDMI cables can result in signal degradation or overall poor performance.
Now that you have a basic understanding of HDMI cables and their capabilities, let’s move on to exploring the common problems you may encounter and how to fix them.
Common Problems with HDMI Cables
While HDMI cables are generally reliable, they can experience some common problems over time. Understanding these issues will help you identify and troubleshoot the specific problem you may be facing with your HDMI cable. Here are some of the most common problems:
- No Signal: This is one of the most frustrating problems with HDMI cables. You may find that your TV or monitor displays a “No Signal” message when the HDMI cable is connected. This can be caused by loose connections, faulty ports, or incorrect input settings on your display device.
- Poor Signal Quality: Sometimes, you may experience a degraded audio or video quality when using an HDMI cable. This can manifest as flickering or freezing images, distorted colors, or intermittent sound issues. This problem can be caused by cable damage, incompatible resolutions, or insufficient bandwidth.
- Intermittent Connection: An intermittent connection refers to a situation where the audio or video signal comes and goes sporadically. This can be caused by loose connections, faulty cables, or damaged HDMI ports on your devices.
- Audio or Video Lag: Lag or delay in audio or video can be a frustrating experience when watching movies or playing games. This can occur due to insufficient bandwidth, incompatible refresh rates, or processing delays in your devices.
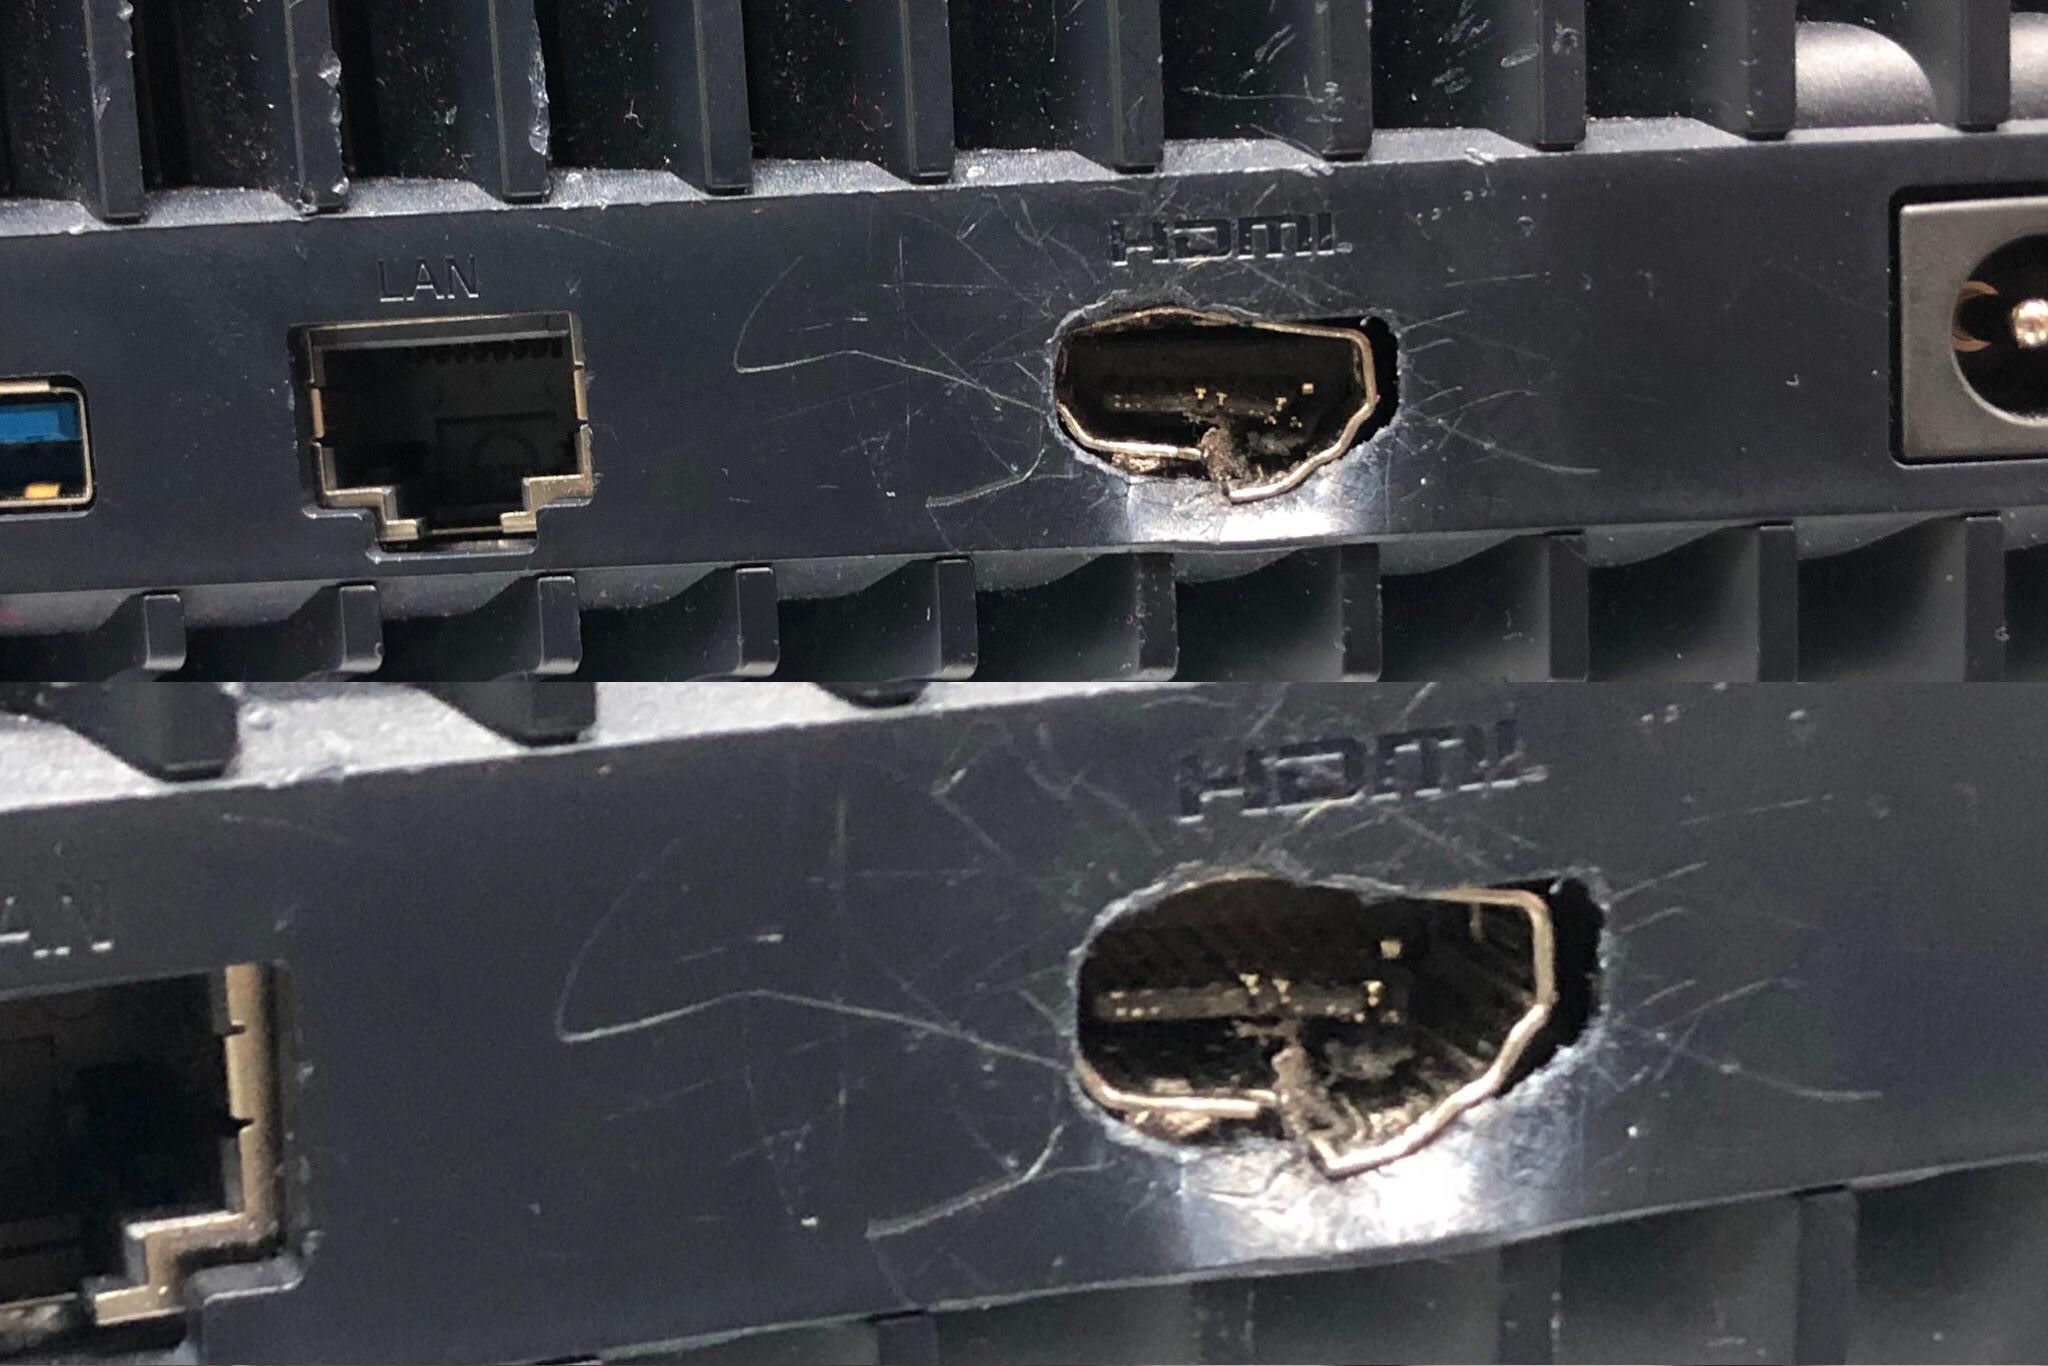
- Bent or Damaged Connectors: HDMI connectors can become bent or damaged, making it difficult or impossible to establish a proper connection. This can happen due to mishandling or accidental tugging on the cable.
It is important to note that many of these problems are fixable and do not necessarily require you to replace your HDMI cable. In the following sections, we will provide you with the necessary tools and step-by-step instructions to resolve these common issues and get your HDMI cable working properly again.
Tools and Materials Needed for Fixing HDMI Cables
Before you begin fixing your HDMI cable, it’s important to gather the necessary tools and materials. Having the right equipment on hand will make the repair process much smoother and ensure that you have everything you need to address the specific problem you’re facing. Here are the tools and materials that you’ll need:
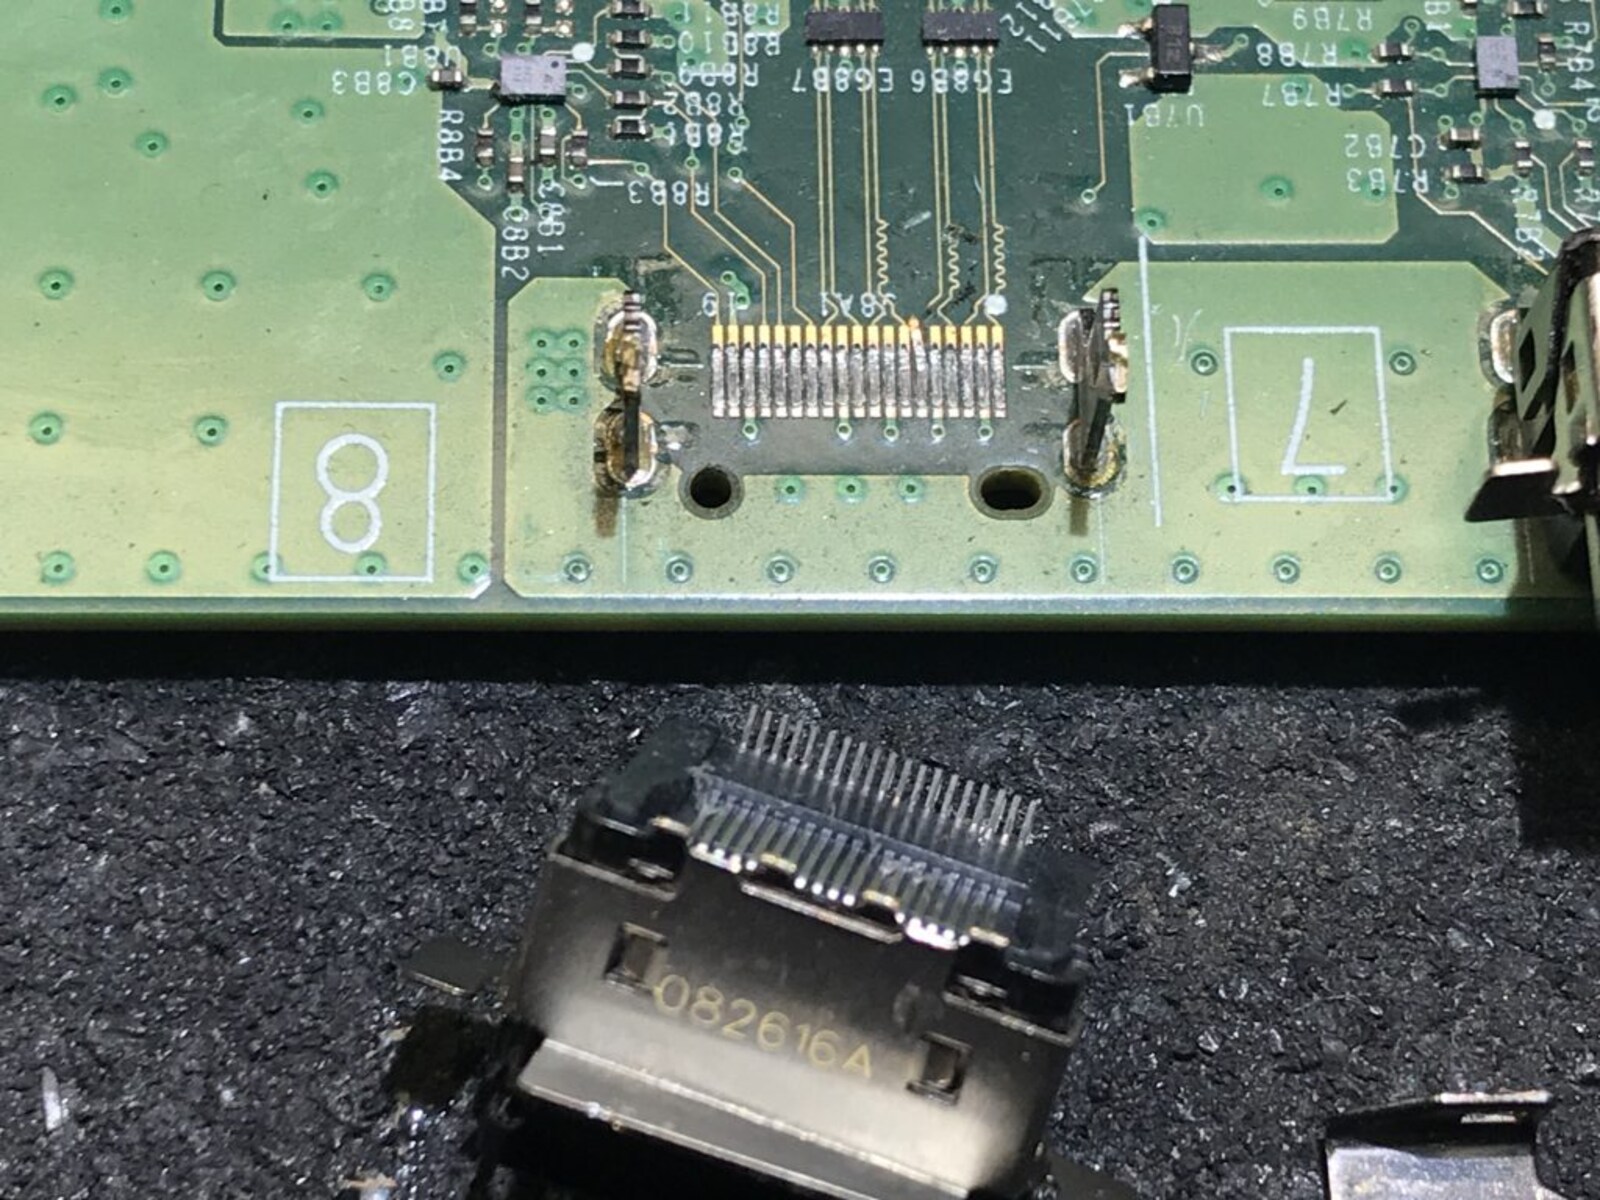
- Replacement HDMI connector: If the existing connector on your HDMI cable is damaged beyond repair, you will need a replacement connector. Look for connectors that are compatible with your HDMI cable and ensure that they are of high quality to maintain signal integrity.
- Wire cutter/stripper: A wire cutter/stripper is a versatile tool that allows you to cut the HDMI cable and strip away the insulation to expose the wires underneath. This will enable you to work with the wires during the repair process.
- Soldering iron and solder: If you need to reattach wires or connectors, a soldering iron and solder will be required. These tools allow you to create strong and durable connections between the wires and connectors.
- Heat shrink tubing: Heat shrink tubing is used to insulate and protect the exposed wires after soldering. It helps ensure a secure and long-lasting connection by preventing the wires from coming into contact with each other or external elements.
- Electrical tape: Electrical tape is useful for securing wires and providing an additional layer of insulation during the repair process. It can be used to cover exposed wires and protect them from damage or interference.
- Multimeter: A multimeter is a handy tool for measuring continuity, voltage, and resistance. It can be used to troubleshoot and diagnose electrical issues with the HDMI cable, such as identifying broken wires or faulty connectors.
- Isopropyl alcohol and cotton swabs: Isopropyl alcohol and cotton swabs are useful for cleaning connectors and removing any dirt or debris that could be causing connectivity issues.
Having these tools and materials readily available will ensure that you’re well-prepared to tackle the repair process. It’s always a good idea to have some extra HDMI connectors and wire cutters/strippers on hand in case you need to replace multiple connectors or cables.
Now that you have gathered the necessary tools and materials, let’s move on to the step-by-step guide for fixing your HDMI cable.
Step-by-Step Guide to Fixing an HDMI Cable
Now that you have your tools and materials ready, let’s walk through the step-by-step process of fixing your HDMI cable. Follow these instructions carefully to ensure a successful repair:
- Identify the problem: Before you start fixing your HDMI cable, identify the specific issue you’re facing. Is it a loose connection, a broken connector, or a damaged wire?
- Cut and strip the cable: If you need to replace a connector or repair a damaged wire, cut the cable using a wire cutter/stripper. Aim for a clean, straight cut.
- Prepare the wires: Use the wire stripper function of the cutter/stripper to remove a small portion of the insulation from the cut ends of the HDMI cable. Be careful not to nick or damage the wires.
- Inspect and clean the connector: If you’re working with a connector, inspect it for any damage or bent pins. If needed, clean the connector with isopropyl alcohol and a cotton swab to remove any dirt or debris that may interfere with the connection.
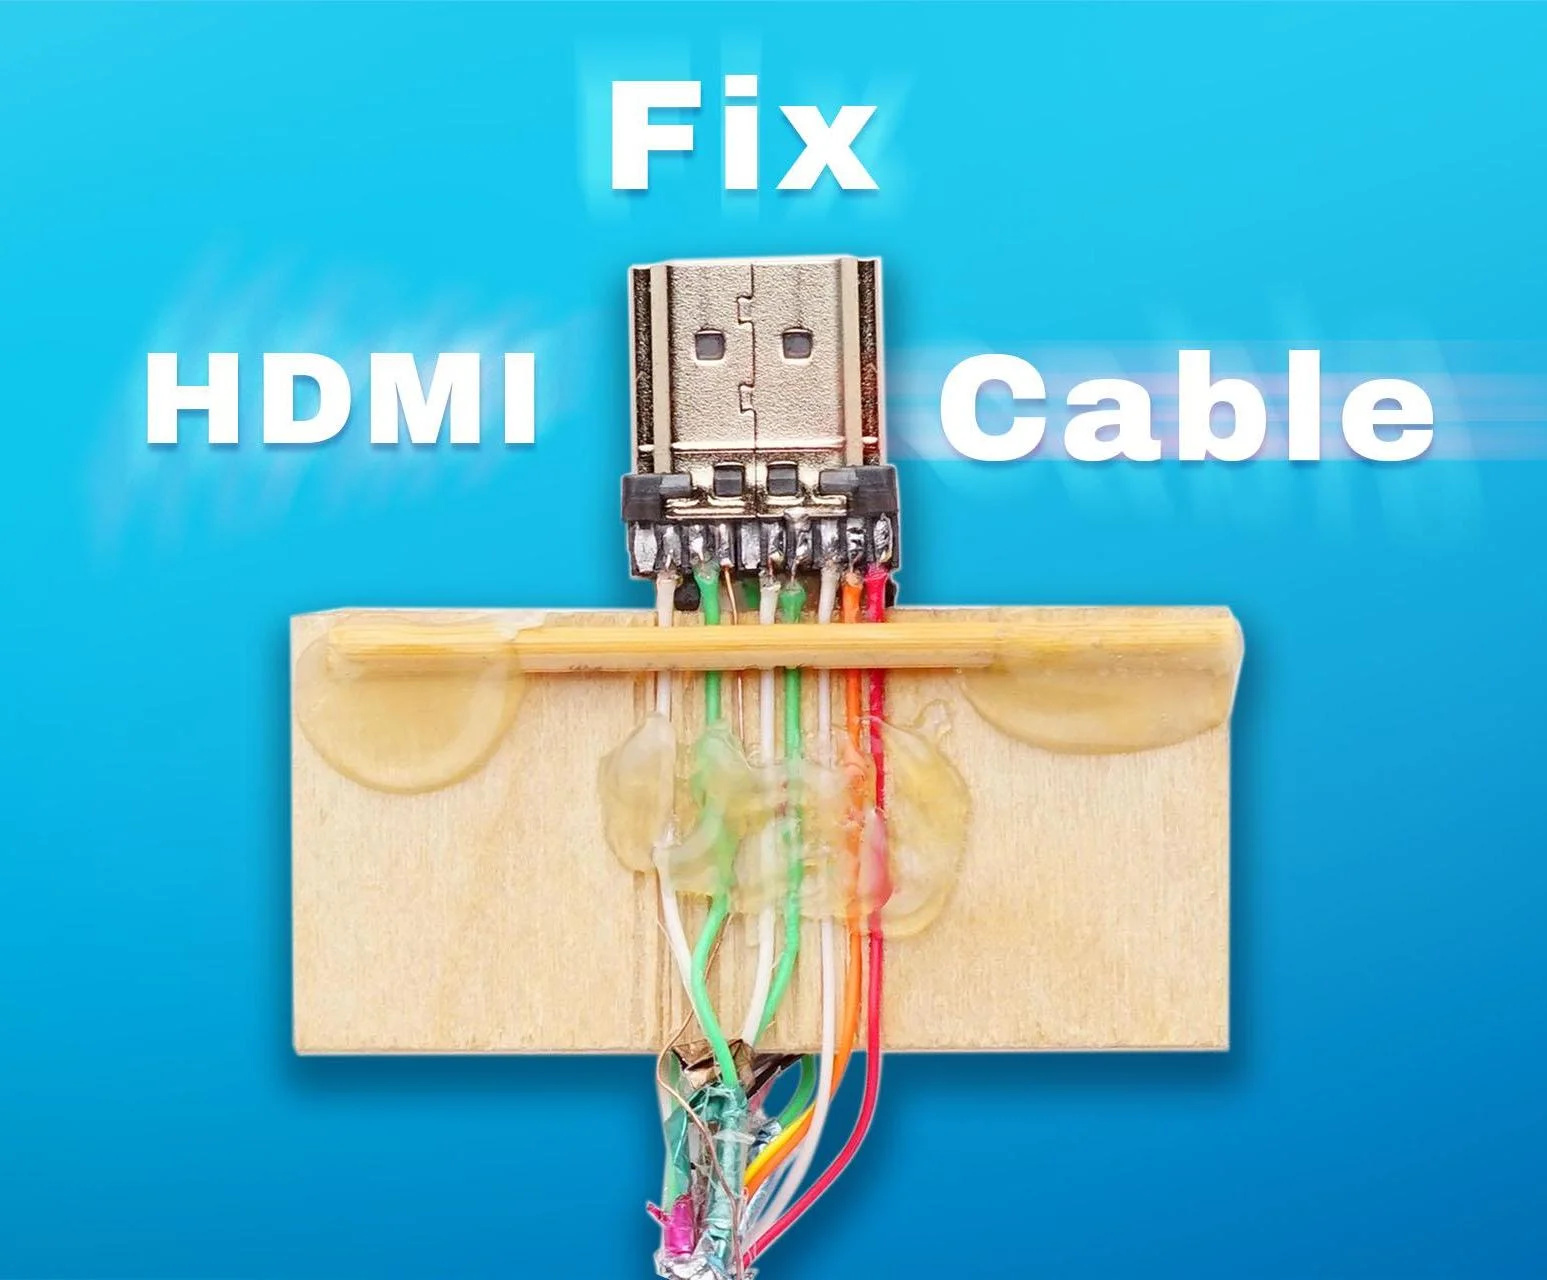
- Attach the wires to the connector: If you’re replacing a connector, follow the manufacturer’s instructions for attaching the wires. Generally, you’ll need to solder the wires to the appropriate pins on the connector. Ensure that you have a secure and strong connection.
- Use heat shrink tubing: Slide heat shrink tubing over the soldered connections and use a heat source, such as a heat gun or lighter, to shrink the tubing and create a tight, insulated seal around the connections.
- Secure and insulate: Use electrical tape to secure the wires and provide additional insulation. Wrap the tape around the repaired area, making sure all exposed wires and connections are covered.
- Test the repaired cable: Once you’ve completed the repair, it’s time to test the HDMI cable. Connect it to the appropriate devices and ensure that the audio and video signals are transmitting properly without any issues.
It’s important to exercise caution and precision when working with delicate wires and soldering equipment. If you’re not confident in your soldering skills, it’s best to seek professional help or consider purchasing a pre-assembled replacement cable.
Following these steps should help you fix common issues with your HDMI cable. However, if the problem persists or you encounter more complex issues, it’s recommended to consult a professional technician for further assistance.
Testing the Fixed HDMI Cable
After successfully completing the repair process, it’s crucial to test the fixed HDMI cable to ensure that the problem has been resolved and that the audio and video signals are transmitting correctly. Here are the steps to test your repaired HDMI cable:
- Reconnect the HDMI cable: Connect the repaired HDMI cable to the appropriate devices, such as your television and a streaming device or gaming console. Ensure that the connectors are inserted securely into the HDMI ports.
- Power on the devices: Turn on the television and the connected device, allowing them to establish a connection and sync with each other. Make sure both devices are powered up and functioning properly.
- Select the correct input: Use your television’s remote control to navigate to the HDMI input that corresponds to the port where you connected the repaired HDMI cable. Cycle through the available inputs until you see the audio and video signals from the connected device.
- Check the audio and video quality: Pay close attention to the audio and video quality. Verify that the sound is clear, without any distortion or delays, and that the video is displaying properly with vibrant colors, sharp details, and smooth motion.
- Test different resolutions and devices: Try switching to different resolutions supported by your devices and test them with various sources to ensure that the repaired HDMI cable can handle different signal formats. This will help identify any potential issues that might arise.
- Monitor for any new issues: Keep an eye out for any new problems that may arise during the testing process. Check for any flickering displays, intermittent audio or video, or any other abnormalities that were not present before the repair.
By following these testing steps, you can verify that the repaired HDMI cable is functioning properly and enjoy uninterrupted audio and video transmission. Remember to test the cable with different devices and resolutions to ensure its compatibility and reliability.
If you discover that the issue persists or encounter new problems even after the repair, it might be necessary to revisit the repair process or consider seeking professional help. Some issues may require advanced troubleshooting or specific equipment to resolve.
Now that you have successfully tested the repaired HDMI cable, you can confidently reintegrate it into your home entertainment setup and enjoy your favorite movies, TV shows, and games with high-quality audio and video.
Tips for Proper HDMI Cable Maintenance
Proper maintenance of your HDMI cables can help prolong their lifespan and prevent common issues from arising. By following these tips, you can ensure optimal performance and reliability from your HDMI cables:
- Avoid frequent unplugging and reconnection: While it may be necessary to disconnect HDMI cables occasionally, it’s best to minimize unnecessary unplugging and reconnection. Frequent handling can cause wear and tear on the connectors and cables, potentially leading to loose connections or damaged wires.
- Handle cables with care: When handling HDMI cables, be gentle and avoid excessive bending or twisting. Mishandling can result in internal wire or connector damage, affecting the audio and video signal quality.
- Protect cables from physical strain: Avoid placing heavy objects on top of HDMI cables or bending them at sharp angles. Apply cable management techniques, such as using clips or cable ties, to prevent excessive strain on the cables and connectors.
- Clean connectors regularly: Over time, dust and debris can accumulate on the connectors, leading to poor connectivity or signal interruptions. Use a soft, dry cloth or compressed air to clean the connectors periodically and ensure a clean, reliable connection.
- Keep cables away from heat sources: Heat can damage the insulation and internal components of HDMI cables. Prevent exposure to direct sunlight, heating vents, or other heat sources that can cause the cables to become brittle or degrade over time.
- Use certified HDMI cables: Opt for HDMI cables that are certified by the HDMI Licensing LLC. Certified cables undergo strict testing to ensure reliable signal transmission and compatibility with various devices. Avoid using cheap or uncertified cables that may result in signal degradation or poor performance.
- Regularly check for loose connections: Periodically check the connections of your HDMI cables to ensure they are secure. Loose connections can lead to intermittent signals or no signal at all. Tighten or reseat the connectors as needed to maintain a stable connection.
- Label cables for easy identification: If you have multiple HDMI cables in your setup, label them with identifiers such as “TV,” “Game Console,” or “Blu-ray Player.” This will make it easier to identify and troubleshoot specific cables when needed.
- Keep cables organized: Tangled and messy cables can increase the risk of accidental damage or interference. Use cable management solutions, such as cable sleeves or cable raceways, to keep your HDMI cables organized and reduce the risk of them getting entangled.
By implementing these maintenance tips, you can ensure the longevity and reliable performance of your HDMI cables. Proper care and precautions will help minimize the chances of encountering issues and maximize your enjoyment of high-quality audio and video content.
Conclusion
Fixing common problems with HDMI cables doesn’t have to be a daunting task. By following the step-by-step guide and utilizing the necessary tools and materials, you can successfully troubleshoot and repair issues such as loose connections, damaged connectors, or faulty wires.
Remember to test the fixed HDMI cable to ensure that the audio and video signals are transmitting properly. If the problem persists or you encounter more complex issues, it’s recommended to seek professional help.
To prevent future problems, practice proper HDMI cable maintenance techniques, such as handling cables with care, avoiding excessive bending or twisting, and regularly cleaning the connectors. Using certified HDMI cables and organizing and labeling your cables will also contribute to their longevity and reliable performance.
Now that you have the knowledge and tools to fix HDMI cable issues and maintain their functionality, you can enjoy uninterrupted audio and video streaming, gaming, and entertainment. So go ahead, tackle those HDMI cable problems with confidence, and get back to enjoying your favorite content with pristine audio and video quality!