Introduction
Gaming monitors are essential for an immersive gaming experience. They provide crisp visuals, smooth motion, and vibrant colors that can make your games come to life. However, like any electronic device, gaming monitor screens may encounter issues that can hinder your gaming enjoyment. From flickering displays to distorted colors, these problems can be frustrating and impact your gaming performance.
In this article, we will explore common issues that gamers face with their monitor screens and provide practical solutions to fix them. Whether you’re dealing with screen flickering, color distortion, dead pixels, or screen tearing, we’ve got you covered. We’ll also guide you on how to calibrate and optimize your gaming monitor settings for the best possible gaming experience.
Before we dive into the troubleshooting steps, it’s important to note that not all monitor issues can be resolved at home. If your monitor is still under warranty, it’s recommended to contact the manufacturer’s support for assistance. However, if you’re comfortable with a DIY approach, we will provide you with the tools and knowledge to solve many common screen problems.
By following the steps outlined in this article, you’ll be able to troubleshoot and fix various issues with your gaming monitor screen. Whether you’re a casual gamer or a professional eSports player, having a properly functioning monitor is crucial for a smooth and enjoyable gaming experience. So, let’s begin by understanding the common issues that you may encounter while gaming.
Common Issues with Gaming Monitor Screens
Gaming monitor screens can experience several common issues that can disrupt your gaming experience. Understanding these problems is the first step toward finding a solution. Let’s explore some of the most frequent issues encountered by gamers:
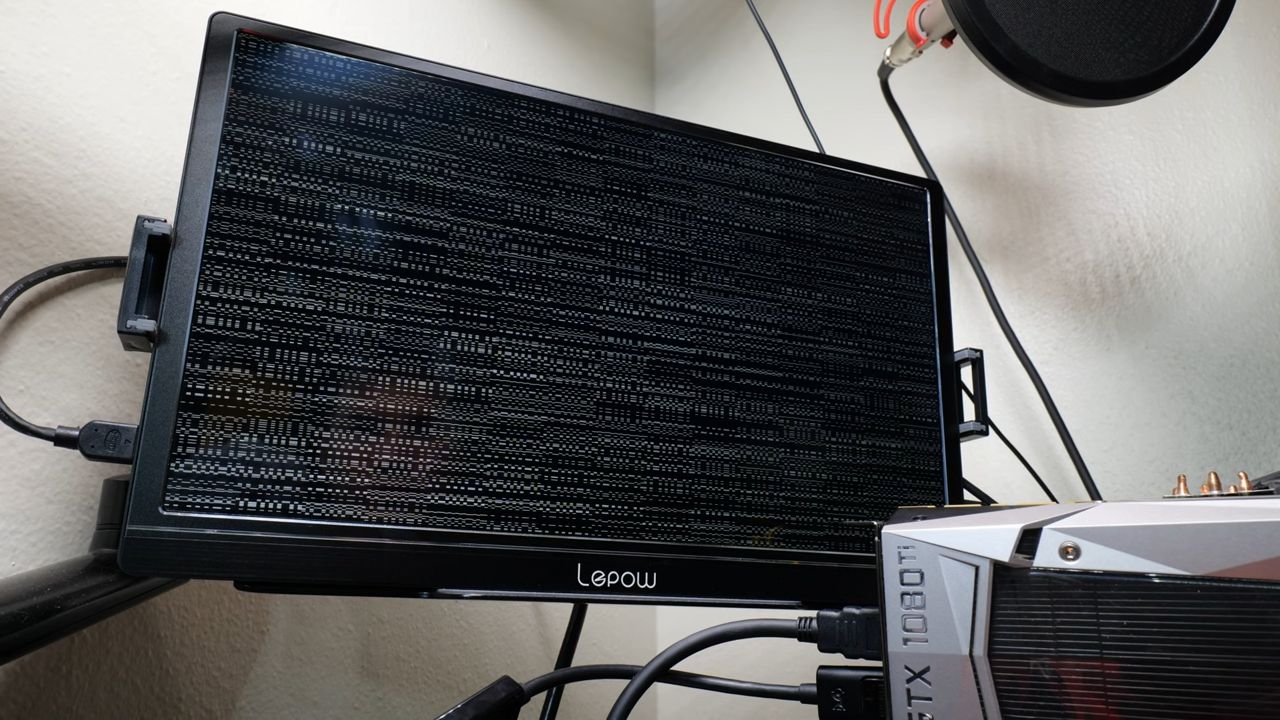
- Flickering or Fuzzy Display: One of the most common issues is a flickering or fuzzy display. This can be caused by a loose cable connection, outdated graphics drivers, or incompatible refresh rates between your computer and monitor.
- Color Distortion or Oversaturation: Another issue can be color distortion or oversaturation, where the colors on your screen appear washed out or overly vibrant. This can be due to incorrect color settings, outdated graphics drivers, or a faulty monitor.
- Dead Pixels or Stuck Pixels: Dead pixels are unresponsive pixels that appear as black dots on the screen, while stuck pixels are pixels that remain a single color. These can be distracting and affect the overall image quality of your monitor.
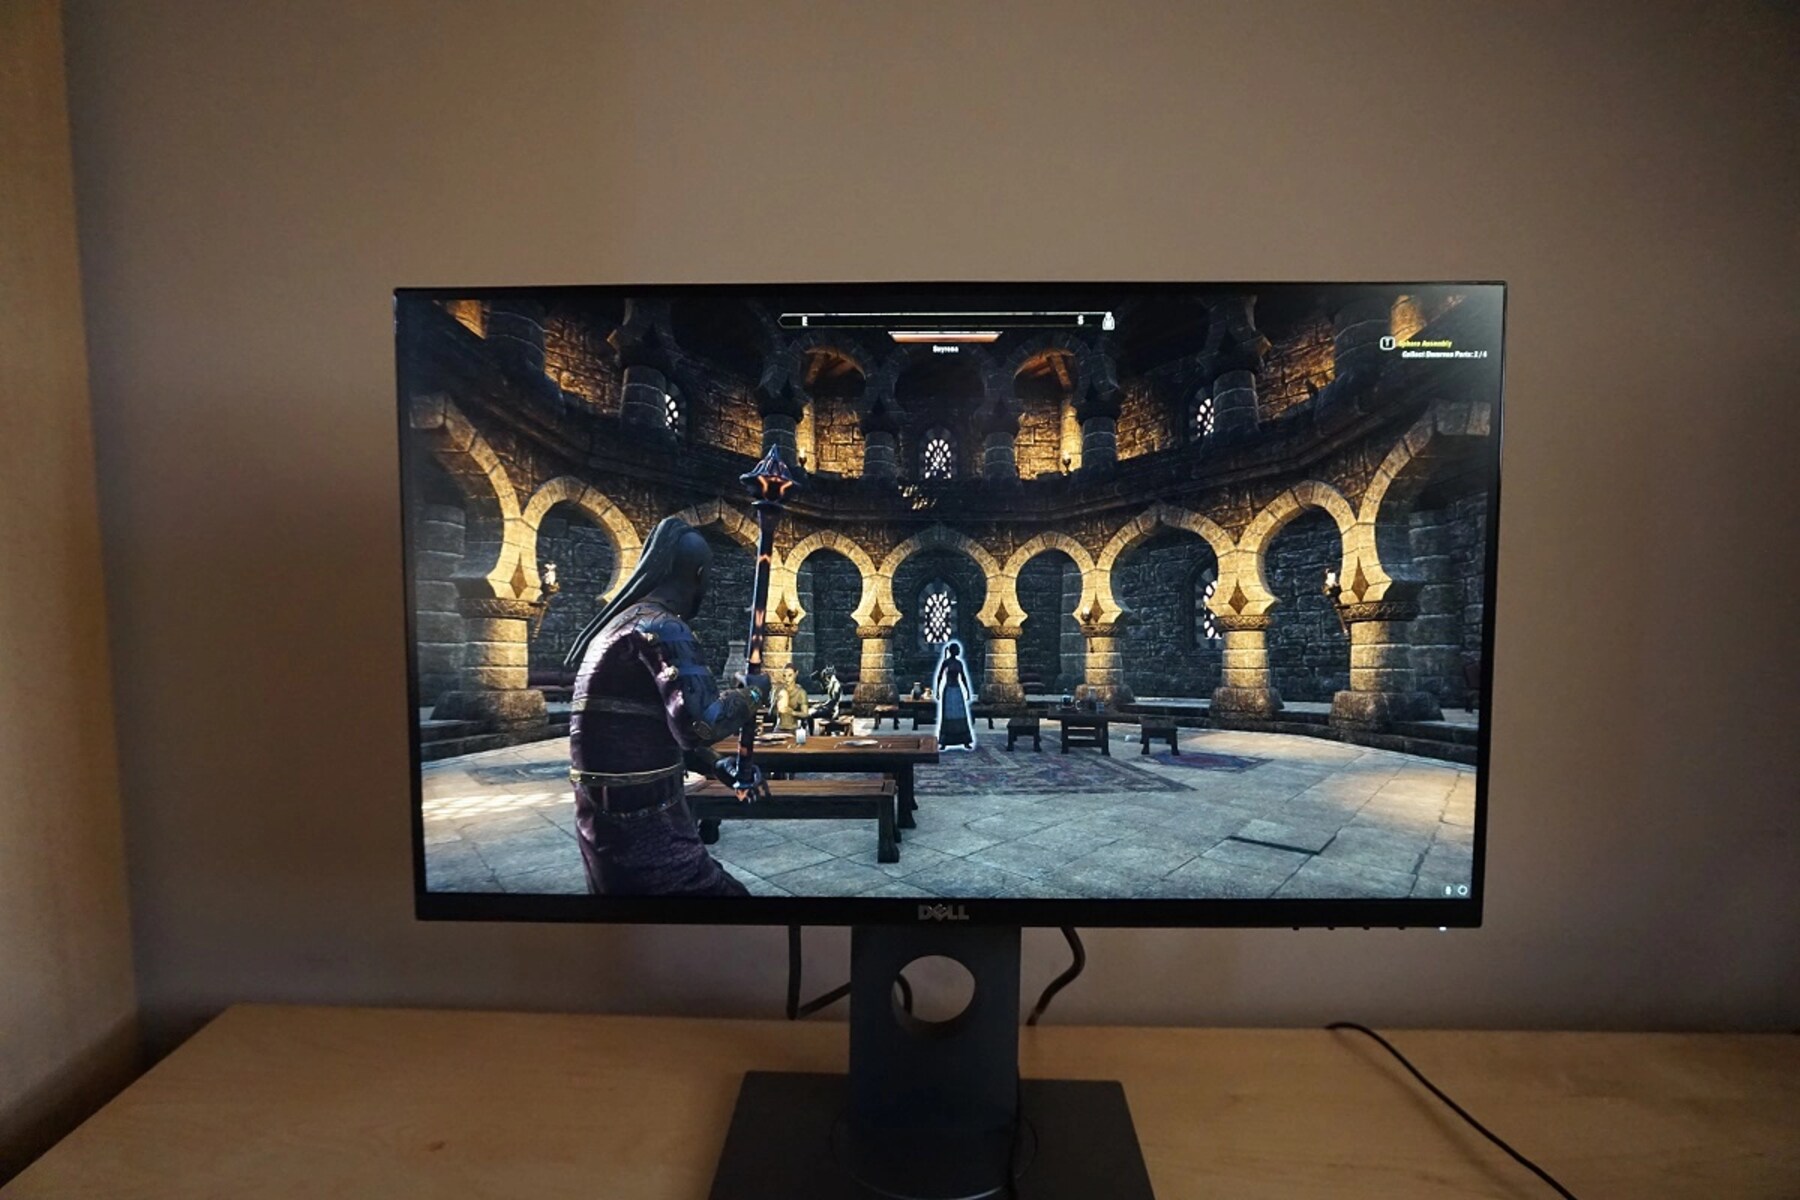
- Screen Resolution and Aspect Ratio: Sometimes, your monitor may not be displaying the optimal resolution or aspect ratio for your games. This can lead to stretched or distorted images, impacting the visual clarity and gameplay experience.
- Screen Tearing or Ghosting: Screen tearing occurs when the frame rate of your game exceeds the refresh rate of your monitor, causing horizontal lines to appear on the screen. Ghosting is a phenomenon where fast-moving objects leave a trail behind them. Both of these issues can be mitigated through proper settings and adjustments.
These are just a few examples of the common issues that can occur with gaming monitor screens. By identifying the specific problem you’re facing, you’ll be better equipped to troubleshoot and resolve the issue. In the next sections, we’ll provide you with step-by-step instructions on how to fix these issues and optimize your gaming monitor settings for an enhanced gaming experience.
Tools and Equipment Needed
Before you begin troubleshooting and fixing issues with your gaming monitor screen, there are a few tools and equipment that you might need. These tools will help you in properly diagnosing and resolving the problems you’re facing. Here are the essential items you should have on hand:
- Screwdriver: A small screwdriver will be necessary if you need to open up your monitor for any repairs or adjustments. Make sure you have the appropriate size and type of screwdriver to avoid damaging the monitor or its components.
- Cleaning Kit: Dust and smudges on your monitor screen can affect the image quality. A cleaning kit specifically designed for monitors will help you maintain a clear and crisp display. It may include a lint-free cloth, screen cleaning solution, and anti-static wipes.
- Calibration Device: If you want to calibrate your monitor’s colors accurately, a color calibration device will be beneficial. These devices measure and adjust the colors on your screen to ensure accurate representation. Although not required, they are helpful for professional gamers or those with specific color accuracy needs.
- Replacement Cables: Faulty cables can cause display issues. It’s a good idea to have spare cables such as HDMI, DisplayPort, or DVI cables available in case you need to replace a defective cable.
- Software and Drivers: Ensure that you have the necessary software and drivers for your graphics card and monitor. Check the manufacturer’s website for the latest drivers, as outdated drivers can cause compatibility and performance issues.
- Online Resources: Online forums, tutorials, and troubleshooting guides can be valuable resources when you encounter specific issues. Websites and communities dedicated to gaming and monitor troubleshooting are filled with helpful information from experts and fellow gamers.
Having these tools and equipment ready will make the troubleshooting process smoother. However, keep in mind that not all issues can be fixed at home. If you suspect a hardware problem or your monitor is still under warranty, it’s best to consult the manufacturer’s support or professional technicians for assistance.
With the necessary tools in hand, let’s move on to the step-by-step troubleshooting and fixing process for the most common gaming monitor screen issues.
How to Troubleshoot Display Problems
When encountering display problems with your gaming monitor screen, it’s important to follow a systematic troubleshooting process to identify and resolve the issue. Here are the steps to troubleshoot common display problems:
- Check Cable Connections: Ensure that all cables connecting your monitor to your computer or gaming console are securely plugged in. Loose or damaged cables can cause display issues. Try unplugging and re-plugging the cables to ensure a proper connection.
- Update Graphics Drivers: Outdated or incompatible graphics drivers can lead to display problems. Visit the website of your graphics card manufacturer and download the latest drivers for your specific graphics card model.
- Test with Different Ports: If your monitor has multiple video ports (e.g., HDMI, DisplayPort, DVI), try connecting your device to different ports to see if the issue persists. This can help determine if the problem lies with a specific port or cable.
- Try a Different Device: Connect your monitor to a different device, such as a laptop or another computer, to see if the problem persists. This can help determine if the issue is with your monitor or the device you were originally using.
- Adjust Power Saving Settings: Some power-saving settings might cause the monitor to go into sleep mode or turn off unexpectedly. Adjust your computer’s power-saving settings and disable any power-saving features on the monitor to eliminate this as a possible cause.
- Reset Monitor Settings: Most monitors have display settings that can be adjusted. If you made any changes to the settings and experienced display problems afterward, try resetting the monitor to its default settings.
- Check for Firmware Updates: Visit the manufacturer’s website and check if there are any firmware updates available for your specific monitor model. Firmware updates can often address performance and compatibility issues.
- Inspect for Physical Damage: Carefully examine your monitor for any physical damage, such as cracks or damaged ports. If you find any, it’s best to contact the manufacturer’s support for repair or replacement options.
By following these troubleshooting steps, you can often identify and resolve common display problems with your gaming monitor screen. However, if the issue persists or if you suspect a hardware defect, it’s advisable to seek professional assistance or contact the manufacturer’s support for further guidance.
Next, we’ll discuss how to fix specific display issues such as flickering or fuzzy display, color distortion, dead pixels, screen resolution, and screen tearing.
How to Fix Flickering or Fuzzy Display
A flickering or fuzzy display can significantly detract from your gaming experience. Here are some steps you can take to resolve this issue:
- Check Cable Connections: Ensure that all the cables connecting your monitor to your device are securely plugged in. A loose or damaged cable can cause display flickering or fuzziness.
- Adjust Refresh Rate: Open the display settings on your computer or gaming console and make sure the refresh rate is set to the optimal value for your monitor. Incompatible refresh rates can lead to display issues.
- Update Graphics Drivers: Outdated or faulty graphics drivers can also cause flickering or fuzzy display. Visit the manufacturer’s website and download the latest drivers for your graphics card model.
- Change Display Cables: If you are using an older or inferior quality cable, switch to a high-quality HDMI, DisplayPort, or DVI cable. Sometimes, using subpar cables can result in display problems.
- Disable Overclocking: If you have overclocked your graphics card or CPU, revert the settings to their default values. Overclocking can sometimes lead to instability and display issues.
- Test on a Different Device: Connect your monitor to a different device to check if the flickering or fuzziness persists. If the issue is resolved with another device, then the problem could be with your original device.
- Check for Electromagnetic Interference: Ensure that there are no devices emitting strong electromagnetic fields near your monitor. These electromagnetic fields can cause display flickering. If necessary, move or separate the interfering devices.
- Repair or Replace: If none of the above solutions resolve the issue, there may be a hardware problem with your monitor. Contact the manufacturer’s support for further assistance or consider taking your monitor to a professional technician for repair.
By following these steps, you should be able to troubleshoot and fix a flickering or fuzzy display on your gaming monitor screen. Once the issue is resolved, you can enjoy a smooth and clear gaming experience without any distractions.
Next, we’ll discuss how to correct color distortion or oversaturation on your gaming monitor screen.
How to Correct Color Distortion or Oversaturation
Color distortion or oversaturation can make your gaming visuals appear unnatural and unbalanced. To correct this issue, try the following steps:
- Check Color Settings: Access the display settings on your monitor or graphics card control panel and make sure the color settings (brightness, contrast, gamma, etc.) are set to default values or values that suit your preference. Incorrect color settings can cause distortions.
- Calibrate Monitor Colors: Consider using a color calibration device to accurately calibrate your monitor. This device measures and adjusts the colors on your screen to ensure accurate representation. Follow the manufacturer’s instructions for the calibration process.
- Adjust Color Profiles: Many monitors offer preset color profiles for different purposes, such as gaming, movies, or photo editing. Experiment with different color profiles to find the one that best suits your gaming needs.
- Update Graphics Drivers: Outdated or faulty graphics drivers can sometimes cause color distortion or oversaturation. Visit the manufacturer’s website and download the latest drivers for your graphics card model.
- Reset Monitor Color Settings: If you’ve made custom color adjustments and are experiencing distortions, try resetting your monitor’s color settings to their default values. This can help eliminate any incorrect settings that might be causing the issue.
- Ensure Proper Lighting: Poor lighting conditions can affect how colors appear on your monitor. Make sure your gaming area is adequately lit and avoid excessive glare or reflections on the screen.
- Use Color Management Software: Consider using color management software to fine-tune your monitor’s color settings. These software tools provide more advanced options for color calibration and adjustment.
- Repair or Replace: If none of the above methods resolve the color issues, there might be a hardware problem with your monitor. Contact the manufacturer’s support or consult a professional technician for further assistance.
By implementing these steps, you should be able to correct color distortion or oversaturation on your gaming monitor screen, resulting in more accurate and visually pleasing colors. With properly calibrated colors, you can fully immerse yourself in your gaming experience.
Next, let’s explore how to resolve dead pixels or stuck pixels on your gaming monitor screen.
How to Resolve Dead Pixels or Stuck Pixels
Dead pixels and stuck pixels can be annoying distractions on your gaming monitor screen. Here are some methods you can try to resolve these pixel issues:
- Pixel Massage: Gently massage the affected area with a soft cloth or your fingertip. Applying gentle pressure and rubbing the area can sometimes reactivate stuck pixels.
- Pixel Fixing Software: There are various pixel fixing software programs available online that can attempt to fix dead or stuck pixels. These programs utilize rapid color changes or flashing patterns to stimulate the pixel and potentially bring it back to life.
- Pressure with a Stylus or Pen: Use a soft cloth or microfiber cloth to apply light pressure directly on the dead or stuck pixel. Alternatively, you can use a blunt object like a stylus or pen to gently apply pressure to the area. Be careful not to exert too much pressure, as it may damage the screen.
- Pixel Exerciser: Some monitors have built-in pixel exerciser or pixel refresh features. Access your monitor’s menu settings and look for options that allow you to refresh or exercise the pixels. Follow the manufacturer’s instructions for performing the exercise.
- Swap the Resolution and Color: Change the resolution and color of your screen to the exact opposite (e.g., from black and white to full-color). This method involves rapidly changing the color displayed on the screen to potentially revive stuck pixels.
- Apply Heat: Use caution with this method, as excessive heat can damage the screen. Using a warm, damp cloth or a heat source like a hairdryer on low heat, gently heat the affected area for a short period. This method may help to reactivate stuck pixels, but be careful not to overheat the monitor.
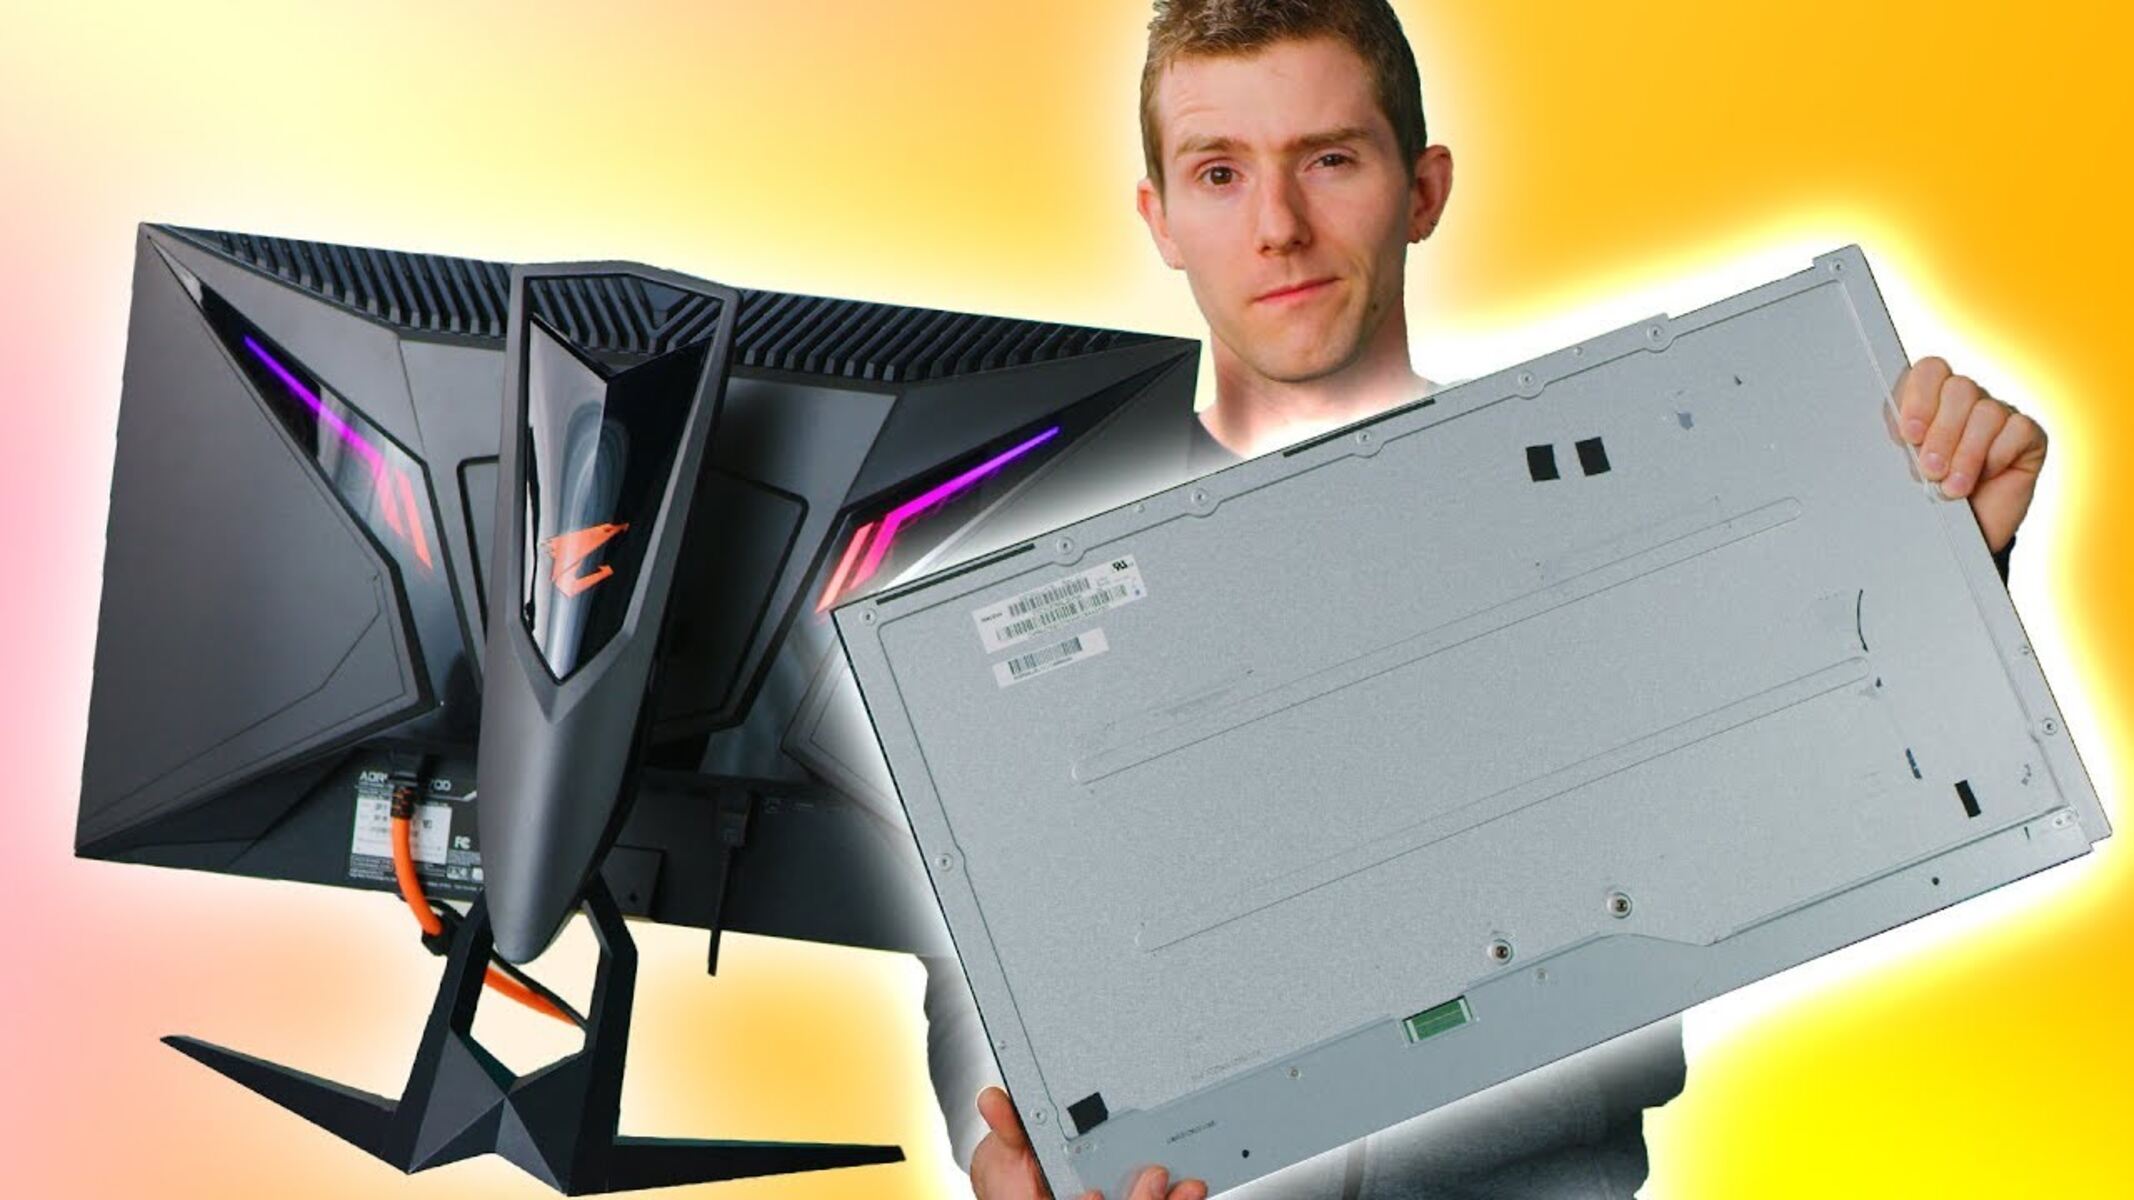
- Professional Repair or Replacement: If none of these methods work, and the dead or stuck pixels continue to persist, consider contacting the manufacturer’s support for repair options. Depending on the severity of the issue, it may be necessary to have the display panel replaced.
It’s important to note that attempting to fix dead or stuck pixels can be challenging, and there’s no guarantee of success. However, with patience and persistence, you may be able to revive or minimize these distracting pixel issues on your gaming monitor screen.
Next, let’s explore how to adjust screen resolution and aspect ratio for optimal gaming visuals.
How to Adjust Screen Resolution and Aspect Ratio
Optimizing the screen resolution and aspect ratio of your gaming monitor is crucial for achieving the best possible visuals and gameplay experience. Here are some steps to adjust these settings:
- Access Display Settings: Open the display settings on your computer or gaming console. From there, you can access the options to adjust the screen resolution and aspect ratio.
- Choose the Recommended Resolution: Select the recommended resolution for your monitor. This information can usually be found in the monitor’s user manual or on the manufacturer’s website. Using the recommended resolution will ensure that the image appears sharp and clear.
- Aspect Ratio Selection: Depending on the content you are viewing, you may need to adjust the aspect ratio to achieve the desired display. Common aspect ratios for gaming include 16:9 (widescreen) and 4:3 (standard). Select the appropriate aspect ratio for your gaming preference.
- Custom Resolution: If the recommended resolution doesn’t suit your needs or if you prefer a specific resolution, you can set a custom resolution. Keep in mind that not all monitors support all resolutions, so ensure that the custom resolution is compatible.
- Test Different Resolutions: Experiment with different resolutions to find the one that provides the best balance between visual clarity and performance for your specific games. Higher resolutions offer sharper images, but they may require more powerful graphics hardware.
- Adjust Scaling Settings: On some systems, you may need to adjust scaling settings to ensure that the image fits the screen properly. Overscaling or underscaling can lead to parts of the image being cut off or black borders appearing around the screen.
- Test in-game Settings: Many games have their own resolution and aspect ratio settings. Make sure to adjust these settings within the game as well to match your monitor’s resolution and aspect ratio.
- Update Graphics Drivers: Outdated graphics drivers can sometimes cause issues with resolution and aspect ratio settings. Visit the manufacturer’s website and download the latest drivers for your graphics card model.
By adjusting the screen resolution and aspect ratio to the optimal settings for your gaming monitor, you can enjoy sharper, more immersive visuals. Take the time to experiment and find the settings that work best for you and your gaming preferences.
Next, let’s explore how to eliminate screen tearing or ghosting for smoother gameplay.
How to Eliminate Screen Tearing or Ghosting
Screen tearing and ghosting can negatively impact your gaming experience by causing visual artifacts and motion blur. Here are some methods to help eliminate or minimize these issues:
- Enable V-Sync: Enabling vertical synchronization (V-Sync) in your game’s graphics settings can help reduce screen tearing. V-Sync synchronizes your monitor’s refresh rate with the game’s frame rate, resulting in smoother visuals.
- Use a G-Sync or FreeSync Monitor: Consider investing in a gaming monitor with G-Sync (for NVIDIA graphics cards) or FreeSync (for AMD graphics cards) technology. These adaptive sync technologies help to eliminate screen tearing by dynamically adjusting the refresh rate of the monitor.
- Adjust Refresh Rate: Ensure that your monitor’s refresh rate matches the frame rate output of your game. Mismatched refresh rates can cause screen tearing. If your monitor supports a higher refresh rate, try increasing it to see if it reduces tearing.
- Limit Frame Rate: Cap the frame rate of your game to the maximum refresh rate of your monitor. This helps to prevent excessive frames from being rendered and reduces the likelihood of screen tearing.
- Update Graphics Drivers: Outdated graphics drivers can sometimes contribute to screen tearing or ghosting. Visit the manufacturer’s website and download the latest drivers for your graphics card model.
- Adjust In-game Settings: Some games have built-in settings to mitigate screen tearing and ghosting. Explore the graphics options in the game settings and look for features like motion blur reduction or anti-ghosting settings.
- Consider Triple Buffering: Enabling triple buffering in games can help reduce screen tearing. Triple buffering stores an additional frame in the graphics card’s memory, allowing for smoother transitions between frames.
- Upgrade Your Hardware: If screen tearing or ghosting persists despite trying the above solutions, it may be necessary to upgrade your graphics card or monitor to a more powerful or adaptive sync-capable model.
Each gaming setup is unique, and different combinations of hardware and software settings may yield varying results. Experiment with these methods to find the best combination for your specific setup and preferences. By eliminating screen tearing and ghosting, you can enjoy smoother visuals and more immersive gameplay.
Next, let’s discuss how to calibrate and optimize your gaming monitor settings for the best possible gaming experience.
How to Calibrate and Optimize Gaming Monitor Settings
Calibrating and optimizing your gaming monitor settings can greatly enhance your gaming experience by providing accurate colors, improved contrast, and optimal performance. Here are some steps to calibrate and optimize your gaming monitor:
- Adjust Brightness and Contrast: Begin by adjusting the brightness and contrast settings on your monitor. This will ensure that you have a balanced and visually comfortable level of brightness and contrast.
- Set Color Temperature: Select the appropriate color temperature setting that suits your preference. Options typically range from warm (reddish tones) to cool (bluish tones). Adjust the color temperature to achieve natural-looking colors.
- Calibrate Colors: Consider using a color calibration device to accurately calibrate your monitor’s colors. Follow the manufacturer’s instructions to create a color profile that displays colors as intended.
- Disable Image Enhancement Features: Turn off any image enhancement features on your monitor such as dynamic contrast, sharpness filters, or noise reduction. These features can introduce unwanted artifacts and affect image accuracy.
- Enable Overdrive: If your monitor has an overdrive feature, enable it to reduce motion blur and improve response time. Experiment with different overdrive settings to find the optimal balance between response time and image quality.
- Adjust Black Levels: Use black level adjustments (either on the monitor or in the graphics driver) to ensure deep blacks and good shadow detail. Avoid settings that crush black details or make dark areas appear overly bright.
- Enable Game Mode: Many gaming monitors have a dedicated game mode setting. Enabling game mode can reduce input lag and optimize the response time of the monitor, enhancing your gaming experience.
- Disable Power-Saving Features: Make sure to disable any power-saving features on your monitor that might affect performance or cause screen dimming during gameplay.
- Test Different Settings: Experiment with different settings and adjustments to find the optimal combination that meets your personal preferences and provides the best visual experience for your games.
- Regular Maintenance: Keep your monitor clean and dust-free. Use a clean, lint-free cloth to gently wipe the screen periodically. Remove any smudges or fingerprints for optimal visibility.
Calibrating and optimizing your gaming monitor settings may require some trial and error to achieve the desired results. Take the time to fine-tune the settings based on your preferences and the specific requirements of your games.
With a properly calibrated and optimized gaming monitor, you will experience accurate colors, improved contrast, reduced motion blur, and an overall enhanced gaming experience.
Now that we’ve discussed the steps to calibrate and optimize your gaming monitor settings, let’s conclude with a summary of the key points.
Conclusion
Having a well-functioning gaming monitor is essential for a captivating and immersive gaming experience. By troubleshooting common issues, adjusting settings, and optimizing your monitor’s performance, you can greatly enhance your gaming visuals and gameplay. Here’s a quick recap of the key points discussed in this article:
We started by exploring common issues with gaming monitor screens, including flickering, color distortion, dead pixels, screen resolution, and screen tearing. Understanding these issues is crucial for effectively troubleshooting and resolving them.
We then discussed the tools and equipment you may need for monitor troubleshooting, such as a screwdriver, cleaning kit, calibration device, replacement cables, and software drivers. Having these tools on hand can help you in the troubleshooting process.
Next, we walked through the steps to troubleshoot display problems, including checking cable connections, updating graphics drivers, testing different ports and devices, and adjusting power-saving settings. Following these steps can help identify the root cause of the problem and lead to a resolution.
We also explored methods to fix specific issues, such as flickering or fuzzy display, color distortion or oversaturation, dead pixels or stuck pixels, adjusting screen resolution and aspect ratio, and eliminating screen tearing or ghosting. Each section provided actionable steps to address these problems and improve your gaming visual quality.
Lastly, we discussed how to calibrate and optimize gaming monitor settings, including adjusting brightness and contrast, setting color temperature, calibrating colors, enabling overdrive, and fine-tuning other settings. These adjustments can greatly enhance the image quality and overall gaming experience.
Remember, while DIY troubleshooting can often resolve common monitor issues, some problems may require professional assistance or warranty support from the manufacturer. If you’re unsure or uncomfortable with making any modifications or repairs, it’s best to seek expert help.
By following the guidance provided in this article and utilizing the appropriate tools and techniques, you can ensure that your gaming monitor screen is free from issues and optimized to deliver the best possible gaming visuals. Now, armed with this knowledge, you can dive back into your favorite games and enjoy a truly immersive gaming experience.