Introduction
So, you just got yourself a brand-new Dell 24-Inch Gaming Monitor and you’re ready to take your gaming experience to the next level. But wait, have you heard about G-Sync? G-Sync is a technology developed by Nvidia that helps synchronize the refresh rates between your monitor and your graphics card, reducing screen tearing and giving you a smoother and more immersive gameplay.
In this guide, we will walk you through the steps to set up your Dell 24-Inch Gaming Monitor with G-Sync. Whether you’re a casual gamer or a hardcore enthusiast, enabling G-Sync can significantly enhance your gaming experience by providing smoother graphics and reducing input lag.
Before we dive into the process, it’s important to note that not all Dell 24-Inch Gaming Monitors are G-Sync compatible. So, the first step is to verify the compatibility of your specific model. Don’t worry, we’ll guide you through the process!
So, let’s get started on this exciting journey of unleashing the full potential of your Dell 24-Inch Gaming Monitor with G-Sync!
Step 1: Check the compatibility of your Dell 24-Inch Gaming Monitor
Before you begin setting up your Dell 24-Inch Gaming Monitor with G-Sync, it’s crucial to ensure that your monitor supports G-Sync technology. Not all Dell 24-Inch Gaming Monitors are G-Sync compatible, so it’s essential to check the specifications of your specific model.
To determine if your monitor is G-Sync compatible, you can refer to the product manual or visit the Dell website. Look for the model number or name of your monitor and search for its specifications page. In the specifications, search for keywords like “G-Sync” or “Nvidia G-Sync” to find out if your monitor supports this technology.
If you can’t find the information on the Dell website or in the product manual, you can also check the Nvidia website. Nvidia provides a list of certified G-Sync compatible monitors, which can help you confirm if your Dell monitor is compatible.
If you discover that your monitor is not G-Sync compatible, don’t be disheartened. Dell also offers monitors with AMD FreeSync technology, which is an alternative to G-Sync. In this case, you can follow a similar setup process, but with the AMD FreeSync settings instead.
By ensuring the compatibility of your Dell 24-Inch Gaming Monitor with G-Sync, you’ll be ready to proceed with the setup process confidently. So, take a moment to check the specifications of your monitor and let’s move on to the next step!
Step 2: Ensure your computer supports G-Sync
Now that you have confirmed the compatibility of your Dell 24-Inch Gaming Monitor with G-Sync, it’s time to make sure that your computer is capable of supporting this technology. G-Sync requires specific hardware and software components to function correctly.
The first requirement is an Nvidia graphics card that supports G-Sync. Not all Nvidia graphics cards are G-Sync compatible, so you need to check if your card meets the necessary criteria. Visit the Nvidia website or refer to your graphics card’s documentation to verify its compatibility with G-Sync.
In addition to a compatible graphics card, you will also need the Nvidia G-Sync module installed on your monitor. Most newer Dell 24-Inch Gaming Monitors come with the G-Sync module pre-installed, but it’s essential to double-check. Refer to the product manual or Dell’s website to confirm that your monitor includes the necessary module.
Next, ensure that you have the latest Nvidia graphics drivers installed on your computer. These drivers are crucial for the proper functioning of G-Sync. Visit the Nvidia website or use the GeForce Experience software to check for updates and install the latest drivers if needed.
Lastly, make sure that your operating system is compatible with G-Sync. G-Sync is compatible with Windows 10 and Windows 7 operating systems, but Windows 8 and earlier versions do not support this technology. Ensure that your computer is running a compatible operating system to ensure a seamless G-Sync experience.
By confirming that your computer meets all the necessary requirements, you can ensure that G-Sync will work smoothly when enabled on your Dell 24-Inch Gaming Monitor. Now that you’ve taken care of the hardware and software prerequisites let’s move on to the next step and connect your monitor to your computer!
Step 3: Connect your Dell monitor to your computer
Now that you have verified the compatibility of your Dell 24-Inch Gaming Monitor with G-Sync and ensured that your computer supports this technology, it’s time to connect the monitor to your computer.
Start by locating the video output ports on your computer’s graphics card. Depending on your graphics card and the available ports, you may have options such as HDMI, DisplayPort, or DVI. Look for the appropriate port that matches the input ports on your Dell monitor.
Next, take the appropriate cable, whether it’s an HDMI cable, DisplayPort cable, or DVI cable, and connect one end to the video output port on your graphics card. Make sure it’s securely plugged in to avoid any loose connections.
Now, locate the corresponding input port on your Dell monitor and connect the other end of the cable to it. Again, ensure that the connection is firm and secure.
If your Dell monitor supports multiple input options, such as HDMI and DisplayPort, make sure to connect the cable to the preferred input port for G-Sync. Check the monitor’s user manual or Dell’s website for specific instructions on selecting the correct input source.
Once the connections are made, power on both your computer and your Dell monitor. The monitor should detect the input signal automatically. If not, use the monitor’s menu options to select the correct input source manually.
With the Dell monitor successfully connected to your computer, you’re one step closer to enjoying the benefits of G-Sync. Now, let’s move on to the next step, where we’ll install the necessary drivers for G-Sync.
Step 4: Install the necessary drivers for G-Sync
Now that you have connected your Dell monitor to your computer, it’s time to install the necessary drivers for G-Sync. These drivers are essential for enabling G-Sync functionality and ensuring optimal performance.
To begin, open your web browser and navigate to the Nvidia website. Look for the “Drivers” or “Download” section of the website. Here, you’ll find the latest drivers for your Nvidia graphics card.
Once you’re on the drivers page, you may be prompted to provide information about your graphics card and operating system. Follow the instructions and select the appropriate options to find the correct drivers for your setup.
Once you’ve identified the correct drivers, click on the download button to start the download process. The file size may vary depending on the drivers and your internet connection speed, so it may take a few moments.
After the download is complete, locate the downloaded file on your computer and double-click on it to begin the installation process. Follow the on-screen instructions to install the drivers. It’s recommended to choose the “Express” installation option for a hassle-free installation process.
During the installation, the drivers will be extracted, and your system will be updated with the necessary files. Once the installation is complete, you may be required to restart your computer to apply the changes.
After restarting your computer, the G-Sync drivers will be installed and ready to use. At this point, your Dell 24-Inch Gaming Monitor is optimized for G-Sync functionality.
Remember to periodically check for driver updates on the Nvidia website to ensure that you always have the latest drivers for your graphics card and G-Sync compatibility.
Now that you’ve installed the necessary drivers for G-Sync, let’s proceed to the next step and learn how to enable G-Sync in the Nvidia Control Panel.
Step 5: Enable G-Sync in Nvidia Control Panel
With the necessary drivers installed, it’s time to enable G-Sync in the Nvidia Control Panel. The Nvidia Control Panel is a software application that allows you to customize various settings for your Nvidia graphics card, including G-Sync.
To begin, right-click on your desktop and select “Nvidia Control Panel” from the context menu. This will open the Nvidia Control Panel application.
In the Nvidia Control Panel, navigate to the “Display” category. Here, you should see a list of connected displays, including your Dell 24-Inch Gaming Monitor.
Click on your Dell monitor to select it. Once selected, scroll down to the “Apply the following settings” section.
Under the “Apply the following settings” section, you should see an option labeled “Enable G-Sync.” Check the box next to this option to enable G-Sync on your Dell monitor.
After enabling G-Sync, you may have additional options to customize the behavior of G-Sync, such as enabling G-Sync for full-screen mode only or for both windowed and full-screen modes. Adjust these settings according to your preferences.
Once you’ve made the necessary changes, click on the “Apply” button at the bottom right corner of the Nvidia Control Panel to apply the G-Sync settings to your Dell monitor.
Depending on your system configuration, you may be required to restart your computer for the changes to take effect. If prompted, follow the instructions to restart your computer.
After your computer restarts, G-Sync will be enabled on your Dell 24-Inch Gaming Monitor. This means that the monitor and your Nvidia graphics card are working together to deliver smoother and tear-free gaming experiences.
Congratulations! You have successfully enabled G-Sync in the Nvidia Control Panel for your Dell monitor. Now, let’s move on to the next step and learn how to adjust the monitor settings for an optimal gaming experience.
Step 6: Adjust the monitor settings for optimal gaming experience
Now that G-Sync is enabled on your Dell 24-Inch Gaming Monitor, you can further enhance your gaming experience by adjusting the monitor settings to optimize the visuals and performance.
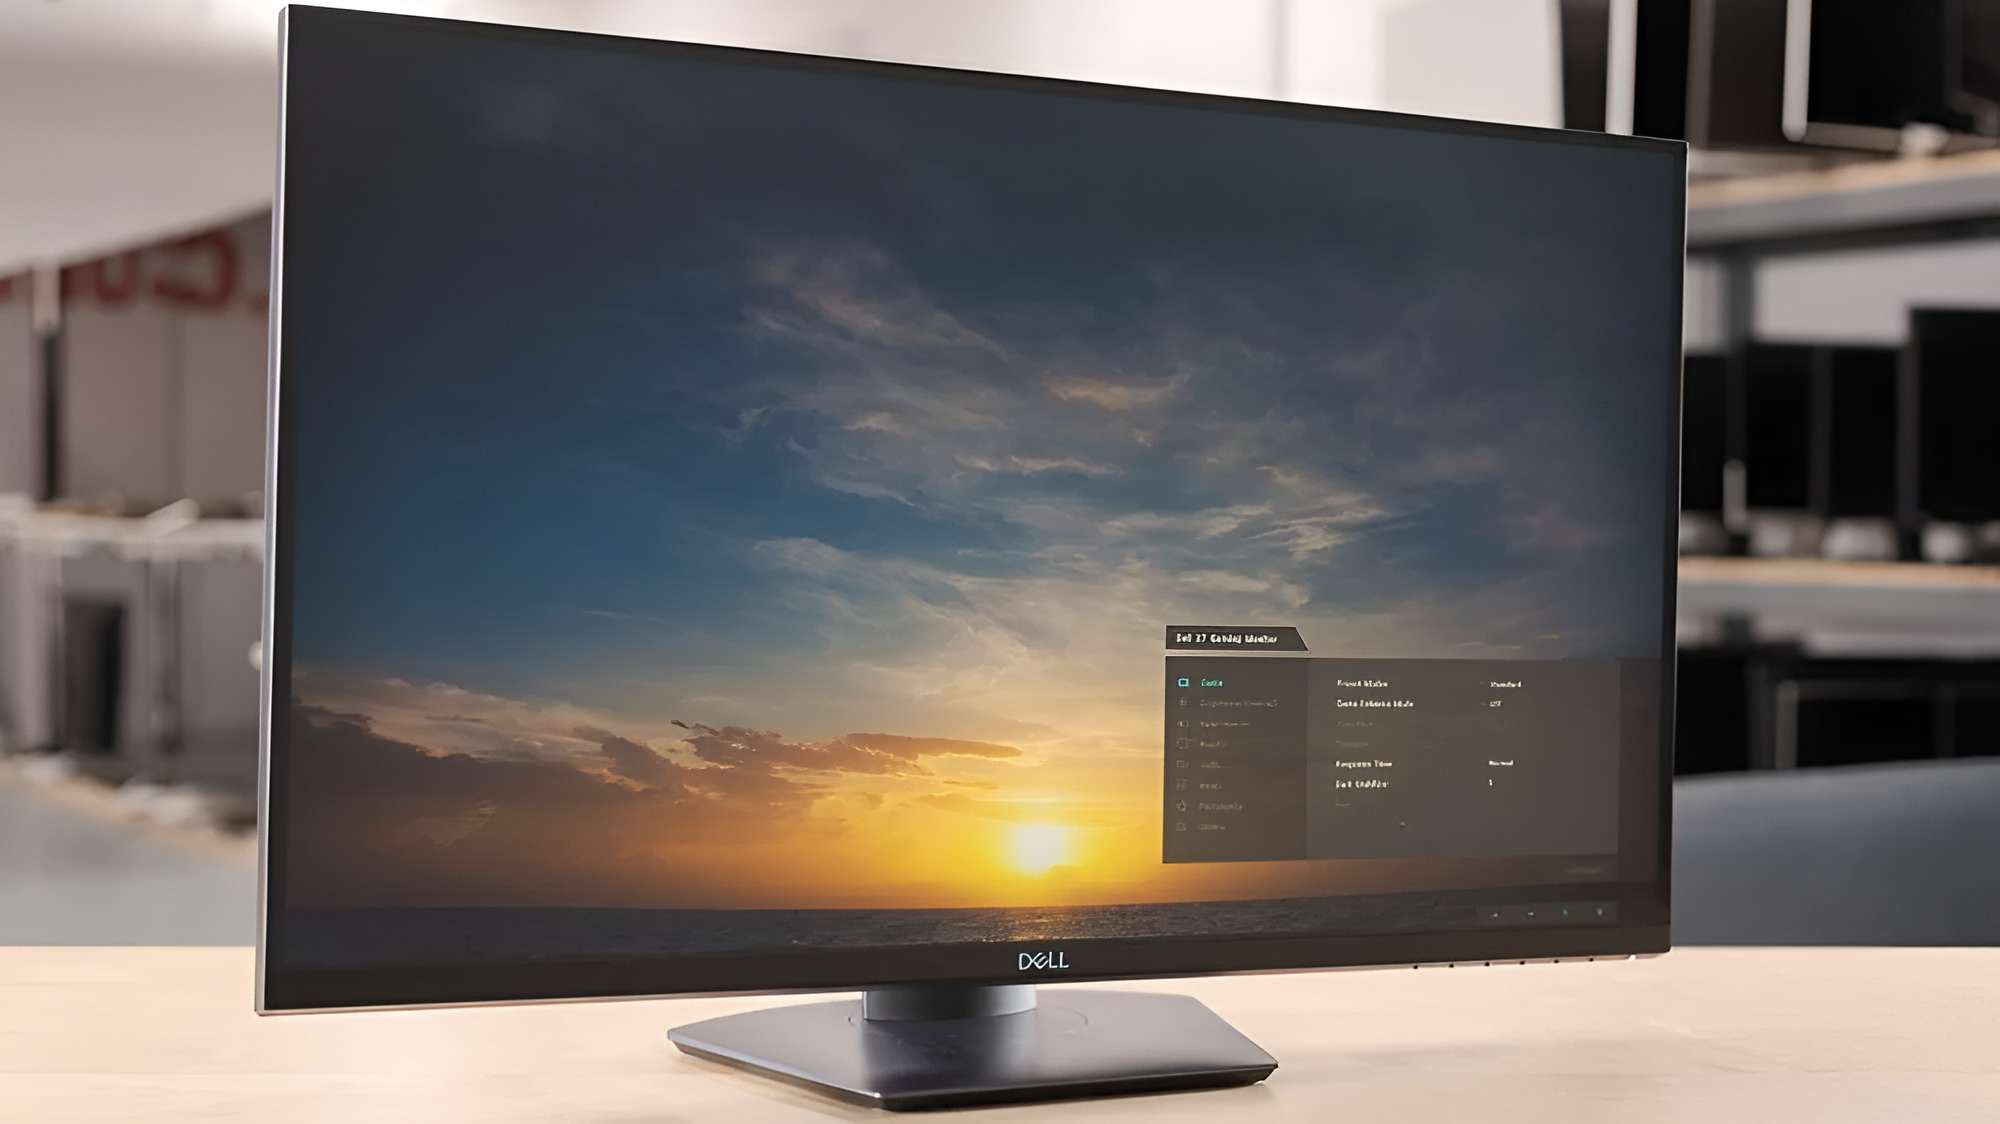
Start by accessing the on-screen display (OSD) settings on your Dell monitor. To do this, locate the buttons or joystick on the monitor itself and navigate through the menu to access the OSD settings.
Once you’re in the OSD settings, explore the different options available to adjust settings such as brightness, contrast, color balance, sharpness, and other display parameters. Your monitor may also have predefined gaming modes or presets that you can choose from to optimize the display settings for gaming.
When making adjustments, it’s important to strike a balance between vibrant colors and optimal visibility. You can experiment with different settings and find what works best for your preferences and the specific game you’re playing.
Additionally, if your monitor offers features like motion blur reduction or gaming-specific modes, consider enabling them to further enhance the overall gaming experience.
Keep in mind that every game and personal preference may require different settings. It’s a good idea to adjust the monitor settings accordingly for each game or genre you play to achieve the best visuals and gameplay experience.
Once you have fine-tuned the monitor settings to your liking, save the changes and exit the OSD settings menu.
Now, you’re all set to enjoy your favorite games with G-Sync enabled and your Dell monitor adjusted for optimal visuals and performance.
Remember, if you ever want to make further tweaks or changes to the monitor settings, you can always revisit the OSD settings and experiment with different options.
Congratulations! You’ve successfully adjusted the monitor settings to enhance your gaming experience. Now, let’s move on to the final step and learn how to test the G-Sync functionality and troubleshoot if necessary.
Step 7: Test G-Sync functionality and troubleshoot if necessary
After setting up G-Sync on your Dell 24-Inch Gaming Monitor, it’s important to test its functionality and ensure that it’s working as expected. Testing G-Sync will help you verify if the technology is properly synchronizing the monitor’s refresh rate with your graphics card’s frame rate.
To test G-Sync functionality, launch a game or application that supports G-Sync. During gameplay, observe the smoothness of the graphics and look out for any screen tearing or stuttering. If G-Sync is working correctly, you should notice a significant reduction in screen tearing, smoother animations, and improved overall visual quality.
If you encounter any issues or limited functionality with G-Sync, there are a few troubleshooting steps you can take:
- Make sure you have the latest Nvidia graphics card drivers installed. Check the Nvidia website or use the GeForce Experience software to check for updates and install the latest drivers.
- Verify that G-Sync is enabled in the Nvidia Control Panel. Double-check the settings we configured in Step 5 and ensure that G-Sync is enabled for the correct display.
- Ensure that G-Sync is enabled in the game settings. Some games have their own settings related to G-Sync. Check the graphics settings within the game and look for options like “V-Sync” or “G-Sync.” Enable G-Sync if available.
- Try disabling and re-enabling G-Sync. Sometimes, toggling G-Sync off and on can resolve any temporary issues. Access the Nvidia Control Panel and disable G-Sync, then re-enable it.
- Restart your computer. A simple restart can sometimes resolve minor issues and ensure that all settings take effect properly.
- If you’re experiencing persistent issues with G-Sync, consider contacting Nvidia support or Dell customer service for further assistance. They can provide additional troubleshooting steps or recommend specific solutions depending on your setup.
By following these troubleshooting steps, you can address any issues with G-Sync and ensure that you’re getting the most out of your Dell 24-Inch Gaming Monitor’s capabilities.
With G-Sync functioning optimally and any potential issues resolved, you can now enjoy a smoother and more immersive gaming experience with reduced screen tearing and improved visuals on your Dell monitor.
Great job! You have successfully tested G-Sync functionality and troubleshooted any related issues. Now, you can sit back, relax, and fully enjoy the benefits of G-Sync on your Dell 24-Inch Gaming Monitor!
Conclusion
Setting up G-Sync on your Dell 24-Inch Gaming Monitor can greatly enhance your gaming experience by providing smoother graphics and reducing screen tearing. By following the steps outlined in this guide, you’ve successfully enabled G-Sync, adjusted your monitor settings, and tested its functionality.
Remember, it’s essential to check the compatibility of your Dell monitor with G-Sync before beginning the setup process. Additionally, you need to ensure that your computer supports G-Sync and has the necessary drivers installed.
Connecting your Dell monitor to your computer is a straightforward process, and installing the relevant drivers is crucial for enabling G-Sync. Finally, adjusting the monitor settings allows you to customize the visuals for an optimal gaming experience.
If you encounter any issues or limited functionality with G-Sync, troubleshooting steps such as updating drivers, adjusting in-game settings, and restarting your computer can often resolve the problems.
Now that you have successfully set up G-Sync on your Dell 24-Inch Gaming Monitor and tested its functionality, you can enjoy a smoother and more immersive gaming experience. Experience reduced screen tearing, improved visuals, and overall enhanced gameplay.
Remember to stay up to date with driver updates and periodically revisit the monitor settings to ensure your gaming experience remains optimized.
Congratulations on successfully setting up G-Sync on your Dell 24-Inch Gaming Monitor! Get ready for a whole new level of gaming enjoyment with smoother graphics and seamless gameplay.