Introduction
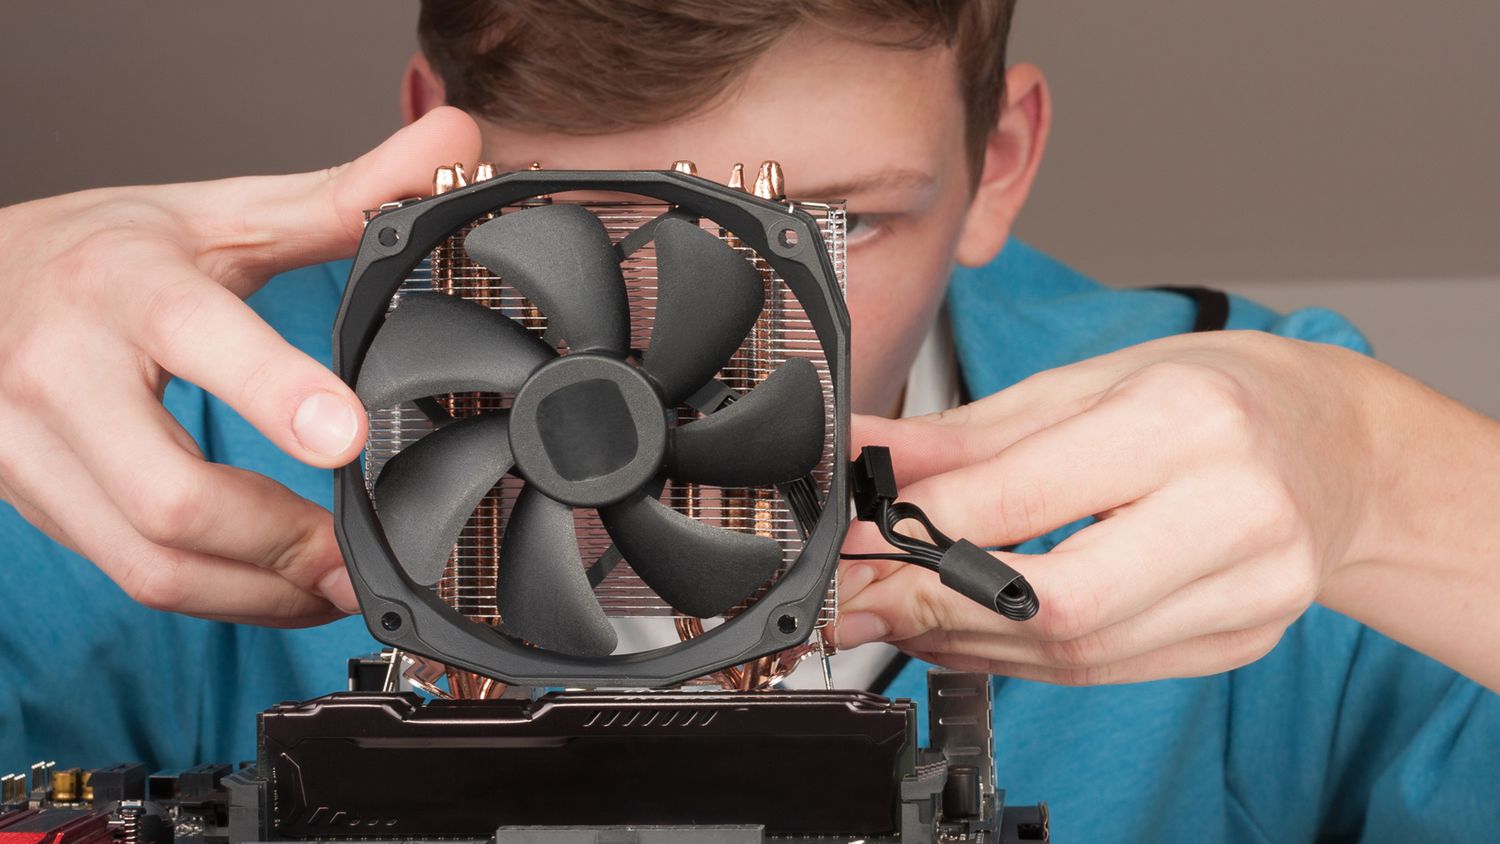
A case fan plays a crucial role in keeping your computer cool and preventing overheating. It helps circulate air throughout the case, dissipating heat from the components such as the CPU and GPU. However, over time, case fans can become worn out or develop issues that affect their performance. If you notice strange noises, reduced cooling efficiency, or complete fan failure, it’s time to take action and fix the problem.
In this guide, we will walk you through the steps to fix a bad case fan. Whether you’re a beginner or a seasoned computer enthusiast, these troubleshooting tips will help you diagnose and resolve issues with your case fan, ensuring optimal cooling and preventing potential damage to your computer.
To fix a bad case fan, you may need a few common tools such as a screwdriver, compressed air canister, and a replacement fan if necessary. Don’t worry if you’re not a tech-savvy person; these steps are simple and can be easily followed even by those with minimal technical knowledge.
Before proceeding with the troubleshooting steps, make sure to power down your computer and disconnect it from the power source. Safety should always be your top priority when working with computer hardware.
So, if your computer is experiencing symptoms of a bad case fan, such as heat-related issues or unusual noises, let’s delve into the process of fixing the problem. Follow the steps outlined below and regain your computer’s optimal cooling capabilities.
Common Signs of a Bad Case Fan
Identifying the signs of a bad case fan is the first step in troubleshooting the issue. Here are some common symptoms you may encounter:
-
Excessive Noise: If you notice loud grinding, rattling, or buzzing noises coming from your computer case, it could be a sign that the case fan is malfunctioning. Excessive noise is often caused by worn-out bearings or an unbalanced fan blade.
-
Reduced Airflow: Insufficient airflow inside the case can lead to elevated temperatures, potentially causing your computer to overheat. If you notice that your computer is running hotter than usual or experiencing frequent thermal shutdowns, it can indicate a problem with the case fan.
-
Fan Failure: In some cases, the fan may cease to work altogether. This can be due to various reasons, such as a faulty power connection, a broken fan motor, or extensive dust build-up.
-
Unresponsive Fan Speed: If your case fan has variable speed settings but fails to respond to adjustments or consistently runs at a high speed, it may indicate a malfunctioning fan controller or a problem with the fan’s circuitry.
-
Visible Damage: Inspect the case fan for any physical damages, such as broken blades or bent fins. These damages can disrupt the airflow and affect the cooling efficiency of the fan.
If you encounter any of these signs, it’s essential to address the issue promptly to prevent further damage to your computer. In the following steps, we will guide you on how to troubleshoot and fix a bad case fan.
Tools Required
Before you start troubleshooting and fixing your bad case fan, it’s important to gather the necessary tools. Here are the tools you may need:
-
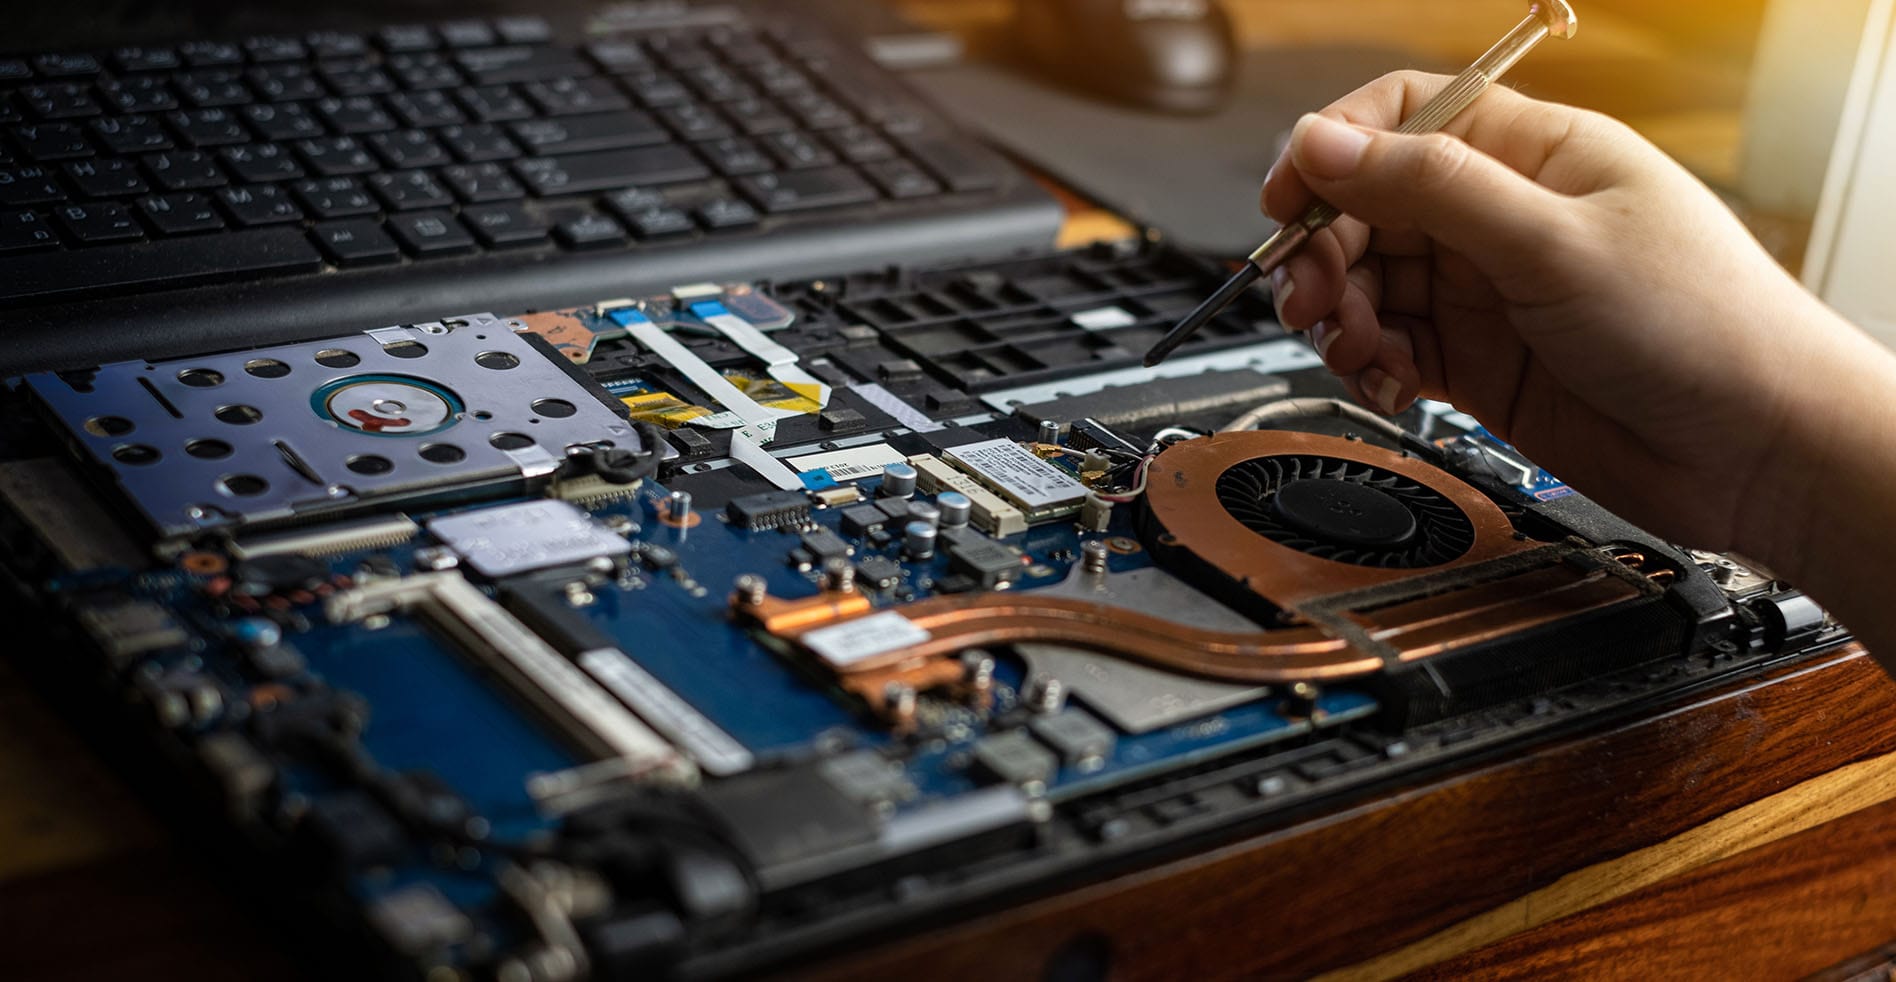
Screwdriver: A small Phillips or flathead screwdriver will be required to remove the case panel and access the fan.
-
Compressed Air Canister: Dust and debris can accumulate on the fan blades over time, affecting its performance. A can of compressed air will help you clean the fan effectively.
-
Replacement Fan: If you determine that the case fan is irreparable, you may need to purchase a replacement fan. Make sure to check the size, airflow requirements, and connector type compatible with your computer case.
-
Anti-static Wrist Strap: Although not necessary, an anti-static wrist strap can help prevent accidental damage to sensitive computer components while working inside the case.
-
Cable Ties: Cable ties or zip ties can be helpful to manage the cables inside the case and ensure they don’t interfere with the fan’s operation.
By gathering these essential tools, you will be prepared to tackle any issues related to your case fan. Having everything at hand will make the troubleshooting process smoother and more efficient.
Once you have these tools ready, you can proceed to the next steps and begin fixing your bad case fan.
Step 1: Power Down Your Computer
The first and most crucial step before working on your computer’s case fan is to power down your computer and disconnect it from the power source. This step ensures your safety and prevents any potential damage to the computer components.
Follow these steps to power down your computer:
-
Save your work and close any open programs or files.
-
Click on the Start menu and select “Shut down” or “Power off.”
-
Wait for your computer to shut down completely.
-
Once your computer is powered off, unplug the power cord from the wall outlet or power strip.
Remember, it’s crucial to disconnect the power source before working on your computer’s internal components. This precautionary measure reduces the risk of electrical shock and ensures your safety throughout the troubleshooting process.
After completing this step, you can proceed to the next step, which involves accessing the computer case to locate the problem fan.
Step 2: Access the Case
Now that your computer is powered down and disconnected from the power source, it’s time to access the case to locate the problem fan. Follow these steps to access the case:
-
Place your computer on a clean and static-free surface. Make sure you have enough space to work comfortably.
-
Locate the screws or fasteners on the back or sides of the computer case. These screws hold the side panel in place.
-
Using a screwdriver, carefully remove the screws or fasteners securing the side panel to the case. Set the screws aside in a safe place, as you will need them later.
-
Once the screws are removed, gently slide or lift off the side panel, exposing the interior of the computer case.
It’s important to be cautious while removing the side panel to avoid any damage to the case or other components inside. If you’re unsure about the specific procedure for opening your computer case, consult the manufacturer’s documentation or search for online resources specific to your computer model.
With the case open, you can now move on to the next step, which involves locating the problem fan within the case.
Step 3: Locate the Problem Fan
Now that you have accessed the computer case, it’s time to locate the problem fan. Follow these steps to identify the fan needing attention:
-
Take a moment to familiarize yourself with the interior of the computer case. Look for the fans installed to aid in cooling the components.
-
Typically, there will be one or more case fans visible. These fans are usually located at the front, rear, or top of the case.
-
Identify the fan that is exhibiting the signs of being faulty or causing issues. This may be the fan producing excessive noise, showing physical damage, or experiencing other symptoms mentioned earlier.
-
Make note of the specific location and any identifiable markings on the fan to help with troubleshooting and potential replacement.
By carefully observing and locating the problem fan, you will be able to focus your efforts on addressing the specific issues affecting that fan. Identifying the correct fan is crucial to ensure the effectiveness of your troubleshooting and repair efforts.
Once you have identified the problem fan, proceed to the next step, where you will check the connections of the fan to ensure they are secure.
Step 4: Check the Connections
After locating the problem fan within the computer case, the next step is to check its connections. Loose or faulty connections can cause issues with the fan’s performance. Follow these steps to inspect and ensure the connections are secure:
-
Locate the power cable or connector attached to the problem fan. This cable is responsible for providing power to the fan.
-
Inspect the connection point where the fan’s power cable connects to the motherboard or fan controller. Ensure that it is securely plugged in.
-
If the connection is loose or appears to be damaged, gently unplug and reconnect the cable to ensure a secure connection.
-
In some cases, the fan’s power cable may be connected to a fan header on the motherboard. If this is the case, check the pins on the fan header for any bent or damaged pins. Straighten any bent pins carefully using a small tool if necessary.
-
If you have a modular power supply with detachable cables, ensure that the cable connected to the problem fan is securely inserted into the power supply unit.
By checking and securing the connections, you eliminate the possibility of loose or faulty connections causing issues with the fan’s operation. Once you have ensured that the connections are secure, you can move on to the next step, which involves cleaning the fan to improve its performance.
Step 5: Clean the Fan
Cleaning the fan is an essential step in troubleshooting and fixing a bad case fan. Dust and debris can accumulate on the fan blades over time, impeding airflow and reducing cooling efficiency. Follow these steps to clean the fan:
-
Start by using a can of compressed air. Hold the can upright and direct short bursts of air onto the fan blades, focusing on the areas with the most dust buildup.
-
Be sure to hold the fan blades still while blowing the compressed air to prevent them from spinning excessively, which could potentially damage the fan or other components.
-
If there are stubborn dirt or debris particles that cannot be removed with compressed air, you can use a soft brush, such as a small paintbrush or a toothbrush, to gently scrub the fan blades and dislodge any dirt.
-
Ensure that you clean both the front and back of the fan blades thoroughly. Also, clean the surrounding area to prevent dust from being blown back onto the fan after cleaning.
-
Continue the cleaning process until you’re satisfied that the fan is free from dust and debris.
Regularly cleaning your case fan helps maintain optimal cooling performance and extends its lifespan. It is recommended to clean the fan at regular intervals, depending on the environmental conditions and usage of your computer.
Once you have completed cleaning the fan, you can proceed to the next step, which involves replacing the fan if necessary.
Step 6: Replace the Fan
If cleaning the fan does not resolve the issue or if the fan is damaged beyond repair, it may be necessary to replace it with a new one. Follow these steps to replace the case fan:
-
Ensure that you have a compatible replacement fan. Check the size, airflow requirements, and connector type of the old fan to select an appropriate replacement.
-
Start by removing any screws or fasteners holding the fan in place. Carefully detach the fan from its mounting location and disconnect any cables or connectors attached to it.
-
Take note of how the old fan was positioned and the direction it was facing. This will help when installing the new fan.
-
Position the new fan in the same location as the old fan, aligning it with the mounting holes or brackets.
-
Secure the new fan in place using the screws or fasteners that were removed earlier. Ensure that it is firmly attached and doesn’t wobble or move excessively.
-
Reconnect any cables or connectors to the new fan, ensuring a secure connection.
It’s important to refer to the manufacturer’s instructions or online resources specific to your computer case and fan model for any specific guidance related to fan replacement.
Replacing a case fan with a new one can help restore optimal cooling performance and resolve any issues with the previous fan. It’s a straightforward process that can be completed with basic tools and minimal technical knowledge.
Once you have successfully replaced the fan, you can proceed to the final step, which involves testing the fan to ensure it’s functioning correctly.
Step 7: Test the Fan
After replacing the case fan, it’s essential to test its functionality to ensure it’s working correctly. Follow these steps to test the fan:
-
Connect your computer to the power source and turn it on. Make sure all cables are securely connected.
-
Listen for any unusual noises coming from the fan. A properly functioning fan should operate smoothly without any grinding, rattling, or buzzing sounds.
-
Observe the fan’s rotation. It should be spinning steadily and without any intermittent stopping or stuttering.
-
Inspect the airflow around the fan. Place your hand near the fan’s location and feel for a consistent and steady flow of air. This indicates that the fan is effectively circulating air within the case.
-
Monitor the temperature of your computer components. Use hardware monitoring software or BIOS/UEFI settings to check the temperature readings. If the new fan is functioning correctly, it should help maintain optimal temperatures for your CPU, GPU, and other components.
-
Keep an eye on your computer’s performance and stability. If you experience fewer thermal shutdowns and improved overall system performance, it indicates that the new fan is functioning properly.
If you notice any issues during the testing process or if the fan doesn’t seem to be working as expected, double-check the connections and ensure that the fan is properly installed. If the problem persists, it may be necessary to repeat the troubleshooting steps or seek professional assistance.
By thoroughly testing the fan, you can verify its functionality and ensure that the cooling performance of your computer is restored. With a properly working fan, you can enjoy a cooler and more stable system.
Conclusion
Fixing a bad case fan is essential for maintaining optimal cooling and preventing potential damage to your computer. By following the steps outlined in this guide, you can identify the signs of a bad case fan, gather the necessary tools, access the computer case, locate the problem fan, check its connections, clean the fan, replace it if necessary, and finally, test its functionality.
Regular maintenance and troubleshooting of your case fans can help prevent overheating, improve system performance, and prolong the lifespan of your computer components. Remember to power down your computer and disconnect it from the power source before working on the case fans to ensure your safety.
If you encounter any difficulties or if the issue persists after troubleshooting, it is recommended to seek professional assistance. They can provide expert guidance and help you resolve more complex fan-related problems.
By taking the time to fix a bad case fan, you can ensure reliable cooling performance, prevent damage to your computer, and enjoy a smooth and efficient computing experience. So, don’t hesitate to address any issues with your case fan and keep your system running cool and healthy.


