Introduction
Welcome to the digital age, where we have access to an endless array of music at our fingertips. Gone are the days of carrying around bulky CD cases or searching through stacks of vinyl records. With the advent of smartphones, we can now store and enjoy our favorite tunes wherever we go. However, sometimes we come across a song or album that isn’t available on popular music streaming platforms. So what do we do? We turn to our trusty computers to download the music and transfer it to our Android smartphones.
In this article, we will guide you through the process of downloading music from your computer to your Android smartphone. Whether you have a vast music library on your computer or you stumbled upon a hidden gem on the internet, we’ve got you covered. By following these simple steps, you’ll be able to enjoy your favorite songs on the go without the need for an internet connection.
Before we dive into the details, it’s important to ensure that you have the necessary equipment and a basic understanding of how to navigate your computer’s file system. You’ll need a USB cable to connect your Android smartphone to your computer, and you’ll be working with the file explorer on your computer to transfer the music files. Don’t worry if you’re not a tech whiz – we’ll explain everything in a beginner-friendly manner.
So if you’re ready to take control of your music collection and bring it with you wherever you go, let’s get started with the step-by-step process of downloading music from your computer to your Android smartphone.
Step 1: Connect your Android smartphone to the computer
The first step in transferring music from your computer to your Android smartphone is to establish a connection between the two devices. This can be easily done by using a USB cable.
Start by locating the USB port on both your computer and your Android smartphone. The USB port on your computer is usually found on the back or sides of the CPU tower, while the port on your smartphone is typically located at the bottom or sides of the device.
Take the USB cable and plug one end into the USB port on your computer. Then, take the other end of the cable and plug it into the USB port on your Android smartphone. Make sure both ends are securely connected.
Once the connection is established, you should see a notification on your Android smartphone indicating that it is connected to a computer via USB. You may also need to unlock your device and swipe down from the top of the screen to access the notification panel.
It’s important to note that some Android smartphones might require additional steps to enable USB file transfer. If you don’t see the notification mentioned above, you may need to enable file transfer manually. You can do this by going to the Settings menu on your Android device, selecting “Connected devices” or “Device connectivity,” and then enabling the “File transfer” or “MTP” (Media Transfer Protocol) option.
Once you have successfully connected your Android smartphone to your computer and enabled file transfer, you’re ready to move on to the next step.
Step 2: Enable file transfer on your Android smartphone
Now that you have connected your Android smartphone to your computer, it’s time to ensure that file transfer is enabled on your device. Enabling this feature will allow you to access and transfer music files between your computer and your Android smartphone.
To enable file transfer, follow these simple steps:
- On your Android smartphone, unlock the screen, if needed, and navigate to the home screen.
- Swipe down from the top of the screen to reveal the notification panel.
- Look for a notification that says “USB for file transfer” or similar. Tap on this notification to expand the options.
- A menu will appear with various USB options. Select the “File transfer” or “MTP” (Media Transfer Protocol) option.
- If you do not see the desired option, you may need to tap on “More options” or “More settings” to access additional USB options.
- Once you have selected the “File transfer” or “MTP” option, the connection between your Android device and your computer will be configured for file transfer. Your device is now ready to receive music files from your computer.
It’s important to note that the steps to enable file transfer may vary slightly depending on the make and model of your Android smartphone. In some devices, the USB options may be found under the “Connected devices” or “Device connectivity” settings in the system settings menu.
Ensuring that file transfer is enabled on your Android smartphone is crucial for successful music file transfer. Once you have completed this step, you can proceed to the next stage of the process: opening your computer’s file explorer.
Step 3: Open your computer’s file explorer
Now that you have enabled file transfer on your Android smartphone, it’s time to open your computer’s file explorer. The file explorer is the built-in application on your computer that allows you to navigate through files and folders.
The process of opening the file explorer may vary slightly depending on the operating system you are using. Here are the general instructions for the most commonly used operating systems:
- Windows: On a Windows computer, you can open the file explorer by clicking on the “Start” button located in the bottom left corner of the screen. In the search bar, type “File Explorer” and click on the File Explorer app when it appears.
- Mac: On a Mac computer, you can open the file explorer by clicking on the Finder icon located in the dock at the bottom of the screen, or by clicking on the Finder option in the top menu bar.
- Linux: On a Linux computer, the file explorer may vary depending on the distribution you are using. In most cases, you can open it by clicking on the “Files” or “Home” icon in the taskbar or by searching for “Files” in the application menu.
Once you have opened the file explorer, you will be able to see a list of drives and folders on your computer. You will use the file explorer to locate the music files that you want to transfer to your Android smartphone.
Now that you have your file explorer open and ready, let’s move on to the next step: locating the music files on your computer.
Step 4: Locate the music files on your computer
Now that you have opened your computer’s file explorer, it’s time to locate the music files that you want to transfer to your Android smartphone. The location of these files may vary depending on where you have stored them on your computer.
Here are a few common locations where you might find your music files:
- Music Folder: Many users organize their music files in a dedicated “Music” folder on their computer. You can navigate to this folder by expanding the list of drives and folders in your file explorer and looking for a folder named “Music” or “My Music.”
- Downloads Folder: If you have recently downloaded music files from the internet, there’s a good chance they are in your “Downloads” folder. This folder is typically located in the user’s home directory.
- iTunes Library: If you use iTunes to manage your music collection, you can find your music files by navigating to the iTunes library folder. This folder is usually located in the “Music” folder on your computer.
Once you have identified the folder or location where your music files are stored, you can access it by clicking on the corresponding entry in your file explorer. This will display the contents of the folder, including the music files that you want to transfer.
Remember to take note of the specific location of your music files, as you will need this information in the next step.
Now that you have located your music files, it’s time to move on to the next step: copying the music files.
Step 5: Copy the music files
Now that you have located the music files on your computer, it’s time to copy them and prepare them for transfer to your Android smartphone. Copying the files will create a duplicate of the original files, allowing you to preserve the original files on your computer while transferring a copy to your device.
To copy the music files, follow these steps:
- In your computer’s file explorer, navigate to the folder where your music files are located.
- Select the music files that you want to transfer. You can do this by clicking on each file while holding down the “Ctrl” (Windows) or “Command” (Mac) key, or by dragging your cursor to select multiple files at once.
- Once the files are selected, right-click on one of the selected files and choose the “Copy” option from the context menu. Alternatively, you can use the keyboard shortcut “Ctrl+C” (Windows) or “Command+C” (Mac).
- The selected music files are now copied and stored in your system’s clipboard.
Now that you have copied the music files, it’s time to navigate to your Android device’s music folder and paste the copied files into it. Keep reading to learn how to do this in the next step.
Step 6: Paste the music files into your Android device’s music folder
After copying the music files from your computer, it’s time to transfer them to your Android device by pasting them into the device’s music folder. This will make the music files accessible and playable on your Android device’s music player.
Follow these steps to paste the music files into your Android device’s music folder:
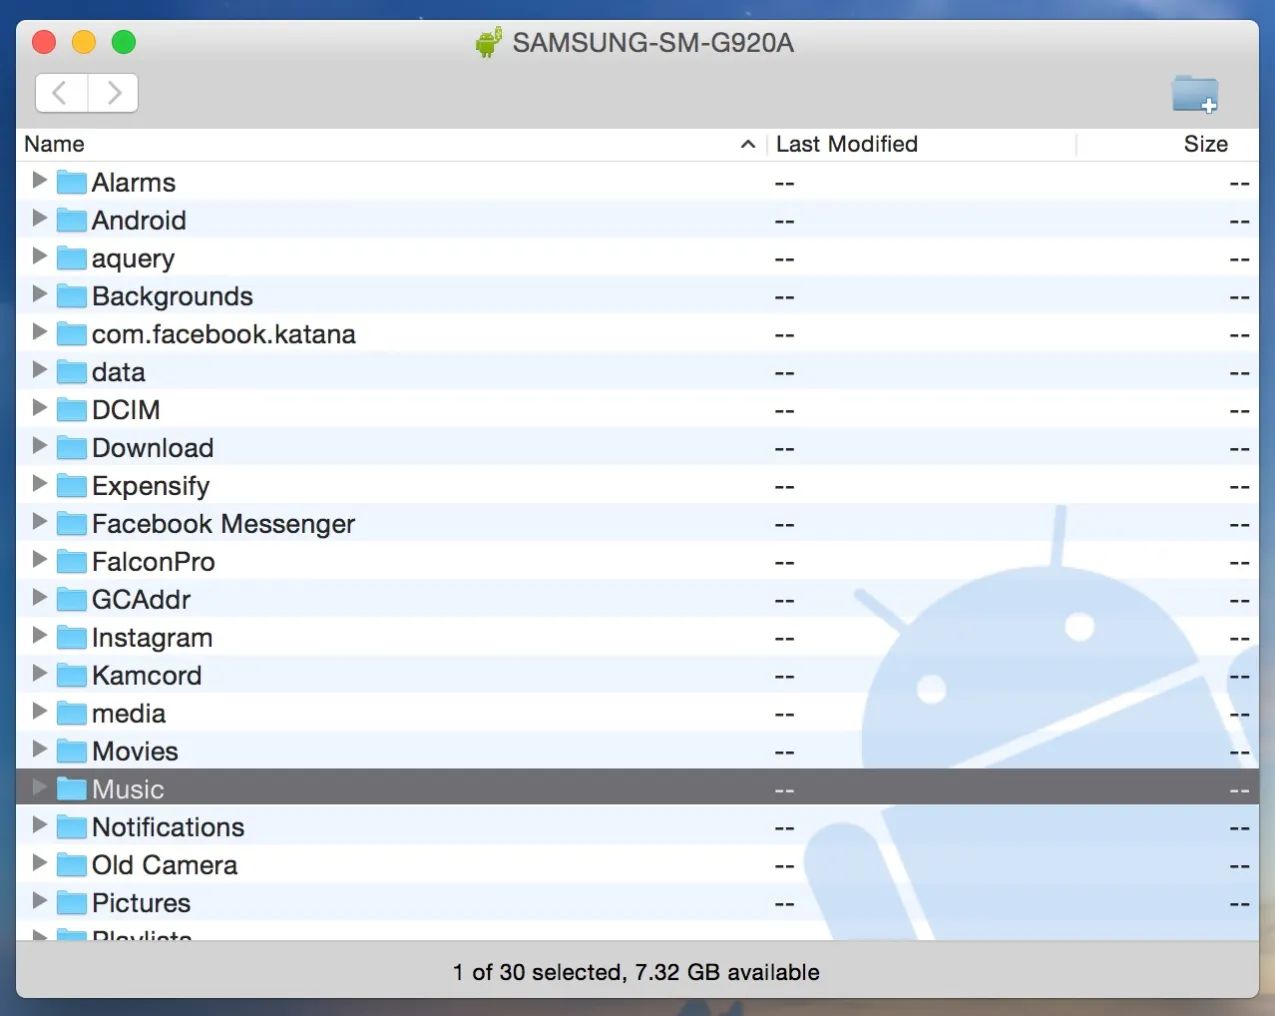
- On your computer, go back to your file explorer and navigate to your Android device’s storage. The device should appear as a separate drive or device in the file explorer.
- Open the Android device’s storage by double-clicking on the drive or device name. This will display the folders and files stored on your Android device.
- Locate the “Music” folder on your Android device. If there isn’t a folder named “Music,” you can create one by right-clicking on an empty space within the file explorer and selecting the “New Folder” option. Name the folder “Music.”
- Open the newly created or existing “Music” folder on your Android device.
- Right-click within the “Music” folder and select the “Paste” option from the context menu. Alternatively, you can use the keyboard shortcut “Ctrl+V” (Windows) or “Command+V” (Mac).
- The music files you copied from your computer will now begin transferring and pasting into the “Music” folder on your Android device. The time it takes for the transfer to complete will depend on the size of the files and the speed of the USB connection.
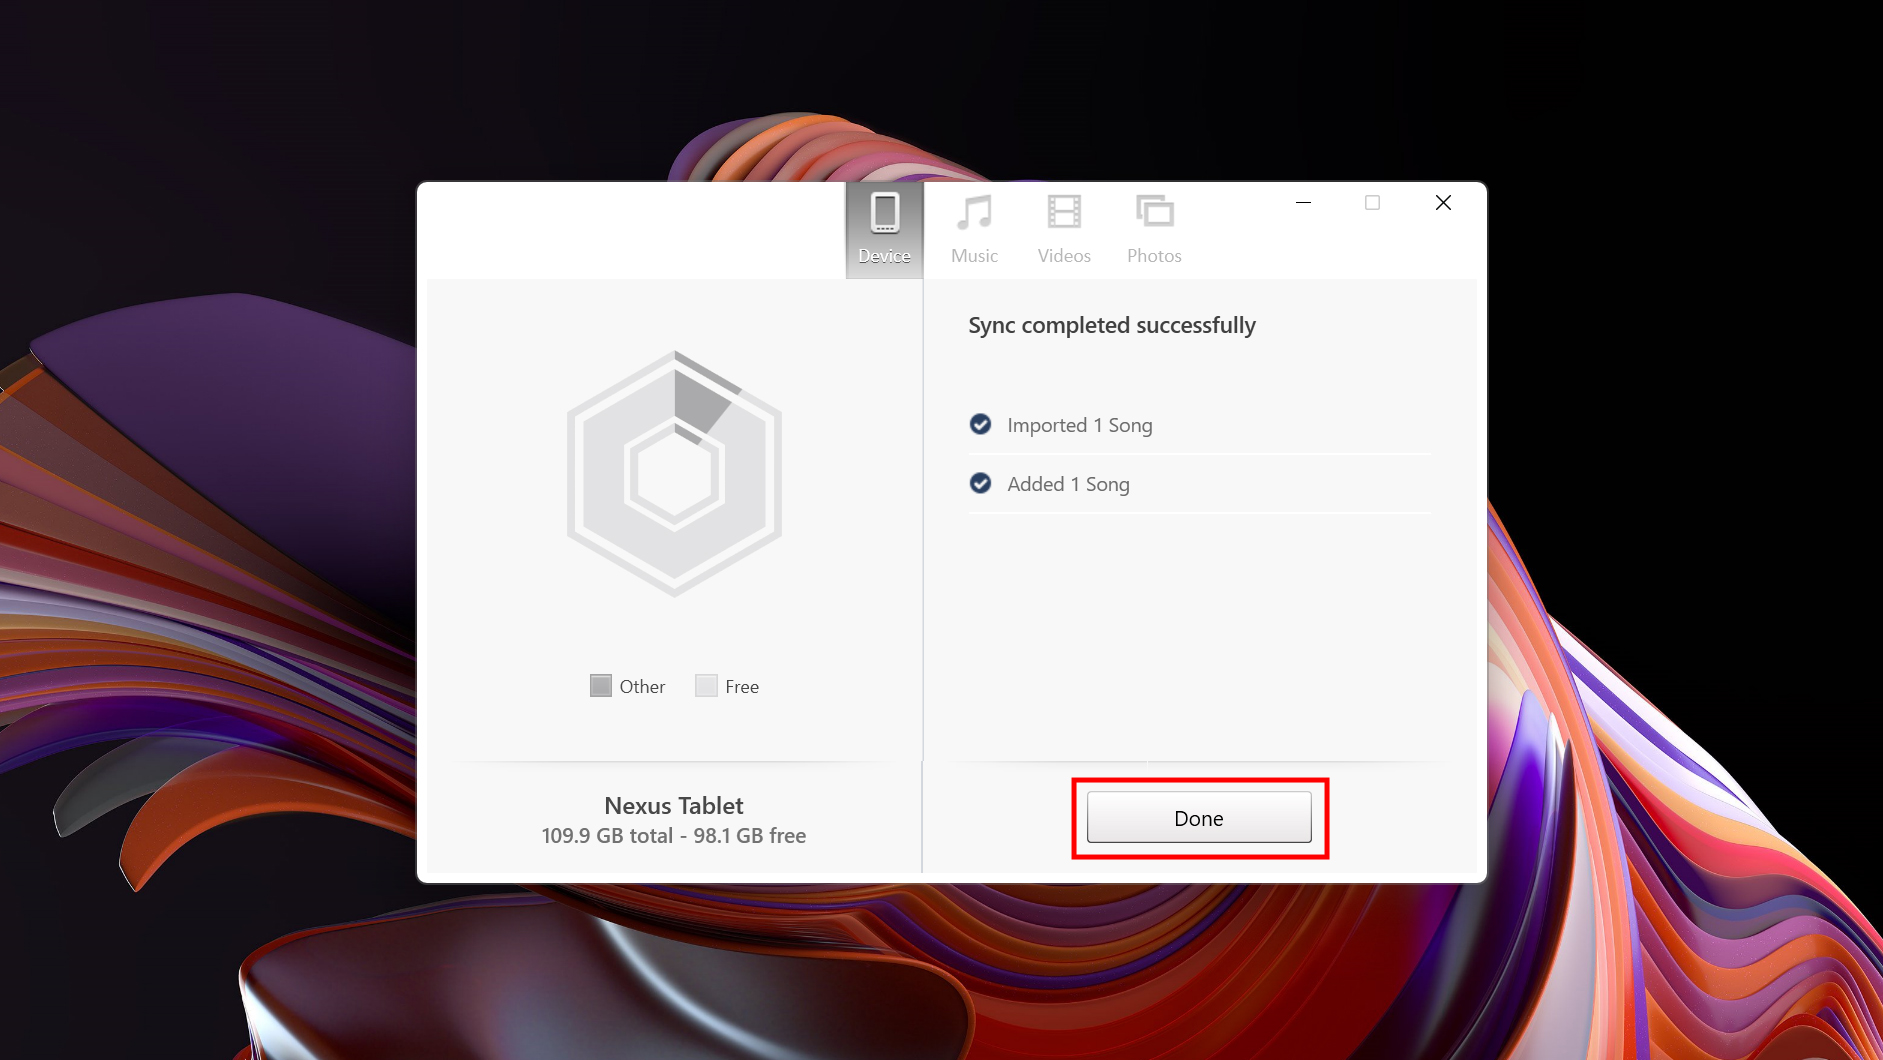
Once the music files have finished pasting into your Android device’s music folder, you can safely disconnect your Android device from your computer and start enjoying your favorite tunes on the go.
Congratulations! You have successfully transferred the music files from your computer to your Android device’s music folder. In the next step, we will cover how to safely disconnect your Android device from the computer.
Step 7: Safely disconnect your Android device from the computer
Now that you have successfully transferred the music files to your Android device, it’s important to safely disconnect your device from the computer before unplugging the USB cable. This ensures that the transfer process is complete and prevents any potential data loss or corruption.
Follow these steps to safely disconnect your Android device from the computer:
- On your computer, locate the system tray or notification area, which is usually located in the bottom-right corner of the screen.
- In the system tray, look for an icon that represents connected USB devices or removable storage. It may resemble a USB symbol or have the name of your Android device.
- Click on the USB device or storage icon to open a menu of options.
- In the menu, select the option to safely eject or safely remove the USB device. The specific wording may vary depending on your operating system.
- Wait for the system to confirm that it is safe to remove the device. You may see a message such as “Safe to remove hardware,” or the USB device icon may disappear from the system tray.
- Once you receive confirmation that it is safe to do so, carefully unplug the USB cable from your Android device and disconnect it from your computer.
By following these steps, you avoid potential data transfers that may be in progress and minimize the risk of any data corruption or damage to your Android device.
Now that you have safely disconnected your Android device from the computer, you can start enjoying your newly transferred music files on your Android device’s music player.
Conclusion
Congratulations! You have successfully learned how to download music from your computer to your Android smartphone. By following these step-by-step instructions, you can now enjoy your favorite tunes on the go, even when you may not have an internet connection.
Throughout this process, you have learned how to connect your Android smartphone to the computer using a USB cable, enable file transfer on your Android device, open your computer’s file explorer to locate the music files, copy the files from your computer, paste them into your Android device’s music folder, and safely disconnect your Android device from the computer.
Remember to always check that your Android device’s USB connection settings are properly configured and that you have enabled file transfer to ensure a smooth and successful transfer process. Additionally, make sure to organize your music files in a way that is easy to locate and manage on your computer for seamless transfers in the future.
Now that you have mastered the art of transferring music from your computer to your Android device, you can expand your music collection and enjoy your favorite songs wherever you go. So, plug in your headphones, turn up the volume, and let the music take you on a journey.
Happy listening!