Introduction
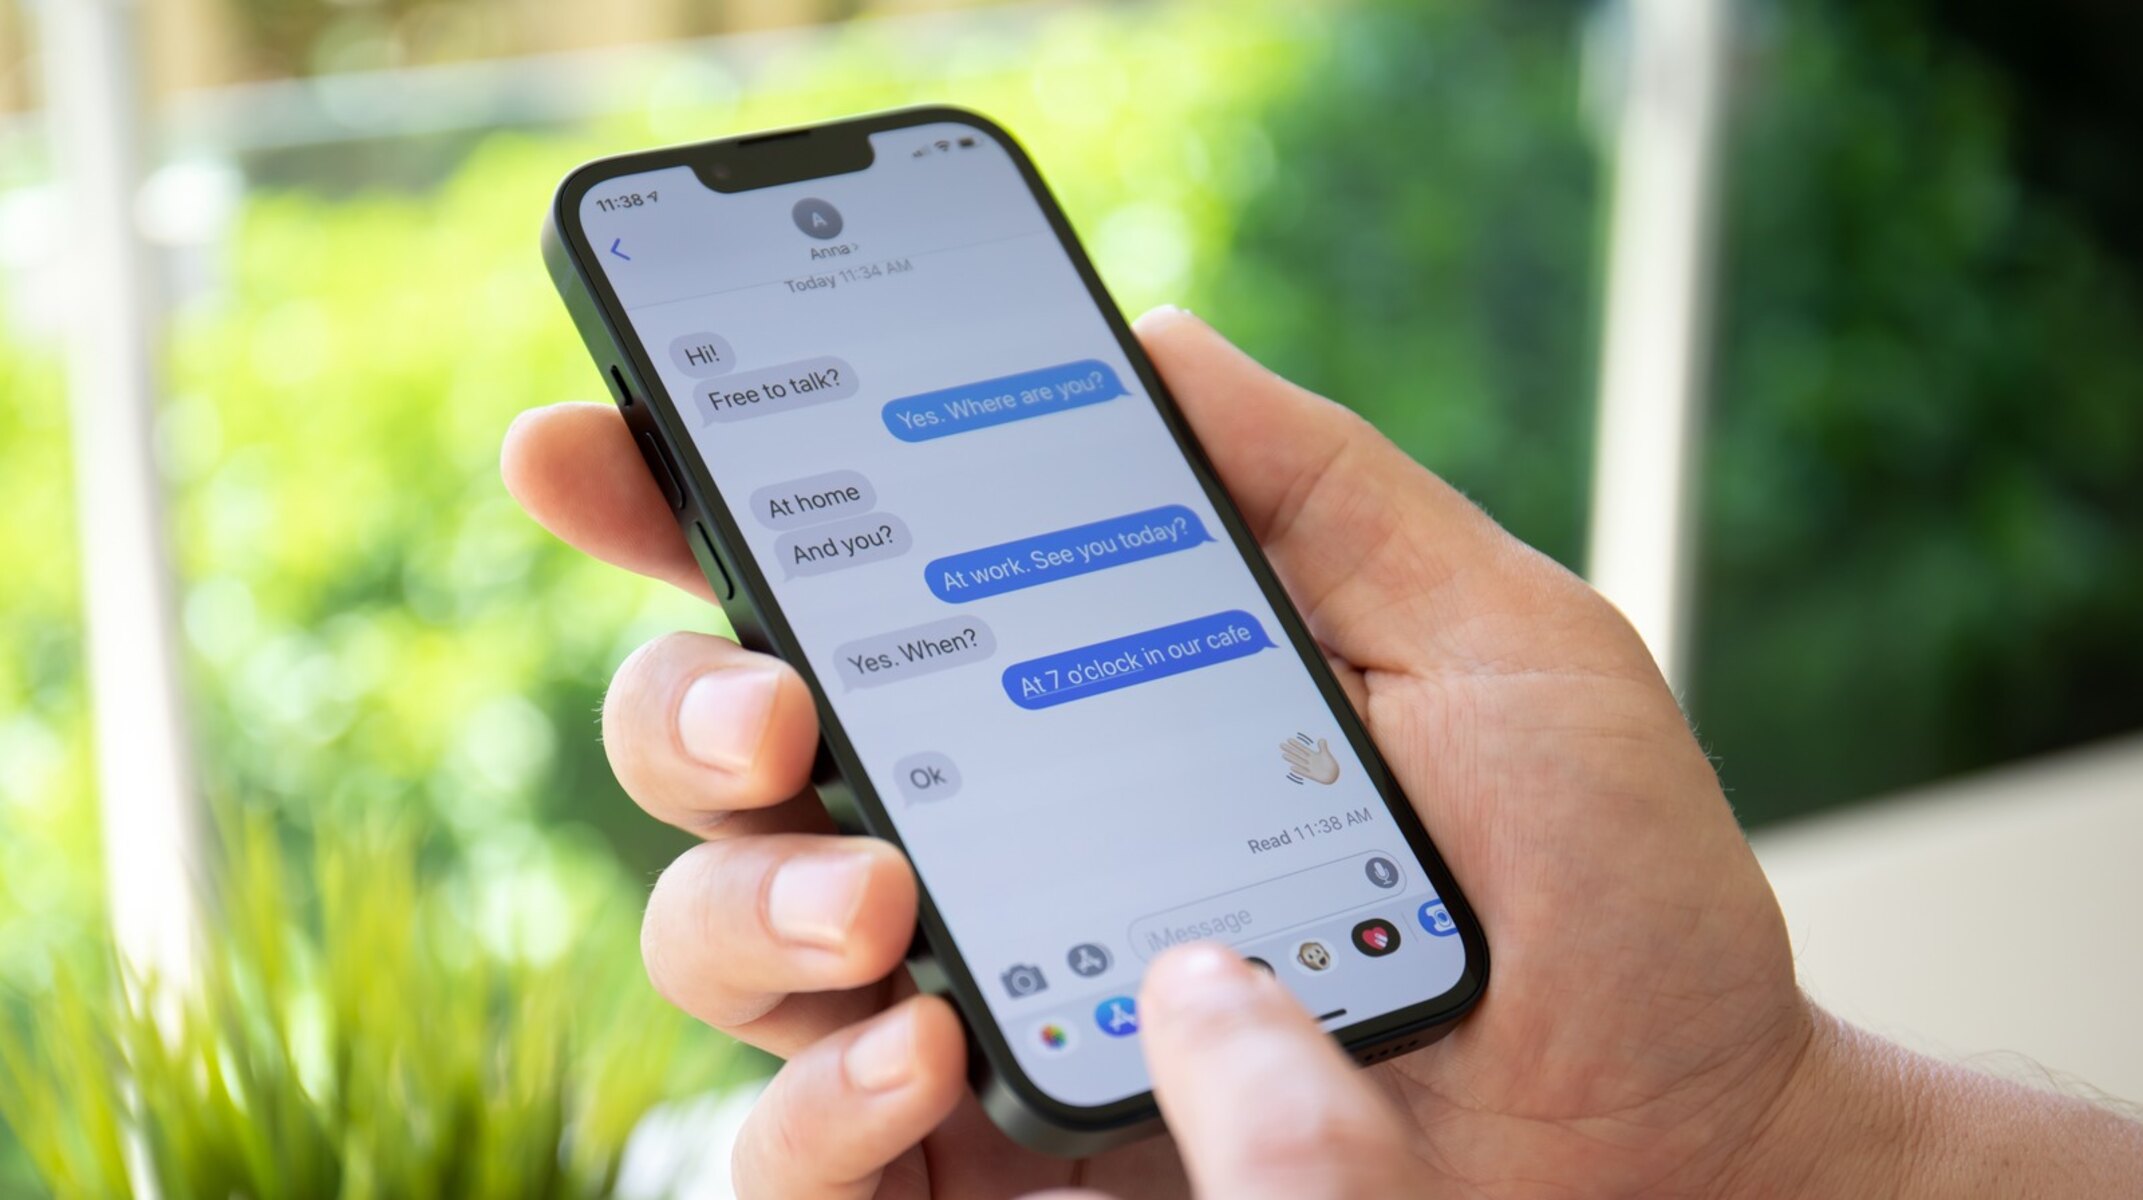
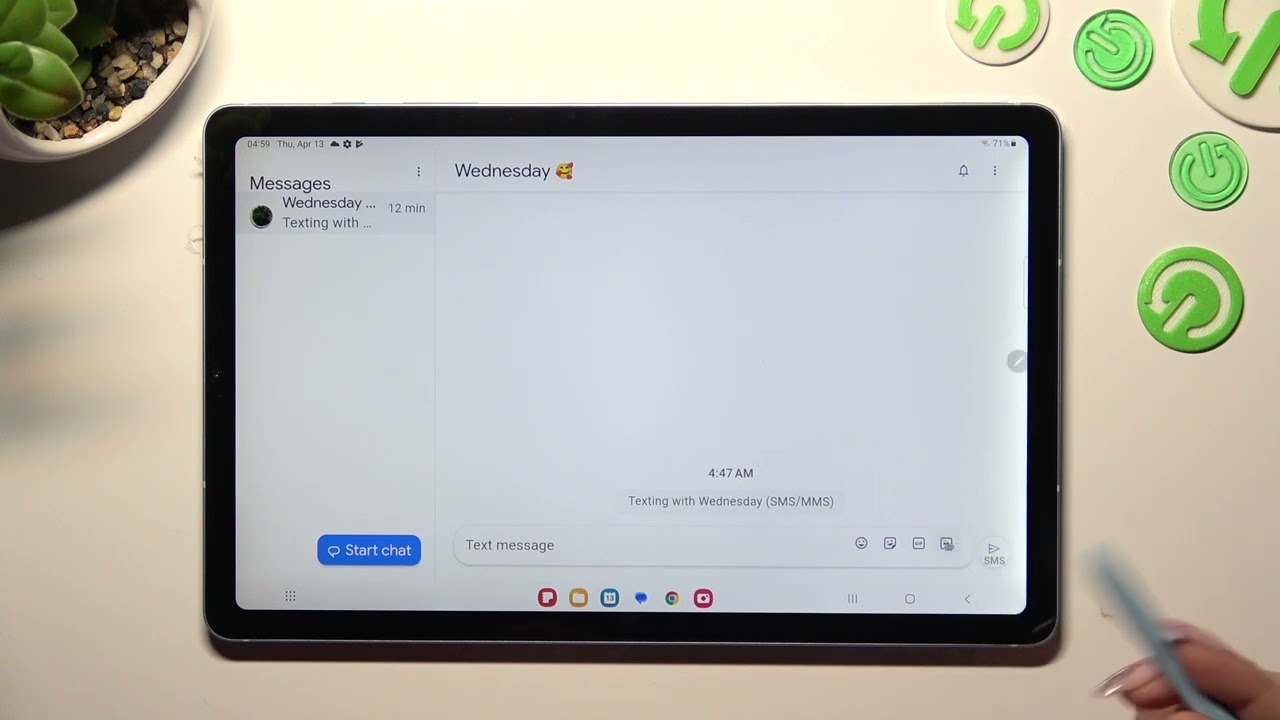
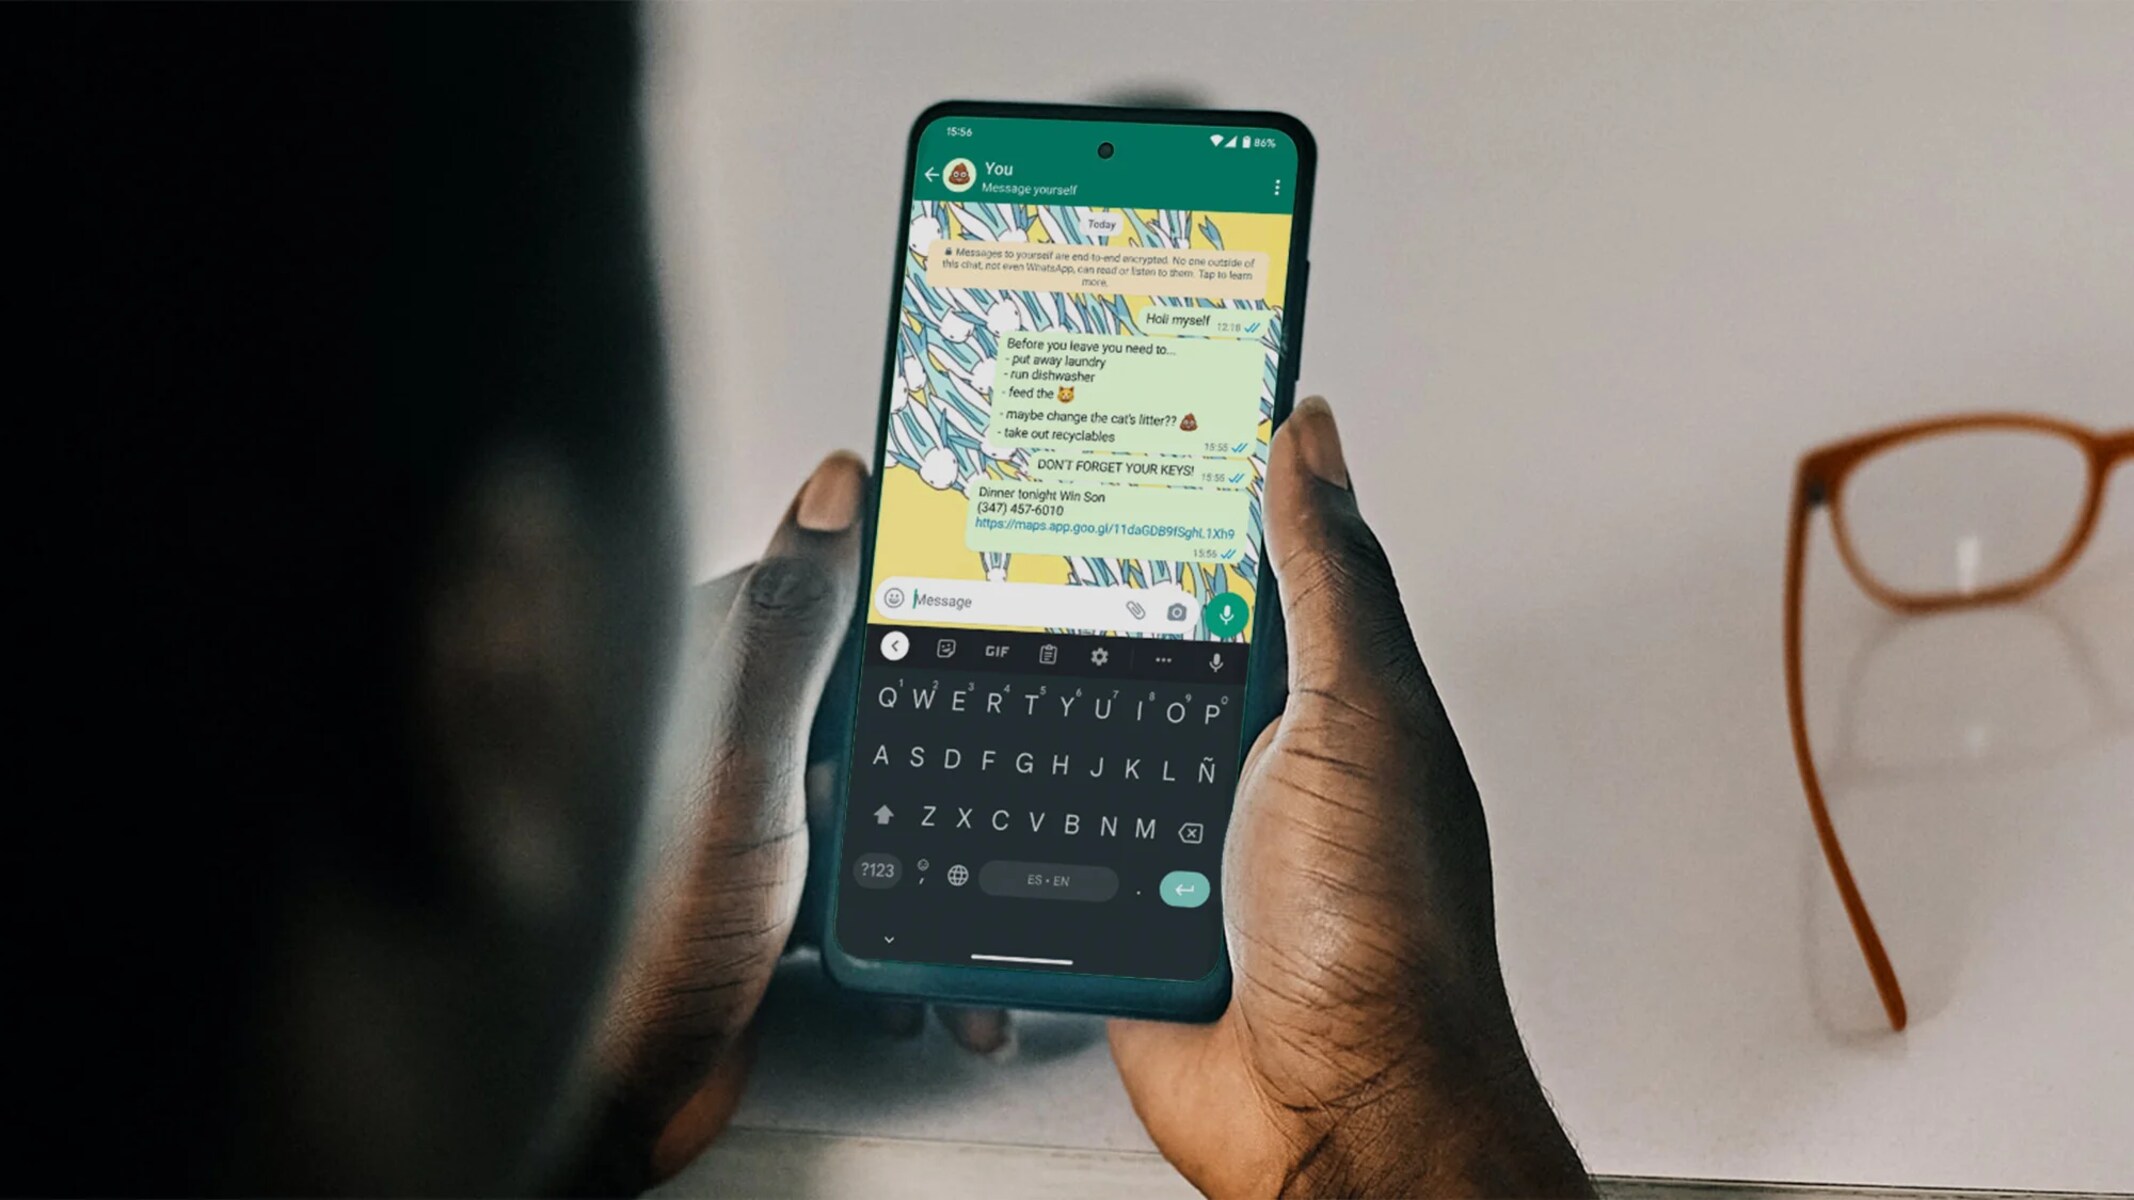
Text messaging has become an integral part of our lives, allowing us to communicate quickly and conveniently. However, there may come a time when you need to delete certain text messages from your smartphone. Whether you want to clear out old conversations, protect your privacy, or simply declutter your messaging app, knowing how to delete text messages effectively is essential.
In this article, we will guide you through the process of deleting text messages on your smartphone. We will cover various methods to help you delete individual messages, clear out multiple messages at once, set up automatic deletion, and manage your deleted messages. By following these steps, you will be able to maintain a clean and organized messaging app without losing important information.
It’s important to note that the exact methods may vary slightly depending on your smartphone’s operating system and the messaging app you use. However, the general concepts and principles discussed in this article apply to most Android and iOS devices.
So, if you’re ready to take control of your messages and free up some valuable space on your smartphone, let’s get started with the process of deleting text messages!
Step 1: Deleting Individual Text Messages
Deleting individual text messages is a common task that allows you to remove specific messages from a conversation while keeping the rest intact. Here’s how you can do it:
- Open your messaging app: Launch the messaging app on your smartphone. This can vary depending on the device and operating system you’re using.
- Select the conversation: Locate the conversation containing the message you want to delete and tap on it to open it.
- Long press the message: Press and hold your finger on the message you want to delete. This action will typically reveal a menu or options related to that message.
- Select the delete option: Look for the delete option in the menu and tap on it. You might need to confirm your action by tapping on “Delete” or a similar option.
After following these steps, the selected message will be deleted from the conversation. Keep in mind that this action is irreversible, and the message cannot be recovered once deleted.
If you want to delete multiple individual messages, you can repeat the above process for each message you wish to remove. However, if you have a large number of messages to delete, it might be more efficient to use the methods discussed in the next steps.
Now that you know how to delete individual text messages, you’re one step closer to optimizing your messaging app. Let’s move on to the next step: deleting multiple text messages at once.
Step 2: Deleting Multiple Text Messages
If you have a cluttered conversation thread with multiple text messages you want to remove, deleting them individually can be time-consuming. Luckily, there are methods to delete multiple text messages at once, saving you time and effort. Here’s how:
- Open your messaging app: Launch the messaging app on your smartphone, the same way you did in the previous step.
- Select the conversation: Locate the conversation that contains the messages you want to delete and tap on it to open it.
- Access the selection mode: Look for the menu icon (usually represented by three dots or lines) and tap on it. From the options menu, select the “Select” or “Select Mode” option to enable message selection.
- Select multiple messages: Tap on each message you want to delete to select them. You will usually see a checkmark or highlight indicating that the message is selected.
- Delete the selected messages: Once you have selected all the messages you want to delete, look for the delete option in the menu. Tap on it, and confirm your action if prompted.
By following these steps, you can quickly delete multiple unwanted text messages from a conversation. This method is especially useful when you want to clear out a cluttered thread or remove unnecessary messages from a specific contact.
It’s worth noting that the exact process may vary slightly depending on your smartphone and messaging app. Some apps may have a dedicated batch deletion feature or a different selection method. However, the general concept of selecting and deleting multiple messages remains the same.
Now that you’ve learned how to delete multiple text messages, let’s move on to the next step: setting up automatic deletion to keep your messaging app clutter-free.
Step 3: Setting Up Automatic Deletion
To maintain a clutter-free messaging app without the need for manual deletion, you can take advantage of automatic deletion settings. These settings allow you to configure your smartphone to automatically delete old text messages after a specified period. Here’s how you can set it up:
- Open your messaging app: Launch the messaging app on your smartphone.
- Access app settings: Look for the settings icon within the app. It is usually represented by a gear or cogwheel.
- Find message settings: Once in the app settings, look for the options related to messages or conversations. The location of these settings may vary depending on your messaging app.
- Enable automatic deletion: Within the message settings, locate the option for automatic deletion or message retention. Tap on it to access the settings.
- Choose deletion period: Select the time period after which you want your text messages to be automatically deleted. You will typically find options like 30 days, 60 days, or even custom time frames.
- Save the settings: Once you’ve configured the automatic deletion period, save the settings to apply the changes.
By setting up automatic deletion, you can ensure that your messaging app stays organized and free from old messages. This feature is particularly helpful if you receive a large volume of text messages and don’t want to manually delete them regularly.
Keep in mind that enabling automatic deletion will remove messages older than the specified time period, so make sure to save any important information or conversations before activating this feature.
Now that you’ve learned how to set up automatic deletion for your text messages, let’s move on to the next step: clearing out entire conversations.
Step 4: Clearing Out Entire Conversations
If you want to remove entire conversations from your messaging app, clearing them out completely is the way to go. Clearing out conversations allows you to remove all messages from a particular contact or group in one go. Here’s how you can do it:
- Open your messaging app: Launch the messaging app on your smartphone.
- Access conversation list: Look for the list of conversations or chats within the app. This could be the main screen or a dedicated tab for conversations.
- Select the conversation: Locate the conversation that you want to clear out and tap on it to open it.
- Access conversation options: Look for the menu icon or options associated with the conversation. It is usually represented by three dots or lines.
- Choose the clear conversation option: From the conversation options menu, select the “Clear conversation” or similar option. This option may also be labeled as “Delete conversation” or “Delete chat.”
- Confirm your action: A confirmation prompt may appear, asking you to confirm the deletion. Read the prompt carefully and tap “Confirm” or “Delete” to proceed.
By following these steps, you can clear out entire conversations, removing all messages and thereby freeing up space in your messaging app. This method is particularly useful if you no longer need to keep any conversation history and want to start fresh with a clean slate.
Be cautious when using this method, as clearing out a conversation is irreversible. Once deleted, you will not be able to recover the messages or any associated media.
Now that you’ve learned how to clear out entire conversations, let’s move on to the next step: managing your deleted messages.
Step 5: Managing Your Deleted Messages
Once you have deleted text messages from your smartphone, it’s important to understand how to manage your deleted messages effectively. Here are some key points to consider:
Backup your messages: Before deleting messages, it’s a good practice to create a backup of your important conversations. This allows you to retain a copy of the messages in case you need them in the future. There are several backup options available, including cloud storage, external storage devices, or dedicated messaging backup apps.
Check your settings: Some messaging apps offer specific settings related to deleted messages. For example, you may have an option to permanently delete messages, archive them, or have them stored in a separate folder. Make sure to review these settings and choose the option that aligns with your preferences.
Consider privacy concerns: Deleting messages can help protect your privacy, but it’s important to be mindful of other potential privacy concerns. For instance, the recipient of your messages may still have a copy of the conversation on their device. If privacy is a significant concern, consider deleting the conversation from both sides to ensure complete removal.
Regularly manage your messages: Deleting messages is not a one-time task. To keep your messaging app organized, set a routine to regularly review and delete unwanted or unnecessary messages. This helps prevent your app from becoming cluttered and ensures optimal performance.
Be cautious with automatic deletion: If you have set up automatic deletion in your messaging app, double-check the time period to ensure it aligns with your preferences. Make sure the messages you want to keep are saved before they are automatically deleted.
Monitor storage space: Deleting text messages can free up valuable storage space on your smartphone. Keep an eye on your device’s storage capacity and consider deleting other unnecessary files or apps to maximize your available storage.
By keeping these points in mind, you can effectively manage your deleted messages and maintain a clean and organized messaging app.
Congratulations! You have now learned the essential steps to delete text messages on your smartphone. Whether you delete individual messages, clear out entire conversations, or utilize automatic deletion, you can now take control of your messaging app and ensure it remains clutter-free.
Remember to always consider the specific features and settings of your messaging app and adapt the steps accordingly. With this newfound knowledge, you can enjoy a more streamlined and efficient messaging experience on your smartphone.
Conclusion
Managing text messages on your smartphone is essential for organizing your conversations, protecting your privacy, and maintaining optimal device performance. By following the steps outlined in this article, you can effectively delete individual messages, clear out entire conversations, and set up automatic deletion for a clutter-free messaging app.
Deleting individual text messages gives you the flexibility to remove specific messages, while deleting multiple messages saves you time and effort. Setting up automatic deletion ensures that old messages are automatically removed, reducing clutter in your messaging app. Clearing out entire conversations is useful if you want to start fresh or remove conversations that are no longer relevant.
Remember to manage your deleted messages effectively by creating backups, reviewing privacy concerns, and regularly tidying up your messaging app. It’s important to keep an eye on your device’s storage space and customize the settings according to your preferences.
Whether you’re using an Android or iOS device, the general concepts discussed in this article apply to most messaging apps. However, it’s always a good idea to familiarize yourself with the specific features and settings of your messaging app to ensure a seamless deletion process.
Now that you have the knowledge and tools to delete text messages on your smartphone, take control of your messaging app and enjoy a more organized and efficient communication experience.


