Introduction
When using a Windows 10 computer, you may encounter various issues that can affect the performance and stability of your system. These issues can range from software conflicts to malware infections, or even a faulty driver installation. Fortunately, Windows 10 comes equipped with a built-in feature called System Restore that allows users to revert their computer’s settings back to a previous point in time. This can be incredibly useful in resolving problems and restoring your PC to a working state.
System Restore works by creating “restore points” which are snapshots of your computer’s system files, settings, and installed applications. These restore points serve as checkpoints that you can use to roll back your system configuration to a specific date and time when everything was functioning correctly. By performing a system restore, any problematic changes made to your system after the selected restore point will be reversed, potentially resolving the issues you are experiencing.
In this guide, we will walk you through the steps of performing a system restore in Windows 10. Whether you need to recover from a recent software installation gone wrong or simply want to undo changes that have caused instability, System Restore can be your saving grace. You don’t need any advanced technical skills to use this feature, as Windows 10 makes it easy for anyone to restore their system with just a few clicks.
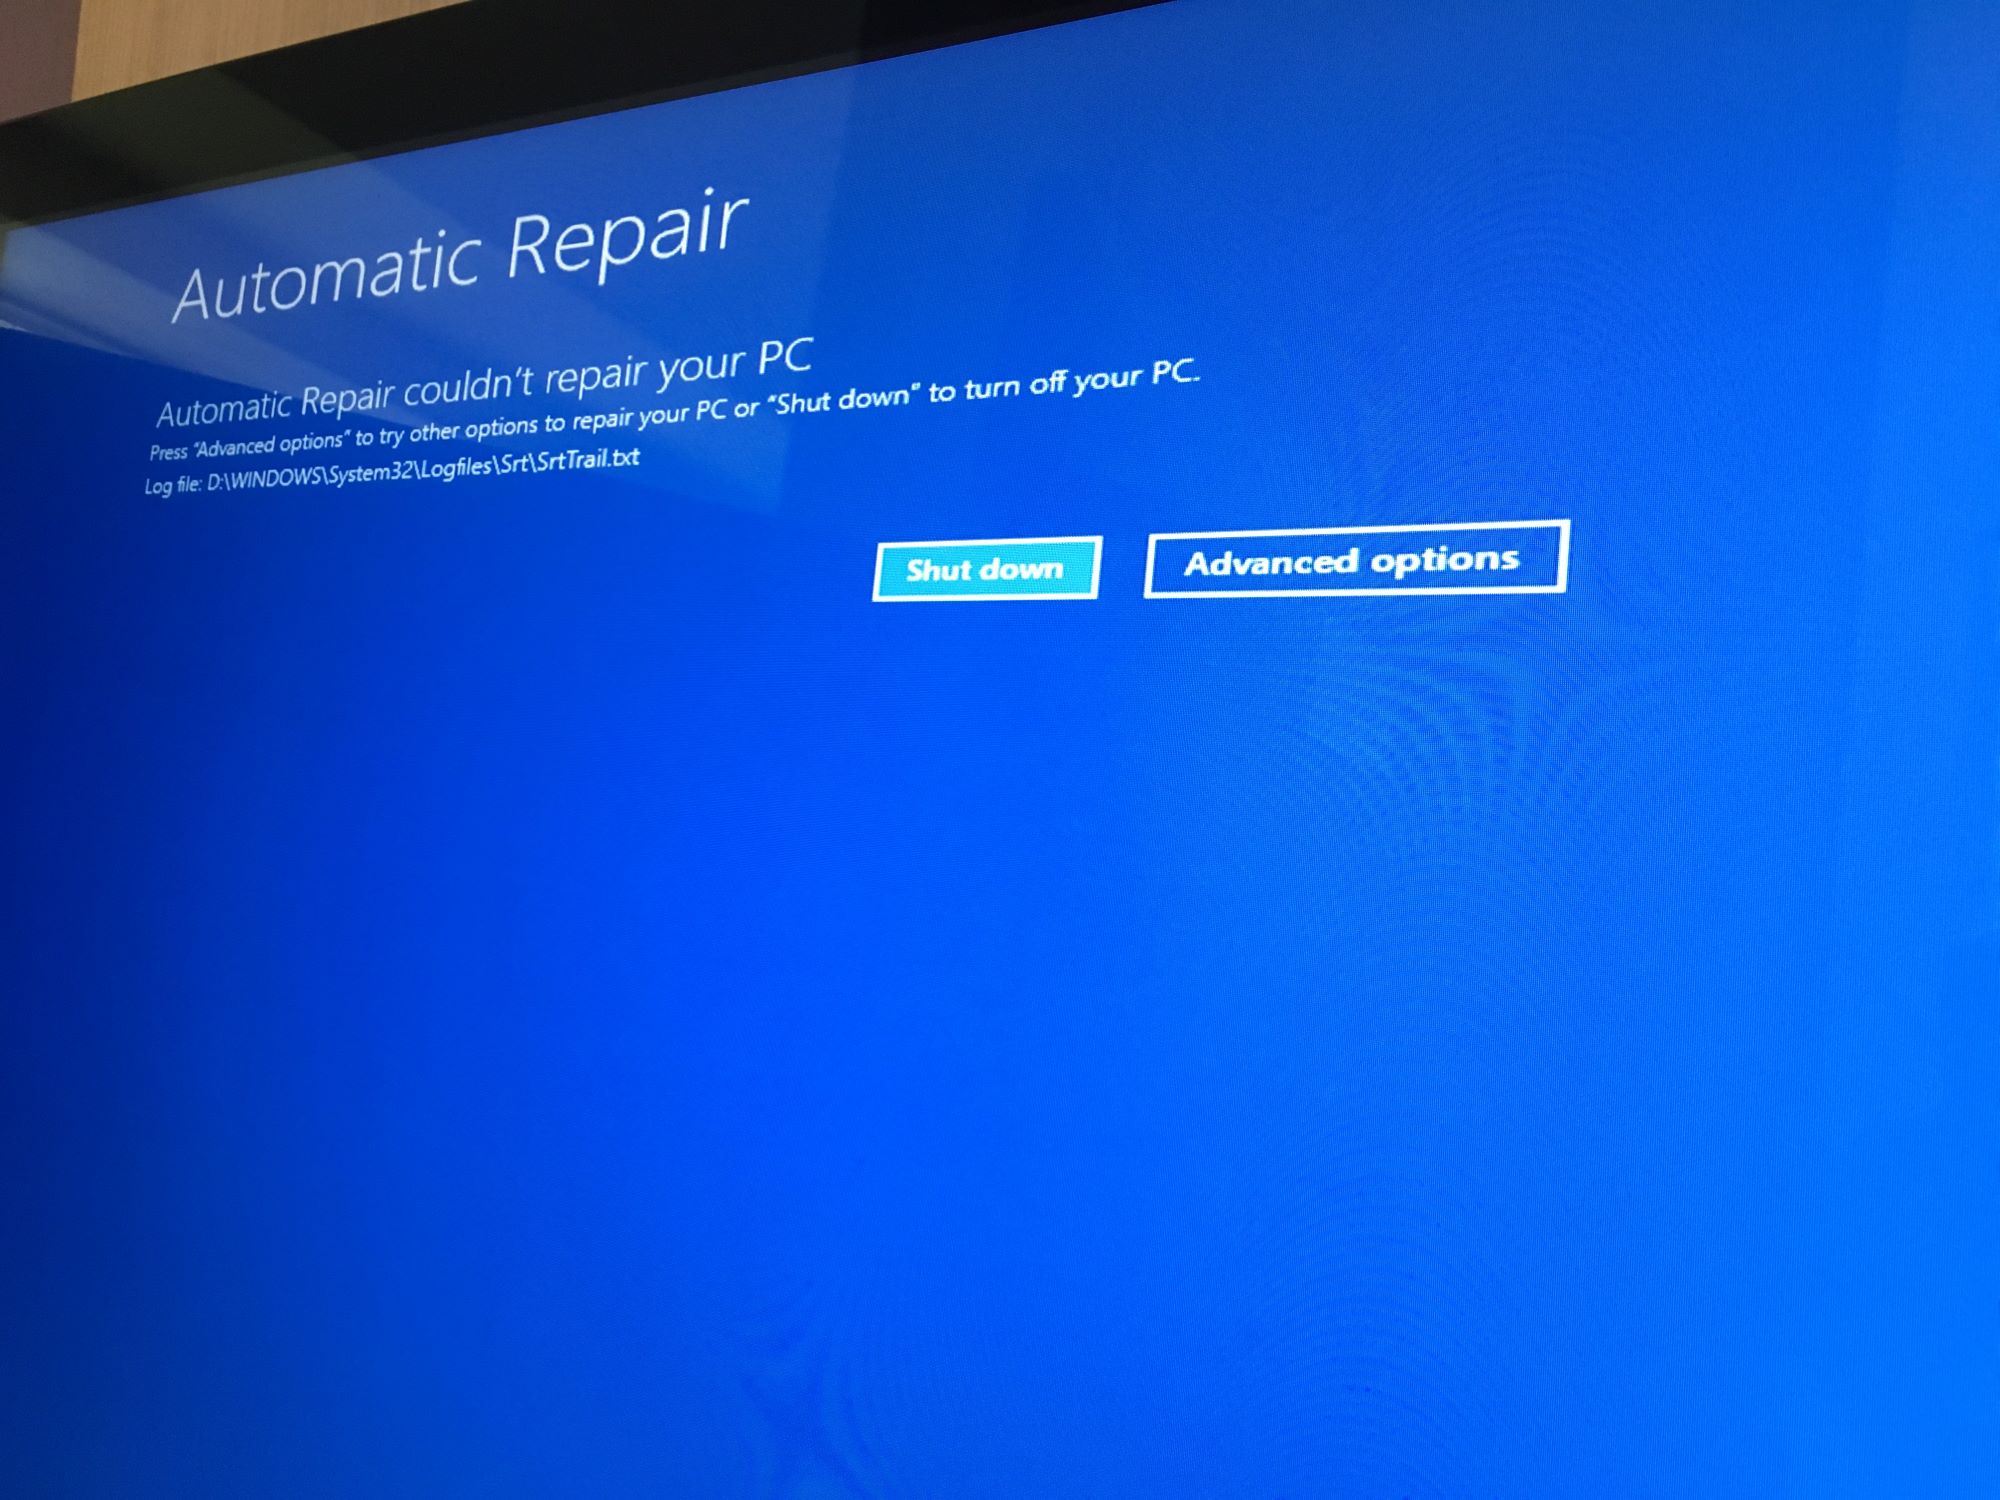
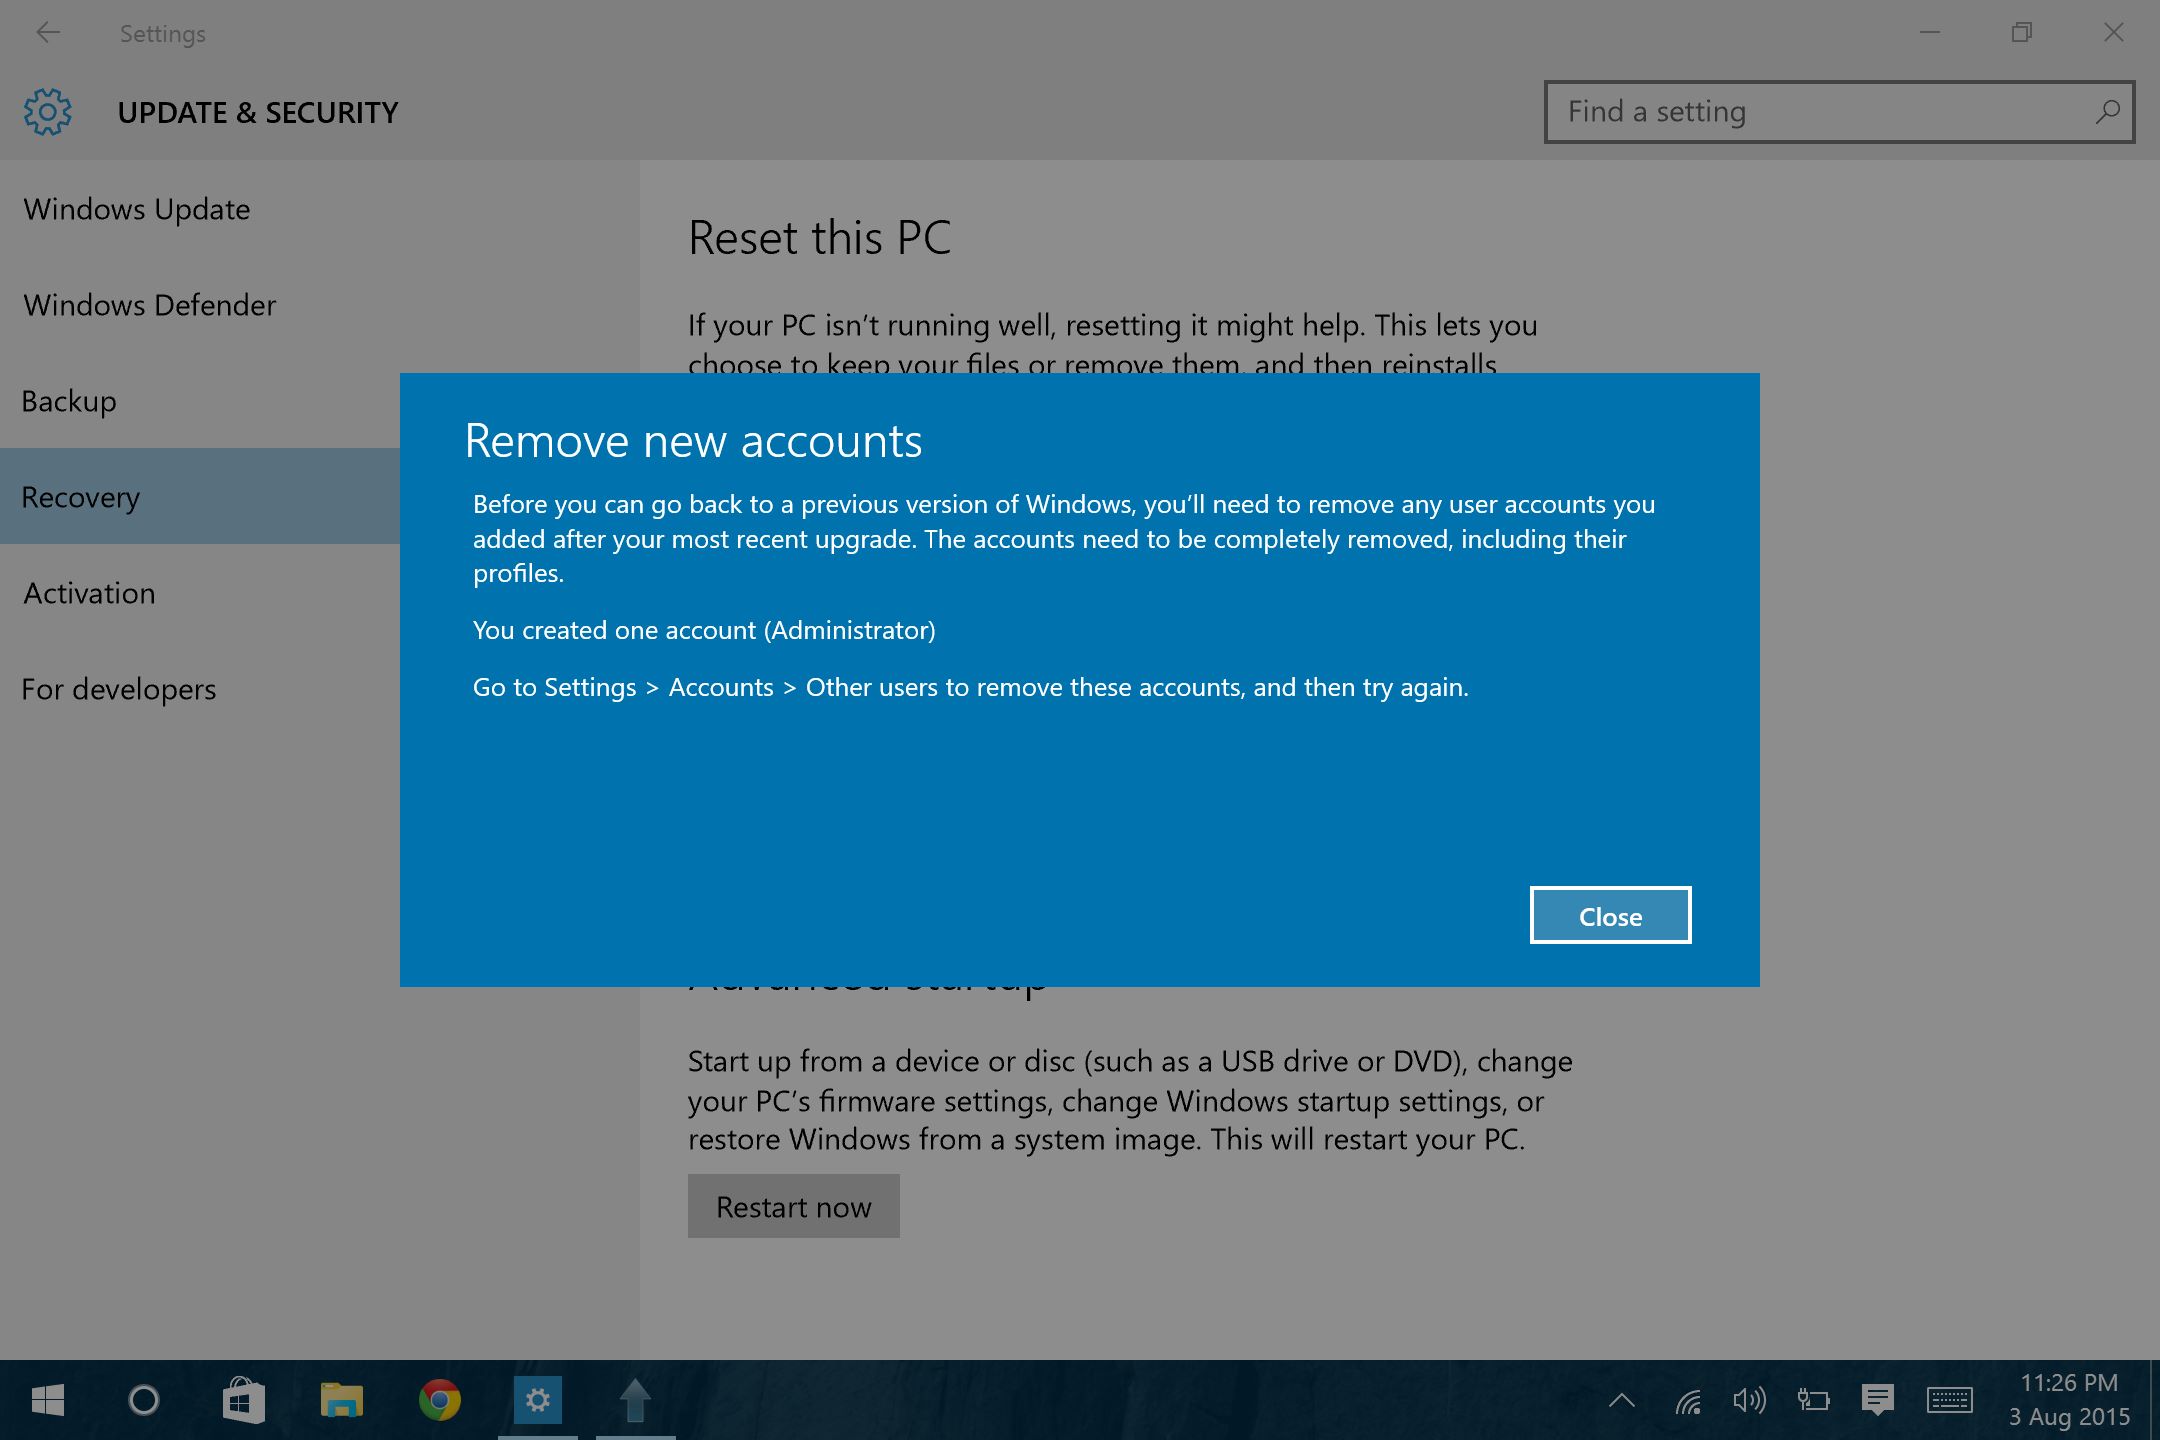
Before we dive into the process, it is important to note that by performing a system restore, any files created or modified after the selected restore point will be lost. Therefore, it is crucial to backup any important files or documents that you may have created since that restore point. Additionally, keep in mind that not all issues can be resolved through system restore, so it is always a good idea to explore other troubleshooting options or seek professional assistance if needed.
Step 1: Accessing System Restore
To begin the system restore process on your Windows 10 computer, you will first need to access the System Restore feature. Here’s how:
- Click on the “Start” button located in the bottom left corner of your screen. Alternatively, you can press the Windows key on your keyboard.
- In the search bar that appears, type “System Restore” and click on the “Create a restore point” option from the search results.
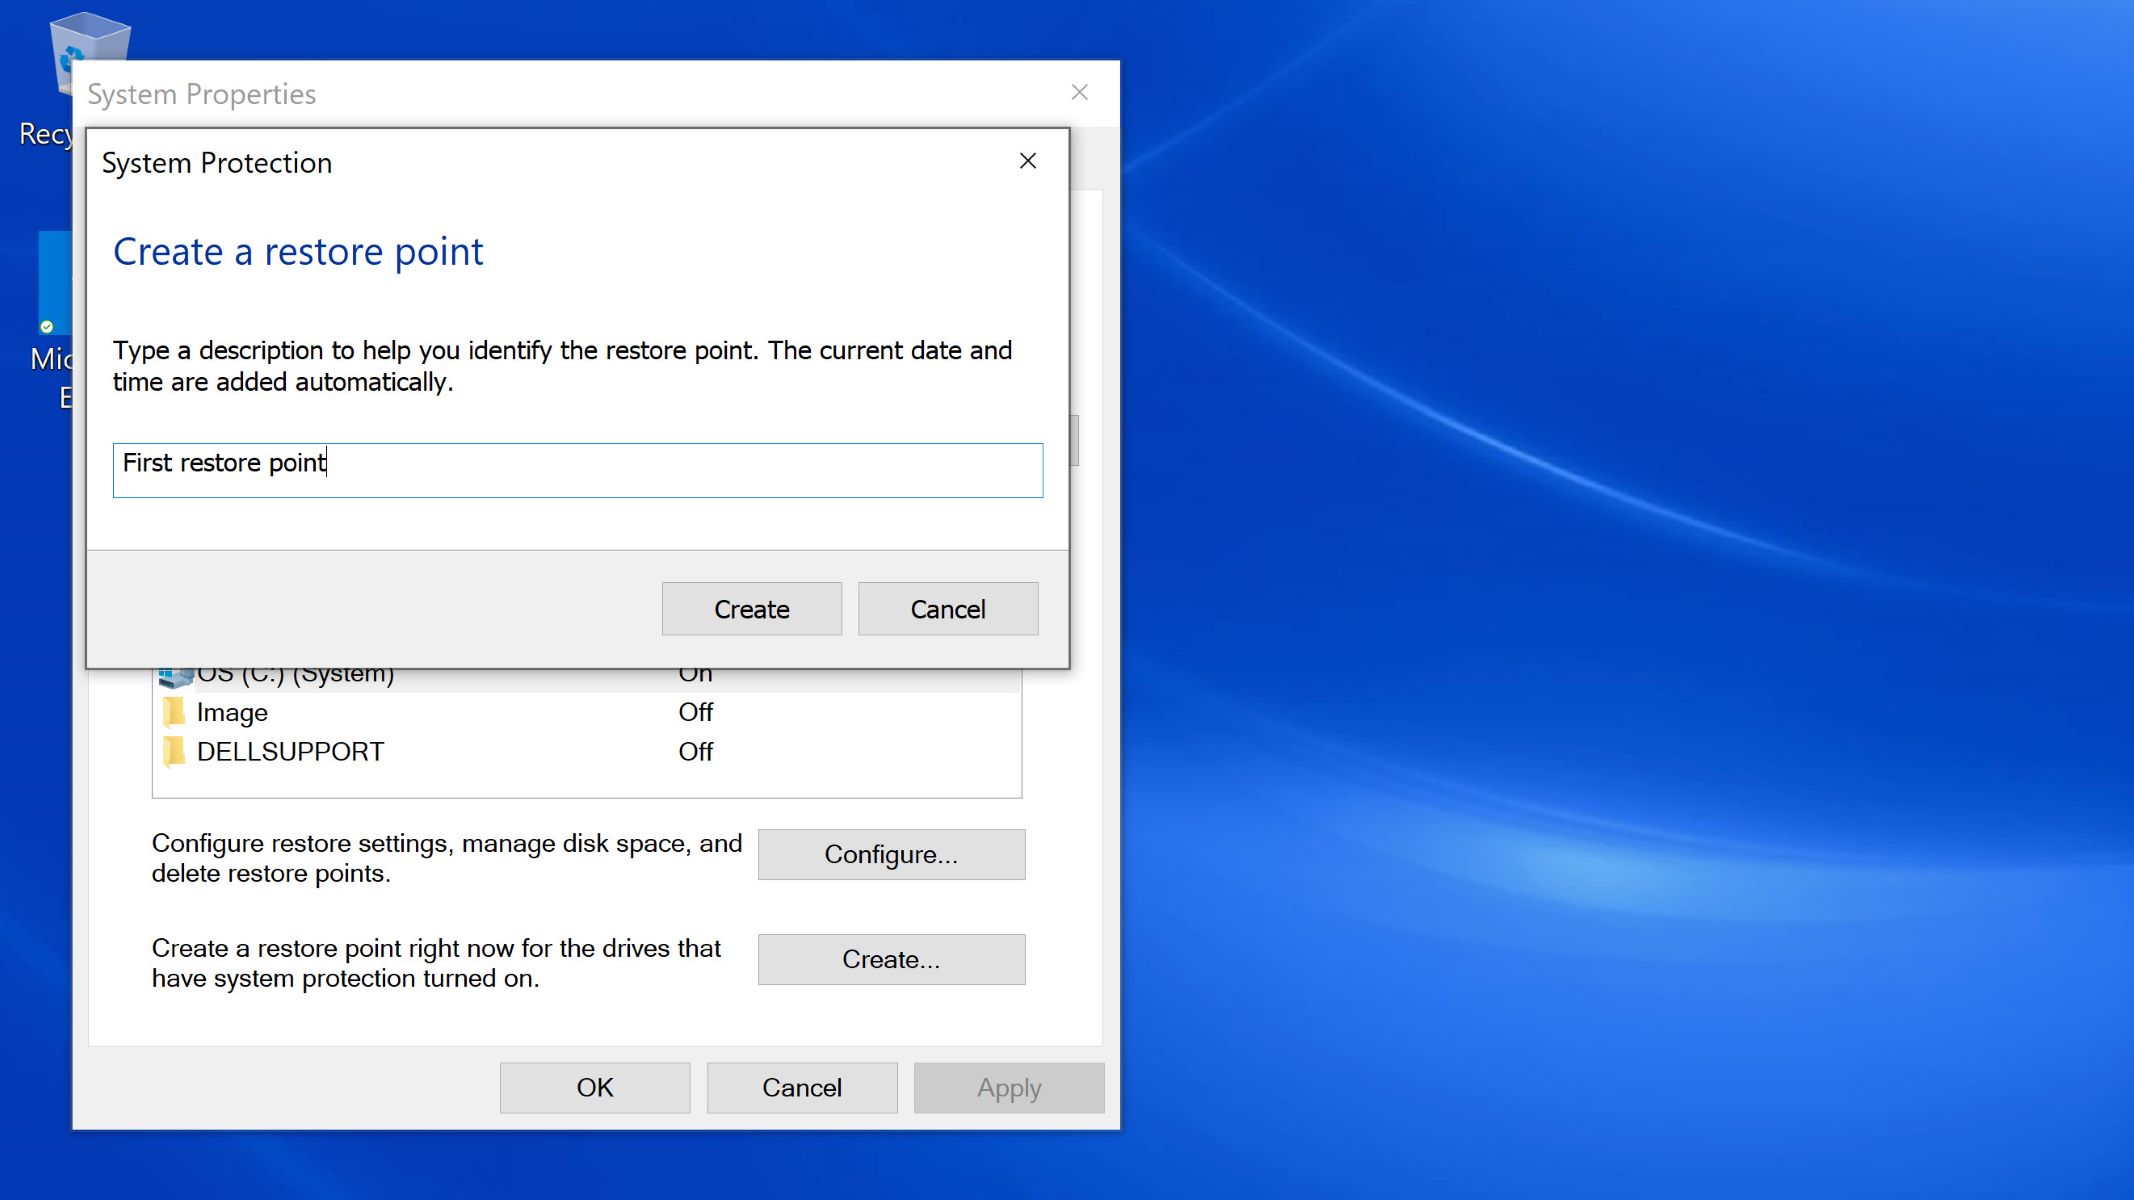
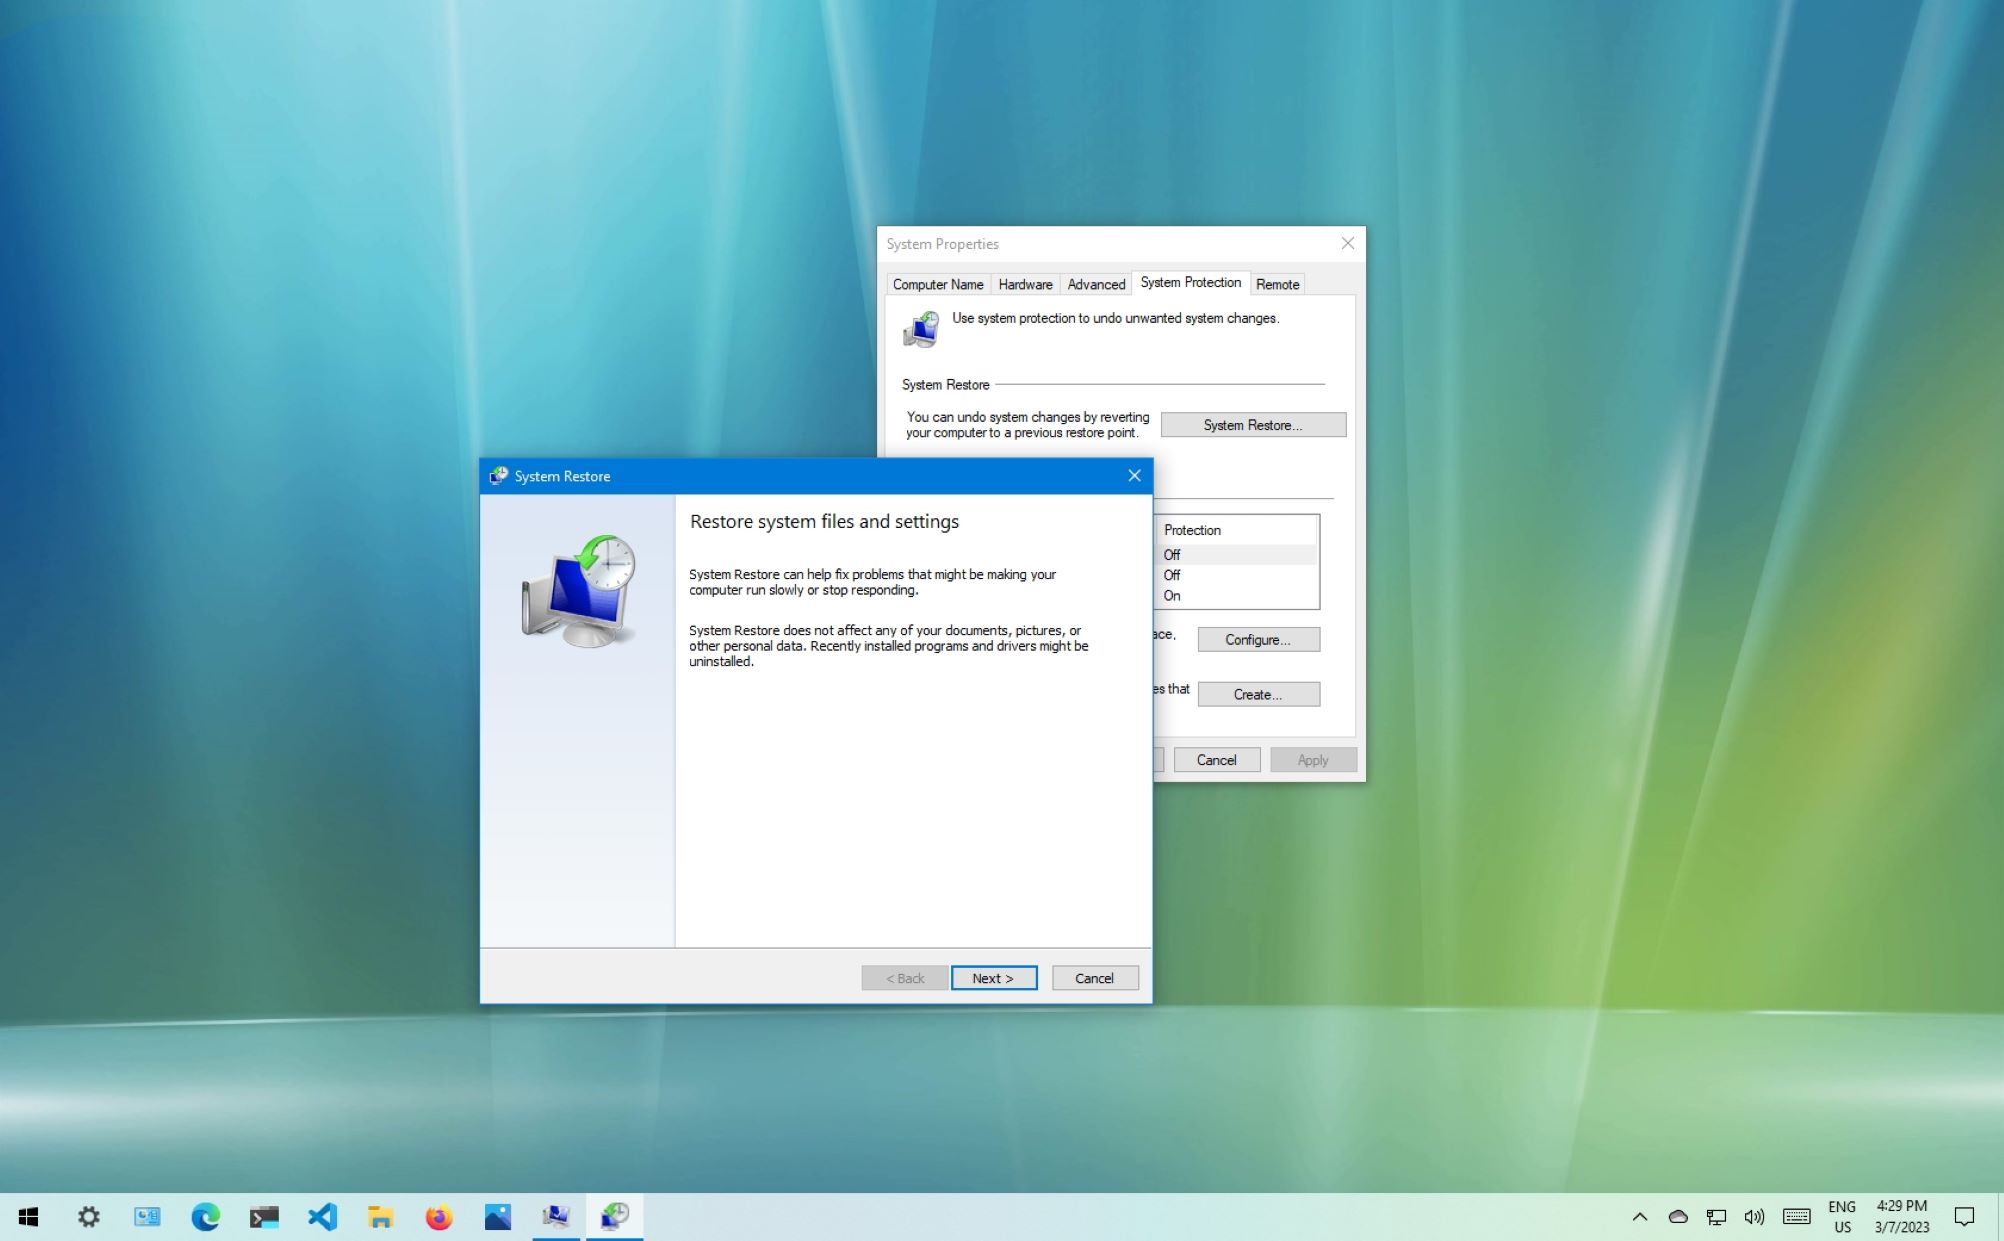
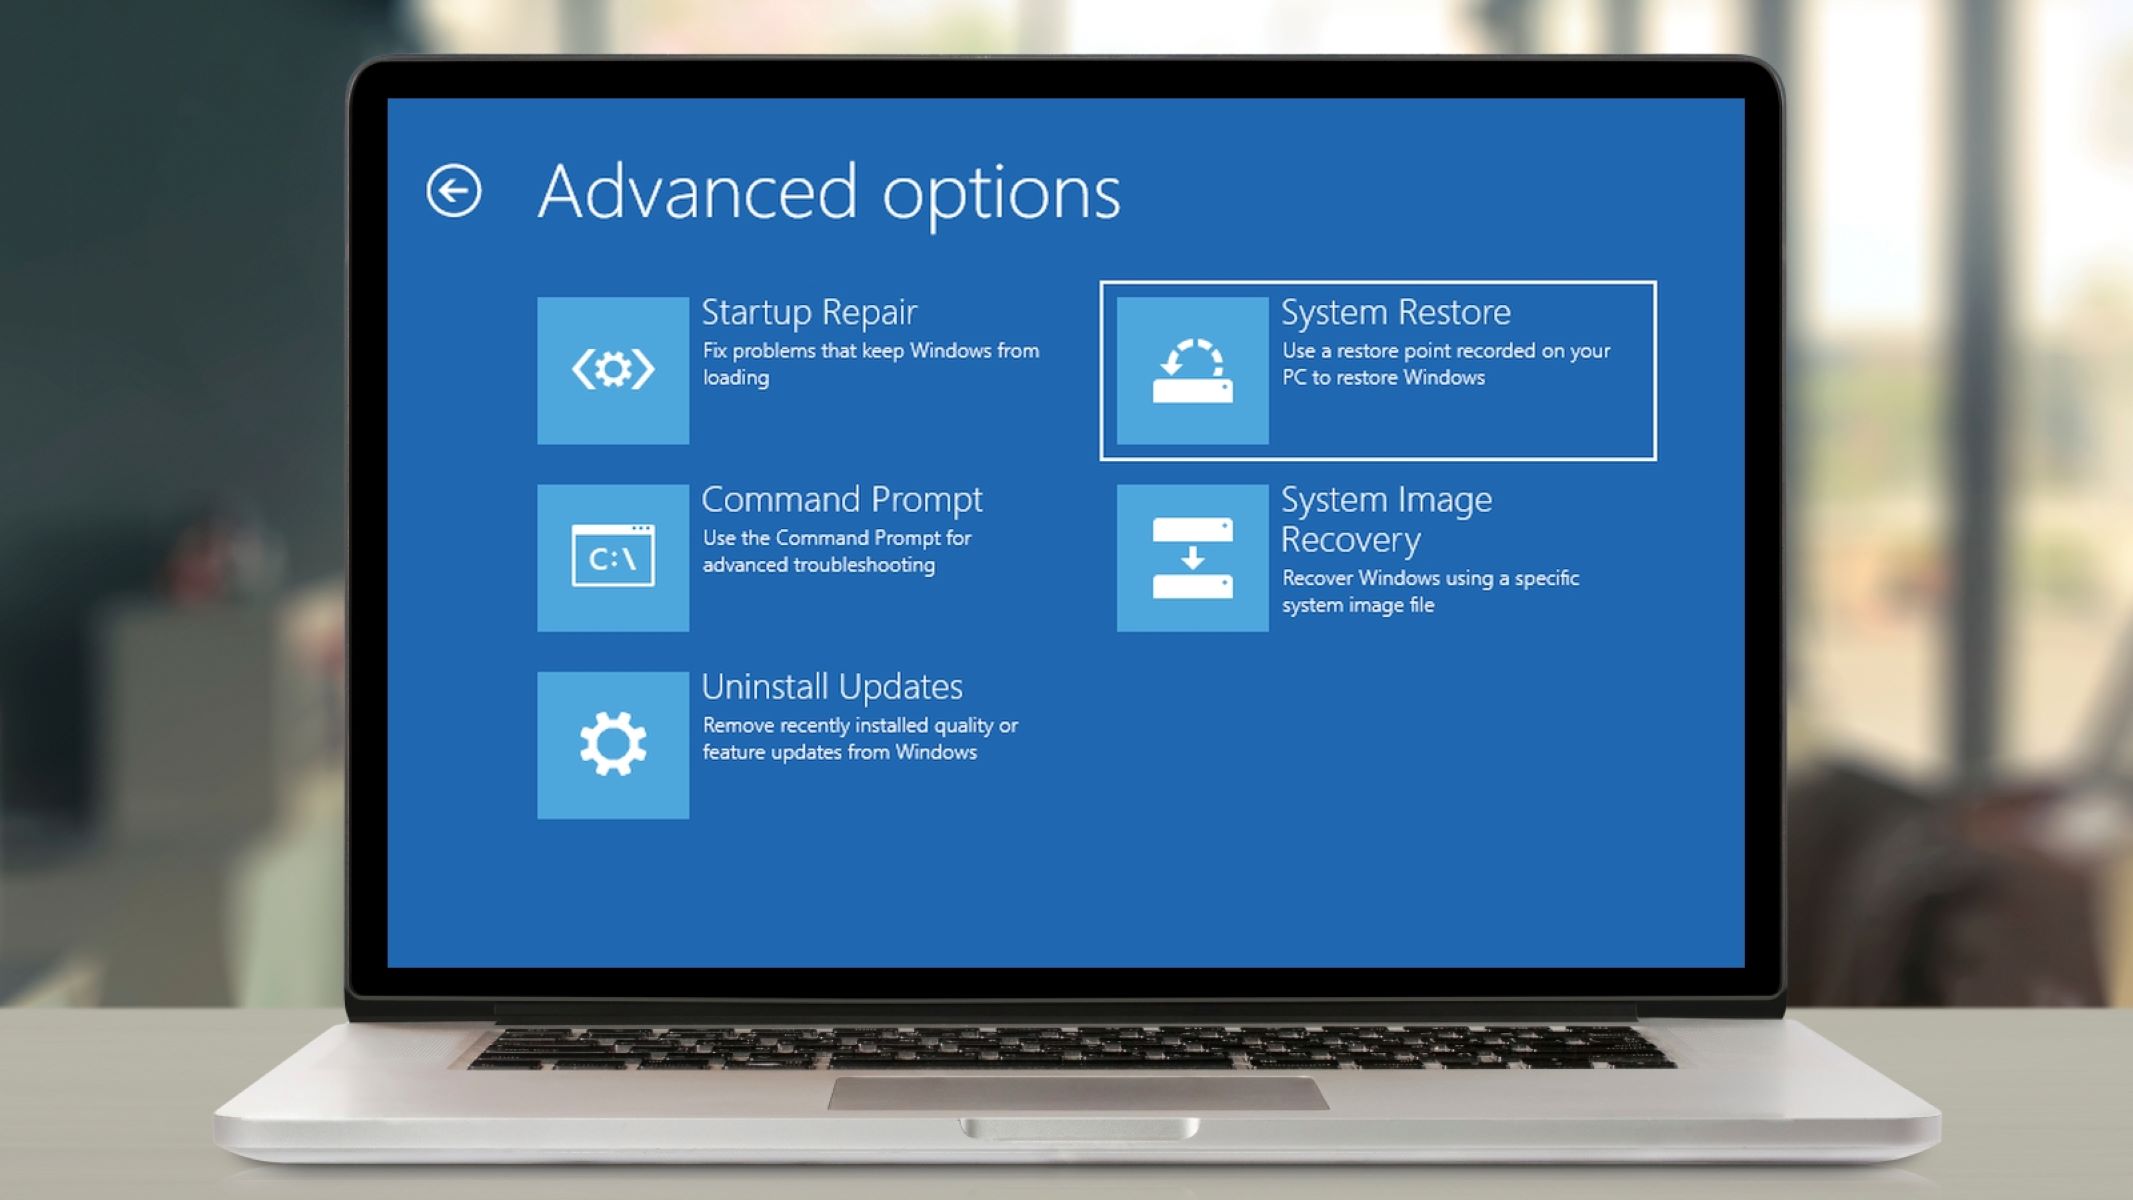
- A new window titled “System Properties” will open. Select the “System Protection” tab at the top.
- Under the “System Protection” section, click on the “System Restore” button.
At this point, you may be prompted to enter your administrator password or provide confirmation. Ensure that you have the necessary permissions to make system changes before proceeding.
Once you have accessed the System Restore feature, you are now ready to move on to the next step, where you will choose a restore point to revert your system to.
Step 2: Selecting a Restore Point
After accessing the System Restore feature in Windows 10, it’s time to choose a restore point. A restore point is a specific date and time to which you will roll back your system’s configuration. Here’s how to select a restore point:
- In the System Restore window, you will see a list of available restore points. These restore points are automatically created by Windows periodically or when major system changes occur, such as installing a new program or driver. You can also manually create a restore point if desired.
- Take a moment to review the list and identify the restore point that represents a time when your system was working correctly. The restore points are usually labeled with a date and a brief description of the event or action that triggered their creation.
- If you need more information about a particular restore point, you can click on it and choose the “Scan for affected programs” option. This will display a list of programs and drivers that will be affected if you proceed with the restore.
- Once you have selected a restore point, click on the “Next” button to proceed to the next step.
It is essential to choose the most recent restore point that predates the occurrence of the problem you are facing. However, keep in mind that newer restore points may not always be available, as Windows automatically deletes older restore points to make room for new ones. If you don’t see a suitable restore point, you may need to choose an older one and accept the potential loss of more recent changes made to your system.
Now that you have selected a restore point, you are ready to confirm the restore and initiate the system restore process, which we will cover in the next step.
Step 3: Confirming the Restore
Once you have selected the desired restore point in Windows 10, it is time to confirm the restore and proceed with the system restore process. Here’s how to do it:
- Double-check the selected restore point and ensure that it corresponds to the time when your system was functioning correctly. If you are unsure or want to review the changes that will occur during the restore, you can click on the “Scan for affected programs” option.
- After reviewing the information, click on the “Next” button to continue.
- In the next window, you will see a final confirmation message summarizing the restore point and the changes that will be made to your system. Take a moment to read through this message and make sure you understand the implications of the restore.
- Click on the “Finish” button to confirm the restore and initiate the process. At this point, Windows will warn you that once started, the restore process cannot be interrupted.
It’s important to note that during the restore process, your computer may restart multiple times. This is normal, and you should allow the process to complete without interruption. Avoid turning off your computer or unplugging it during the system restore, as this can potentially cause further issues.
Once the system restore is initiated, Windows will begin reverting your system’s settings, files, and installed applications to the selected restore point. The duration of the process will depend on the complexity of the changes that need to be made and the speed of your computer.
Now that you have confirmed the restore, it’s time to proceed to the final step where you will complete the system restore process and ensure that your Windows 10 computer is back to its previous working state.
Step 4: Completing the System Restore Process
After confirming the restore in the previous step, the system restore process in Windows 10 will begin. In this final step, you will complete the process and verify that your computer has been successfully restored to its previous working state. Here’s how to complete the system restore process:
- During the restore process, your computer will restart multiple times. You may see a “System Restore is initializing” message during these restarts, along with a progress indicator.
- It’s crucial to allow the system restore process to complete without interruption. This may take some time depending on the complexity of the changes being made and the performance of your computer.
- Once the system restore process is finished, your computer will restart for the final time.
- After the restart, log in to your Windows 10 account and wait for the system to stabilize. You should now notice that your computer has been restored to the selected restore point.
- Take a moment to test your computer’s performance and functionality to ensure that the issues you were experiencing have been resolved. Open your applications, browse the internet, and perform any other tasks that were previously problematic.
- If all appears to be functioning correctly, congratulations! The system restore process is complete, and your Windows 10 computer is back to its previous working state.
It’s worth noting that while the system restore process can resolve many types of issues, it may not be able to fix all problems. Some changes, such as the installation of certain software or drivers, may not be fully reversed by the system restore. In these cases, you may need to explore alternative troubleshooting methods or seek professional assistance.
Remember, it’s always a good idea to regularly back up your important files and documents to an external storage device or cloud storage, so that even if a system restore is necessary, you won’t lose any critical data.
With the completion of the system restore process, you can now enjoy a fully functioning and stable Windows 10 computer, free from the issues that were troubling you.
Conclusion
System Restore is a valuable feature provided by Windows 10 that allows users to easily revert their computer’s settings back to a previous state, helping to resolve various issues and restore stability. By creating restore points at specific intervals or after major system changes, Windows 10 provides a safety net for users to undo problematic modifications and return their computer to a working condition.
In this guide, we walked through the step-by-step process of accessing, selecting a restore point, confirming, and completing the system restore in Windows 10. We emphasized the importance of choosing the right restore point that predates the occurrence of the problem and reminded users to backup important files before initiating the restore process.
While system restore can be highly effective in resolving many types of issues, it’s important to note that it may not be a definitive solution for all problems. In some cases, certain changes made to the system may not be fully reversible. It’s always a good practice to explore other troubleshooting methods or seek professional assistance if needed.
Remember to regularly create restore points or even manually create them at critical junctures, such as before installing new software or making significant system changes. By doing so, you can ensure that you have checkpoint options available to quickly restore your computer to a working state if necessary.
We hope this guide has been helpful in guiding you through the system restore process on Windows 10. By utilizing this feature, you have the ability to resolve issues and regain the stability of your computer, without the need for complicated technical skills or software tools.
With the knowledge and understanding gained from this guide, you can confidently use System Restore to troubleshoot and restore your Windows 10 computer, ensuring a smoother computing experience.