Introduction
Welcome to our comprehensive guide on how to disassemble a NZXT case fan. If you’re experiencing issues with your fan, such as excessive noise or poor performance, it may be time to take it apart and give it a thorough cleaning. Cleaning your fan regularly not only helps improve its functionality but also prolongs its lifespan.
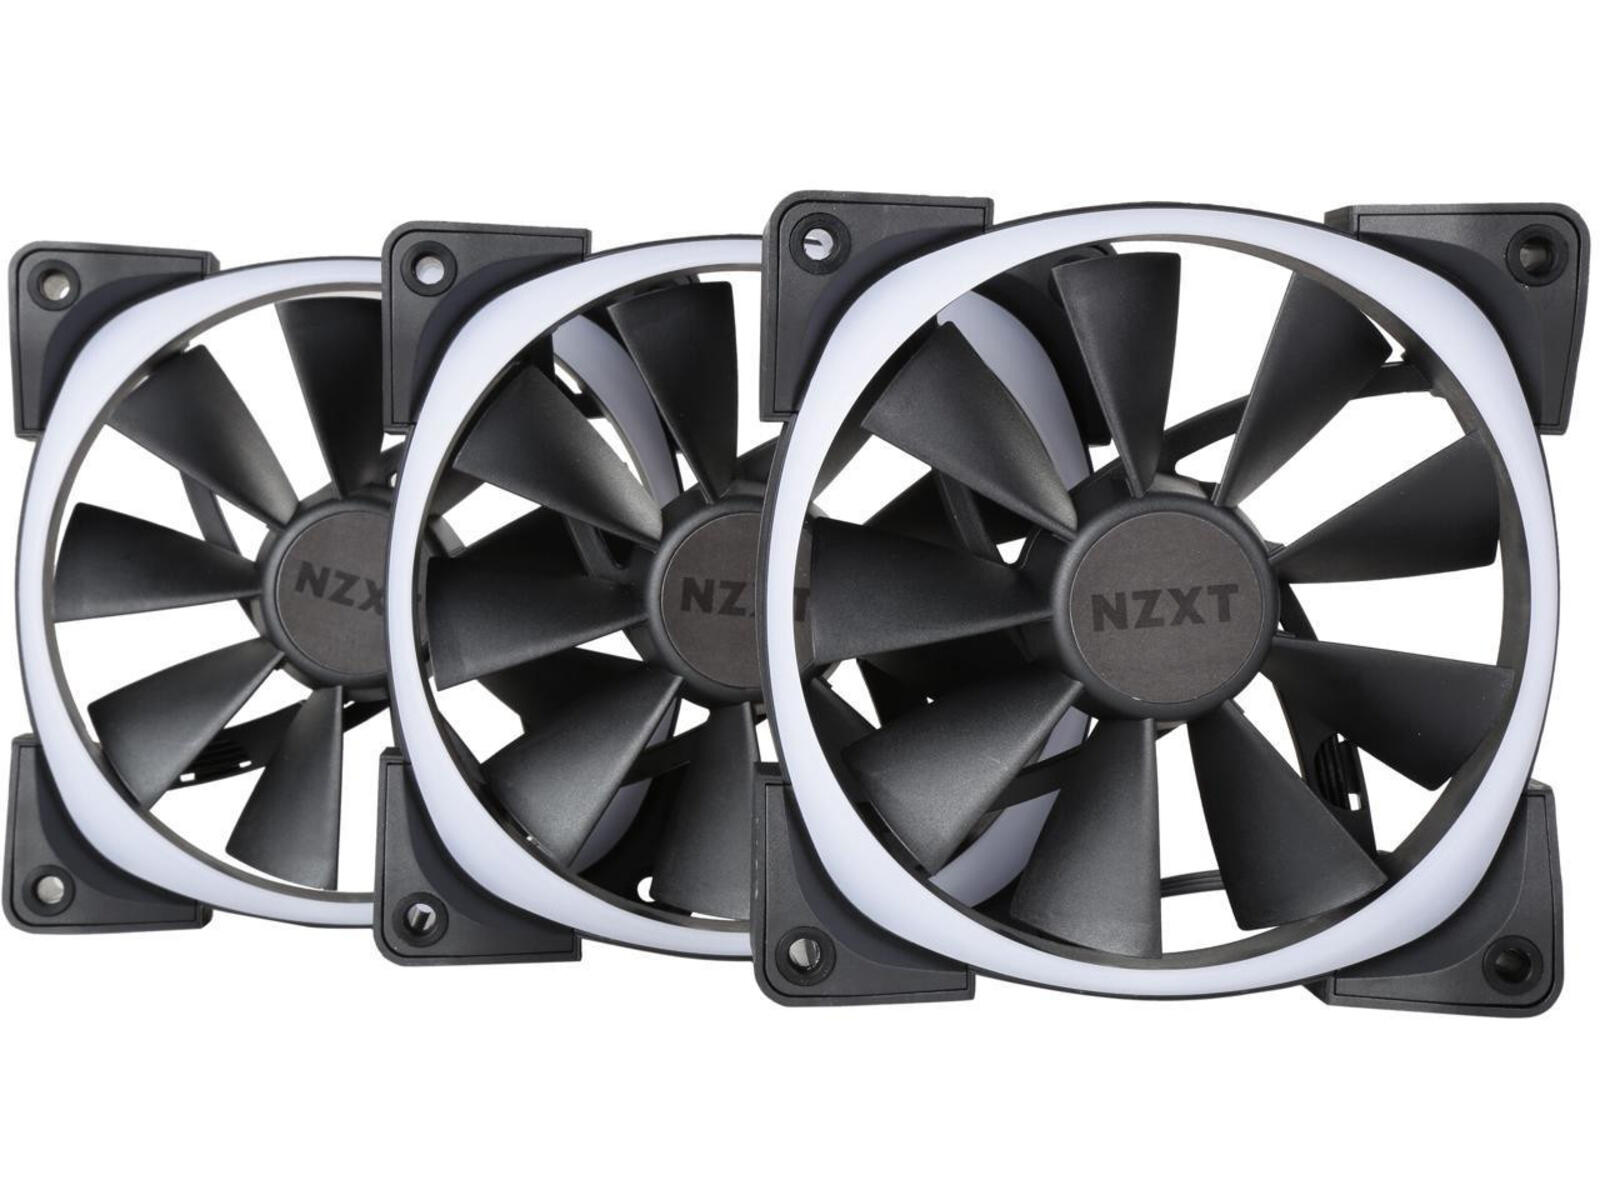
NZXT is a renowned manufacturer of computer cases and cooling solutions, and their case fans are known for their outstanding performance and durability. However, over time, dust and debris can accumulate on the fan blades, affecting its efficiency and causing unnecessary noise. Fortunately, disassembling and cleaning the fan is a simple process that can be done with just a few tools and materials.
In this guide, we will walk you through each step of the disassembly process, from preparing the necessary tools to cleaning the fan blades. You don’t need to be a computer expert to perform this task. Just follow our instructions, and you’ll have your NZXT case fan running smoothly again in no time.
Before we begin, keep in mind that disassembling your case fan may void any warranty you have. So, if your fan is still under warranty, it’s best to check with NZXT or the retailer before attempting any repairs. Additionally, make sure to work in a clean and well-lit area and take necessary precautions to avoid any damage to the fan or yourself.
Tools and Materials Needed
Before you begin disassembling your NZXT case fan, make sure you have the necessary tools and materials ready. Here’s a list of what you’ll need:
- Screwdriver (usually a Phillips head)
- Cotton swabs or a soft brush
- Isopropyl alcohol (or any other electronics cleaning solution)
- Clean cloth or paper towels
- Compressed air canister or an air compressor
- Anti-static wrist strap (optional, but recommended)
The screwdriver will be used to remove any fasteners holding the fan in place. Most NZXT case fans use Phillips head screws, but it’s always a good idea to check before starting. The cotton swabs or soft brush, along with the isopropyl alcohol, will help you clean the fan blades effectively. When cleaning, make sure to use a gentle touch to avoid damaging the delicate blades.
The clean cloth or paper towels will come in handy for wiping down the fan housing and removing any residual cleaning solution. The compressed air canister or air compressor will help you remove dust and debris from hard-to-reach areas. This is especially useful for cleaning the fan motor and other internal components.
Lastly, an anti-static wrist strap is optional but highly recommended. It helps prevent any static discharge that could potentially damage sensitive electronics. If you don’t have an anti-static wrist strap, make sure to ground yourself by touching a metal object before handling any components.
Having these tools and materials prepared in advance will ensure a smooth disassembly process and a thorough cleaning of your NZXT case fan. Now that you have everything you need, let’s move on to the next step: preparation.
Step 1: Preparation
Before you start disassembling your NZXT case fan, it’s essential to take a few preparatory steps to ensure a safe and efficient process. Follow these steps:
- Turn off your computer and unplug it from the power source. This will prevent any accidental electric shock or damage to your computer components during the disassembly process.
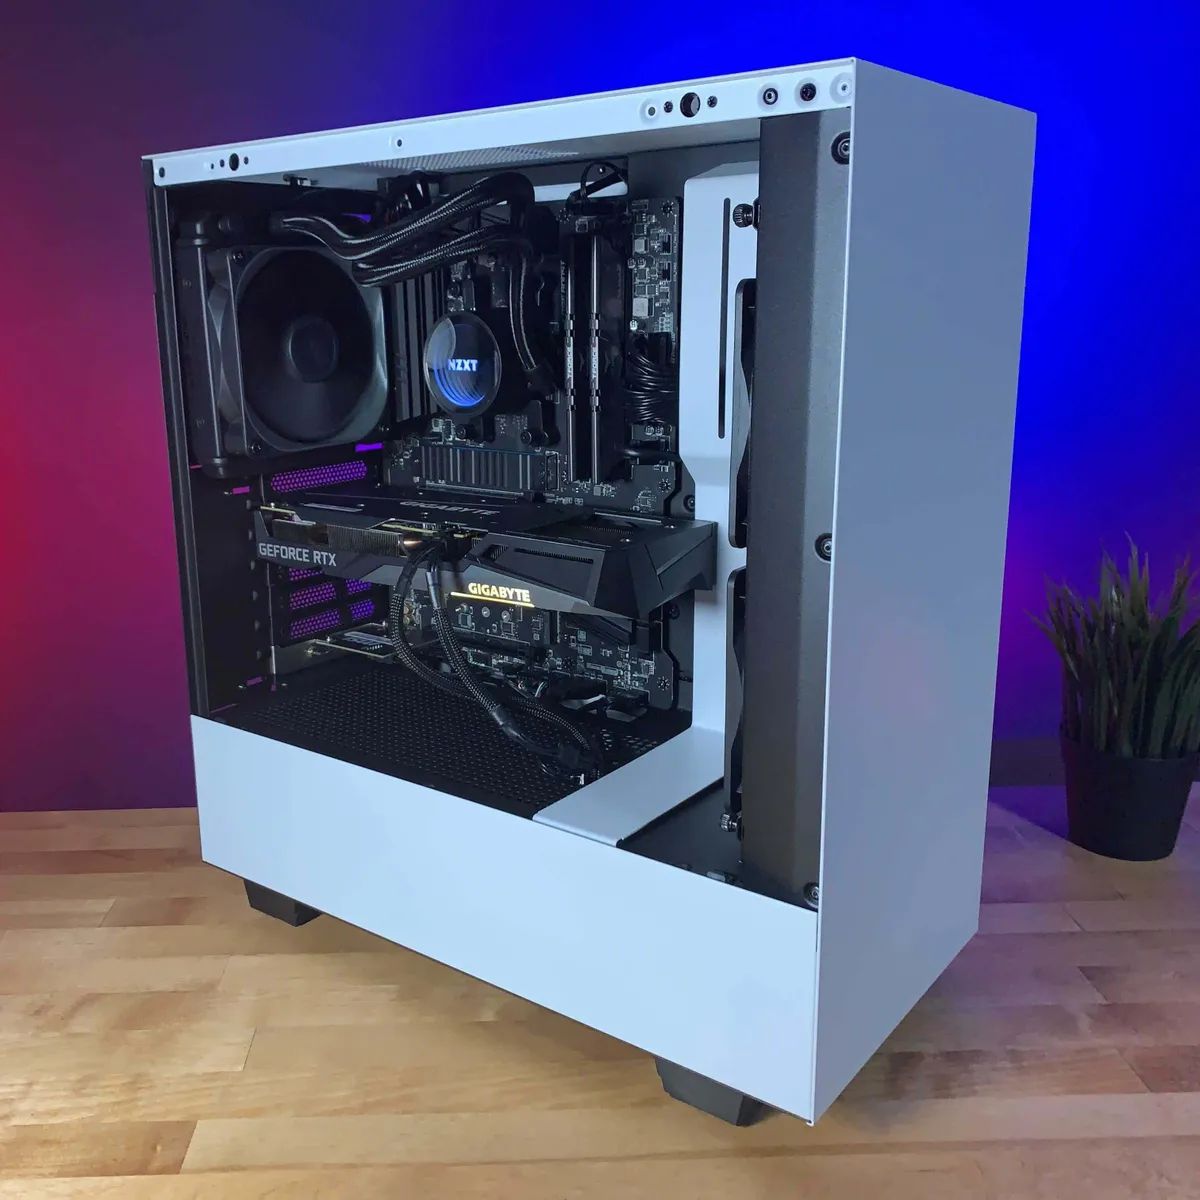
- Place your computer on a clean, flat surface with ample space for you to work comfortably. Ensure that the surface is stable and won’t wobble or cause any accidental spills or damage to your computer.
- If you have an anti-static wrist strap, wear it and connect the grounding clip to a metal part of your computer case. This will help dissipate any static electricity and protect your computer components from static discharge.
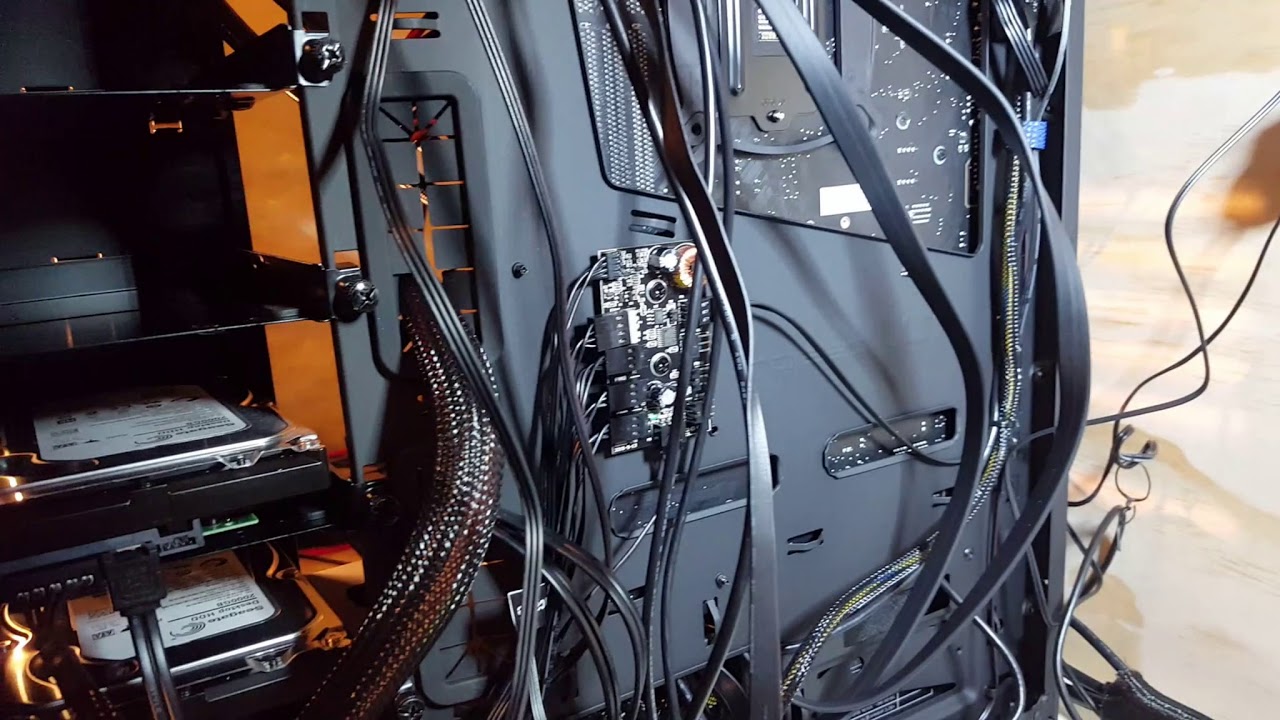
- If your computer has a side panel, remove it carefully by unscrewing the screws or releasing any latches. This will give you easier access to the case fan.
- Take a moment to observe the inside of your computer case and locate the NZXT case fan. Typically, it will be positioned in the front, back, or top of the case, depending on your specific setup. Take note of any screws or fasteners securing the fan in place.
By following these preparatory steps, you’ll ensure a smooth and safe disassembly process for your NZXT case fan. Now that you’re ready, let’s move on to the next step: removing the fan from the case.
Step 2: Removing the Fan from the Case
Now that you’ve prepared your workspace, it’s time to remove the NZXT case fan from your computer. Follow these steps carefully to avoid causing any damage:
- Locate the screws or fasteners that are holding the fan in place within your computer case. They might be visible on the outside of the case or hidden underneath other components.
- Using the appropriate screwdriver (usually a Phillips head), carefully unscrew and remove the fasteners securing the fan to the case. Keep the screws in a safe place to avoid misplacing them.
- Once the screws are removed, gently pull the fan away from the case. Be cautious not to apply excessive force or pull on any wires connected to the fan.
- Inspect the fan connectors to see if they are detachable. If they are, disconnect them by either gently pulling them apart or pressing down on any release tabs.
By following these steps, you will successfully remove the NZXT case fan from your computer. Take note of the placement and orientation of the fan during the removal process, as it will guide you when reassembling the fan later on. With the fan removed, you can proceed to the next step: accessing the fan blades.
Step 3: Accessing the Fan Blades
Now that you have removed the NZXT case fan from your computer, it’s time to access the fan blades for cleaning. Follow these steps to gain access to the fan blades:
- Locate any clips, tabs, or additional screws that may be securing the fan blades within the fan housing. These can vary depending on the specific model of your NZXT case fan.
- If there are clips or tabs, gently push or press them to release the fan blades from the housing. If there are additional screws, carefully unscrew them using the appropriate screwdriver.
- Once any fasteners are removed, separate the fan blades from the fan housing. Be cautious not to pull on any wires or cables that may be connected inside the fan.
By following these steps, you will now have clear access to the fan blades for cleaning. Take note of any additional components that may be attached to the fan blades, such as fan grilles or shrouds. These should also be removed if they obstruct the cleaning process.
With the fan blades accessed and ready for cleaning, you can move on to the next step: removing the fan blades from the fan housing.
Step 4: Removing the Fan Blades
Now that you have accessed the fan blades of your NZXT case fan, it’s time to remove them for thorough cleaning. Follow these steps carefully to ensure a successful removal process:
- Inspect the fan blade attachment mechanism. Depending on your specific NZXT case fan model, the fan blades may be secured with one of the following methods:
- Clips or tabs: Look for any clips or tabs that are holding the fan blades in place. Gently press or push them to release the blades.
- Screws: Check if there are screws directly securing the fan blades. Use the appropriate screwdriver to carefully unscrew them.
- Blade removal tool: Some NZXT case fans come with a specialized tool for removing the blades. If you have this tool, follow the manufacturer’s instructions on how to use it.
- Once you have identified the method of attachment, proceed to remove the fan blades from the fan housing. Take care not to exert excessive force or pull on any wires connected to the blades.
- If you encounter any difficulties in removing the fan blades, refer to the manufacturer’s documentation or online resources for specific instructions related to your NZXT case fan model.
- Once the fan blades are successfully removed, place them on a clean and soft surface, such as a cloth or towel, to prevent any damage or scratches.
With the fan blades removed, you are now ready to proceed to the next step: cleaning the fan blades to restore optimal performance.
Step 5: Cleaning the Fan Blades
Now that you have successfully removed the fan blades from your NZXT case fan, it’s time to clean them thoroughly. Over time, dust and debris can accumulate on the blades, affecting their performance. Follow these steps to clean the fan blades effectively:
- Start by using compressed air or an air compressor to blow away loose dust and debris from the fan blades. Hold the canister or air compressor at a safe distance to avoid damaging the blades.
- Dampen a cotton swab or a soft brush with isopropyl alcohol or any other electronics cleaning solution. Gently wipe down each fan blade, removing any stubborn dirt or grime. Pay extra attention to the leading edge and trailing edge of the blades, as these areas tend to accumulate the most debris.
- If necessary, you can also use a slightly damp cloth or paper towel to wipe down the fan blades. Be careful not to oversaturate the cloth, as excessive moisture can damage the electronics inside the fan.
- For hard-to-reach areas between the fan blades, you can use a toothpick or a small brush to dislodge any remaining debris. Just be gentle to avoid bending or damaging the blades.
- Once you are satisfied with the cleaning, allow the fan blades to dry completely before reassembling them. This will prevent any moisture from causing damage or affecting the performance of the fan.
By following these steps, you will have effectively cleaned the fan blades of your NZXT case fan. Make sure to clean the fan blades periodically to maintain optimal performance and reduce noise. Now that the fan blades are clean, you are ready for the next and final step: reassembling the fan.
Step 6: Reassembling the Fan
Now that you have cleaned the fan blades of your NZXT case fan, it’s time to reassemble them and put everything back together. Follow these steps to ensure a successful reassembly process:
- Inspect the fan blades and the fan housing for any remaining debris or moisture. Use a clean cloth or compressed air to remove any leftover particles.
- If you had any additional components, such as fan grilles or shrouds, that were removed during the disassembly process, make sure to reinstall them in their proper positions.
- Align the fan blades with the attachment mechanism on the fan housing. Depending on your NZXT case fan model, this may involve aligning clips, tabs, or screw holes.
- Carefully press or slide the fan blades back into place, securing them firmly. Ensure that they are properly aligned and seated securely within the fan housing.
- If there are any screws or fasteners required to secure the fan blades, use the appropriate screwdriver to tighten them without over-tightening. Be cautious not to damage the fan blades or strip the screws.
- If there were any fan connectors that you detached earlier, reattach them to their respective ports. Ensure a secure connection without exerting excessive force.
- Take a moment to double-check that all components are properly reassembled and secured. Inspect the fan blades, housing, and any additional components to ensure they are in the correct positions.
With the fan blades reassembled, you have successfully completed the process of disassembling, cleaning, and reassembling your NZXT case fan. Congratulations! Now, you can proceed to reinstall the fan back into your computer case and enjoy its improved performance and reduced noise.
Remember to test your fan after reinstallation to ensure it is working properly. If you encounter any issues, double-check the connections and retrace your steps to ensure everything is correctly assembled. If problems persist, consult the manufacturer’s documentation or seek further assistance.