Introduction
Welcome to this tutorial on how to create a PHP comment box using a MySQL database. Adding a comment box to your website can greatly enhance user interaction and engagement. Visitors can leave their comments, feedback, and opinions, creating a sense of community around your content. With PHP and MySQL, you can easily manage and display these comments on your website.
In this tutorial, we will guide you through the process of setting up and implementing a comment box on your website. Whether you’re a beginner or have some experience with PHP and MySQL, this tutorial will provide you with step-by-step instructions to create a functional comment system.
Before we start, it’s important to have a basic understanding of HTML, CSS, PHP, and MySQL. You should also have a local development environment set up on your computer, such as XAMPP or WAMP, which includes PHP and MySQL.
In the following sections, we will cover each step in detail, from setting up the database to displaying the comments on your website. So let’s get started and create a PHP comment box that will engage your website visitors and encourage them to share their thoughts!
Prerequisites
Before starting with the tutorial, there are a few prerequisites that you need to fulfill. These requirements will ensure that you have the necessary tools and knowledge to create a PHP comment box using a MySQL database.
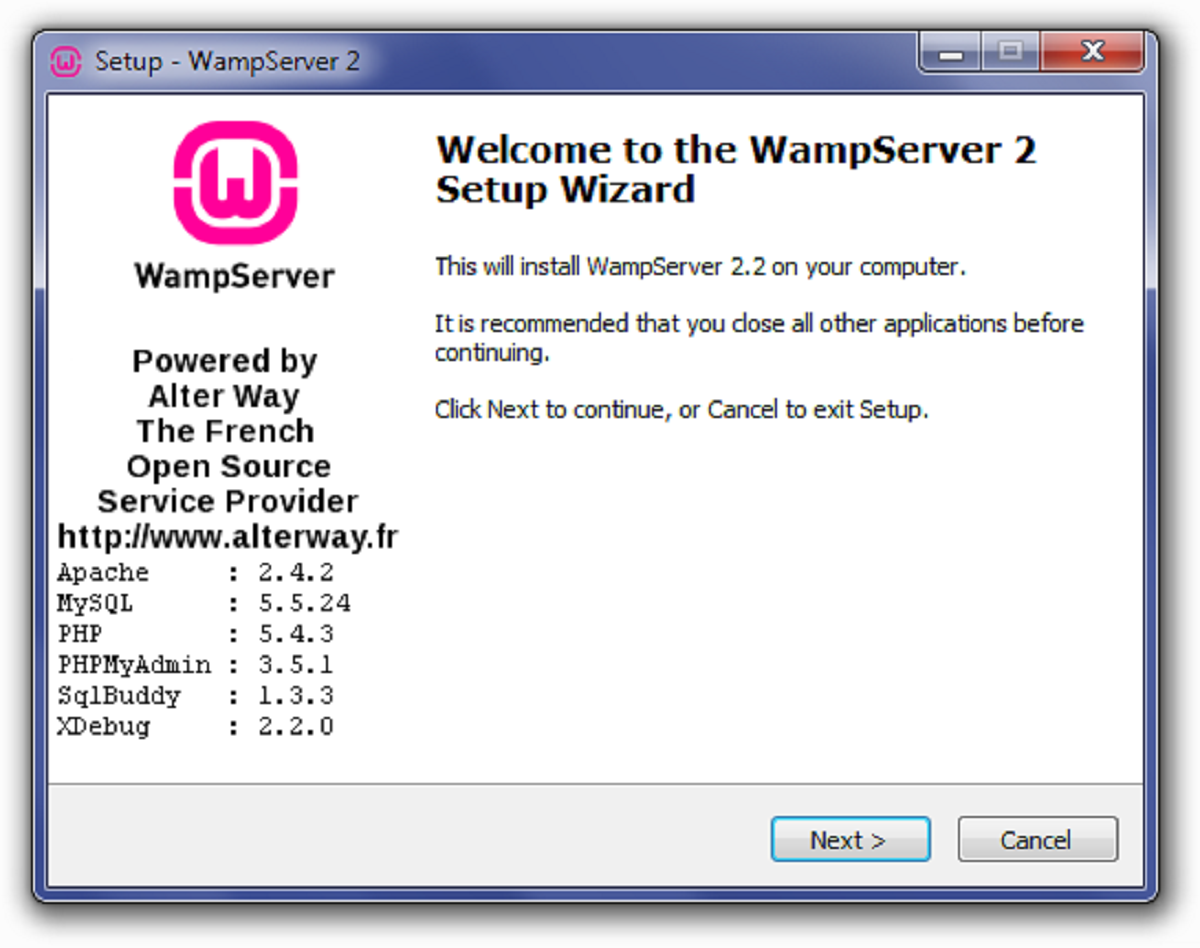
1. Local Development Environment: You should have a local development environment set up on your computer. This can be accomplished by installing software such as XAMPP, WAMP, or MAMP, which provide a package containing PHP, MySQL, and Apache web server.
2. Basic Knowledge of HTML, CSS, PHP, and MySQL: It’s essential to have a basic understanding of HTML, CSS, PHP, and MySQL to effectively follow this tutorial. Familiarity with these web development technologies will make it easier for you to grasp the concepts and code snippets used throughout the process.
3. Text Editor: You’ll need a text editor to write and edit your PHP and HTML code. Some popular choices include Sublime Text, Visual Studio Code, and Atom. Choose the one that you’re most comfortable with or explore different options to find the right fit for you.
4. MySQL Database: Make sure you have MySQL installed and running on your local development environment. You will use this database to store the comments submitted through the comment box.
5. Basic Understanding of Database Concepts: While you don’t need to be a database expert, having a basic understanding of concepts like tables, columns, and SQL queries will be beneficial. This knowledge will help you in managing and retrieving data from the MySQL database.
With these prerequisites in place, you are well-prepared to start creating your PHP comment box using a MySQL database. In the next sections, we will guide you through each step of the process, providing clear instructions and code examples along the way.
Step 1: Set Up the Database
The first step in creating a PHP comment box using a MySQL database is to set up the database itself. The database will store all the comments that users submit through the comment box.
Here’s how you can set up the database:
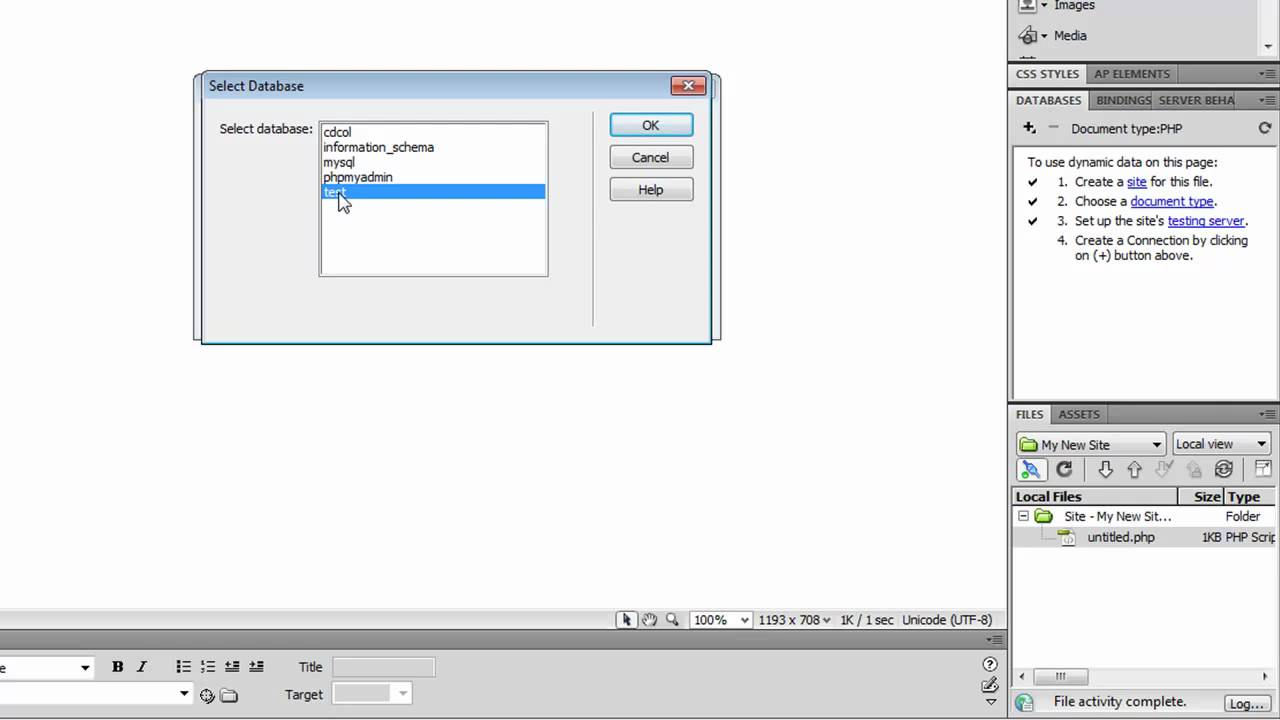
- Open your preferred web browser and access phpMyAdmin. phpMyAdmin is a web-based interface for managing MySQL databases and can usually be accessed by visiting “http://localhost/phpmyadmin”.
- Create a new database by entering a name in the “Create database” field. Choose a memorable name, such as “comment_box”, and click on the “Create” button. This will create a new empty database for your comment box.
- Next, create a table within the database to hold the comments. Click on the newly created database from the sidebar, then click on the “SQL” tab at the top.
- In the SQL tab, you can execute SQL queries to create tables and perform other database operations. Enter the following SQL query to create the table for your comments:
sql
CREATE TABLE comments (
id INT(11) NOT NULL AUTO_INCREMENT,
name VARCHAR(50) NOT NULL,
email VARCHAR(50) NOT NULL,
comment TEXT NOT NULL,
created_at TIMESTAMP DEFAULT CURRENT_TIMESTAMP,
PRIMARY KEY (id)
);
This SQL query creates a table called “comments” with columns for the comment ID, commenter’s name, email, comment content, and the timestamp when the comment was created. The “id” column is set as the primary key, ensuring that each comment has a unique identifier.
Once you’ve executed the SQL query, your database is ready to store comments submitted through the comment box. In the next steps, we will create the HTML form and process the form data using PHP to save the comments to the database.
Step 2: Create the HTML Form
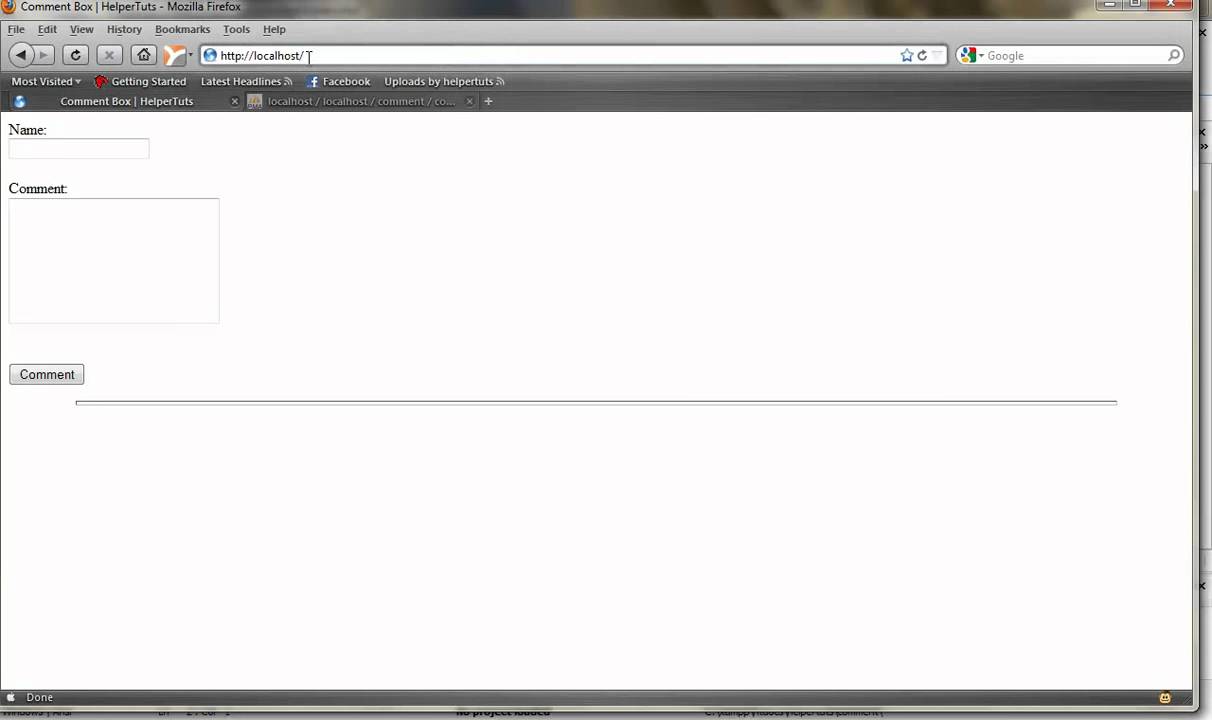
Now that we have set up the database, the next step is to create the HTML form that users will fill out to submit their comments. The form will collect information such as the commenter’s name, email, and the actual comment.
Here’s how you can create the HTML form:
- Open your text editor and create a new HTML file. You can name it “comment_box.html” or any other name of your choice.
- Start by adding the basic HTML structure. Include the doctype declaration, opening and closing
<html>tags, and the<head>section. - In the
<head>section, add a title for your form, such as “Comment Box”. - Inside the
<body>section, create a<form>element with theactionattribute set to the file where we will process the form data. For now, you can set the action to “process_form.php” (we’ll create this file in the next step). - Add the necessary form fields inside the form. These fields can include an input field for the commenter’s name, an email input field, a textarea for the comment, and a submit button. You can use the HTML
<input>and<textarea>elements to create these form fields. - Optionally, you can add some styling to the form using CSS to make it visually appealing.
- Save the HTML file.
With these steps, you have successfully created the HTML form. It will allow users to enter their name, email, and comment, and submit it through the form. In the next step, we will process the form data and save the comments to the database using PHP.
Step 3: Process the Form Data
After creating the HTML form, the next step is to process the form data using PHP. We will create a PHP file that will receive the form inputs, validate them, and save the comment to the database.
Here’s how you can process the form data:
- Create a new PHP file in your text editor and name it “process_form.php. This file will handle the form submission and save the comment to the database.
- Within the PHP file, start by connecting to the MySQL database using the appropriate credentials. You can make use of the mysqli_connect function to establish a connection.
- Retrieve the form data using the $_POST superglobal array. Assign the values of the form fields to variables for easy access.
- Perform any necessary validation on the form inputs. For example, you can check if the name and comment fields are not empty, and if the email is in a valid format using regular expressions or built-in PHP functions like filter_var().
- Once the validation is complete, construct an SQL query to insert the comment data into the database. Use prepared statements or sanitize the input to prevent SQL injection attacks.
- Execute the SQL query using the mysqli_query() function.
- Check if the comment was successfully inserted into the database. If so, display a success message to the user. Otherwise, display an error message.
- Close the database connection using the mysqli_close() function.
- Save the PHP file.
By completing these steps, you have successfully processed the form data and saved the comment to the MySQL database. In the next step, we will retrieve and display the comments on your website.
Step 4: Save the Comment to the Database
After processing the form data, the next step is to save the comment to the MySQL database. We will use PHP to insert the comment data into the appropriate table in the database.
Here’s how you can save the comment to the database:
- Open the PHP file where you processed the form data (e.g., “process_form.php”).
- Ensure that you have established a connection to the MySQL database using the mysqli_connect() function.
- In the section where you validate the form inputs and perform any necessary checks, add the code to insert the comment into the database.
- Construct an SQL query to insert the comment data into the appropriate table in the database. Use prepared statements or sanitize the input to prevent SQL injection attacks.
- Bind the values of the form fields to the corresponding placeholders in the SQL query.
- Execute the SQL query using the mysqli_stmt_execute() function.
- Check if the comment was successfully inserted into the database. If so, display a success message to the user. Otherwise, display an error message.
- Close the database connection using the mysqli_close() function.
- Save the PHP file.
By following these steps, you have successfully saved the comment to the MySQL database. The comment data is now stored and ready to be retrieved and displayed on your website. In the next step, we will learn how to display the comments.
Step 5: Display the Comments
Once you have successfully saved the comments to the MySQL database, the final step is to retrieve and display them on your website. By doing so, visitors will be able to see all the comments that have been submitted through the comment box.
Here’s how you can display the comments:
- Create a new PHP file in your text editor and name it “display_comments.php”. This file will handle the retrieval and display of the comments.
- Connect to the MySQL database using the mysqli_connect() function.
- Construct an SQL query to retrieve the comments from the database. You can use a SELECT statement to fetch the desired columns from the comments table.
- Execute the SQL query using the mysqli_query() function.
- Check if any rows are returned from the query using the mysqli_num_rows() function. If there are no rows, display a message such as “No comments yet.” Otherwise, proceed to the next step.
- Loop through the result set using the mysqli_fetch_assoc() function. This will allow you to access the individual comment data.
- Within the loop, display the comment details in the desired format. You can use HTML markup to structure and style the displayed comments. For example, you can use
<div>or<li>tags to contain each comment. - Close the database connection using the mysqli_close() function.
- Save the PHP file.
By completing these steps, you have successfully retrieved and displayed the comments from the MySQL database. Visitors to your website will now be able to see all the comments that have been submitted through the comment box. You can further enhance the display by adding pagination, sorting options, or additional formatting based on your specific requirements.
Conclusion
Congratulations! You have successfully learned how to create a PHP comment box using a MySQL database. By following the steps outlined in this tutorial, you now have a functional comment system that allows visitors to share their thoughts and engage with your website.
Throughout this tutorial, you have set up the necessary database, created an HTML form to collect user input, processed the form data using PHP, saved the comments to the database, and finally, displayed the comments on your website. This step-by-step process has equipped you with the knowledge and skills to implement a comment box that enhances user interaction and fosters community engagement.
Remember, you can further customize and expand the functionality of your comment box based on your specific requirements. For example, you can add features like user authentication, moderation of comments, or even integrate social media sharing options. The possibilities are endless, and with continued learning and practice, you can take your comment system to new heights.
Thank you for following this tutorial and taking the time to enhance your web development skills. We hope that this tutorial has provided you with valuable insights and knowledge that you can apply in future projects. Keep exploring, experimenting, and pushing the boundaries of your creativity as you continue to grow as a developer.