Introduction
Are you looking to add some excitement and urgency to your website? One effective way to engage your visitors is by incorporating a countdown timer. Whether it’s for a limited-time offer, an upcoming event, or a product launch, a countdown timer can create a sense of urgency and encourage immediate action.
In this tutorial, we will guide you through the process of creating a countdown timer using PHP. PHP, which stands for Hypertext Preprocessor, is a powerful server-side scripting language that allows you to add dynamic functionality to your website.
Creating a countdown timer in PHP involves combining HTML, PHP, and JavaScript to display and update the countdown in real-time. Don’t worry if you’re not familiar with all three languages – we’ll provide step-by-step instructions to ensure you can follow along.
Before we dive in, there are a few prerequisites you need to have in place. You should have a basic understanding of HTML, CSS, and JavaScript. Additionally, you should have a local development environment set up, such as XAMPP or MAMP, to run PHP code locally before deploying it to a live website.
Throughout this tutorial, we’ll walk you through the process of setting up the HTML structure, creating the PHP function, formatting the countdown timer, and adding JavaScript to update the timer in real-time. By the end of the tutorial, you’ll have a fully functioning countdown timer that you can customize to fit the needs of your website.
So, let’s get started and create an eye-catching countdown timer to capture your visitors’ attention and boost your conversion rates!
Prerequisites
Before you begin creating a countdown timer in PHP, make sure you have the following prerequisites in place:
- Basic understanding of HTML, CSS, and JavaScript: Since the countdown timer will involve these languages, it’s essential to have a foundational understanding of them. If you’re new to web development, taking a few online tutorials or courses can help you grasp the basics.
- Local development environment: To run PHP code locally, you’ll need to set up a local development environment like XAMPP, WAMP, or MAMP. These tools provide a server environment for PHP scripts to be executed, allowing you to test and debug your code before deploying it to a live website.
Once you have a good grasp of HTML, CSS, and JavaScript and have set up your local development environment, you’re ready to proceed with creating the countdown timer using PHP.
Additionally, having a code editor of your choice, such as Visual Studio Code, Sublime Text, or Atom, will make it easier for you to write and organize your code effectively.
It’s worth noting that PHP is a server-side scripting language, so you’ll need a hosting provider that supports PHP if you plan to deploy your countdown timer on a live website. Most hosting providers nowadays offer PHP support, so it shouldn’t be an issue.
With these prerequisites in place, you’re well-equipped to follow along and create an impressive countdown timer that will enhance the user experience on your website.
Now that we’ve covered the prerequisites, let’s move on to setting up the HTML structure for our countdown timer.
Setting up the HTML structure
Before we start coding the functionality for our countdown timer, we need to set up the HTML structure that will hold the timer. The HTML structure will define the visual appearance and layout of the countdown timer on our webpage.
To begin, create a new HTML file or open an existing one in your preferred code editor. Within the <body> tag, add a container element to hold the countdown timer. This container element can be a <div> or any other suitable HTML container element.
Give the container element a unique ID or class name for easy identification through CSS or JavaScript. This ID or class will help us target the container element in our code later on.
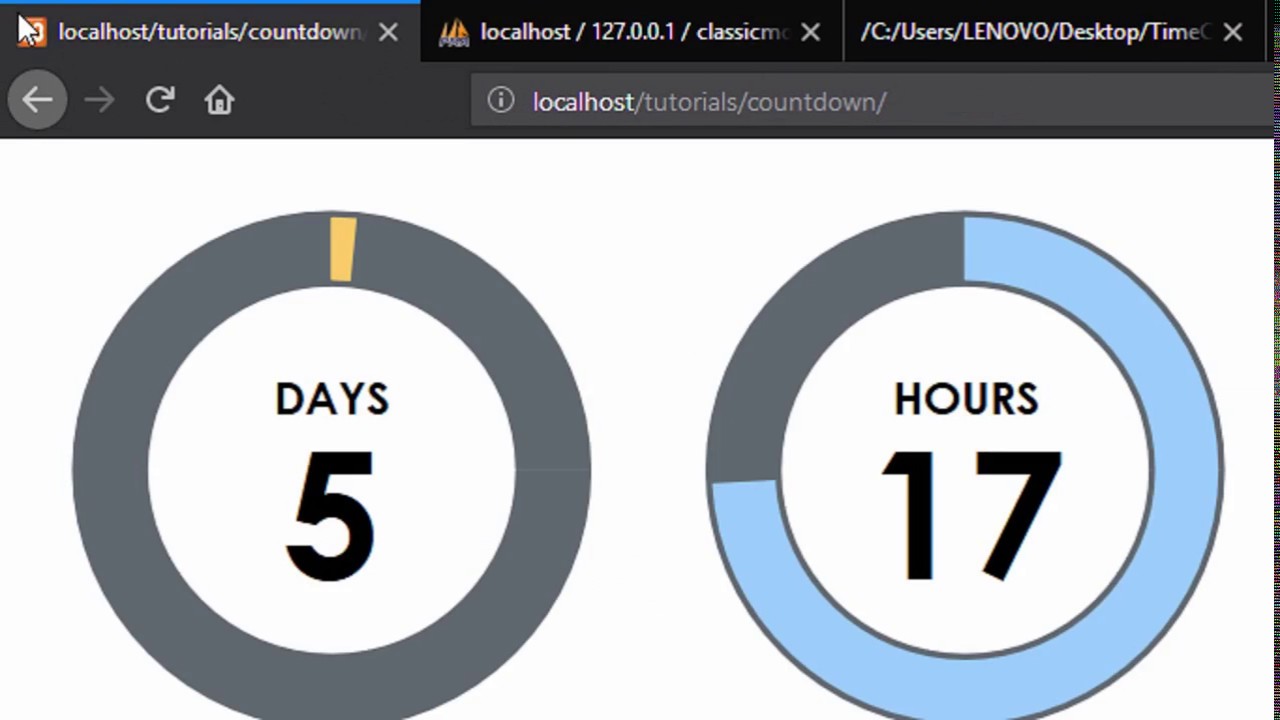
Next, inside the container element, you can add various HTML elements to style and structure your countdown timer. For example, you may want to have separate sections or placeholders for days, hours, minutes, and seconds.
Here’s an example HTML structure for a basic countdown timer:
<div id="countdown-container">
  <div class="countdown-section">
    <span id="days">00</span>
    <span class="countdown-label">Days</span>
  </div>
  <div class="countdown-section">
    <span id="hours">00</span>
    <span class="countdown-label">Hours</span>
  </div>
  <div class="countdown-section">
    <span id="minutes">00</span>
    <span class="countdown-label">Minutes</span>
  </div>
  <div class="countdown-section">
    <span id="seconds">00</span>
    <span class="countdown-label">Seconds</span>
  </div>
</div>
In this HTML structure, we have a <div> element with the ID “countdown-container” that serves as the container for our countdown timer. Inside this container, we have four <div> elements with the class “countdown-section” that represent the separate sections for days, hours, minutes, and seconds. Each section contains a <span> element to display the corresponding value, such as “00” for the initial countdown value, and a <span> element with the class “countdown-label” to indicate what the value represents.
Feel free to customize the HTML structure based on your desired design and styling preferences. You can add additional elements, modify classes and IDs, and apply CSS styles to make the countdown timer visually appealing.
Now that we have set up the HTML structure for our countdown timer, we can proceed to the next step of creating the PHP function to calculate and format the countdown.
Creating the PHP function
Now that we have the HTML structure in place, we can move on to creating the PHP function responsible for calculating and formatting the countdown. This function will determine the remaining time until the specified event or deadline and format it appropriately to display in the countdown timer on our webpage.
Start by opening the PHP file or adding the PHP code within the <?php ?> tags in your HTML file. We will define a function, let’s call it countdown(), that will handle the countdown logic.
Within the countdown() function, you’ll need to specify the target date and time for the countdown. This can be a specific date and time or a dynamic value fetched from a database or API. In this example, we will use a hardcoded target date and time for demonstration purposes.
Here’s an example code snippet for the countdown() function:
<?php
function countdown() {
  // Specify the target date and time for the countdown (replace with your own target datetime)
  $targetDateTime = "2022-12-31 23:59:59";

  // Calculate the remaining time until the target date and time
  $currentTime = time();
  $targetTime = strtotime($targetDateTime);
  $remainingTime = $targetTime - $currentTime;

  // Format the remaining time into days, hours, minutes, and seconds
  $days = floor($remainingTime / (60 * 60 * 24));
  $hours = floor(($remainingTime % (60 * 60 * 24)) / (60 * 60));
  $minutes = floor(($remainingTime % (60 * 60)) / 60);
  $seconds = $remainingTime % 60;

  // Return the countdown values as an array
  return array(
    'days' => $days,
    'hours' => $hours,
    'minutes' => $minutes,
    'seconds' => $seconds
  );
}
?>
In this code snippet, we have defined the countdown() function that calculates the remaining time until the target date and time. We use the time() function to get the current timestamp and the strtotime() function to convert the target date and time into a timestamp. The difference between the current time and the target time gives us the remaining time in seconds.
We then use basic math operations to convert the remaining time into days, hours, minutes, and seconds. The floor() function is used to round down the floating-point resulting values to integers.
Finally, we return the countdown values as an array to be used later in displaying the countdown timer on our webpage.
Now that we have the PHP function created, we can move on to the next step of formatting the countdown timer using CSS.
Formatting the countdown timer
With the PHP function in place to calculate the countdown values, we can now focus on formatting the countdown timer using CSS. This step involves applying styles and layouts to the HTML structure we created earlier to make the countdown timer visually appealing.
To begin, open your CSS file or add the CSS code within the <style> tags in your HTML file. We’ll target the relevant HTML elements using their IDs and classes to apply styles specifically to the countdown timer sections and labels.
Here’s an example CSS code snippet for formatting the countdown timer:
#countdown-container {
  display: flex;
  justify-content: center;
  align-items: center;
}

.countdown-section {
  text-align: center;
  margin: 0 10px;
}

.countdown-section span {
  font-size: 26px;
  font-weight: bold;
  color: #000;
}

.countdown-label {
  font-size: 14px;
  color: #777;
}
In this code snippet, we target the #countdown-container ID to align the countdown timer sections horizontally using display: flex;. The justify-content: center; and align-items: center; properties center the sections both vertically and horizontally within the container.
The .countdown-section class is used to style each individual countdown section. In this example, we add margin to create space between the sections and set the text alignment to center using text-align: center;.
For the countdown values displayed within each section, we apply styles using the span selector. We set the font size to 26 pixels, make the text bold using font-weight: bold;, and give it a black color using color: #000;.
To style the labels indicating what each value represents, we target the .countdown-label class. In this example, we set the font size to 14 pixels and give it a gray color using color: #777;.
Feel free to customize the CSS styles based on your preferences and design requirements. You can change font sizes, colors, borders, backgrounds, and more to align the countdown timer with your website’s overall visual style.
With the countdown timer formatted and styled, it’s time to add JavaScript functionality to update the countdown in real-time. We’ll cover this step in the next section.
Adding JavaScript to update the timer
Now that we have set up the HTML structure and formatted the countdown timer, we can add JavaScript to update the timer in real-time. JavaScript will handle the dynamic updating of the countdown values displayed on our webpage.
To get started, open your JavaScript file or add the JavaScript code within the <script> tags in your HTML file. First, we need to ensure that the DOM (Document Object Model) has finished loading before we manipulate the HTML elements.
Here’s an example JavaScript code snippet to update the countdown timer:
document.addEventListener('DOMContentLoaded', function() {
  // Select the HTML elements for each countdown value
  var daysElement = document.getElementById('days');
  var hoursElement = document.getElementById('hours');
  var minutesElement = document.getElementById('minutes');
  var secondsElement = document.getElementById('seconds');

  // Update the countdown values every second
  setInterval(function() {
    // Call the PHP countdown function to get the updated countdown values
    var countdownValues = countdown();

    // Update the HTML elements with the new countdown values
    daysElement.textContent = countdownValues.days;
    hoursElement.textContent = countdownValues.hours;
    minutesElement.textContent = countdownValues.minutes;
    secondsElement.textContent = countdownValues.seconds;
  }, 1000);
});
In this code snippet, we use the document.addEventListener('DOMContentLoaded', function() { ... }); to listen for the DOMContentLoaded event. This event ensures that the DOM has finished loading before we start manipulating the HTML elements.
We then use the document.getElementById('...'); method to select the HTML elements corresponding to each countdown value, such as days, hours, minutes, and seconds. The element IDs match the IDs we assigned in the HTML structure earlier.
Next, we set up an interval using the setInterval() function. This interval function runs every second (1000 milliseconds), and within it, we call the PHP countdown() function to get the updated countdown values.
We assign the returned countdown values to variables and then update the HTML elements with the new values using the .textContent property.
By setting up this JavaScript code, the countdown values on our webpage will be updated every second, creating an interactive and dynamic countdown timer for the user to see.
Now that we have added the JavaScript functionality, it’s time to test and troubleshoot the countdown timer to ensure it’s working as expected.
Testing and troubleshooting
After setting up the countdown timer using PHP, HTML, CSS, and JavaScript, it’s crucial to thoroughly test and troubleshoot the implementation to ensure everything is functioning correctly. Here are some steps you can follow:
- Preview the countdown timer locally: Load the HTML file in your web browser to see the countdown timer in action. Make sure the timer updates every second and displays the accurate countdown values.
- Check for any errors in the browser console: Open the browser’s developer tools and check the console for any JavaScript errors or warnings. If you notice any issues, review your JavaScript code for syntax errors or logical mistakes.
- Inspect the countdown timer visually: Verify that the CSS styles are applied as intended and the countdown timer appears visually appealing. Make any necessary adjustments to the CSS code to align it with your desired design.
- Test in different browsers and devices: Ensure that the countdown timer works well across various browsers (e.g., Chrome, Firefox, Safari) and devices (e.g., desktop, tablet, mobile). This step helps identify any compatibility issues and allows you to make adjustments if needed.
- Perform edge case testing: Test the countdown timer with different scenarios, such as a countdown to a past date, extremely distant future dates, and specific time zones. This testing helps catch any unexpected behavior and allows you to handle edge cases gracefully.
- Solicit feedback and user testing: Share the countdown timer with colleagues, friends, or users, and gather feedback on its performance, usability, and overall experience. Use this feedback to improve and fine-tune the countdown timer as necessary.
Throughout the testing process, pay close attention to any unexpected behavior, inaccuracies in the countdown values, or UI inconsistencies. Debugging tools and techniques, such as console logging and using breakpoints, can help identify and fix any issues that arise.
Remember, troubleshooting is a crucial part of the development process. If you encounter any difficulties, don’t hesitate to refer back to the code and ensure that each step is implemented correctly. Online resources, tutorials, and developer communities can also provide valuable insights and solutions to common issues you may face.
By thoroughly testing and troubleshooting your countdown timer, you can ensure its reliability, accuracy, and optimal performance on your website.
Conclusion
Congratulations! You have successfully created a countdown timer using PHP, HTML, CSS, and JavaScript. By combining these technologies, you can add a dynamic and visually appealing element to your website that creates a sense of urgency and engages your visitors.
In this tutorial, we covered the necessary prerequisites, including a basic understanding of HTML, CSS, and JavaScript, and setting up a local development environment. We then walked through the step-by-step process of setting up the HTML structure, creating the PHP function to calculate the countdown values, formatting the countdown timer using CSS, and adding JavaScript to update the timer in real-time.
Throughout the process, we emphasized the importance of testing and troubleshooting to ensure the countdown timer functions correctly. By thoroughly testing in different browsers and devices, debugging any errors, and gathering feedback, you can provide a seamless user experience and enhance the functionality of your countdown timer.
Remember, the countdown timer is a versatile tool that can be used in various scenarios, such as limited-time offers, product launches, event registrations, and more. Feel free to customize the design, layout, and functionality of the countdown timer to suit your specific needs and branding requirements.
With the knowledge and skills gained from this tutorial, you now have the ability to create and customize countdown timers for your future projects. Keep exploring and experimenting with different features and functionalities to elevate your web development skills and create engaging and interactive experiences for your website visitors.
Thank you for following along with this tutorial, and we hope you found it valuable in expanding your knowledge of creating countdown timers using PHP. Happy coding!