Introduction
Welcome to the world of app development! Creating your own app can be an exciting and fulfilling endeavor. Whether you have a brilliant idea for a game, a productivity tool, or a social networking platform, learning to code can help bring your vision to life.
In today’s digital age, the demand for mobile applications is constantly growing. The ability to create an app from scratch gives you the freedom to bring your unique ideas to the market and potentially reach millions of users.
While the prospect of coding may seem daunting at first, this step-by-step guide will walk you through the process of creating an app. From setting up your development environment to deploying your app on different platforms, you’ll gain the knowledge and skills needed to turn your ideas into reality.
Whether you’re a seasoned developer looking to expand your skill set or a beginner taking your first steps into the world of coding, this guide will provide you with the foundational knowledge needed to create your own app from start to finish.
Throughout this guide, we’ll explore the different stages of app development. We’ll cover everything from designing your app’s user interface to writing the code that makes your app functional. You’ll also learn how to test and debug your app to ensure it runs smoothly, as well as how to deploy your app to different platforms, such as iOS and Android.
So, if you’re ready to embark on your app development journey, let’s dive in and get started with setting up your development environment.
Step 1: Setting Up Your Development Environment
Before you can start coding your app, you’ll need to set up your development environment. This involves installing the necessary tools and software to write and test your code.
The first tool you’ll need is a code editor. There are many options available, such as Visual Studio Code, Sublime Text, or Atom. Choose the one that suits your preferences and install it on your computer.
Next, you’ll need to install the required software development kits (SDKs) and frameworks for your chosen platform. For example, if you’re developing an Android app, you’ll need to install Android Studio, which includes the Android SDK. If you’re developing an iOS app, you’ll need Xcode and the iOS SDK.
Once you’ve installed the necessary tools, you can set up an emulator or simulator to test your app during development. These virtual devices mimic the behavior of real devices, allowing you to see how your app functions on different screen sizes and operating systems.
It’s also a good idea to sign up for a developer account with the platform you’re targeting. For example, if you’re developing for iOS, you’ll need to enroll in the Apple Developer Program. This will give you access to additional resources, documentation, and the ability to publish your app to the App Store.
Finally, take some time to familiarize yourself with the documentation and resources provided by the platform you’re developing for. Understanding the platform’s guidelines and best practices will help you write clean and efficient code.
Now that your development environment is set up, you’re ready to move on to the next step: designing your app’s user interface. This is where you’ll create the visual elements and layout of your app, ensuring a seamless and intuitive user experience.
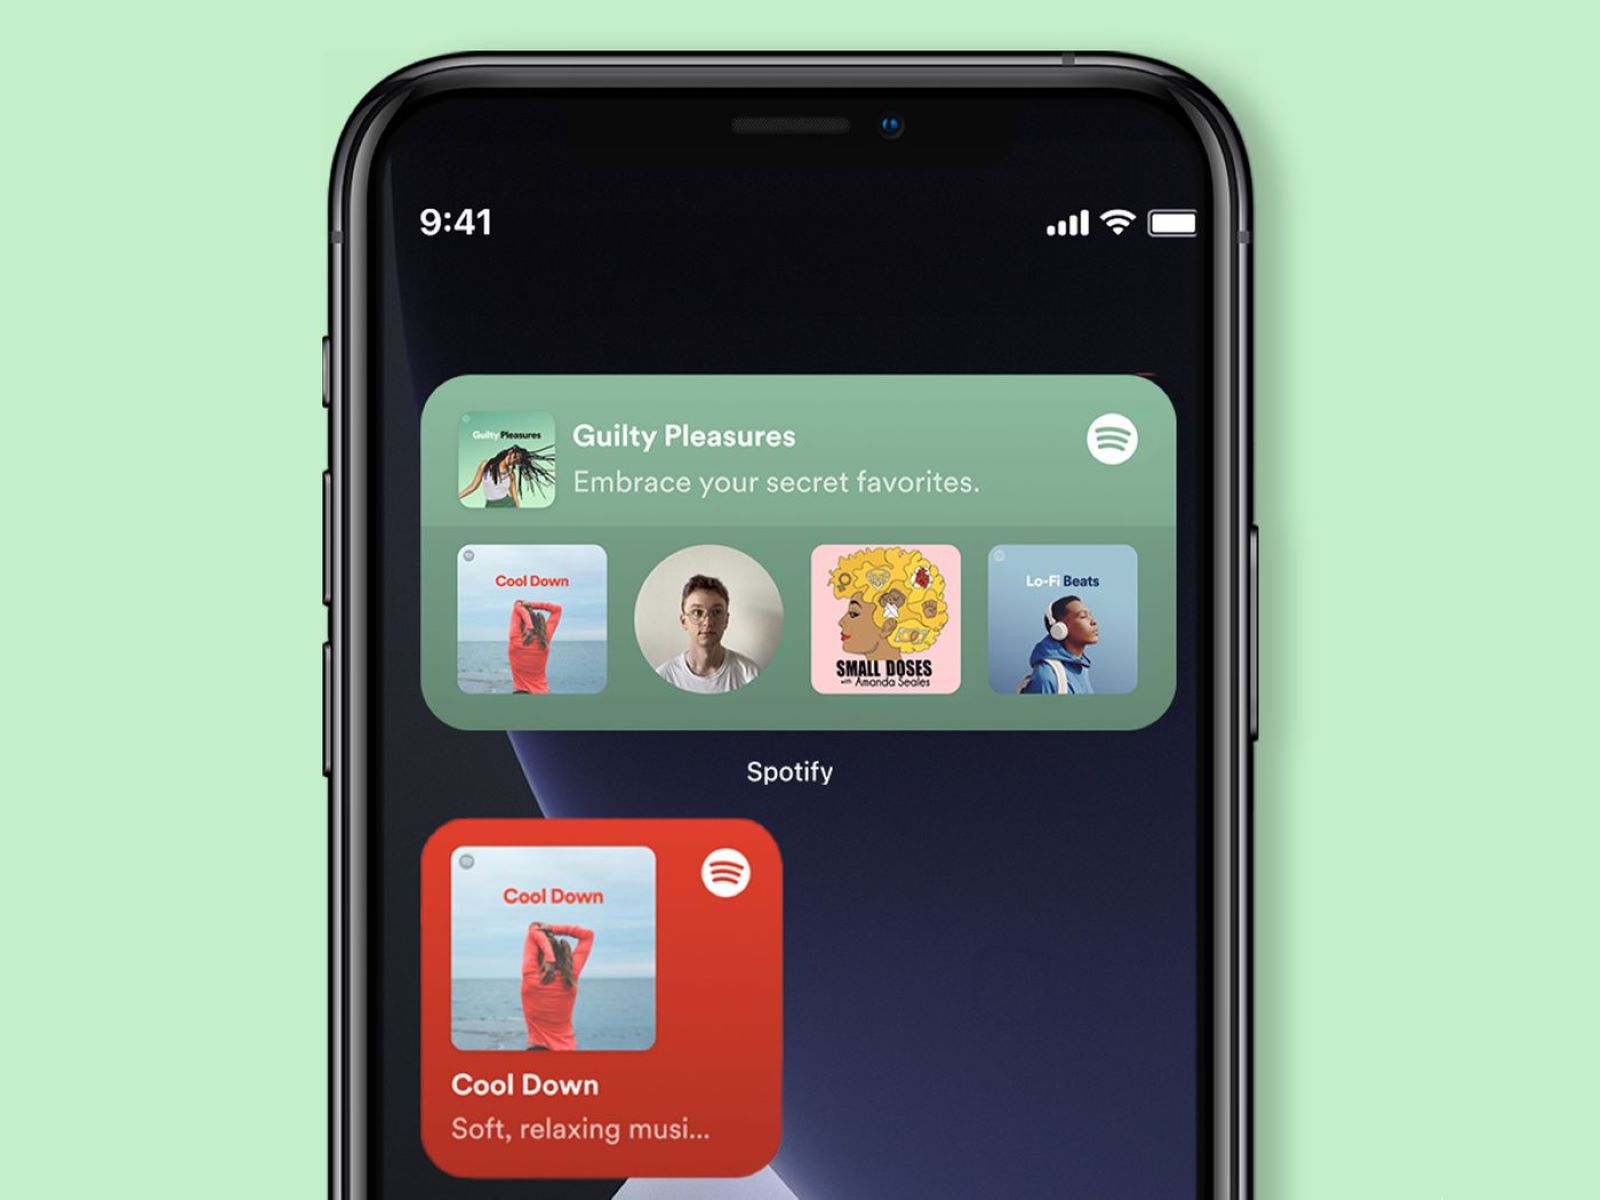
Step 2: Designing Your App’s User Interface
The user interface (UI) is a crucial aspect of any app as it determines how users interact with your application. Good UI design not only enhances the user experience but also makes your app visually appealing and intuitive to use.
Before diving into designing the UI, it’s essential to have a clear understanding of your app’s target audience and the main goals you want to achieve. This will help you create a design that resonates with your users and aligns with the overall purpose of your app.
Start by sketching out rough wireframes or user flow diagrams to visualize the structure and flow of your app. This will serve as a blueprint for the UI design process.
Next, consider the visual elements that make up your app, such as colors, typography, and icons. Choose a color scheme that reflects your app’s branding and creates a visually cohesive experience. Select fonts that are legible and appropriate for your app’s content. And use icons strategically to convey information and enhance the user interface.
When designing the layout of your app, keep in mind the principles of simplicity and consistency. Aim for a clean and uncluttered design that allows users to focus on the essential elements and easily navigate through the app. Use grids and alignment to create a balanced and organized layout.
Another important consideration is responsiveness. Ensure that your app is designed to adapt to different screen sizes and orientations, providing a seamless experience across various devices.
To assist in the UI design process, you can utilize prototyping tools that allow you to create interactive mockups. These tools enable you to test the usability of your design and make adjustments before moving on to the development stage.
Remember, the user interface is a crucial aspect of your app’s success. Take the time to iterate and refine your design based on user feedback and usability testing. The better the user interface, the more engaging and enjoyable your app will be for your target audience.
With the user interface design in place, it’s time to move on to the next step: writing code for your app’s functionality.
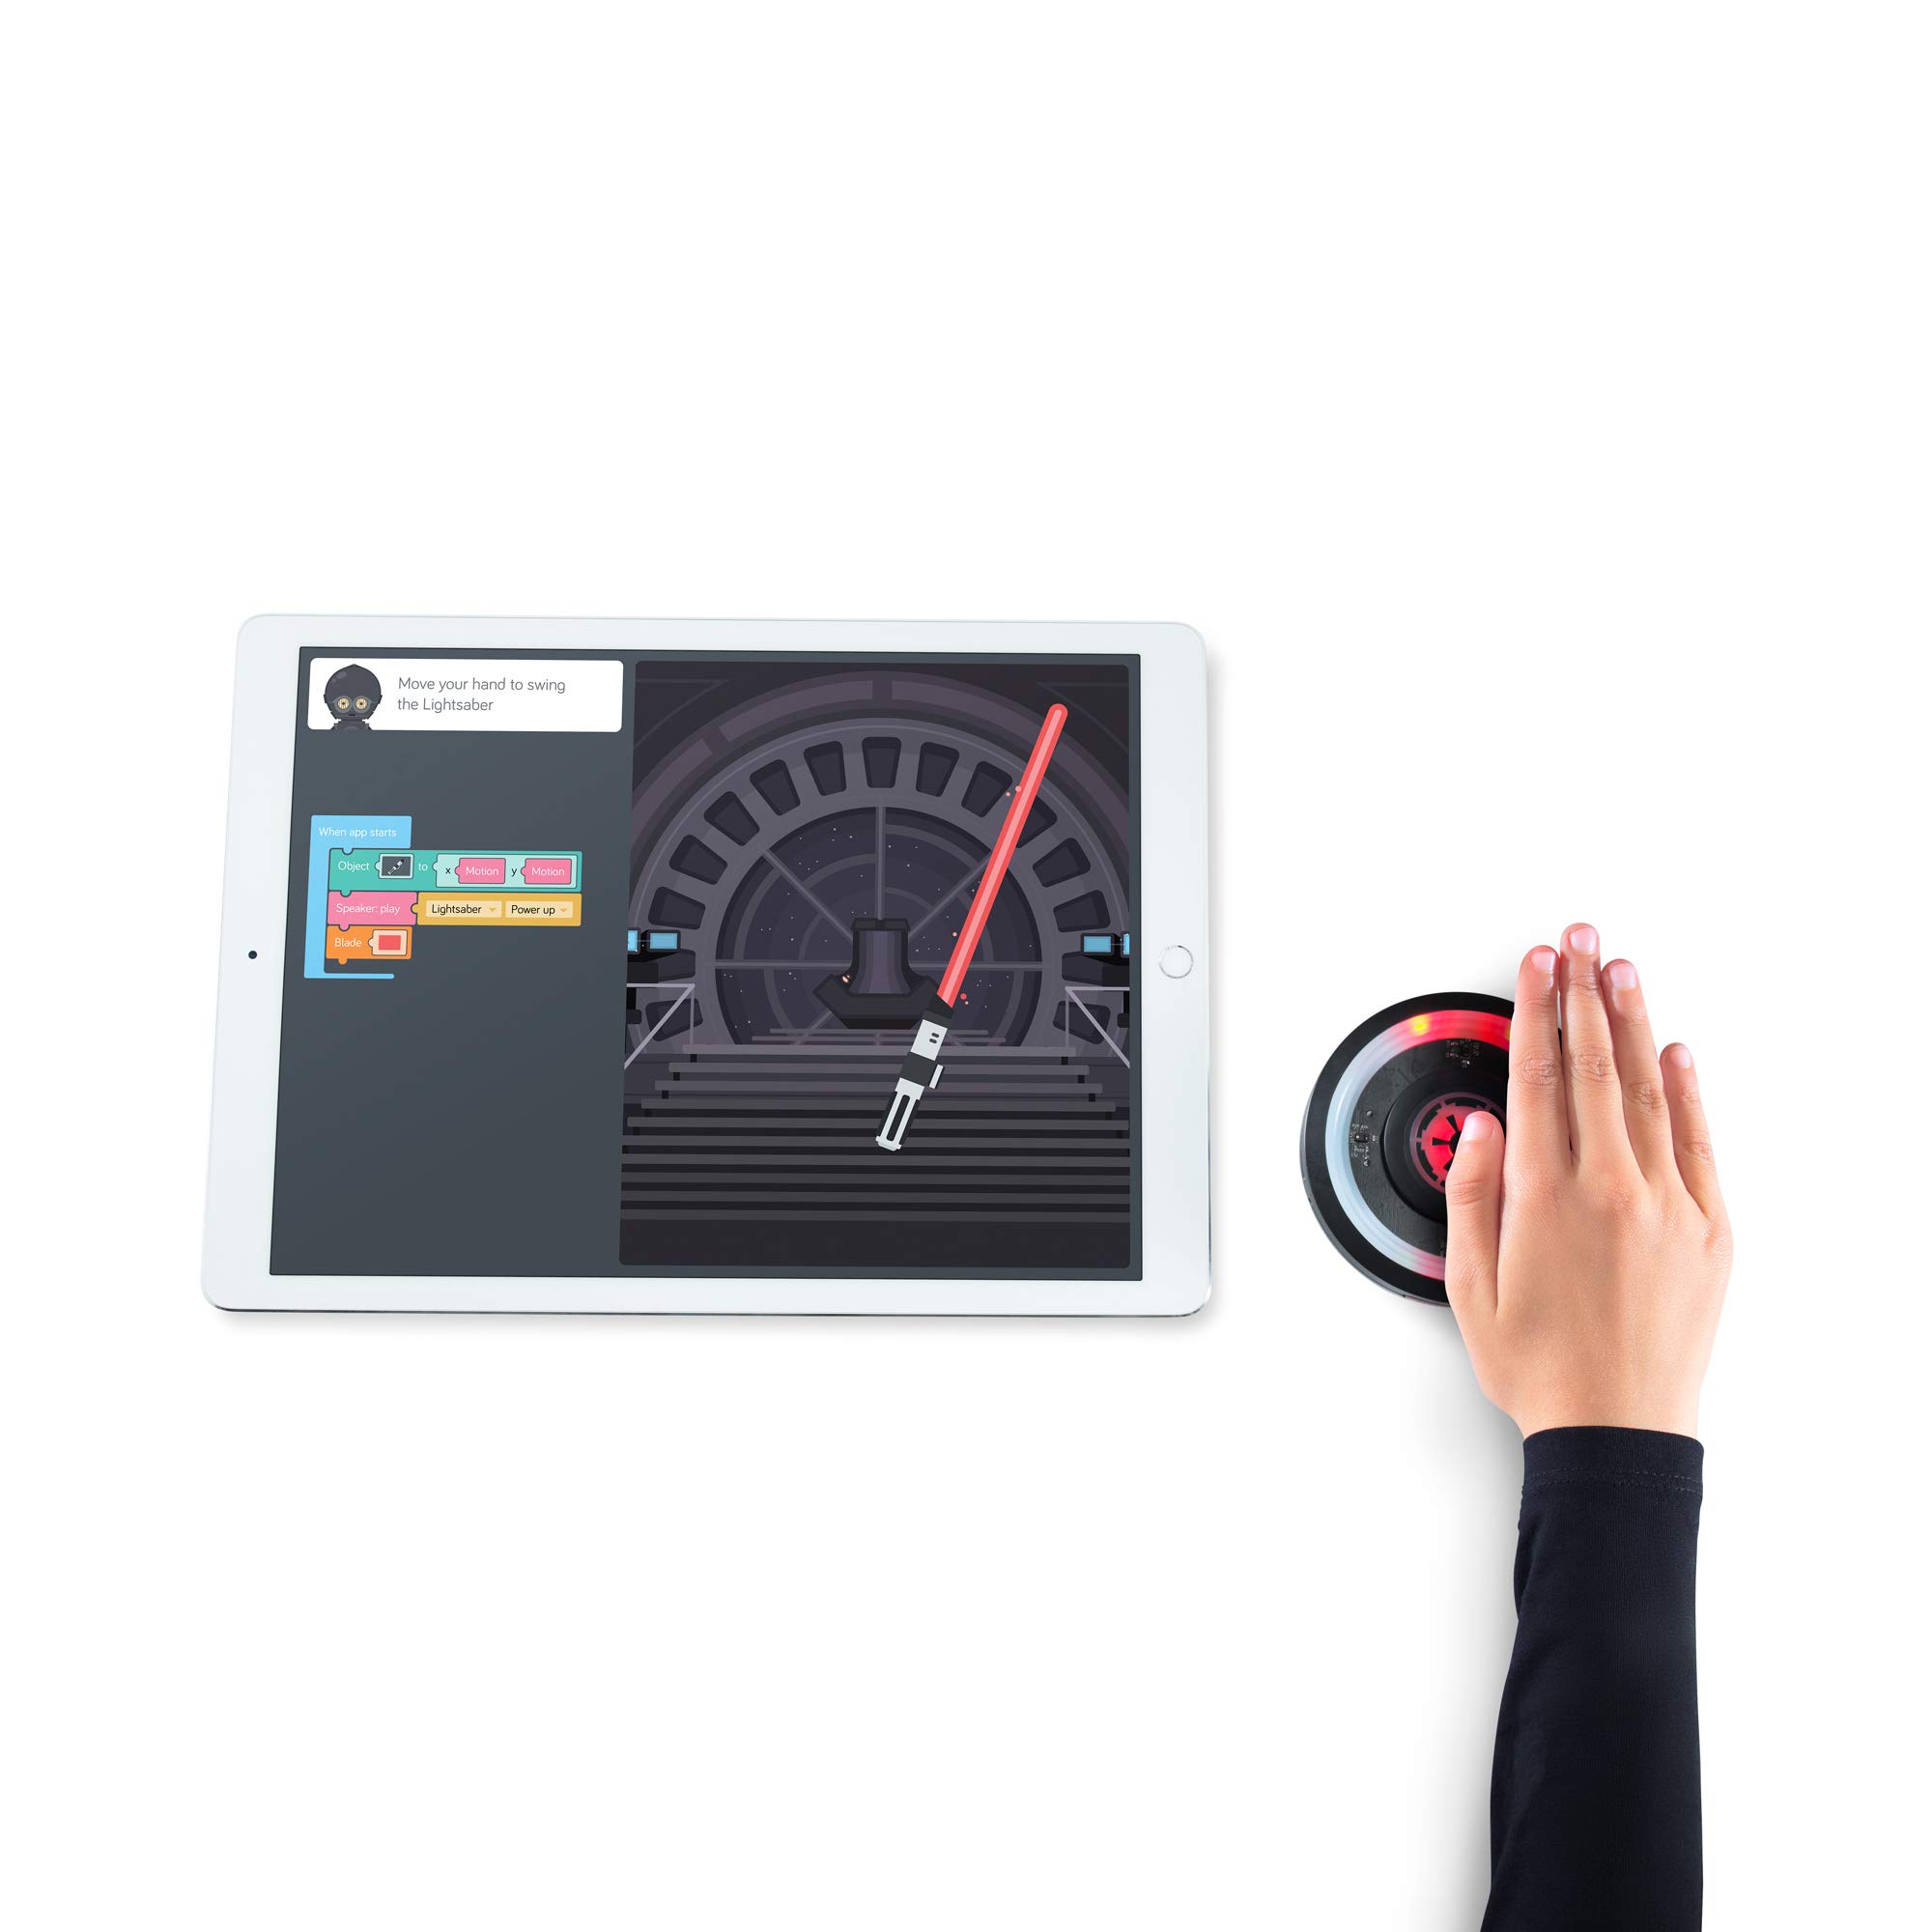
Step 3: Writing Code for the App’s Functionality
Now that you have designed the user interface of your app, it’s time to bring it to life by writing the code that defines its functionality. This step is where you’ll be utilizing your coding skills to implement the desired features and interactions of your app.
Before you start coding, it’s crucial to have a clear understanding of the programming language and framework you’ll be working with. Choose a language that aligns with your app’s requirements and your coding proficiency. For example, if you’re developing an Android app, Java or Kotlin is commonly used, while iOS apps are typically written in Swift or Objective-C.
Begin by breaking down your app’s functionality into smaller, manageable tasks. This will make the coding process more organized and easier to tackle. Create a plan or a list of the features your app will have and prioritize them based on their importance.
Next, start writing the code for each feature. This involves implementing the logic and algorithms necessary to make your app work as intended. Use the tools and frameworks provided by your chosen platform to streamline the development process.
During the coding phase, it’s important to follow best practices and maintain clean, readable code. Use proper naming conventions, indentation, and comments to ensure that your code is easy to understand and maintain. Consider using version control systems, such as Git, to track changes and collaborate with team members effectively.
As you write code, regularly test your app to ensure that each feature functions correctly. Debug any errors or issues that arise and make necessary adjustments. Testing and debugging are crucial for identifying and fixing any bugs or glitches that may affect the performance or user experience of your app.
Additionally, be mindful of optimizing your code for performance and efficiency. This includes techniques such as code optimization, memory management, and minimizing network requests.
Throughout the coding process, don’t hesitate to seek help from online resources, forums, or developer communities. These platforms can provide valuable insights and solutions to any coding challenges you may encounter.
Once you have implemented all the desired features and tested your app thoroughly, you’re ready to move on to the next step: testing and debugging.
Step 4: Testing and Debugging Your App
After writing the code for your app’s functionality, it’s crucial to thoroughly test and debug your app to ensure it runs smoothly. Testing and debugging help identify and fix any issues or bugs that may affect the performance or user experience of your app.
Start by testing each feature of your app individually to ensure they function as intended. Perform both positive and negative tests to cover different scenarios and edge cases. This will help you uncover any potential issues and ensure the reliability of your app.
One important aspect of testing is user experience testing. Put yourself in the shoes of your users and navigate through your app to identify any usability issues or confusing interactions. Solicit feedback from beta testers or target users to gain valuable insights and make necessary improvements.
In addition to manual testing, consider implementing automated tests. Automated testing frameworks allow you to create scripts that automate the execution of test cases, saving time and ensuring consistency across different stages of your app’s development.
When you encounter issues or bugs during testing, use debugging techniques to diagnose and fix the problems. Debuggers provided by your chosen development environment can help you analyze your code, set breakpoints, and step through the code to identify and resolve any issues.
It is also important to keep track of any bug reports and user feedback to continuously improve your app. Prioritize fixing critical bugs and address user concerns to provide the best possible user experience.
Throughout the testing and debugging process, it’s essential to have a systematic approach. Document any test cases, known issues, or bug fixes to maintain a record of the development progress and ensure proper communication with the development team or stakeholders.
Once you are confident that your app is thoroughly tested and debugged, you can proceed to the final step: deploying your app to different platforms.
Step 5: Deploying Your App to Different Platforms
After testing and debugging your app, it’s time to deploy it to different platforms and make it available to users. Deploying your app involves preparing it for distribution and following the platform-specific guidelines for releasing your app.
If you’re developing for iOS, you’ll need to ensure that your app meets Apple’s App Store guidelines. This includes creating an App Store Developer Account, generating necessary certificates and profiles, and adhering to Apple’s review process. Additionally, you’ll need to compile and archive your app using Xcode and submit it to the App Store for review.
For Android apps, you’ll need to create a developer account on the Google Play Console. This involves paying a one-time registration fee. Once your account is set up, you’ll need to generate a signed APK (Android Package) file, which can then be uploaded to the Google Play Store. Before uploading your app, make sure to provide a description, screenshots, and other relevant information to help users discover and understand your app.
Aside from the popular platforms like iOS and Android, there are other platforms you may consider for deployment, such as web applications or desktop applications. Each platform has its own deployment process, so it’s important to research and follow the guidelines specific to the platform you’re targeting.
Once your app is submitted, it will go through an approval process and should it meet all the guidelines and requirements set by the platform, it will become available for download and use by users worldwide.
After deployment, it’s essential to monitor user feedback and reviews to identify any issues or improvements that can be made. Consider implementing a feedback mechanism to gather suggestions and bug reports directly from your users. This will allow you to continuously iterate and improve your app over time.
Remember, the app deployment process may vary depending on the platform and any additional requirements or restrictions imposed by the platform provider. Stay up to date with the platform-specific documentation and guidelines to ensure a smooth and successful deployment of your app.
With your app successfully deployed to various platforms, you have completed the final step! Congratulations on creating and deploying your own app. Now it’s time to promote and market your app to reach a wider audience and continue its growth and success.
Conclusion
Creating an app through coding is an exciting journey that allows you to bring your ideas to life and share them with the world. By following the steps outlined in this guide, you have learned how to set up your development environment, design a user interface, write code for app functionality, test and debug your app, and finally, deploy it to different platforms.
Throughout the process, remember to stay organized, document your progress, and seek help when needed. App development can be challenging at times, but with determination and a willingness to learn, you can overcome any obstacles that come your way.
As you continue on your coding journey, don’t forget the importance of user feedback. Actively seek feedback from users and make improvements based on their suggestions and needs. This iterative process will help you create a better app and cultivate a dedicated user base.
Additionally, continue to expand your knowledge and stay up to date with the latest trends and technologies in app development. The world of coding is constantly evolving, and staying current will help you create innovative and competitive apps.
Remember, app development is a dynamic and continuous process. As you gain experience and refine your skills, you’ll become more proficient at creating high-quality apps that meet the needs and expectations of your target audience.
So, take the knowledge you’ve gained from this guide, unleash your creativity, and start coding your way to success in the world of app development! Good luck on your journey, and may your apps bring joy and value to users around the globe.