Introduction
Copying and pasting is a fundamental skill that we all use in our daily computer tasks. Whether it’s for sharing information, transferring files, or just organizing data, being able to quickly and efficiently copy and paste can save a significant amount of time and effort. If you’re a Mac user who primarily relies on a trackpad instead of a mouse, you might be wondering how to effectively perform these actions using your trackpad.
In this article, we’ll explore various methods for copying and pasting using the trackpad on your Mac. From keyboard shortcuts to trackpad gestures and even third-party apps, we’ll cover all the options so that you can choose the method that works best for your needs.
Before we dive into the different methods, it’s worth mentioning that these instructions are specifically tailored for Mac users. If you’re using a different operating system, the steps and shortcuts might vary.
Ready to become a master of copying and pasting with your trackpad? Let’s get started!
Method 1: Using the Keyboard Shortcuts
One of the quickest and most efficient ways to copy and paste on your Mac with a trackpad is by utilizing keyboard shortcuts. These shortcuts are designed to streamline the process, allowing you to perform the actions seamlessly with just a few keystrokes.
Here’s how you can copy and paste using keyboard shortcuts:
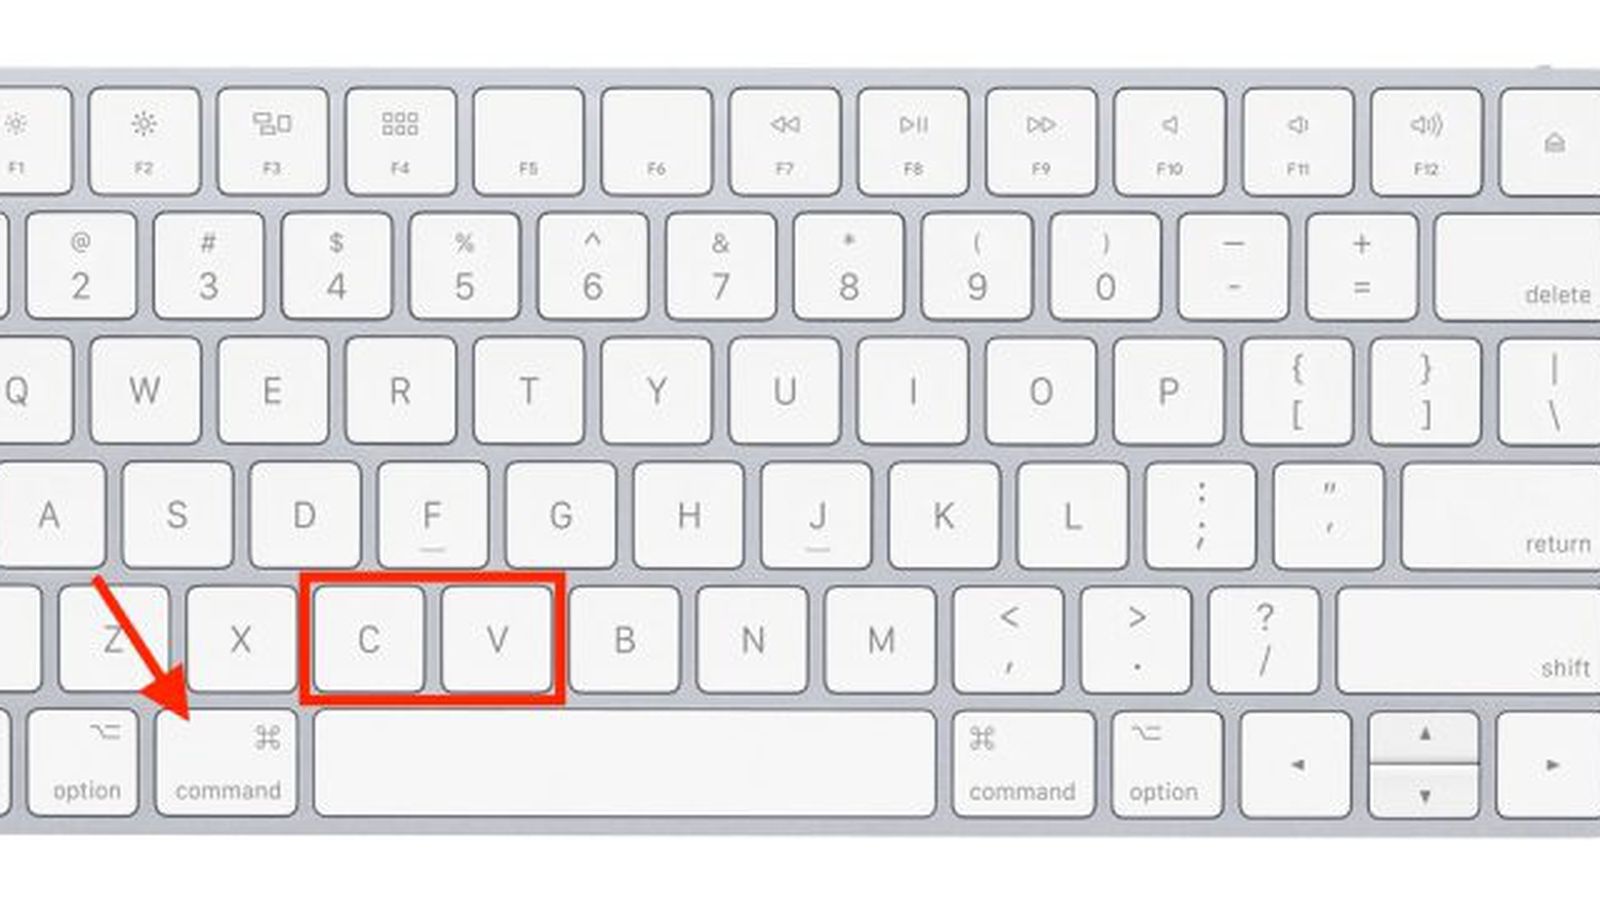
- Copy: To copy a selected text or file, simply press
Command + Con your keyboard. You can also right-click on the item you want to copy and select “Copy” from the context menu. - Paste: To paste the copied item, place the cursor where you want the content to be pasted and press
Command + V. Alternatively, right-click and choose “Paste” from the context menu. - Cut: If you want to cut and remove the selected content from its original location, press
Command + X. You can then paste it elsewhere using the paste shortcut mentioned above.
Keyboard shortcuts are a handy way to perform copy and paste actions quickly, especially if you’re already comfortable with using keyboard commands on your Mac. However, if you prefer a more visual and intuitive method, continue reading to explore other options for trackpad-based copying and pasting.
Method 2: Using the Context Menu
If you find it easier to navigate through menus rather than using keyboard shortcuts, you’ll be glad to know that the trackpad on your Mac offers a convenient context menu for copying and pasting.
Here’s how you can use the context menu to copy and paste:
- Select: Start by selecting the text or file you want to copy. To select text, simply place the cursor at the beginning of the text, click and hold the trackpad, then drag the cursor to the end of the desired text. For files, click and hold on the file you want to copy.
- Access the Context Menu: Once you have your content selected, right-click on the trackpad. This will bring up the context menu.
- Copy: From the context menu, click on the “Copy” option. This will make a copy of the selected item and store it in your clipboard.
- Paste: To paste the copied item, navigate to the location where you want it to be pasted. Right-click again to open the context menu and choose the “Paste” option.
The context menu provides a visual and intuitive method for copying and pasting on your Mac with just a few clicks. It’s particularly useful if you prefer using the trackpad instead of keyboard shortcuts. However, if you’re looking for an even more effortless way to perform these tasks, keep reading to explore the trackpad gestures available to you.
Method 3: Using the Trackpad Gestures
If you own a Mac with a multi-touch trackpad, you can take advantage of trackpad gestures to copy and paste with ease. Trackpad gestures provide a more fluid and natural way of interacting with your computer, making the copying and pasting process even more effortless.
Here’s how you can use trackpad gestures to copy and paste:
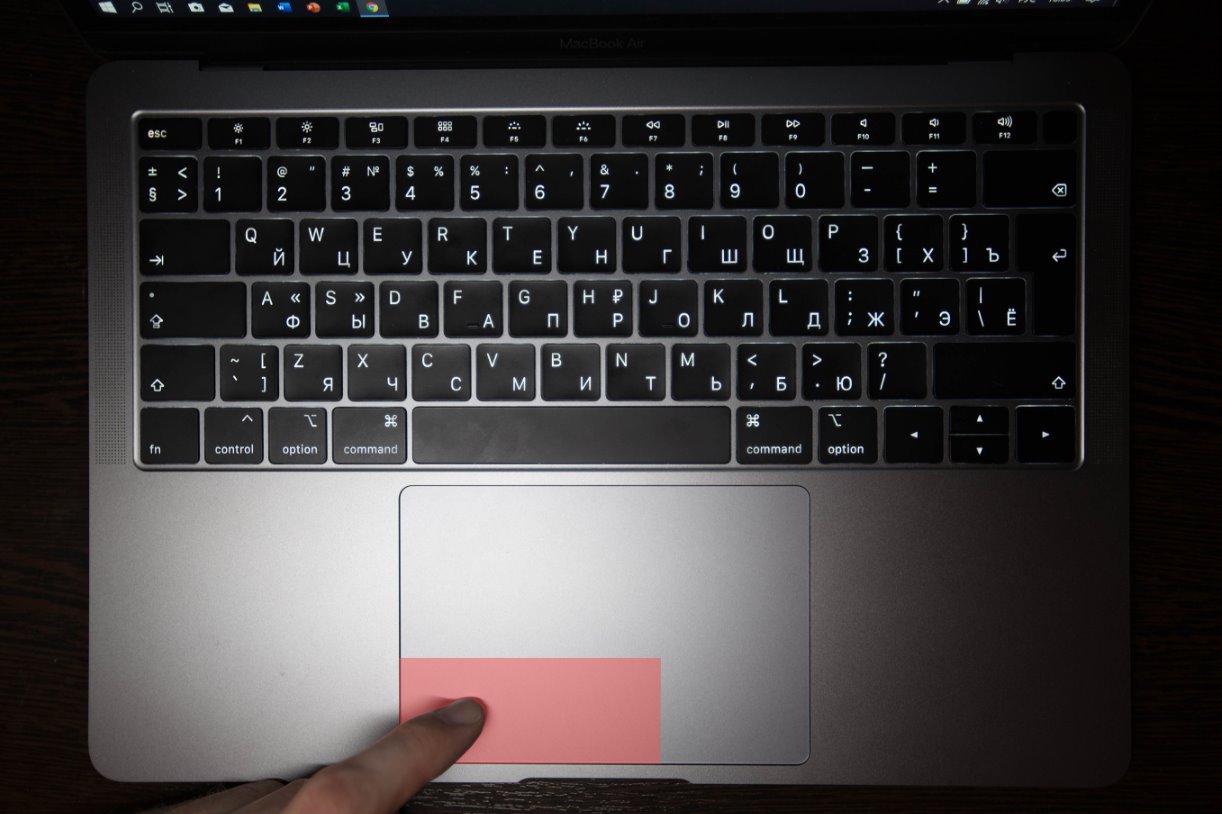
- Select: Begin by placing your cursor at the start of the text you want to copy or click and hold on the file you wish to copy. Then, using two fingers, swipe down from the top of the trackpad to the bottom to select the desired content.
- Copy: Once you have your content selected, use a three-finger pinch-in gesture by placing three fingers on the trackpad and bring them closer together. This action will copy the selected text or file to your clipboard.
- Paste: To paste the copied item, navigate to the location where you want to paste it. Use a three-finger pinch-out gesture by placing three fingers on the trackpad and spread them apart. This action will paste the copied content into the new location.
Trackpad gestures provide a seamless and intuitive way to copy and paste on your Mac. With just a few swipes and pinches, you can efficiently transfer information between documents or folders. However, if none of the previously mentioned methods suit your needs, there is another option to consider: using a third-party app.
Method 4: Using a Third-Party App
If you’re looking for more advanced copying and pasting features or additional customization options, using a third-party app can provide you with a wider range of capabilities. These apps often offer enhanced clipboard management, allowing you to store multiple copied items and access them whenever you need.
Here’s how you can use a third-party app for copying and pasting:
- Research and Choose: Start by researching and selecting a third-party app that suits your needs. There are several options available, such as Paste, Flycut, and CopyClip.
- Download and Install: Visit the official website of the chosen app and download it. Follow the installation instructions to complete the process.
- Configure and Customize: Once the app is installed, open it and configure the settings according to your preferences. You may be able to set up shortcut keys, organize copied items, and synchronize the clipboard across multiple devices.
- Copy and Paste: With the third-party app running, you can now start copying and pasting using the app’s features. The specific instructions may vary depending on the app you chose, so consult its documentation or user guide for detailed information.
Using a third-party app can elevate your copying and pasting experience by providing you with more flexibility and control. You can explore the different options available and choose one that best aligns with your workflow and requirements.
While the built-in methods and trackpad gestures should cover most users’ needs, a third-party app can be a valuable addition for those seeking advanced features and greater efficiency.
Conclusion
Copying and pasting with a trackpad on your Mac doesn’t have to be a complicated or time-consuming task. With the methods outlined in this article, you can easily transfer text and files between documents, folders, and applications on your Mac.
If you prefer using keyboard shortcuts, Method 1 allows you to copy and paste with just a few keystrokes. Method 2 demonstrates how to utilize the context menu for a visual and intuitive approach. Method 3 introduces the use of trackpad gestures, providing a fluid and natural way to copy and paste. And finally, Method 4 explores the option of using a third-party app for more advanced functionality and customization.
Choose the method that suits your preferences and workflow best. Whether you’re a keyboard shortcuts aficionado, a trackpad gestures enthusiast, or someone who enjoys the versatility of third-party apps, there’s a solution for everyone.
Take some time to practice and familiarize yourself with these methods. The more comfortable you become with copying and pasting using your trackpad, the more time you’ll save in your daily computer tasks.
Remember, the trackpad on your Mac is a powerful tool that can greatly enhance your productivity. So go ahead, try out these methods, and become a master of copying and pasting with your trackpad!