Introduction
Welcome to the world of Mac trackpad dragging! The Mac trackpad is a powerful tool that allows you to navigate your computer without the need for a physical mouse. However, if you’re new to using a trackpad or you’re simply looking to enhance your dragging capabilities, this article is for you.
In this guide, we will explore various techniques to enable and master dragging with your Mac trackpad. Whether you’re dragging files, selecting text, or rearranging elements on your screen, understanding these techniques will greatly improve your workflow and efficiency.
By default, dragging is usually enabled on Mac trackpads, allowing you to effortlessly move objects and interact with your computer. However, if you find that dragging is not working for you or you want to explore advanced dragging options, we will cover those as well.
Learning how to maximize the potential of your Mac trackpad will unlock a whole new level of productivity and convenience. So, let’s dive in and discover the various techniques to enable and utilize dragging with your Mac trackpad!
Enable Dragging with Trackpad
Before we delve into the different dragging techniques, it’s important to ensure that dragging is enabled on your Mac trackpad. By default, dragging is usually enabled, but it’s worth double-checking to make sure.
To enable dragging on your Mac trackpad, follow these simple steps:
- Go to the Apple menu in the top-left corner of your screen and select “System Preferences.”
- In the System Preferences window, click on “Trackpad.”
- Click on the “Point & Click” tab.
- Make sure that the “Enable dragging” option is checked.
Once you have enabled dragging, you will be able to perform a variety of dragging actions using your trackpad. In the following sections, we will explore some basic and advanced techniques for dragging using different gestures on your Mac trackpad.
Note: If you do not find the “Enable dragging” option in the Trackpad settings, it is likely that your trackpad already has dragging enabled by default, and you can proceed to the next section to learn the dragging techniques.
Basic Dragging Techniques
Basic dragging techniques on your Mac trackpad involve using one finger to click and drag items on your screen. Mastering these techniques will allow you to move files, select text, and perform various actions with ease. Here are some essential dragging techniques to get you started:
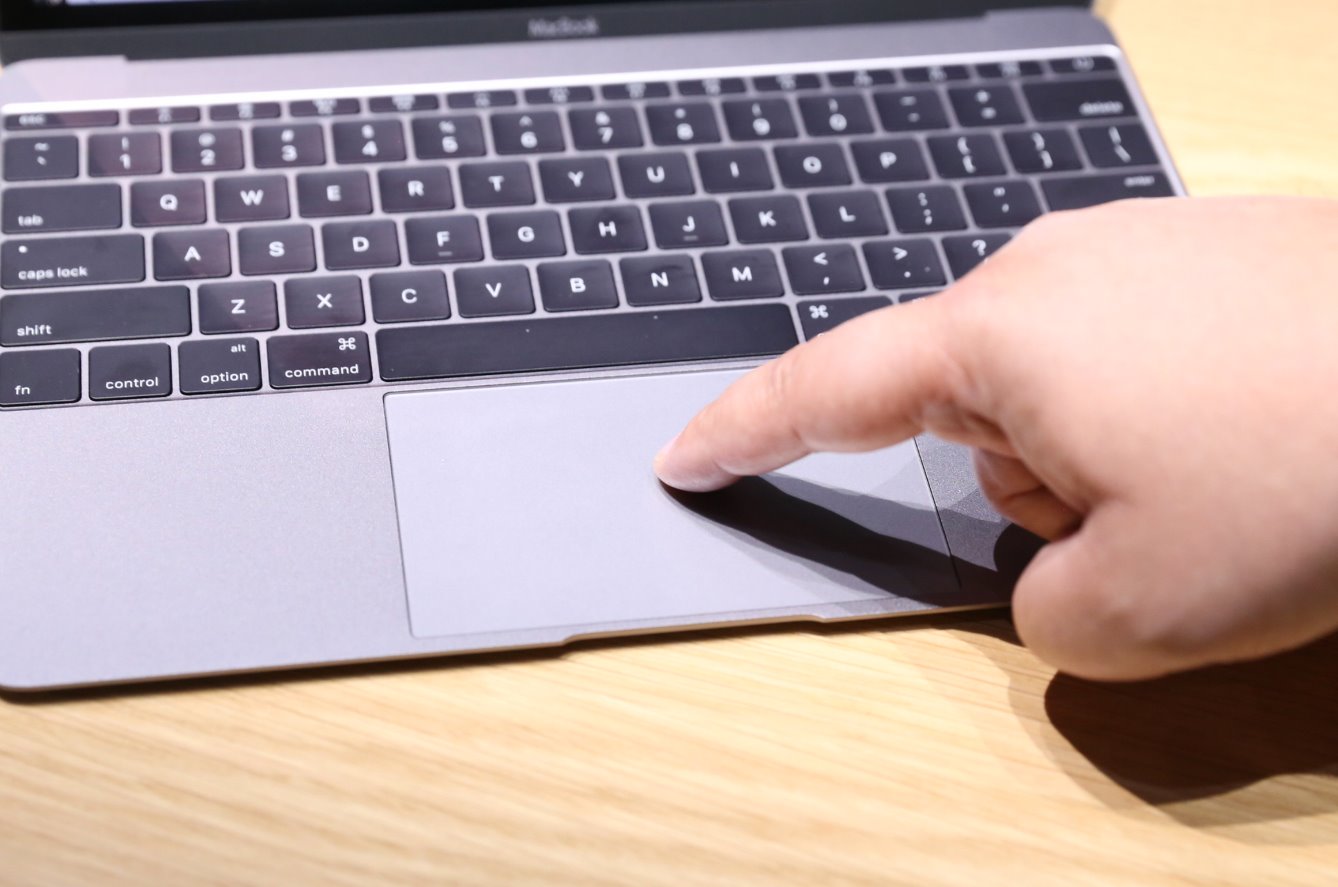
- Click and Drag: Place your finger on the trackpad and click the item you want to drag. Keep your finger pressed down and smoothly move it across the trackpad to drag the item to a new location.
- Select and Drag: To select multiple items before dragging, use the “Click and Drag” technique to click on the first item, then hold down the Command key while clicking on additional items. Once all items are selected, move your finger across the trackpad to drag them together.
- Drag and Drop: This technique is particularly useful for moving files and folders. Click on the item you want to drag, keep your finger pressed down, and then use another finger to navigate to the new location on the screen. Release your first finger to drop the item in the new location.
- Scroll and Drag: When dragging a large document or webpage, you might need to scroll to view different parts of it. Position your finger on the trackpad and scroll using two fingers to move within the document while still dragging the selected item.
Remember, practice is key when it comes to mastering these basic dragging techniques. With time, you’ll develop a fluid motion that allows you to effortlessly move and organize items on your Mac using the trackpad.
Two-Finger Dragging
Two-finger dragging is a gesture that offers a unique and efficient way to perform dragging actions on your Mac trackpad. It allows you to use two fingers instead of one to click and drag items. This technique is especially helpful if you prefer using multiple fingers for enhanced control and precision. Here’s how to enable and utilize two-finger dragging:
- Enable Two-Finger Dragging: To enable two-finger dragging, go to “System Preferences” and click on “Trackpad.” Then, select the “Point & Click” tab and choose the option that says “Enable dragging with two fingers.”
- Perform Two-Finger Dragging: With two-finger dragging enabled, place two fingers on the trackpad and click the item you want to drag. Keep your fingers pressed down and smoothly move them across the trackpad to drag the item to a new location.
- Additional Two-Finger Gestures: Two-finger dragging opens up a world of possibilities for enhancing your productivity. For example, you can use two fingers to perform other gestures such as pinch-to-zoom, scroll, and swipe between pages. Experiment with these gestures to discover what works best for you.
Using two fingers to drag items can be a game-changer for those who prefer a different level of control or have difficulty with one-finger dragging. It’s worth trying out this technique to see if it improves your overall trackpad experience.
Three-Finger Dragging
Three-finger dragging is another useful gesture that can further enhance your dragging capabilities on a Mac trackpad. This gesture allows you to use three fingers to click and drag items, providing an alternative method for moving files and performing various actions. Here’s how you can enable and utilize three-finger dragging:
- Enable Three-Finger Dragging: To enable three-finger dragging, go to “System Preferences” and click on “Accessibility.” Then, select “Pointer Control” in the left sidebar and click on “Trackpad Options.” Check the box that says “Enable dragging” and choose “Three finger drag” from the drop-down menu.
- Perform Three-Finger Dragging: With three-finger dragging enabled, place three fingers on the trackpad and lightly touch it. Press down slightly and move your fingers in the direction you want to drag the item. Release your fingers to drop the item in the new location.
- Benefits of Three-Finger Dragging: Three-finger dragging offers several advantages. It reduces strain on your fingers by distributing the dragging action among three fingers instead of one. It also allows for more precise control, making it easier to move items accurately on the trackpad.
Exploring three-finger dragging can be a game-changer for users who find one-finger or two-finger dragging less comfortable or efficient. Give it a try and see if it improves your overall trackpad experience, providing you with additional flexibility and control.
Using AssistiveTouch
AssistiveTouch is a valuable accessibility feature on Mac that can greatly enhance your dragging experience, especially if you have difficulty with traditional trackpad gestures or require additional assistance. AssistiveTouch provides an on-screen virtual trackpad that allows you to perform dragging actions using simple touch gestures. Here’s how to enable and use AssistiveTouch for dragging:
- Enable AssistiveTouch: Go to “System Preferences” and click on “Accessibility.” In the left sidebar, select “Pointer Control” and click on “AssistiveTouch.” Check the box that says “Enable AssistiveTouch.”
- Access the Virtual Trackpad: Once AssistiveTouch is enabled, a small floating button with a circle will appear on your screen. Click on this button to access the AssistiveTouch menu. From there, click on “Device” and then “More.” Finally, click on “Trackpad.”
- Perform Dragging with AssistiveTouch: The virtual trackpad will appear on your screen, allowing you to perform dragging actions. Tap and drag your finger on the virtual trackpad to move items or select text. To release the item, simply lift your finger off the virtual trackpad.
- Customize AssistiveTouch: AssistiveTouch offers various customization options to suit your preferences. You can adjust the sensitivity, set custom gestures, and even create shortcuts for specific actions. Explore the AssistiveTouch settings in the Accessibility preferences to tailor it to your needs.
AssistiveTouch provides a user-friendly and accessible method for dragging on your Mac. It’s a valuable tool for individuals with mobility challenges or anyone who prefers a different approach to trackpad gestures. Give it a try and see how it can improve your overall dragging experience.
Troubleshooting and Tips
While dragging with your Mac trackpad is usually a smooth and seamless experience, you may encounter some issues or challenges along the way. In this section, we will cover some common troubleshooting tips and offer additional advice to help you overcome any obstacles you may face while dragging.
Here are some troubleshooting steps and tips to consider:
- Adjust Trackpad Settings: If you’re finding it difficult to drag items, try adjusting the trackpad settings in “System Preferences.” Experiment with the tracking speed, scrolling options, or sensitivity to find settings that suit your preferences and make dragging more manageable.
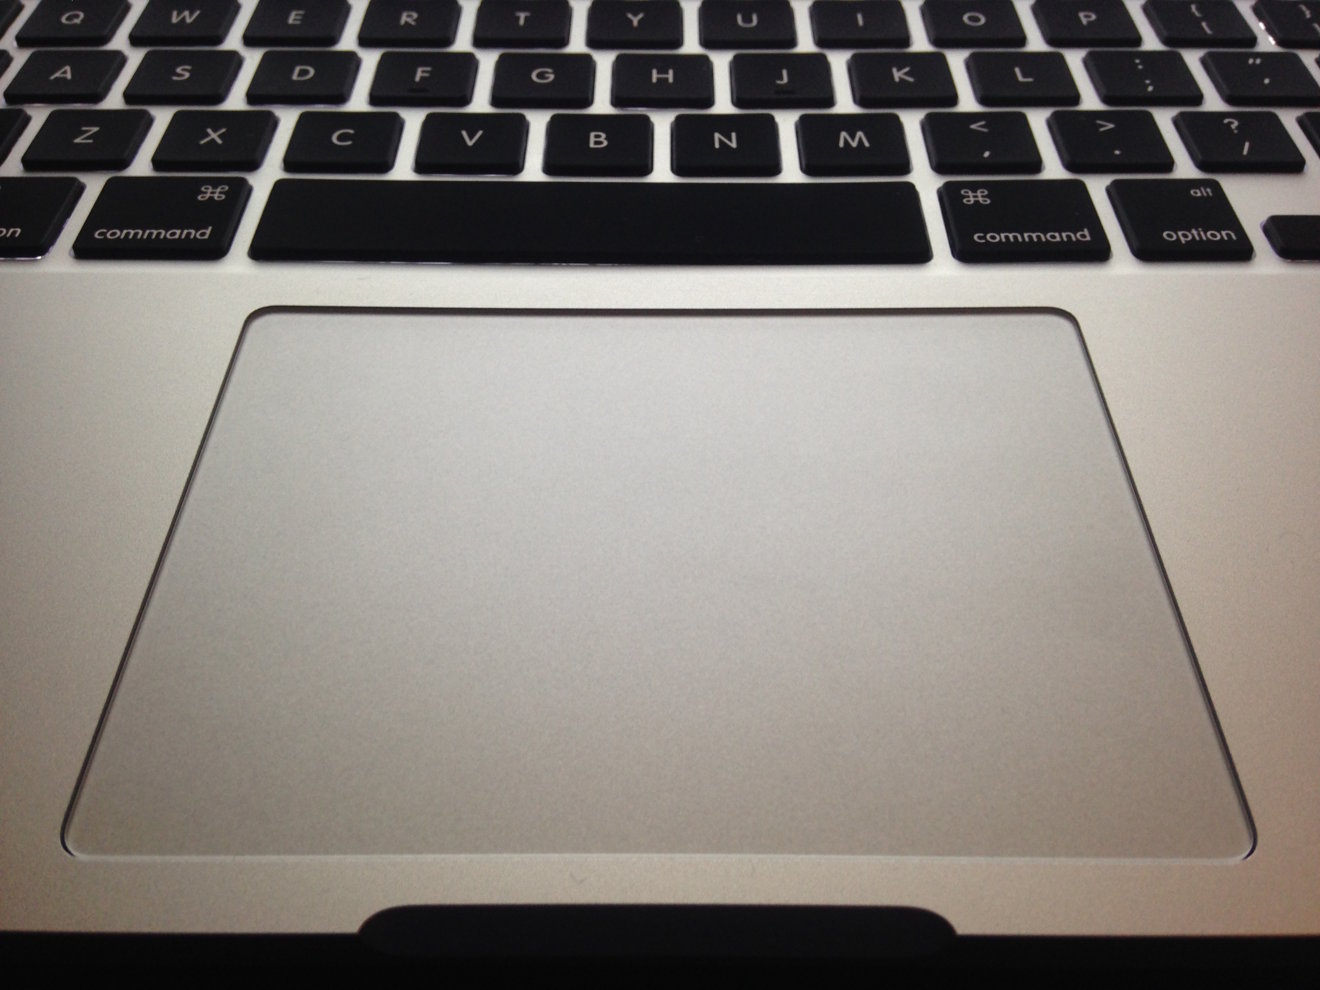
- Ensure Clean Trackpad Surface: A dirty or oily trackpad surface can interfere with smooth dragging. Regularly clean your trackpad with a soft, lint-free cloth and avoid using it with wet or greasy fingers to maintain optimal performance.
- Reset Trackpad Preferences: If you’re experiencing persistent issues with dragging, you may want to reset your trackpad preferences. Go to “System Preferences” and select “Trackpad.” Click on the “Reset All Settings” button to restore the default trackpad settings.
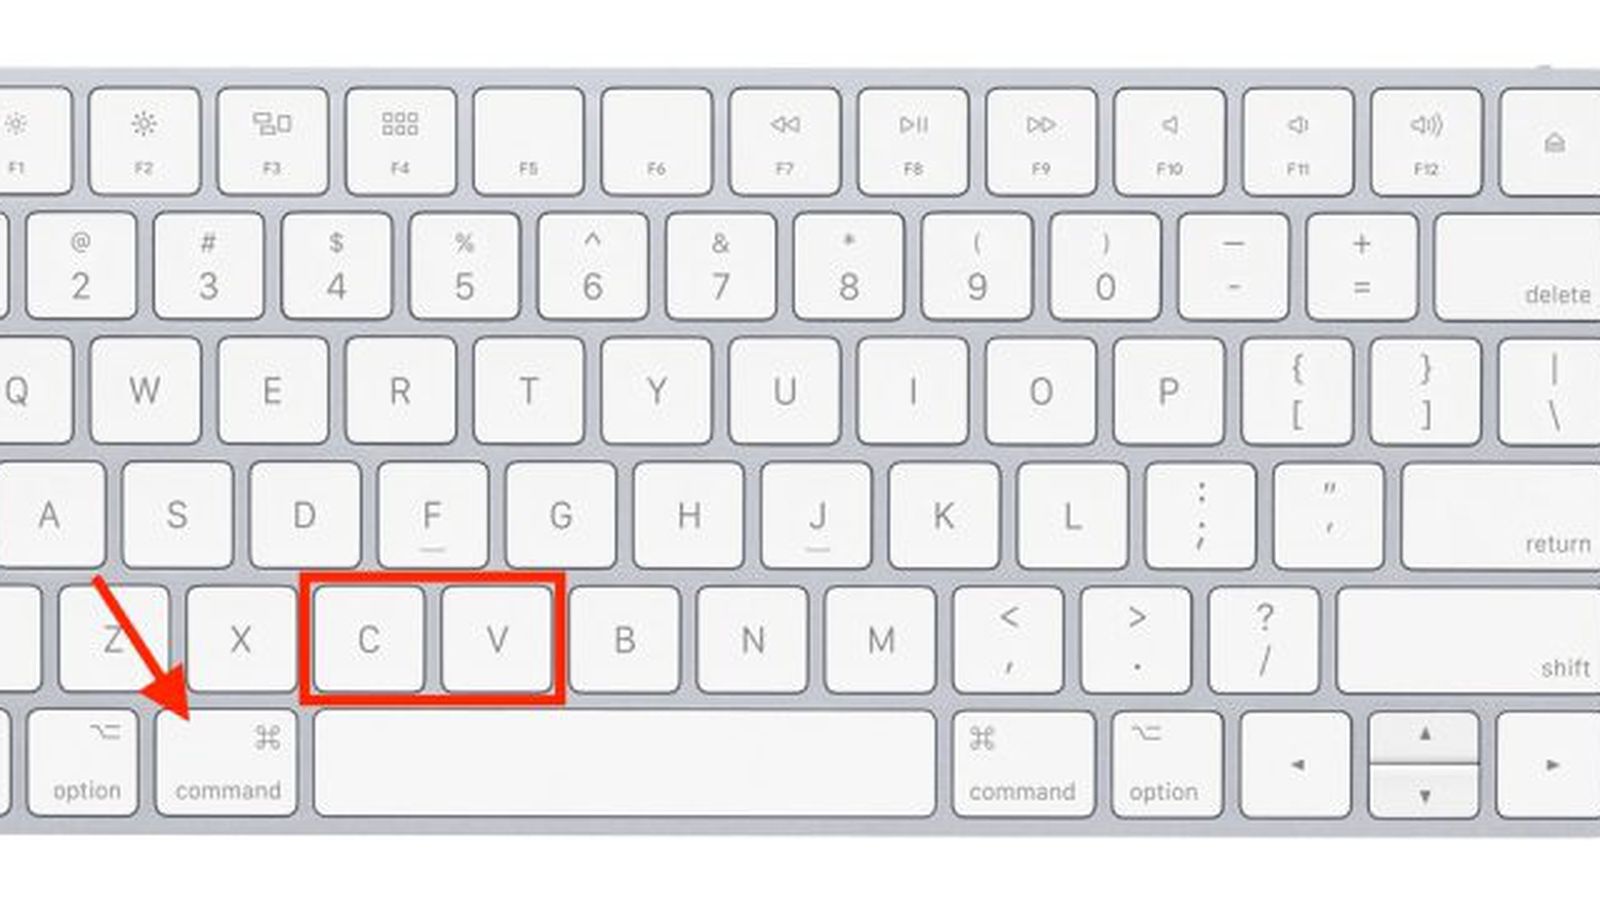
- Use Keyboard Shortcuts: In some cases, using keyboard shortcuts for copying, cutting, and pasting can be quicker and easier than dragging. Familiarize yourself with common keyboard shortcuts like Command+C (copy), Command+X (cut), and Command+V (paste).
- Practice Regularly: Like any skill, mastering dragging on your Mac trackpad requires practice. The more you use the trackpad and experiment with different techniques, the more comfortable you will become with dragging actions. Take the time to practice and familiarize yourself with the various gestures.
By troubleshooting any issues and incorporating these tips, you can improve your overall experience with dragging on your Mac trackpad and ensure smooth and efficient navigation.
Conclusion
Congratulations! You have successfully learned various techniques for dragging with your Mac trackpad. By enabling dragging, mastering basic techniques, and exploring advanced gestures like two-finger dragging and three-finger dragging, you can now navigate your Mac with more precision and efficiency.
We also covered the usage of AssistiveTouch, a powerful accessibility feature that provides a virtual trackpad for those who require additional assistance or prefer alternative methods for dragging. As you practice and familiarize yourself with these techniques, you’ll find yourself becoming more comfortable and proficient in performing dragging actions.
Remember, if you encounter any issues or challenges, refer back to our troubleshooting tips. Adjusting trackpad settings, keeping your trackpad clean, and utilizing keyboard shortcuts are all handy solutions to overcome common dragging problems.
Now it’s time to put your newfound knowledge into practice. Take the time to experiment with the various dragging techniques, find what works best for you, and incorporate them into your everyday usage of your Mac trackpad. With time and practice, you’ll develop a seamless and efficient workflow that will greatly enhance your productivity.
So go ahead, embrace the power of your Mac trackpad and start dragging with confidence!