Introduction
Welcome to the world of drag and drop on the Mac trackpad! This intuitive and efficient feature allows you to easily move files, folders, text, images, links, and more with just a simple gesture. Whether you are a seasoned Mac user or a new convert, learning the ins and outs of drag and drop can significantly enhance your productivity and overall user experience.
Mac trackpads are known for their precision and responsiveness, making them the perfect tool for executing drag and drop actions. By mastering this feature, you can streamline your workflow and save valuable time in accomplishing various tasks.
In this article, we will guide you through the different ways you can utilize drag and drop gestures on your Mac trackpad. From enabling drag and drop functionality to customizing its settings, we will cover everything you need to know to make the most out of this powerful feature.
So, whether you want to rearrange files, copy and paste text snippets, share images with friends, or bookmark websites for later, get ready to dive into the world of drag and drop on your Mac trackpad!
Using Drag and Drop Gestures on the Mac Trackpad
Once you have enabled drag and drop functionality on your Mac trackpad, you can start taking advantage of its various gestures to move and manipulate files, text, images, and more. Let’s explore some of the most commonly used drag and drop gestures:
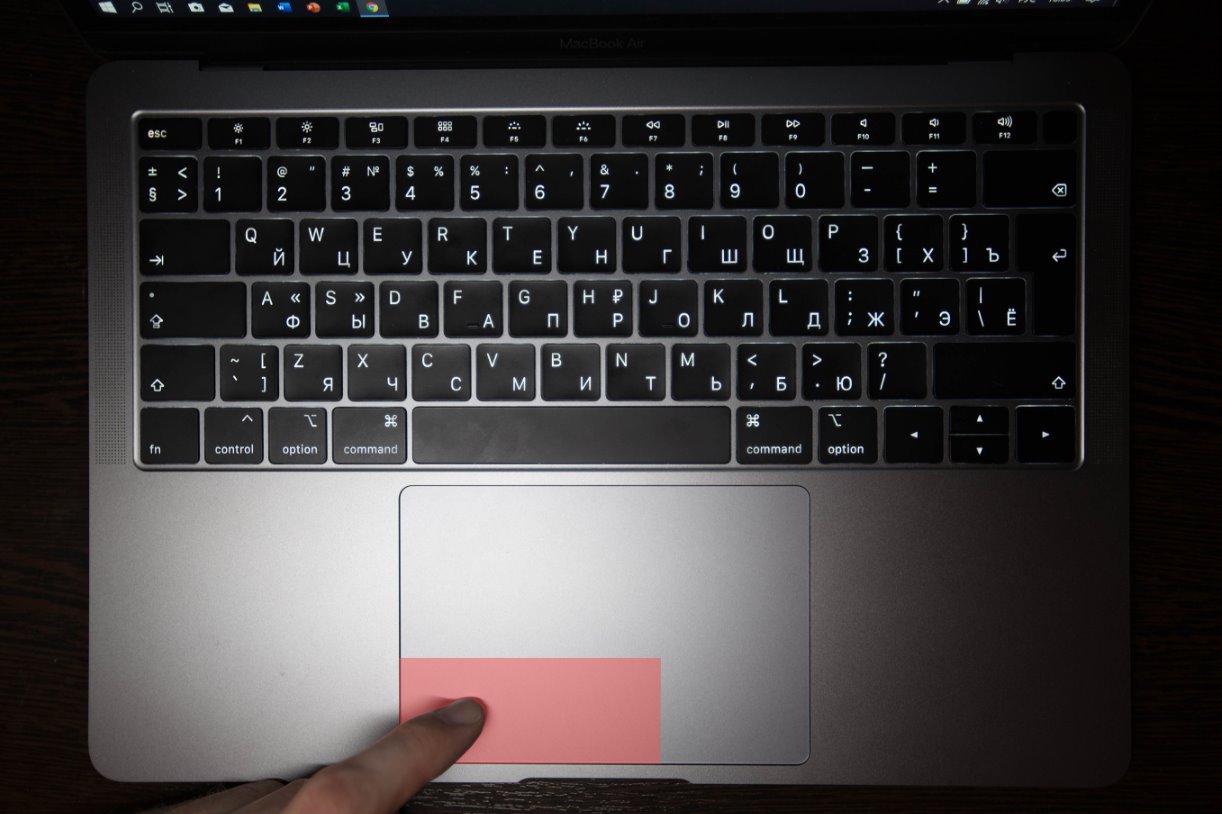
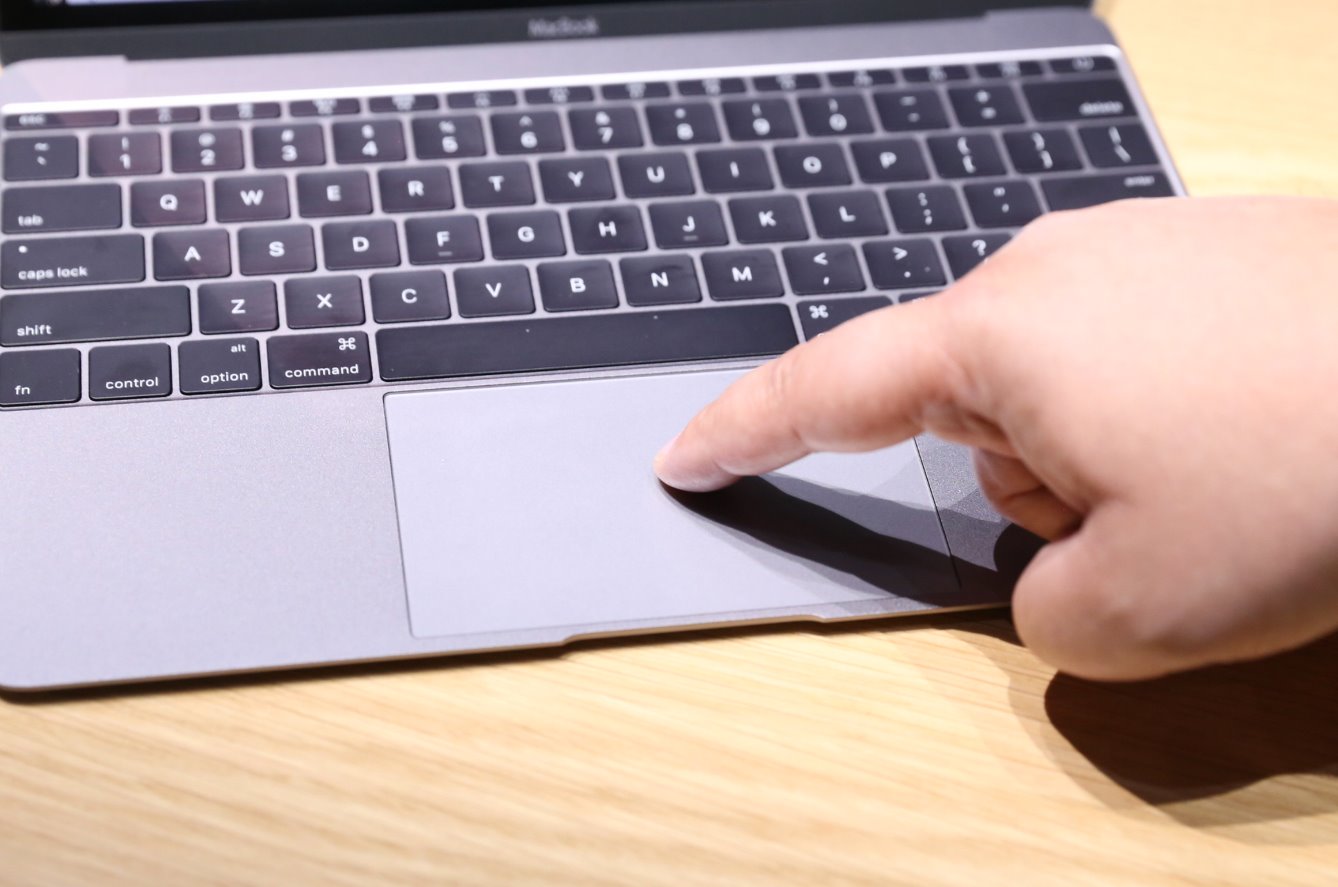
- Click and Drag: To initiate a drag and drop action, simply place your finger on the trackpad and click on the item you want to move or manipulate. While holding the click, you can move your finger across the trackpad to reposition the item.
- Multi-Touch Drag: For a more fluid and intuitive experience, you can use multi-touch gestures when dragging and dropping. By placing two or more fingers on the trackpad and dragging them together, you can easily move items around.
- Three-Finger Drag: By enabling the “Three-Finger Drag” option in the trackpad settings, you can use three fingers to drag and move objects. This gesture can be especially useful for users who prefer a touch-based approach to drag and drop actions.
- Force Click: If you have a trackpad with Force Touch support, you can utilize the Force Click feature for additional functionality. By applying a deeper click or press on an item, you can access context menus, preview files, and perform other actions specific to the application or file type.
These gestures provide a seamless and efficient way to interact with your files and applications. Whether you need to organize your documents, rearrange images in a presentation, or move text between different applications, drag and drop gestures on the Mac trackpad make the process simple and intuitive.
Now that you have a solid understanding of the various drag and drop gestures available, let’s move on to enabling drag and drop functionality on your Mac trackpad.
Enabling Drag and Drop Functionality on the Mac Trackpad
Before you can start using drag and drop gestures on your Mac trackpad, you need to ensure that the functionality is enabled. By default, the drag and drop feature is activated on most Macs, but it’s always good to double-check and customize the settings to your preferences. Here’s how to enable drag and drop on your Mac trackpad:
- Open System Preferences: Click on the Apple menu in the top-left corner of your screen and select “System Preferences” from the drop-down menu.
- Select Trackpad: In the System Preferences window, locate and click on the “Trackpad” icon.
- Enable Dragging: In the Trackpad settings, you will find different tabs and options. Navigate to the “Point & Click” tab and look for the “Dragging” section. Make sure the checkbox next to “Enable dragging” is selected.
- Adjust Dragging Speed: If you want to fine-tune the dragging speed, you can use the slider provided. Move the slider to the left for slower dragging or to the right for faster dragging.
- Customize Secondary Click: To enable additional drag and drop functionality, you can customize the secondary click. This allows you to perform actions such as dragging and dropping while using the right-click gesture on your trackpad. Go to the “Point & Click” tab, click on the “Secondary Click” dropdown menu, and choose “Click with two fingers” or “Click in bottom right corner,” depending on your preference.
Once you have made the necessary adjustments, you are ready to start using drag and drop gestures on your Mac trackpad. Whether you prefer a single finger click and drag or multi-touch gestures, these settings will ensure that you have a seamless and personalized experience.
Now that you have enabled drag and drop functionality, let’s dive into the specifics of dragging and dropping files, text, images, and other types of content on your Mac trackpad.
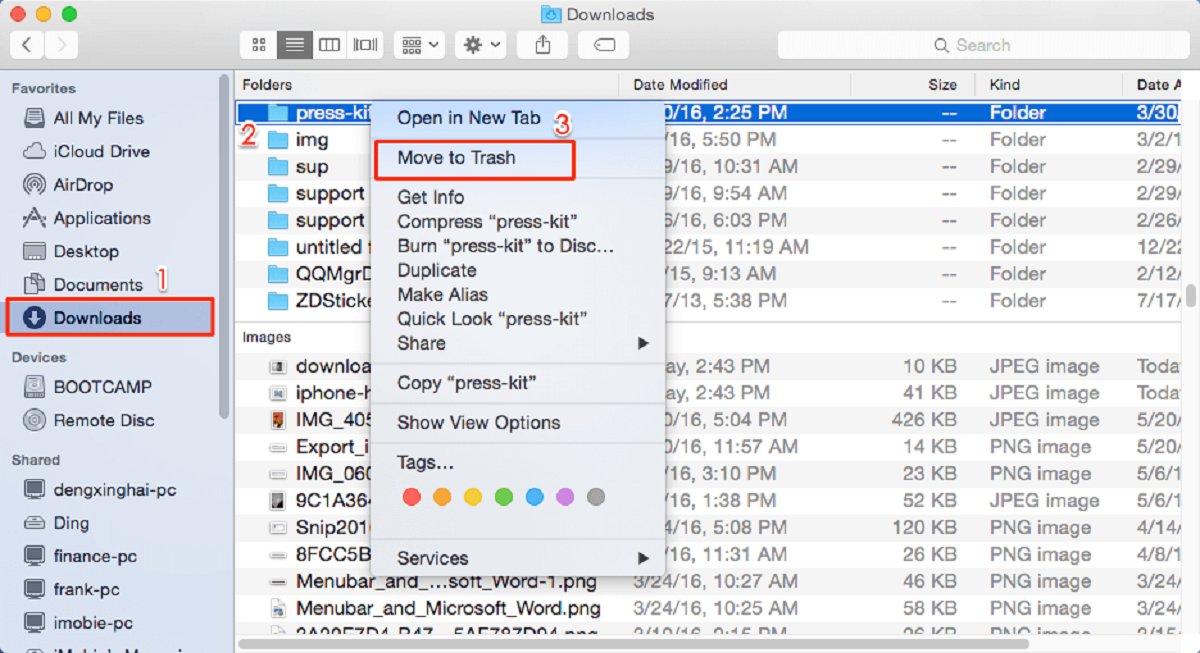
Dragging and Dropping Files and Folders
One of the most common use cases for drag and drop on the Mac trackpad is moving and organizing files and folders. Whether you want to rearrange your documents, transfer files between different folders, or create a new folder, the drag and drop feature makes it a breeze. Here’s how you can drag and drop files and folders on your Mac:
- Select the Files or Folders: Start by selecting the files or folders you want to move. You can do this by clicking and dragging a selection box around multiple items or holding down the Command key while clicking on individual files or folders to select them.
- Drag the Selection: Once you have selected the files or folders, place your finger on the trackpad and click and hold the selection. Move your finger across the trackpad to reposition the items to the desired location.
- Drop the Selection: To complete the drag and drop action, release your finger from the trackpad. The files or folders will be moved or copied to the new location, depending on the settings you have selected in the Finder preferences.
- Create a New Folder: If you want to organize your files into a new folder, you can simply drag and drop the selection onto the “New Folder” button in the Finder toolbar. This will create a new folder and move the selected items into it.
- Copy Instead of Moving: To copy files or folders instead of moving them, hold down the Option key while performing the drag and drop action. This will create a duplicate of the selected items in the new location, leaving the original files or folders in their current location.
By mastering the art of dragging and dropping files and folders on your Mac trackpad, you can effortlessly manage and organize your digital files. Whether you need to rearrange documents for a project, transfer photos to a different folder, or create a new folder for future reference, drag and drop gestures provide a convenient and efficient solution.
Now that you know how to drag and drop files and folders, let’s move on to another commonly used feature – dragging and dropping text on your Mac trackpad.
Dragging and Dropping Text
Drag and drop isn’t just limited to files and folders – you can also utilize this powerful feature to move and manipulate text on your Mac. Whether you need to copy and paste text snippets, rearrange paragraphs, or transfer content between different applications, the drag and drop functionality on the Mac trackpad makes it a seamless process. Here’s how you can drag and drop text:
- Select the Text: To start dragging text, you first need to select the desired content. Place your cursor at the beginning or end of the text you want to move, click and hold the trackpad, then drag your finger to select the text. Alternatively, you can double-click on a word to select it, or triple-click to select the entire paragraph.
- Drag the Selected Text: Once you have the text selected, keep holding the click on the trackpad and drag your finger to move the text to the desired location. As you drag, the selected text will follow your finger across the trackpad.
- Drop the Text: To complete the drag and drop action, release your finger from the trackpad. The selected text will be moved or copied to the new location, depending on the application and settings you are using.
- Cross-Application Drag and Drop: Dragging and dropping text across different applications is also possible on the Mac trackpad. You can copy text from one application and drop it into another, making it easy to transfer information between documents or compose emails with snippets of text from other sources.
Whether you’re writing a document, crafting an email, or performing research, being able to drag and drop text can significantly improve your workflow and efficiency. Instead of relying solely on copy and paste commands, drag and drop allows you to quickly move and organize text with a simple gesture.
Now that you know how to drag and drop text on your Mac trackpad, let’s explore another useful feature – dragging and dropping images and media files.
Dragging and Dropping Images and Media Files
Aside from text and documents, you can also use drag and drop gestures on your Mac trackpad to manipulate images and media files. Whether you need to share a photo with a friend, insert an image into a document, or organize your media library, the drag and drop feature provides a simple and intuitive solution. Here’s how you can drag and drop images and media files on your Mac:
- Select the Image or Media File: Start by locating the image or media file you want to move. You can do this by opening the folder where the file is stored or by locating it within the application you are working in.
- Drag and Drop the File: Once you have located the file, click and hold on it with your cursor. Then, move your cursor across the trackpad to initiate the drag and drop action. As you drag your cursor, you will see the image or media file following your movements.
- Drop the File: To complete the action, release your finger from the trackpad. The image or media file will be moved or copied to the new location, depending on the settings and application you are using.
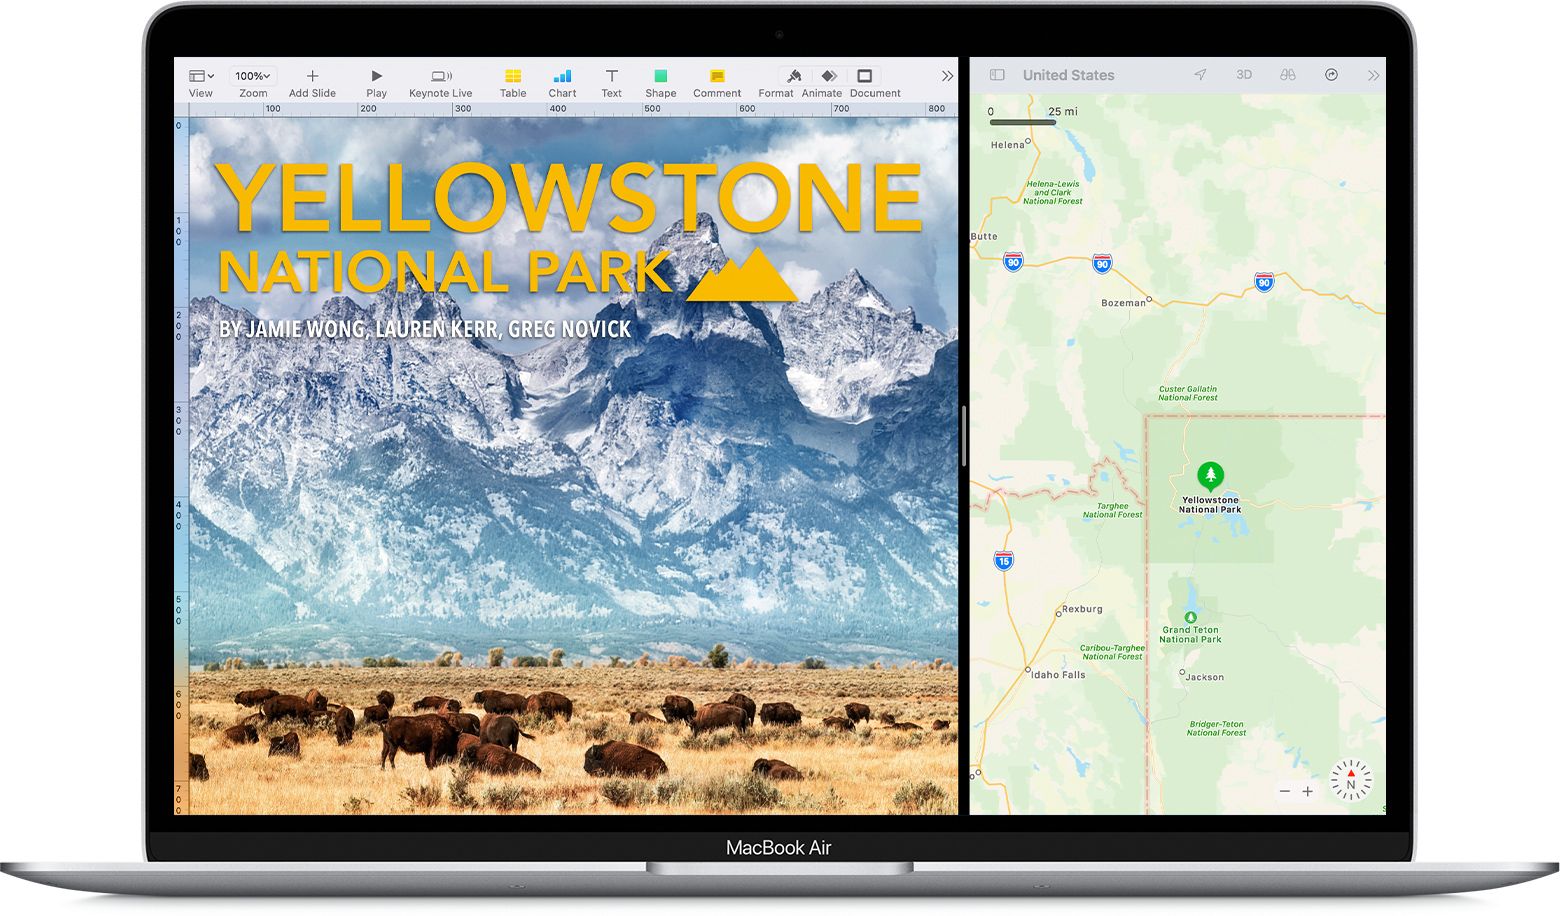
- Dragging and Dropping within Applications: In certain applications, such as image editing software or presentation tools, you can also drag and drop images and media files directly onto the application window. This allows you to quickly insert the file into your project without needing to navigate through folders.
With the ability to drag and drop images and media files, you can easily manage and manipulate your visual assets. Whether you’re working on a creative project, sharing photos with friends, or organizing your media library, the drag and drop feature on the Mac trackpad provides a seamless and efficient solution.
Now that you know how to drag and drop images and media files, let’s explore another aspect of this powerful feature – dragging and dropping links and URLs.
Dragging and Dropping Links and URLs
When browsing the web or working with online content, you often come across links and URLs that you want to save or share. Drag and drop on your Mac trackpad makes this task quick and effortless. Instead of copying and pasting the link, you can simply drag and drop it to the desired location. Here’s how you can drag and drop links and URLs:
- Select the Link or URL: Start by locating the link or URL you want to drag and drop. You can find links on web pages, within documents, or in emails, just to name a few examples.
- Drag and Drop the Link: To initiate the drag and drop action, click and hold on the link with your cursor. Move your finger across the trackpad, and you will see the link being dragged along with your movements.
- Drop the Link: Release your finger from the trackpad to drop the link into the desired location. This could be a document, a notes app, an email composition window, or even another browser tab.
- Dragging and Dropping within Browsers: When working within a web browser, you can also drag a link from one tab and drop it into another to quickly open the link in a new tab.
By utilizing drag and drop for links and URLs, you can easily save bookmarks, share articles with colleagues, or compile a list of resources for future reference. This feature streamlines the process of storing and accessing online content within your preferred applications and browsers.
Now that you know how to drag and drop links and URLs, let’s explore how you can customize the drag and drop settings on your Mac trackpad to suit your preferences.
Customizing Drag and Drop Settings on the Mac Trackpad
The drag and drop functionality on your Mac trackpad can be customized to suit your specific needs and preferences. Whether you want to adjust the dragging speed or enable additional features, the settings allow you to personalize your drag and drop experience. Here’s how you can customize the drag and drop settings on your Mac trackpad:
- Open System Preferences: Click on the Apple menu in the top-left corner of your screen and select “System Preferences” from the drop-down menu.
- Select Trackpad: In the System Preferences window, locate and click on the “Trackpad” icon.
- Customize Dragging Speed: Under the “Point & Click” tab, you will find a slider to adjust the dragging speed. Moving the slider to the left will make dragging slower, while moving it to the right will make dragging faster.
- Enable Three-Finger Drag: If you prefer using a three-finger drag gesture instead of a click and drag, you can enable it under the “Accessibility” section by selecting the “Trackpad Options” button. From there, check the box next to “Enable dragging” and choose “three finger drag” from the dropdown menu.
- Customize Secondary Click: To enable additional drag and drop functionality, you can customize the secondary click. This allows you to perform actions such as dragging and dropping while using the right-click gesture on your trackpad. Under the “Point & Click” tab, click on the “Secondary Click” dropdown menu and choose “Click with two fingers” or “Click in bottom right corner,” depending on your preference.
- Other Trackpad Options: Explore the other tabs and options in the Trackpad settings to further customize your trackpad experience. You can adjust scrolling speed, enable gesture shortcuts, and more.
By customizing the drag and drop settings, you can fine-tune the behavior of your Mac trackpad to align with your unique working style and preferences. Whether you prefer a faster or slower dragging speed, a three-finger drag gesture, or specific secondary click options, these settings allow you to optimize your productivity and comfort.
Now that you know how to customize the drag and drop settings on your Mac trackpad, you are ready to enhance your workflow and make the most out of this powerful feature.
Conclusion
Mastering the drag and drop functionality on your Mac trackpad opens up a world of possibilities for seamless file management, text manipulation, image handling, and URL sharing. By leveraging the intuitive gestures and customizable settings, you can significantly enhance your productivity and streamline your workflow.
From dragging and dropping files and folders to rearranging text snippets, images, and media files, the Mac trackpad empowers you to effortlessly move and organize your digital content. The ability to customize dragging speed, enable three-finger drag, and configure secondary click options provides a personalized experience tailored to your preferences.
With drag and drop, you can handle tasks with ease, whether it’s creating new folders for better organization, copying text snippets between documents, sharing links with colleagues, or inserting images into your creative projects.
So, embrace the power of drag and drop on your Mac trackpad and unlock a world of efficiency and convenience. Experiment with the various gestures, adjust the settings to your liking, and enjoy the seamless experience of moving and manipulating files, text, images, and more with just a swipe of your finger.
Make drag and drop your go-to method for managing your digital content, and you’ll soon wonder how you ever lived without it.