Introduction
Welcome to the world of bone broth! If you’re looking for a nourishing and flavorful addition to your diet, bone broth is the answer. This ancient superfood has gained popularity in recent years for its numerous health benefits, including improved digestion, joint health, and immune support. And with the convenience of an electric pressure cooker, making bone broth at home has never been easier!
In this article, we’ll guide you through the process of cooking bone broth using an electric pressure cooker. Whether you’re a seasoned cook or just starting out in the kitchen, you’ll find this method simple and efficient. We’ll cover everything you need to know, from selecting the right ingredients to straining and storing your homemade bone broth.
Before we dive into the details, let’s talk about what makes bone broth so exceptional. Made from simmering animal bones, connective tissues, and aromatic vegetables, bone broth is packed with essential nutrients like collagen, amino acids, and minerals. Not only does it provide a rich source of protein, but it also contains gelatin, which is known for its positive effects on gut health. It’s a versatile ingredient that can be used as a base for soups, stews, sauces, or enjoyed on its own as a nourishing beverage.
With an electric pressure cooker, you can enjoy the benefits of bone broth in a fraction of the time it takes to make it on the stovetop. The high-pressure cooking environment helps extract the maximum amount of nutrients from the bones, resulting in a rich and flavorful broth in just a few hours. Plus, the sealed lid ensures that the flavors are locked in, making the end product even more delicious.
So, whether you’re looking to boost your immune system during the winter months or add a nutritious element to your daily meals, grab your electric pressure cooker and let’s get started on making some delicious bone broth!
Benefits of Bone Broth
Bone broth is more than just a flavorful addition to soups and stews – it’s a nutrient powerhouse that offers numerous health benefits. Here are some of the key advantages of incorporating bone broth into your diet:
- Supports gut health: Bone broth contains gelatin, which helps to repair and strengthen the lining of the digestive tract. This can improve digestion and reduce inflammation in the gut, promoting better gut health and overall well-being.
- Boosts immune system: The amino acids and minerals found in bone broth, such as glycine, arginine, and zinc, can enhance the immune system’s ability to fight off infections and support optimal immune function. Drinking bone broth regularly may help ward off common illnesses and promote a strong immune system.
- Promotes joint health: The collagen and other compounds present in bone broth are beneficial for joint health. They help to support the integrity of the joints, reduce inflammation, and alleviate joint pain and stiffness. Regular consumption of bone broth can be especially beneficial for individuals with arthritis or other joint-related conditions.
- Strengthens bones and teeth: Bone broth is a rich source of calcium, magnesium, and phosphorus, which are essential minerals for strong bones and teeth. Incorporating bone broth into your diet may help prevent bone loss and maintain healthy bone density, especially as you age.
- Improves skin health: The collagen in bone broth can promote skin elasticity, hydration, and overall skin health. Regular consumption of bone broth may help reduce the appearance of wrinkles, fine lines, and cellulite, leading to a more youthful and vibrant complexion.
In addition to these specific benefits, bone broth is also a great source of protein, which can aid in muscle recovery and growth. It is also a hydrating beverage that provides electrolytes, making it an ideal option for athletes or those looking to replenish their fluids after intense physical activity.
Now that you’re aware of the incredible benefits bone broth has to offer, let’s delve into the process of using your electric pressure cooker to prepare this nutritious elixir.
Understanding Electric Pressure Cookers
If you’re new to using an electric pressure cooker, don’t worry – it’s simpler than it sounds. Electric pressure cookers are designed to make cooking faster and more convenient by creating a high-pressure, sealed environment that speeds up the cooking process. Here’s a breakdown of some key features and benefits of electric pressure cookers:
- High-pressure cooking: Electric pressure cookers utilize high-pressure cooking techniques to significantly reduce cooking time. The increased pressure raises the boiling point of liquids, allowing food to cook faster. This means you can prepare a delicious meal in a fraction of the time compared to traditional cooking methods.
- Sealed cooking environment: Electric pressure cookers have a tight-fitting lid that creates a sealed environment. This not only locks in the flavors but also prevents moisture loss, resulting in dishes that are moist and tender.
- Multiple cooking functions: Most electric pressure cookers offer a range of cooking functions, including sautéing, steaming, simmering, and even baking. This versatility allows you to use your electric pressure cooker for a wide variety of recipes and cooking techniques.
- Pre-programmed settings: Electric pressure cookers often come with pre-programmed settings for specific types of food, such as rice, soup, meat, or beans. These settings take the guesswork out of cooking and ensure that you achieve optimal results every time.
- Safety features: Electric pressure cookers are equipped with various safety mechanisms to prevent accidents or mishaps. These include pressure release valves, lid locks, and temperature control systems. It’s essential to read the instruction manual and follow the safety guidelines to ensure safe and effective use of your electric pressure cooker.
One of the significant advantages of using an electric pressure cooker for cooking bone broth is the speed and convenience it offers. While traditional stovetop methods can take several hours to extract the flavors and nutrients from the bones, an electric pressure cooker can achieve the same results in a fraction of the time.
Now that you have a better understanding of electric pressure cookers, let’s move on to the next step – selecting the right ingredients for your bone broth.
Getting Started: Selecting Ingredients
When it comes to making bone broth, selecting the right ingredients is key to achieving a flavorful and nutritious end result. Here’s a step-by-step guide to help you choose the best ingredients for your bone broth:
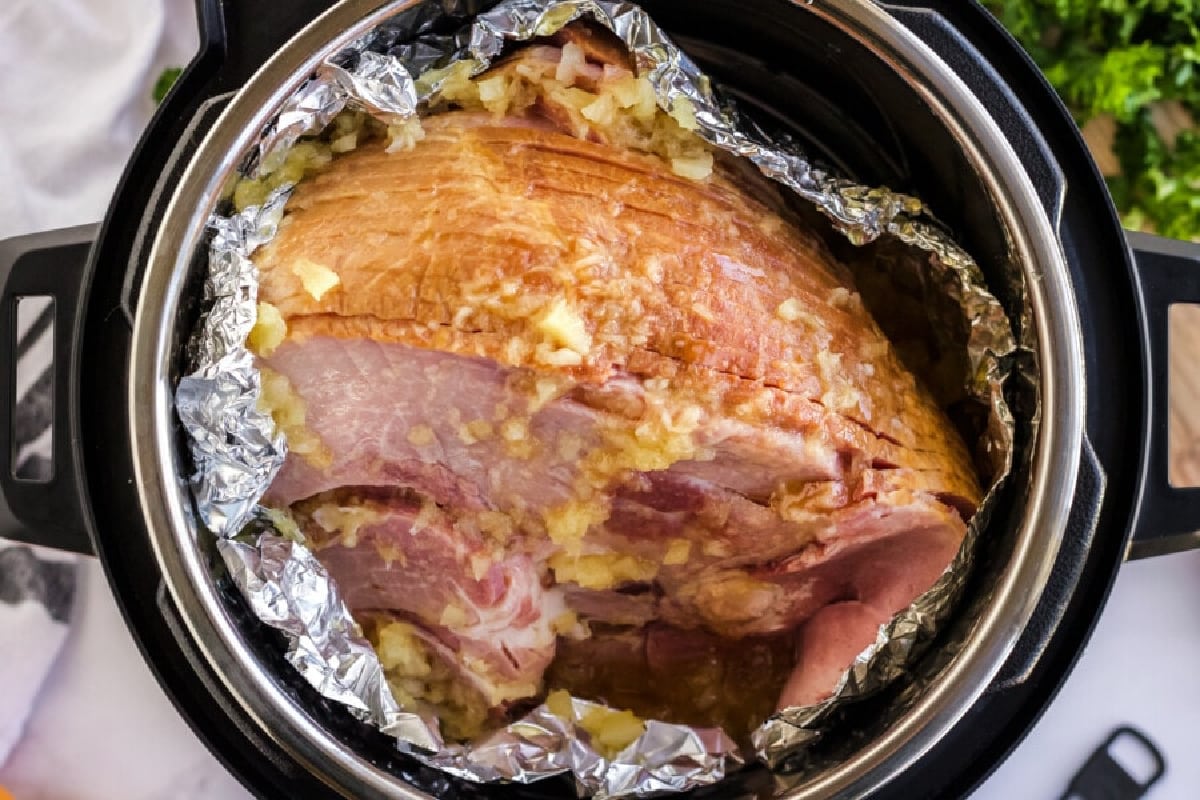
- Bones: The most important ingredient in bone broth is, of course, the bones! Opt for high-quality bones from grass-fed or organic sources. Beef bones, chicken carcasses, or fish bones are all excellent choices. You can use a single type of bone or a combination for a more complex flavor.
- Connective Tissues: Adding connective tissues like tendons, ligaments, or chicken feet to your broth increases the collagen content, resulting in a gelatinous and nourishing broth. These parts are often available at butcher shops or can be saved from previous meals.
- Aromatic Vegetables: To enhance the flavor of your bone broth, include aromatic vegetables such as onions, garlic, carrots, and celery. These vegetables add depth and earthiness to the broth. You can use them whole or chop them into large pieces.
- Herbs and Spices: Adding herbs and spices can elevate the taste profile of your bone broth. Common options include bay leaves, thyme, rosemary, peppercorns, and sea salt. Be mindful of the flavors you want to achieve and adjust the amounts accordingly.
- Filtered Water: The quality of the water used in your bone broth matters. Use filtered water to ensure that impurities or chlorine do not affect the taste or quality of the broth.
Before proceeding with cooking, it’s important to mention a few additional tips for selecting ingredients:
- Trim off excess fat from the bones, but don’t remove all of it as fat adds richness to the broth.
- Rinse the bones and connective tissues under cold water to remove any residual blood or bone fragments.
- Don’t be afraid to experiment with different meat and bone combinations to create unique flavor profiles in your bone broth.
Now that you have gathered your ingredients, it’s time to prepare the bones for cooking. Let’s dive into the next section for more details!
Preparing the Bones for Cooking
Before you start cooking your bone broth, it’s essential to properly prepare the bones to extract the maximum amount of flavor and nutrients. Follow these steps to ensure your bones are ready for the cooking process:
- Roasting the Bones (Optional): While not mandatory, roasting the bones before cooking can enhance the flavor of your bone broth. Preheat your oven to 400°F (200°C), place the bones on a baking tray, and roast them for about 30 minutes. This step adds a rich depth of flavor to the final broth.
- Blanching the Bones (Optional): To further improve the clarity of your bone broth, you can blanch the bones before cooking. Place the bones in a large pot of boiling water and let them cook for a few minutes. This process removes impurities and helps achieve a clearer broth.
- Prepping the Vegetables: While the bones are roasting or blanching, you can prepare the aromatic vegetables for the broth. Peel and roughly chop the onions, carrots, and celery. Mince the garlic cloves. These vegetables will add depth and aroma to your bone broth.
- Preparing the Aromatics: Tie the herbs, such as bay leaves, thyme, and rosemary, together with kitchen twine. This will make them easier to remove from the broth once it’s cooked. Alternatively, you can use a cheesecloth bag to contain the herbs and spices.
- Collecting the Bones and Aromatics: Once the bones are roasted or blanched, and the vegetables and aromatics are prepped, gather them all together. You are now ready to assemble your bone broth in your electric pressure cooker!
Properly preparing the bones and vegetables is a crucial step in creating a delicious and nutritious bone broth. Taking the time to follow these steps ensures that you achieve the best possible flavors and results in the final product. With the bones prepped and the ingredients ready, let’s move on to the next section – assembling the ingredients in the pressure cooker.
Assembling the Ingredients in the Pressure Cooker
Now that you have your bones prepared and your aromatics ready, it’s time to assemble all the ingredients in your electric pressure cooker. Follow these steps to ensure a well-balanced and flavorful bone broth:
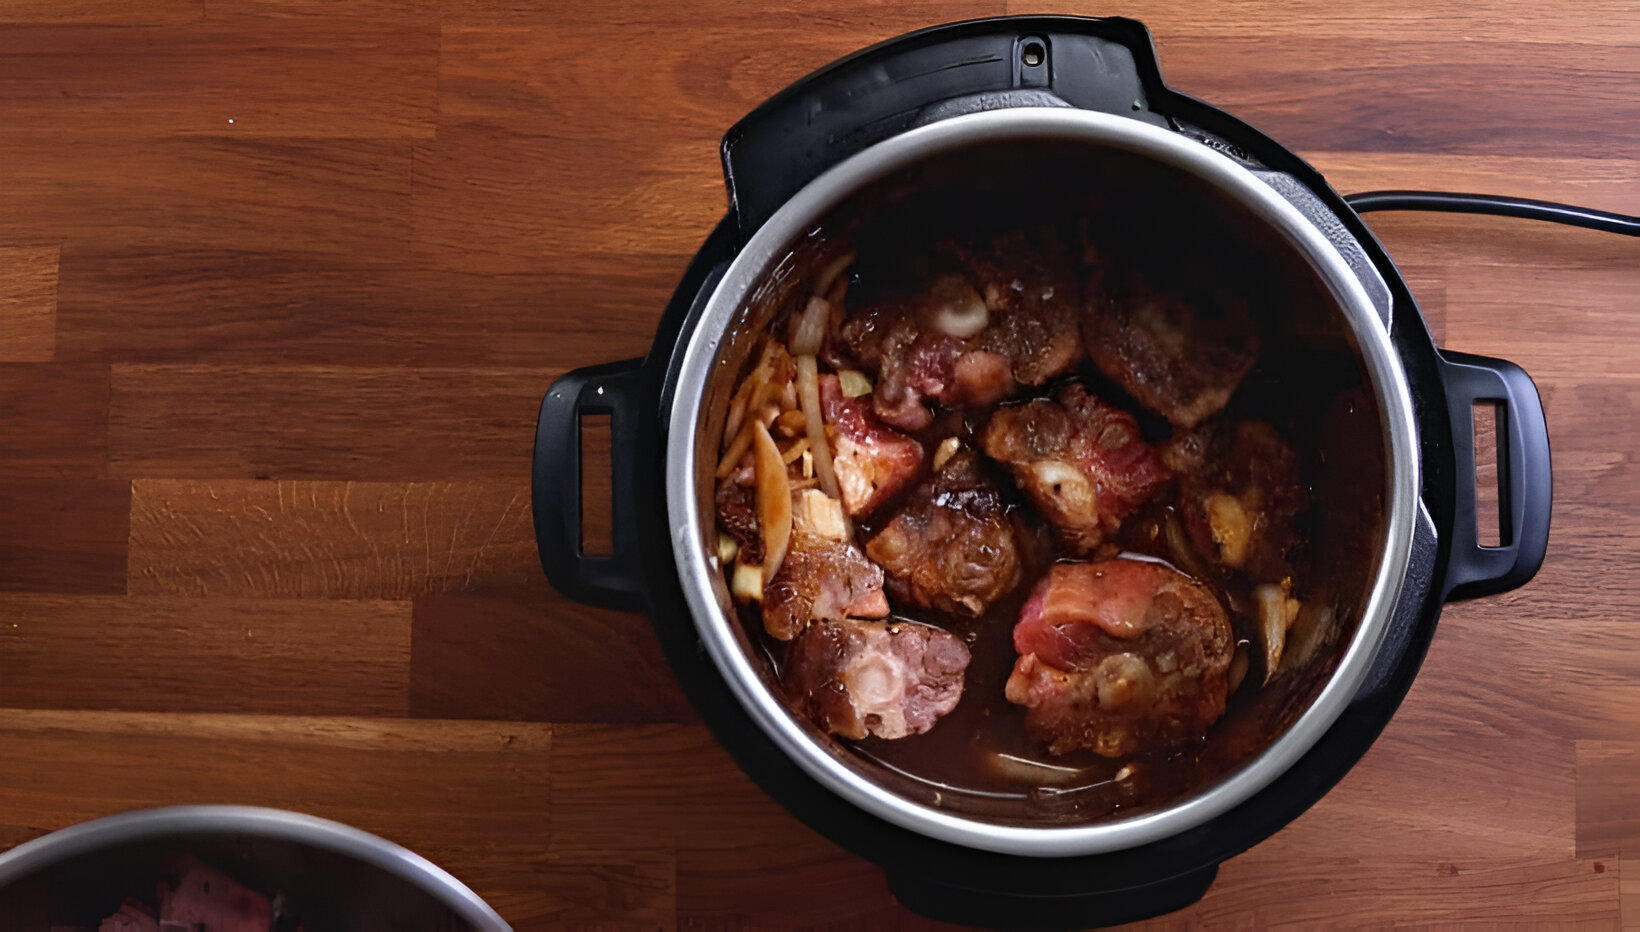
- Add the Bones: Place the prepared bones into the inner pot of your electric pressure cooker. Make sure not to exceed the maximum fill line indicated by the manufacturer to prevent any issues during the cooking process.
- Add the Aromatic Vegetables and Herbs: Add the chopped onions, carrots, and celery to the pot with the bones. Place the tied herbs bundle or the cheesecloth bag containing the herbs and spices on top of the vegetables. This allows the flavors to infuse the broth during the cooking process.
- Add Filtered Water: Pour enough filtered water into the pressure cooker to cover the bones and vegetables fully. Be cautious not to overfill the pot beyond the recommended limit.
- Avoid Overseasoning: While it’s tempting to add salt or other seasonings at this stage, it’s generally better to wait until after the bone broth has finished cooking. This allows you to adjust the seasoning to your preference when the flavors of the broth are fully developed.
- Secure the Lid: Place the lid on the pressure cooker and ensure it is locked in place. Follow the manufacturer’s instructions for properly sealing the lid.
Take a moment to double-check that all the ingredients are correctly assembled in the pressure cooker. Once you’re ready, it’s time to cook the bone broth using the electric pressure cooker, which we’ll cover in the next section.
Cooking Bone Broth with an Electric Pressure Cooker
Now that you have assembled the ingredients in your electric pressure cooker, it’s time to start the cooking process. Follow these steps to cook your bone broth to perfection:
- Select the Cooking Program: Depending on your electric pressure cooker model, choose the appropriate cooking program or function for bone broth. Some models may have a specific setting for soup or broth, while others may require manual adjustments.
- Set the Cooking Time: Set the cooking time according to the manufacturer’s instructions or the recipe you’re following. Generally, bone broth requires high-pressure cooking for 1.5 to 2 hours. The specific time may vary depending on the type of bones used and the desired richness of the broth.
- Start the Cooking Process: Once you have set the cooking program and time, press the start button to begin the cooking process. The electric pressure cooker will take some time to build up pressure before the timer starts counting down.
- Allow for Natural Pressure Release: After the cooking time is complete, it’s important to allow for natural pressure release for about 15-20 minutes. This allows the flavors to further develop and ensures tender and flavorful bones.
- Perform a Quick Pressure Release: Once the natural pressure release is complete, carefully perform a quick pressure release by following the manufacturer’s instructions. This helps to release the remaining pressure in the pressure cooker quickly.
Once the pressure has been fully released, you can safely open the lid of your electric pressure cooker. As you lift the lid, be prepared to be greeted with the delightful aroma of your freshly cooked bone broth.
Now that your bone broth is cooked, it’s time to strain and store it for future use. In the next section, we’ll cover the necessary steps to strain and properly store your homemade bone broth.
Natural Release vs. Quick Release
When using an electric pressure cooker, there are two common methods for releasing the pressure after the cooking process: natural release and quick release. Let’s explore the difference between these methods and when to use each one:
Natural Release: Natural release is a method where you allow the pressure to subside gradually on its own after the cooking time is complete. This process typically takes around 15-20 minutes. During this time, the pressure inside the cooker slowly decreases, and the food continues to cook in the residual heat. Natural release is ideal for delicate foods, such as bone broth, as it helps preserve the quality and texture of the ingredients. It also allows for flavors to meld together and enhances the overall taste of the dish.
Quick Release: Quick release, also known as manual release or rapid pressure release, is a method of releasing the pressure immediately after the cooking time ends. This is done by carefully moving the pressure cooker’s release valve from the sealed position to the venting position. The rapid release of pressure decreases the cooking time and allows you to access the food more quickly. Quick release is generally used for foods that can easily become overcooked or items that need to be removed from the pressure cooker right away, such as vegetables or delicate seafood.
When cooking bone broth, it is recommended to use the natural release method. This extra time allows the flavors to fully develop and results in a richer and more robust broth. Natural release also helps to tenderize the bones further, making them more easily crushable and allowing the nutrients to seep into the liquid.
Once the natural release or quick release is complete, it is safe to open the lid of your electric pressure cooker. Remember to exercise caution and follow the manufacturer’s instructions for handling the pressure release valve.
Now that you are aware of the differences between natural release and quick release, you can choose the method that best suits your recipe and the specific ingredients you are working with. In the next section, we will discuss the importance of straining and properly storing your bone broth.
Straining and Storing Bone Broth
Once your bone broth is cooked to perfection, it’s time to strain and store it for future use. Follow these steps to ensure your bone broth remains flavorful and fresh:
- Remove Solids: Start by carefully removing any large bones, connective tissues, vegetables, and herbs from the broth. Use a slotted spoon or tongs to take out the bulk of the solids and set them aside.
- Strain the Broth: To achieve a clear and smooth bone broth, strain the liquid using a fine-mesh strainer or cheesecloth-lined colander placed over a large bowl or another pot. This will remove any small bits or impurities, resulting in a clean and pure broth. You may need to strain the broth several times for a clearer consistency.
- Cool the Broth: Allow the strained bone broth to cool to room temperature before refrigerating or freezing. This will help avoid condensation and prevent any potential bacterial growth.
- Storage Containers: Once cooled, transfer the bone broth to airtight containers suitable for storing liquids. Glass jars, BPA-free plastic containers, or freezer-safe bags are all good options. Leave some headspace in the containers to allow for expansion during the freezing process.
- Refrigeration: If you plan to use the bone broth within a few days, store it in the refrigerator. It will keep for up to 4-5 days. Make sure to label the containers with the date for easy reference.
- Freezing: To extend the shelf life of your bone broth, freeze it in individual portions or in larger quantities. It can be frozen for up to 3-4 months. Be sure to leave enough space for expansion, especially if using glass containers.
Remember to thaw frozen bone broth in the refrigerator overnight before using it. You can heat it on the stovetop or in the microwave when ready to enjoy. It is important to note that after thawing, the bone broth may separate slightly, but a gentle stir or reheating will help restore its consistency.
Now that you know how to strain and store your bone broth, let’s move on to the next section where we’ll share tips on flavoring and serving this nourishing elixir.
Tips for Flavoring and Serving Bone Broth
Bone broth is a versatile ingredient that can be enjoyed on its own or used as a base for a variety of recipes. Here are some helpful tips to enhance the flavor and make the most out of your bone broth:
- Skim Off Fat: During the cooking and cooling process, some fat may rise to the top of the bone broth. Skim off this layer of fat using a spoon or a fat separator. This will result in a cleaner and lighter broth.
- Enhance the Flavor: Bone broth provides a blank canvas for adding additional flavor. Consider infusing your bone broth with herbs, spices, or aromatics like ginger, turmeric, or lemongrass. Experiment with different combinations to suit your taste preferences. Remember to add seasonings after straining the broth.
- Customize with Vegetables: To boost the nutritional content and add more depth of flavor, you can add cooked or sautéed vegetables to your bone broth when serving. This can include sliced mushrooms, spinach, kale, or diced carrots. The vegetables will absorb the broth’s flavors and provide added texture to your dish.
- Enjoy as a Warm Beverage: Sip on a warm cup of bone broth as a nourishing beverage. Heat a serving of bone broth on the stovetop or in the microwave and enjoy it as a comforting and healing drink. You can also add a squeeze of lemon or a sprinkle of herbs for extra flavor.
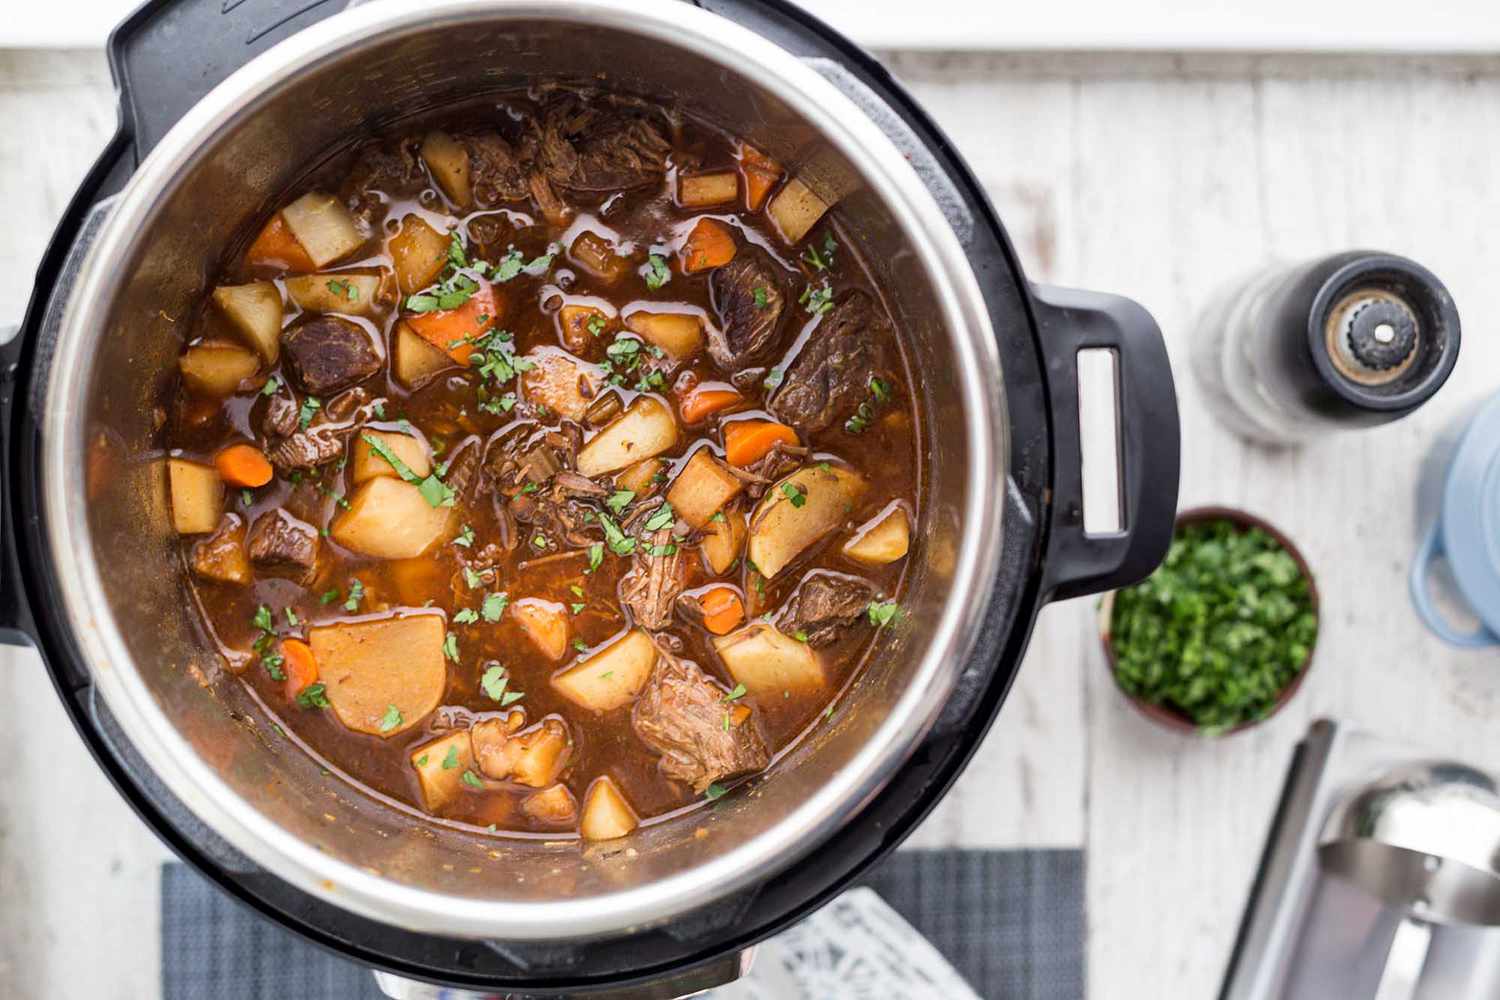
- Use as a Cooking Liquid: Replace water or store-bought broth with homemade bone broth in your favorite recipes to add depth and richness. Use it as a base for soups, stews, grains, or any recipe that calls for a liquid component. The flavors of the bone broth will enhance the overall taste of your dishes.
- Replenish Electrolytes: After an intense workout or illness, bone broth can help replenish electrolytes and provide hydration. The minerals found in bone broth, such as potassium and sodium, play a vital role in maintaining electrolyte balance in the body.
Remember, bone broth can be stored in individual portions, making it easy to thaw and use as needed. Feel free to get creative and experiment with different flavors and serving methods to suit your preference and dietary needs.
Now that you have these tips in mind, you are ready to explore the many delicious ways to enjoy your homemade bone broth. In the next section, we’ll answer some frequently asked questions to further guide you in your bone broth journey.
Frequently Asked Questions (FAQs)
Here are answers to some commonly asked questions about cooking bone broth with an electric pressure cooker:
- Can I use frozen bones to make bone broth? Yes, frozen bones can be used to make bone broth. However, it may be beneficial to thaw them before roasting or blanching for better flavor extraction. This will also ensure even cooking throughout the broth-making process.
- How long does it take to cook bone broth in an electric pressure cooker? Bone broth typically takes 1.5 to 2 hours of high-pressure cooking in an electric pressure cooker. However, this time may vary depending on the size and type of bones used. It’s important to follow the recommended cooking time in your specific pressure cooker model or the recipe you’re following.
- Can I reuse bones to make multiple batches of bone broth? Yes, you can reuse bones to make multiple batches of bone broth. After the initial batch, strain the broth and store it as desired. The bones can be saved and frozen until you’re ready to use them again. Adding fresh bones to the reused bones will help impart more flavor and nutrients into the subsequent batches of bone broth.
- Can I adjust the flavor of my bone broth? Yes, you can adjust the flavor of your bone broth according to your taste preferences. If you find the broth too concentrated, you can dilute it with water or other liquids. Additionally, you can add more seasonings, herbs, or salt to enhance the flavor. Remember to taste and adjust gradually to avoid over-seasoning your bone broth.
- How long can I store bone broth? When properly stored in airtight containers, bone broth can be refrigerated for up to 4-5 days. If you plan to keep it longer, it can be frozen for 3-4 months. Label your containers with dates to keep track of freshness and use the oldest broth first when thawing.
- Can I pressure can bone broth? While it is possible to pressure can bone broth for long-term storage, it requires following specific canning protocols and ensuring that the broth reaches the appropriate temperature and pressure. It’s recommended to consult reliable canning resources or experts for guidance on safely canning bone broth.
These answers should provide clarity and guidance regarding some of the common concerns and questions about making bone broth with an electric pressure cooker. If you have any additional queries, feel free to consult the instruction manual of your pressure cooker or seek advice from reputable sources.
With the knowledge gained from this section, you are now equipped to confidently make delicious bone broth in your electric pressure cooker. Enjoy the nourishing benefits and explore exciting ways to incorporate bone broth into your culinary repertoire!