Introduction
Welcome to the world of homemade chicken broth! If you’re a fan of delicious, flavorful soups, stews, and sauces, then learning how to make chicken broth in an electric pressure cooker is an essential skill to master. Not only is homemade broth bursting with rich flavors, but it’s also packed with nutrients, making it a healthier alternative to store-bought options.
With the help of an electric pressure cooker, you can enjoy the convenience and efficiency of preparing chicken broth in a fraction of the time compared to traditional stovetop methods. The high-pressure environment created by the electric pressure cooker works wonders in extracting every last drop of flavor from the ingredients, resulting in a broth that is aromatic, robust, and full-bodied.
Not only does making chicken broth at home allow you to control the quality of the ingredients used, but it also allows you to customize the flavors to suit your preferences. You can infuse the broth with a medley of aromatic herbs and spices or keep it simple with just a few key ingredients. Regardless of your culinary preferences, learning how to make chicken broth in an electric pressure cooker is a game-changer in the kitchen.
In this step-by-step guide, we will walk you through the process of making chicken broth in an electric pressure cooker. From preparing the chicken and chopping the vegetables to setting the pressure cooker and straining the broth, you’ll learn all the essential techniques to create a flavorful base for your favorite recipes.
So, put on your apron and get ready to dive into the world of homemade broths. Let’s start making some irresistible chicken broth that will elevate your culinary creations to new heights!
Ingredients
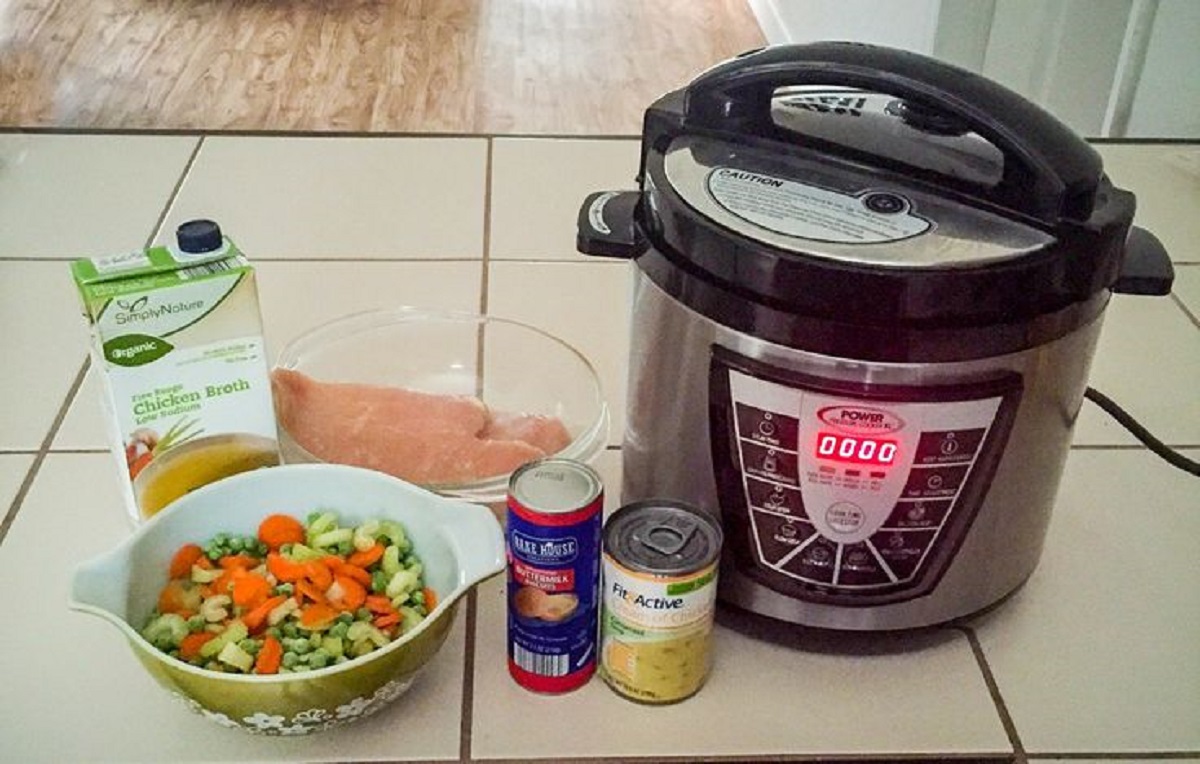
To make chicken broth in an electric pressure cooker, you’ll need the following ingredients:
- 1 whole chicken or chicken bones (around 3-4 pounds)
- 2 carrots, chopped
- 2 celery stalks, chopped
- 1 onion, chopped
- 4 cloves of garlic, minced
- 1 bay leaf
- 1 sprig of fresh thyme
- 1 teaspoon whole black peppercorns
- 10 cups of water
- Salt to taste
The key to a flavorful chicken broth lies in the quality of the ingredients used. Opt for organic chicken if possible, as it tends to have more depth of flavor. Additionally, feel free to add or adjust the vegetables and herbs based on your personal preferences.
Once you have gathered all the ingredients, it’s time to move on to the next step: preparing the chicken.
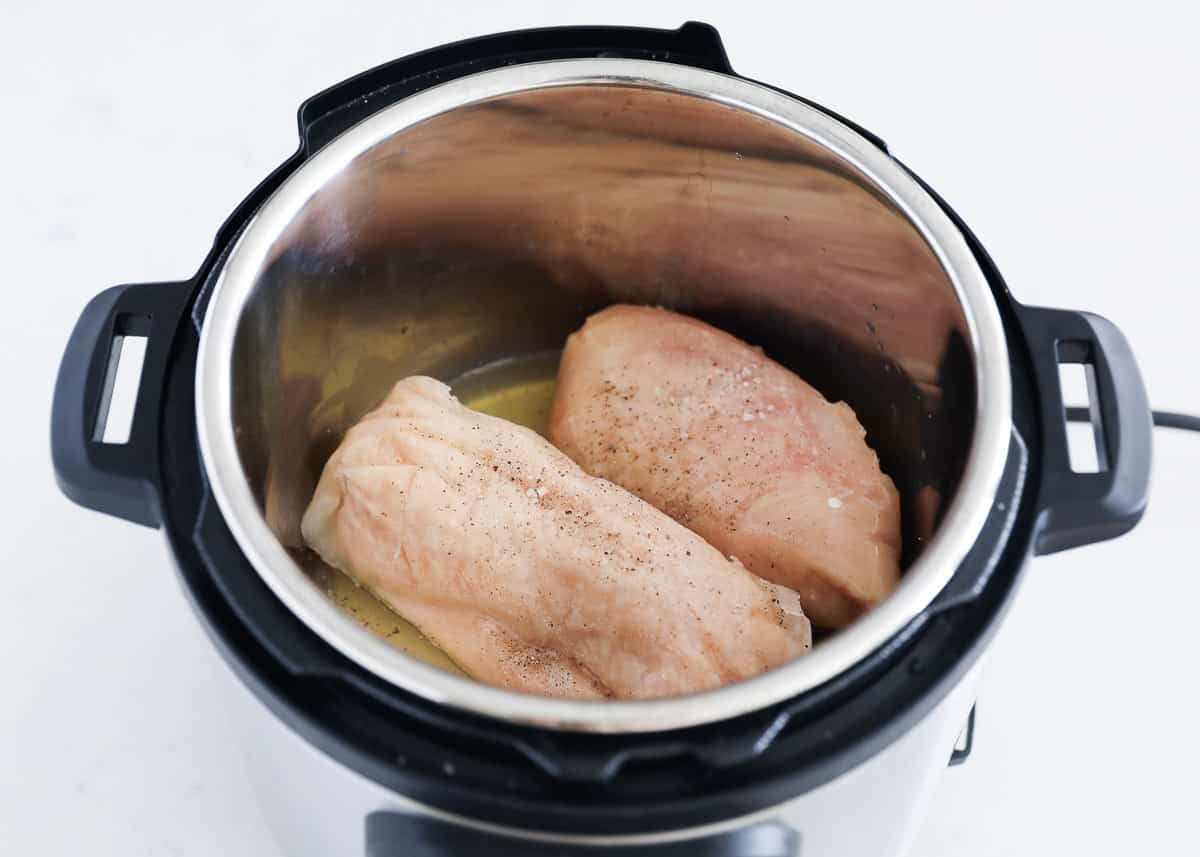
Step 1: Prepare the Chicken
The first step in making chicken broth is to prepare the chicken. If you’re using a whole chicken, start by rinsing it under cold water and removing any giblets or excess fat from the cavity. Once cleaned, you can either leave the chicken whole or cut it into pieces for easier handling.
If you prefer a meatier broth, it’s recommended to use both the meat and bones of the chicken. However, if you’re looking for a lighter broth, you can use just the bones for a more subtle flavor.
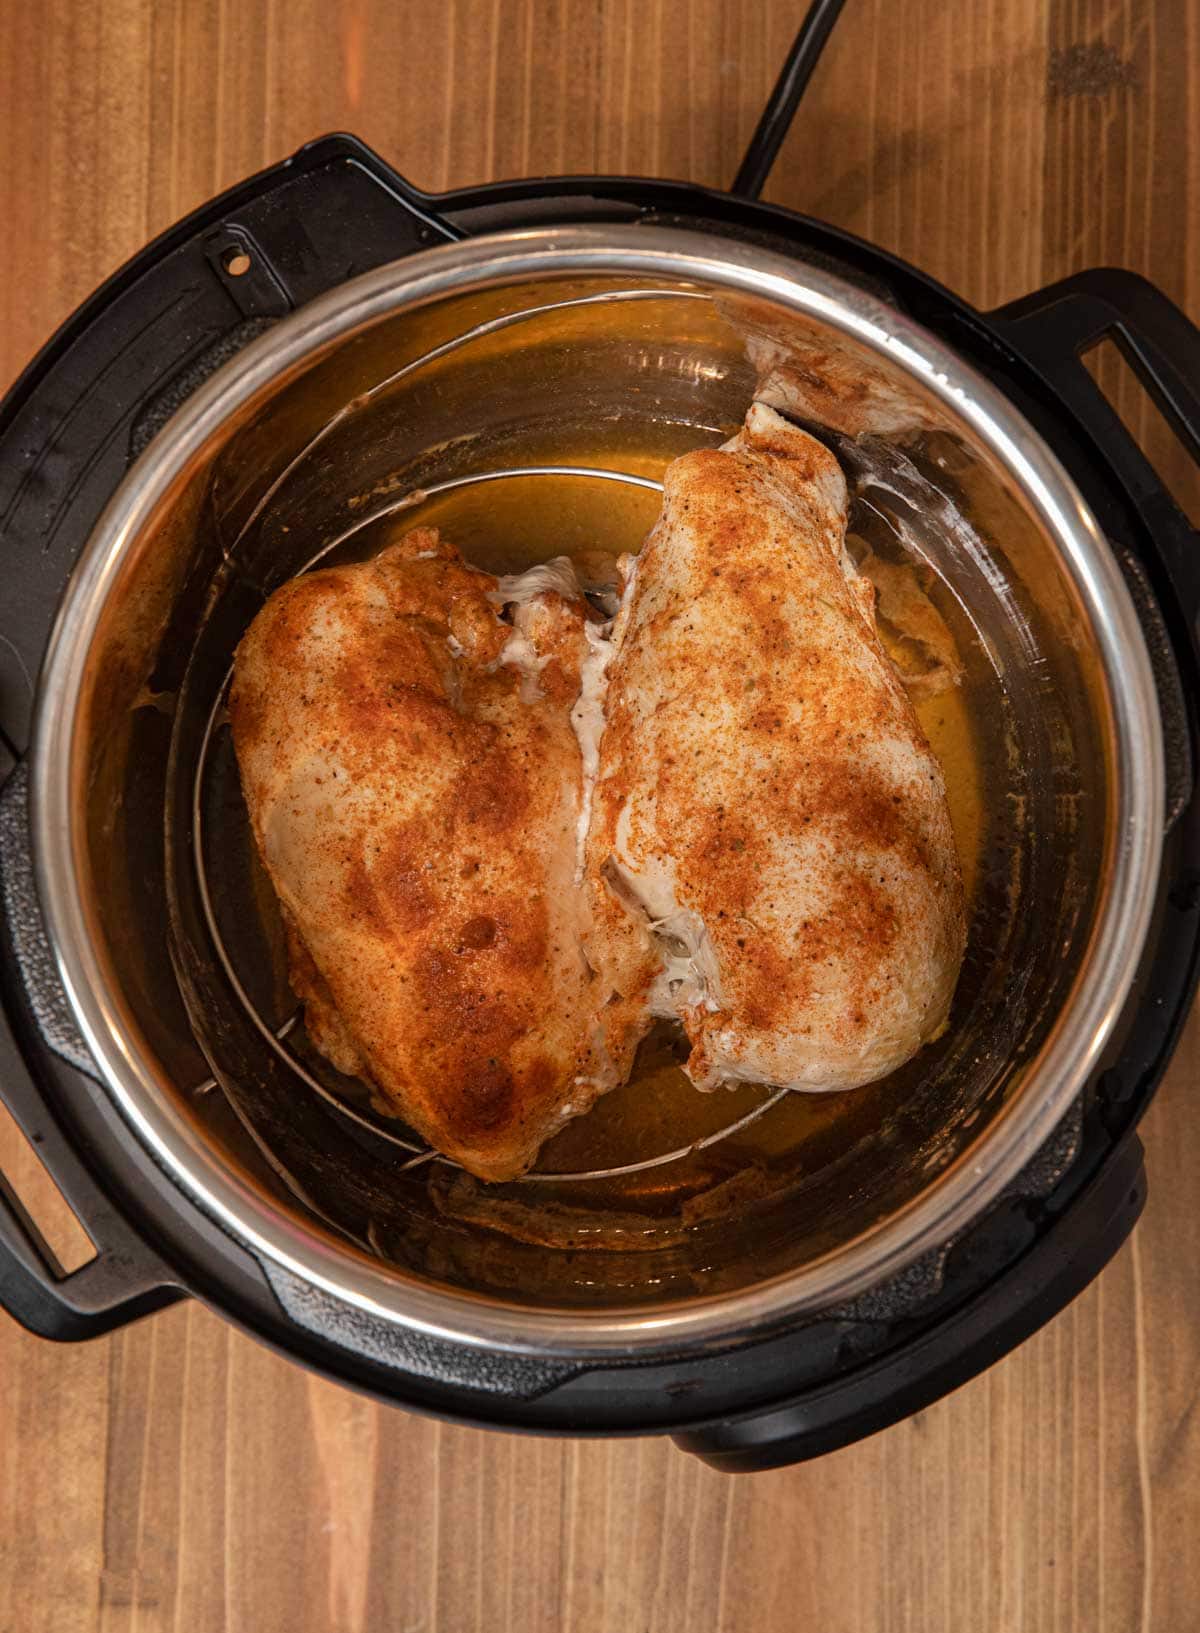
Before adding the chicken to the electric pressure cooker, it’s a good idea to brown it first. This step helps enhance the depth of flavor in the broth. To do this, heat a small amount of oil in a skillet over medium-high heat. Place the chicken pieces in the skillet, skin-side down, and let them cook for a few minutes until they develop a golden-brown color. Flip the chicken and brown the other side as well. Once browned, transfer the chicken to a plate and set it aside.
Now that the chicken is prepped and ready to go, we can move on to the next step: chopping the vegetables.
Step 2: Chop the Vegetables
Once the chicken is prepared, it’s time to move on to the next step: chopping the vegetables. The vegetables not only add flavor but also contribute essential nutrients to the chicken broth.
Start by peeling and chopping the carrots. You can cut them into small rounds or dice them into bite-sized pieces, depending on your preference. Next, move on to the celery stalks. Trim off the ends and cut them into small, uniform pieces. Finally, peel and chop the onion into medium-sized pieces.
While these three vegetables form the base of the chicken broth, you can also get creative and add other vegetables of your choice, such as leeks or parsnips. This will add depth and complexity to the flavor of the broth.
Once all the vegetables are chopped, set them aside and move on to the next step: seasoning the broth.
Step 3: Seasoning
Seasoning is a crucial step in making flavorful chicken broth in an electric pressure cooker. It helps enhance the taste and aroma of the broth, giving it a well-rounded and satisfying flavor profile.
Start by mincing the garlic cloves and setting them aside. Now, gather the bay leaf, fresh thyme, and whole black peppercorns. These herbs and spices will add depth and complexity to the broth.
When it comes to seasoning the broth, it’s important to remember that a little goes a long way. Start with a pinch of salt and adjust to taste at the end. Keep in mind that you can always add more salt later, but it’s difficult to remove excess salt from the broth.
If you prefer a more robust and aromatic broth, you can also incorporate other herbs and spices such as rosemary, parsley, or even a pinch of paprika or turmeric. Experiment with different flavors to find your personal favorite combination.
Now that you have all the necessary ingredients prepared, it’s time to move on to the next step: adding everything to the electric pressure cooker.
Step 4: Add Ingredients to the Electric Pressure Cooker
With the chicken prepared, vegetables chopped, and broth seasonings ready, it’s time to bring all the ingredients together in the electric pressure cooker.
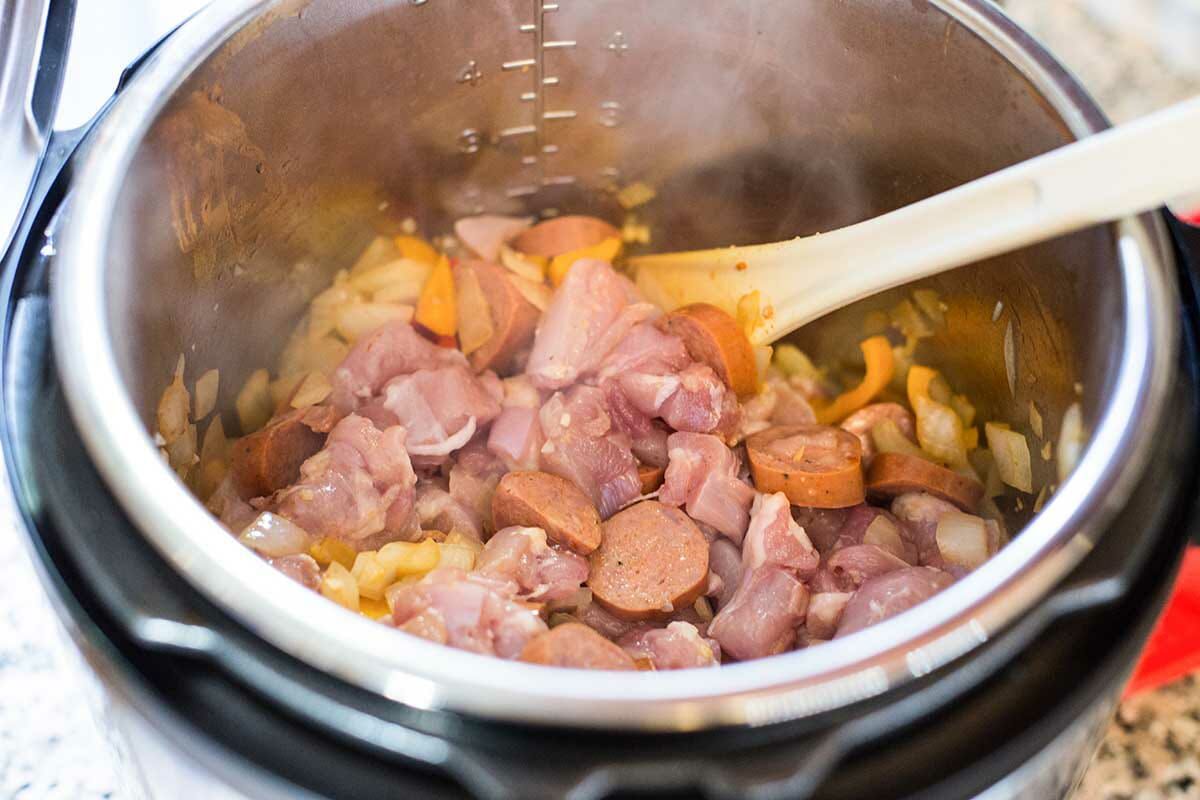
Start by placing the browned chicken pieces or chicken bones in the bottom of the pressure cooker. Next, add the chopped carrots, celery, onion, and minced garlic. Drop in the bay leaf, thyme sprig, and whole black peppercorns.
Now, pour in the water, making sure not to exceed the maximum fill line indicated in your specific electric pressure cooker model. The water will serve as the base for the broth and will help extract all the flavors from the ingredients.
Once all the ingredients are added, give everything a gentle stir to combine them together. Make sure the ingredients are evenly distributed and submerged in the liquid for an even extraction of flavors.
After adding the ingredients to the electric pressure cooker, it’s time to move on to the next step: setting the pressure cooker.
Step 5: Set the Pressure Cooker
Setting the pressure cooker is a crucial step in making chicken broth. This step determines the cooking time and pressure level required to extract maximum flavor from the ingredients.
Start by securing the lid of the electric pressure cooker tightly. Ensure that the vent on the lid is set to the “Sealing” position to create a sealed cooking environment.
Now, set the pressure cooker to the “Soup” or “Broth” function, if available. If your pressure cooker doesn’t have specific functions, choose the high-pressure cooking setting. Adjust the cooking time to around 30-40 minutes.
Once you have set the cooking time and pressure level, it’s time to let the pressure cooker work its magic. Press the start button or initiate the cooking process according to the instructions of your electric pressure cooker model.
During the cooking process, the pressure cooker will heat up and build pressure inside, allowing the flavors to merge and intensify. The pressure will also help break down the collagen in the chicken bones, resulting in a gelatinous and flavorful broth.
After the cooking cycle is complete, it’s time to move on to the next step: releasing the pressure.
Step 6: Natural Release or Quick Release
Once the cooking cycle is complete, there are two methods to release the pressure in the electric pressure cooker: natural release and quick release.
Natural Release: This method involves allowing the pressure to release naturally over time. After the cooking cycle is complete, simply leave the pressure cooker undisturbed and let the pressure naturally decrease on its own. This usually takes around 10-15 minutes. Natural release is recommended for foods that are delicate or contain a lot of liquid, like chicken broth. It helps the flavors to settle and ensures that the liquid doesn’t spew out when releasing the pressure.
Quick Release: This method involves manually releasing the pressure using the pressure release valve. Before proceeding with a quick release, ensure you are wearing oven mitts or using a long-handled utensil to avoid any potential steam burns. Move the pressure release valve from the “Sealing” to the “Venting” position, which will immediately release the steam and pressure from the cooker. Quick release is suitable for recipes that don’t require additional cooking time and when you need to stop the cooking process quickly.
Follow your electric pressure cooker’s specific instructions for performing either the natural release or quick release method.
Once the pressure has been released, it’s time to move on to the next step: straining the broth.
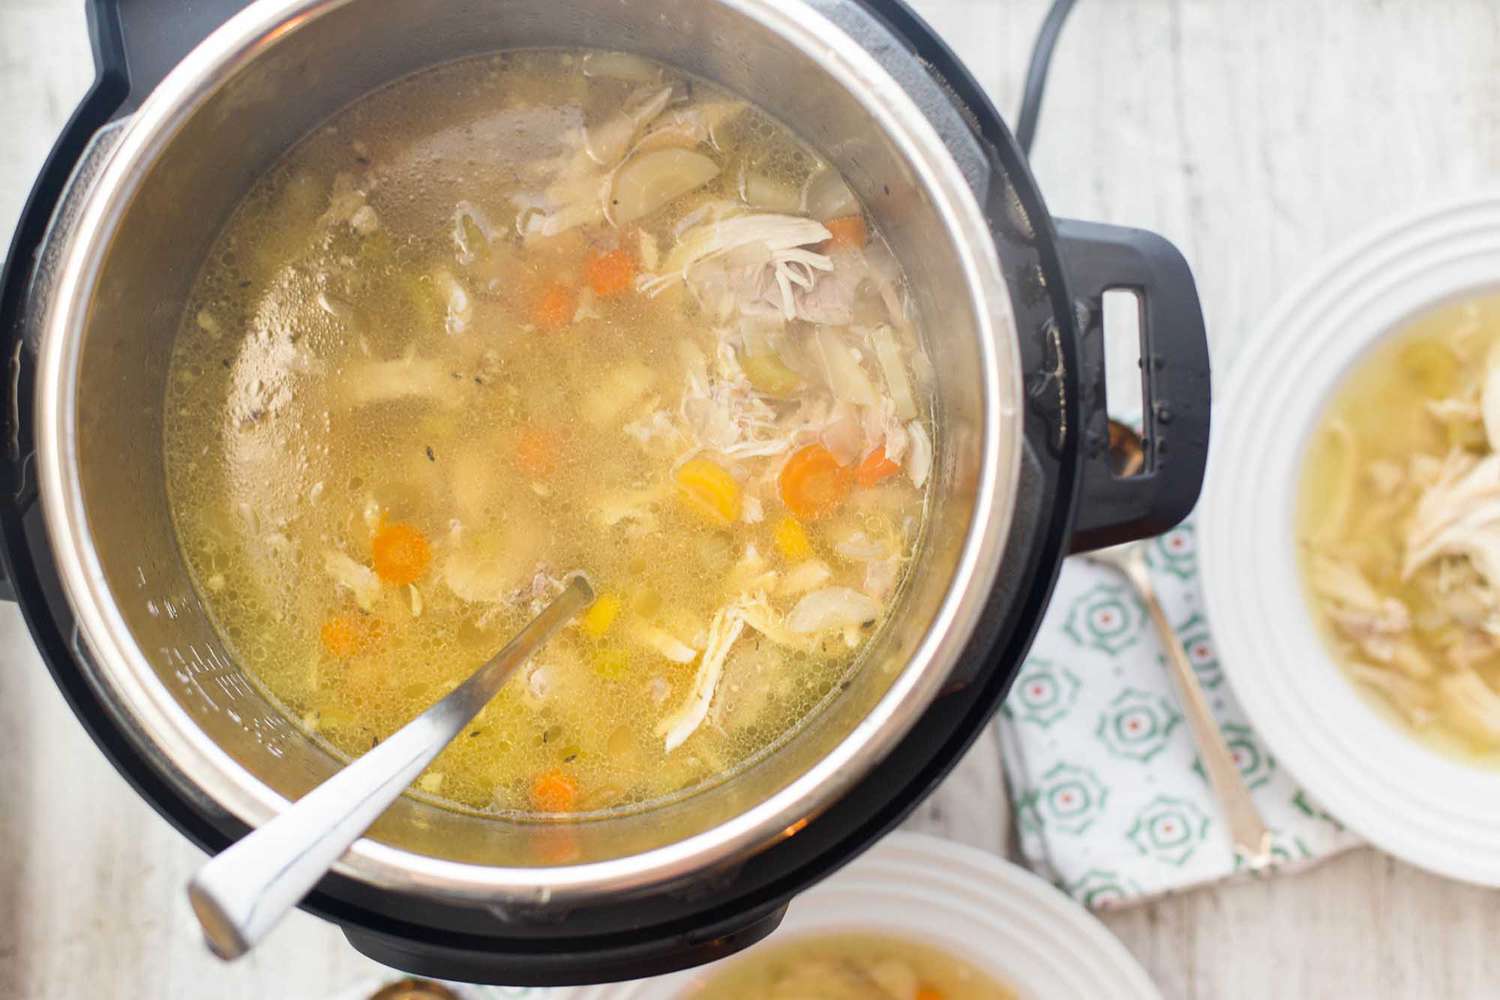
Step 7: Strain the Broth
After the pressure has been released and the cooking process is complete, it’s time to strain the broth. This step ensures that any solids, such as chicken bones, vegetable pieces, and herbs, are removed, leaving you with a clear and smooth chicken broth.
To strain the broth, you will need a large sieve or a fine-mesh strainer. Carefully pour the contents of the pressure cooker through the sieve into a large bowl or another pot. The sieve will catch all the solid ingredients, while the liquid broth will pass through into the receptacle below.
Allow the broth to strain completely, gently pressing down on the solids with the back of a spoon to extract any remaining liquid. This helps maximize the yield of the broth. Discard the strained solids or save the cooked chicken meat for other recipes if desired.
To obtain an even clearer broth, you can line the sieve or strainer with cheesecloth or a clean kitchen towel. This additional layer will help catch any smaller particles, resulting in a more refined broth.
Once the broth is strained, it’s time to move on to the next step: storing or using it immediately in your favorite recipes.
Step 8: Store or Use Immediately
After straining the chicken broth, you have two options: store it for later use or use it immediately in your favorite recipes. Both options offer the opportunity to savor the rich flavors of your homemade chicken broth.
If you plan to store the broth, ensure it has completely cooled down before transferring it to storage containers. It is recommended to use airtight containers, such as glass jars or freezer-friendly bags, to maintain the broth’s freshness and prevent any contamination. Label the containers with the date to keep track of its shelf life.
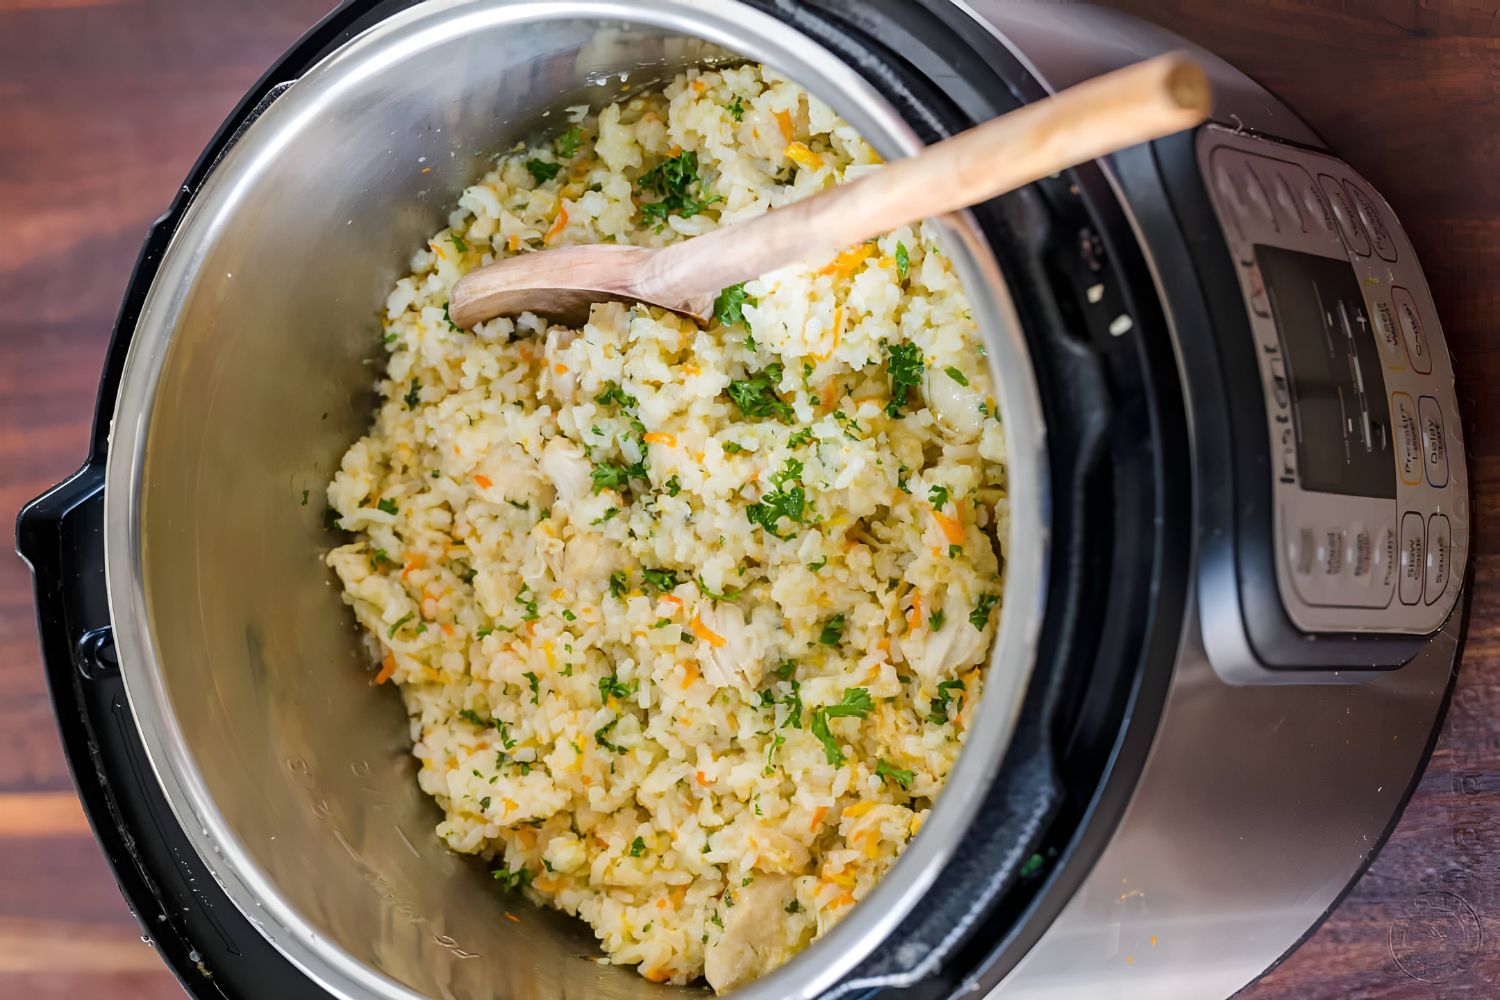
If you’re using the chicken broth immediately, you can incorporate it into a variety of recipes, such as soups, stews, sauces, or even as a flavorful base for cooking rice or grains. The homemade broth will enhance the taste of your dishes, elevating them to new levels of flavor and richness.
If you have excess broth or can’t use it immediately, you can also freeze it for future use. Freezing the broth in smaller portions allows for easy defrosting and usage as needed. To thaw, simply transfer the frozen broth to the refrigerator and let it thaw overnight.
It’s important to note that homemade chicken broth can be stored in the refrigerator for 3-4 days and in the freezer for up to 3 months. However, always use your best judgment when determining the freshness and safety of stored broth.
Now that you have learned the step-by-step process of making chicken broth in an electric pressure cooker, you can enjoy the delightful flavors of homemade broth whenever you desire. It’s a versatile and nutritious ingredient that will add depth and richness to a wide range of dishes.
So go ahead, get creative in the kitchen, and explore the endless possibilities of culinary delights with your very own homemade chicken broth!
Conclusion
Congratulations! You have successfully learned how to make delicious chicken broth in an electric pressure cooker. By following these simple steps, you can create a flavorful and nutritious base for your soups, stews, sauces, and more.
Homemade chicken broth offers numerous benefits compared to store-bought options. Not only can you control the quality of the ingredients, but you can also customize the flavors to suit your personal taste preferences. Plus, the convenience of using an electric pressure cooker allows you to enjoy the rich flavors of homemade broth in a fraction of the time compared to traditional stovetop methods.
Remember to choose high-quality ingredients, such as an organic chicken and fresh vegetables, to ensure the best flavor and nutritional value. Don’t be afraid to experiment with different herbs and spices to create unique flavor profiles that suit your culinary creations.
Whether you choose to use the chicken broth immediately in your recipes or store it for later use, you can be confident that the homemade broth will elevate the taste of your dishes and provide a comforting and satisfying experience.
So, next time you’re in the mood for a hearty soup or a flavorful sauce, reach for your homemade chicken broth and let it be the secret ingredient that transforms your dishes into culinary masterpieces.
Now, armed with the knowledge and skills to make chicken broth in an electric pressure cooker, go forth and explore the endless possibilities of delicious homemade soups and beyond!